Tameo 1:43 Ferrari 156/85
Discussion


Lotus 50 said:
re the chipping of the paintwork, has anyone tried using an etch primer?
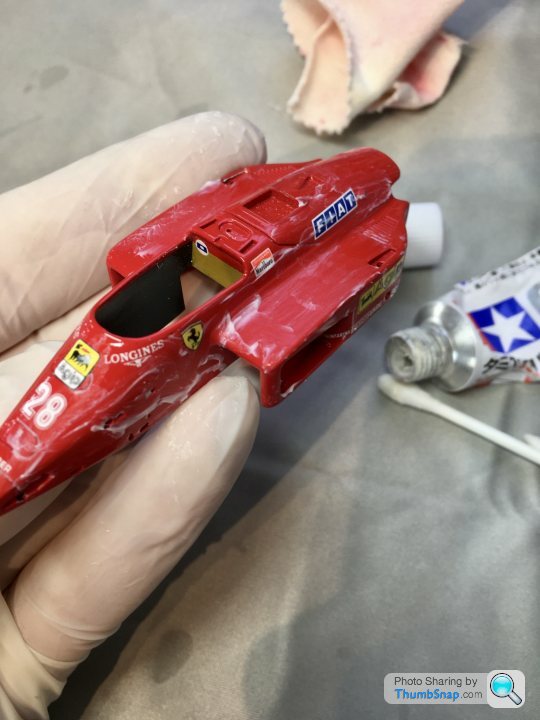
Yes I use Tamiya etch primer, pink or grey. Unfortunately white metal doesn’t take to paint very well.Indeed most Zinc toy cars Also suffer easily from paint chipping.
I always build the kits on thick kitchen paper, and handle them very gently, but you still always get a certain amount of delamination which mostly can be retouched. Then display and leave alone.
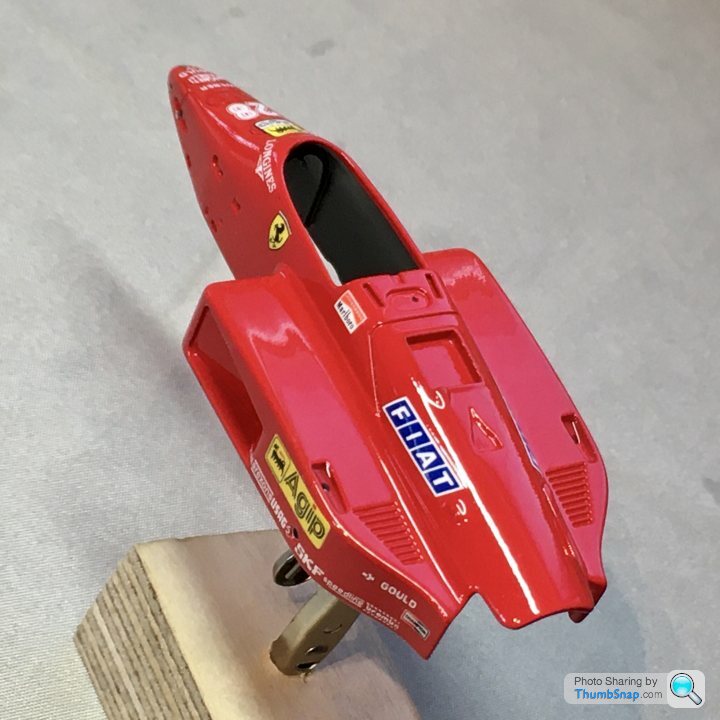
So I applied some Tamiya Gloss, and flatted it back. Then polishing compound:
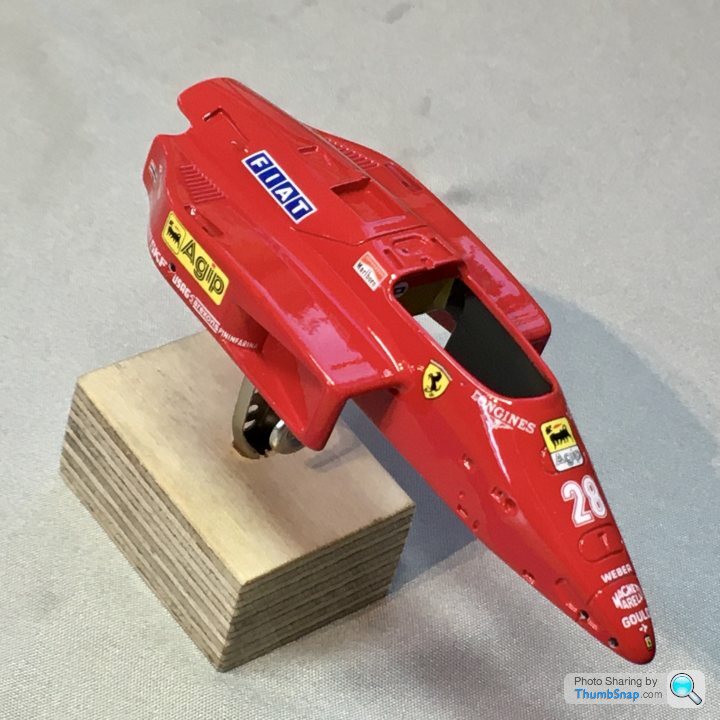
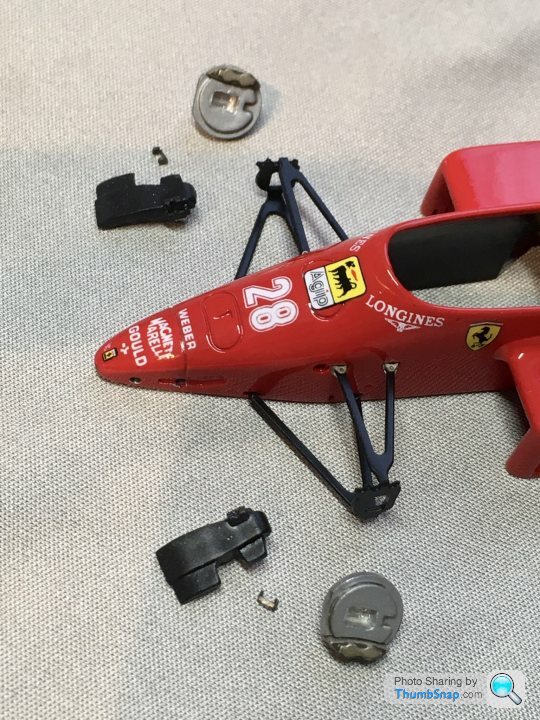
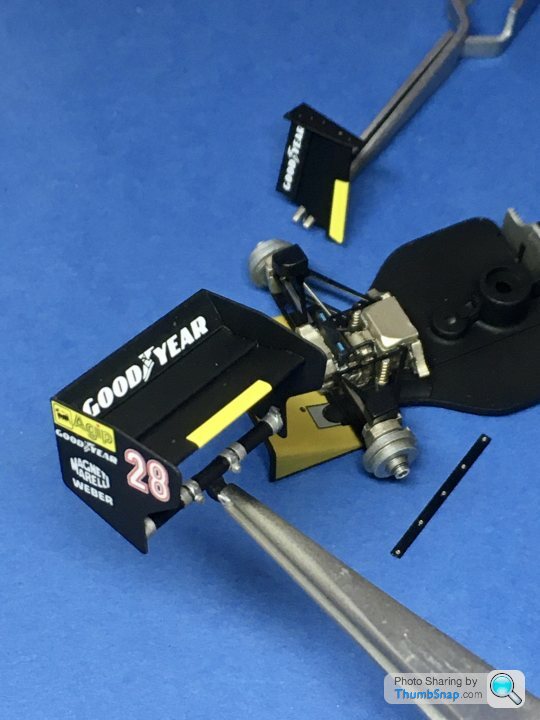
Next job is to clean out the suspension mount holes (no doubt introducing more paint chips!), and then after test fitting, spray the cockpit sides matt. Then a final wax polish.
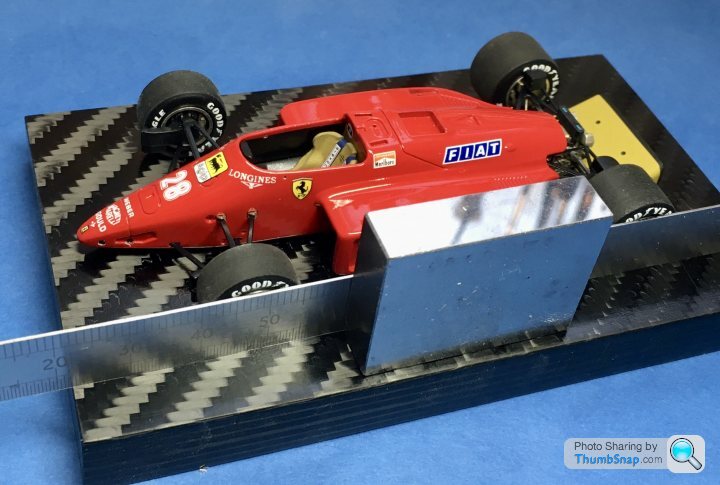
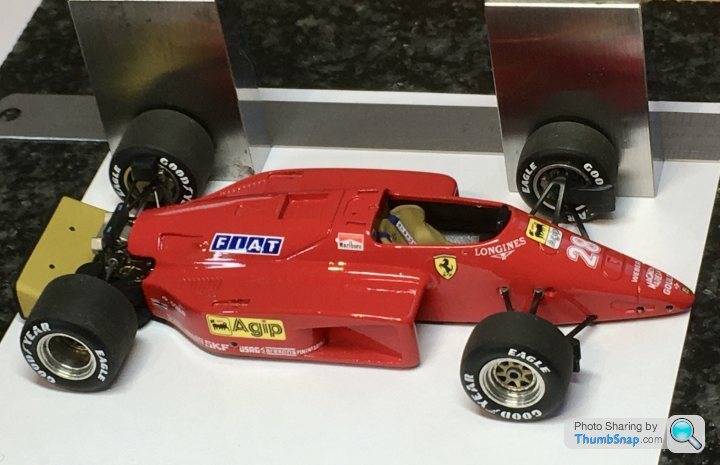
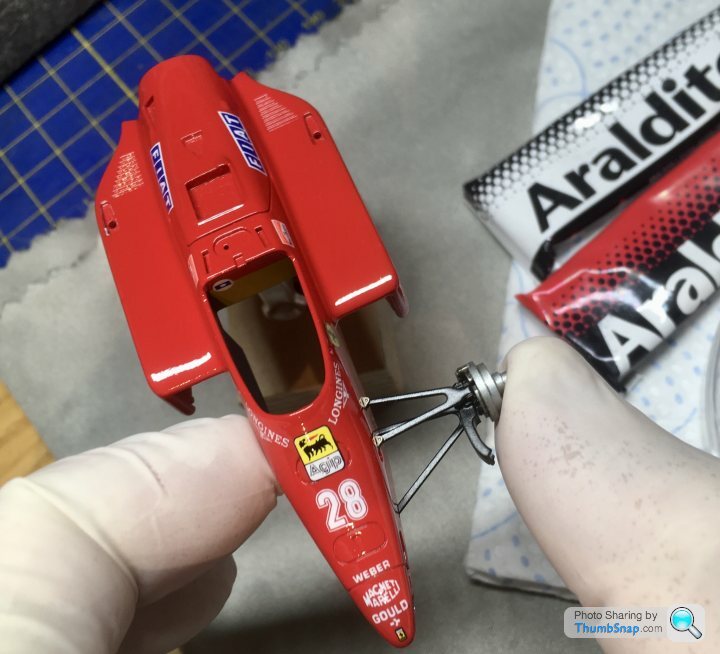
Fitted the rear suspension and cockpit:
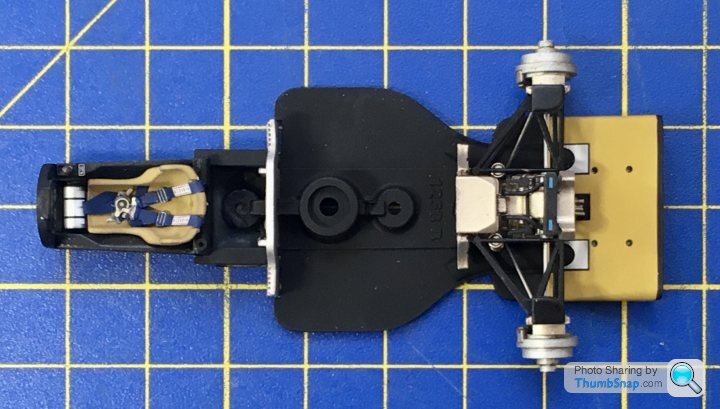
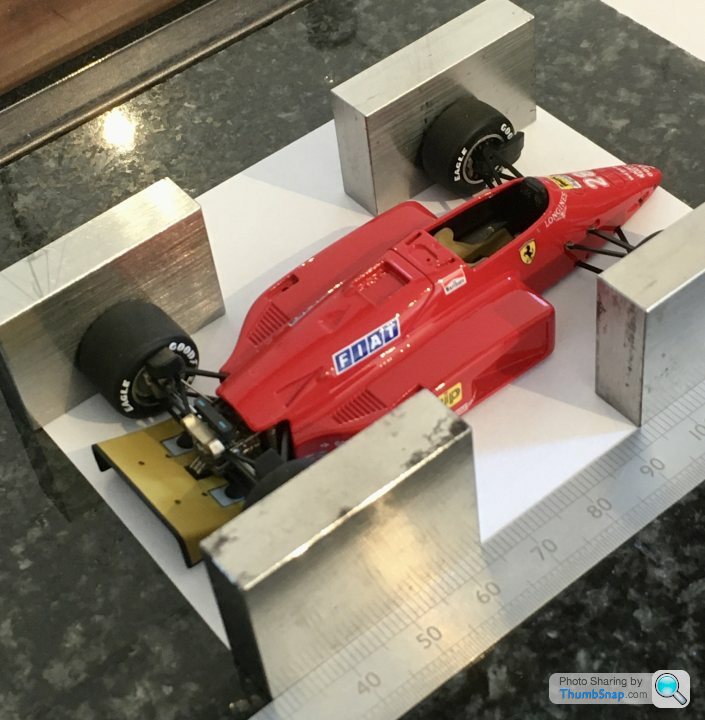
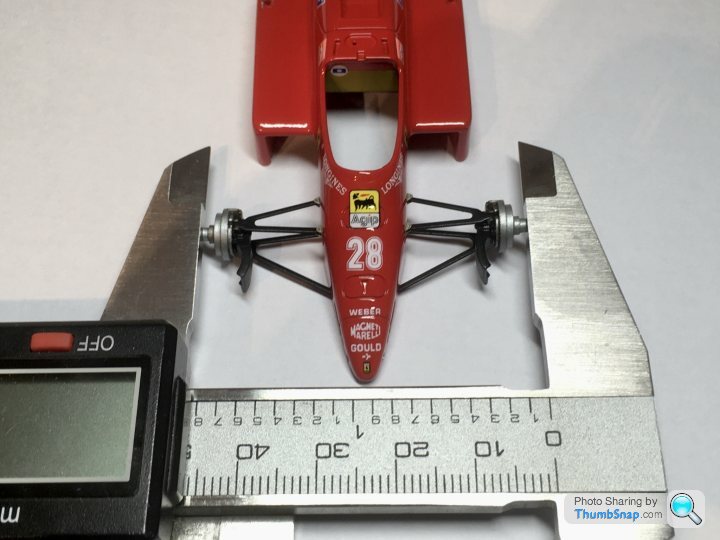
Making sure the axle height was about right:
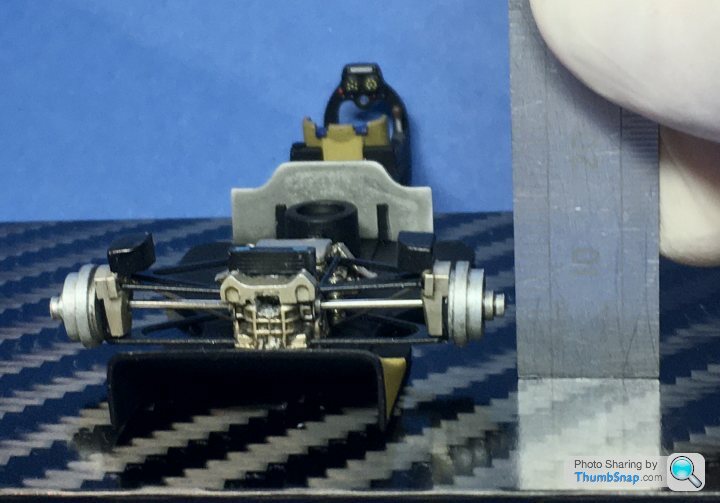
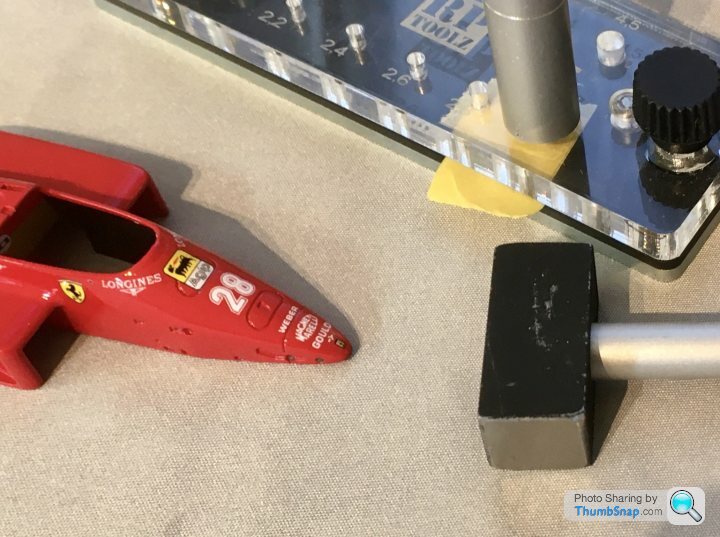
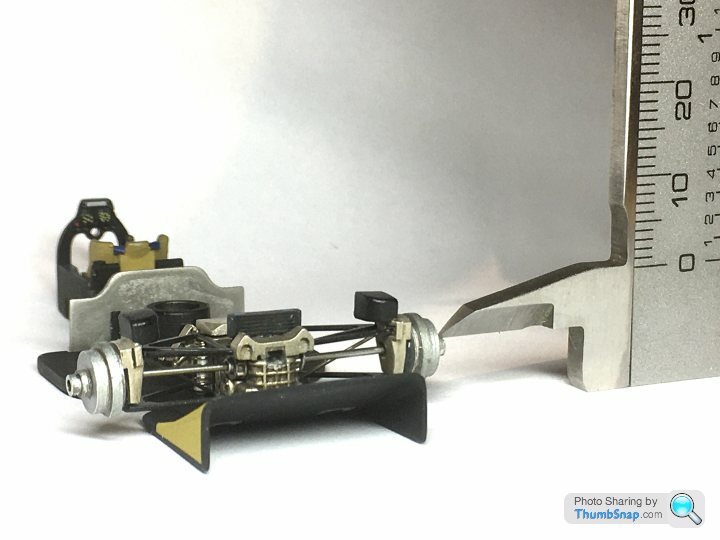
I had to partially dismantle the transmission casing because I noticed a step in it, which would have put the rear wing beam out of position.
Next job is to clean out the suspension mount holes (no doubt introducing more paint chips!), and then after test fitting, spray the cockpit sides matt. Then a final wax polish.
Fitted the rear suspension and cockpit:
Making sure the axle height was about right:
I had to partially dismantle the transmission casing because I noticed a step in it, which would have put the rear wing beam out of position.
These are good, for anyone thinkig of having a go:
https://www.tameokits.com/en/cat-tutorial/how-to-a...
https://www.tameokits.com/en/cat-tutorial/how-to-a...


Evangelion said:
In the old days they were decals, and sometimes weren't included in the kit so you had to supply your own. Luckily people like GPM used to sell sheets of them.
I'll need some 1:43 decals for the P34, I hope they're available, and if they are I hope they'll fit the ancient Western Kits mouldings.dr_gn said:
CanAm said:
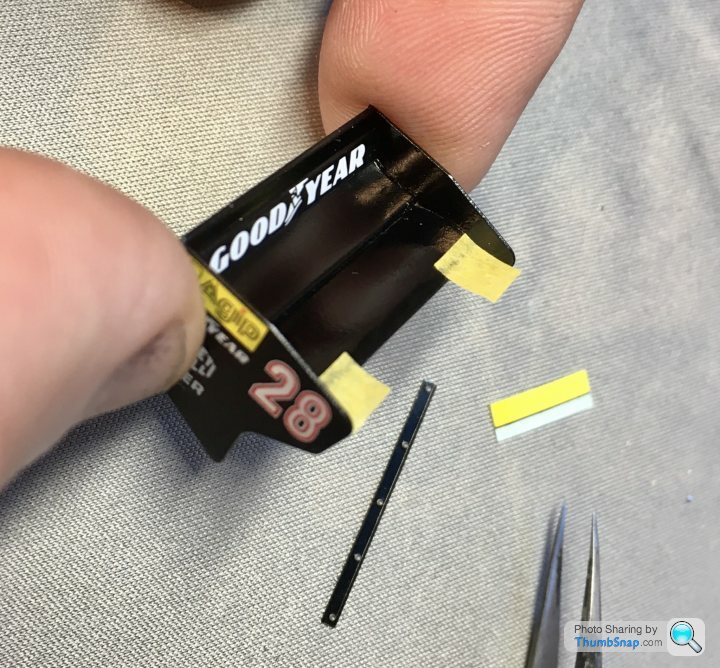
I hope you're not going to tell us that you hand-painted the lettering on those tyres! 
No - they were pre-printed.I grew up in the day when manufacturer's tyre markings were more discreet, if not invisible. I prefer the look on Henryk's 156, though yours are of course historically correct.
And as for Historic Racers with a huge AVON on the sidewalls....

CanAm said:
dr_gn said:
CanAm said:
I hope you're not going to tell us that you hand-painted the lettering on those tyres!
No - they were pre-printed.I grew up in the day when manufacturer's tyre markings were more discreet, if not invisible. I prefer the look on Henryk's 156, though yours are of course historically correct.
And as for Historic Racers with a huge AVON on the sidewalls....

Gassing Station | Scale Models | Top of Page | What's New | My Stuff