Hobby Boss 1/48 A-6A intruder
Discussion


dr_gn said:
Looks superb. Who needs resin?
Thanks very much.So far the only issues with the kit are:
- Stupid locations for the sprue connection points leading to tricky part clean up
- complete lack of painting instructions (although given the reference material on the internet and the fact I just make it up I can probably overlook this)
dr_gn said:
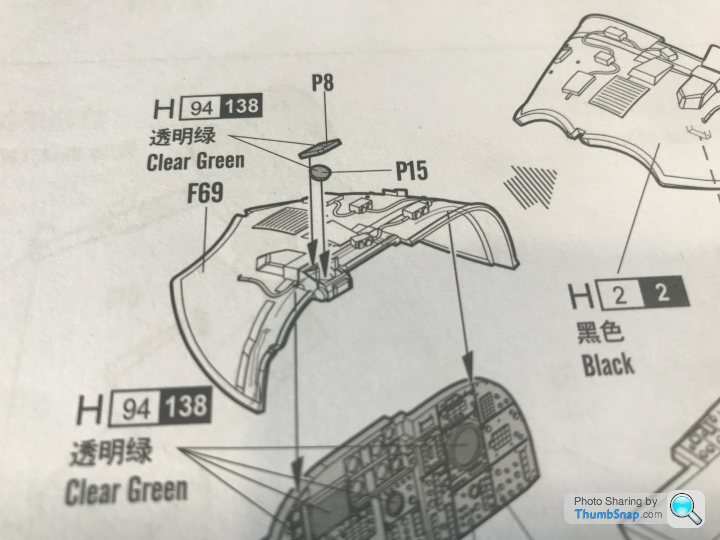
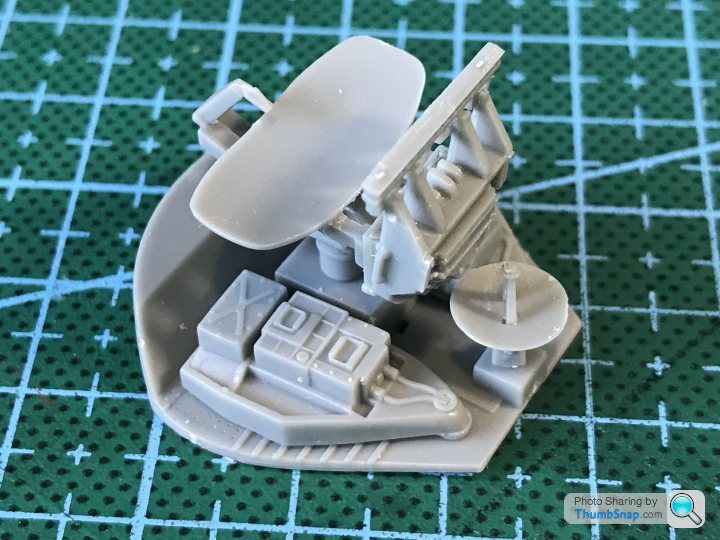
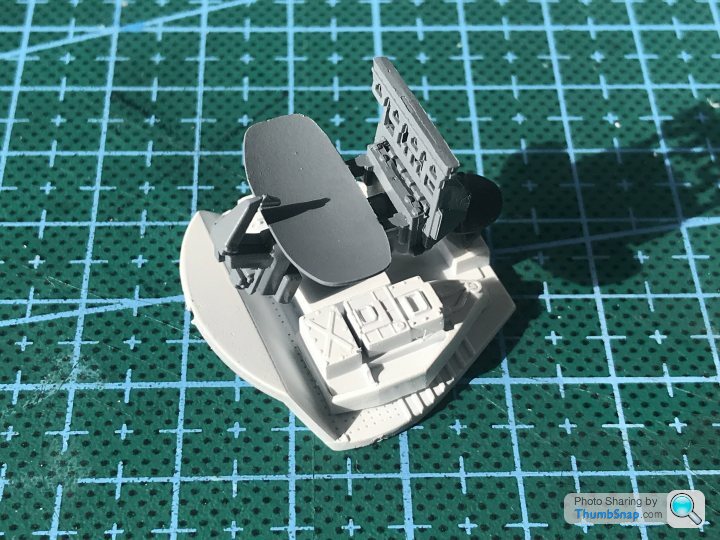
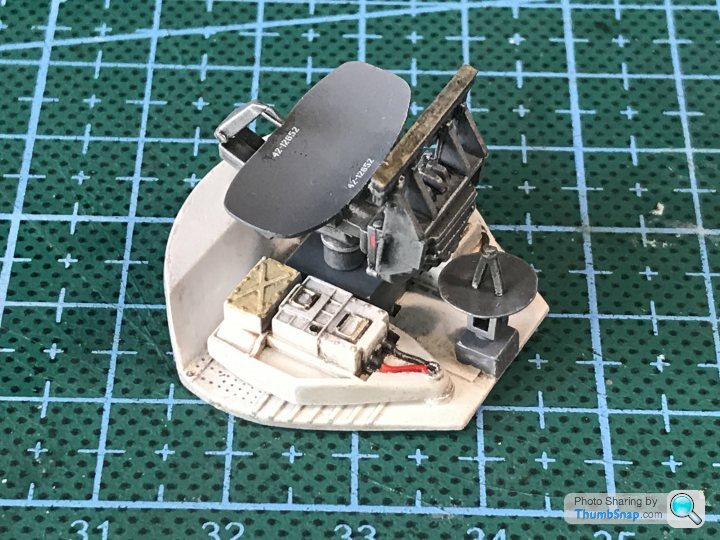
Is there a clear plate to fit above the reflector sight lens?
No. But the instructions did call for clear green. Now I think about it why would I trust the instructions for painting? School boy error.Not to worry. I’ll just hope no one notices. Anyone else reading this please forget what you have just read.
robemcdonald said:
dr_gn said:
Is there a clear plate to fit above the reflector sight lens?
No. But the instructions did call for clear green. Now I think about it why would I trust the instructions for painting? School boy error.Not to worry. I’ll just hope no one notices. Anyone else reading this please forget what you have just read.
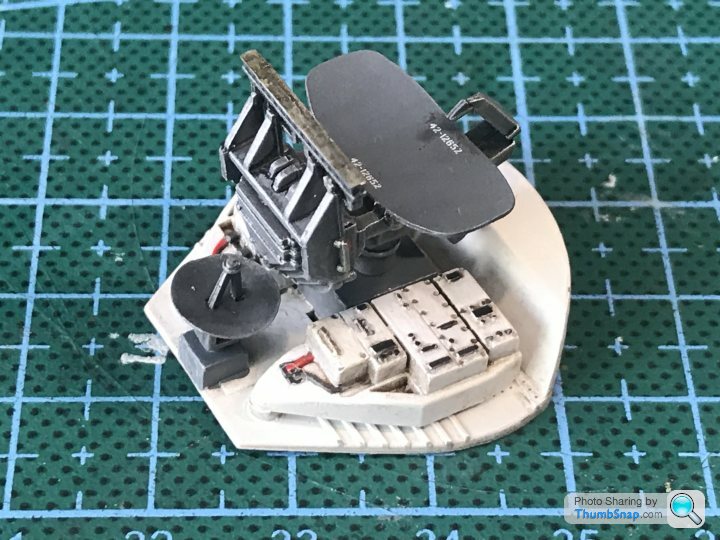
It looks like the angled mount is already there moulded-in, ready for fitting one.
ETA it might already be there - difficult to tell on the phone screen - it might be a flat green piece on yours?
Edited by dr_gn on Thursday 25th February 09:45


A semi productive weekend.
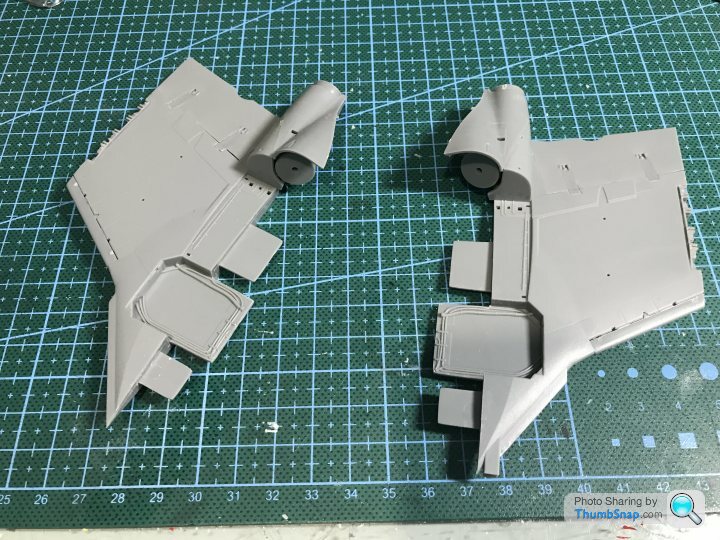
First up I assembled the air intakes.

These are meant to be installed in the fuselage halves before putting them together. This would make masking a nightmare. With some careful trial fitting I worked out I can leave these off until final assembly. It’s a tight squeeze but does work.
It’s also at this point the real difference between this and a Tamiya kit comes to light. The way the various parts come together to make up complex shapes is really clever, but the tolerance on the parts just isn’t up to the task. I’m sure the better modellers on here would be able to fettle everything to a perfect fit. However my limited skill set meant a more basic “little bit at a time” approach was employed.
The result is okay, but far from perfect and filler and rescribing were required...
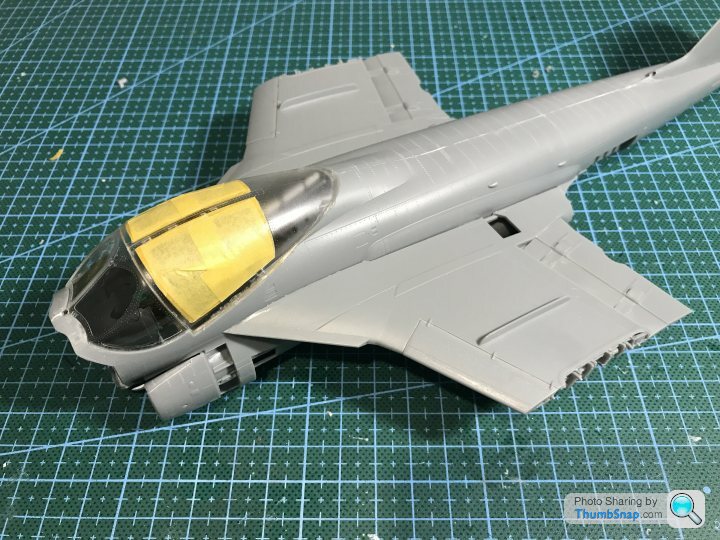
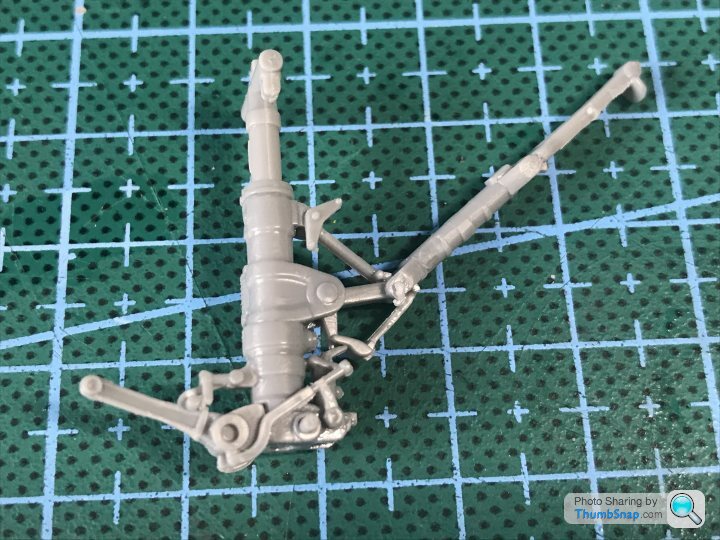
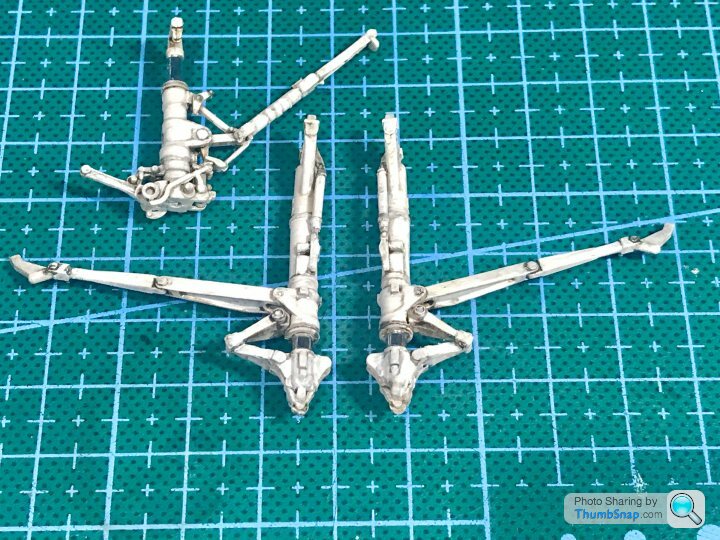
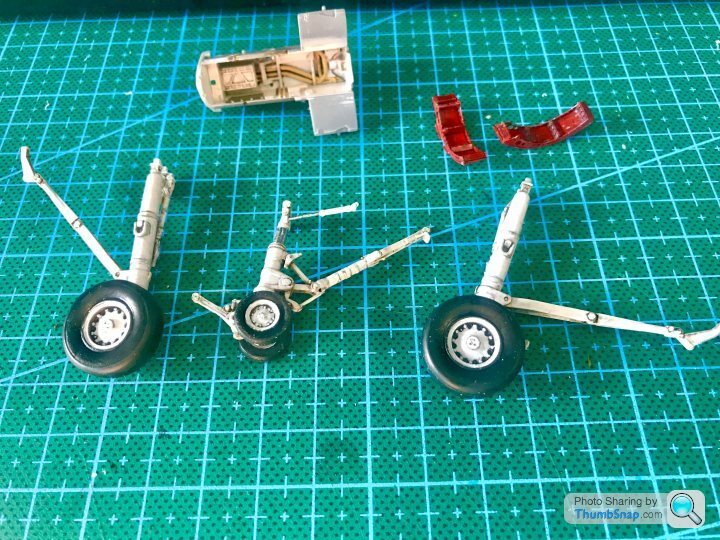
Finally I added the undercarriage to see if additional nose weight will be required.
Apparently not, but I might put a little in to be certain.
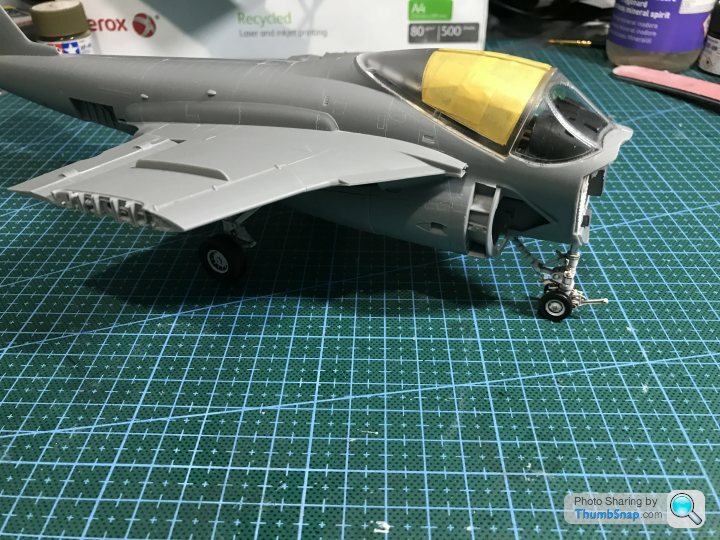
First up I assembled the air intakes.
These are meant to be installed in the fuselage halves before putting them together. This would make masking a nightmare. With some careful trial fitting I worked out I can leave these off until final assembly. It’s a tight squeeze but does work.
It’s also at this point the real difference between this and a Tamiya kit comes to light. The way the various parts come together to make up complex shapes is really clever, but the tolerance on the parts just isn’t up to the task. I’m sure the better modellers on here would be able to fettle everything to a perfect fit. However my limited skill set meant a more basic “little bit at a time” approach was employed.
The result is okay, but far from perfect and filler and rescribing were required...
Finally I added the undercarriage to see if additional nose weight will be required.
Apparently not, but I might put a little in to be certain.
Short answer yes it’s in hold.
I got as far as the wing folding mechanism and to be honest it looks terribly fragile and painting the whole thing is going to me a nightmare. So it’s back in the box while I tackle something easier to build my confidence a bit.
I’m currently building a kinetic 1/48 harrier gr3. I will pick up the A-6 when it’s done.
Gassing Station | Scale Models | Top of Page | What's New | My Stuff