Airfix 1:72 Vulcan B.2
Discussion


Tyre Smoke said:
How can you make such intricate and detail on your models, yet be clumsy enough to break your foot??

I was carrying the ‘big surprise” present for the kids up the drive (Lego Millennium Falcon), and my right foot twisted what felt like 90 degrees under my ankle while negotiating some uneven steps. There’s a small bone that sticks out from your little toe metatarsal, and all my weight went on it, snapped clean through, and also stretched a load of tendons and ligaments (or whatever they are).The Millennium Falcon was fine, and after 90 minutes in A&E on Christmas Day evening, I was back home with a huge foot/ankle brace.
Awesome present, and the kids were over the moon, but I’ve come to accept that no good deed goes unpunished…It hurts like a b
 h.
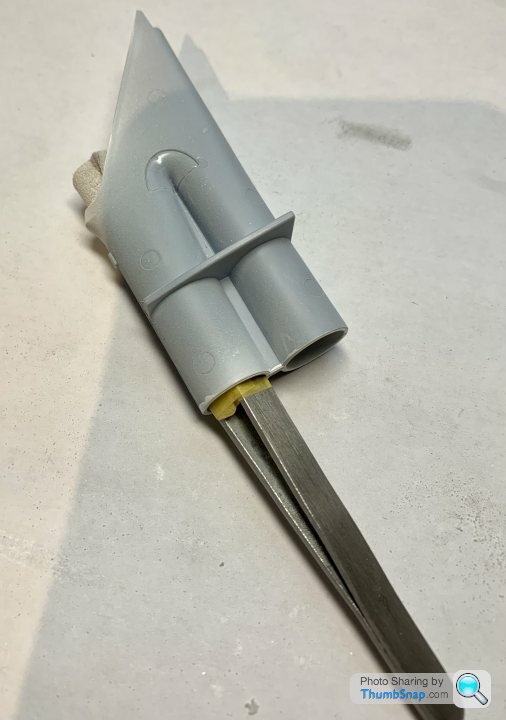
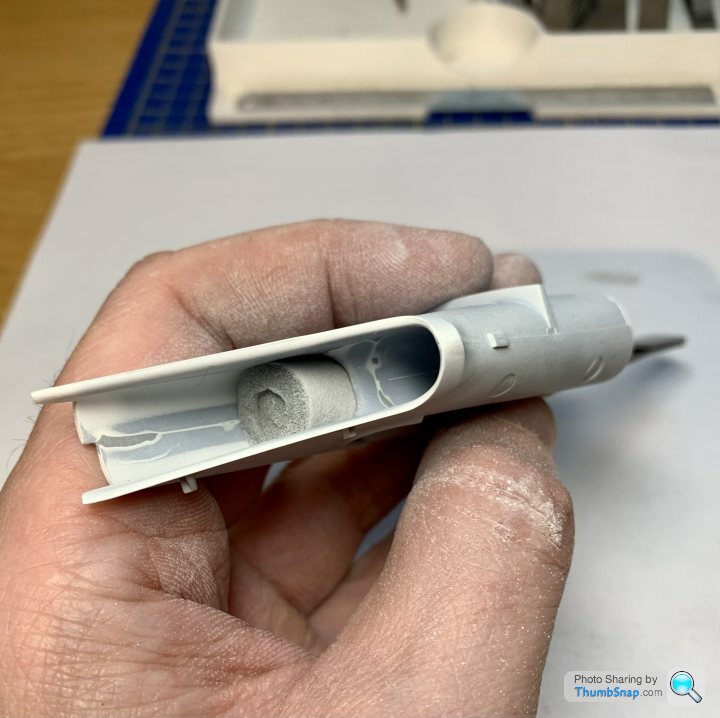
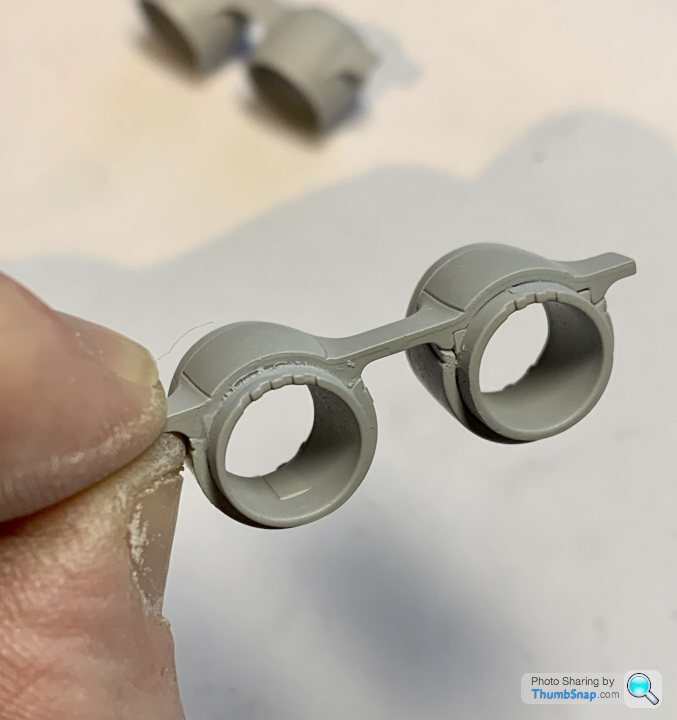
h.Pretty sure these tubular members are jacks, and that the ends would be part of the main gear yokes, so I painted appropriately:
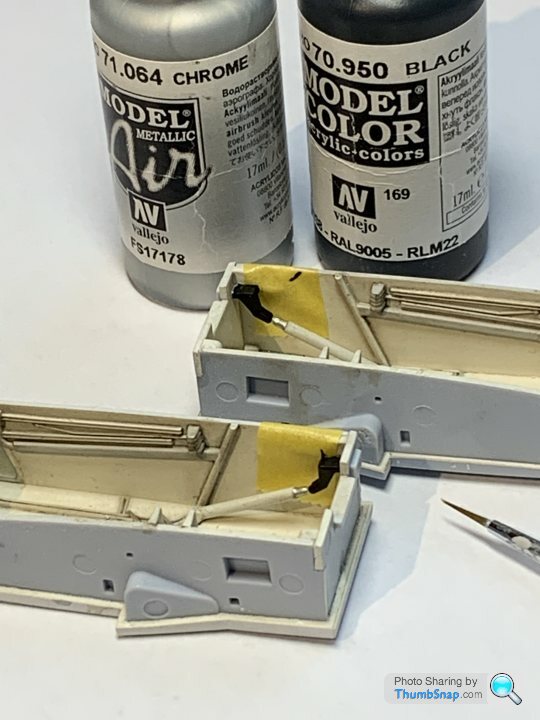
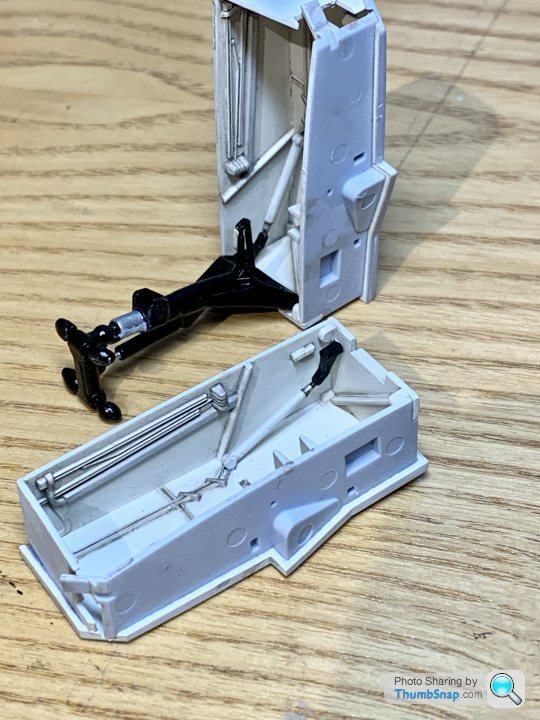
Also fitted some pla-paper over the main gear door jack holes on the side where they were missing. Hopefully it will make final assembly less traumatic:
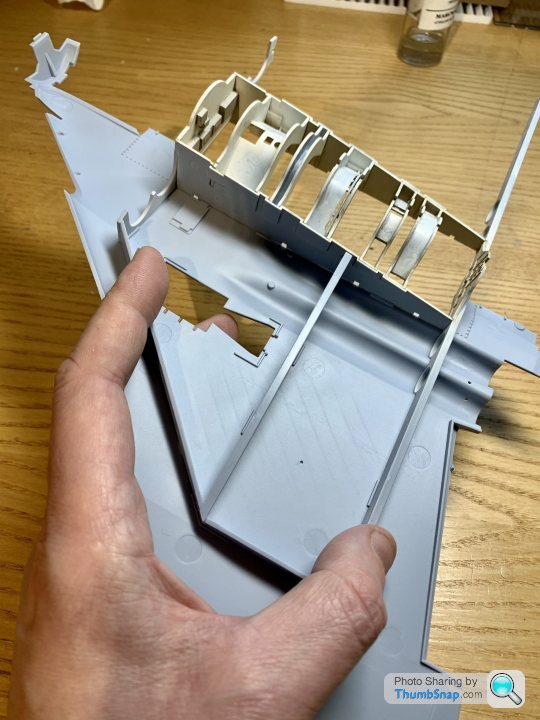
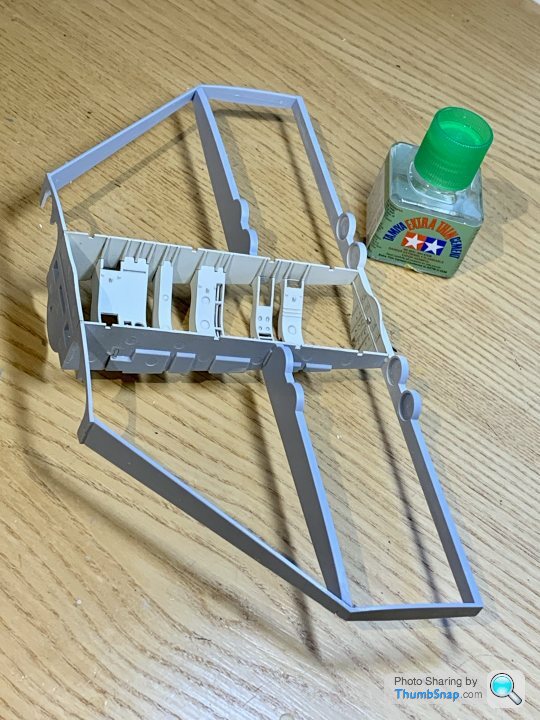
Then the wing sub-structure:
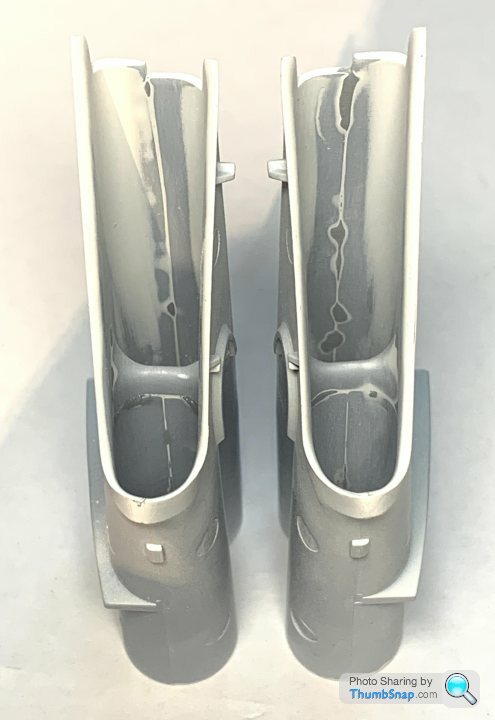
Then the exhaust nozzle joints, which are a sod to get smooth, and require some intricate re-scribing:
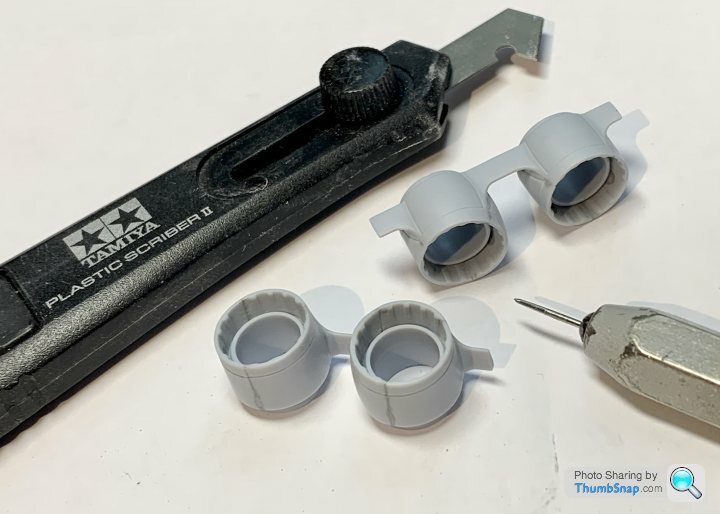
Still a lot to do to get the convoluted inner pipes right.
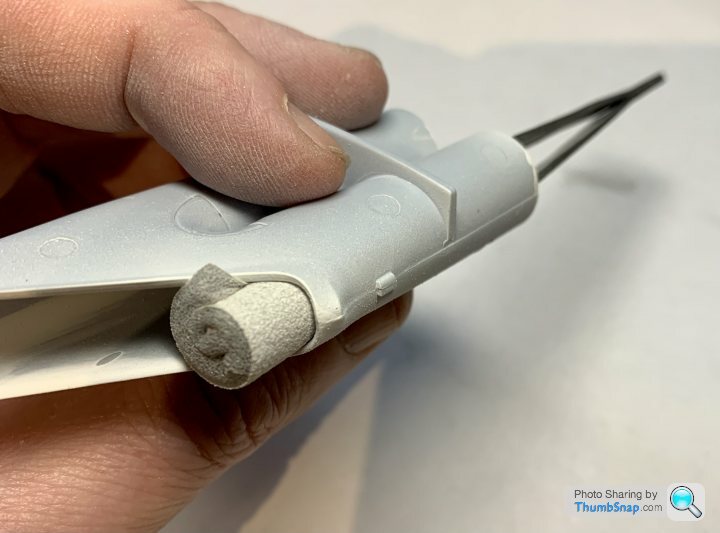
And more flatting on the intakes, again, they seem over complicated, with joint lines in all directions in very difficult to get to places. I ended up using Tamiya sanding sponges wrapped around various tweezers:
They were looking ok:
But a guide coat revealed a load more work still to do.
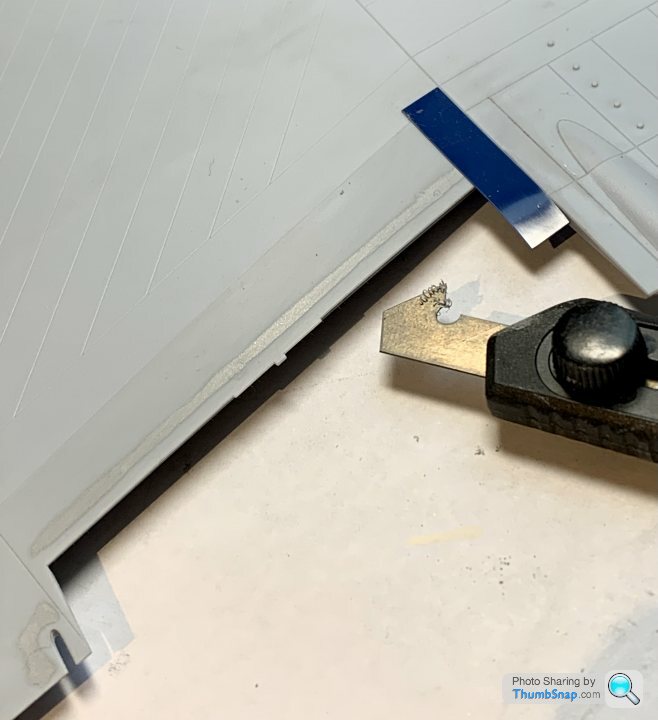
Then the air brakes. They look a bit gawky deployed, and I think ruin the lines of the aircraft, so opted to fit them closed:
The aim was to get them flush, or slightly proud (so I can flat them flush):
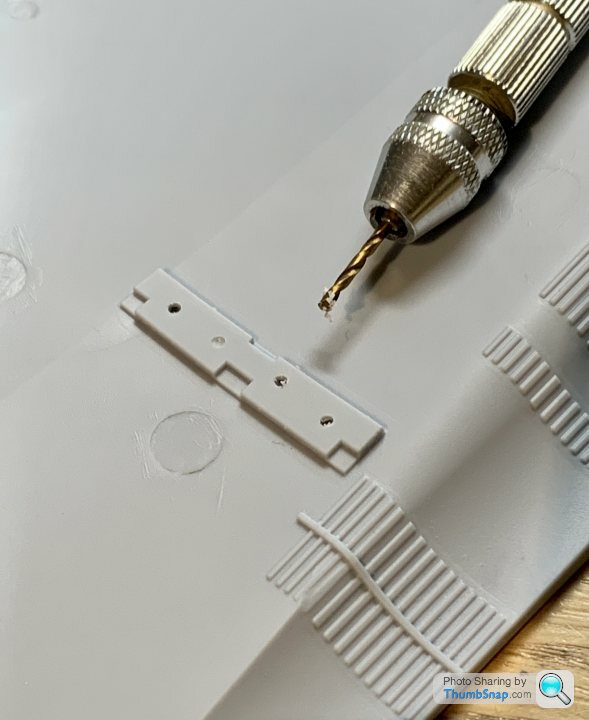
It proved too easy to get them recessed below the surrounding surfaces, so I drilled the undersides and, by pushing them up into position, managed to get them somewhere near:
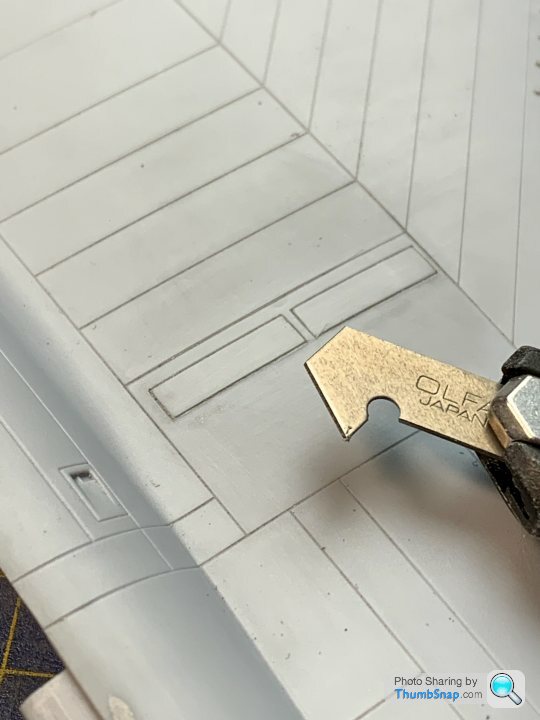
Also continued dealing with the sink marks in the wings and fuselage, which also required some re-scribing. A couple of the panel lines kind of disappeared as-moulded, so they needed re-doing while I was at it:
Not a straightforward build, but hopefully it will all come together in the end.
Also fitted some pla-paper over the main gear door jack holes on the side where they were missing. Hopefully it will make final assembly less traumatic:
Then the wing sub-structure:
Then the exhaust nozzle joints, which are a sod to get smooth, and require some intricate re-scribing:
Still a lot to do to get the convoluted inner pipes right.
And more flatting on the intakes, again, they seem over complicated, with joint lines in all directions in very difficult to get to places. I ended up using Tamiya sanding sponges wrapped around various tweezers:
They were looking ok:
But a guide coat revealed a load more work still to do.
Then the air brakes. They look a bit gawky deployed, and I think ruin the lines of the aircraft, so opted to fit them closed:
The aim was to get them flush, or slightly proud (so I can flat them flush):
It proved too easy to get them recessed below the surrounding surfaces, so I drilled the undersides and, by pushing them up into position, managed to get them somewhere near:
Also continued dealing with the sink marks in the wings and fuselage, which also required some re-scribing. A couple of the panel lines kind of disappeared as-moulded, so they needed re-doing while I was at it:
Not a straightforward build, but hopefully it will all come together in the end.
Tyre Smoke said:
My sympathies. I know from experience, the ex wife did the same thing and was on a flight to Washington DC three days later. Once the pain subsides it's ok apparently.
Saw the MF in the Lego shop, impressive.
Good to hear! Yes the MF is a great kit, we’re loving building it together.Saw the MF in the Lego shop, impressive.
And of course the broken foot will be told and re-told every Christmas from now on.
Continued with the sink mark filler flatting, this time the lower wings:
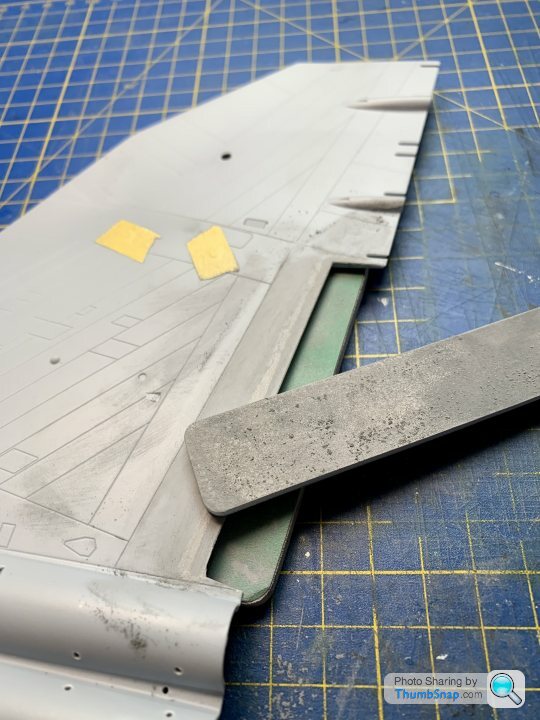
And filling and re-scribing the air brakes:
One side looks like it’ll be ok, the other lines are a bit flaky.
Then more work on the nose pod; cleaned up the mating faces:
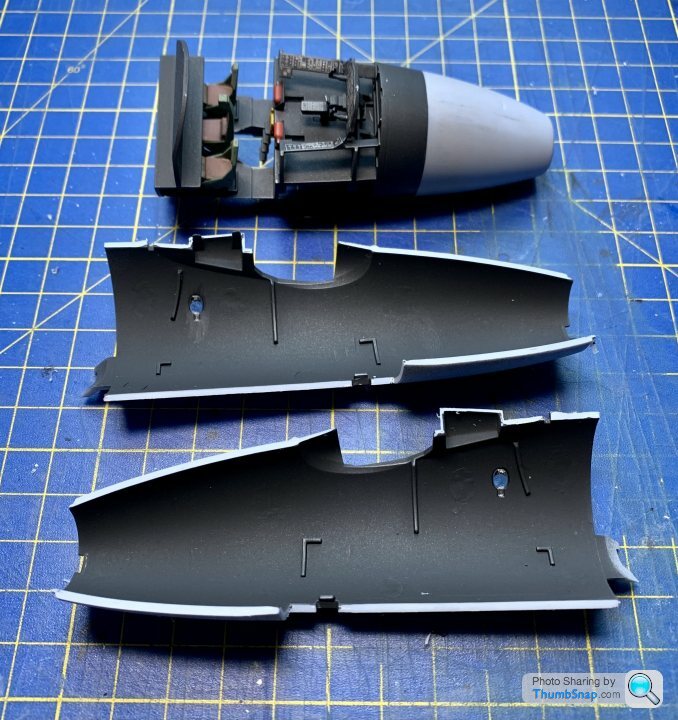
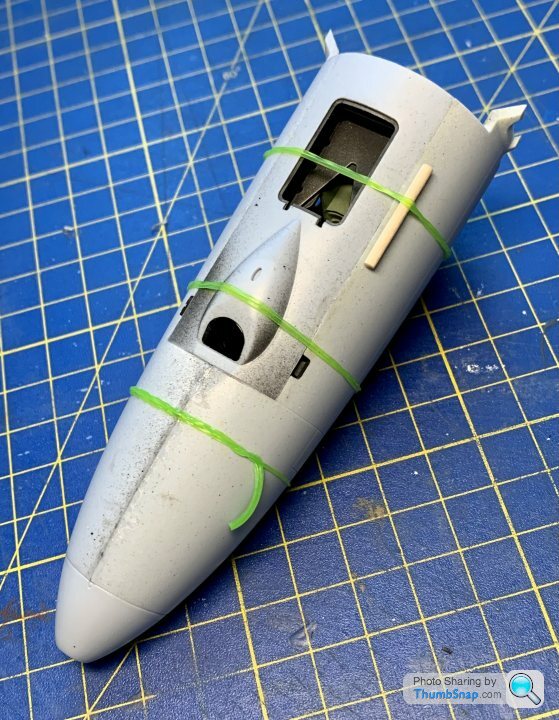
And used some old loom bands to hold the halves in place:

Then the bomb-aiming blister and hatch section:
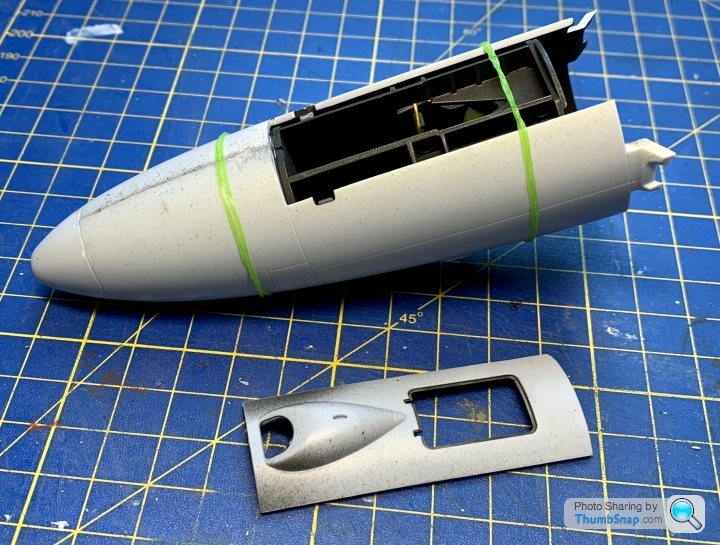
More loom bands to hold it together. Fit wasn’t bad, but will probably still need filling and re-scribing:
And filling and re-scribing the air brakes:
One side looks like it’ll be ok, the other lines are a bit flaky.
Then more work on the nose pod; cleaned up the mating faces:
And used some old loom bands to hold the halves in place:
Then the bomb-aiming blister and hatch section:
More loom bands to hold it together. Fit wasn’t bad, but will probably still need filling and re-scribing:
Regbuser said:
Fascinating build so far 
Given this kit is apparently a recent release on new tooling, how do you rate the overall extrusion quality?
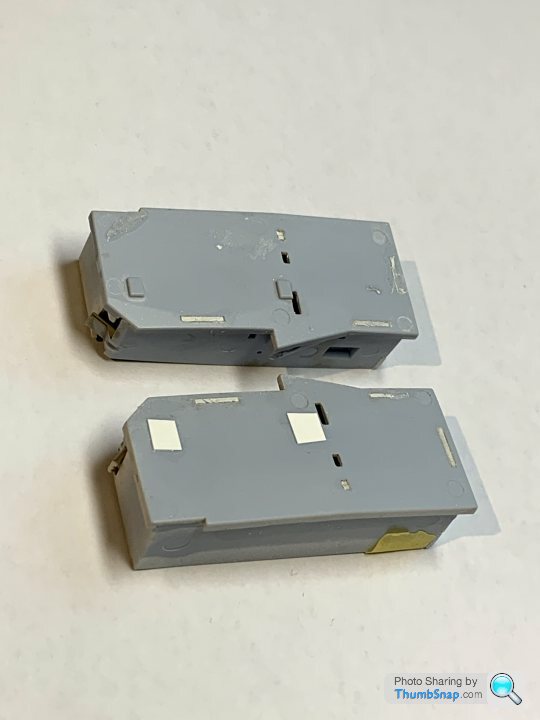
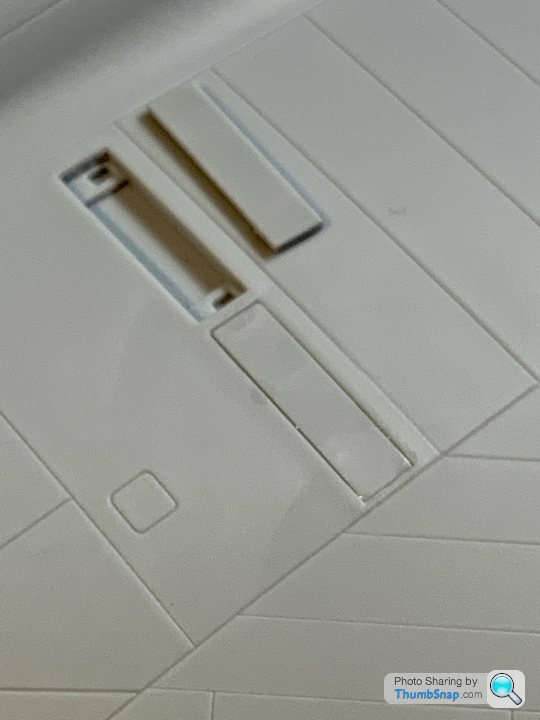
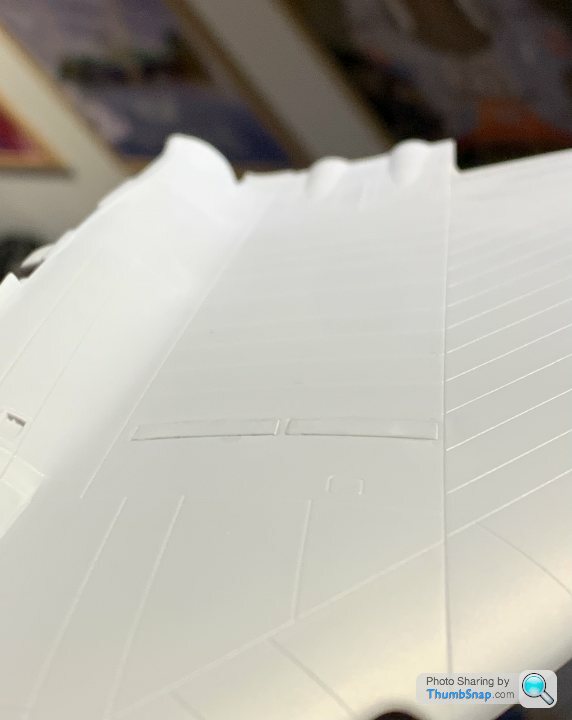
It’s not as good as the latest Tamiya releases; the details seem ‘soft’ in a lot of the smaller parts, and the surface details are far less refined in my opinion. It’s pretty much the latest release from Airfix (I’m eagerly awaiting the new announcements on 10th of January, because another part of the Airfix Trophy was £100 of vouchers). The kit is OK on the whole, but there are still quality control issues that seem to have plagued Airfix new-tool kits for years. For example, the windscreen fault, the sink marks that are present in many places on the huge wing parts, and little things like the open holes on one wheel bay roof, blind in the other, despite them being mirror images, and this random rectangular feature on one of the exhausts:Given this kit is apparently a recent release on new tooling, how do you rate the overall extrusion quality?
It’s not pointed out in the instructions, so I assume it’s an error in the mould, but then again…why?…how? It’s things like that that to me indicate some kind of production - or quality checking problem. Let’s not forget this kit retails at over £65 from Airfix.
Can’t complain though - it will look good when finished, and it was a very much appreciated prize.
Mark V GTD said:
That’s true - I believe it all hard edged stuff too and included the surfaces which must have been a complete belly ache. We normally order about 22 to 25 litres for a Spit. Vulcan must have needed about 50 gallons!
Yes, the camo is hard masked, which is probably easier then feathering at this scale. The intakes will be tricky to mask - they are white inside, but with their outer edges in camo. It's fine though - a challenge to get right, but it should add up to an interesting looking model.
I think the main issue will be handling the model while painting it, and not damaging existing finished surfaces.
Mark V GTD said:
Sorry there was a typo in my earlier post. I meant to say ‘lower surfaces’. That must be have been a huge task to apply back then. I guess at 1:72 scale you modelling chaps just flip it over and crack on! :-)
The undersides of this one are plain white - I think the wrap-around scheme was the last version to be used.Gassing Station | Scale Models | Top of Page | What's New | My Stuff