Airfix 1:72 Vulcan B.2
Discussion


I’m keen to get this thing off the bench, so tried to get the halves together.
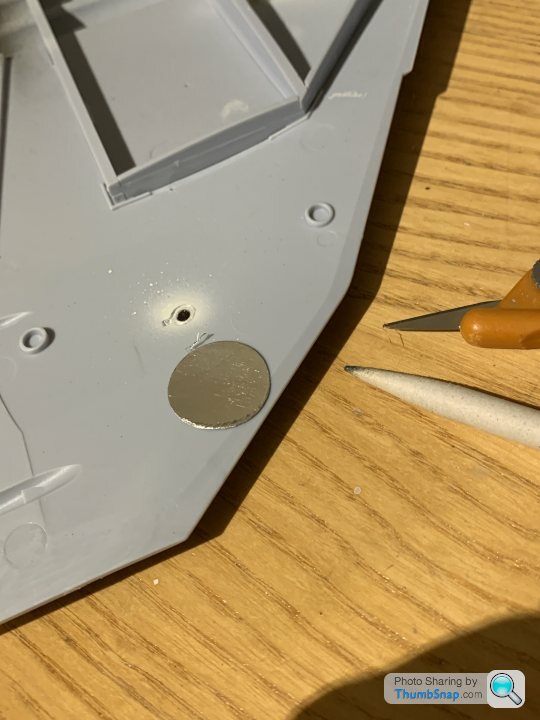
Started by fitting the lower wing landing lights. Even they don’t fit, so I had to open up their pre-painted apertures:
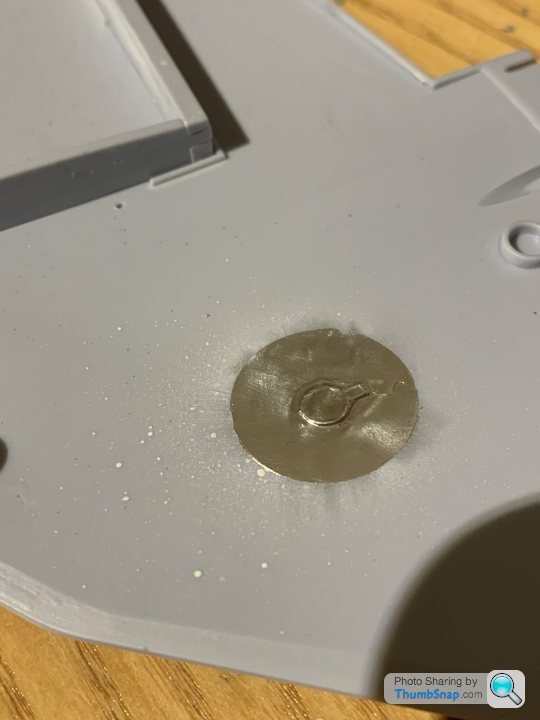
Then re-painted the apertures, and PVAd them in place:
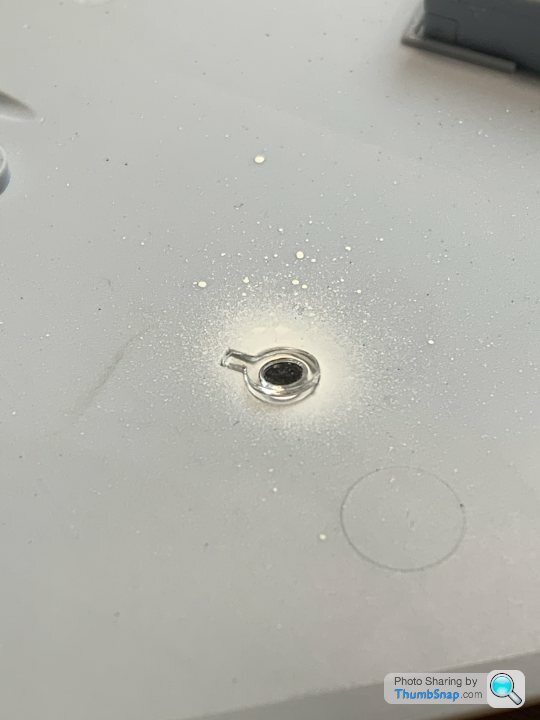
I cut some bare metal foil out, and applied to their backs to represent reflectors:
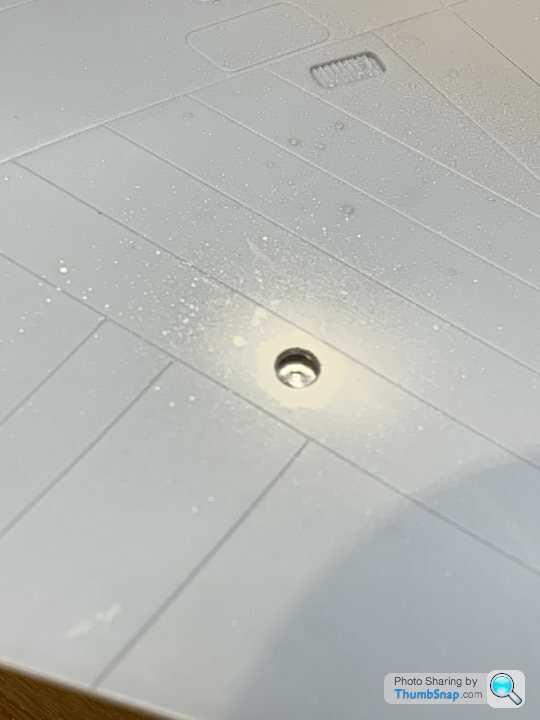
They look ok now:
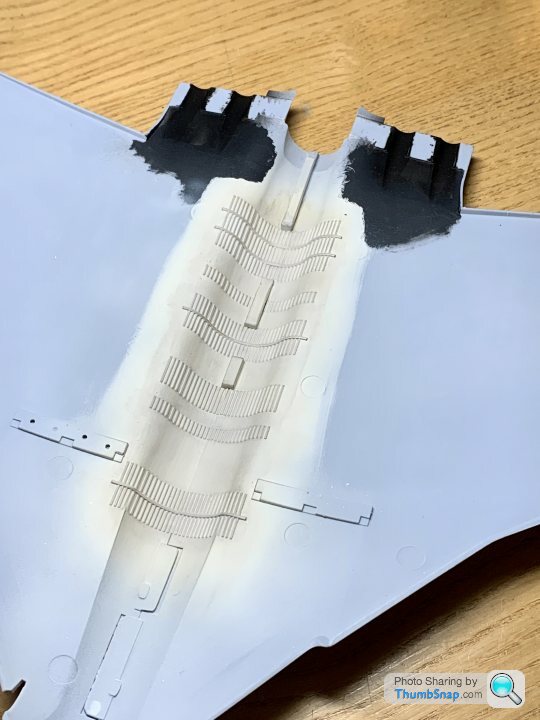
Then finished weathering the re-built bomb-bay:
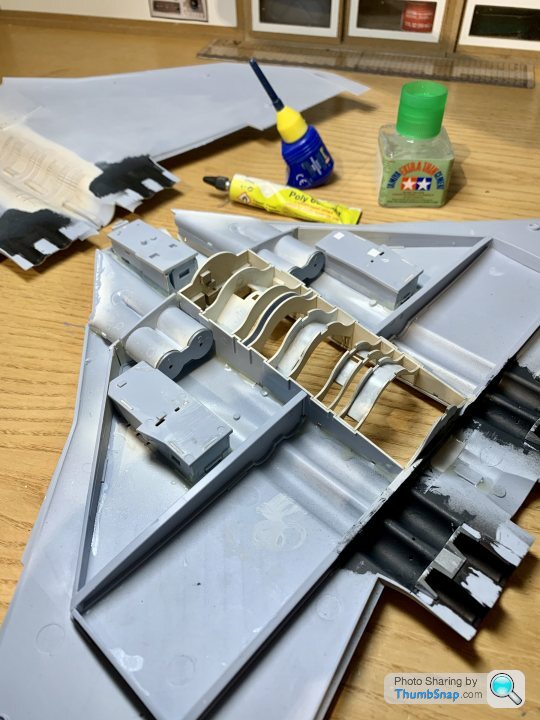
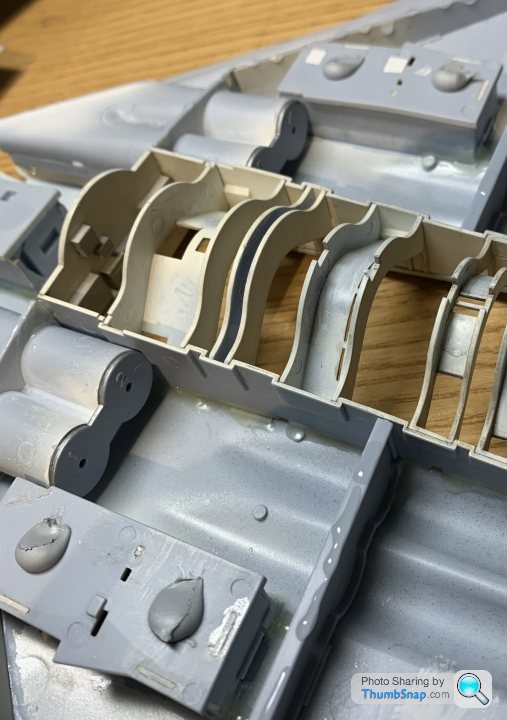
Applied tube glue to the spar structure, and Tamiya filler on top of the wheel wells:
Clamped together:
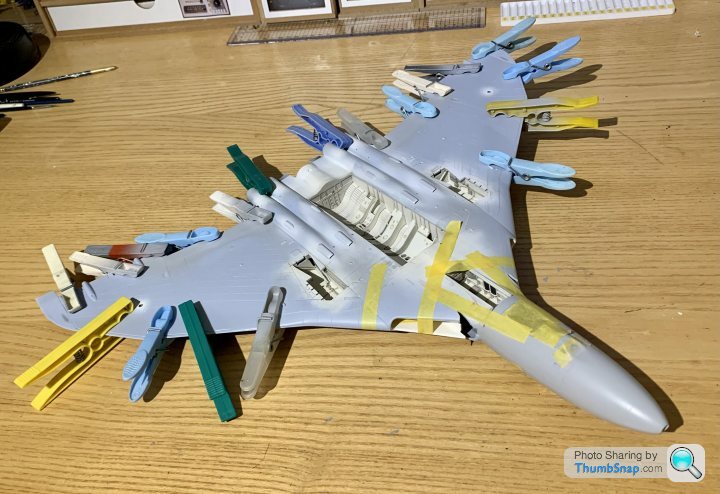
I can immediately see fit issues, with what seems to be a mis-match in fuselage half length top to bottom, and maybe even a side-to-side length error between the lower halves:
You may well say that I’ve assembled something slightly wrong, which could be the case I suppose, but a well engineered kit wouldn’t allow assembly errors of this magnitude in the first place. It’s like the front wheel bay - no positive location at all, it slides about all over the place, and you have to make a judgement call as to where to fix it.
Started by fitting the lower wing landing lights. Even they don’t fit, so I had to open up their pre-painted apertures:
Then re-painted the apertures, and PVAd them in place:
I cut some bare metal foil out, and applied to their backs to represent reflectors:
They look ok now:
Then finished weathering the re-built bomb-bay:
Applied tube glue to the spar structure, and Tamiya filler on top of the wheel wells:
Clamped together:
I can immediately see fit issues, with what seems to be a mis-match in fuselage half length top to bottom, and maybe even a side-to-side length error between the lower halves:
You may well say that I’ve assembled something slightly wrong, which could be the case I suppose, but a well engineered kit wouldn’t allow assembly errors of this magnitude in the first place. It’s like the front wheel bay - no positive location at all, it slides about all over the place, and you have to make a judgement call as to where to fix it.
davettf2 said:
Admiring the tenacity to carry on. I very much suspect that in a similar situation I would have parked this somewhere in the to be finished one day maybe never box!
Following this with interest, but it has put me off buying Airfix kits though.
Cheers
Dave
Thing is, it shouldn’t put you off - modelling is about fitting things together, fettling them until you’re happy and painting them. It’s just that for me, with this new kit there should be significantly less fettling required, and it gets tedious to keep applying filler, waiting for it to set, flatting it, re-scribing panel lines, then repeating it when you find you’ve missed a bit.Following this with interest, but it has put me off buying Airfix kits though.
Cheers
Dave
End of the day, if you want one, this is probably still the best 1:72 Vulcan kit out there, so Airfix should be congratulated for that. This one has been an effort though.
A very fair point, and in reality I should try harder to stay with it and to be honest there are very few in the 'to finish later' box. Trouble is I occasionally get impatient to finish and move on. Although this is generally confined to modelling. When playing with the real thing (I'm into bikes) I seem to be more relaxed. However, this coming winter I have A Tamiya Ducati with some detail parts to do, and will see how it goes.
Cheers
Dave
Cheers
Dave
Regbuser said:
Oh dr_gn,
Are we ever going to see a finished Vulcan??
Not sure. I’m slow enough when I’m building a decent kit, never mind one that needs this amount of corrective work. It’s absolutely riddled with sink marks, all of which need filling, flatting (to the extent I’ve run out of sanding sticks), and re-scribing. It’s a pretty miserable experience. I started the Bloodhound missile as a diversion, but I’m stuck on finding some photo-etched mesh for the Land Rover grille. I can’t be bothered with plastic modelling at the moment.Are we ever going to see a finished Vulcan??
Regbuser said:
It's a shame that the kit is so poor 
Perhaps, and we used to do as kids, it's time for it to be stuffed with lighter fluid soaked tissue and launched aflame !
The only other kit I've given up on and never tried again with was an Airfix Spitfire Mk1 (might have been the 2010 release); I took one look at the panel lines and binned it. That was before I'd started it though. With the Vulcan, I've already put quite a bit of effort into painting the cockpit, fettling the bomb bay and the undercarriage, and of course getting the main airframe structure to this stage. I don't like throwing away hours of precious spare time so I suppose I'll carry on and complete it at some stage. It'll look good when it's finished I think, but the kind of work it's needing isn't my idea of fun.Perhaps, and we used to do as kids, it's time for it to be stuffed with lighter fluid soaked tissue and launched aflame !
pingu393 said:
dr_gn What do you do with your completed models? Is there a display room? Any photos?
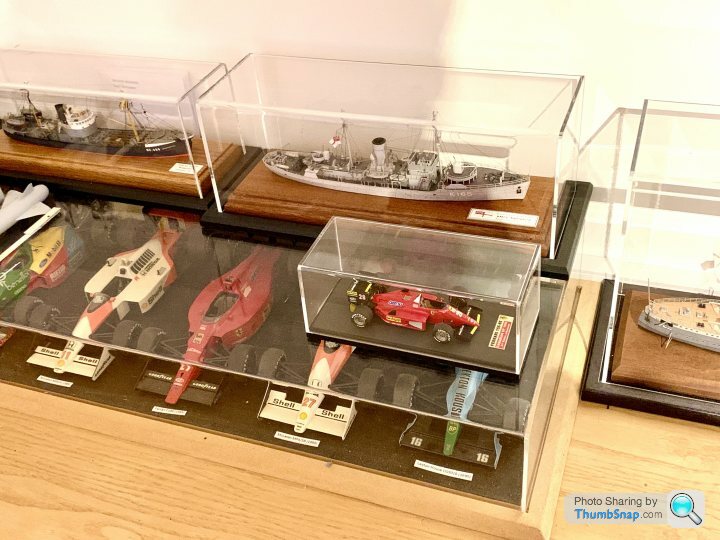
I’ve got some custom made cases for the F1 cars, paper ships and the larger aircraft, and the 1:72 aircraft are mostly in small cases I get from Amazon. They’re all dotted around my office: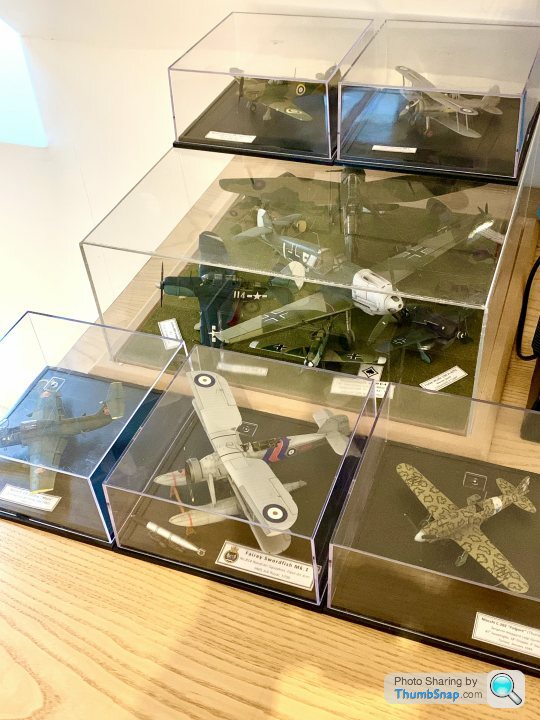

The 1:72 Lancaster is in the loft in a plastic cake box, the Vulcan will probably end up in there too.
dr_gn said:
pingu393 said:
dr_gn What do you do with your completed models? Is there a display room? Any photos?
I’ve got some custom made cases for the F1 cars, paper ships and the larger aircraft, and the 1:72 aircraft are mostly in small cases I get from Amazon. They’re all dotted around my office:The 1:72 Lancaster is in the loft in a plastic cake box, the Vulcan will probably end up in there too.

Where do you source your display boxes? What is the story of the paint scheme on the Mosquito?
Edited by pingu393 on Wednesday 16th March 19:53
If you do a search for “Trumpeter display cases” these should come up (they do different sizes):
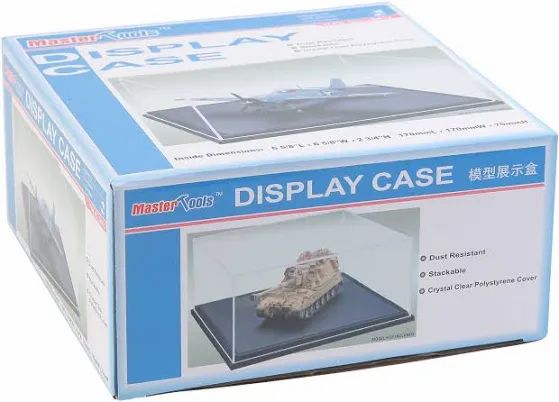
They’re not amazing quality, but they keep the dust off and give some protection. I’ve got them off Amazon or EBay in the past.
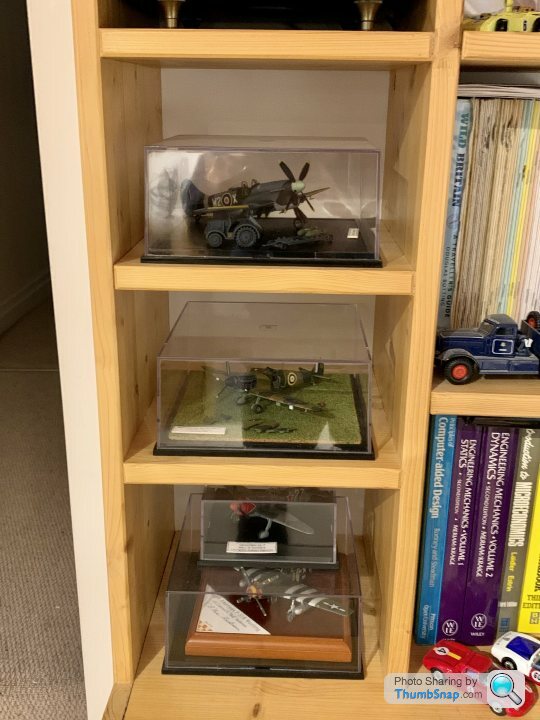
The Mosquito was finished to represent its wood, aluminium and fabric airframe construction:
https://www.pistonheads.com/gassing/topic.asp?h=0&...
They’re not amazing quality, but they keep the dust off and give some protection. I’ve got them off Amazon or EBay in the past.
The Mosquito was finished to represent its wood, aluminium and fabric airframe construction:
https://www.pistonheads.com/gassing/topic.asp?h=0&...
dr_gn said:
The Mosquito was finished to represent its wood, aluminium and fabric airframe construction:
https://www.pistonheads.com/gassing/topic.asp?h=0&...
My God, that was almost 7 years ago - it feels like it was only yesterday. https://www.pistonheads.com/gassing/topic.asp?h=0&...
CanAm said:
dr_gn said:
The Mosquito was finished to represent its wood, aluminium and fabric airframe construction:
https://www.pistonheads.com/gassing/topic.asp?h=0&...
My God, that was almost 7 years ago - it feels like it was only yesterday. https://www.pistonheads.com/gassing/topic.asp?h=0&...

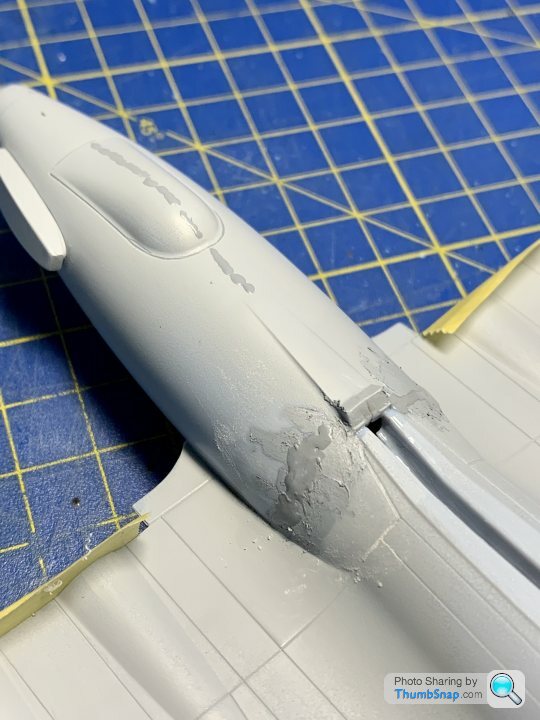
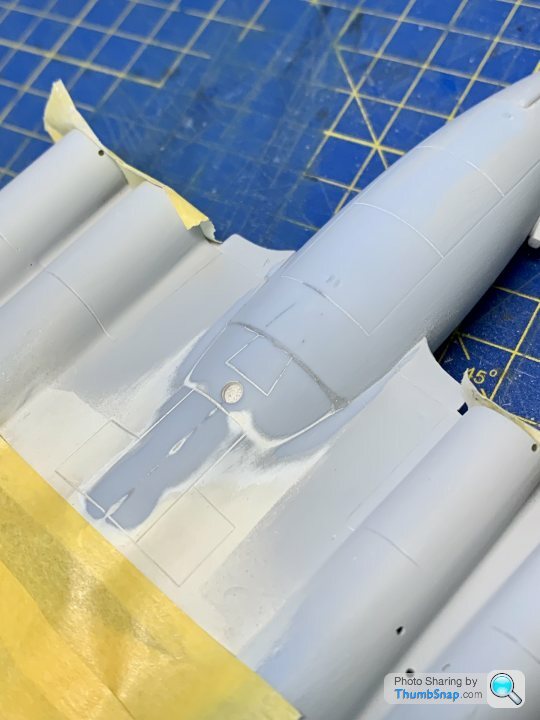
Shamed into action by Regbuser, I continued correcting the sink marks, this time around the intake splitters:

And the fin:
Flatted back and panel lines reinstated:
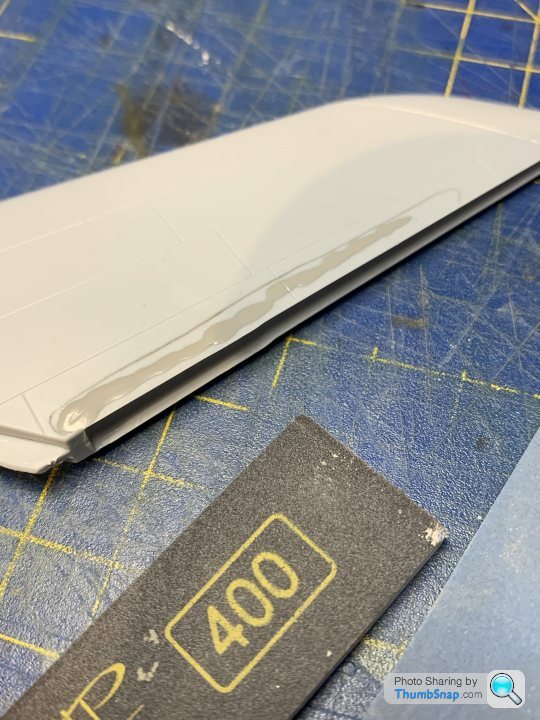
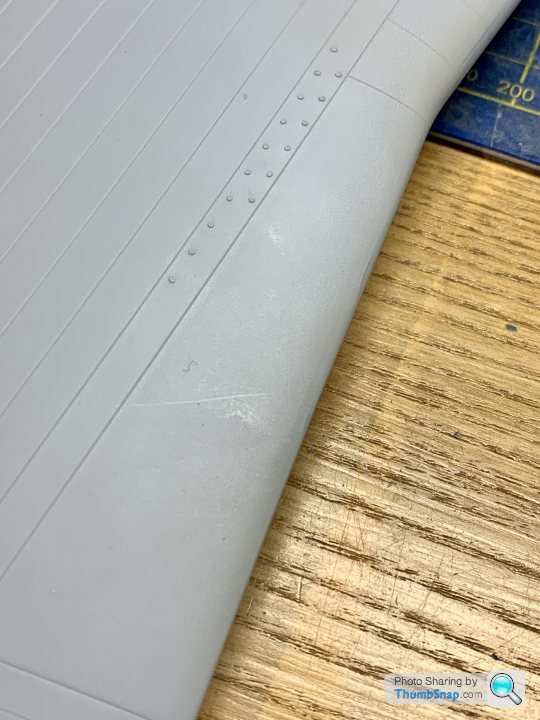
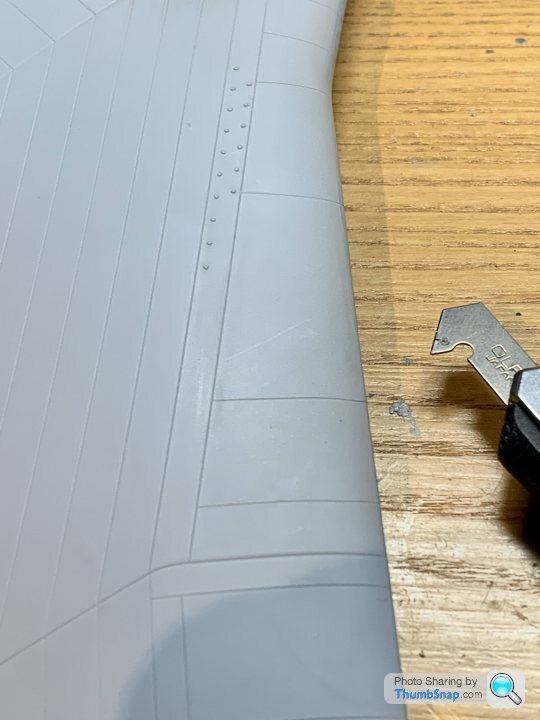
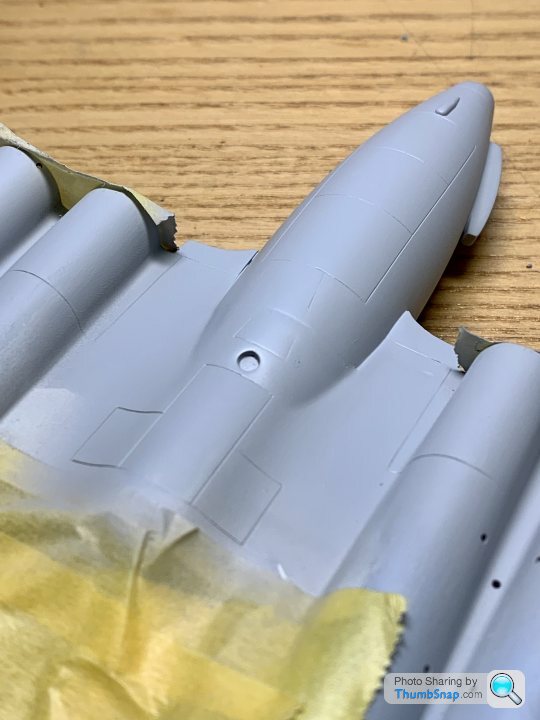
Same with the wingtip underside fit corrections:
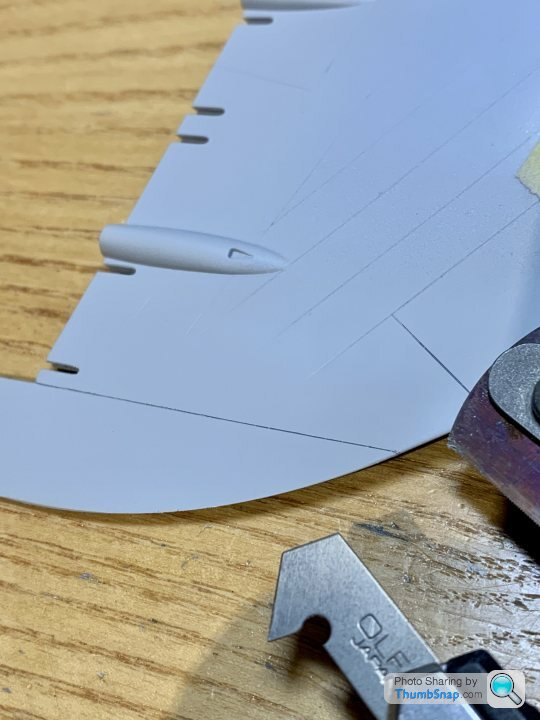
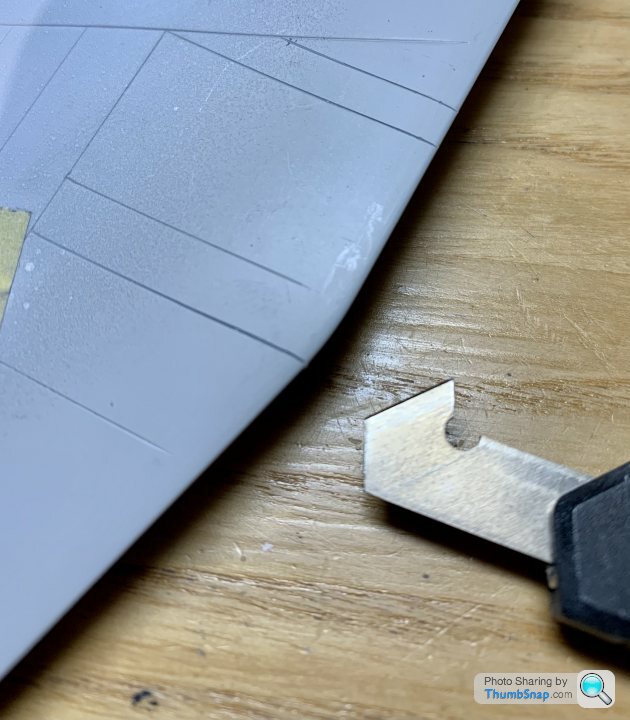
Those lines (circled here)…
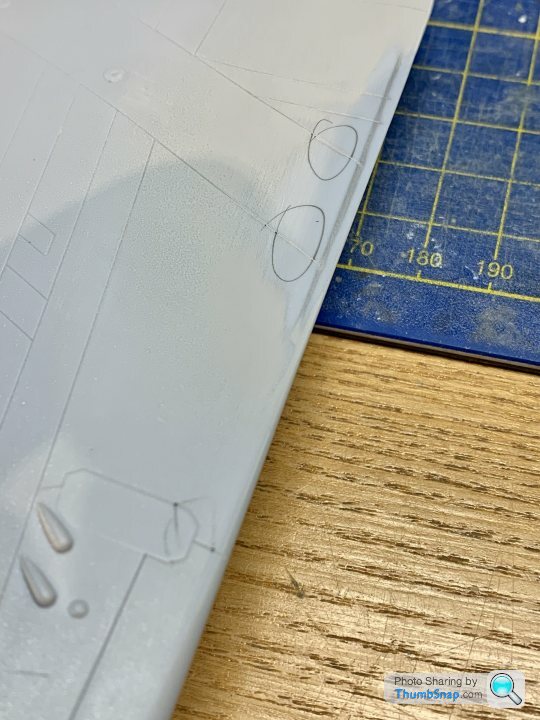
…end at the wing joint (which disappears after filling and flatting), never to reappear on the upper wings:
So with reference to some scale drawings and photographs, I added them myself:
I think perhaps some are missing or misplaced, but whatever.
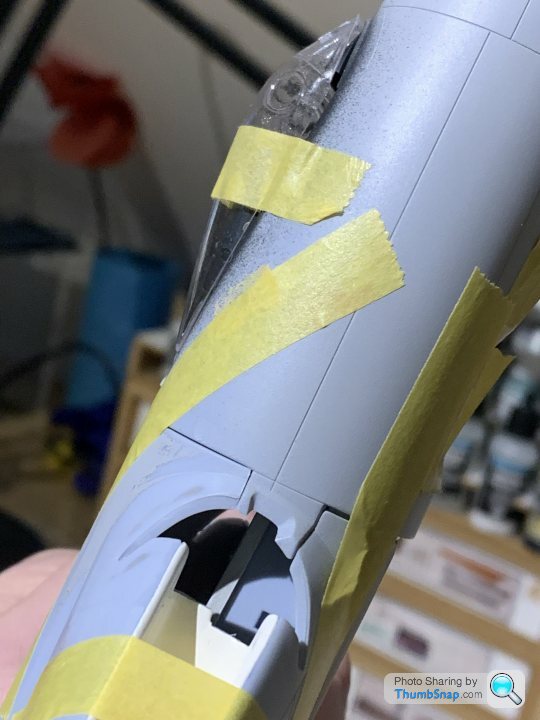
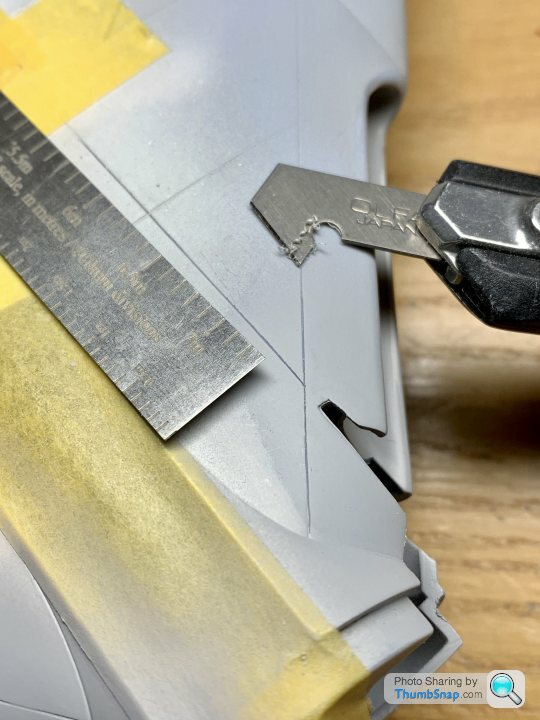
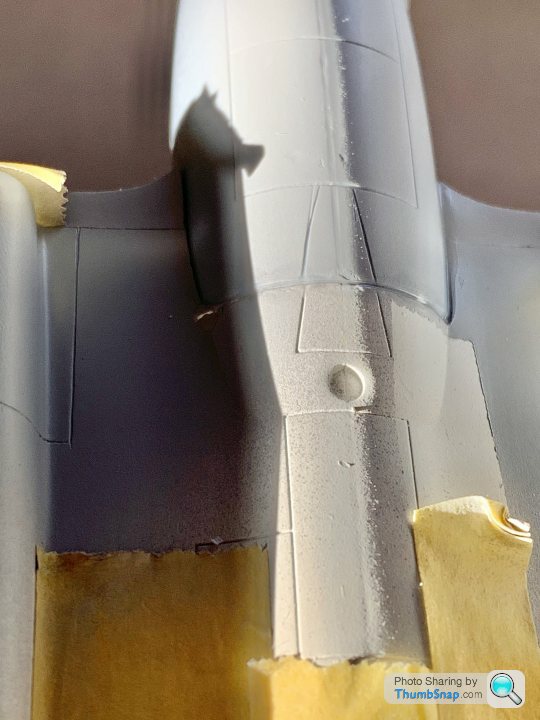
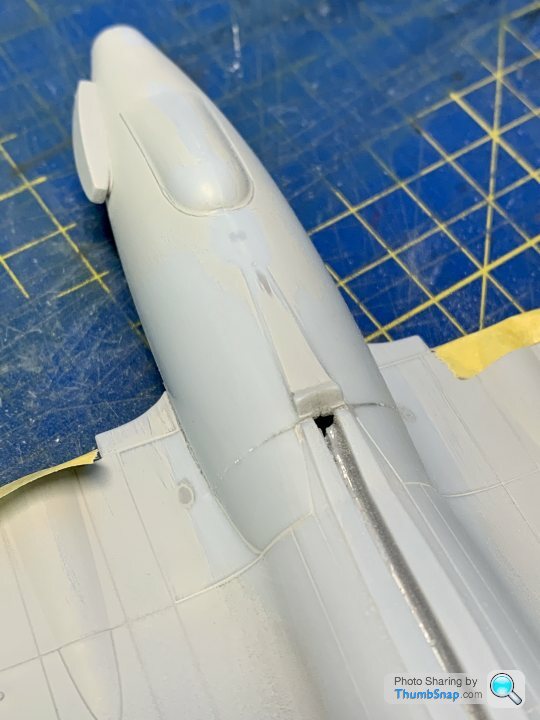
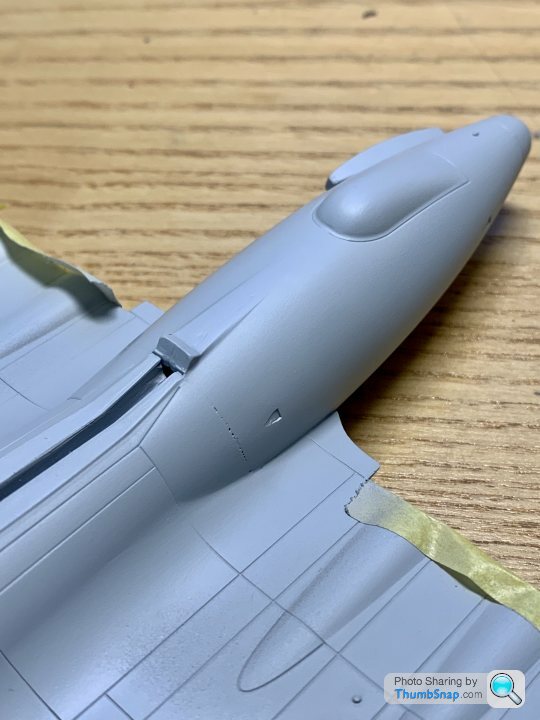
Then the tail cone. Even though I should really have continued with fettling the main airframe, I wanted to progress with assembly, just for the sake of it:
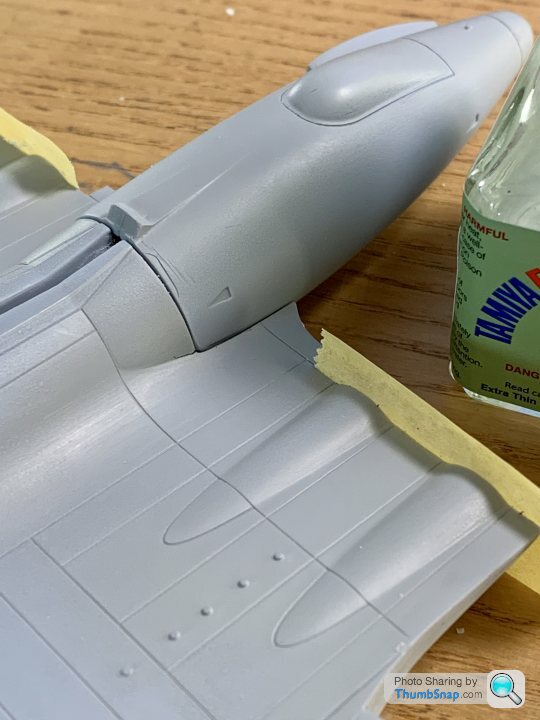
Significant step on the upper joint (probably a result of the distorted upper fuselage halves) which will be a monumental pain in the arse to correct:
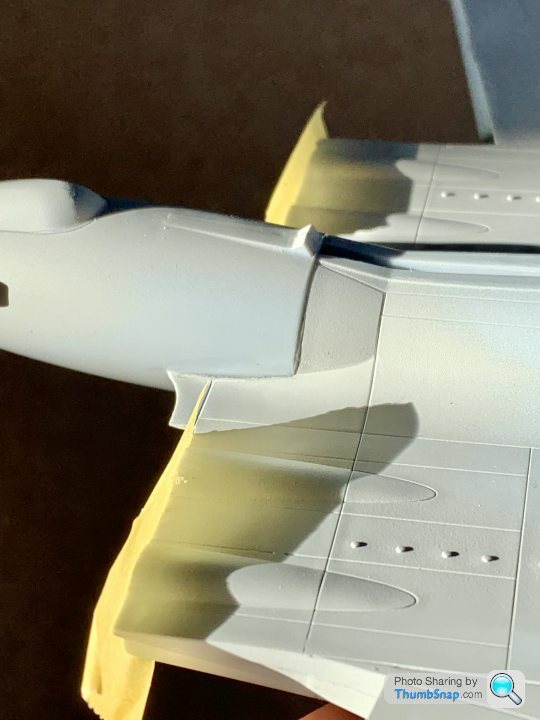
And the underside, with a mis-matched panel line and gap, both of which need correcting. Deep joy.
And the fin:
Flatted back and panel lines reinstated:
Same with the wingtip underside fit corrections:
Those lines (circled here)…
…end at the wing joint (which disappears after filling and flatting), never to reappear on the upper wings:
So with reference to some scale drawings and photographs, I added them myself:
I think perhaps some are missing or misplaced, but whatever.
Then the tail cone. Even though I should really have continued with fettling the main airframe, I wanted to progress with assembly, just for the sake of it:
Significant step on the upper joint (probably a result of the distorted upper fuselage halves) which will be a monumental pain in the arse to correct:
And the underside, with a mis-matched panel line and gap, both of which need correcting. Deep joy.
Gassing Station | Scale Models | Top of Page | What's New | My Stuff