Yokomo YZ-2 CAL3.1 Build
Discussion


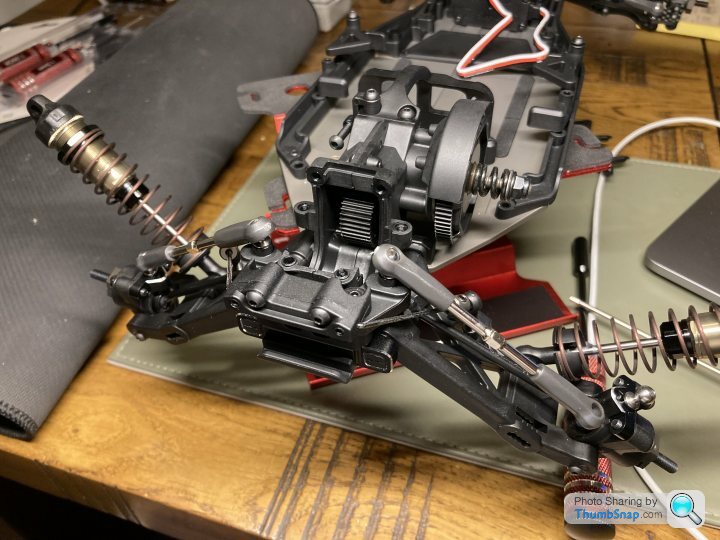
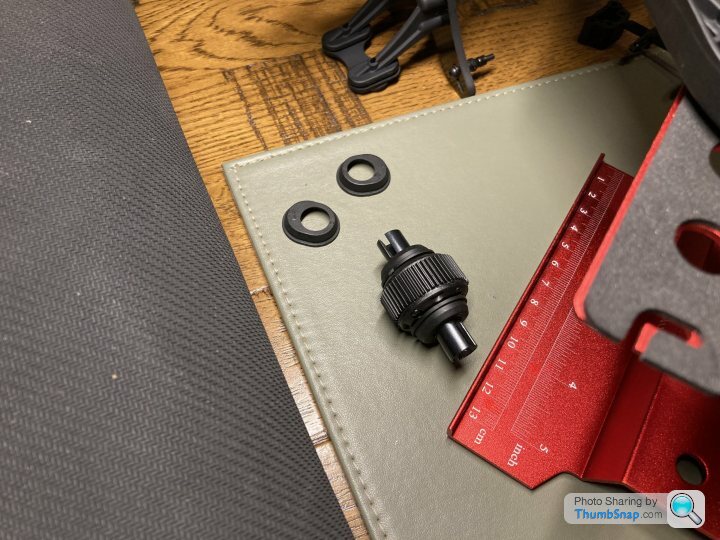
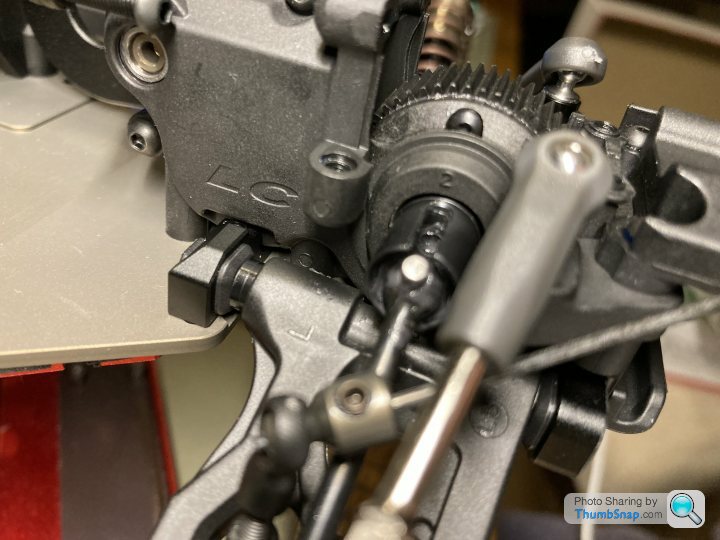
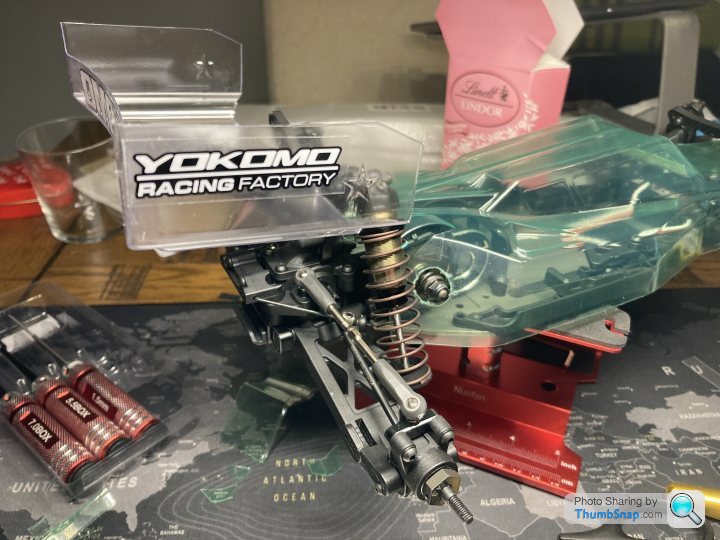
Watching Hearns on YT building a YOKOMO RO 1.0 (already thinking about my next buggy build  ) I noticed i’d put the ‘wrong’ diff cam insert in. I had it on the highest setting which is apparently for lower grip surfaces (anti-squat possibly?) so i whipped the diff case off and dropped it to a more neutral position which saw the driveshafts move down slightly, moved from the +3 setting to +2
Looking at wheels, settled on jconcepts monos as they’re pretty. Not sure whether to go standard or narrow width on fronts, have popped a message on the COBRA group so again will go with the consensus.
) I noticed i’d put the ‘wrong’ diff cam insert in. I had it on the highest setting which is apparently for lower grip surfaces (anti-squat possibly?) so i whipped the diff case off and dropped it to a more neutral position which saw the driveshafts move down slightly, moved from the +3 setting to +2Looking at wheels, settled on jconcepts monos as they’re pretty. Not sure whether to go standard or narrow width on fronts, have popped a message on the COBRA group so again will go with the consensus.
I'm a Schumacher pre-glued man myself, narrow fronts... mostly because I am lazy!
Grip goes down, diff goes up... but I'm another who thinks getting the car into a window whereby you can drive without crashing is the key.
Basically, if you find you like lots of rear traction... keep it that way and practice with it like that... only when you can bang 10/20 laps in, at your 10/10ths, is it worth then tweaking things.
I was terrible for changing things when I first got my modern buggy and it would rapidly go out the window. A bit like Max in F1, you're not necessarily going to want to use the setup the top guys use. A little softer of shock, a little more rear traction, a little more roll... may not be the fastest way round the track but may be the best setup to 'learn' with.
Build looks great looking forwarding to a race report when you have it rolling.
Agree with Dom9 you can really get lost in setups and advice from every man and his dog. Everybody has a different driving style, the setups only start to really make a difference when you are pushing the buggy to its limits which you wont be for a while.
Its the same with a road car, can you tell much difference between the bog standard hatch and the hot version when pottering to Tesco. (no offence)
Just enjoy it make sure its reliable and spend as much time on track driving it as you can and less in the pits copying what others are doing.
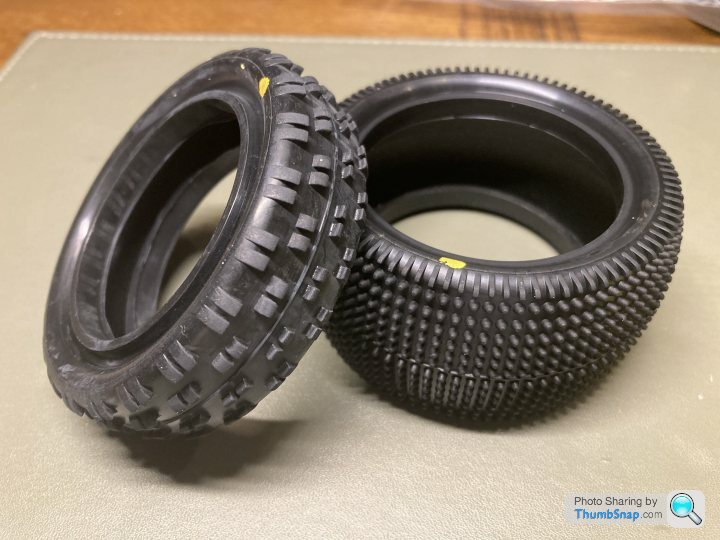
Get the right tyres on and go for it
Agree with Dom9 you can really get lost in setups and advice from every man and his dog. Everybody has a different driving style, the setups only start to really make a difference when you are pushing the buggy to its limits which you wont be for a while.
Its the same with a road car, can you tell much difference between the bog standard hatch and the hot version when pottering to Tesco. (no offence)
Just enjoy it make sure its reliable and spend as much time on track driving it as you can and less in the pits copying what others are doing.
Get the right tyres on and go for it
Cheers for the feedback guys, noted and totally agree! Pointless me doing fine tuning set up before I've even got onto the carpet for the first time.
My thought process here was to get away from the 'extreme' of the cars setup. Also; as the carpet I'll run on is quite grippy there's no need for the high diff setting so what I'd like to aim for is 'middle' with most setting and as you both say work from there. It'll be a while no doubt before the settings even make sense let alone changing them to make me quicker.
My thought process here was to get away from the 'extreme' of the cars setup. Also; as the carpet I'll run on is quite grippy there's no need for the high diff setting so what I'd like to aim for is 'middle' with most setting and as you both say work from there. It'll be a while no doubt before the settings even make sense let alone changing them to make me quicker.
One of the things we tend to use a lot with our RC10 are the setup sheets that came with the kit, if only to create a nice reference of what you have tried as a setup.
Also there are great guides out there from other racers that allows you to use their setup as a reference point to start with adjustments.
I’m sure you have found this site:
https://www.sodialed.com/race-type/1-10-off-road
Also there are great guides out there from other racers that allows you to use their setup as a reference point to start with adjustments.
I’m sure you have found this site:
https://www.sodialed.com/race-type/1-10-off-road
That's a good resource recommendation bud cheers. I've actually already got pill calculator (no idea how to use it obvs) but didn't realise it was part of a wider site, cheers.
Ordered a reamer (resisted the urge to spend £25 on a Yokomo one ) and some tyre glue for Sunday. I'm itching to get going again with the build.
Ordered a reamer (resisted the urge to spend £25 on a Yokomo one
) and some tyre glue for Sunday. I'm itching to get going again with the build. squareflops said:
That's a good resource recommendation bud cheers. I've actually already got pill calculator (no idea how to use it obvs) but didn't realise it was part of a wider site, cheers.
Ordered a reamer (resisted the urge to spend £25 on a Yokomo one) and some tyre glue for Sunday. I'm itching to get going again with the build.
You are welcome, there are some great resources on that site for a wide range on manufacturers RC Cars.Ordered a reamer (resisted the urge to spend £25 on a Yokomo one
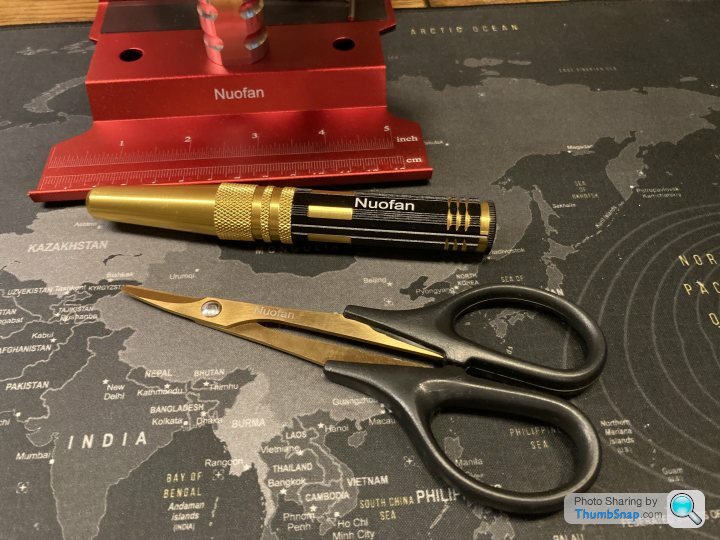
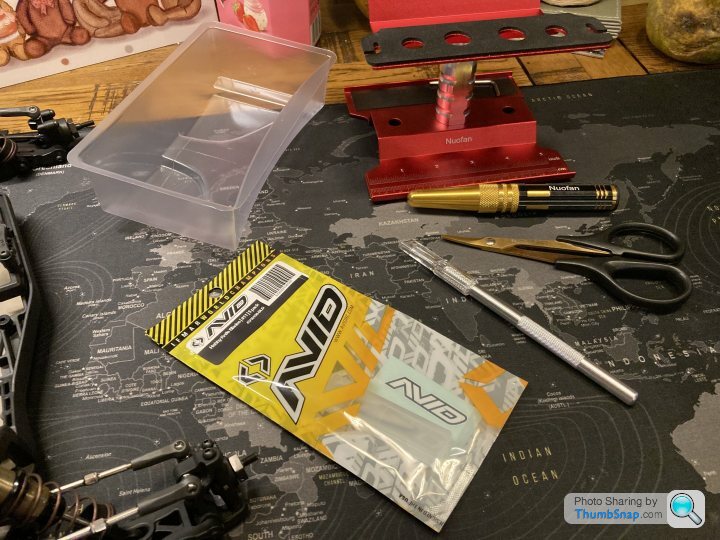
) and some tyre glue for Sunday. I'm itching to get going again with the build. A body reamer, as well as a good set of curved lexan body scissors is such a worthwhile investment, you will wonder how you managed before.
Also if you don’t have one, a turnbuckle tool like this is so useful for making adjustments when tweaking setups.
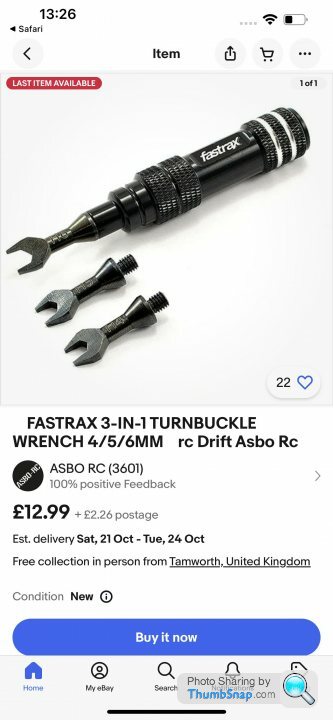
More stuff to buy Nigel! I've got a little wrench that came with the kit but that would be better, no doubt I'll end up getting one of those. I'm amassing tools so I picked up a ProTek TruTorque tool bag, will be here next week.
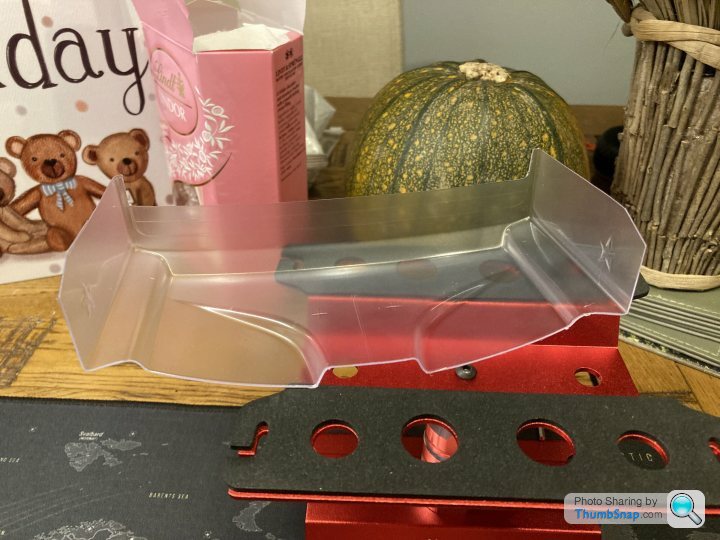
I received my reamer and scissors so thought I'd make a start on the wing and body. Not a fan of the black and gold colour scheme but - eh it doesn't really matter does it.
Wing and body went fine, never done it before but watching a few YT vids and getting some basic good hints/tips for doing it saw it go quite smoothly with no disastrous 'cutting into the body' moments. I scribed around the lines, cut up to the line with scissors and worked the lexan back and forth until it snapped off cleanly on the scribed line, quite simple
Before I post the pics I apologise for the general chaotic state of the picture backgrounds, I don't seem to have a 'neutral space' for the pictures, is what is!

I found talking small slivers off the body where a compound curve was helped keep the scribed line and allowed the extraneous lexan to be removed without risking too much stress to the shell itself
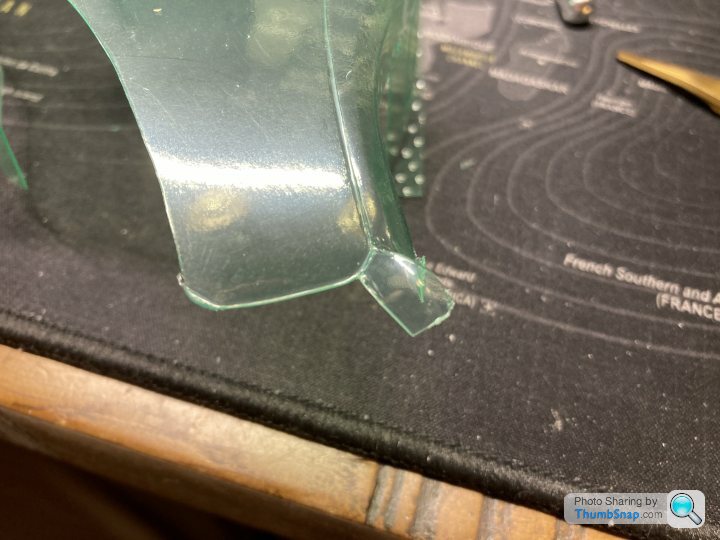
I took a little off the back of the rear wing as all that drag isn't really necessary plus it looks better to my eyes. I won't be painting the wing so applied a few decals roughly centred and level. Reamed the body out for the slipper, not perfect and can see it being a potch when taking the body on and off, I'll probably open that hole up in time as the body will rub on the nyloc nut for sure.
I received my reamer and scissors so thought I'd make a start on the wing and body. Not a fan of the black and gold colour scheme but - eh it doesn't really matter does it.
Wing and body went fine, never done it before but watching a few YT vids and getting some basic good hints/tips for doing it saw it go quite smoothly with no disastrous 'cutting into the body' moments. I scribed around the lines, cut up to the line with scissors and worked the lexan back and forth until it snapped off cleanly on the scribed line, quite simple
Before I post the pics I apologise for the general chaotic state of the picture backgrounds, I don't seem to have a 'neutral space' for the pictures, is what is!
I found talking small slivers off the body where a compound curve was helped keep the scribed line and allowed the extraneous lexan to be removed without risking too much stress to the shell itself
I took a little off the back of the rear wing as all that drag isn't really necessary plus it looks better to my eyes. I won't be painting the wing so applied a few decals roughly centred and level. Reamed the body out for the slipper, not perfect and can see it being a potch when taking the body on and off, I'll probably open that hole up in time as the body will rub on the nyloc nut for sure.
Cheers bud. Yea I was thinking that, it'll rip itself to pieces I think when its out there being slammed into various things..
Well I'll have the shiny things on Sunday so that maybe motivate!
Im currently having a melt down over the colour scheme. Stick with me here. My chassis protector from SEMCS was going to be yellow and pink. Unfortunately the supplier of said protectors has gone bust and SEMCS only have grey/blue left. Now my colour scheme was/is going to be purple/pink/yellow white (PS1, PS10, PS27, PS29) but the blue underneath has thrown me off. Now I think I need to incorporate blue in to the shell but that's too many colours.
Also; I don't know whether to free hand blow the colours in so they fade into one another or mask up and have clearly defined sections. But if I mask I know the lines will end up being wonky as the shell isn't 'straight'. I'm not sure what to do. I'm leaning toward blowing in free hand but it feels like I could bin the shell because a) I'm not artistic at all and b) I really just don't know how to achieve what I have in my minds eye. Being a little OCD and s t at something at the same time isn't ideal
I'll figure it out..
Well I'll have the shiny things on Sunday so that maybe motivate!
Im currently having a melt down over the colour scheme. Stick with me here. My chassis protector from SEMCS was going to be yellow and pink. Unfortunately the supplier of said protectors has gone bust and SEMCS only have grey/blue left. Now my colour scheme was/is going to be purple/pink/yellow white (PS1, PS10, PS27, PS29) but the blue underneath has thrown me off. Now I think I need to incorporate blue in to the shell but that's too many colours.
Also; I don't know whether to free hand blow the colours in so they fade into one another or mask up and have clearly defined sections. But if I mask I know the lines will end up being wonky as the shell isn't 'straight'. I'm not sure what to do. I'm leaning toward blowing in free hand but it feels like I could bin the shell because a) I'm not artistic at all and b) I really just don't know how to achieve what I have in my minds eye. Being a little OCD and s
t at something at the same time isn't ideal I'll figure it out..

squareflops said:
Cheers bud. Yea I was thinking that, it'll rip itself to pieces I think when its out there being slammed into various things..
Well I'll have the shiny things on Sunday so that maybe motivate!
Im currently having a melt down over the colour scheme. Stick with me here. My chassis protector from SEMCS was going to be yellow and pink. Unfortunately the supplier of said protectors has gone bust and SEMCS only have grey/blue left. Now my colour scheme was/is going to be purple/pink/yellow white (PS1, PS10, PS27, PS29) but the blue underneath has thrown me off. Now I think I need to incorporate blue in to the shell but that's too many colours.
Also; I don't know whether to free hand blow the colours in so they fade into one another or mask up and have clearly defined sections. But if I mask I know the lines will end up being wonky as the shell isn't 'straight'. I'm not sure what to do. I'm leaning toward blowing in free hand but it feels like I could bin the shell because a) I'm not artistic at all and b) I really just don't know how to achieve what I have in my minds eye. Being a little OCD and st at something at the same time isn't ideal
I'll figure it out..
I wouldn’t worry about the chassis protection plate colours, although if you at like me and it ends up on its roof more than it does on its wheels, so it might be seen a lot!Well I'll have the shiny things on Sunday so that maybe motivate!
Im currently having a melt down over the colour scheme. Stick with me here. My chassis protector from SEMCS was going to be yellow and pink. Unfortunately the supplier of said protectors has gone bust and SEMCS only have grey/blue left. Now my colour scheme was/is going to be purple/pink/yellow white (PS1, PS10, PS27, PS29) but the blue underneath has thrown me off. Now I think I need to incorporate blue in to the shell but that's too many colours.
Also; I don't know whether to free hand blow the colours in so they fade into one another or mask up and have clearly defined sections. But if I mask I know the lines will end up being wonky as the shell isn't 'straight'. I'm not sure what to do. I'm leaning toward blowing in free hand but it feels like I could bin the shell because a) I'm not artistic at all and b) I really just don't know how to achieve what I have in my minds eye. Being a little OCD and s
t at something at the same time isn't ideal I'll figure it out..
When it comes to body colour paint, I always make mine as bright as possible so I can see it and it’s stands out.
Also don’t forget if the painting is not perfect when you are up close to it, it can look fine from a distance.
Paint it a nice bright neon colour!
dino_jr said:
Or if you remember the colours of the cars at the last meet, paint yours deliberately others.
An excellent strategy, but that has worked against me in a few race’s many many years ago when our touring car bodies cars were all painted the same in manufacturer sponsor colour schemes and I actually thought the car I was watching as we raced was mine until it didn’t turn at a corner and my actual car was three places back and I ran it into the track barrier! DOH! Good info re the paints, this will definitely stand outI think, not many others will have pink/purple!
I'm proper gutted about the custom chassis protector not being available anymore. I've had to think of a way to inc' blue into the body to match the underside and my solution is to smoke the windows blue rather than black. It might work..
I was going to do yellow wheels on one side and white on the other also but I need to draw the line somewhere
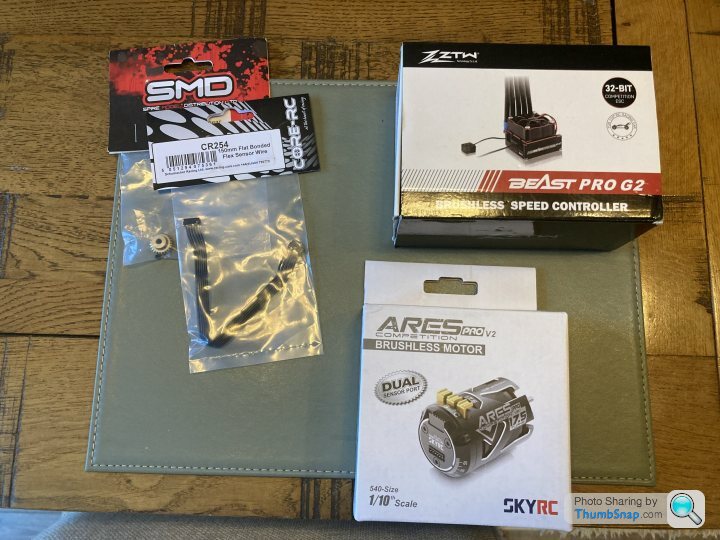
Ooff.. went down to the racing venue this morning to pick up the rest of my stuff. A princely sum was removed via debit card and I walked out with a box of shiny things. I was there for about an hour and had some great chats with some racers down there and actually really enjoyed watching the racing.
Not much more to report on that, pics then


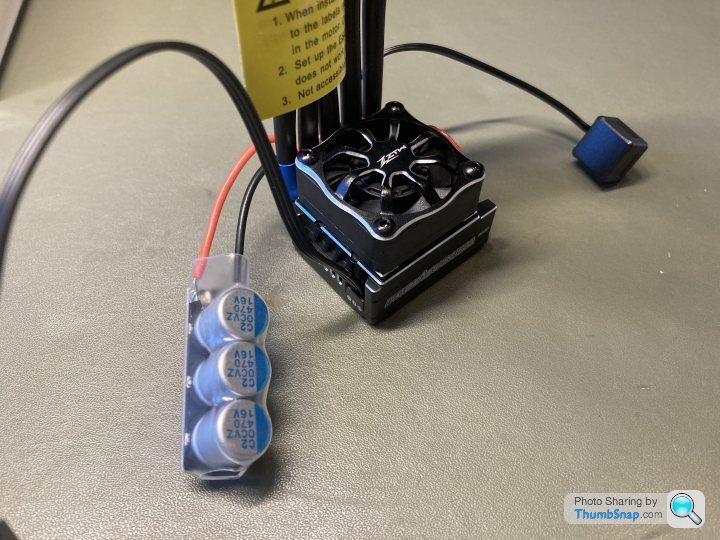
I’ve pulled the BS6 receiver out of my crawler for now, i’ll buy another or maybe not if I decide to go FS Noble NB4 as the receivers aren’t compatible, obvs..
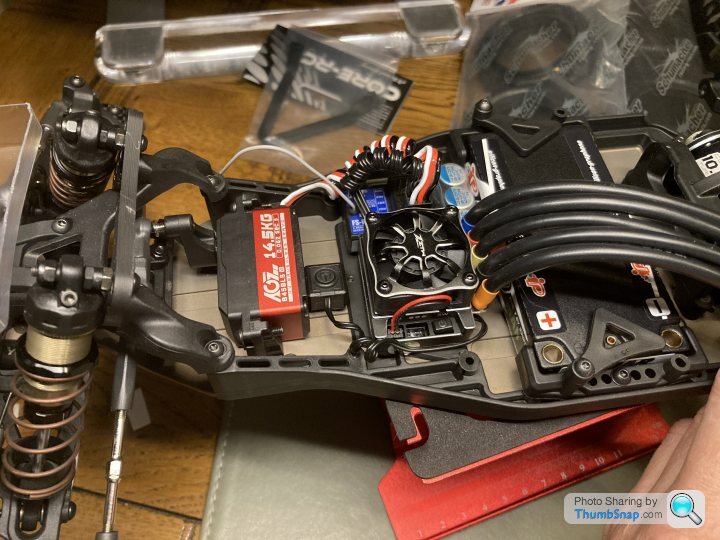
Took a few minutes to plan and decide where the electronics were going to go, hopefully no issues with this that anyones sees, it all fits looks relatively neat after wrapping the leads
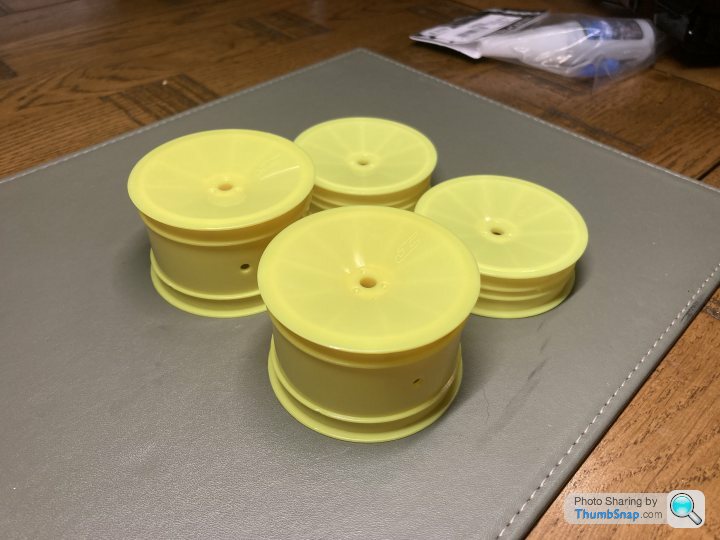
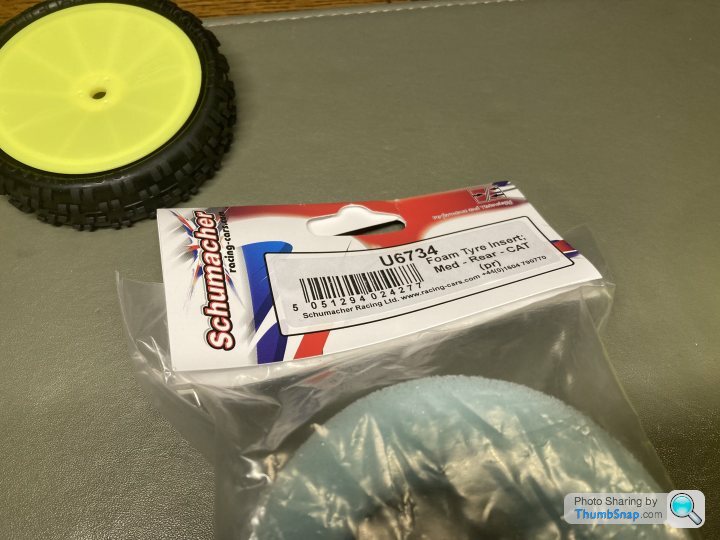
Onto the wheels and tyres. I haven’t mounted these type of wheels before but it’s not rocked science. I took my time to get the foams as uniform as possible around the wheel and glued them all up both sides
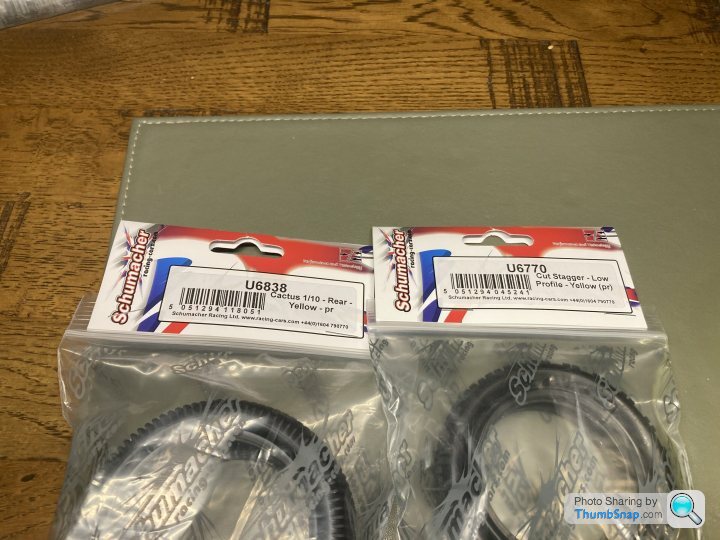
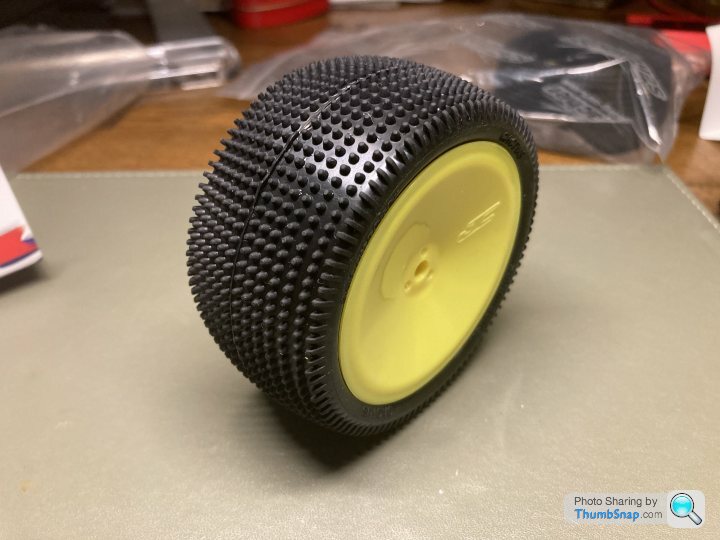
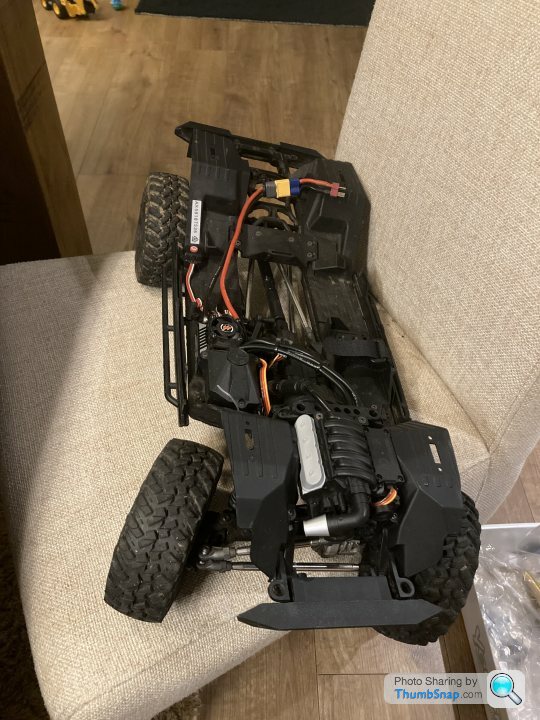
and finally we have a roller.. loving the wheels and tyres
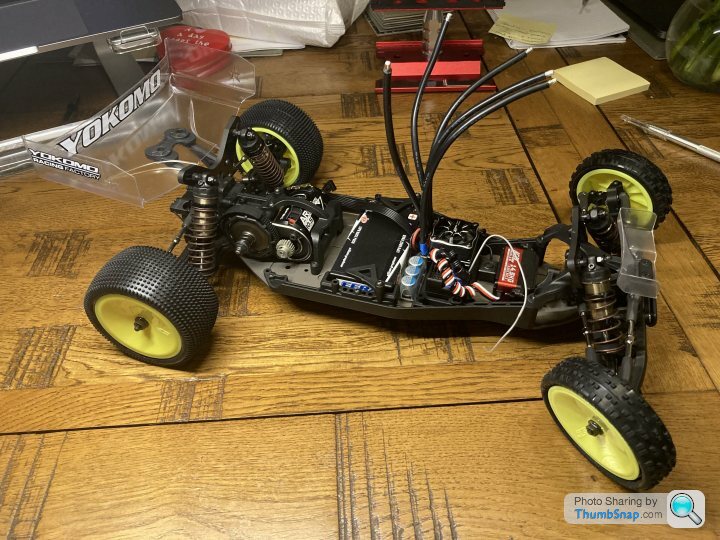
I have spoken to my next door neighbour who’s an electrical engineer about soldering up. Looking at it I’ll probably do it myself as again; it’s not that hard and Id like to do as much as possible on this one. I’ll try and grab an iron tomorrow and she might be moving under her own power soon
Not much more to report on that, pics then
I’ve pulled the BS6 receiver out of my crawler for now, i’ll buy another or maybe not if I decide to go FS Noble NB4 as the receivers aren’t compatible, obvs..
Took a few minutes to plan and decide where the electronics were going to go, hopefully no issues with this that anyones sees, it all fits looks relatively neat after wrapping the leads
Onto the wheels and tyres. I haven’t mounted these type of wheels before but it’s not rocked science. I took my time to get the foams as uniform as possible around the wheel and glued them all up both sides
and finally we have a roller.. loving the wheels and tyres
I have spoken to my next door neighbour who’s an electrical engineer about soldering up. Looking at it I’ll probably do it myself as again; it’s not that hard and Id like to do as much as possible on this one. I’ll try and grab an iron tomorrow and she might be moving under her own power soon


I stumbled into this thread and then went on a bit of a google journey reminiscing about being 13 again and into all this RC malarkey. I somehow came across this thread:
https://www.arrmaforum.com/threads/vintage-nitro-s...
It's all well and good when they're new, but they become battered in no time. I can't remember ever not having to fix something after a session. Something always broke. They were moneypits and endless grief from day 1. Good fun for 5 mins though.
Gassing Station | Scale Models | Top of Page | What's New | My Stuff