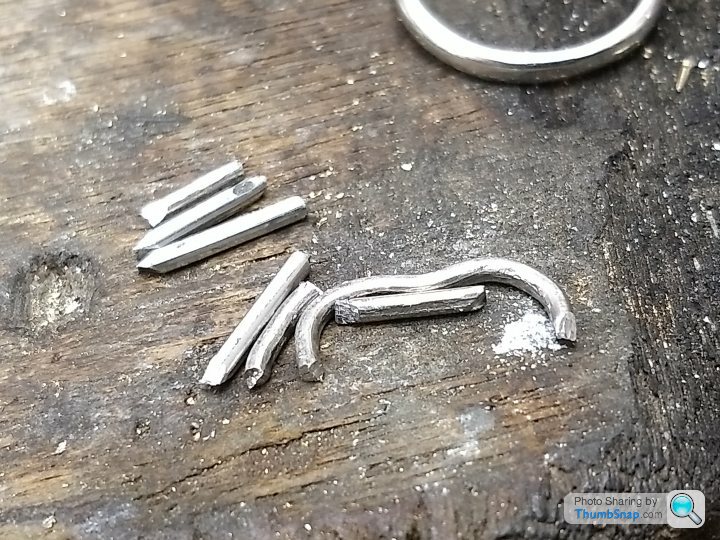
Unusual job on the bench today
Discussion
Excellent! I was wondering when we would be lucky enough to get another update on the thread, which is one of my favourite on PH. I love seeing all sorts of “stuff” being made (I’m a sucker for YouTube videos where axes etc get refurbished) and I enjoy the threads I. biker Banter where people repair/make motorbikes. I’ve zero mechanical/artistic skills, so I love seeing something appear from nothing and I find the actual processes involved fascinating.
Eddie! Just the man we need....
Wife has a wedding and engagement ring and rather than have two seperate rings. We want them combined into one. Diamonds mainly. And a new setting
I gather this is something you could do?
EDIT: JUST READ THE THREAD FULLY
Amazing work, hopefully you are still doing this work and i will send a PM accordingly.
Edited by HannsG on Wednesday 20th February 15:08
HannsG said:
Eddie! Just the man we need....
Wife has a wedding and engagement ring and rather than have two seperate rings. We want them combined into one. Diamonds mainly. And a new setting
I gather this is something you could do?
EDIT: JUST READ THE THREAD FULLY
Amazing work, hopefully you are still doing this work and i will send a PM accordingly.
No worries, I'll be at the end of the internet when you need me. If there is a delay in responding don't worry, I'm absolutely snowed under this month. I will get to you though Wife has a wedding and engagement ring and rather than have two seperate rings. We want them combined into one. Diamonds mainly. And a new setting
I gather this is something you could do?
EDIT: JUST READ THE THREAD FULLY
Amazing work, hopefully you are still doing this work and i will send a PM accordingly.
Edited by HannsG on Wednesday 20th February 15:08

Morning all 
Sorry for the long delay in updating this thread. I've had a really busy year so far and being honest I've needed to overcome a few personal hurdles, emotionally and physically. Nothing major, I've just been a bit tired and off the boil. Anyway, the long awaited super-post has arrived and I'll try to explain as I go. There's a lot of photos so bear with me.
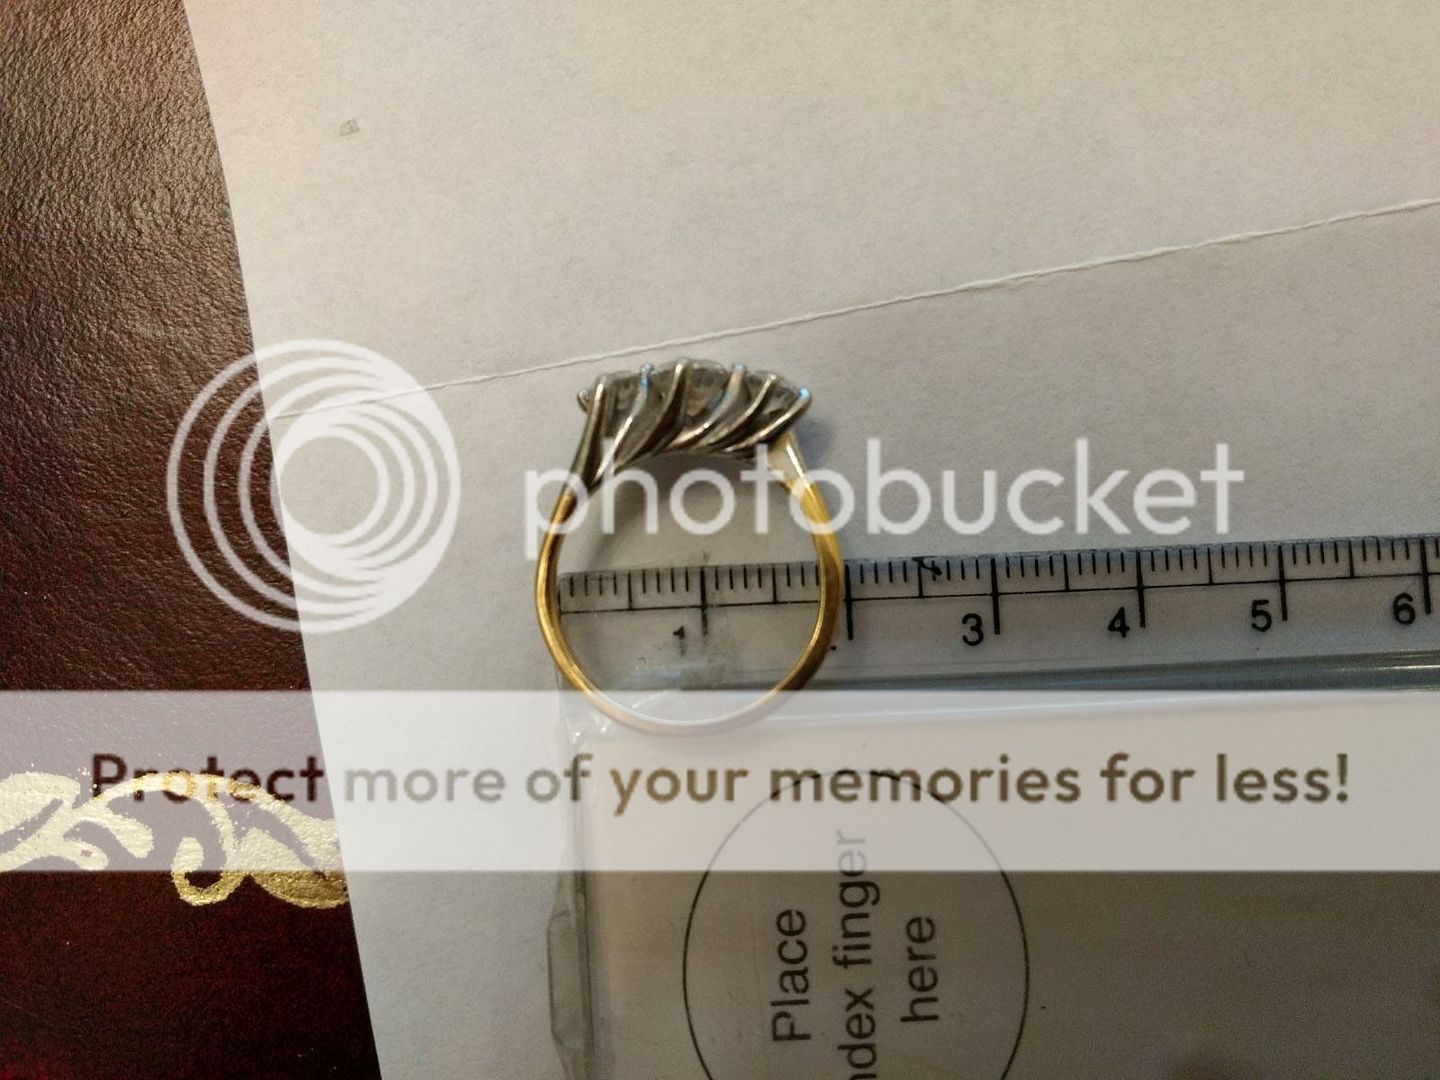
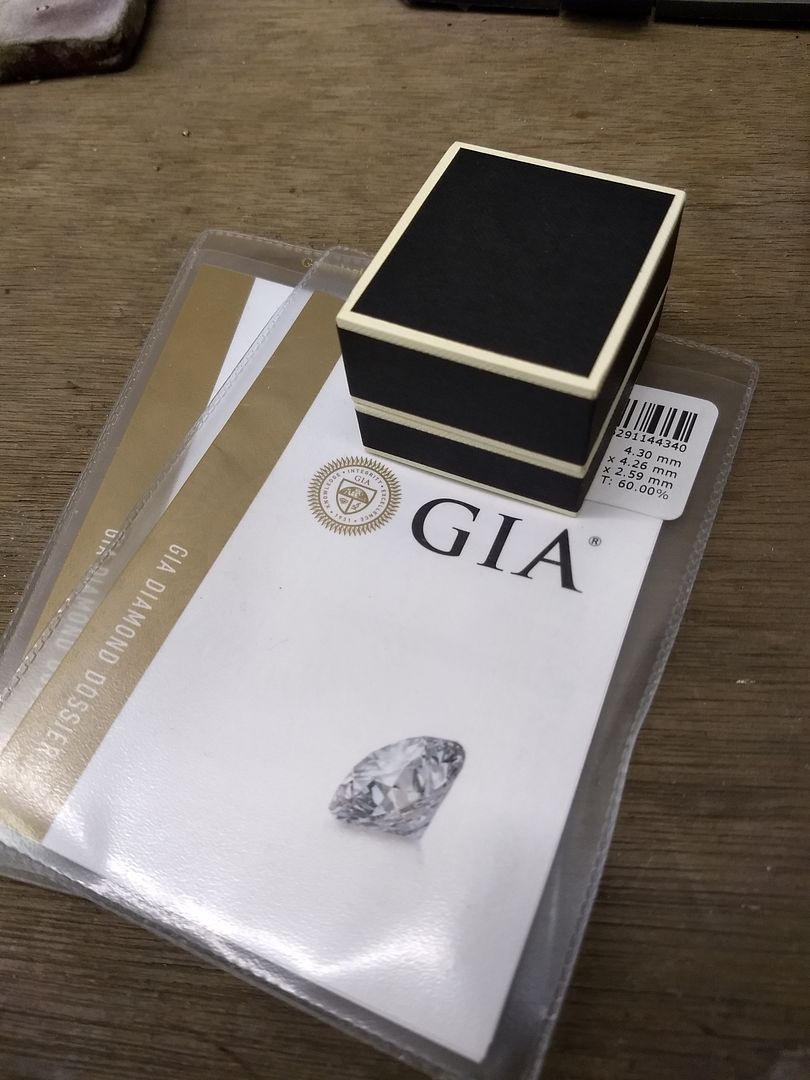
Back in the later part of 2018 a gentleman emailed me with the idea that he wanted a ring for his wife that could sit with another that he had commissioned some years ago. The original is a 3 stone diamond ring set in 18ct yellow gold and platinum. The twist here is the new one needs to be a 4 stone and because of the way the original is made we'll need to not just copy it, but also mirror it with an extra stone. The requirements for the stones were: pair of GIA certified D colour rounds and a matching pair of high end natural rubies. Game on (I was dreading this job actually. As far as bespoke goes, this is probably the most difficult. Platinum is a difficult material to work in this way and an expensive metal if you cock up).
The original item:
The first step is to make the inner section of the setting. It's a very interesting setting in that it has a middle carcass and outer claws as well as an undersetting that shows the arms flowing together. We start with some platinum wire and lots of medium solder (high enough melting temperature to be safe over time but low enough that we won't go blind heating it).
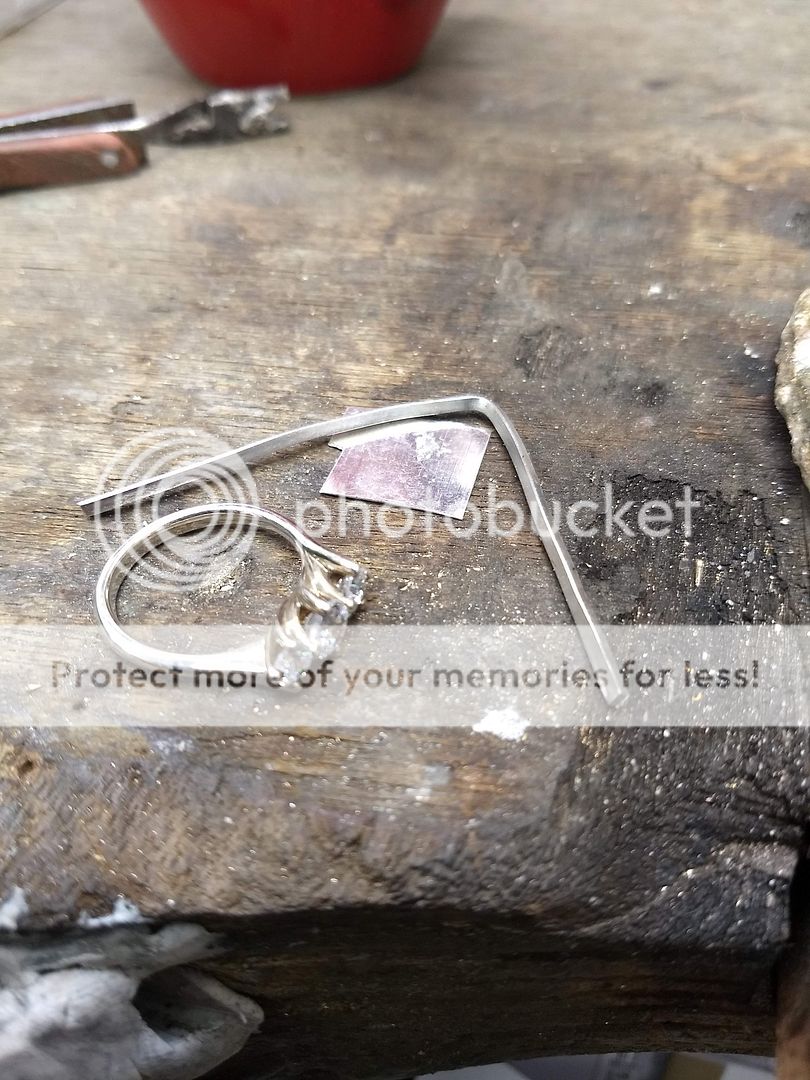
There is one middle arm of the inner carcass and this is the first piece of metal we bend. Remember, like all my jobs I measure very little. It's all by eye and experience / judgement.
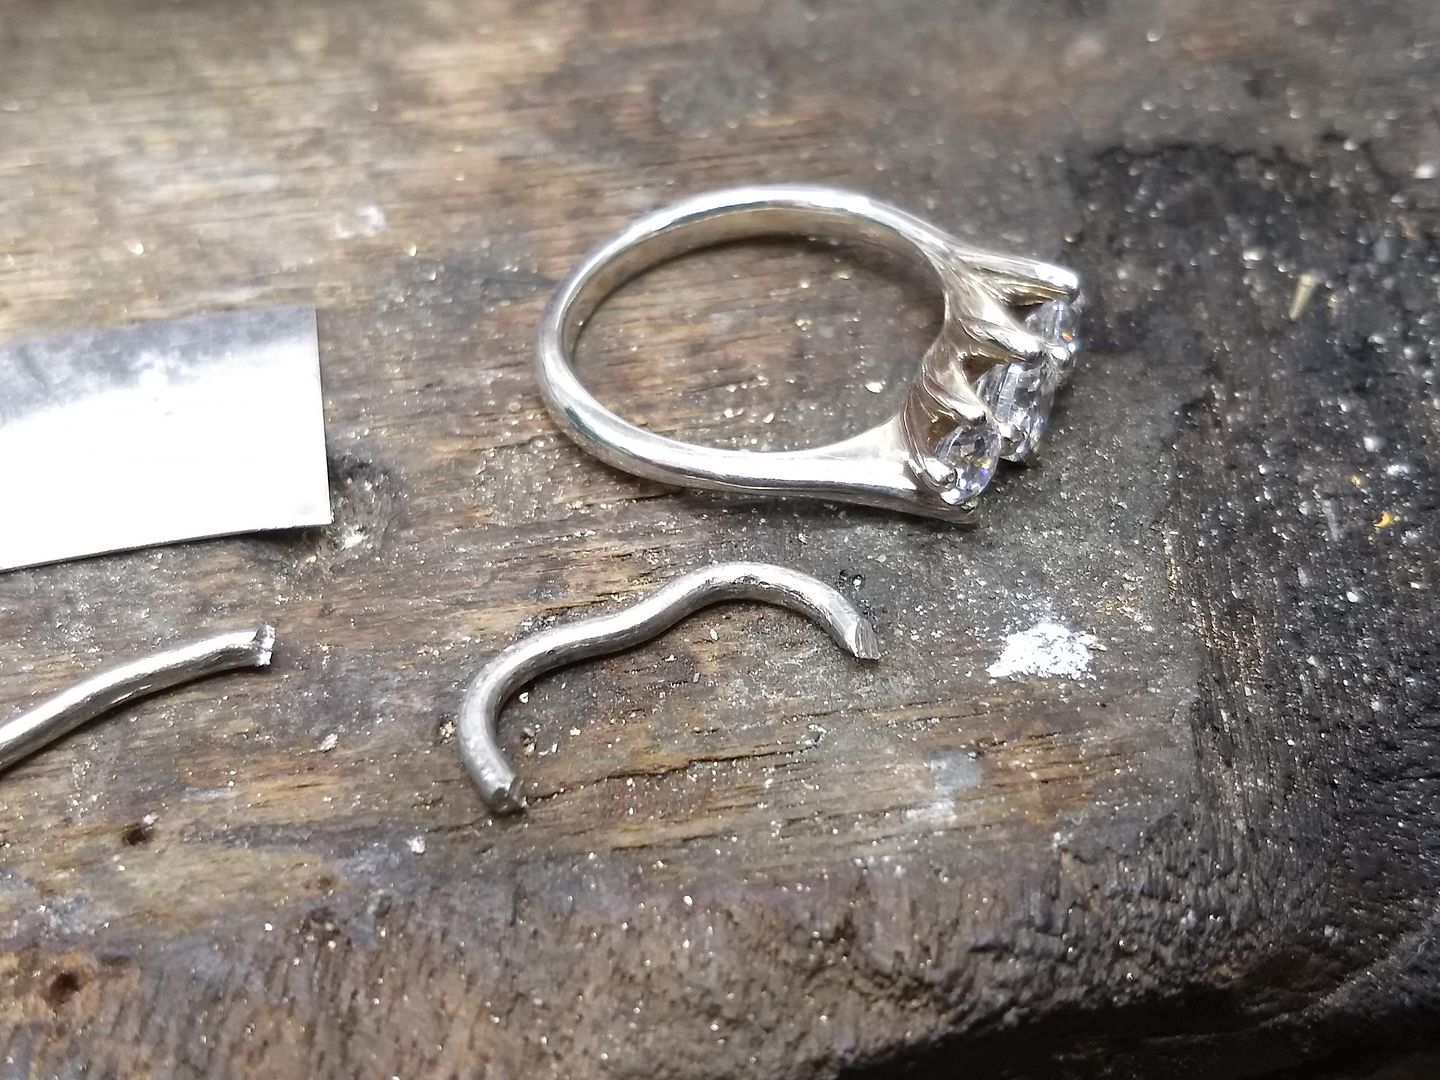
With the inner bar done I cut some more sections of wire.
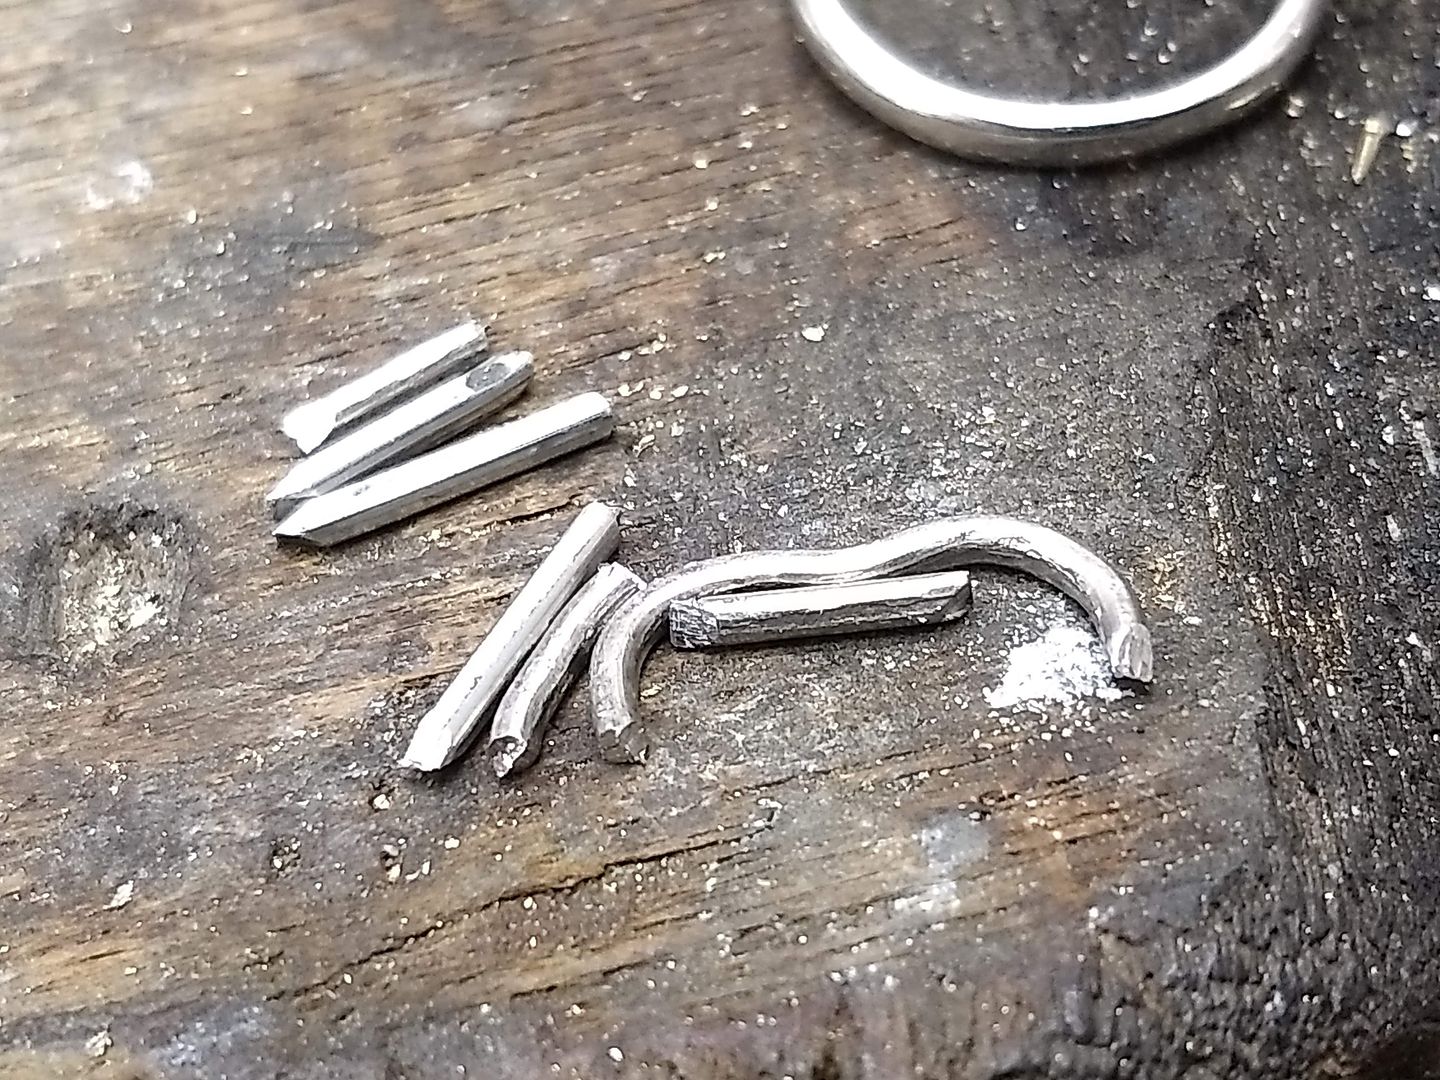
Pinned together I begin the soldering process. :/
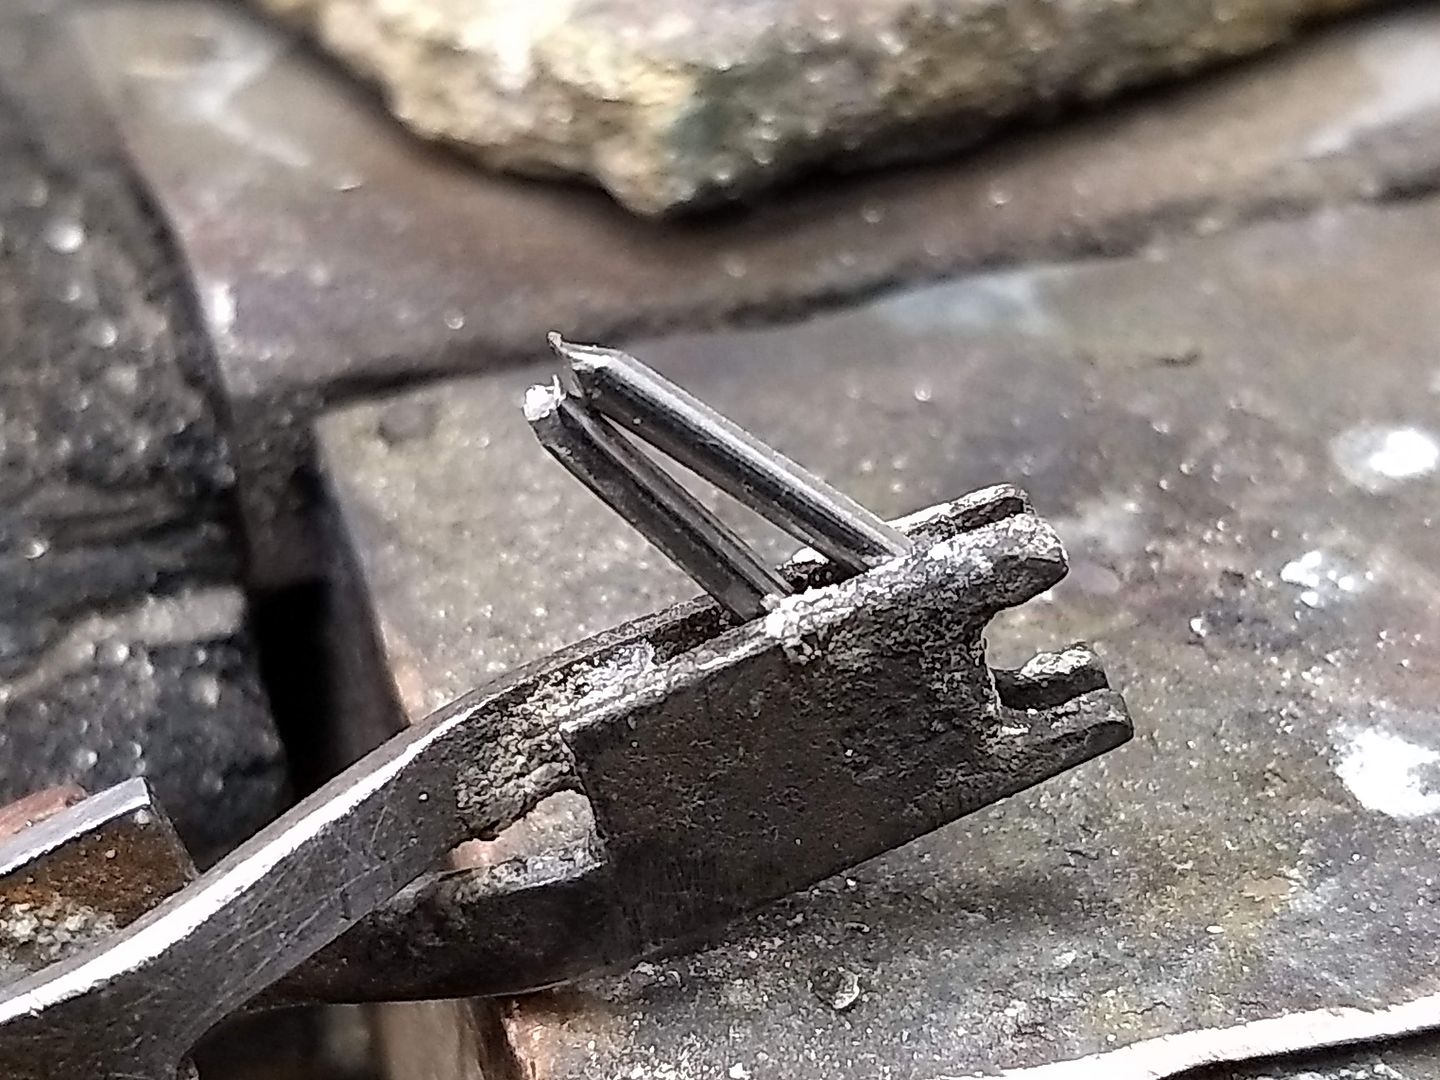
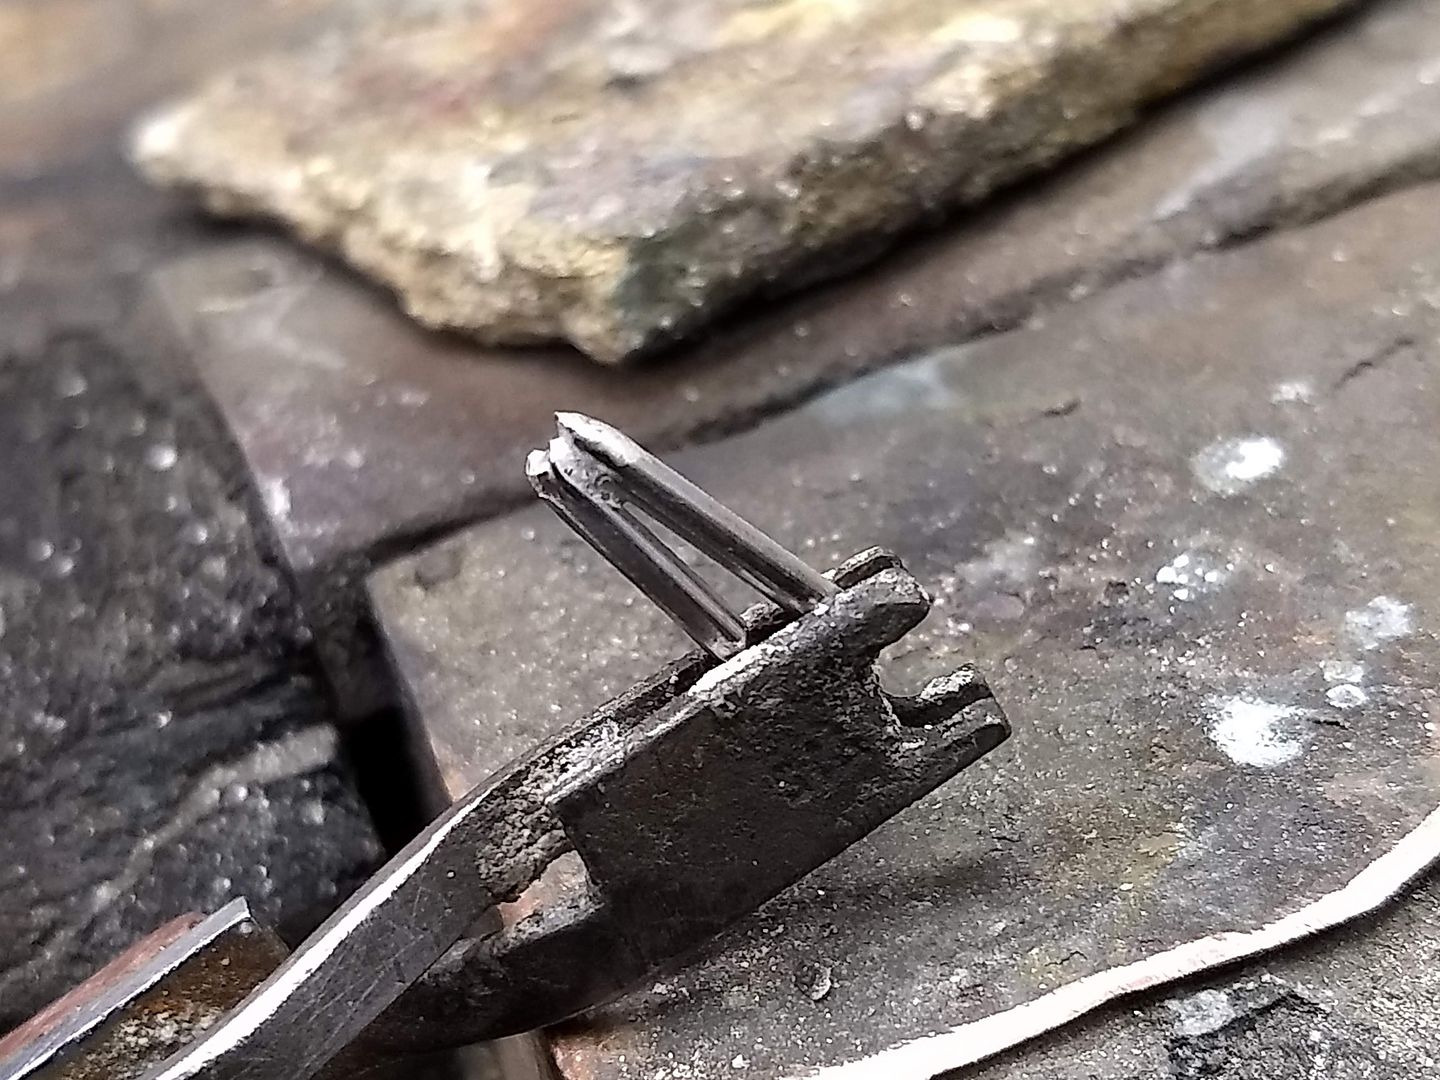
The first inner claw is then bent to shape:
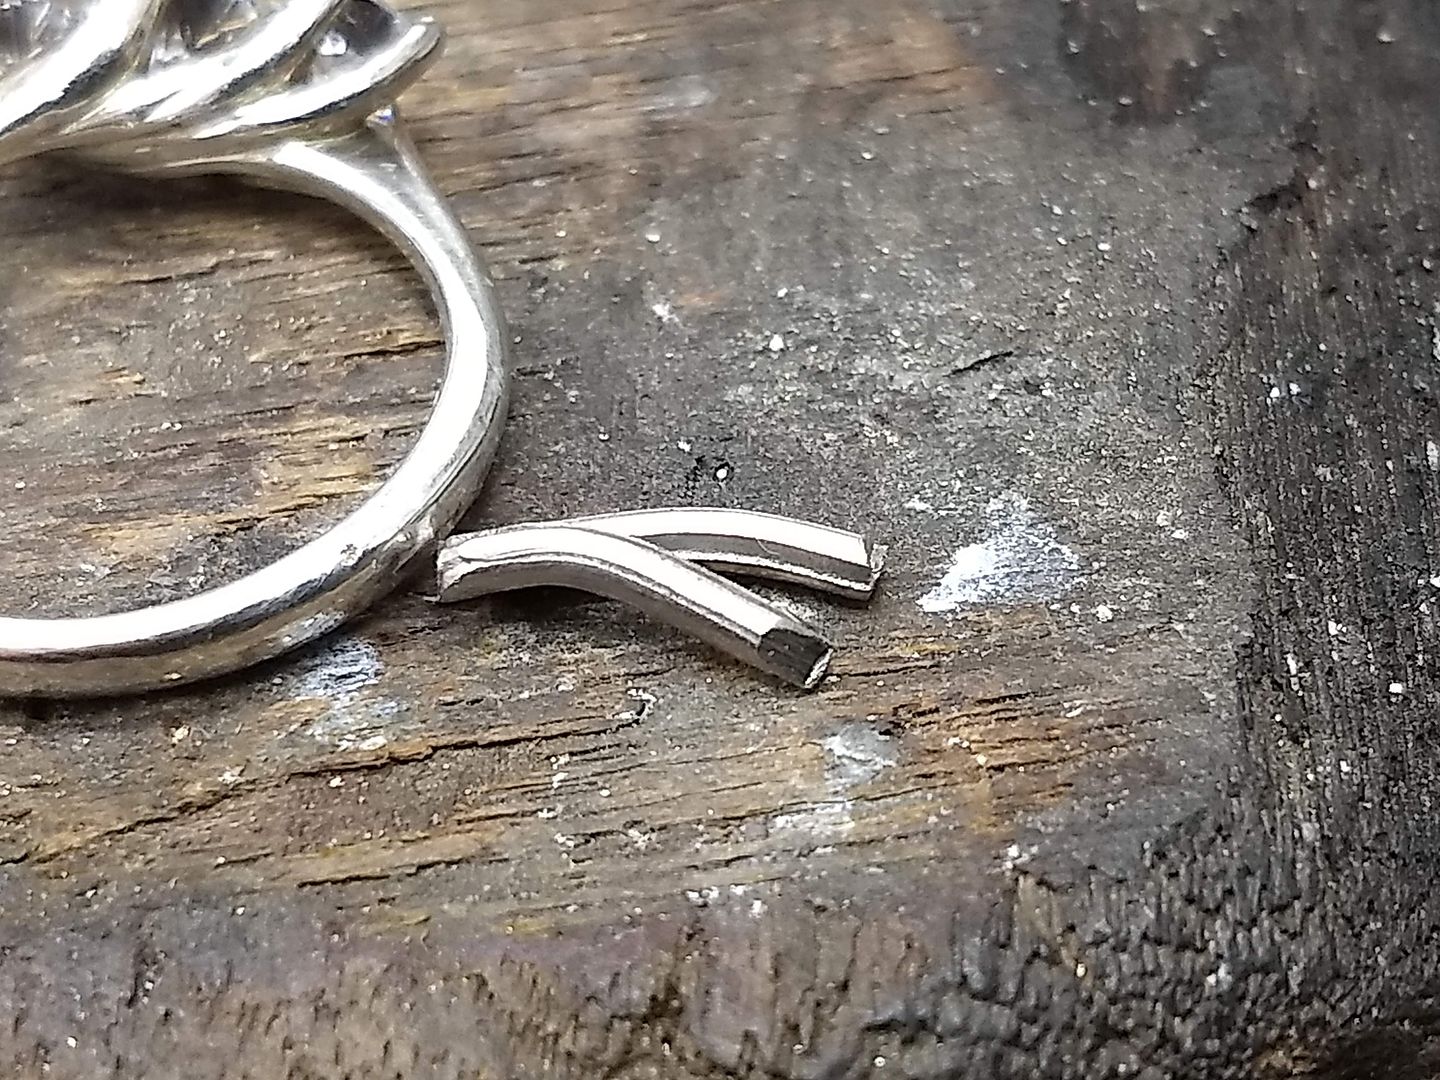
And is soldered in position to the middle bar / wire:
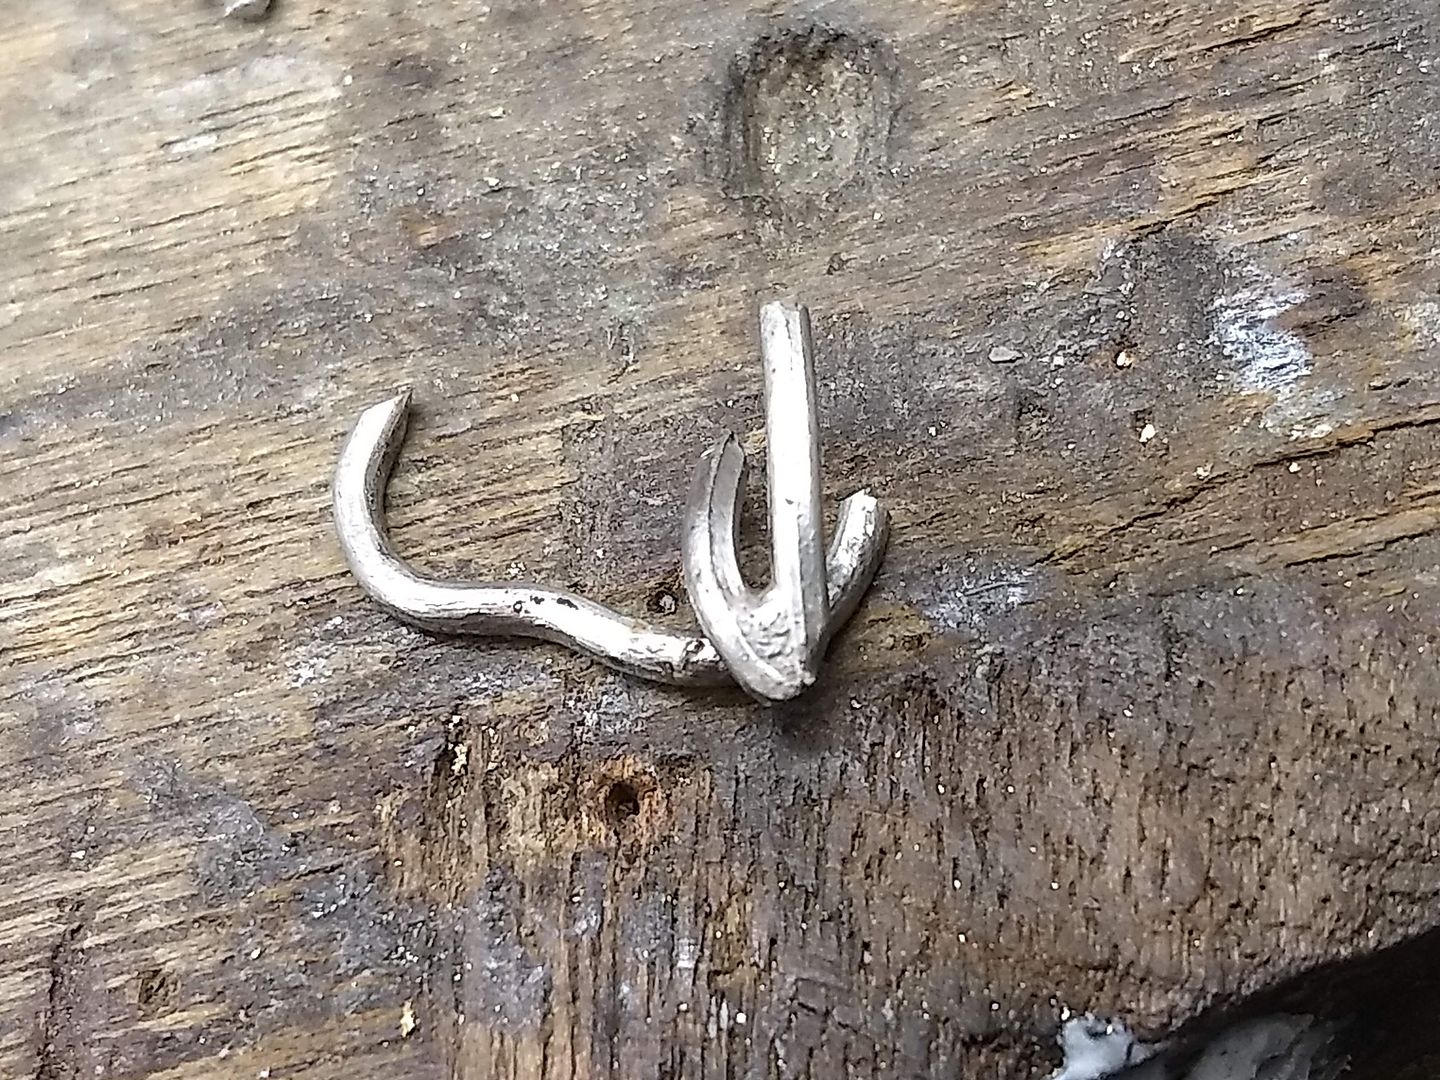
And then the next one:
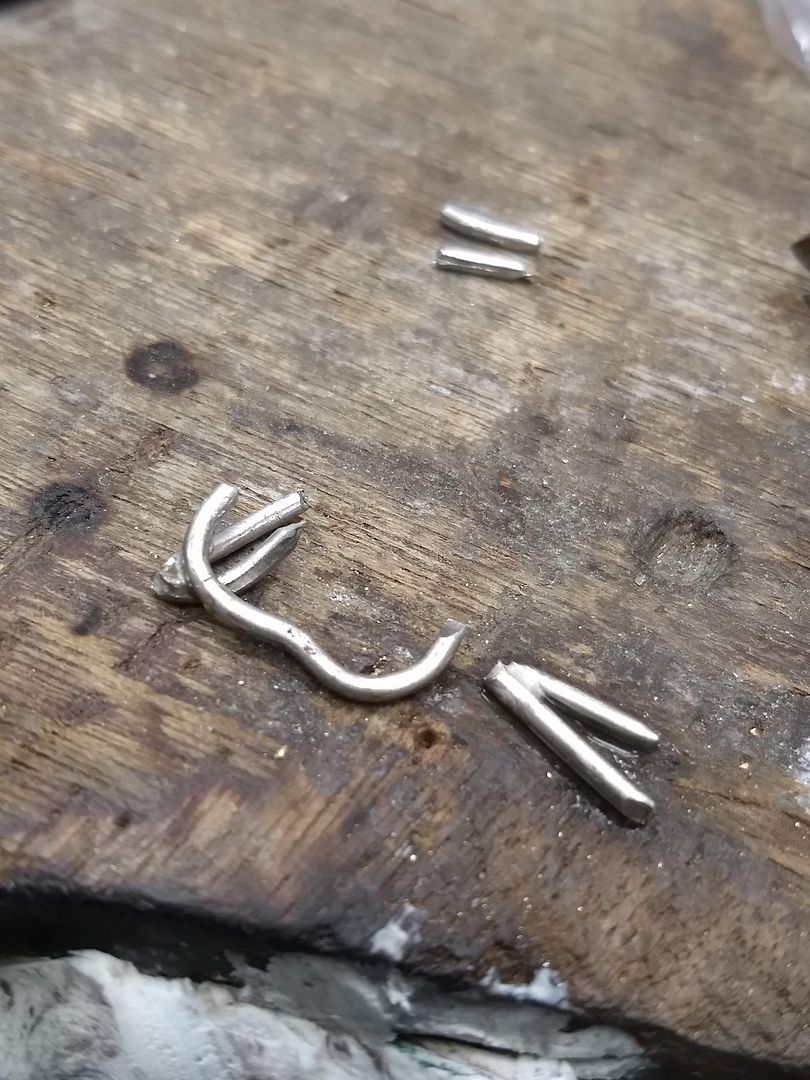
Which creates what is starting to look like a stages head:
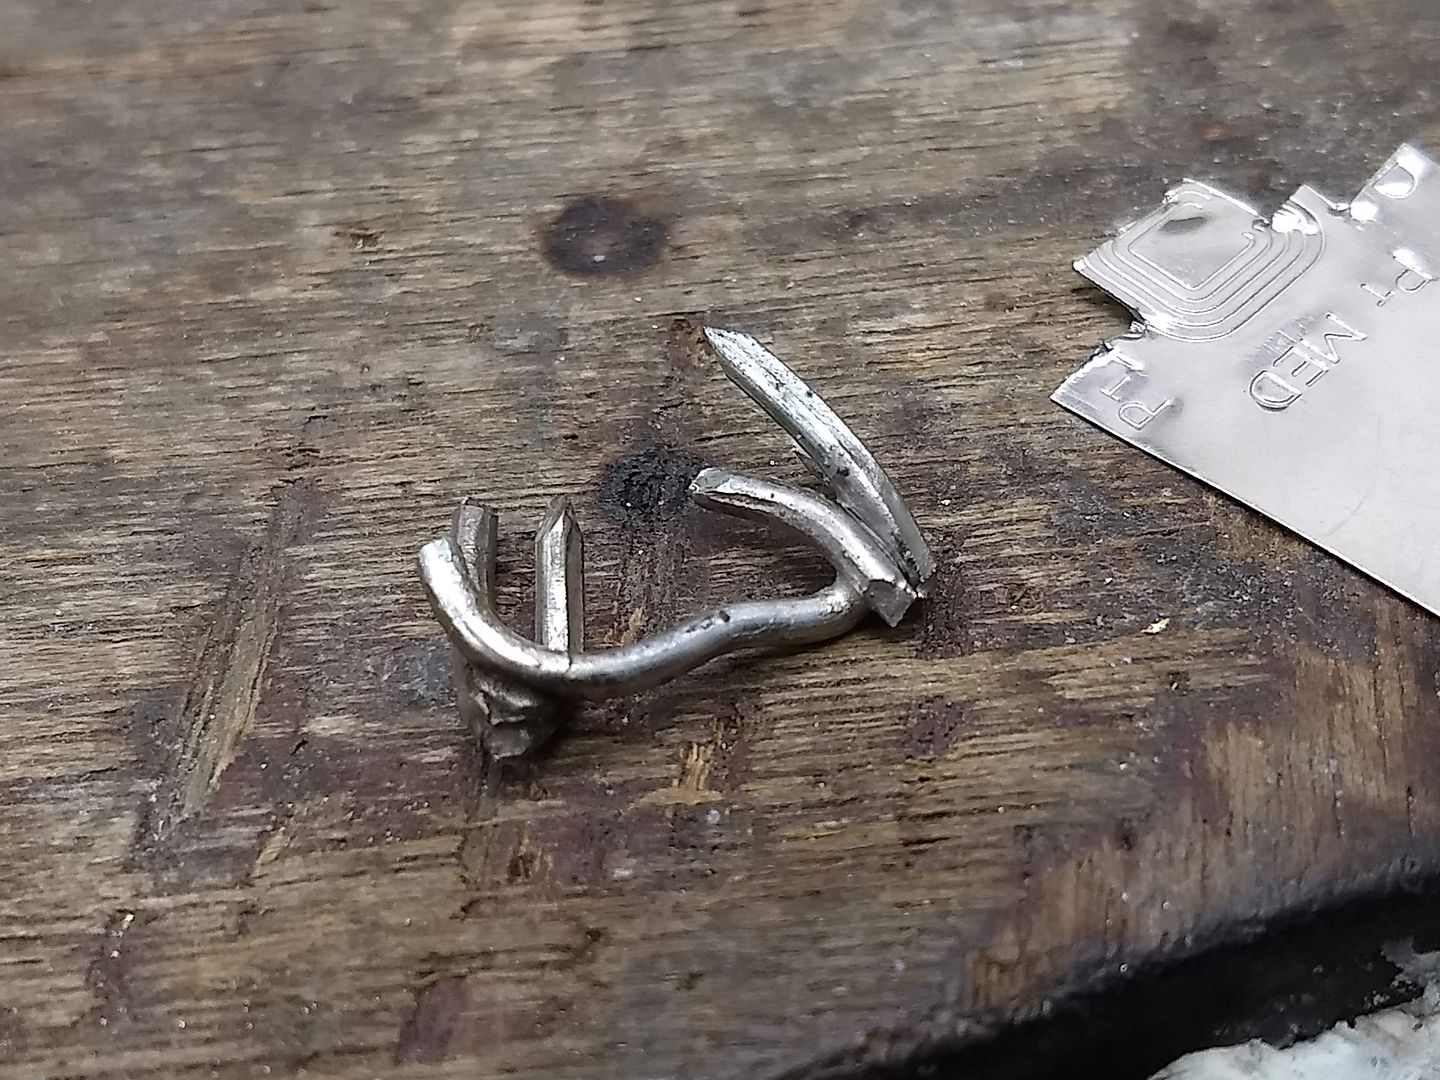
From here we add a few more wires to the carcass and slowly build the picture of what we are aiming for:
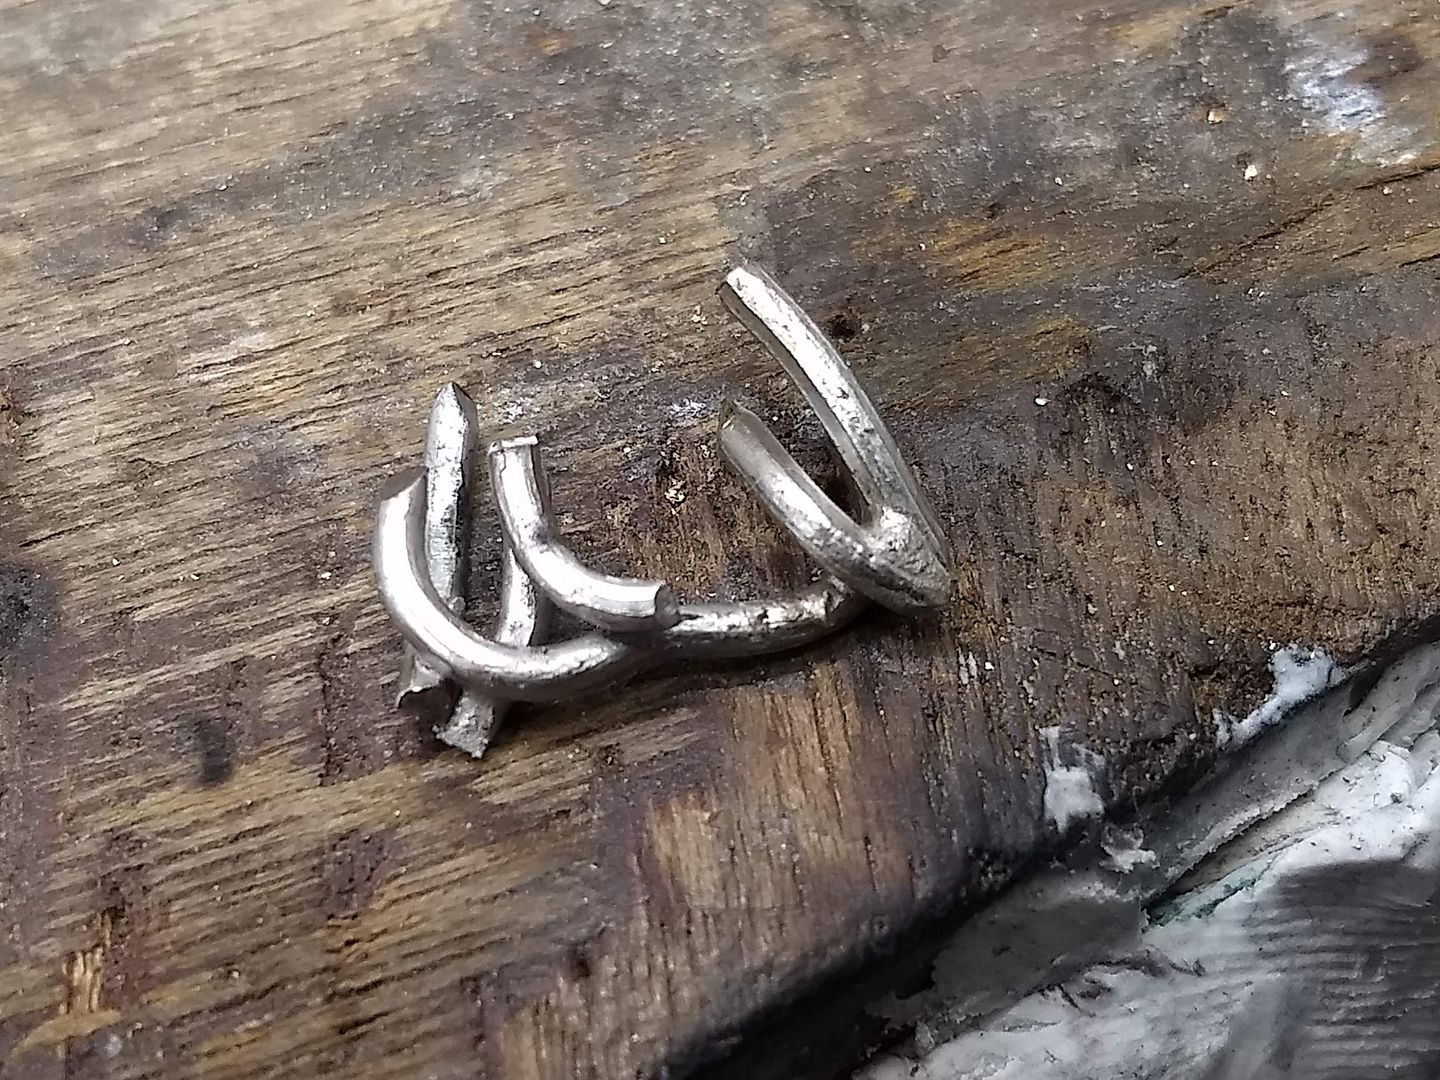
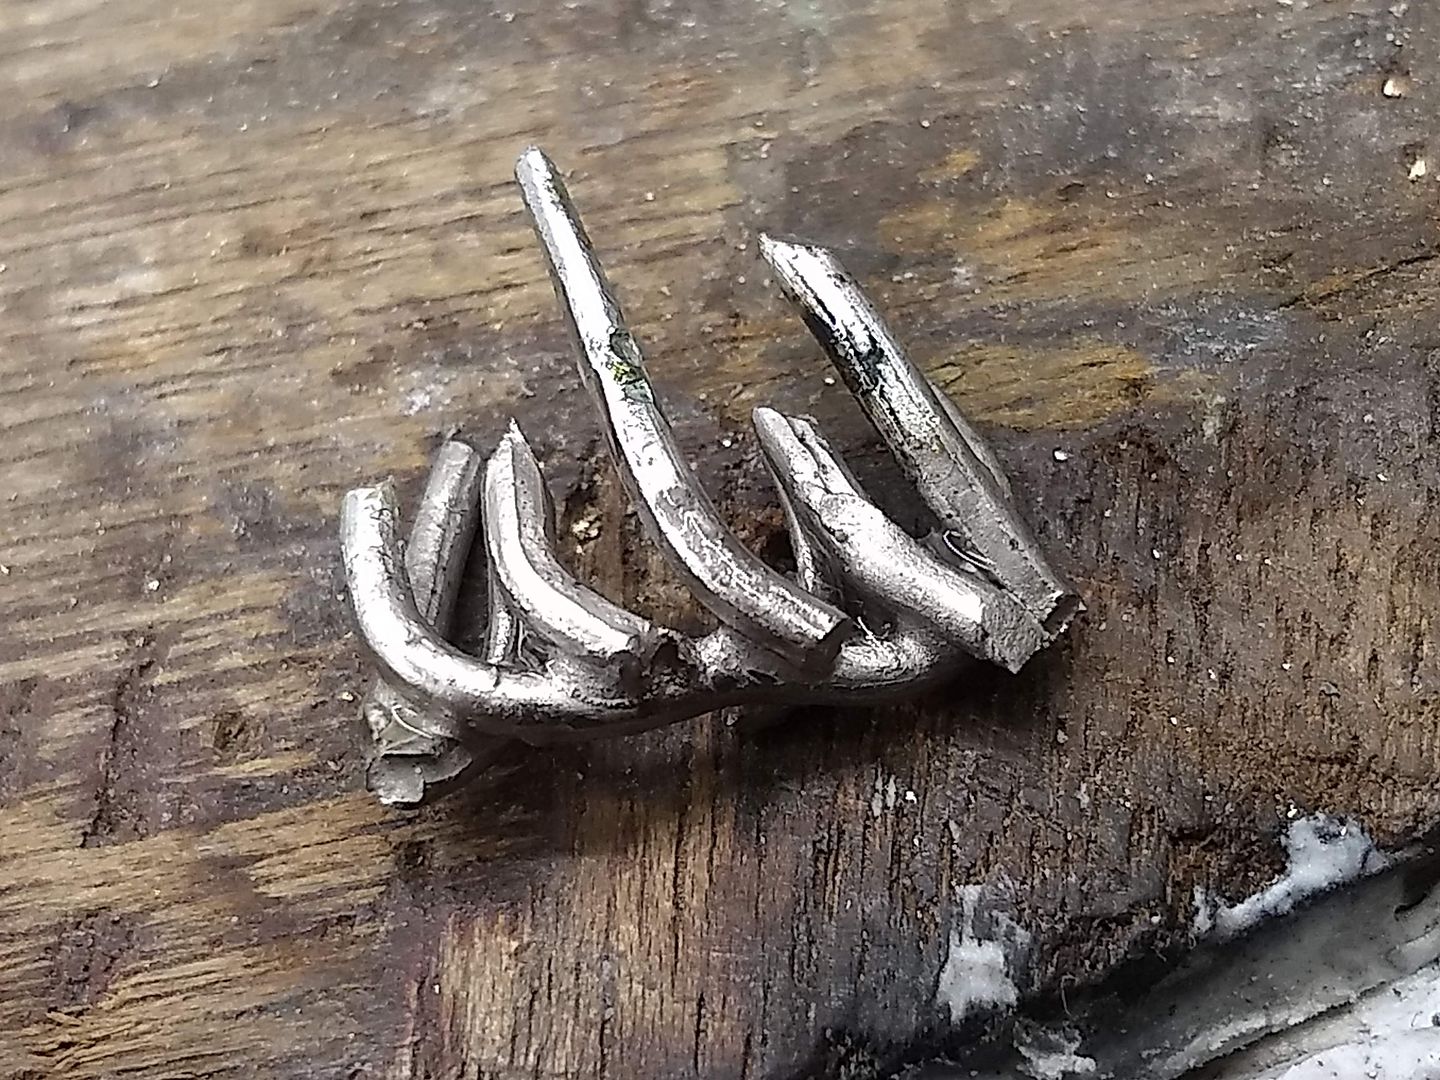
With all the wires in roughly the right place I add solder to fill gaps and generally bulk up the frame. With platinum being a soft metal I can still bend it a bit with the solder applied so I can still make minor adjustments from this point. I can't move anything though and bigger changes mean either cutting sections out or starting again:
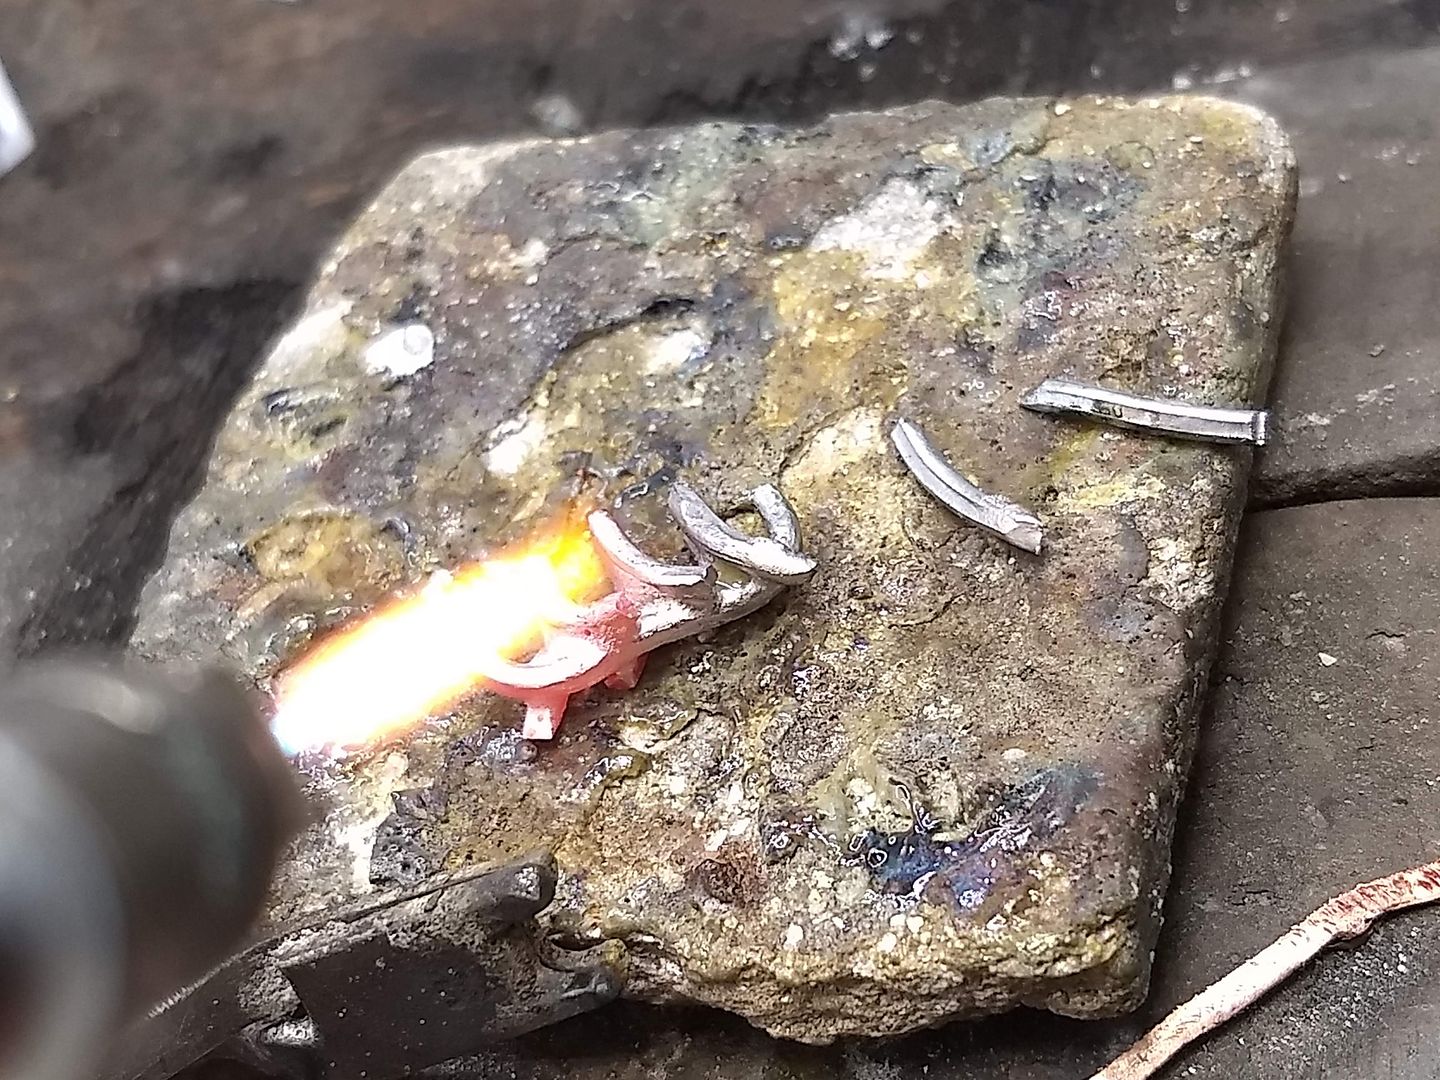
After a bit of filing and soldering the centre carcass is taking shape and will soon be ready to clean up ready for the outer claws:
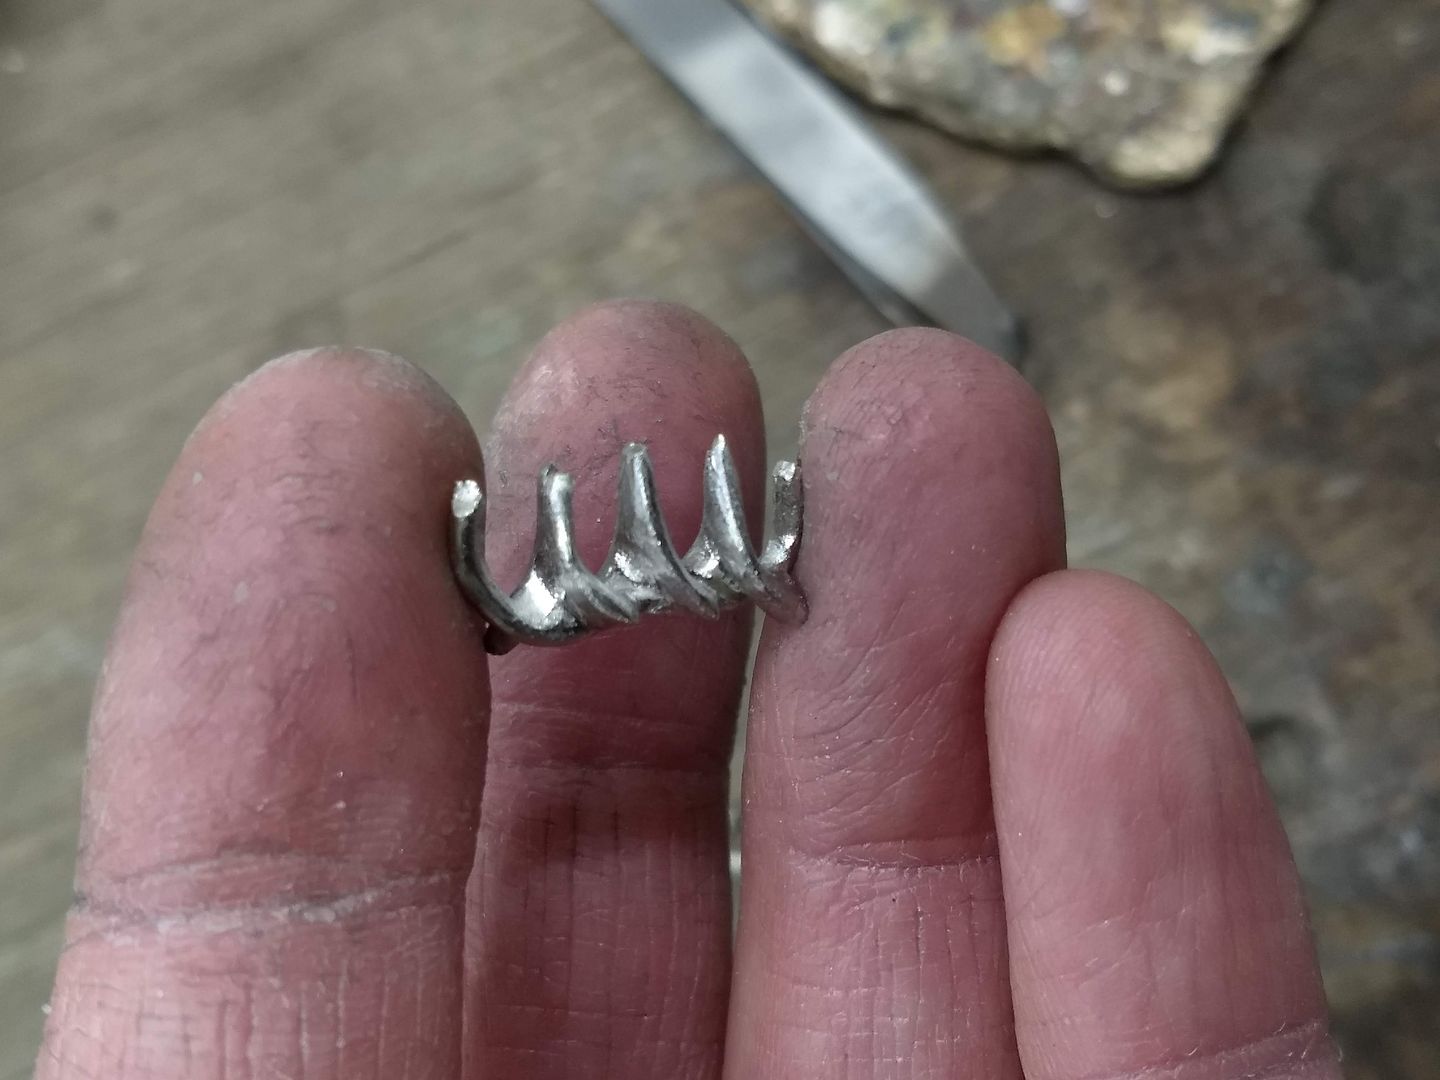
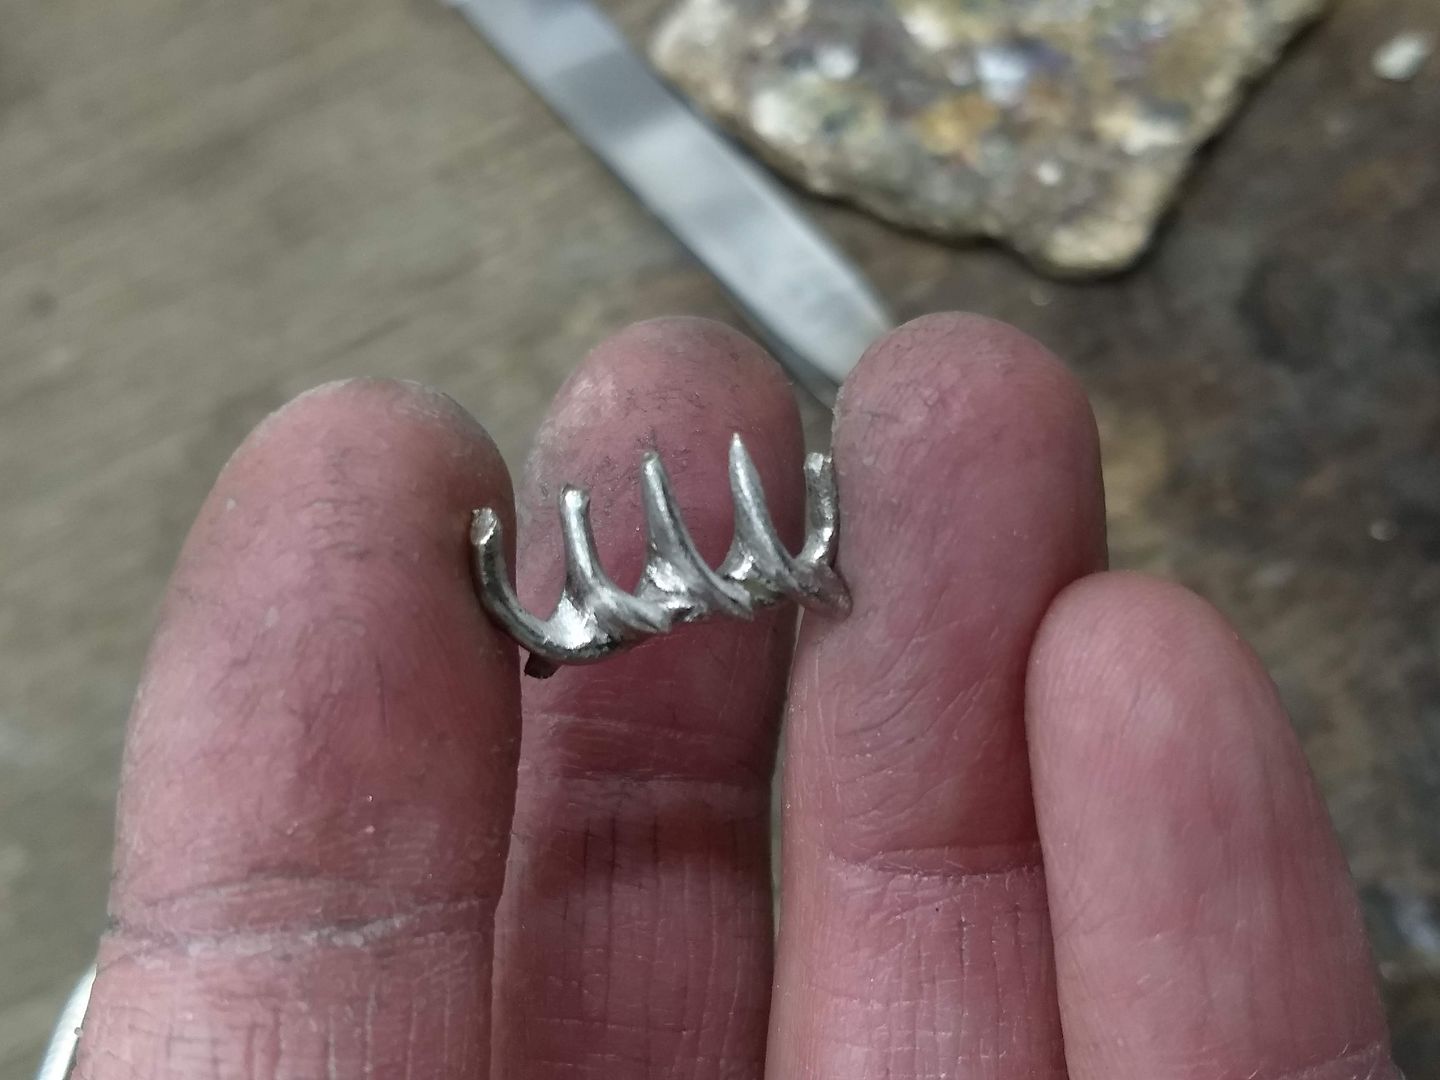
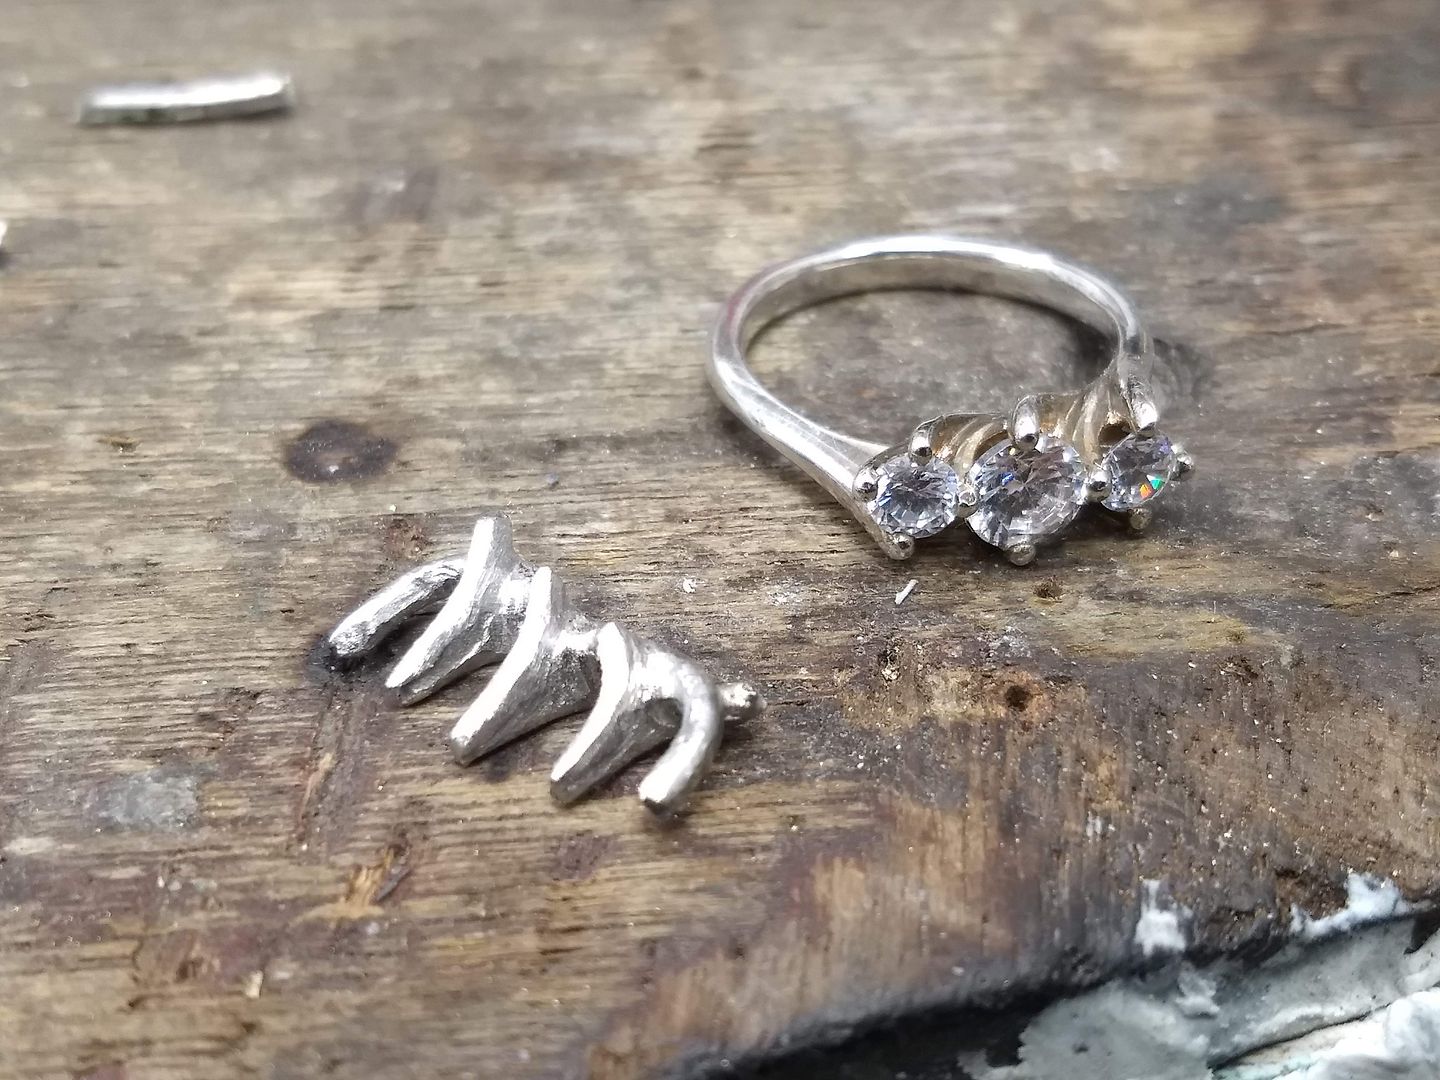
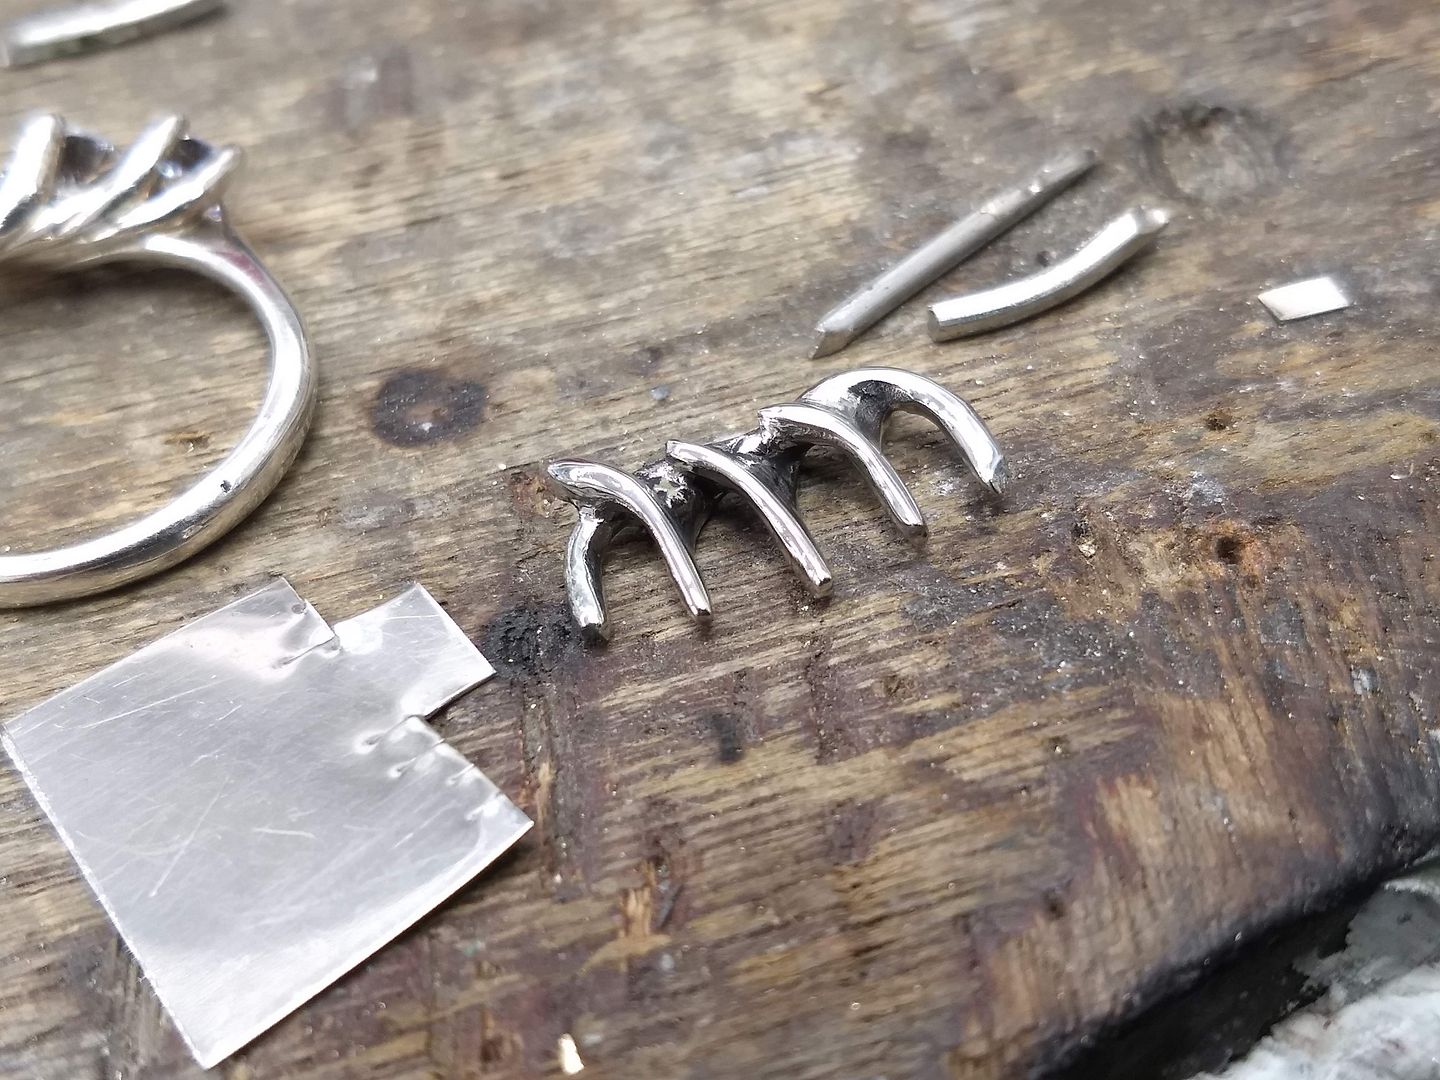
I cut some more wire and grab some more solder. More wire is also rolled as I need it:
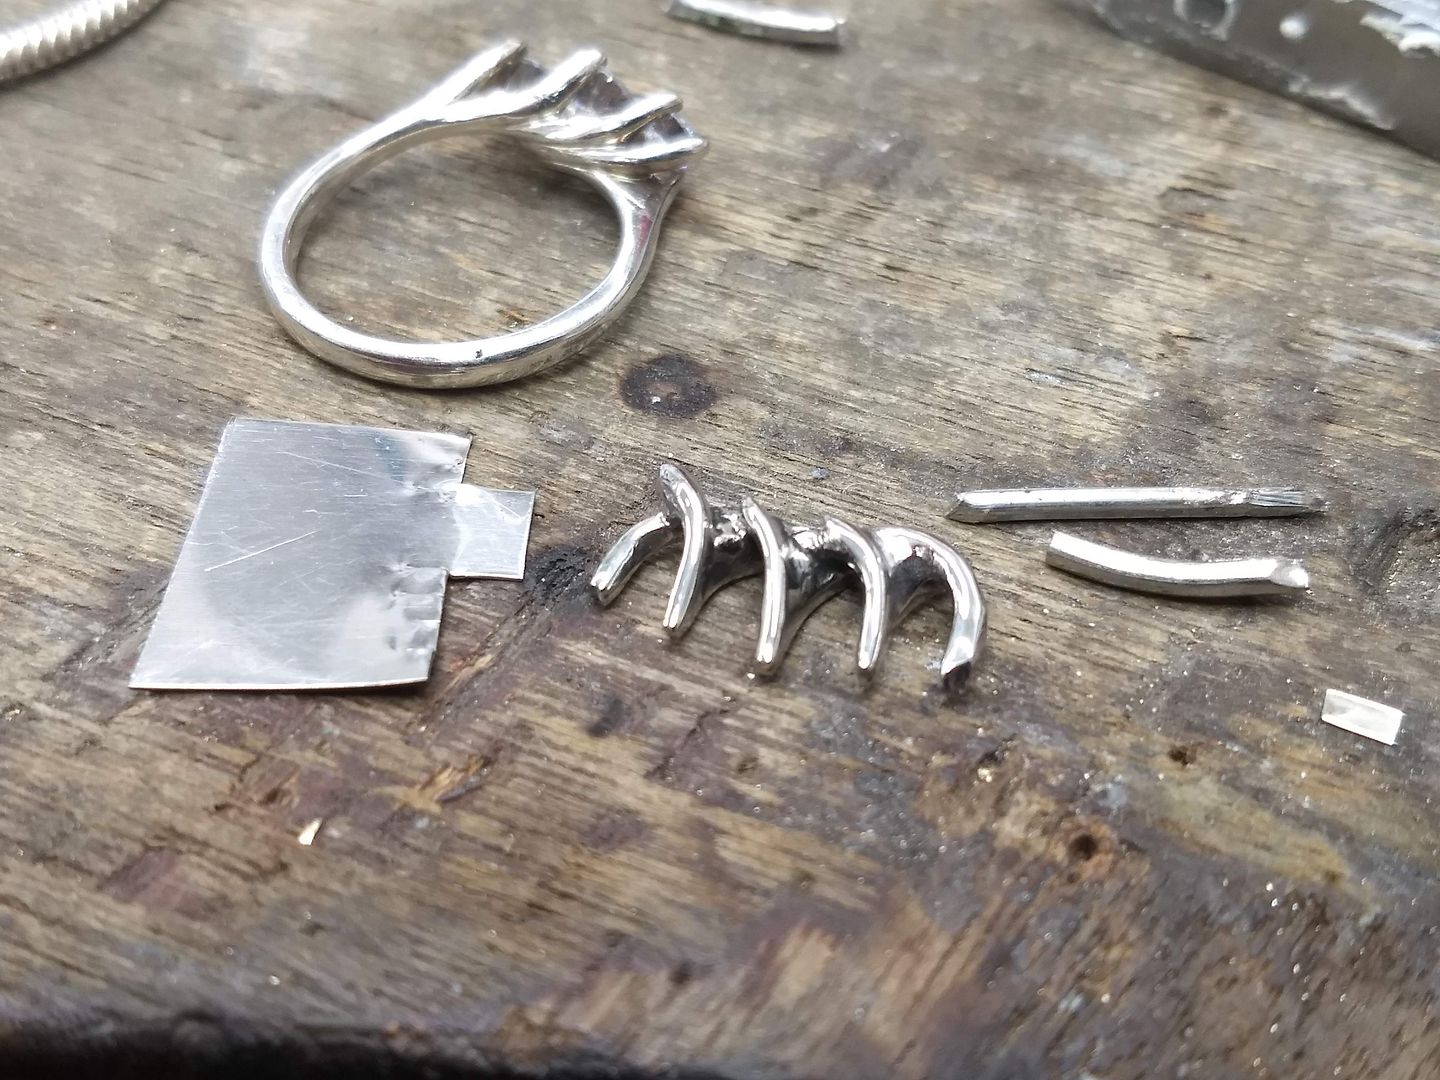
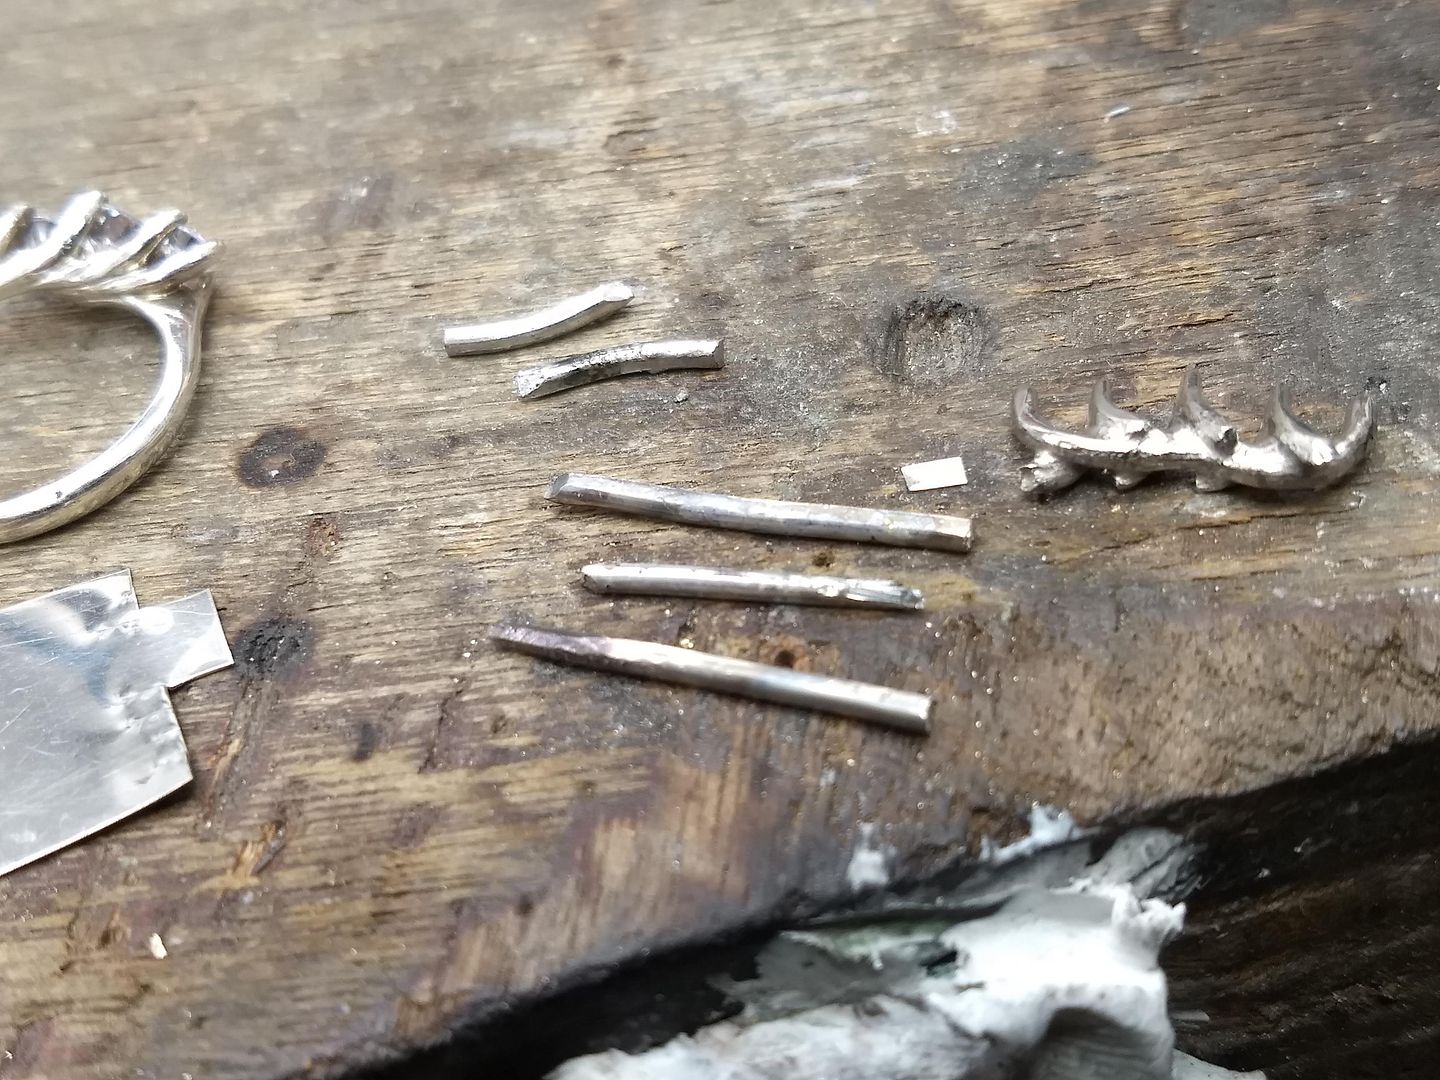
Being careful not to upset the solder already in the setting I start to add the outer claws. They are bent first and then tacked in place:
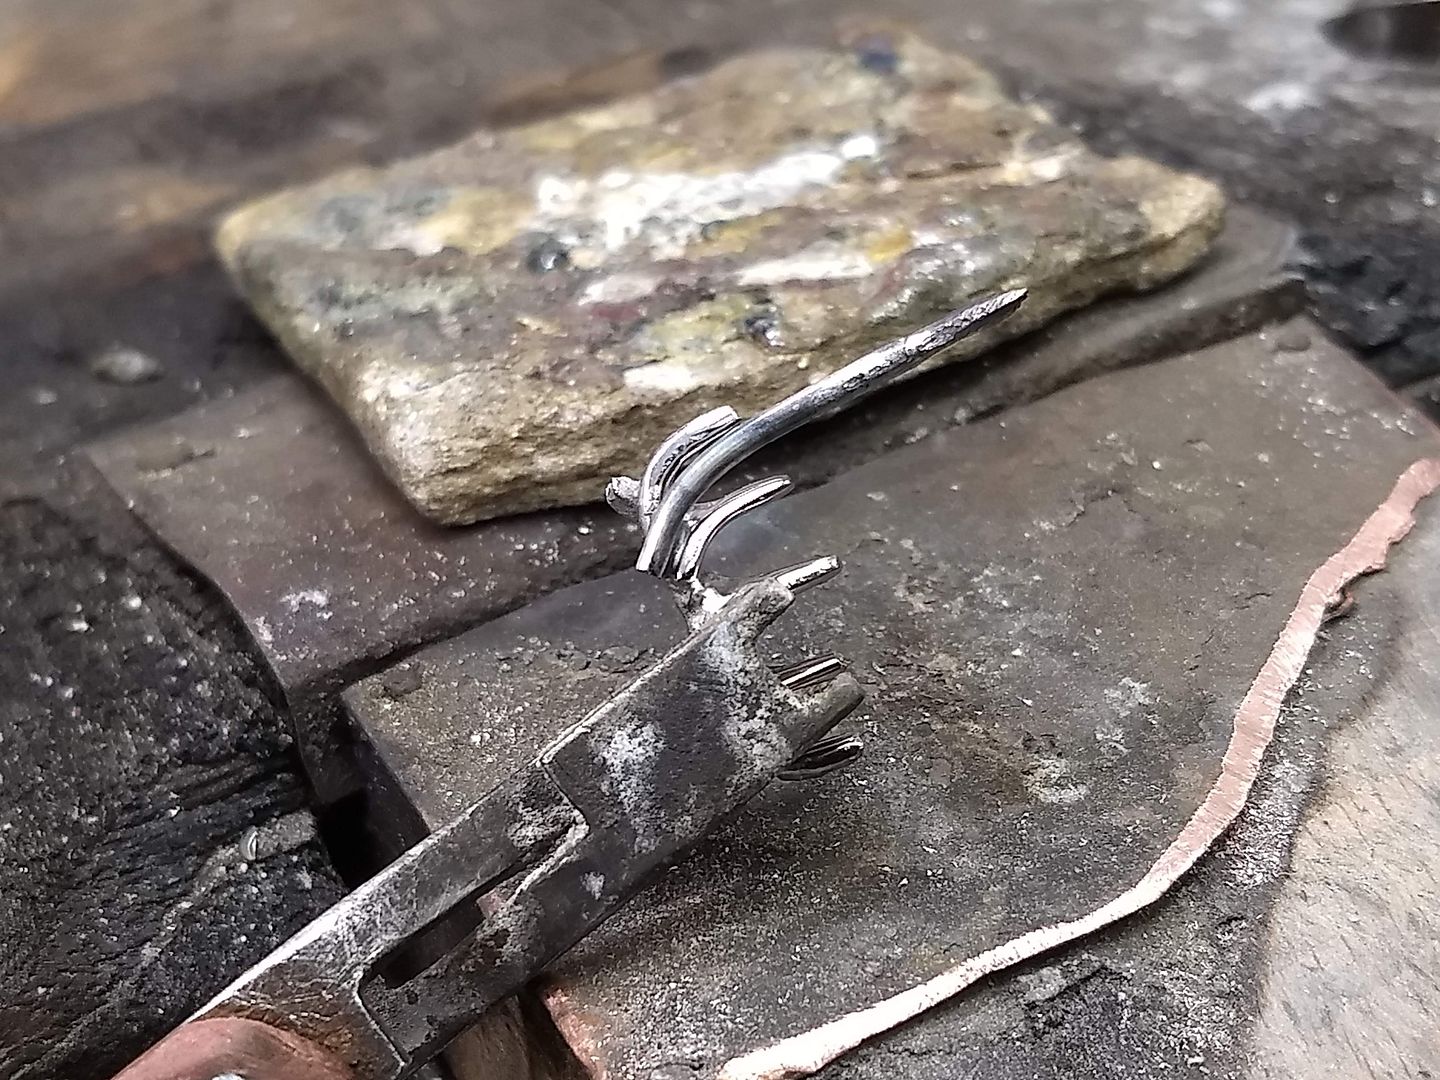
One side done:
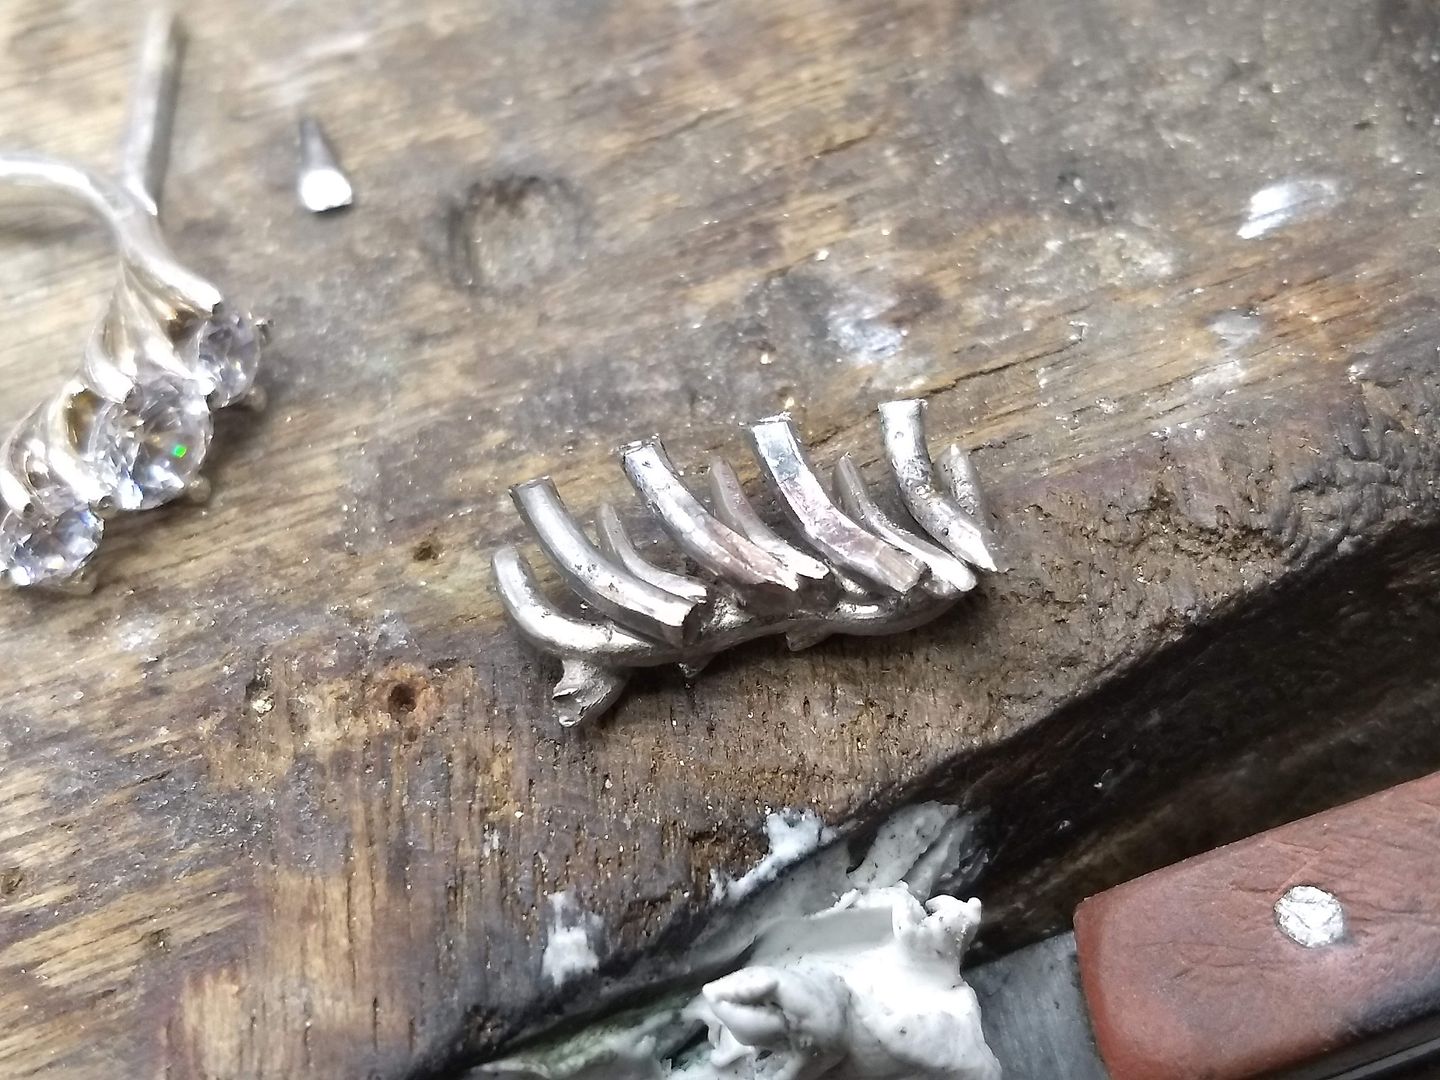
And then the other:
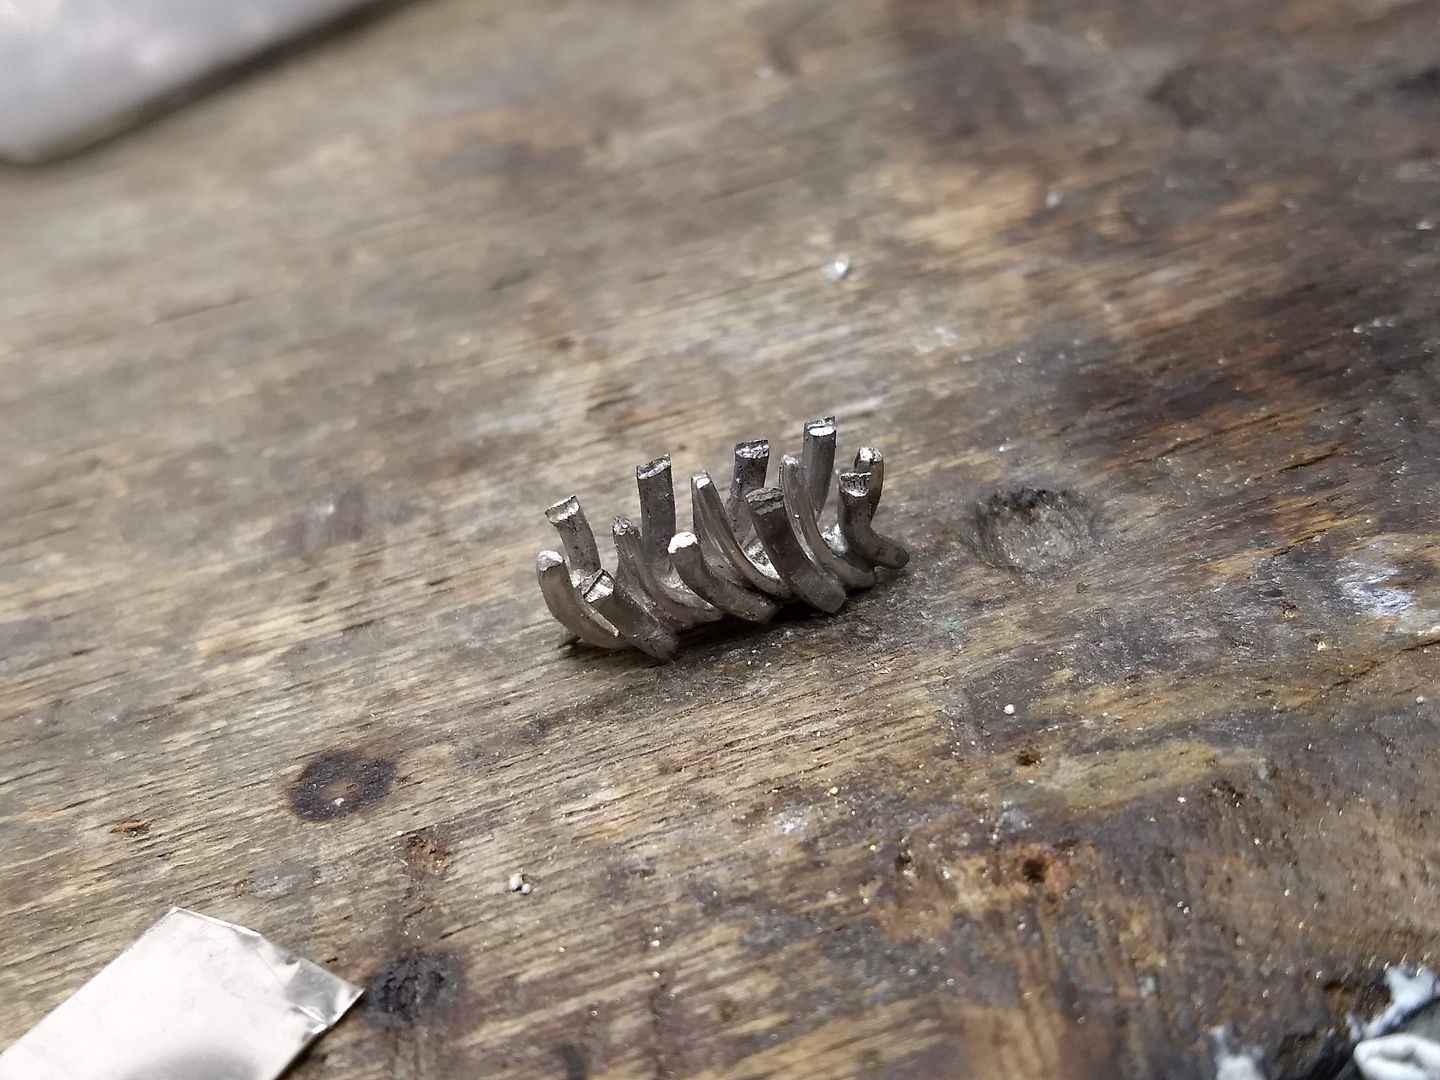
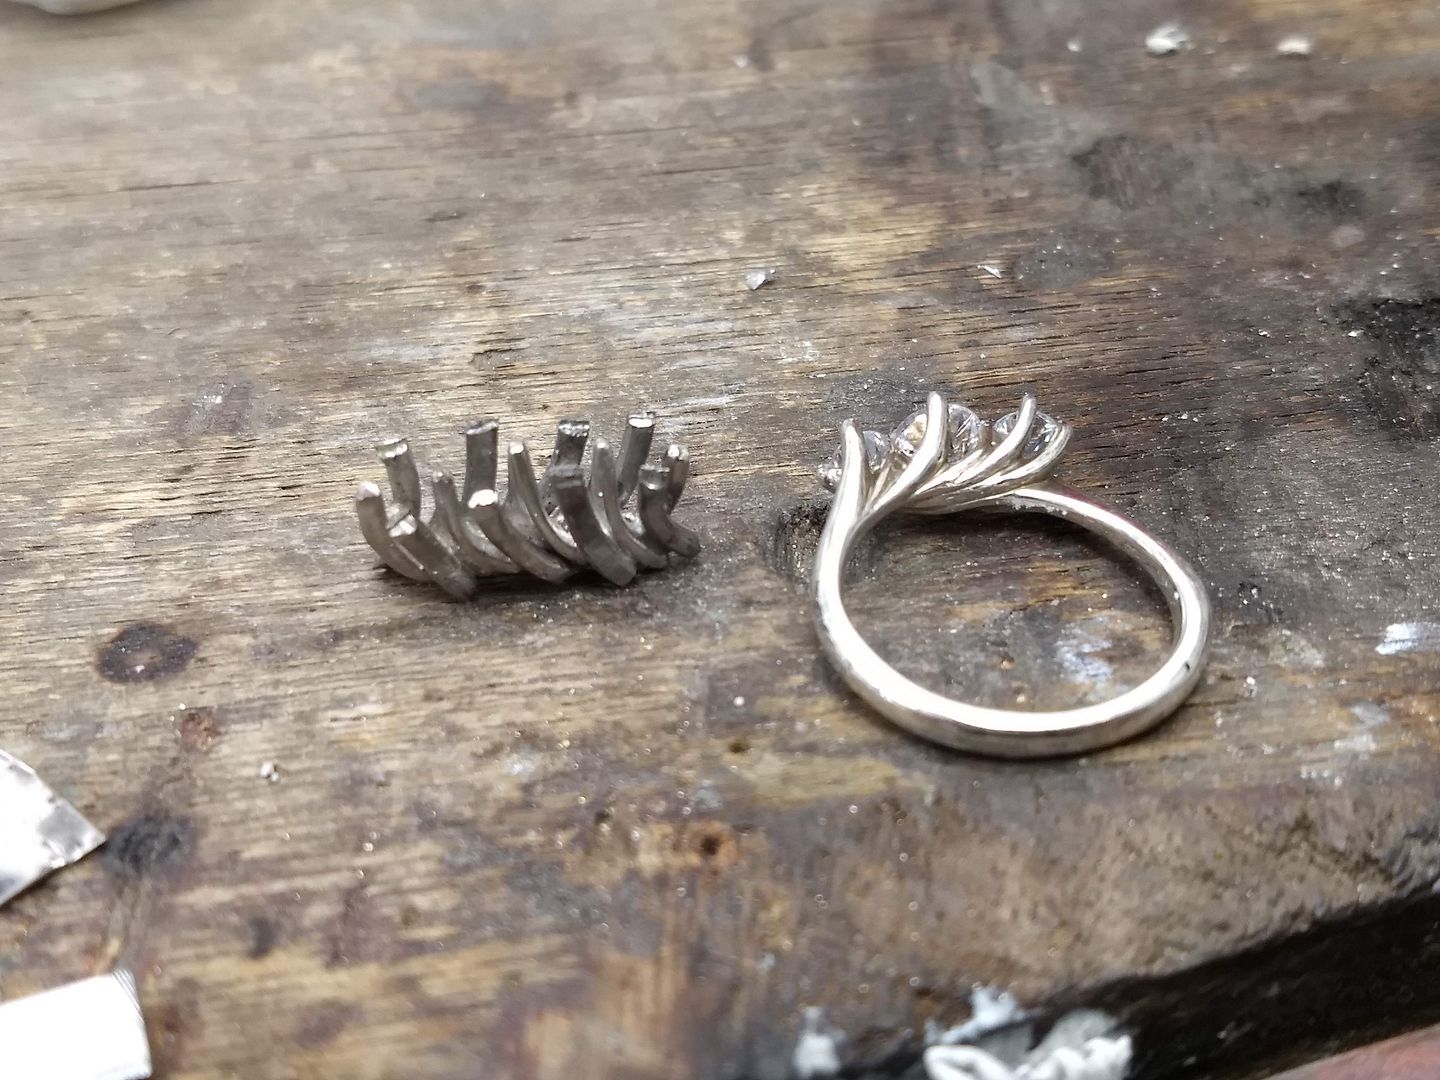
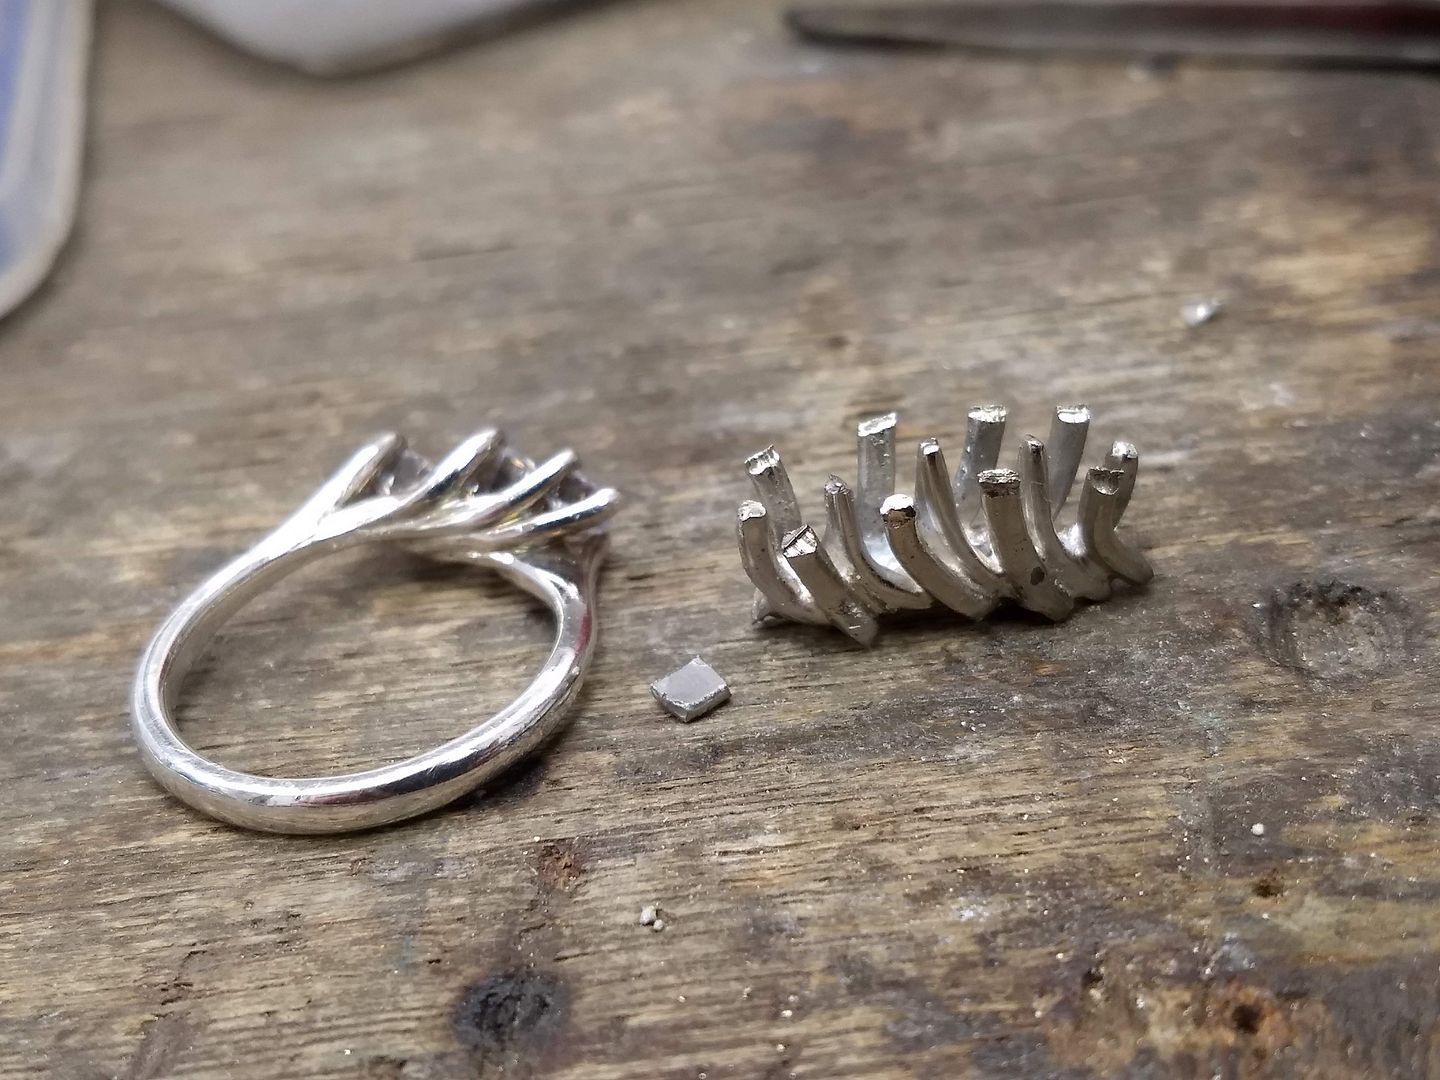
At this point the aim is to shape the setting to match the original. As you may have guessed, the customer has provided us with a silver sample to work from so we know the scale and layout. I use files and grinding tools to shape and trim the wires I have soldered in place:
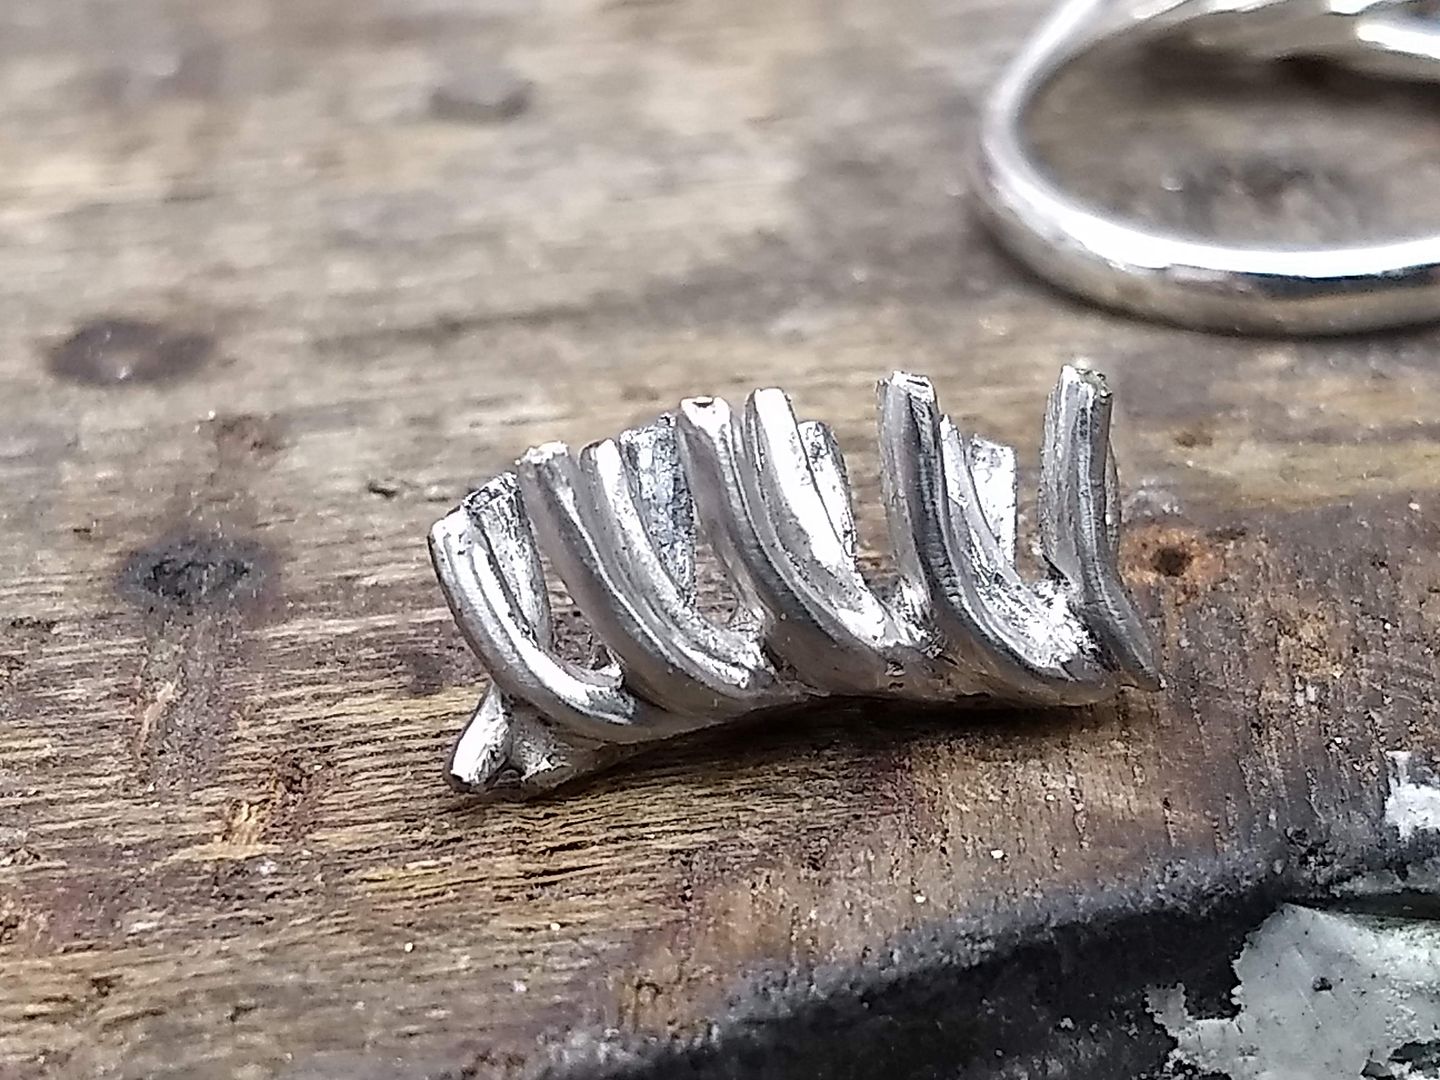
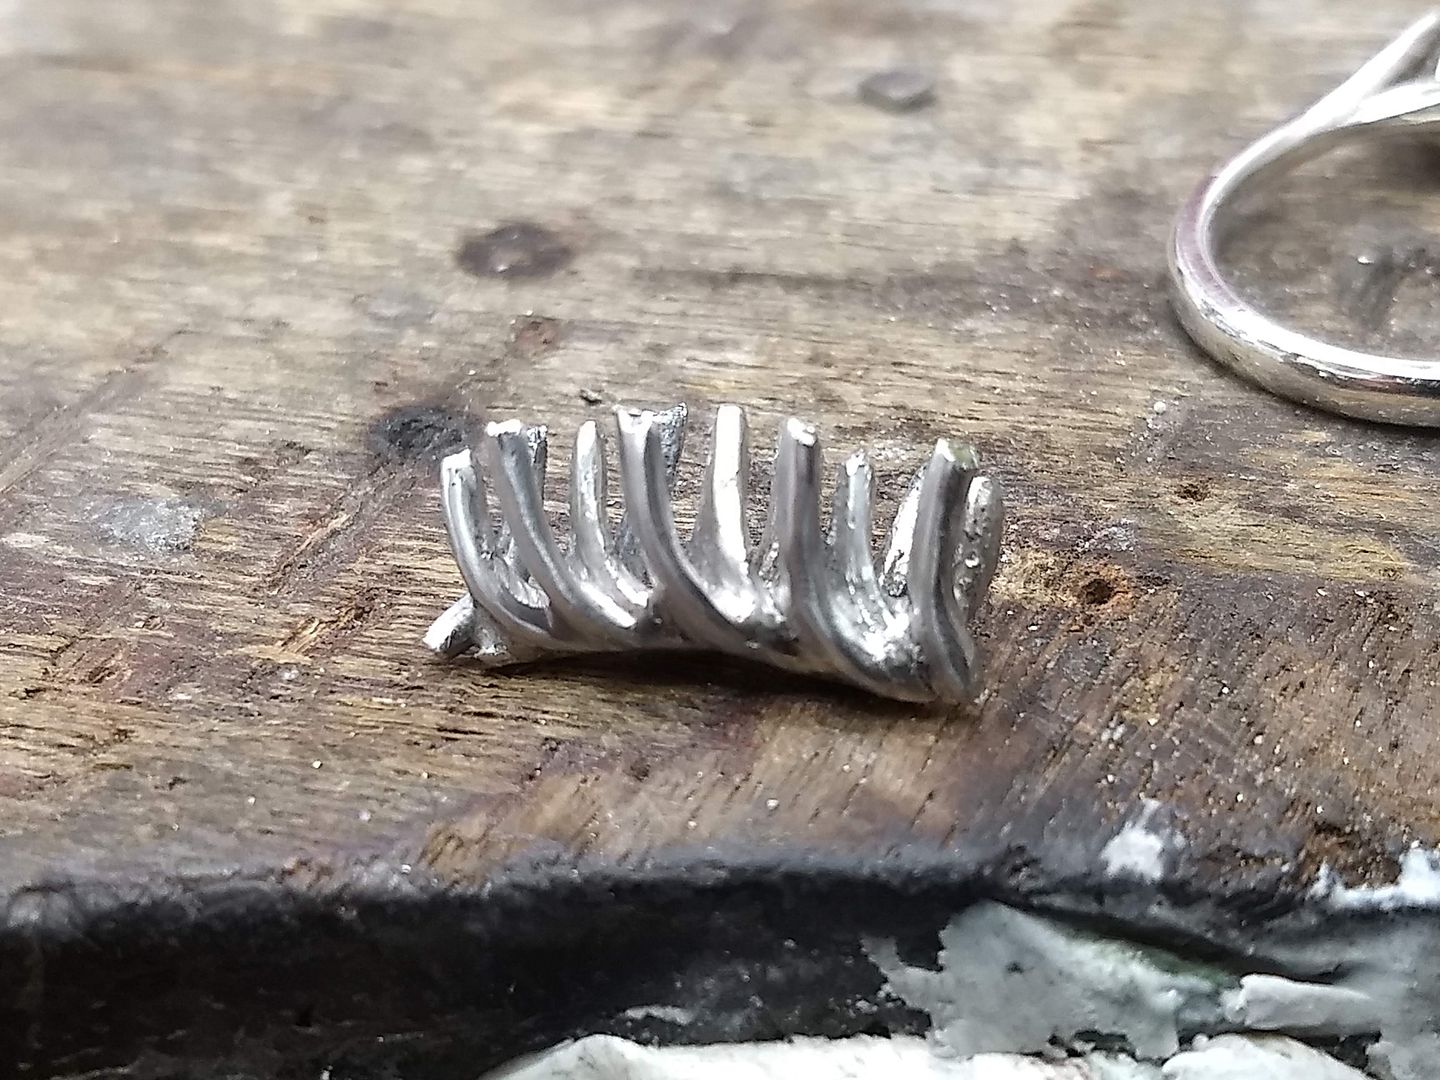
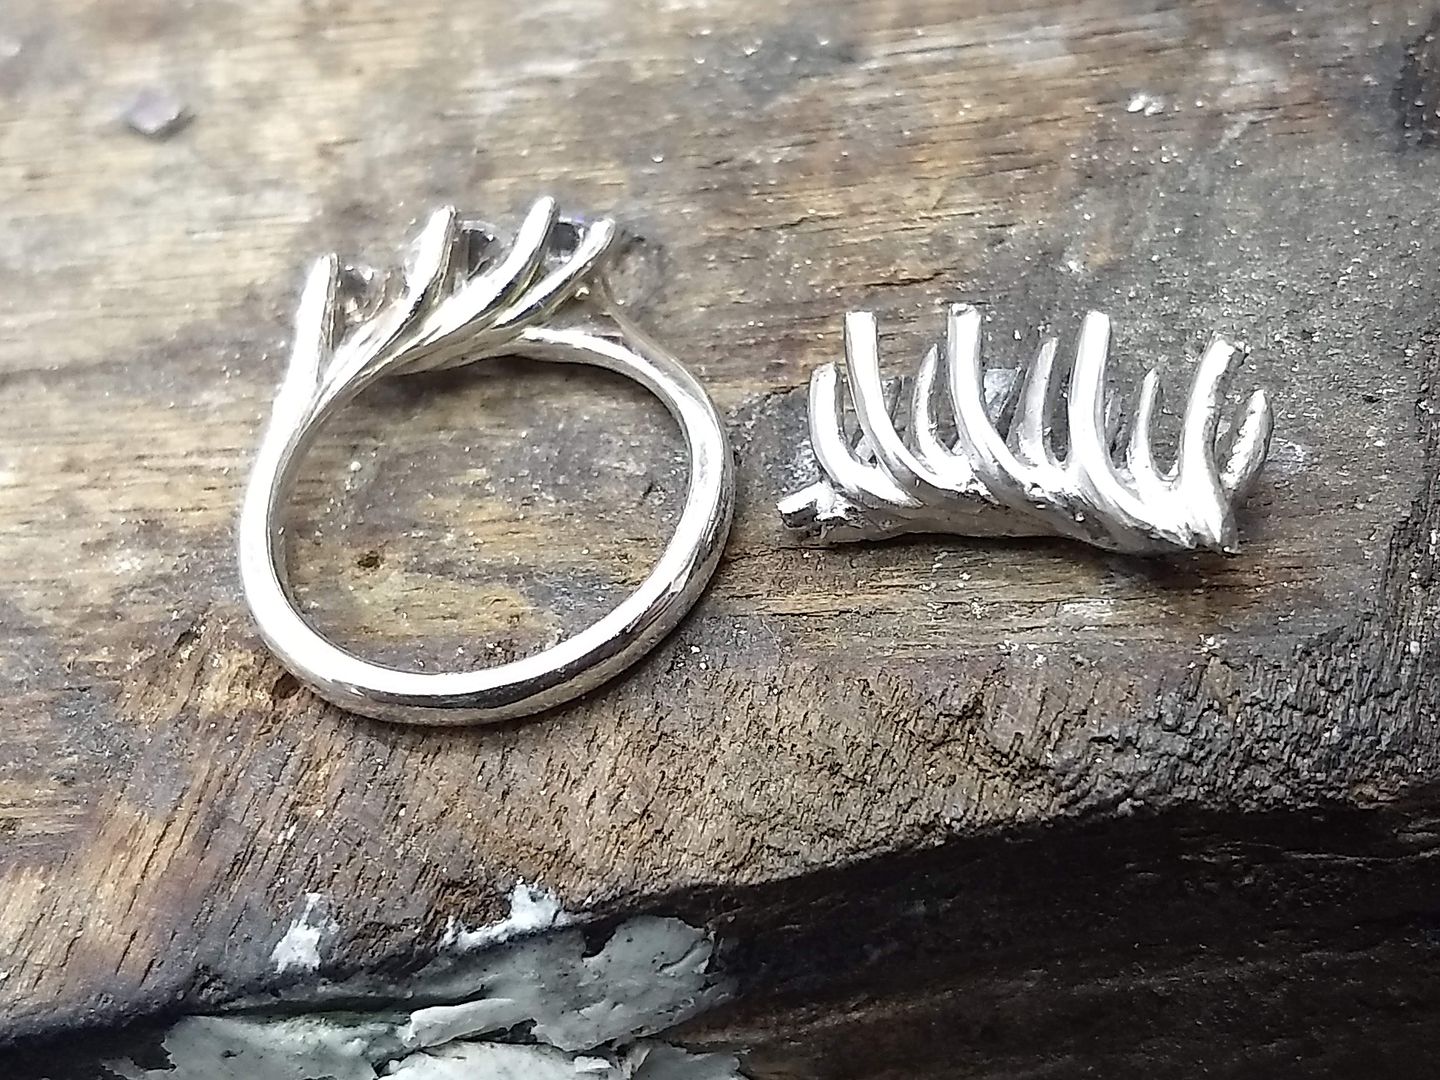
Another twist is that the customer wants the rings to interlock. They can never sit perfect because of the positioning of the shank but I have made the setting so that they sit comfortably side by side:
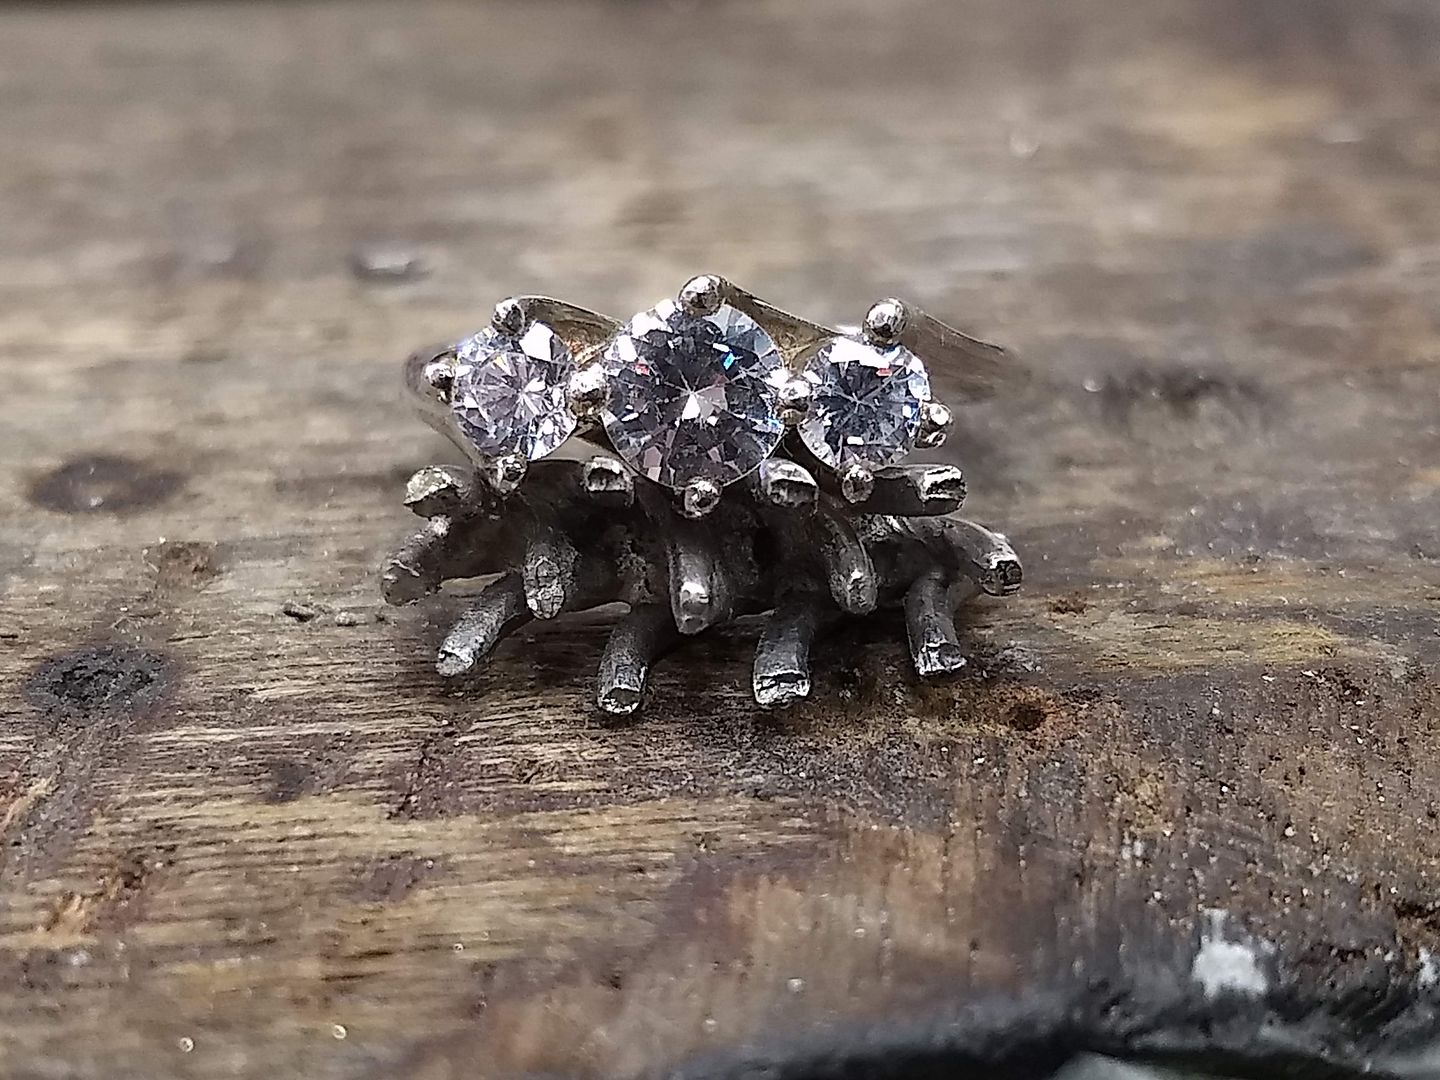
A little view from under the new head. You can see it now starting to come together:
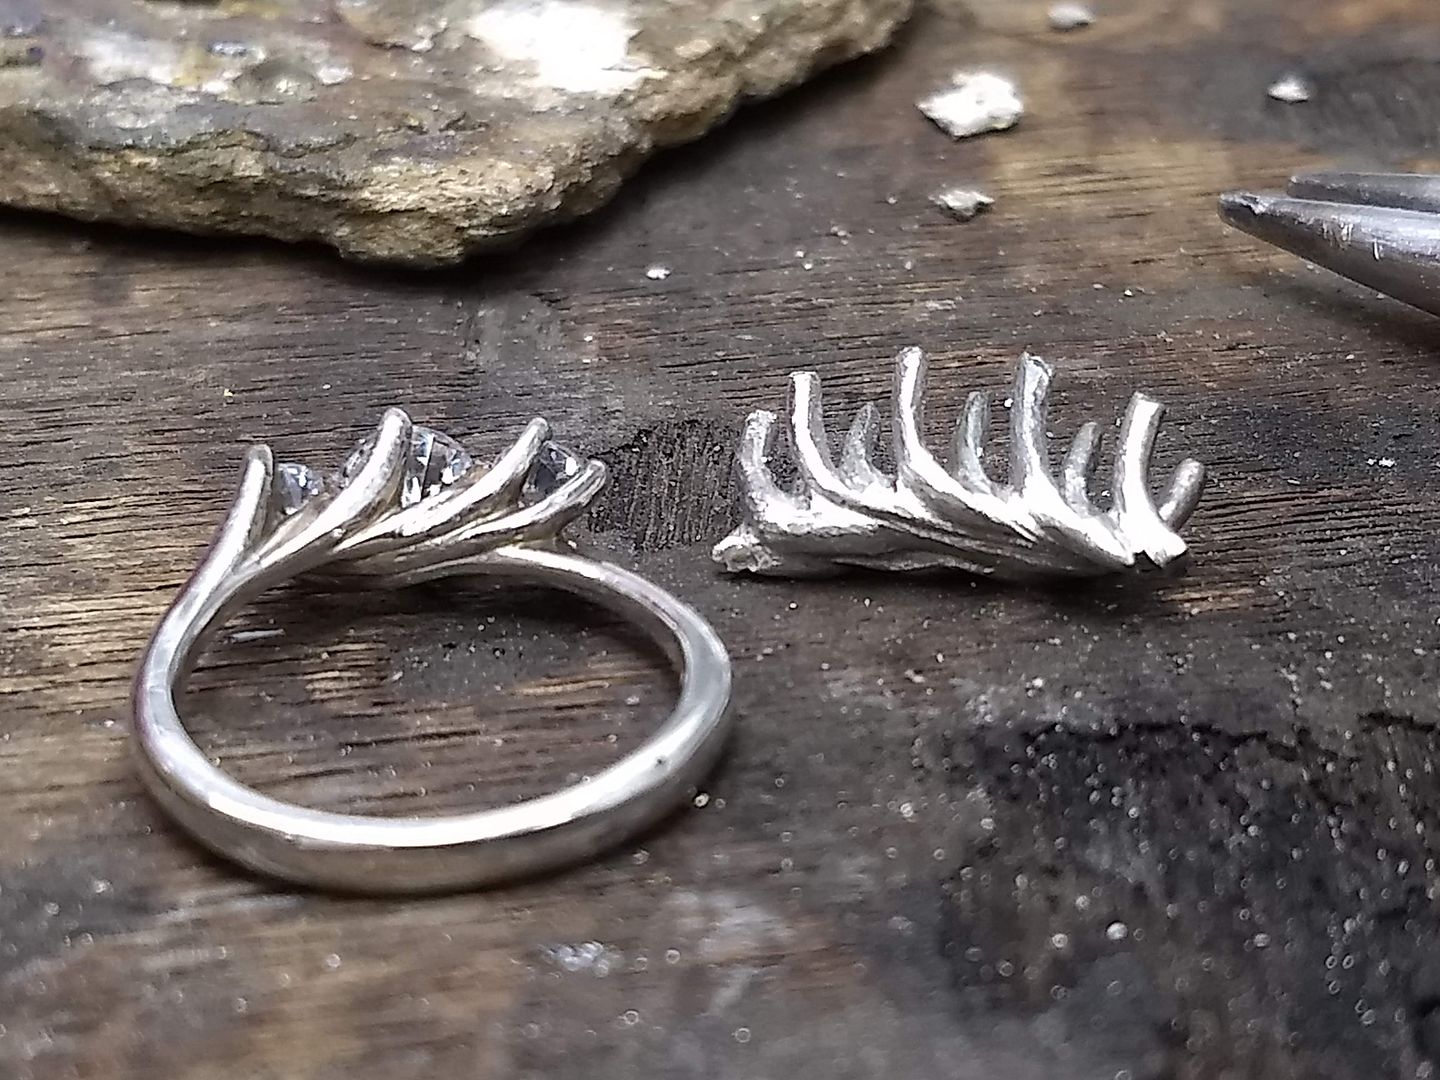
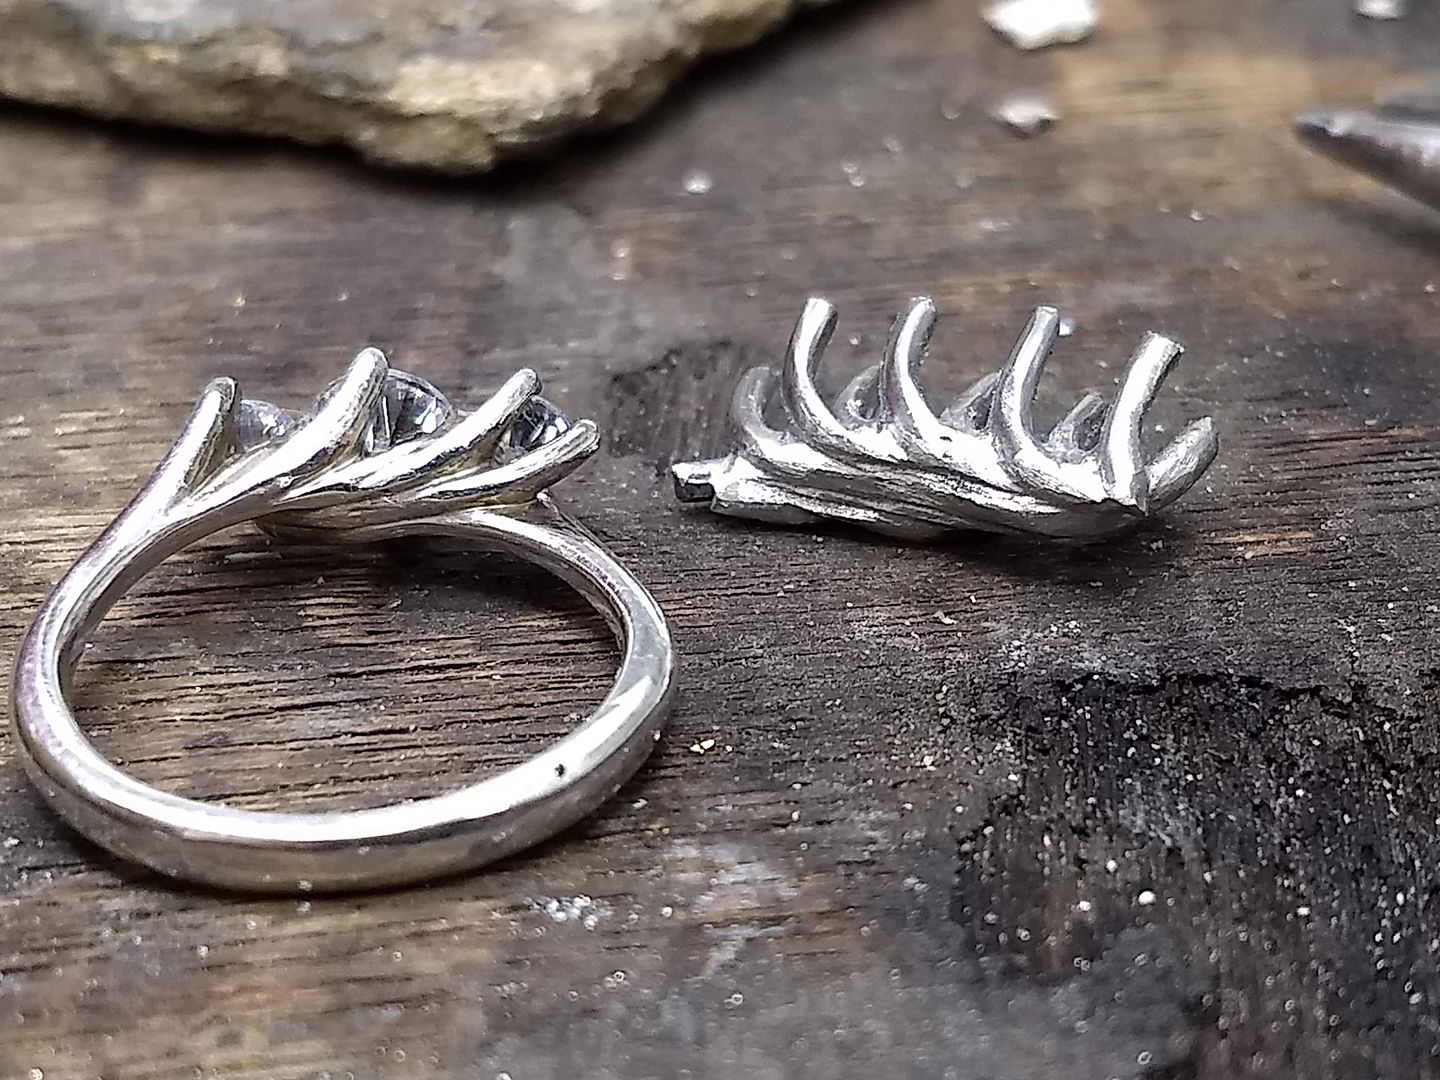
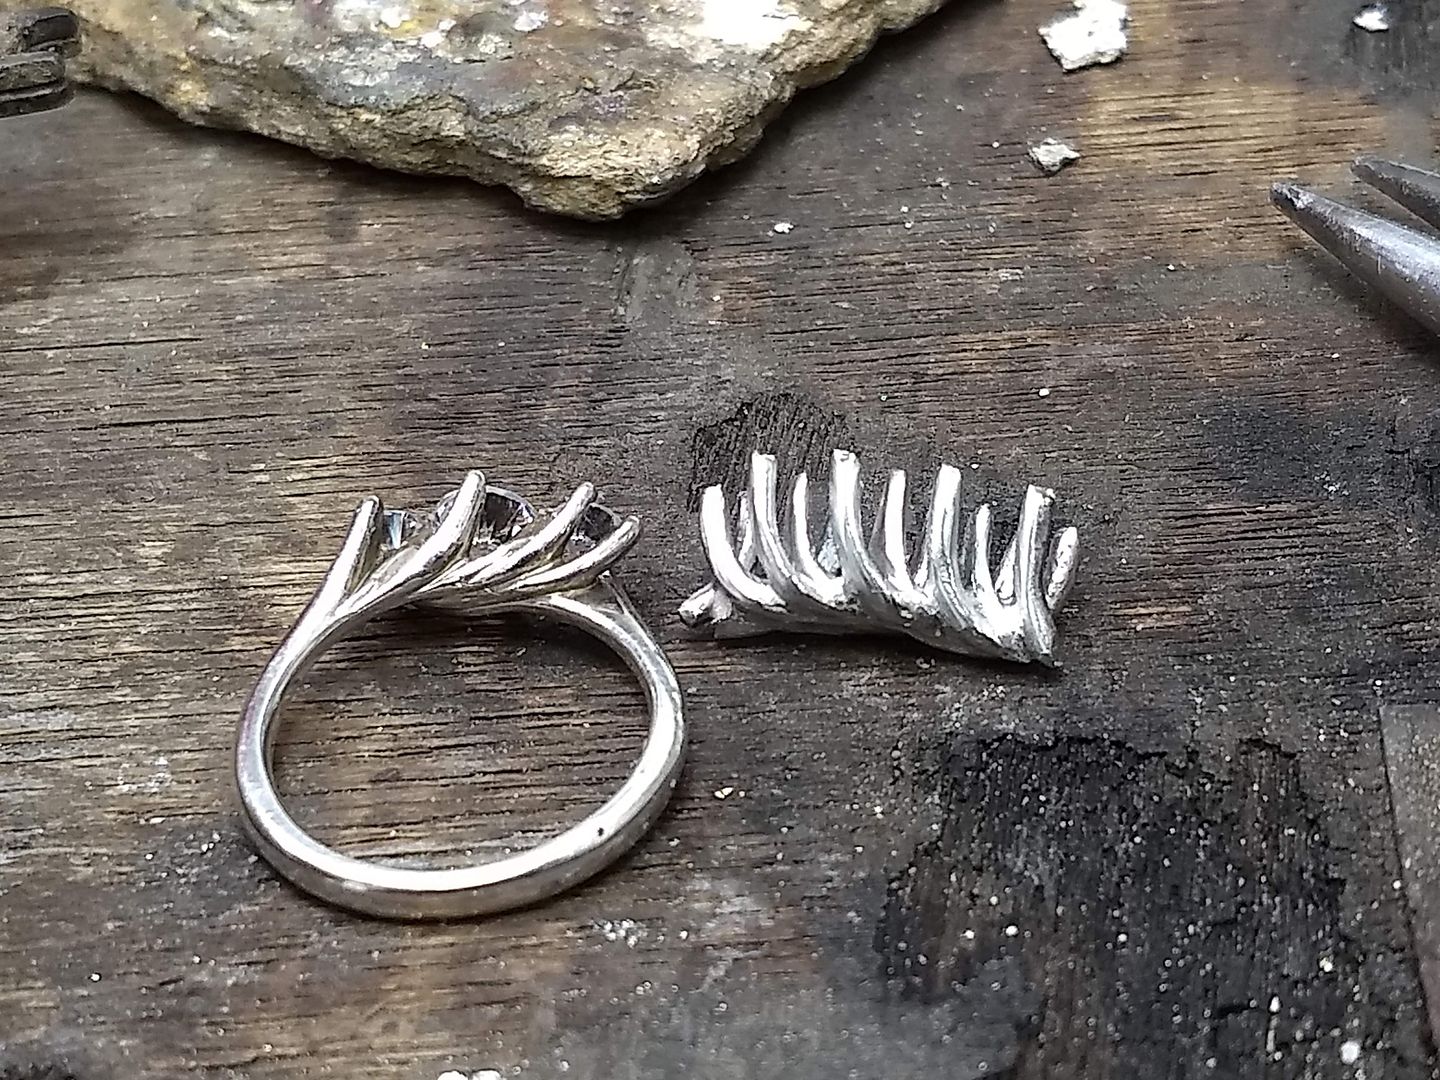
The head / setting is given a bit of a tidy and a check over to make sure there are no major errors:
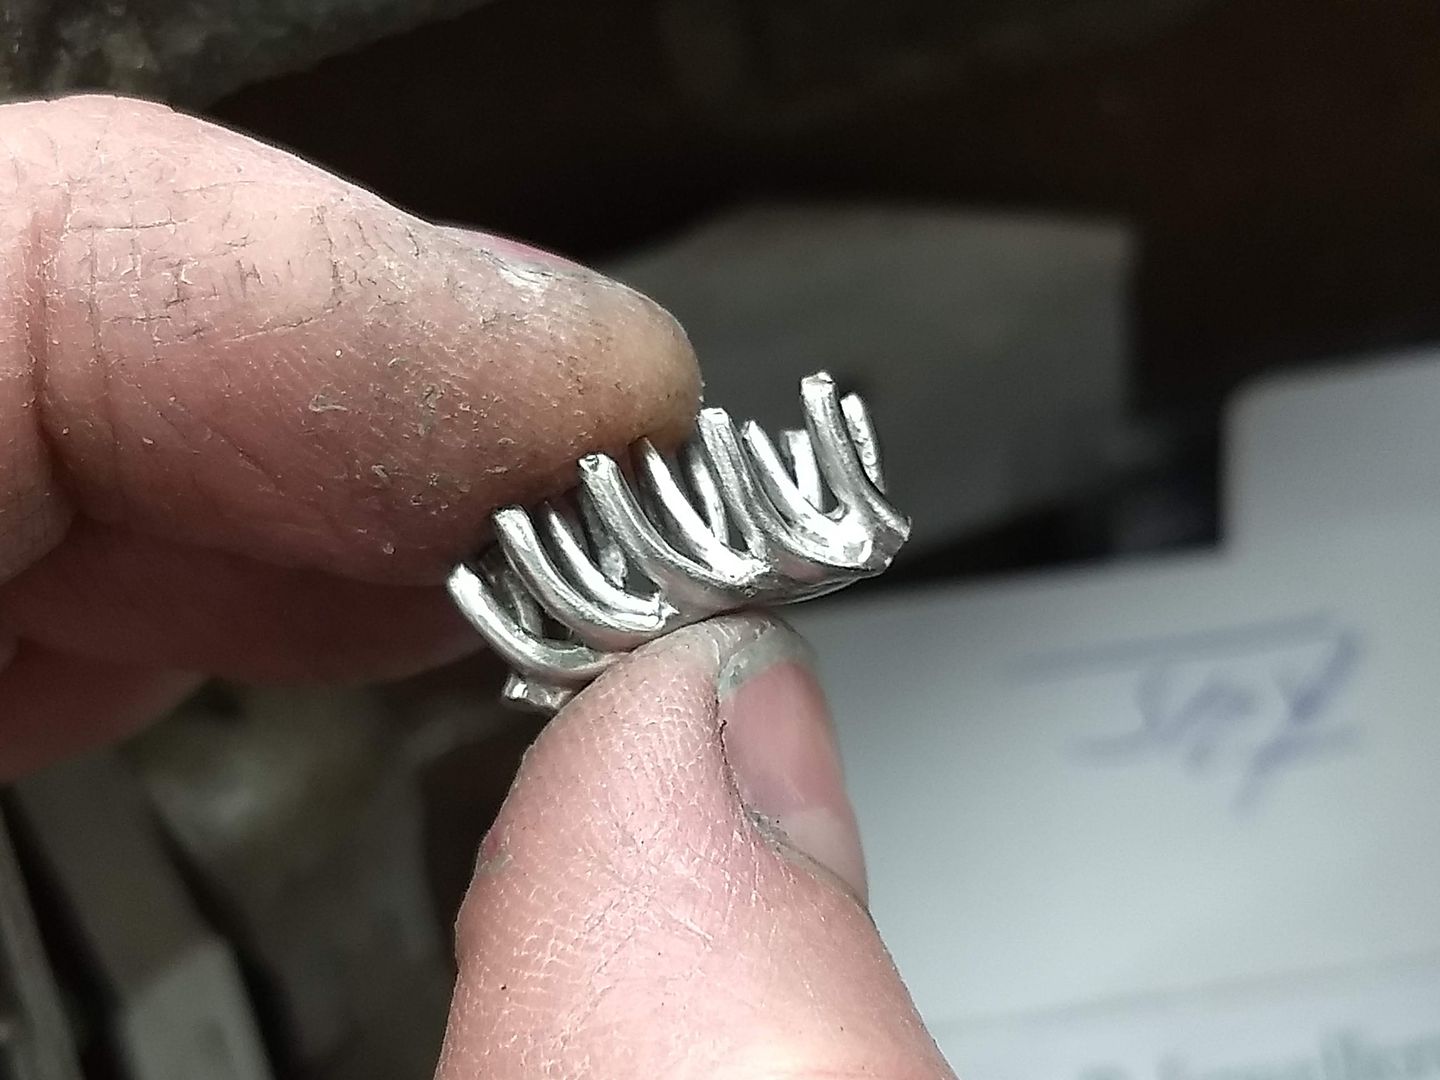
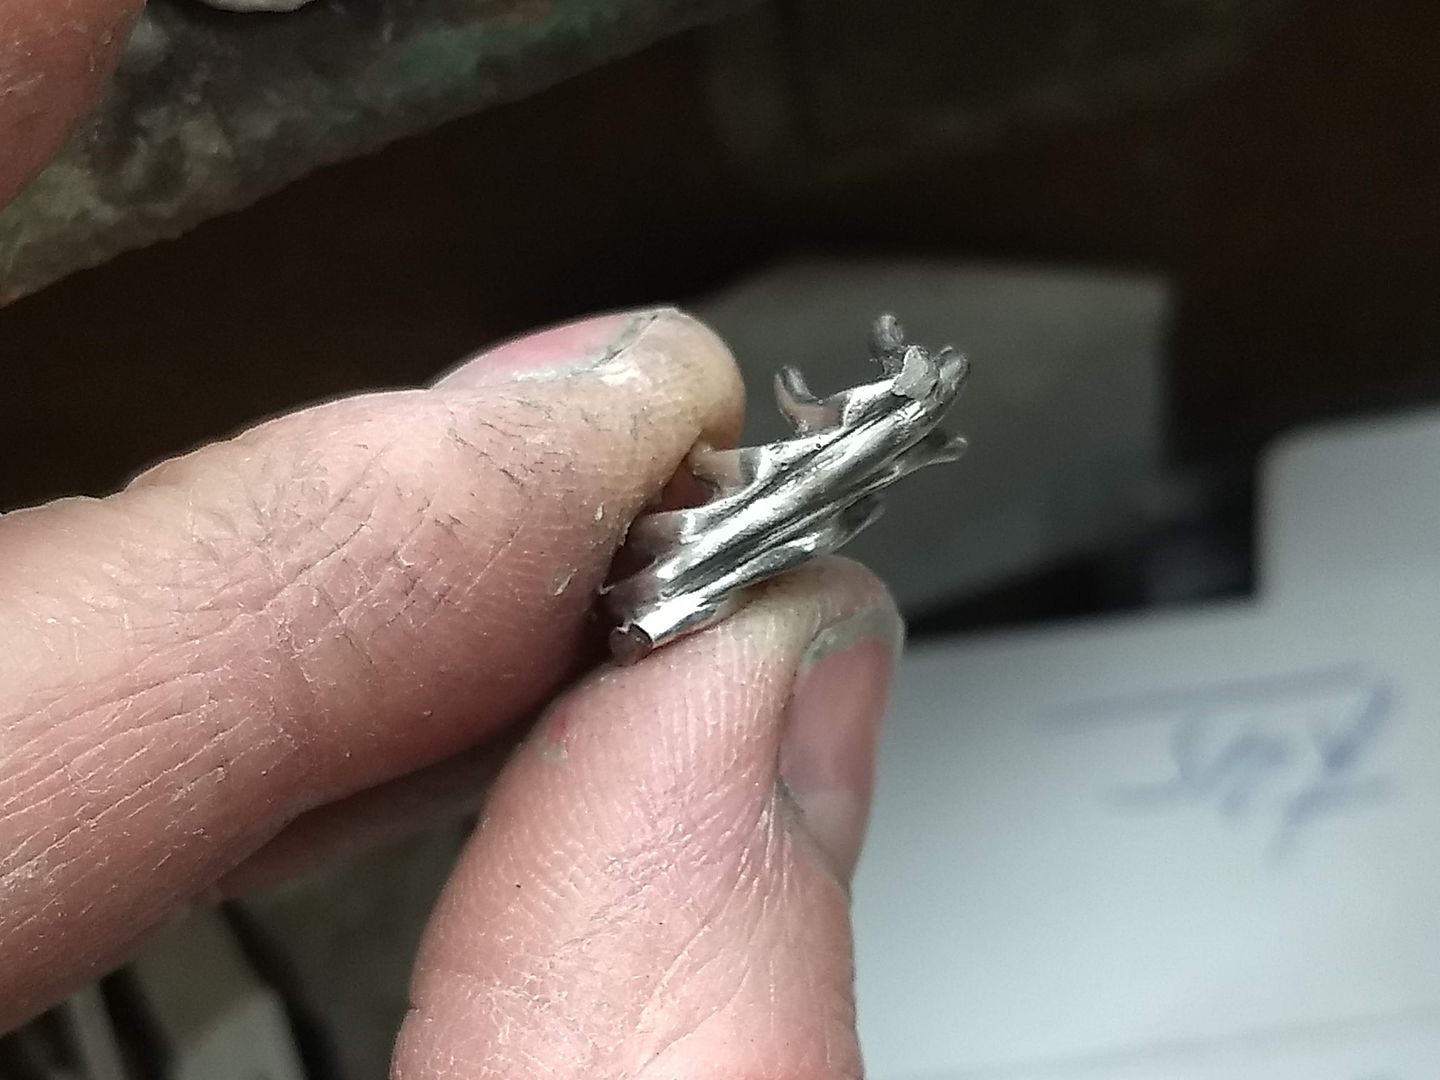
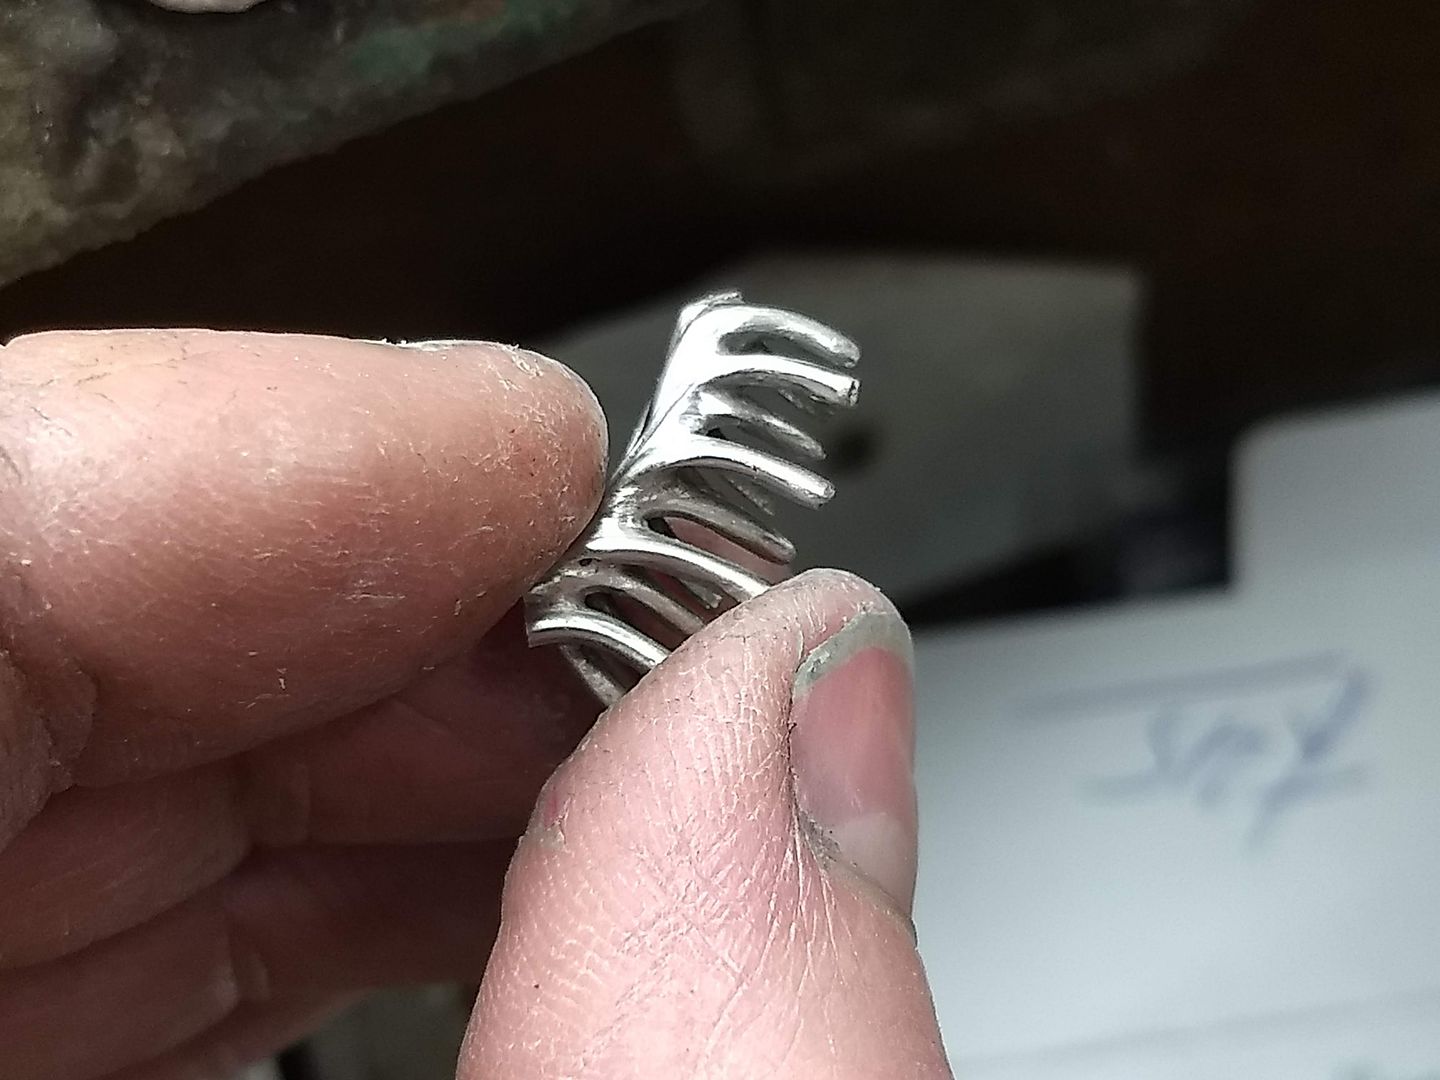
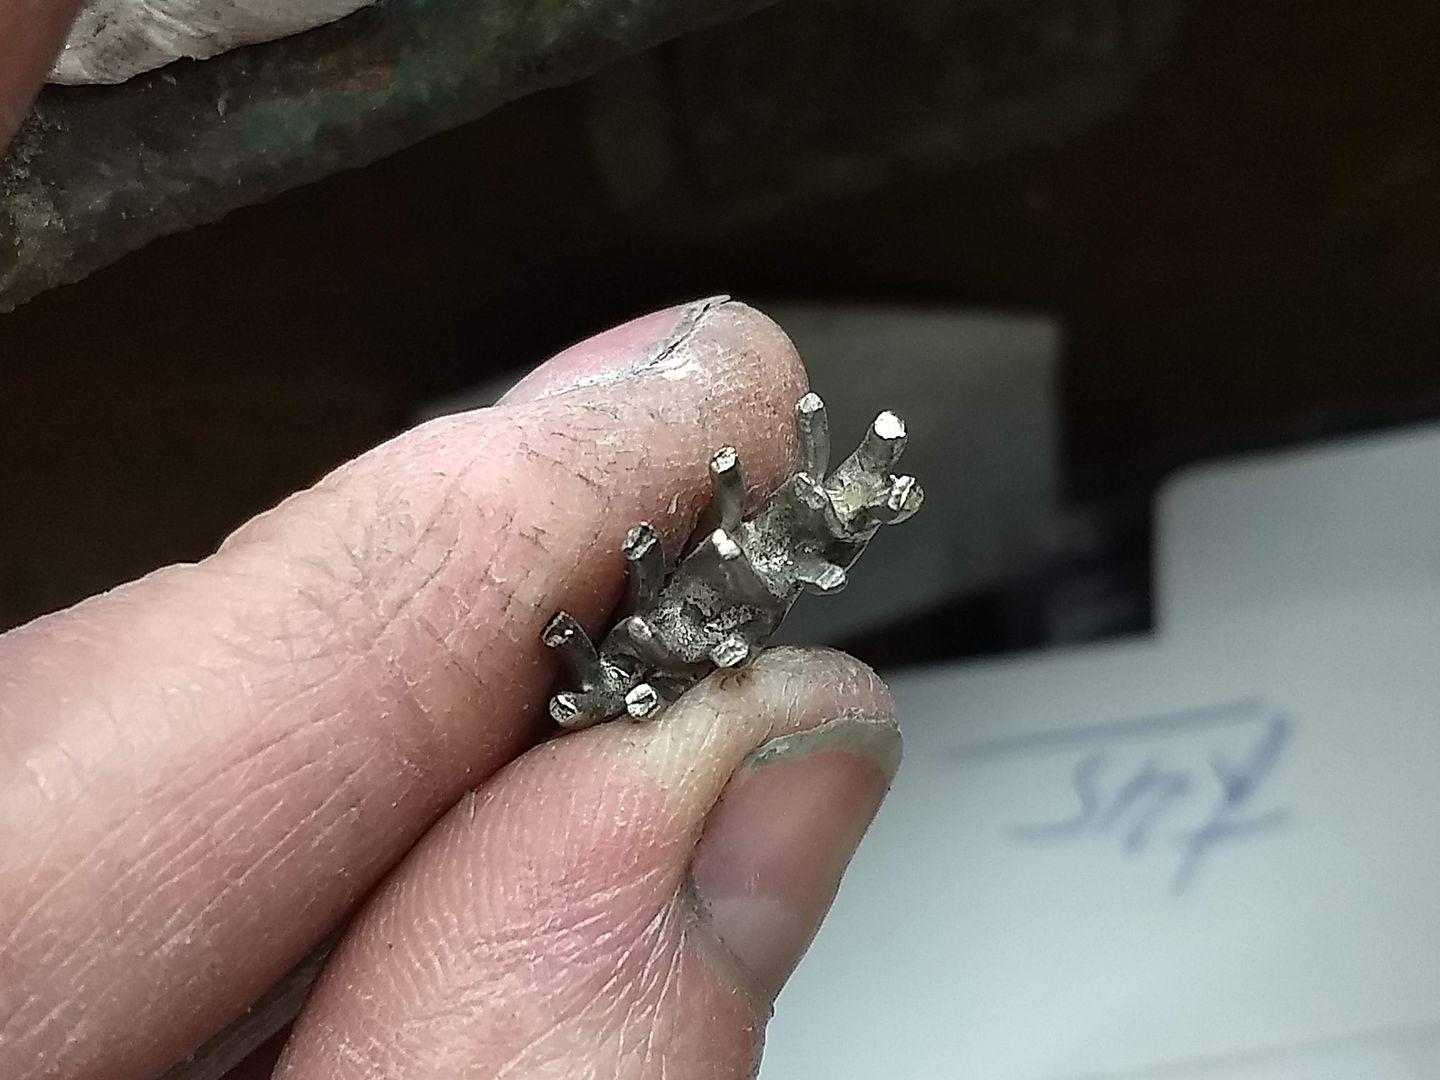
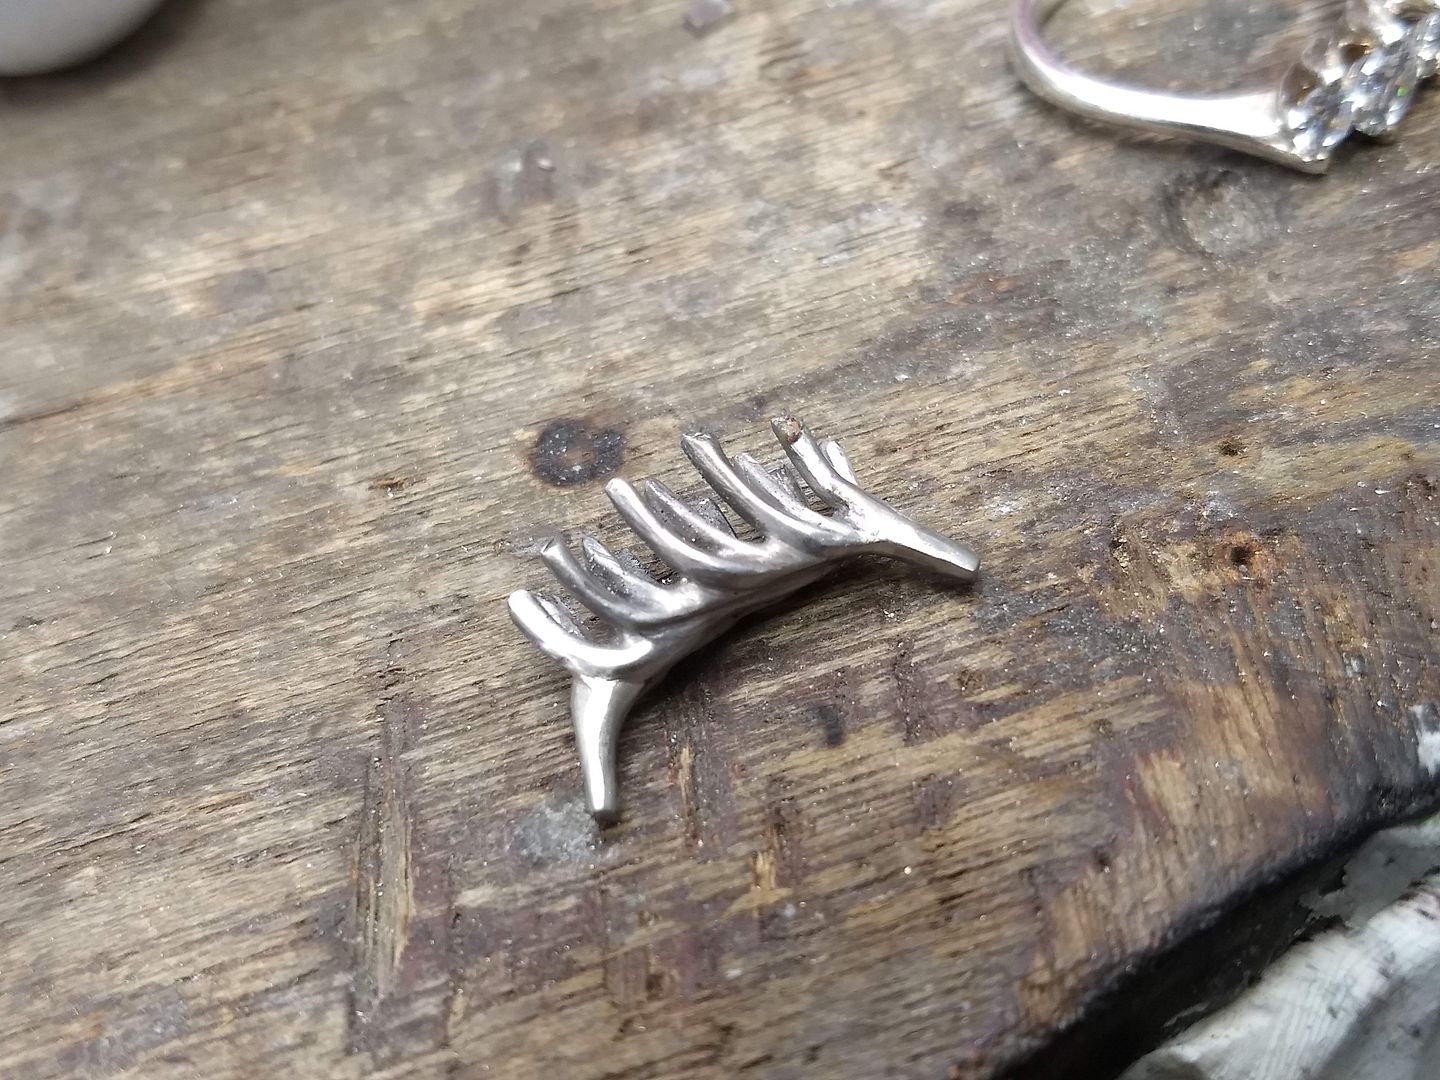
The setting joins the shank with platinum shoulders in between. These are soldered in and filed to shape:
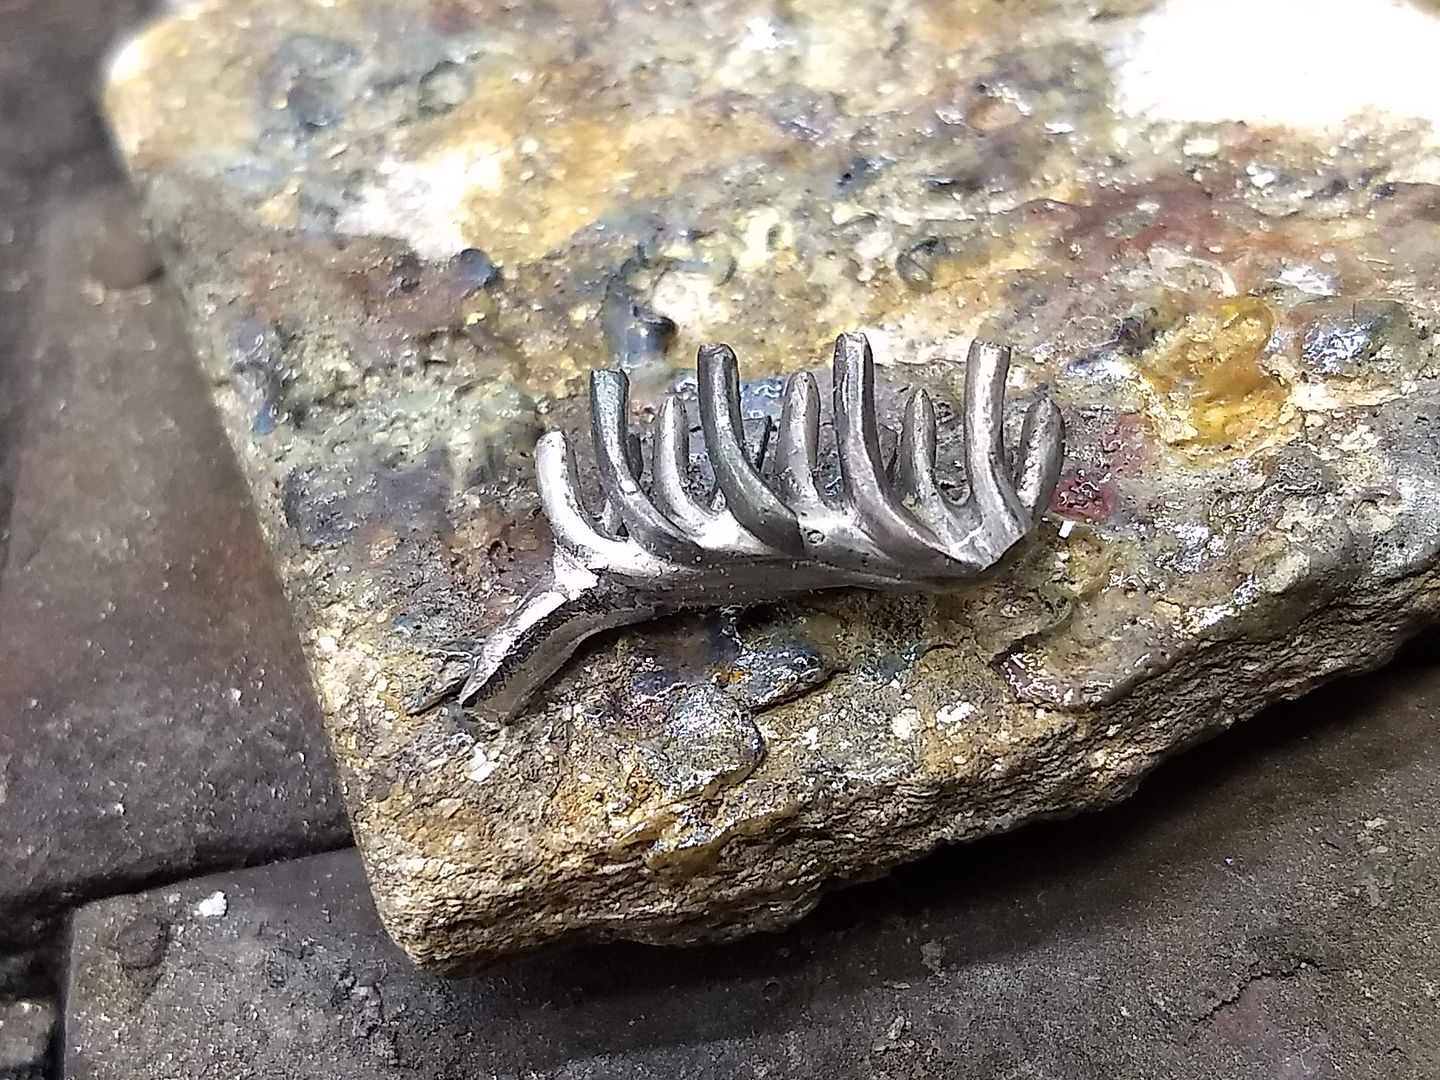
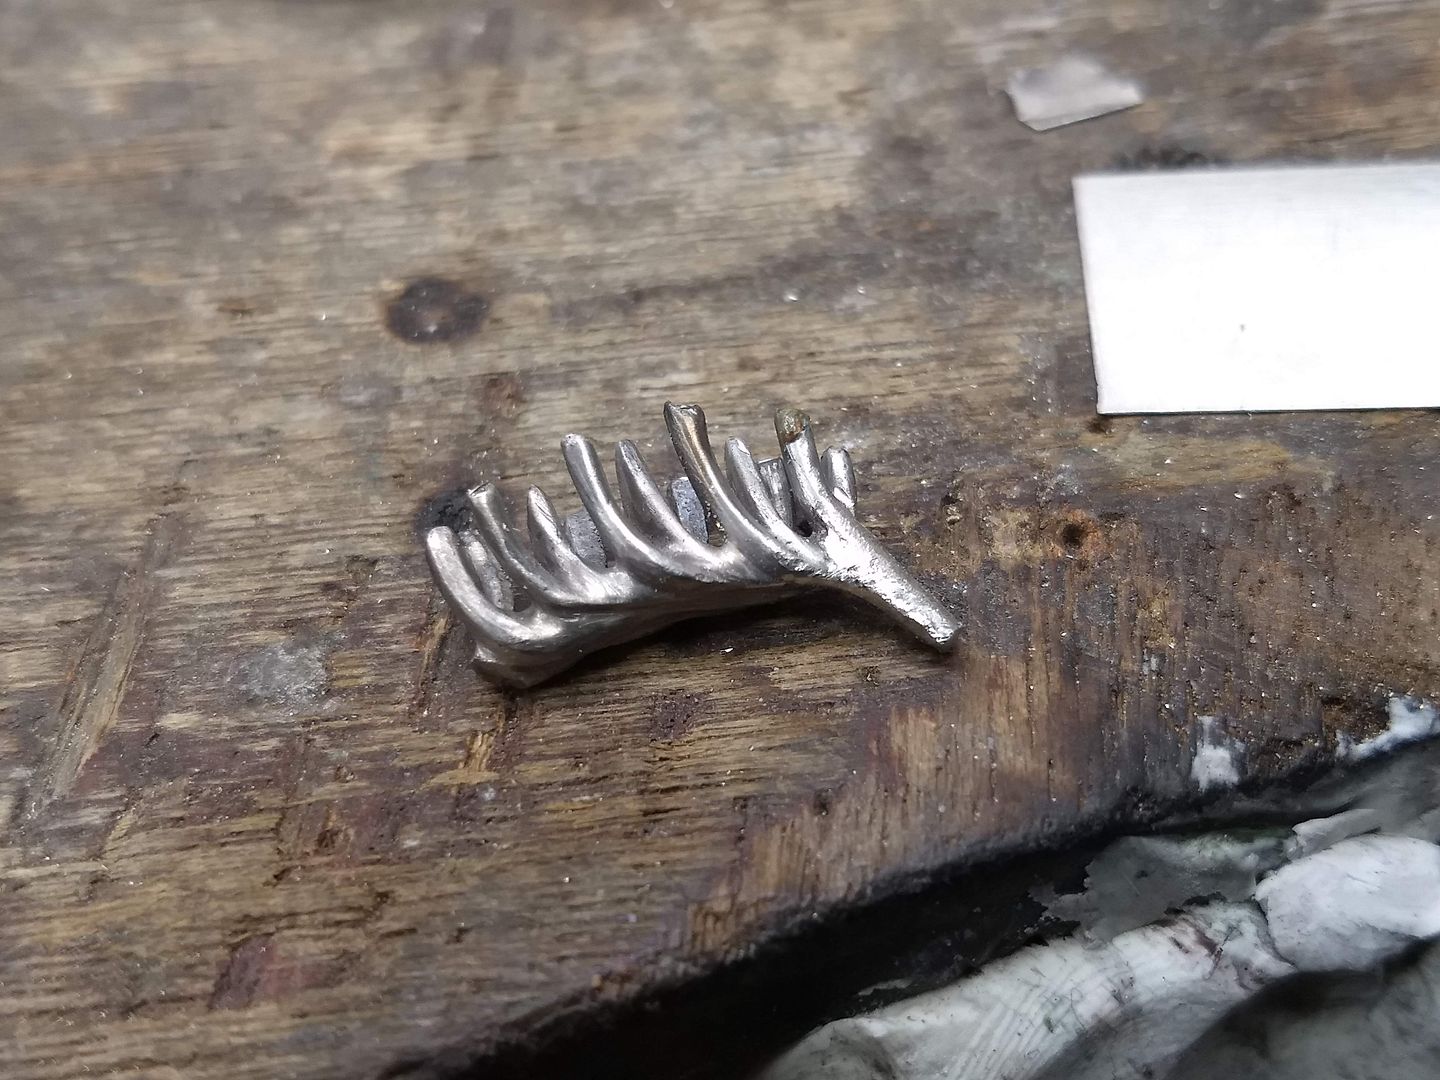
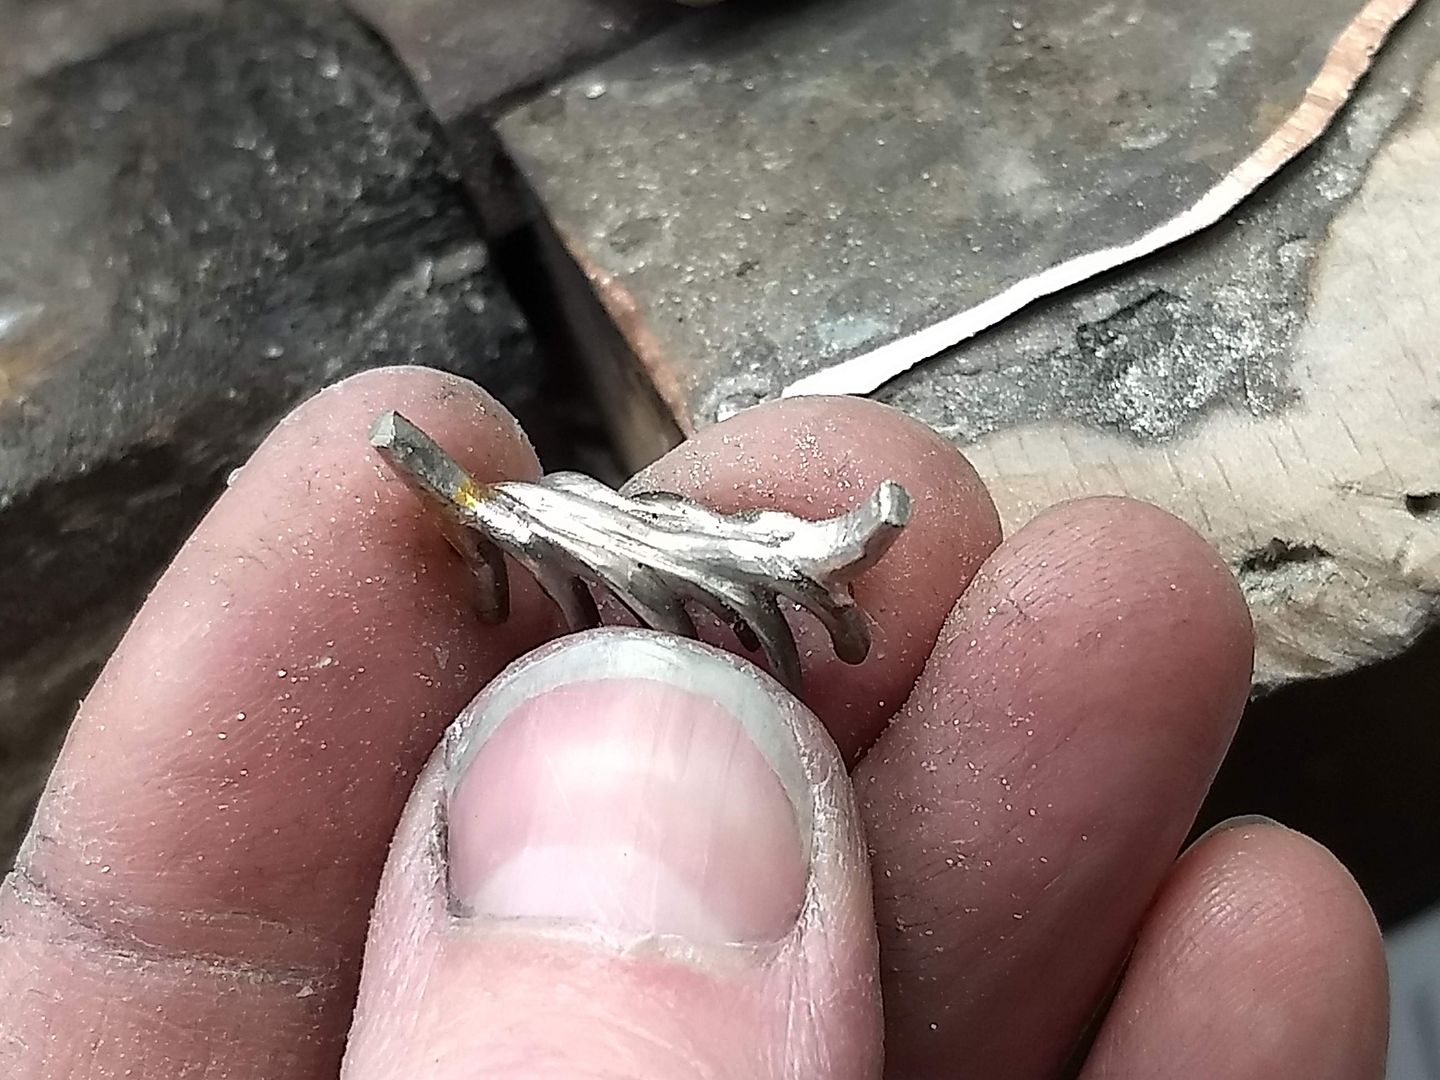
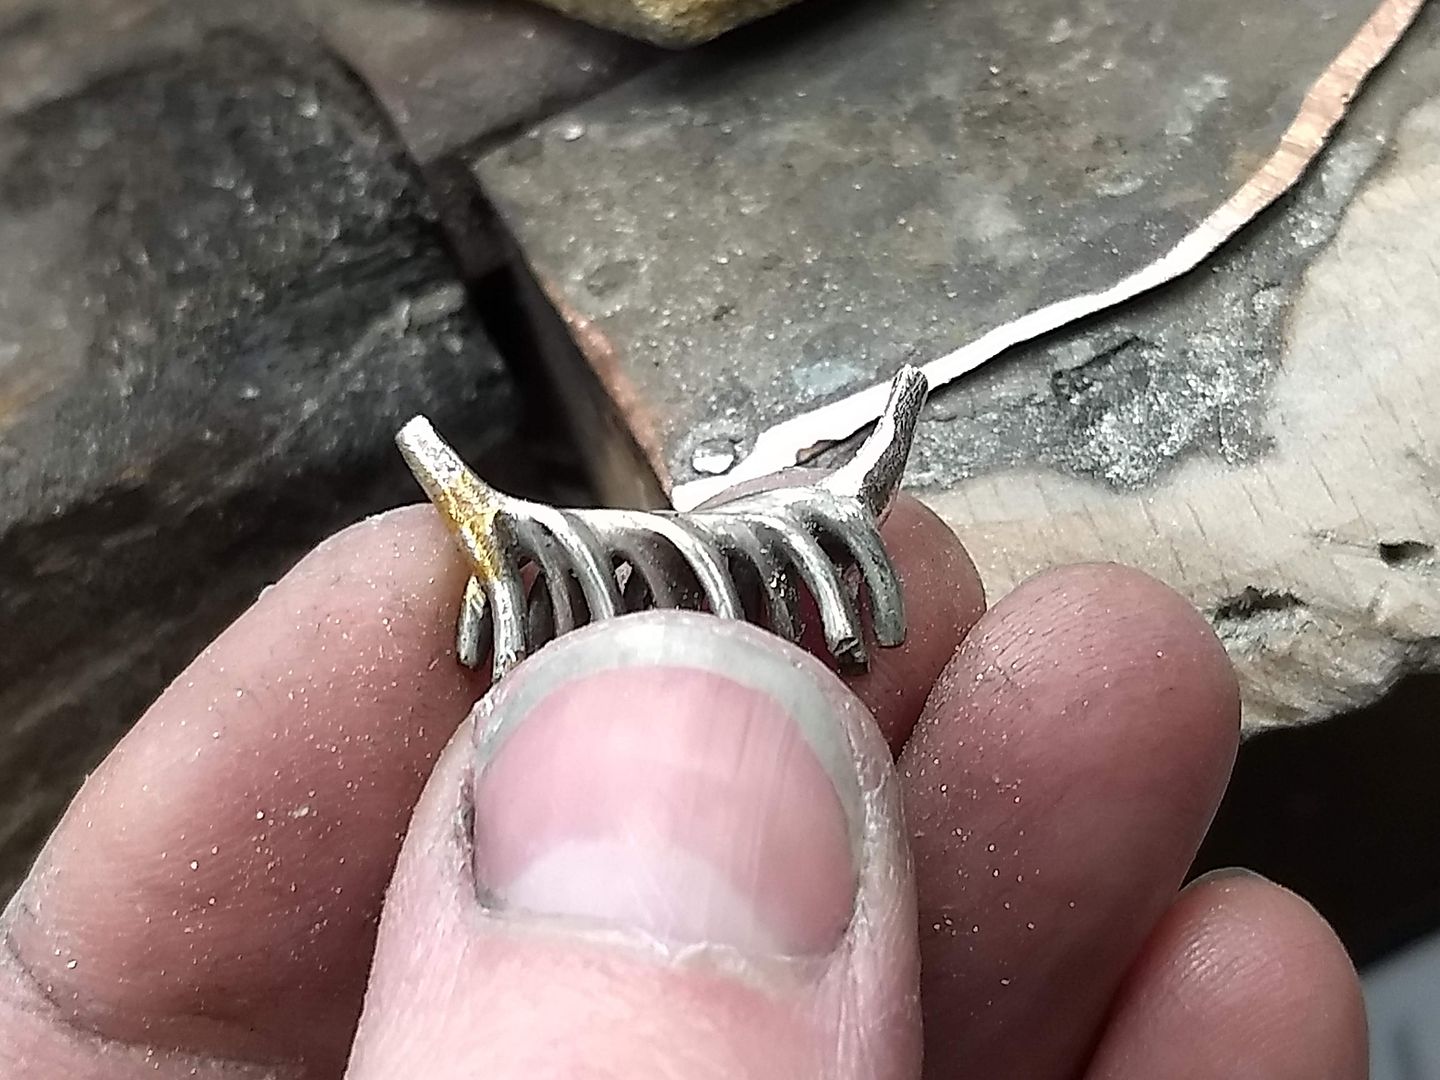
Another clean up after filing and it's looking like a ring component. The setting is made of something like 17 or 18 individual pieces and a whole lot of solder. The customer and I have decided that in the interests of my mental health and my eyes we should have this cast to produce a solid format so that If he decides to have another made in future we can do so without having to spend a good many hours and pounds doing it all again in wire. Before i get it off to our casting company (platinum casting is something we don't do in house) I attach a yellow shank so the customer can see what it might look like at the end.
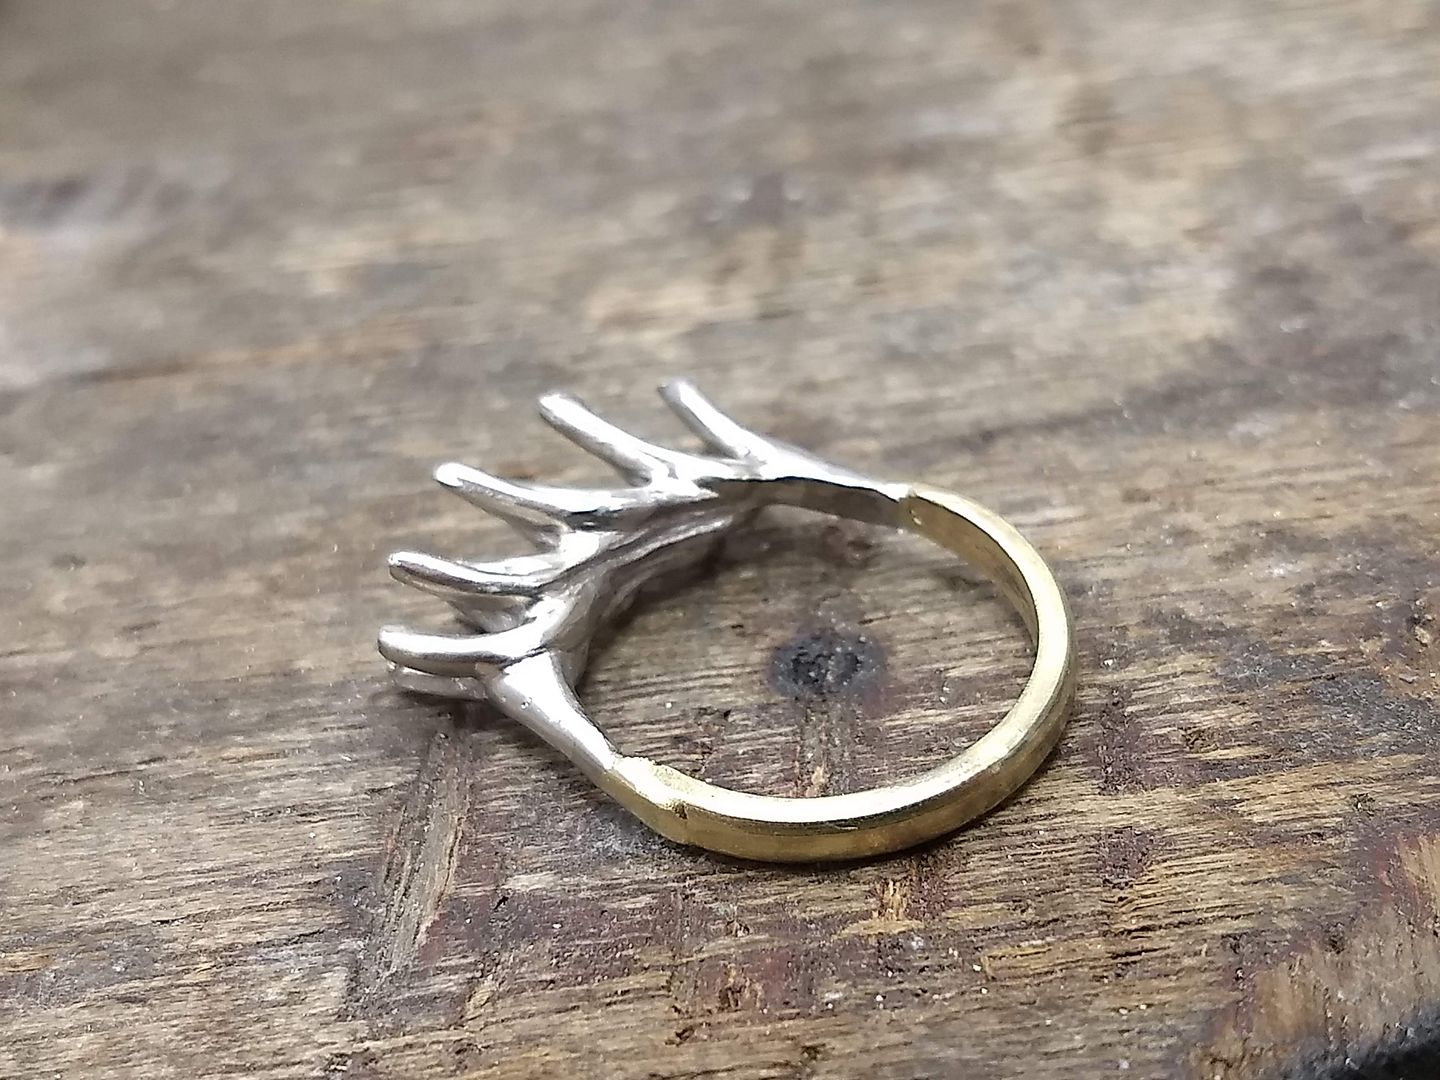
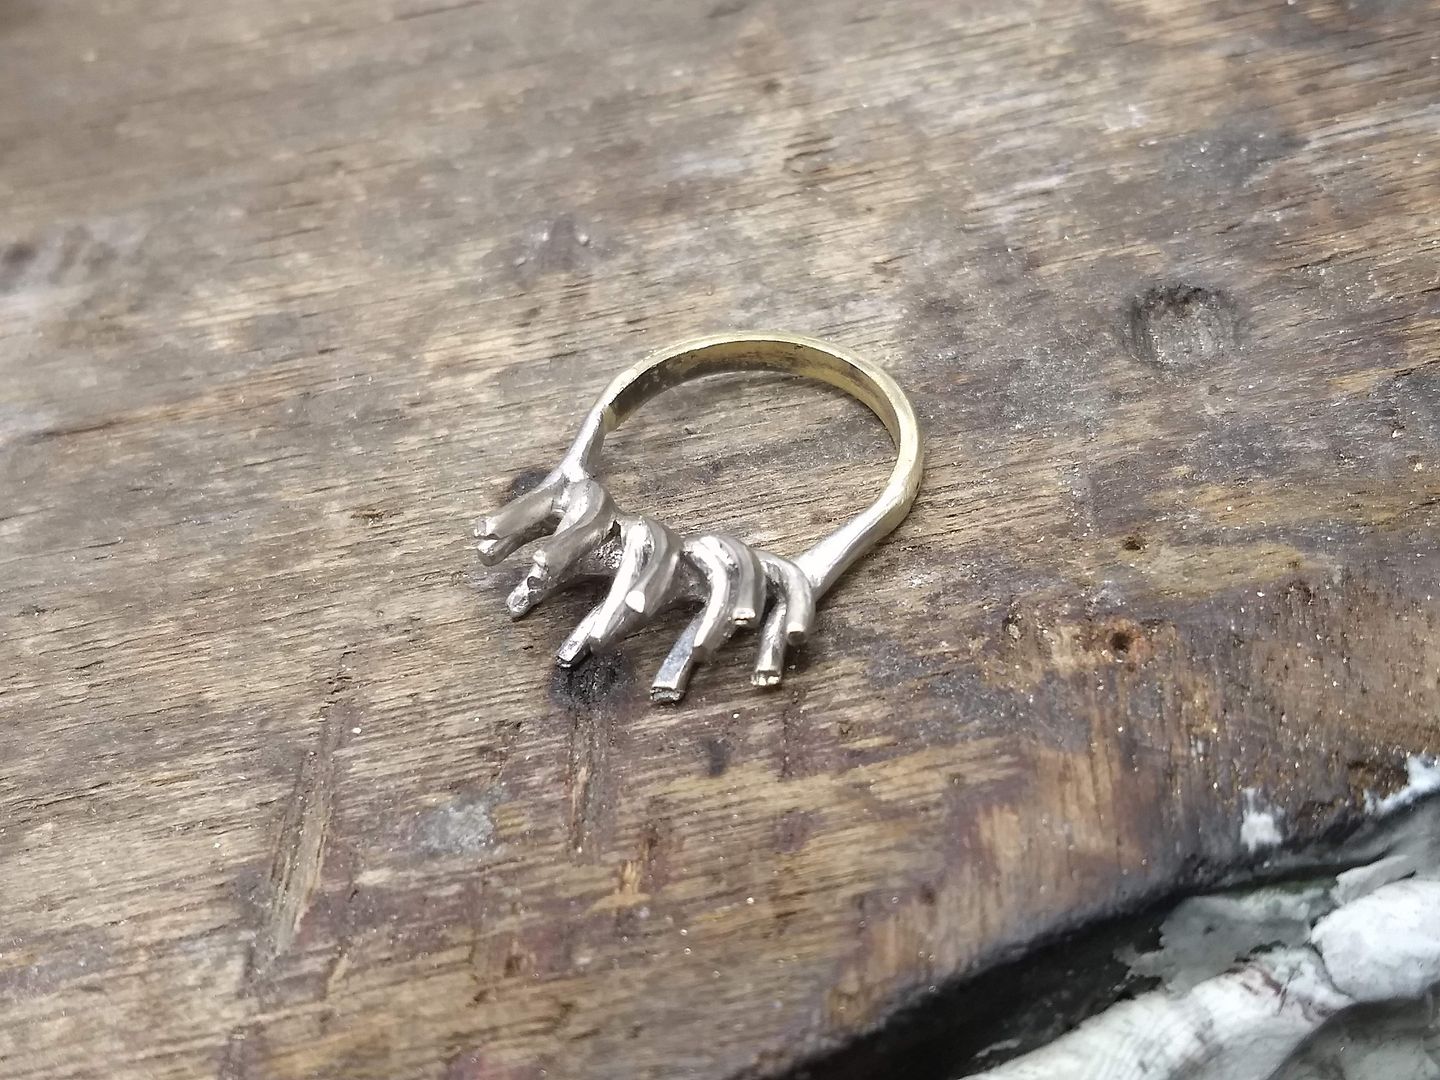
Here are all the elements in the equation.
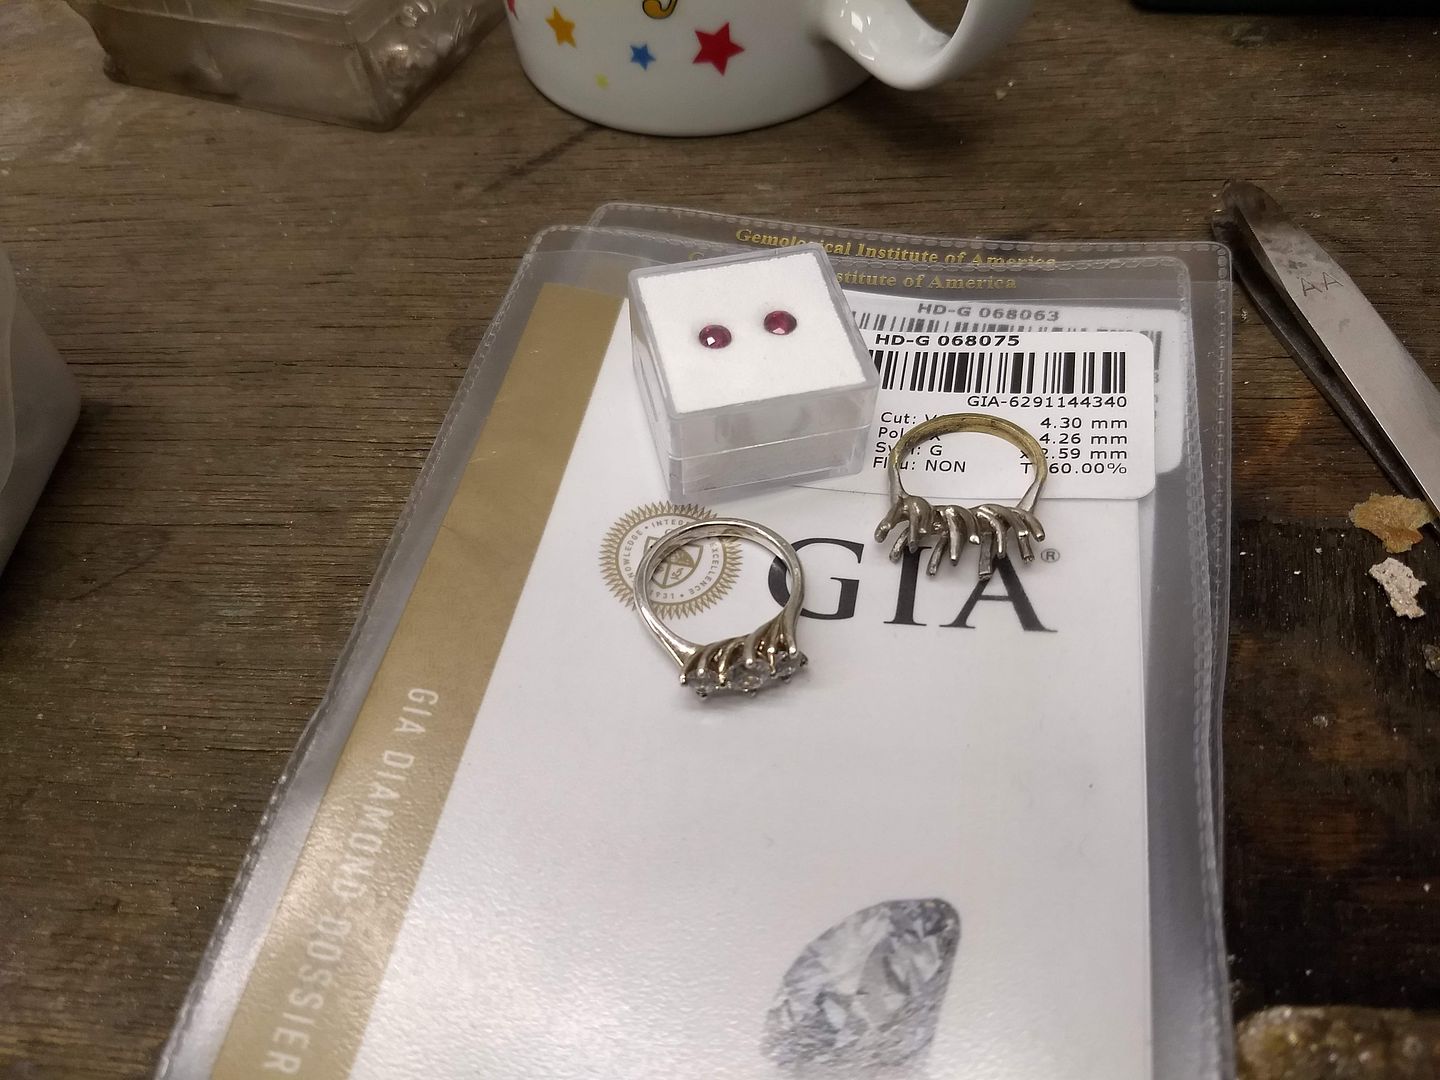
The cast came back after a couple of weeks and we can now get on with the rest of the build and setting the stones:
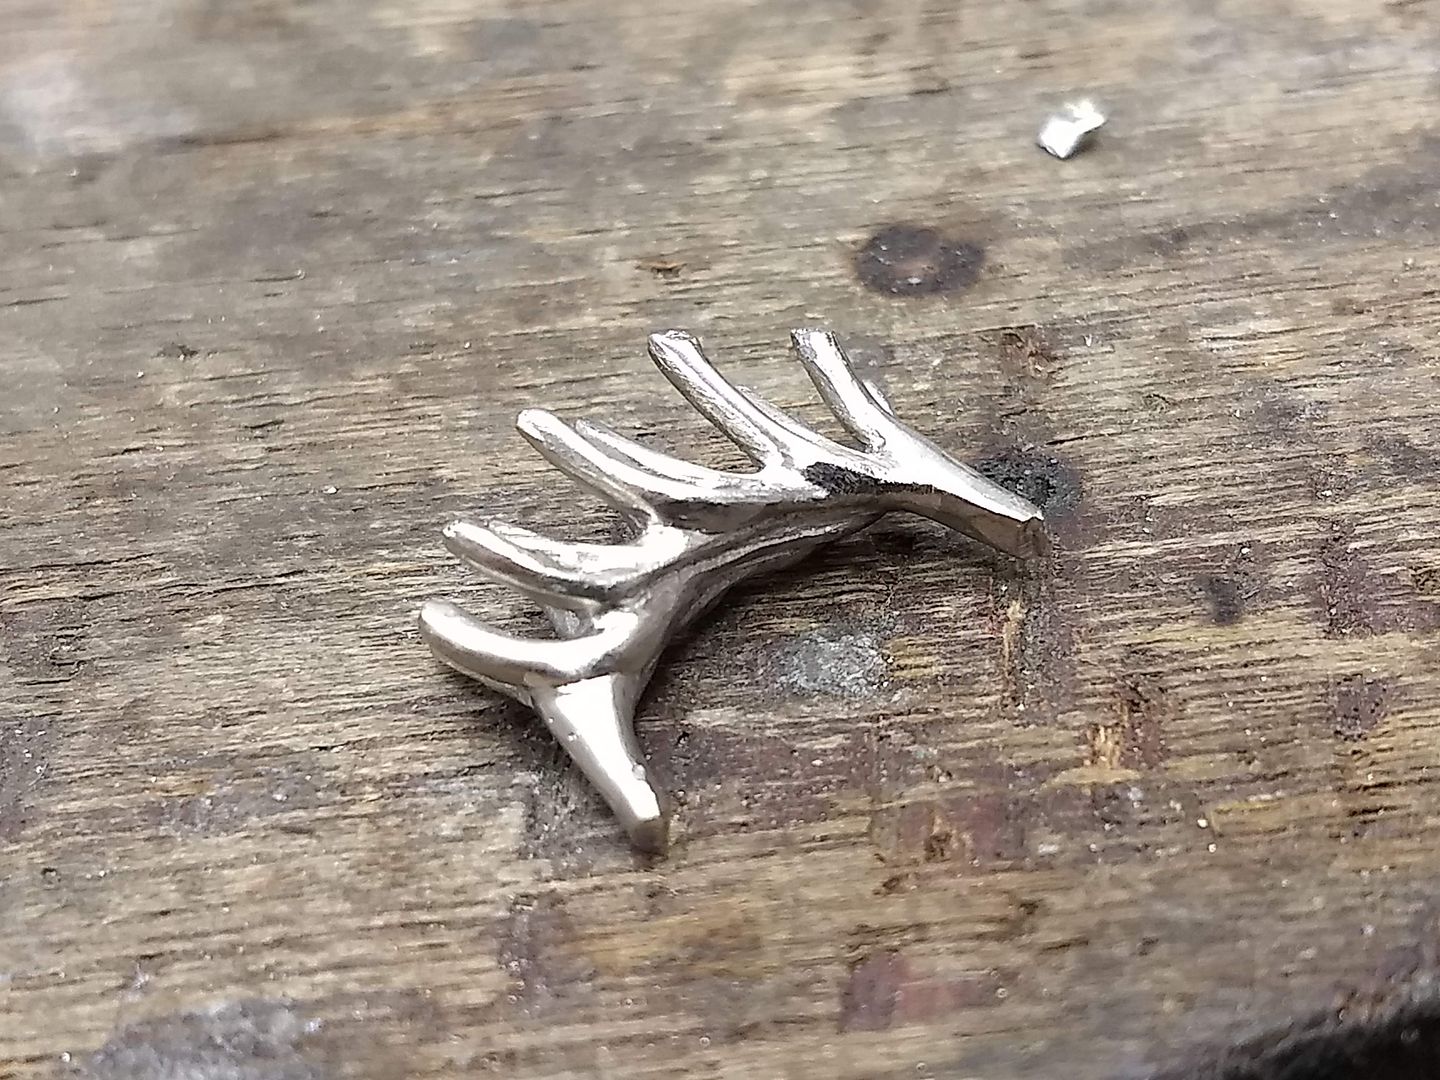
Original head and a nice lump of 18ct yellow gold:
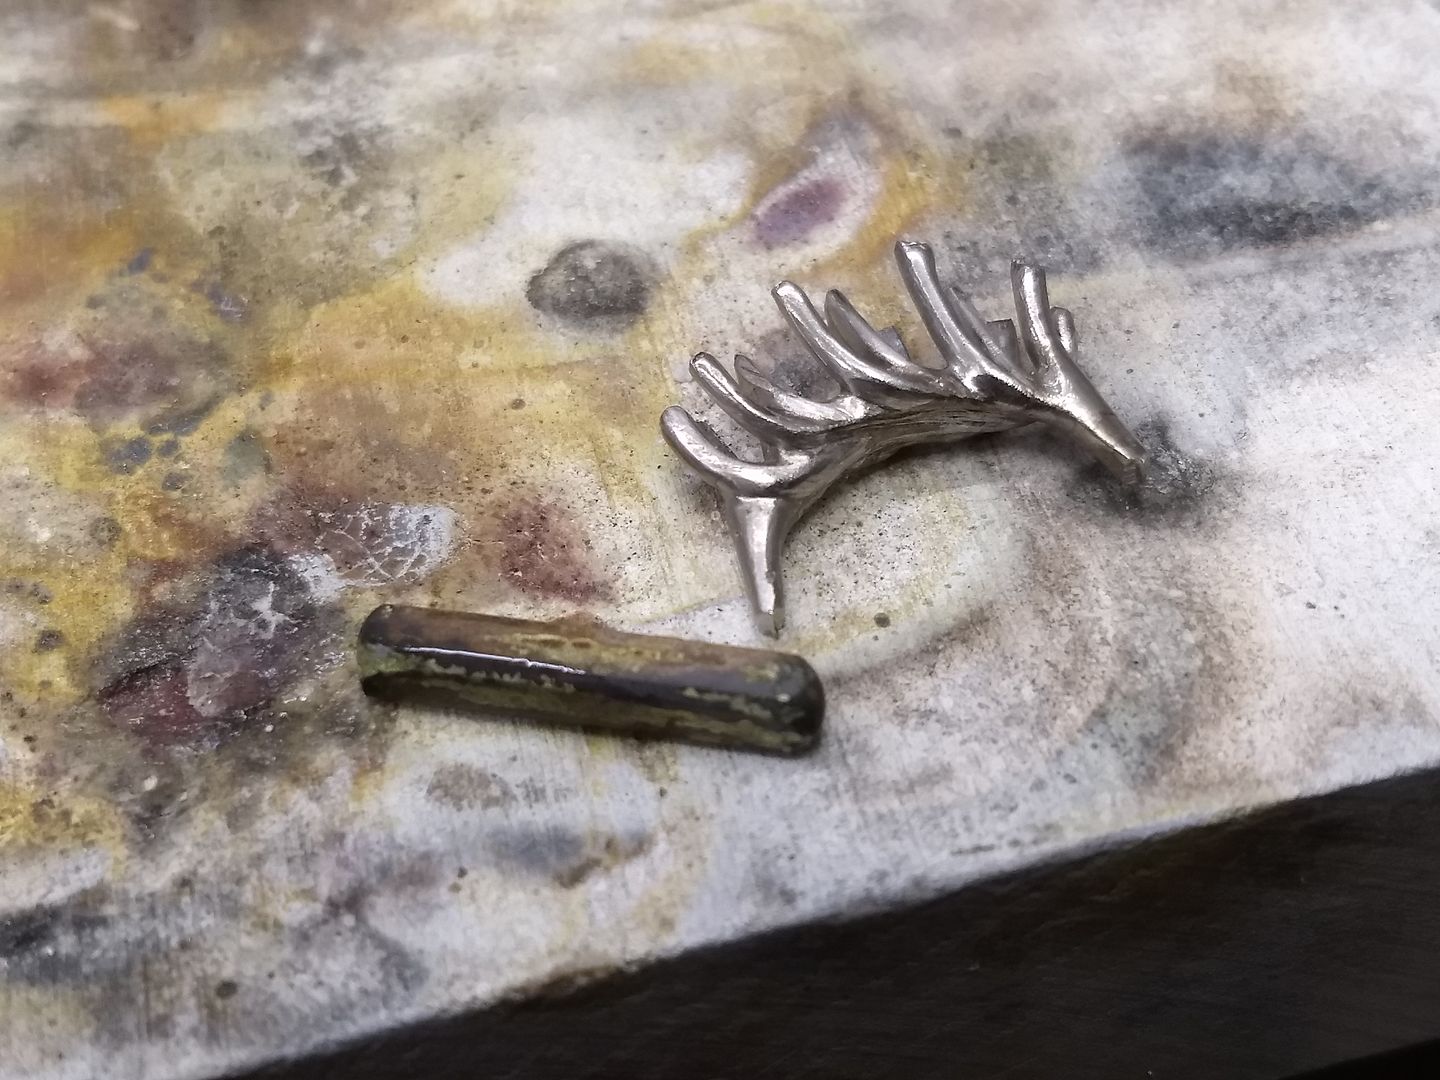
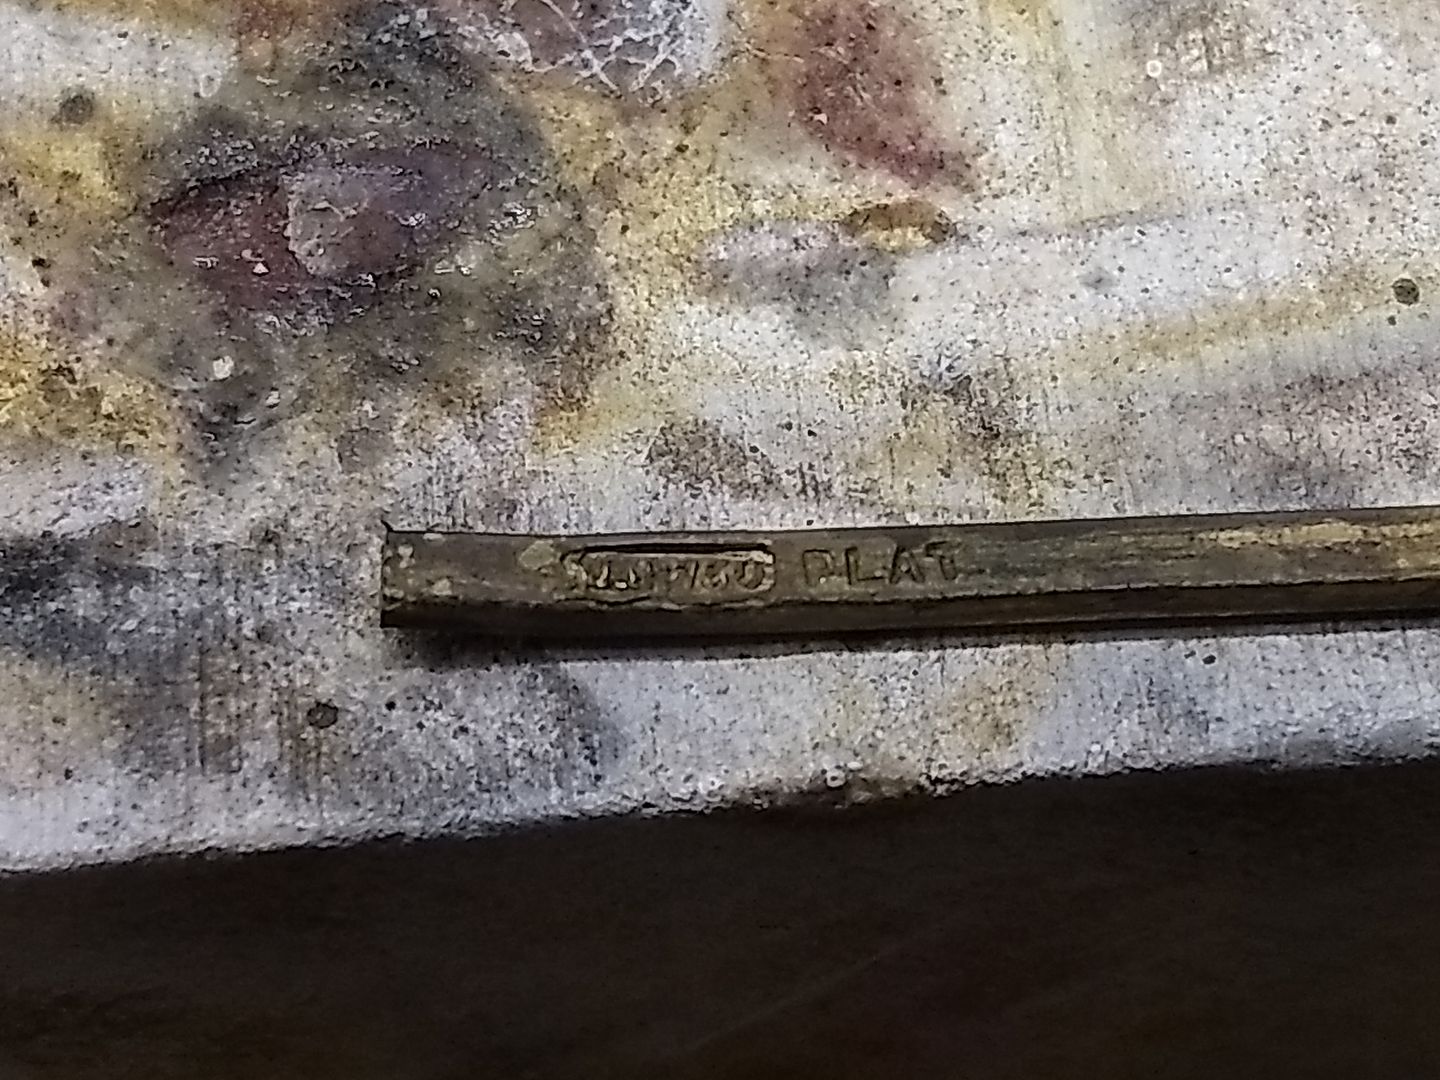
The 18ct wire is rolled down to make the material for the shank, which is stamped to show the materials used (18ct is 750) :
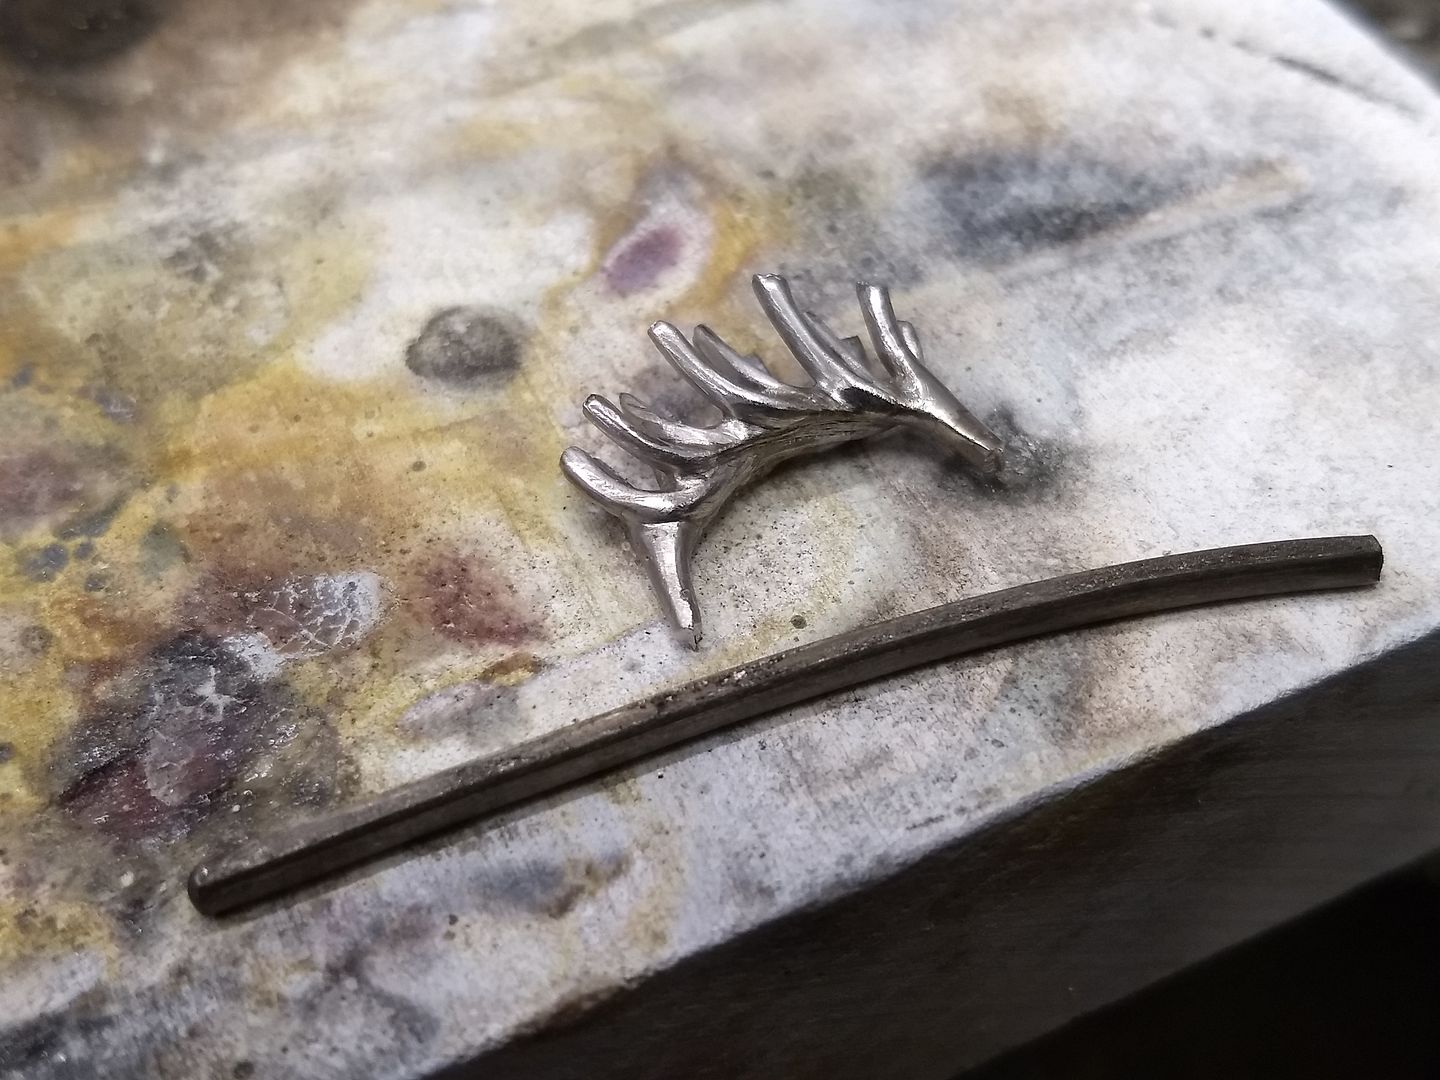
The wire is cut to length and turned to the correct shape:
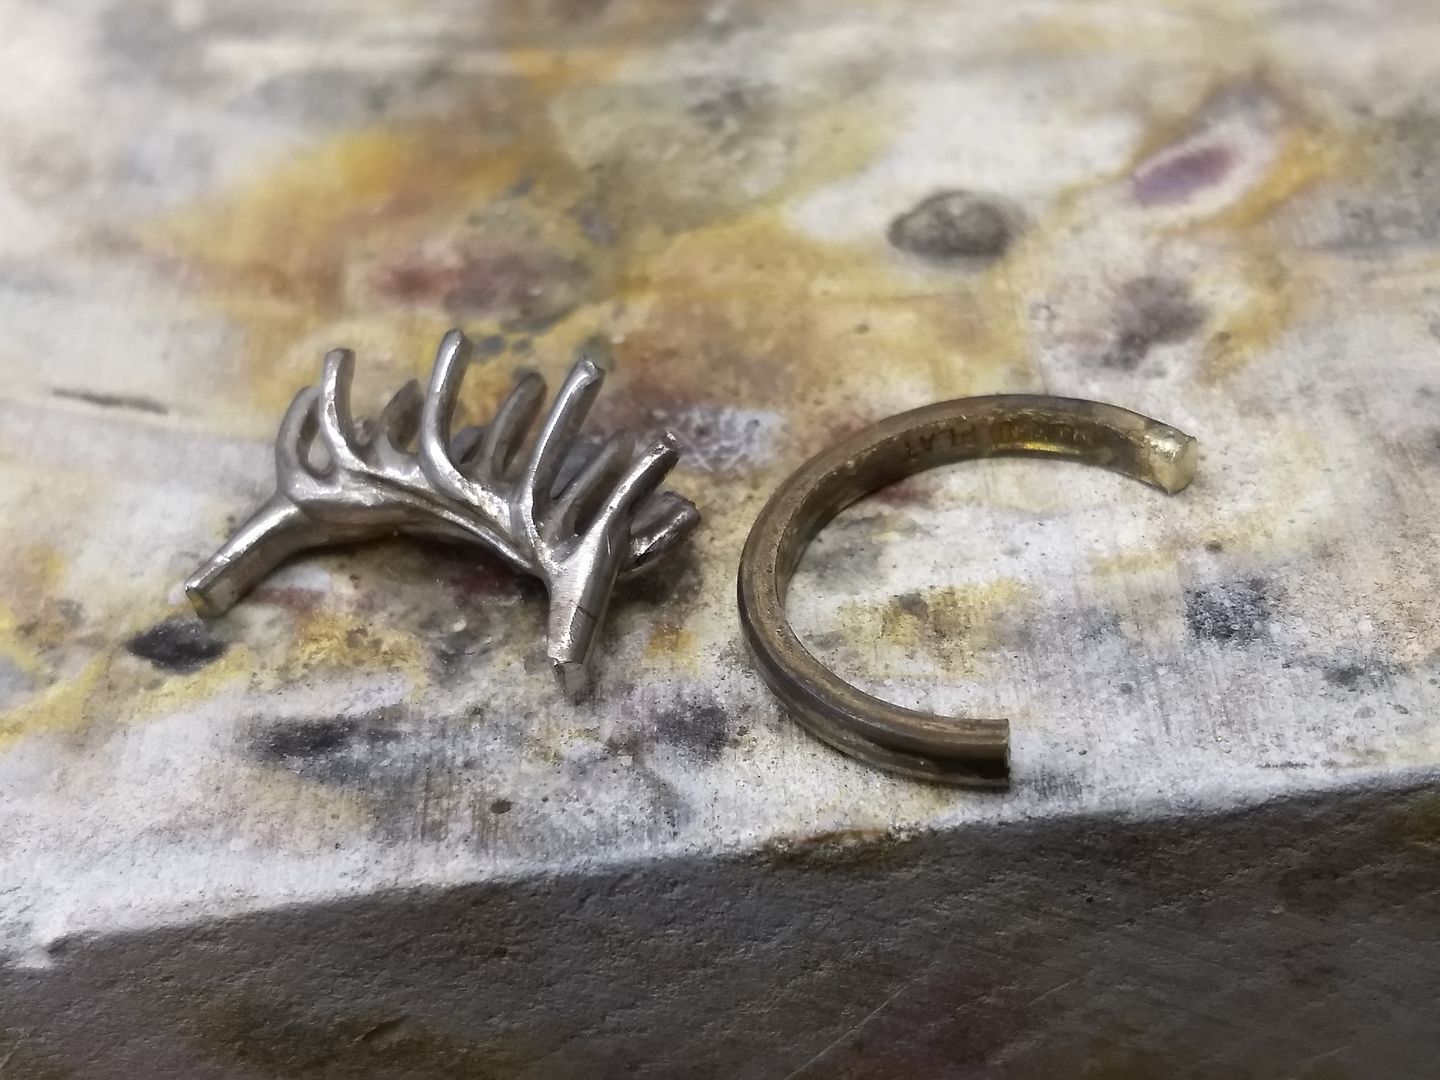
And then soldered on and sized to fit:
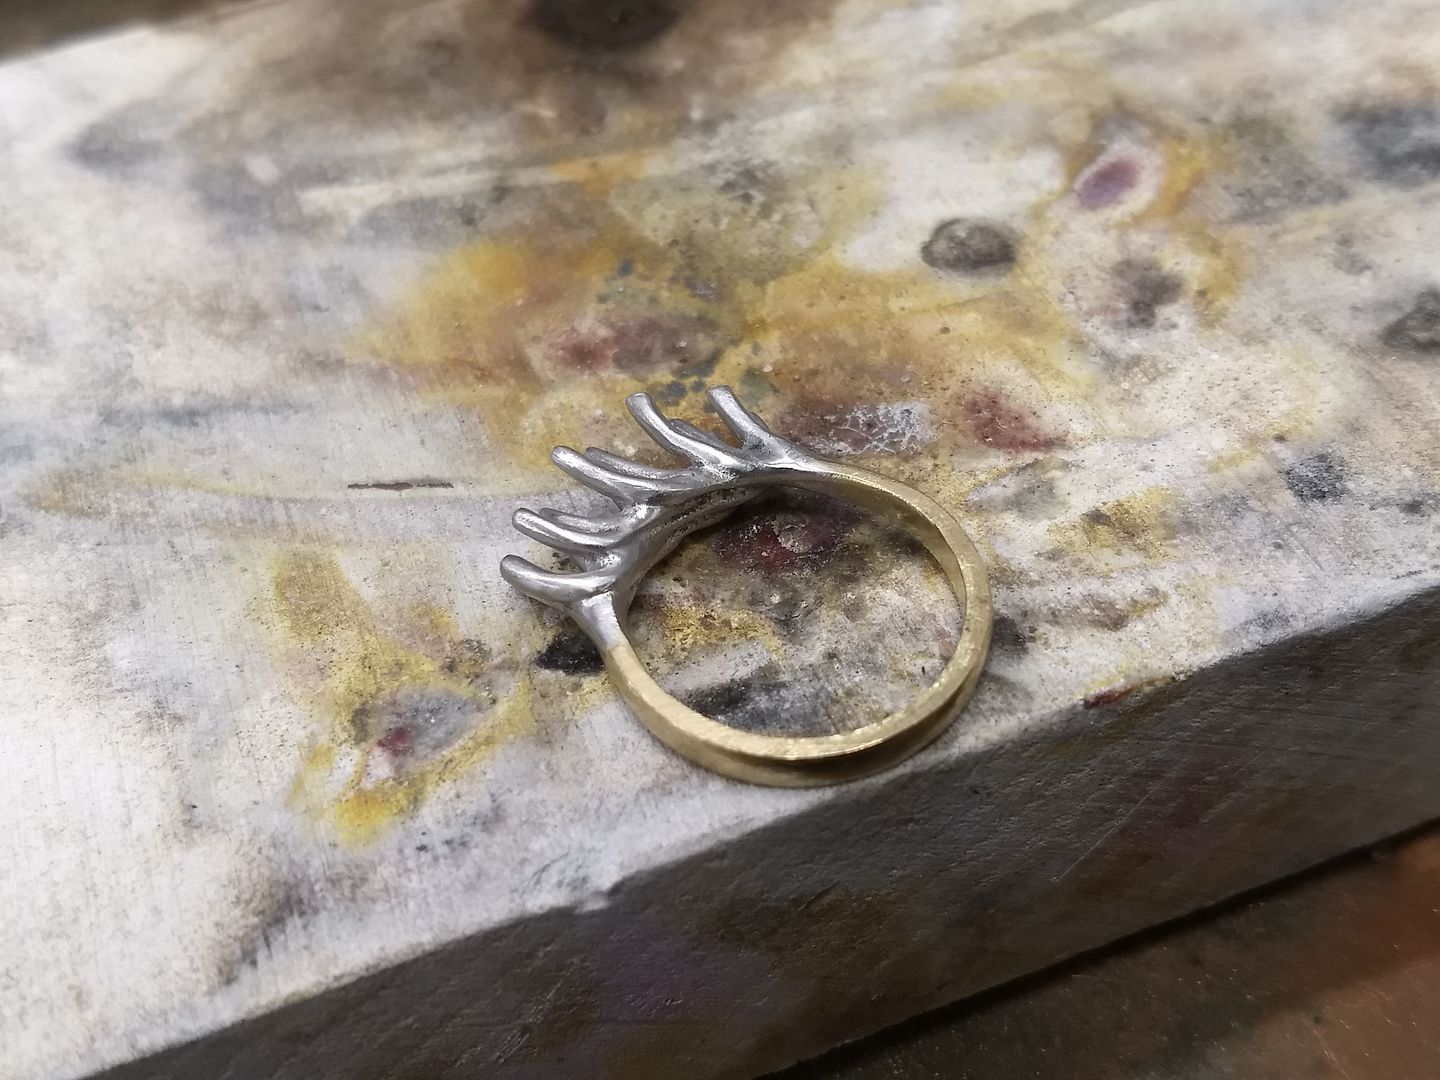
The ring is now a mount It's cleaned up and I prepare myself to set the stones:
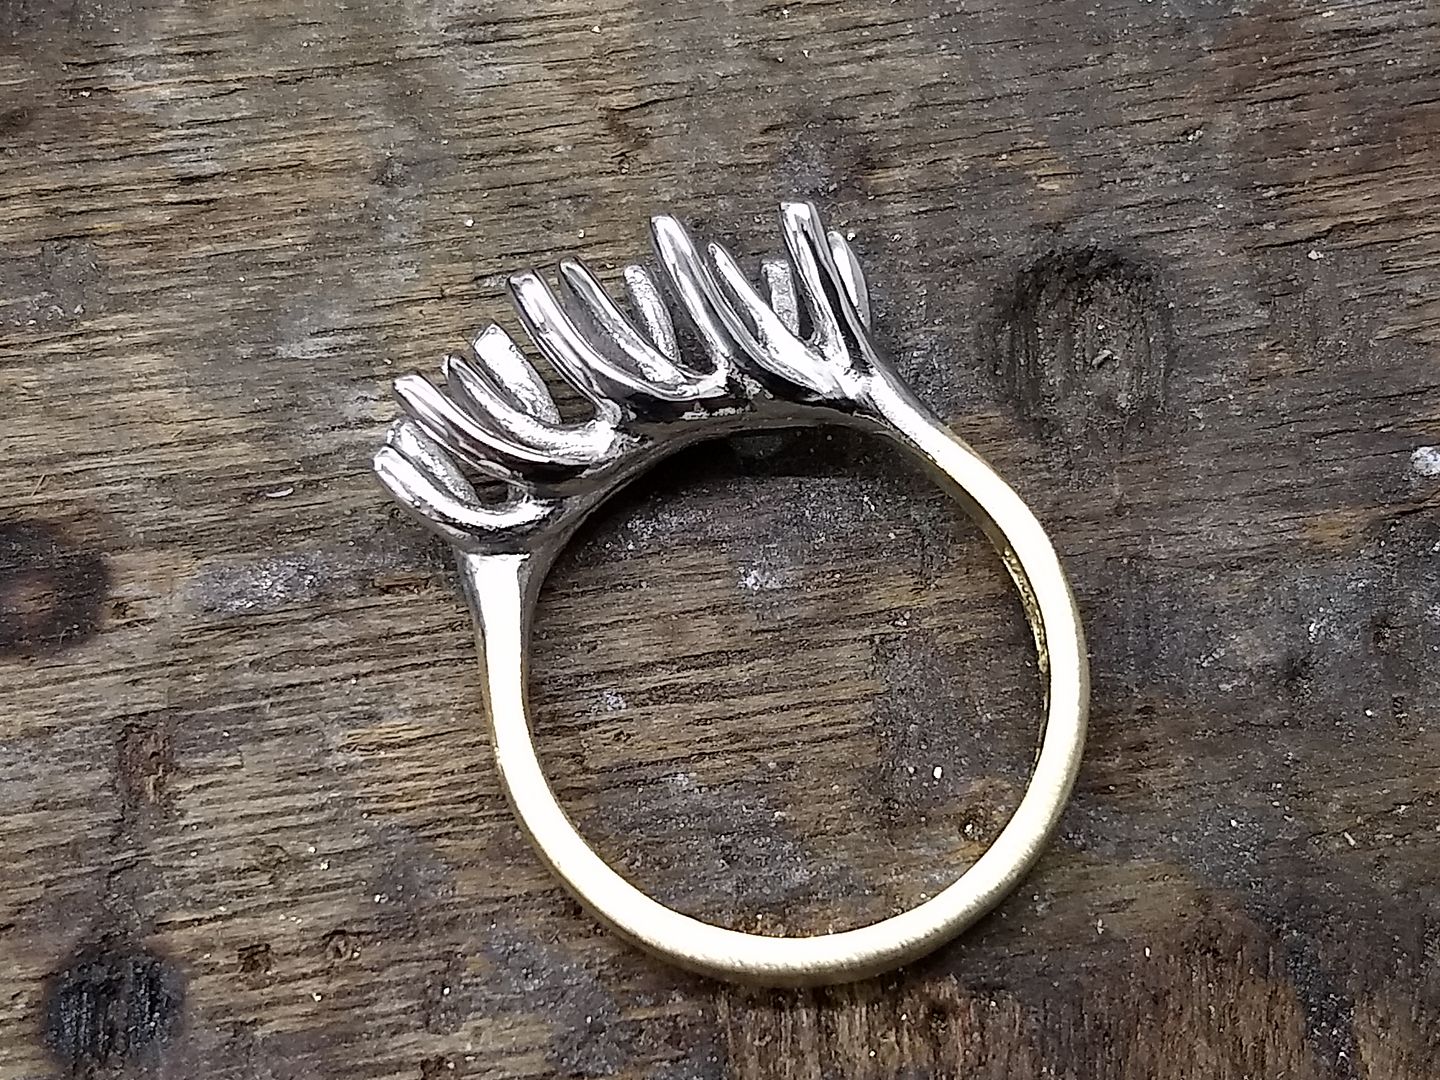
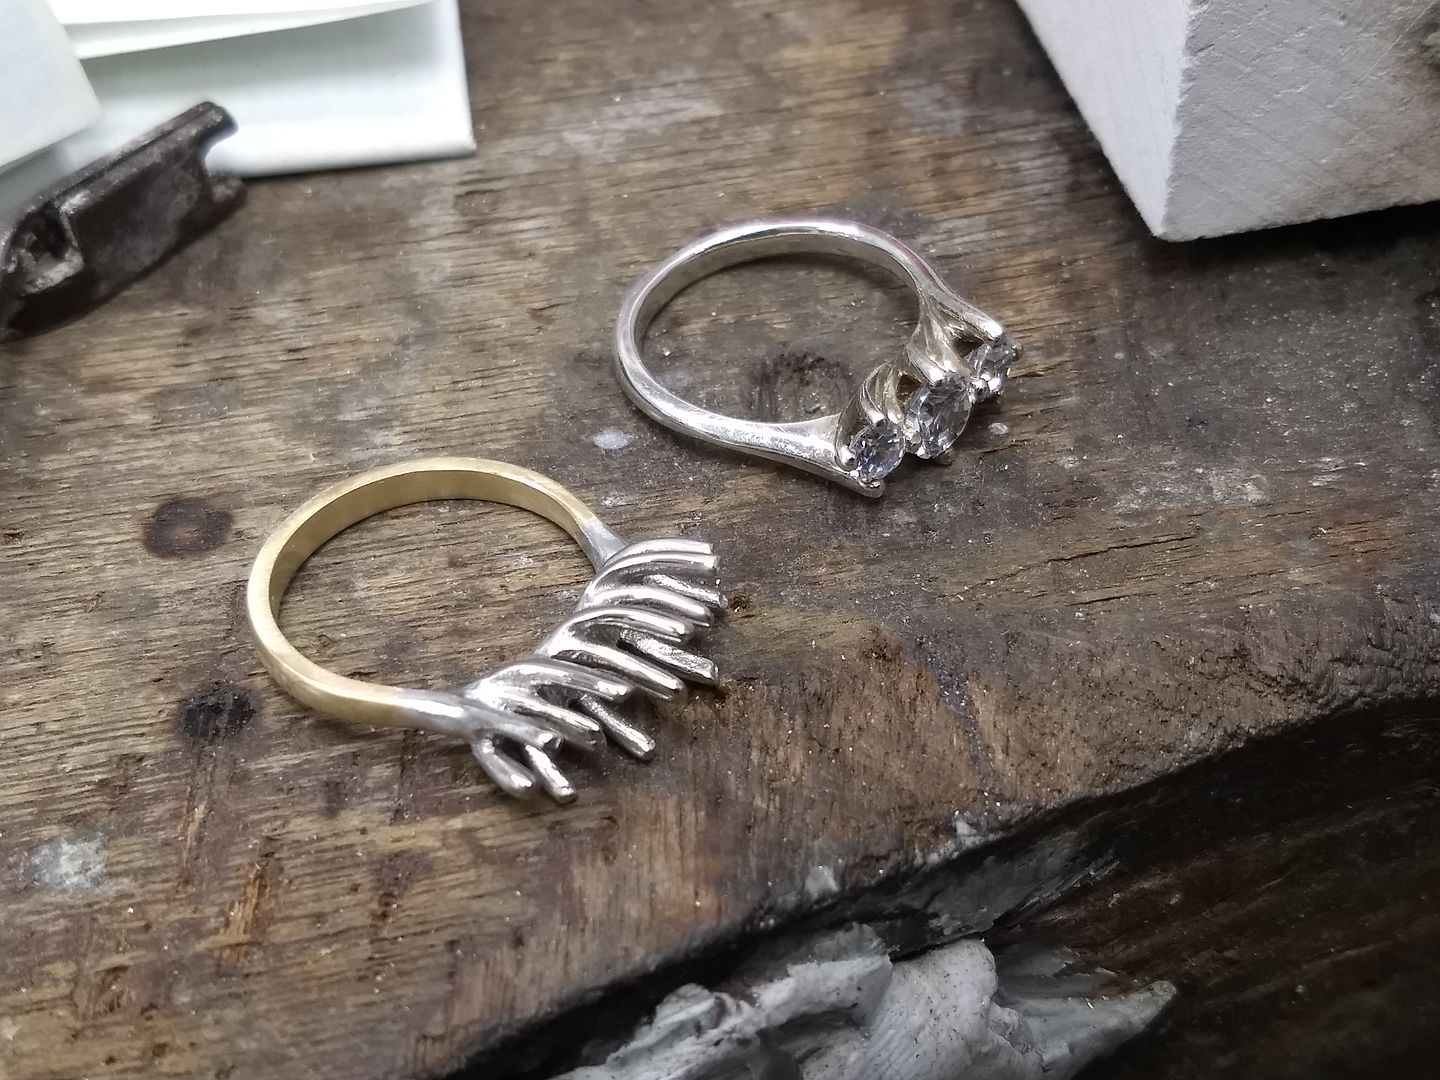
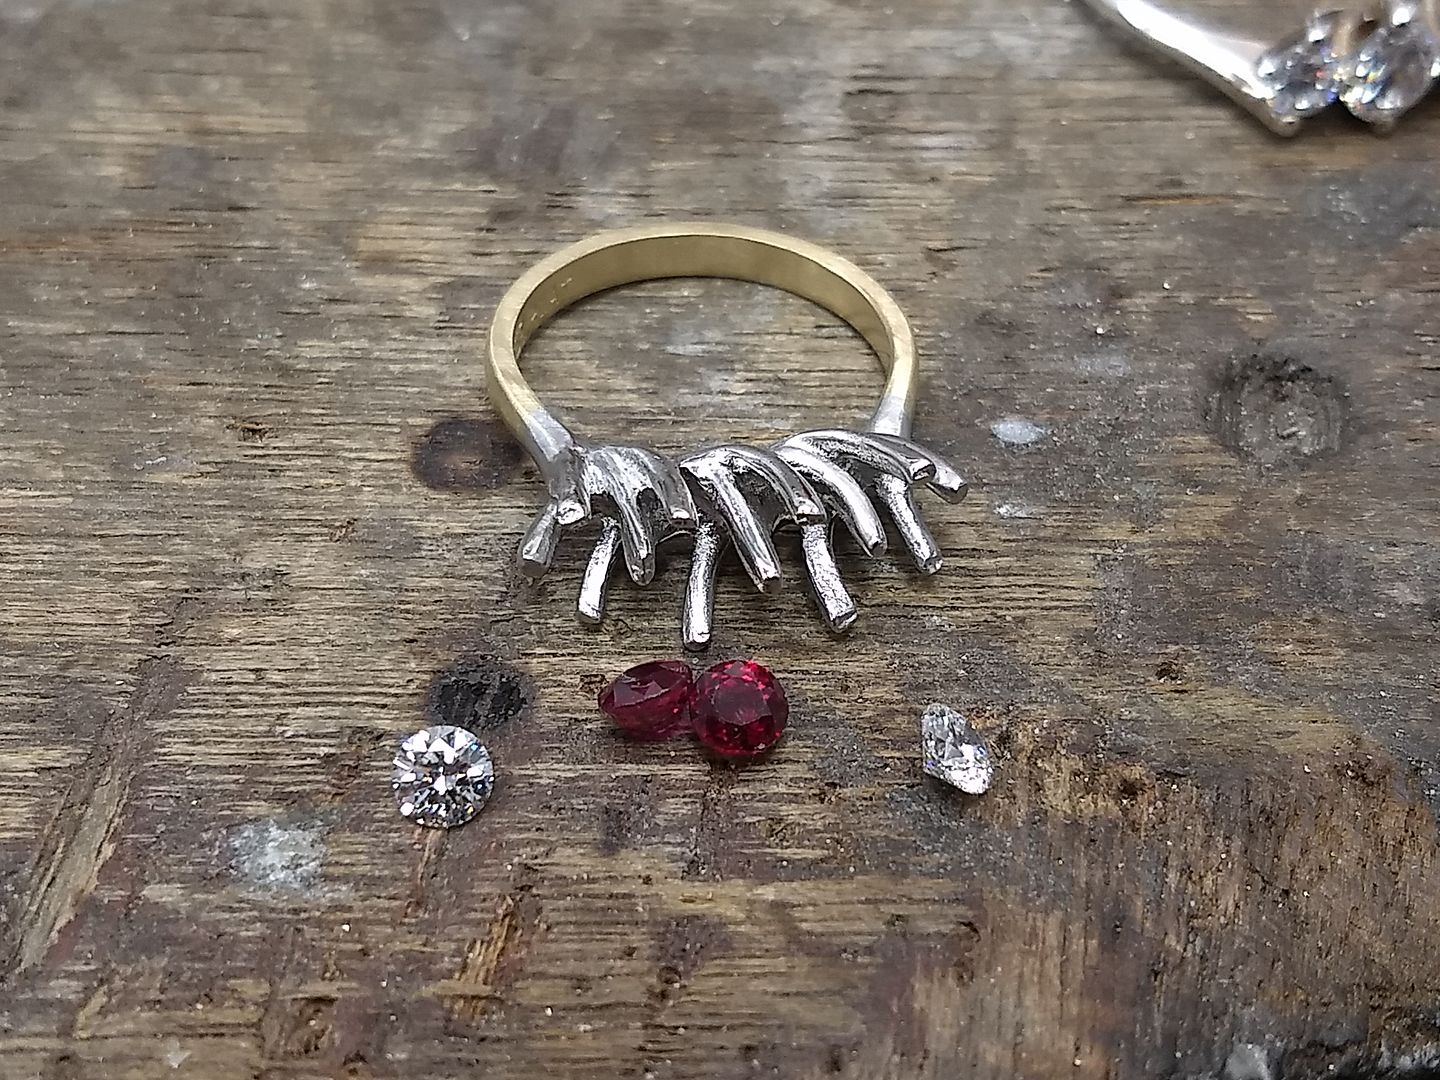
The rubies go in first so I know how much room I have to play with and to set the heights. The inner claws are notched first and the rubies dropped in. The tops of the inner claws are then pressed before the outer claws get notched and pressed into position:
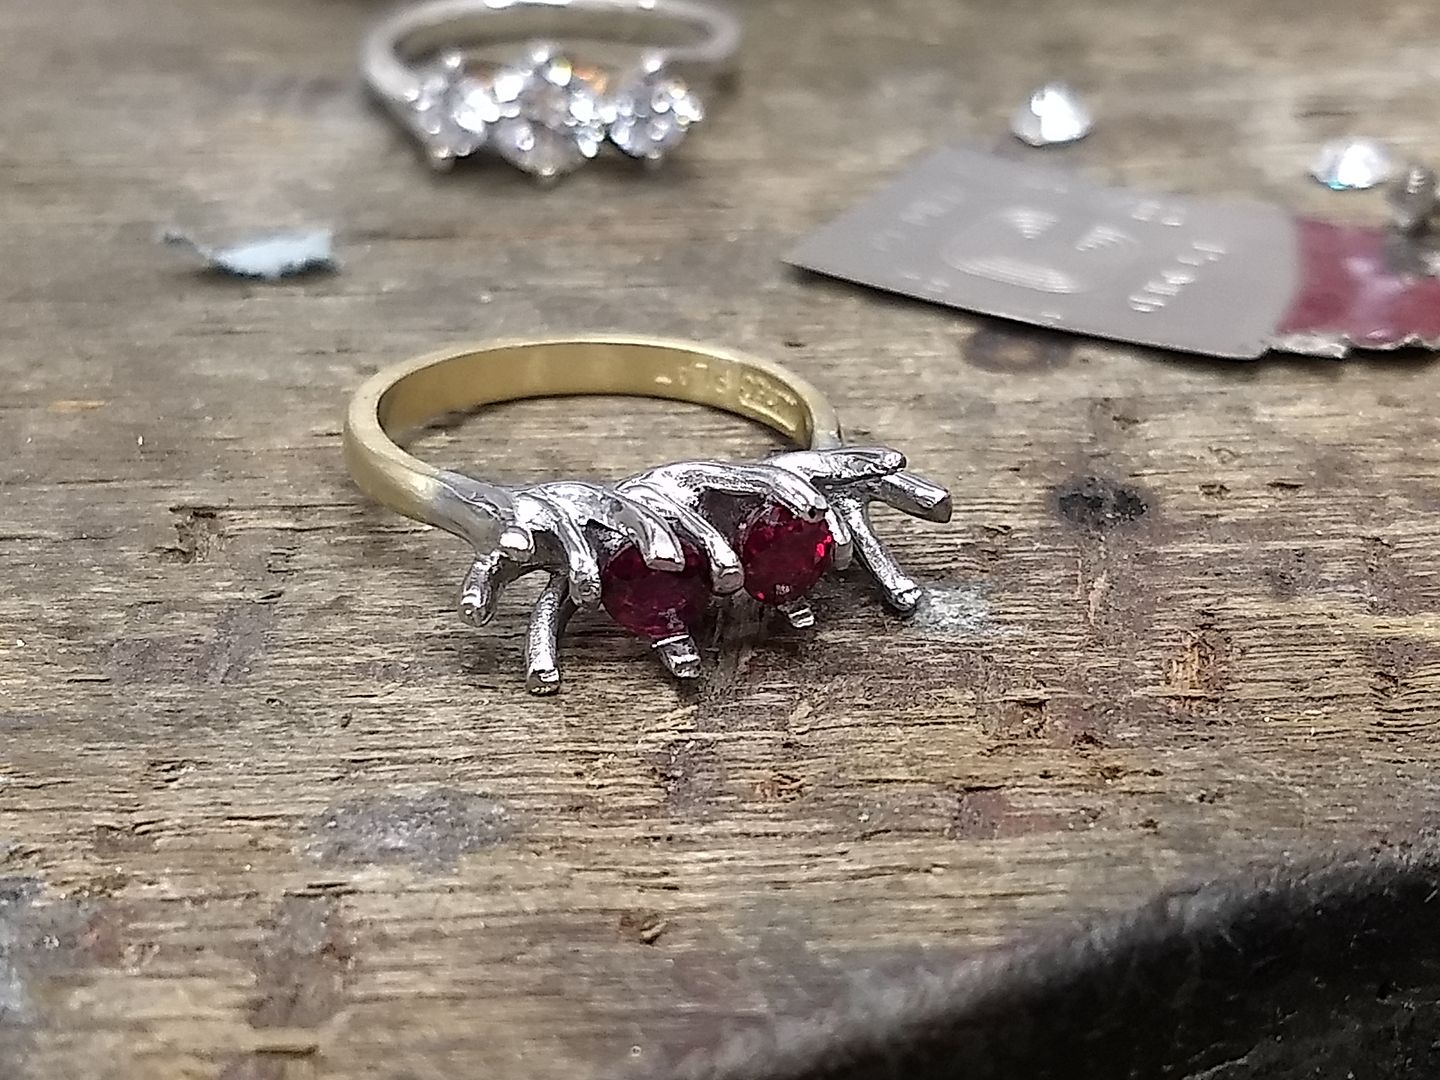
Diamond number one is in:
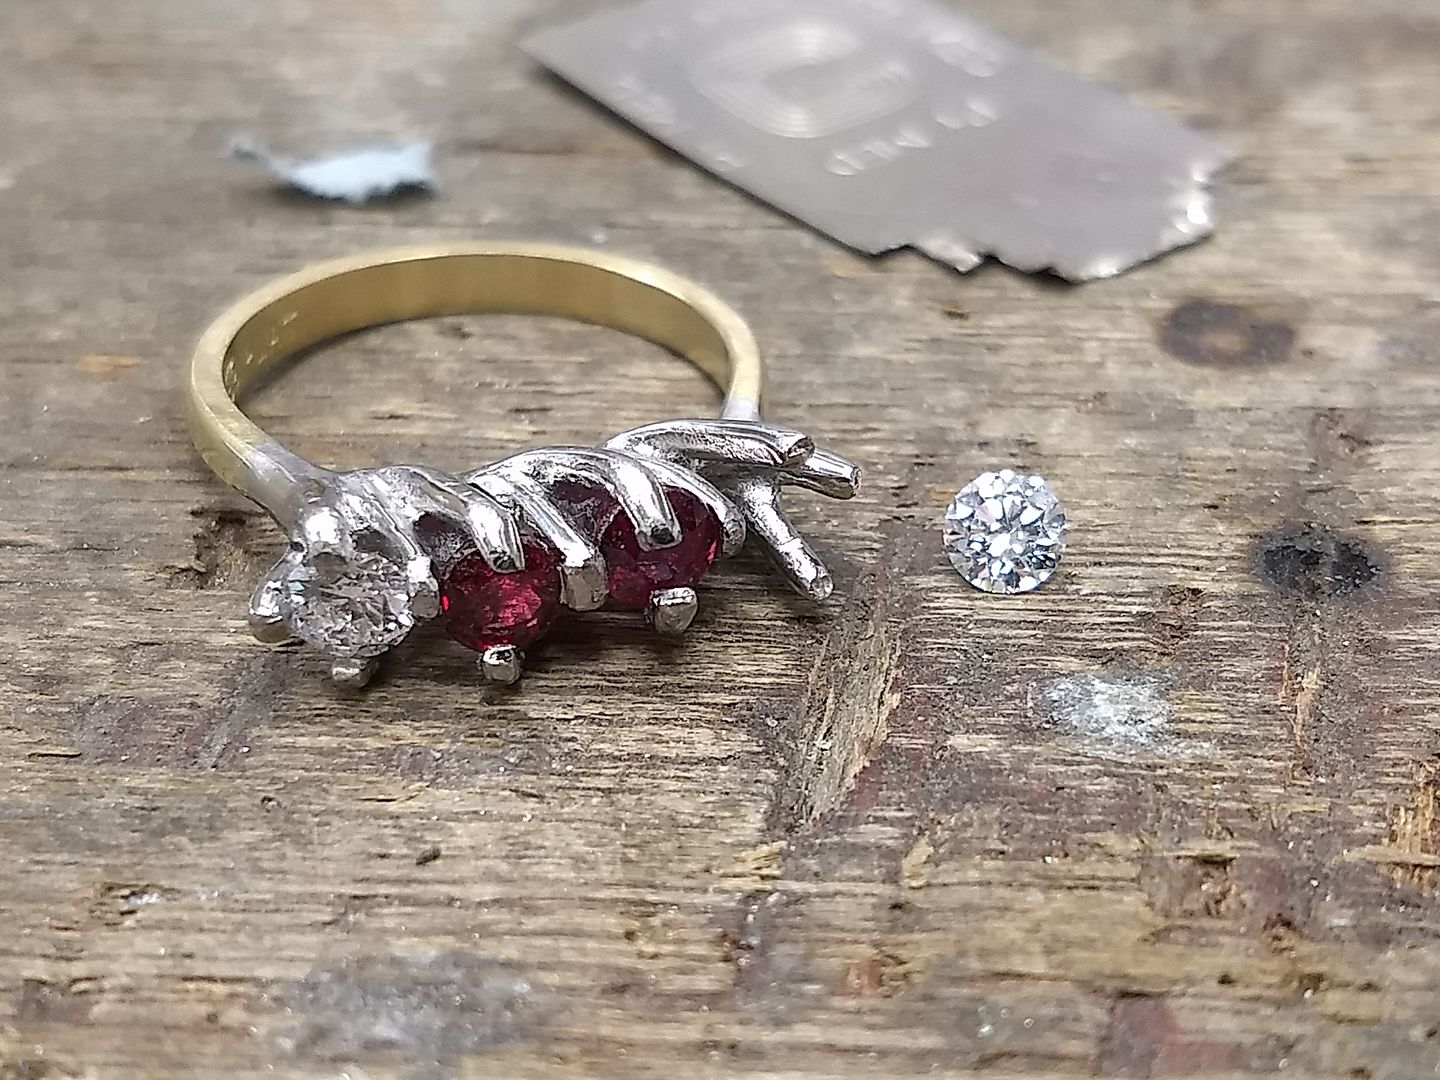
And then both:
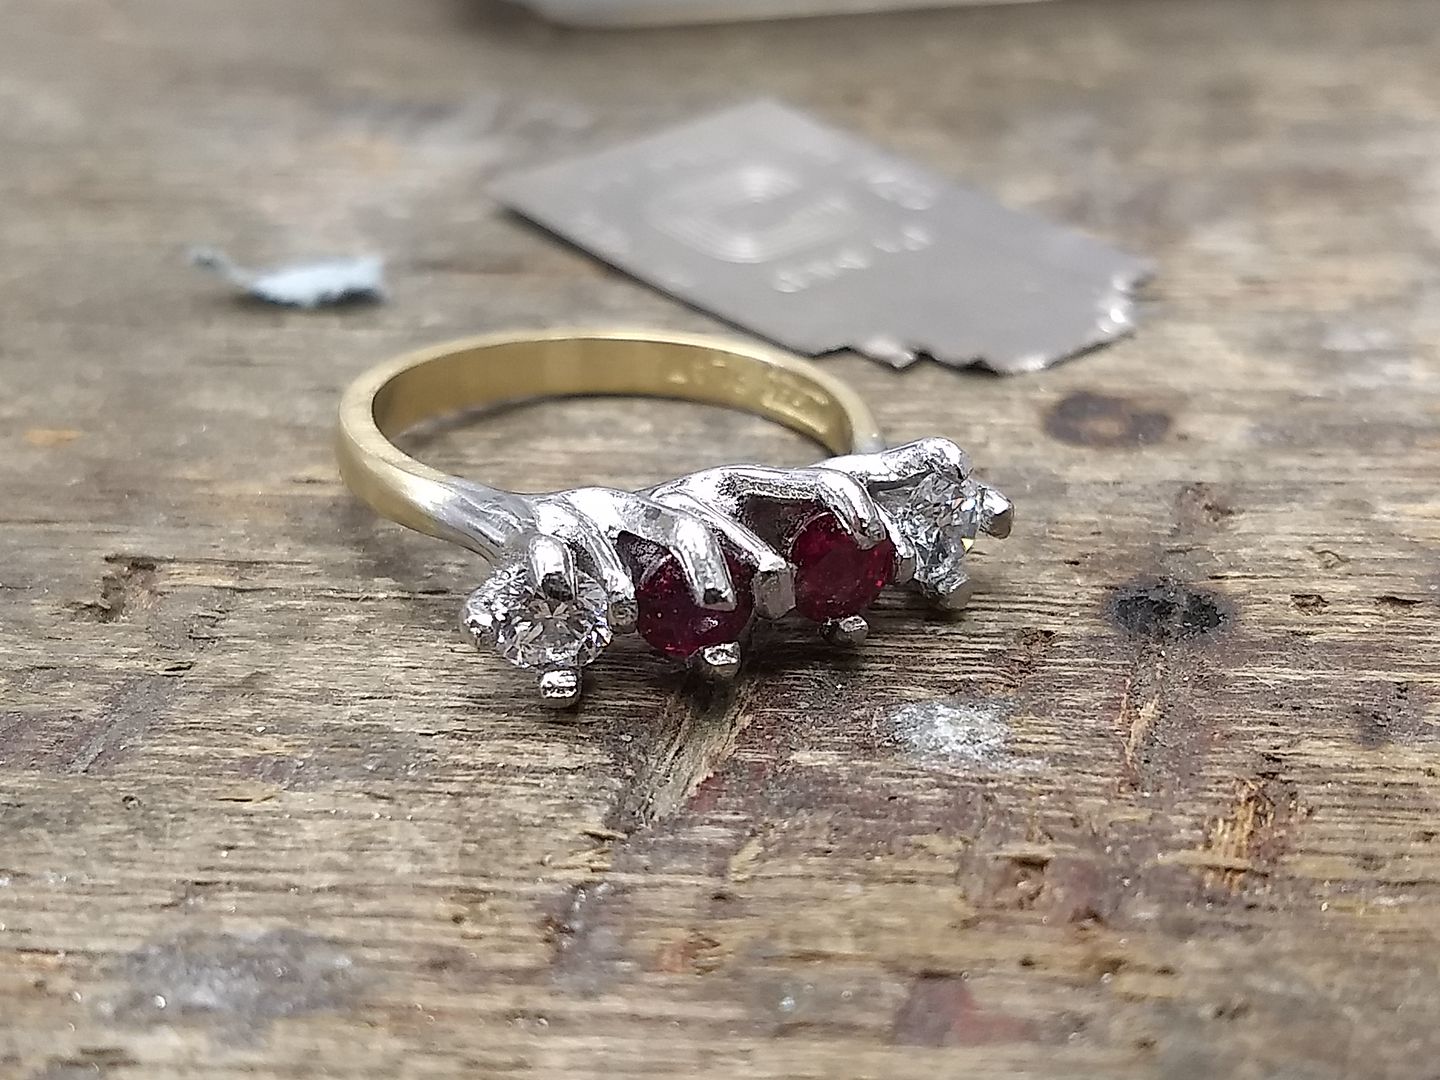
The claws are then cut to length and adjusted for position:
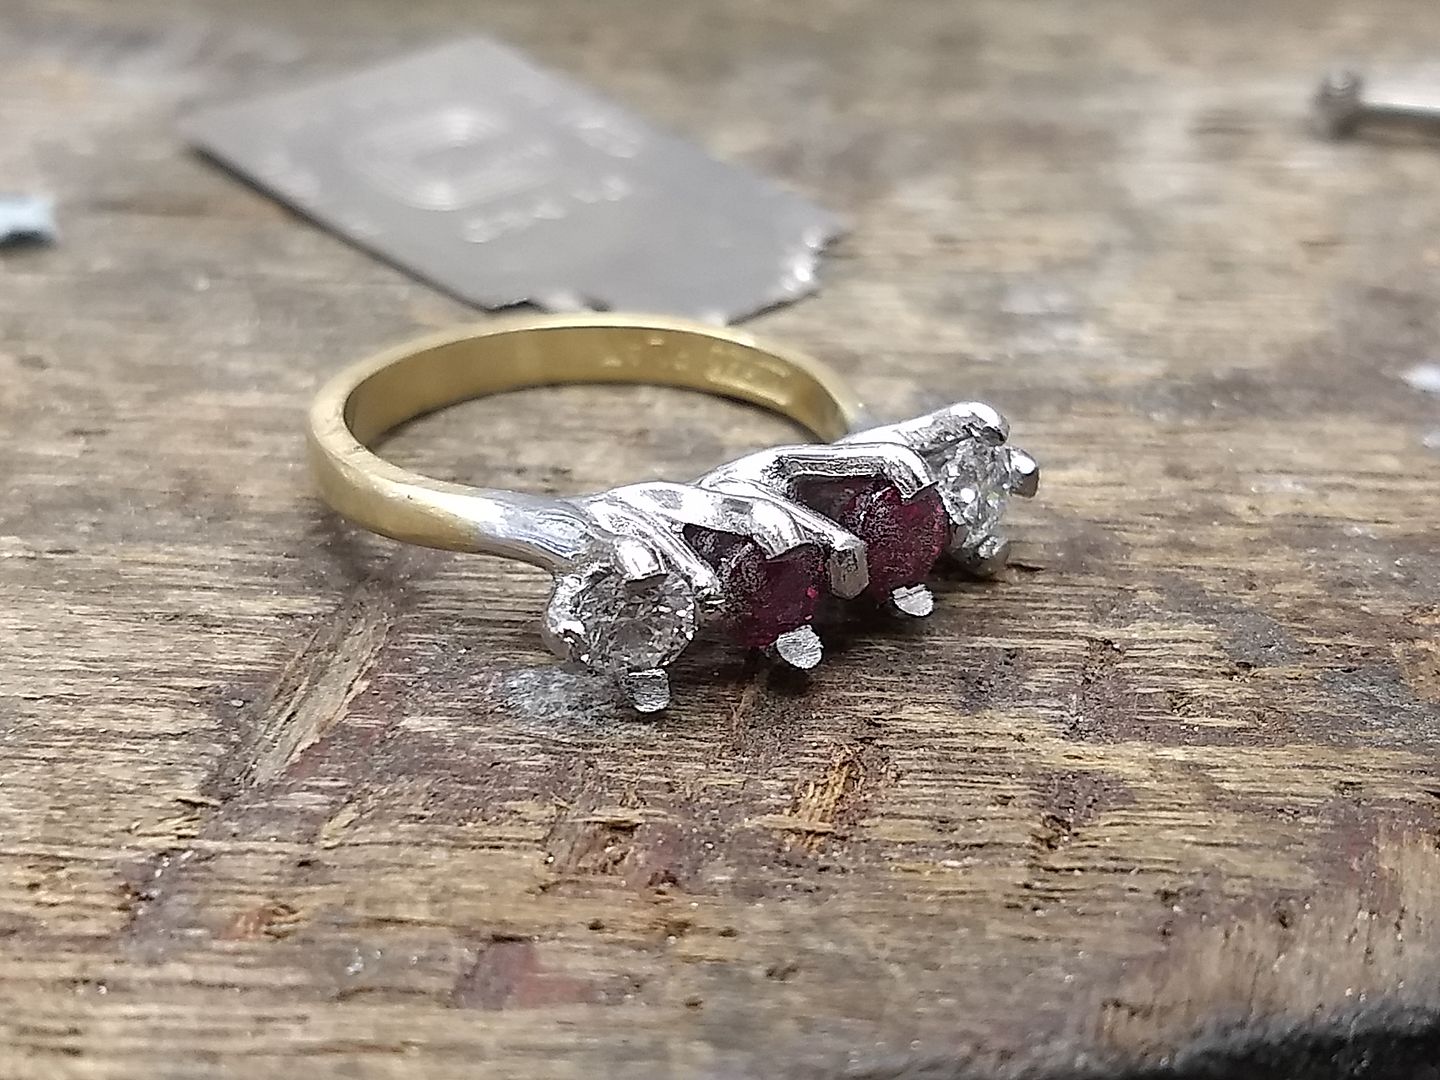
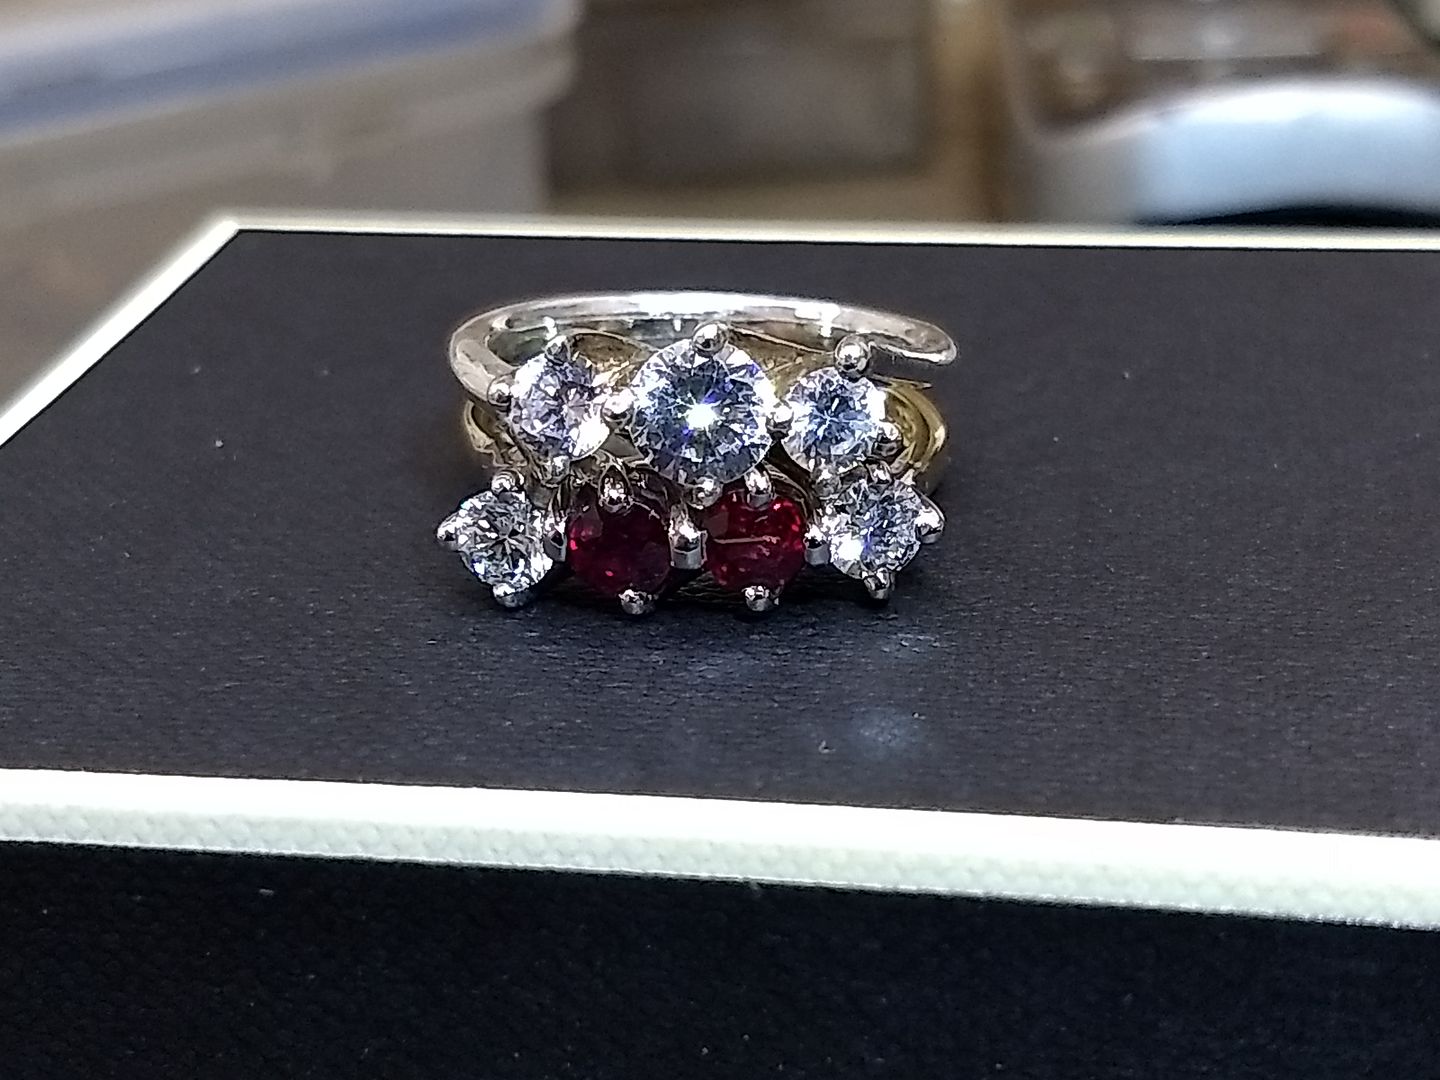
Some gentle filing takes place and the stones are 99% the way there to being set. The pictures don't do them justice but the rubies are stunning.
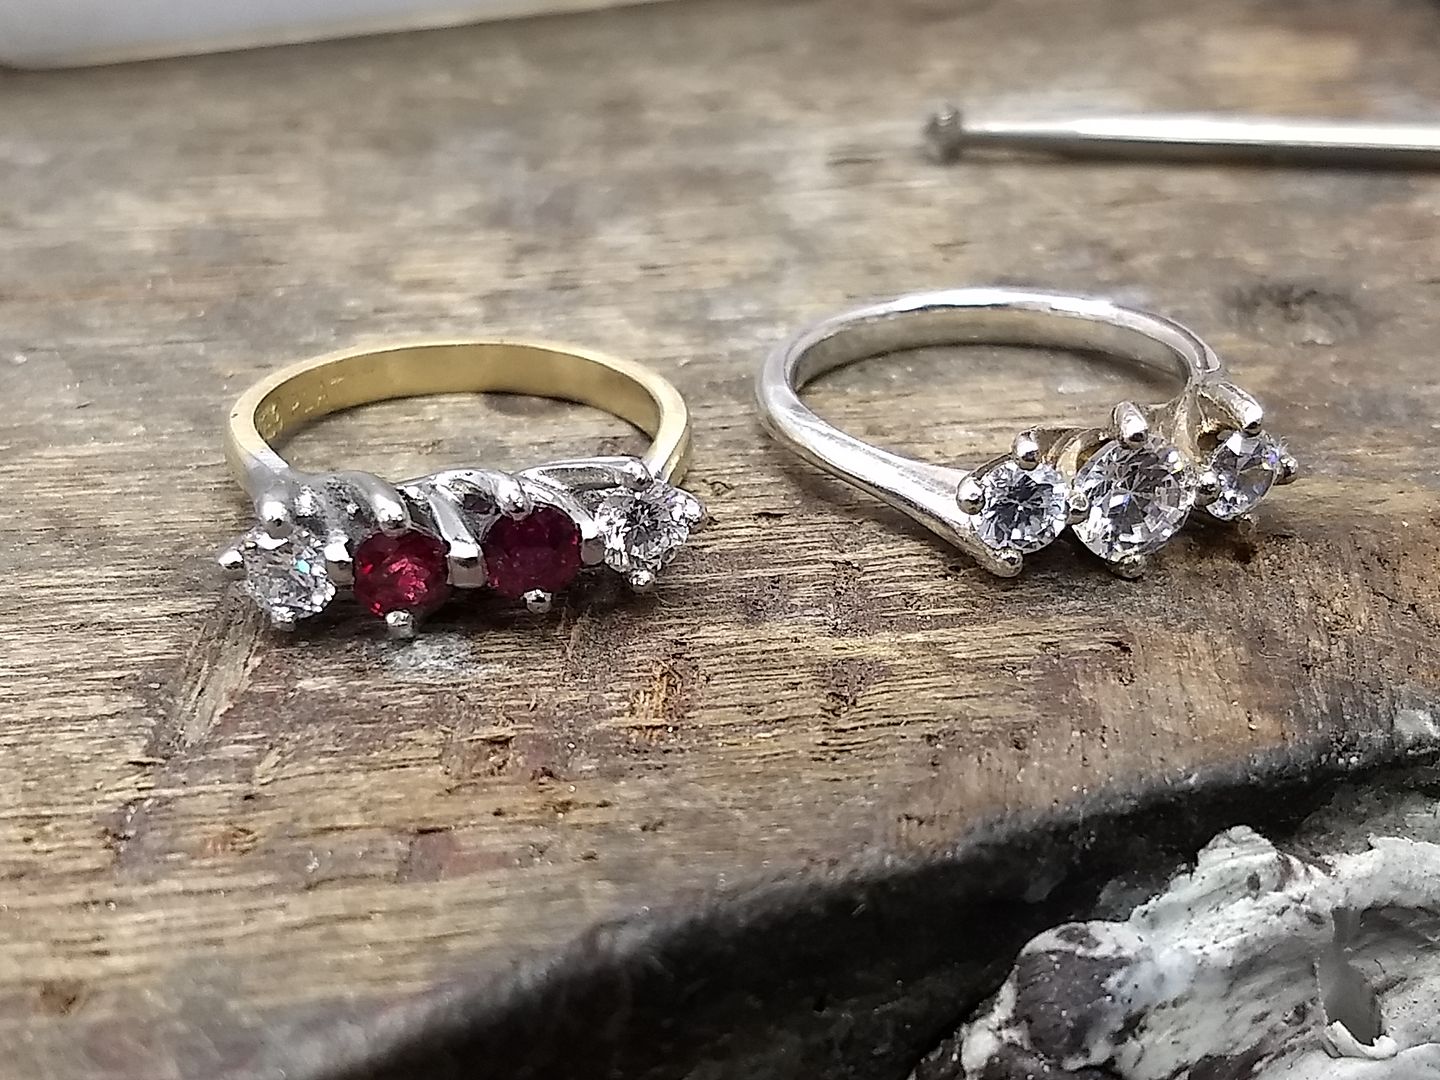
Polishing is the next thing to happen. Platinum is a hard metal to polish because it's so dense. Marks are incredibly hard to remove from the nooks and crannies of a setting and if polished too hard will quickly show solder lines and drag our 18ct shank at the joint. This is why most rings are cast complete and machine finished. This is hand made in every way so I take my time and exercise great care:
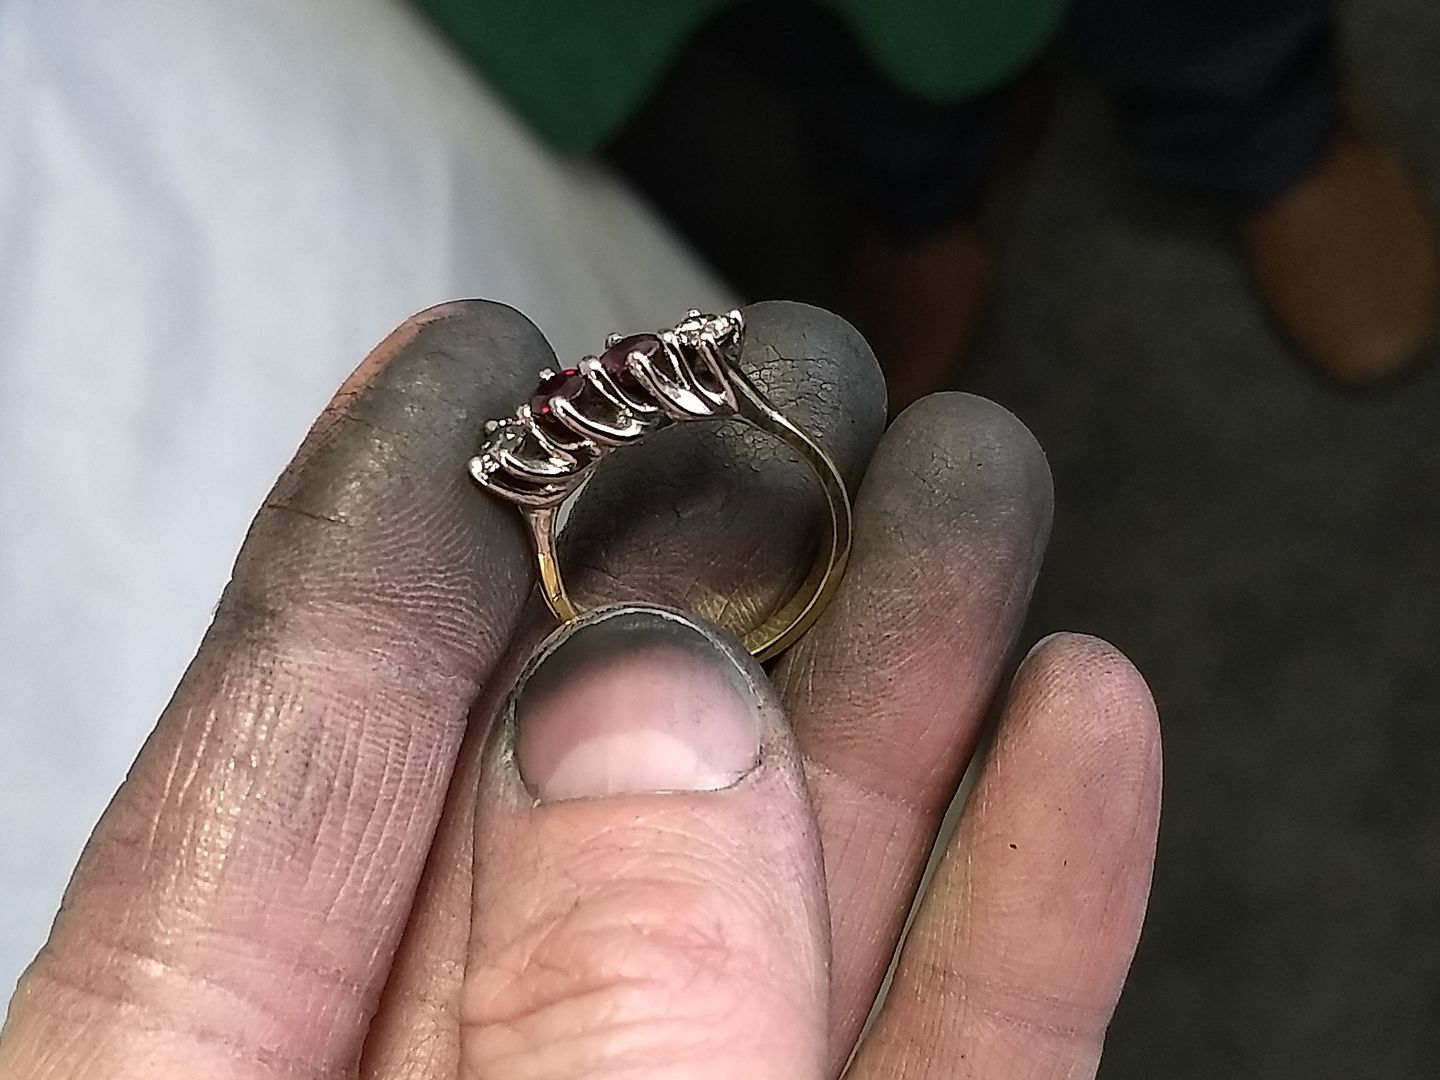
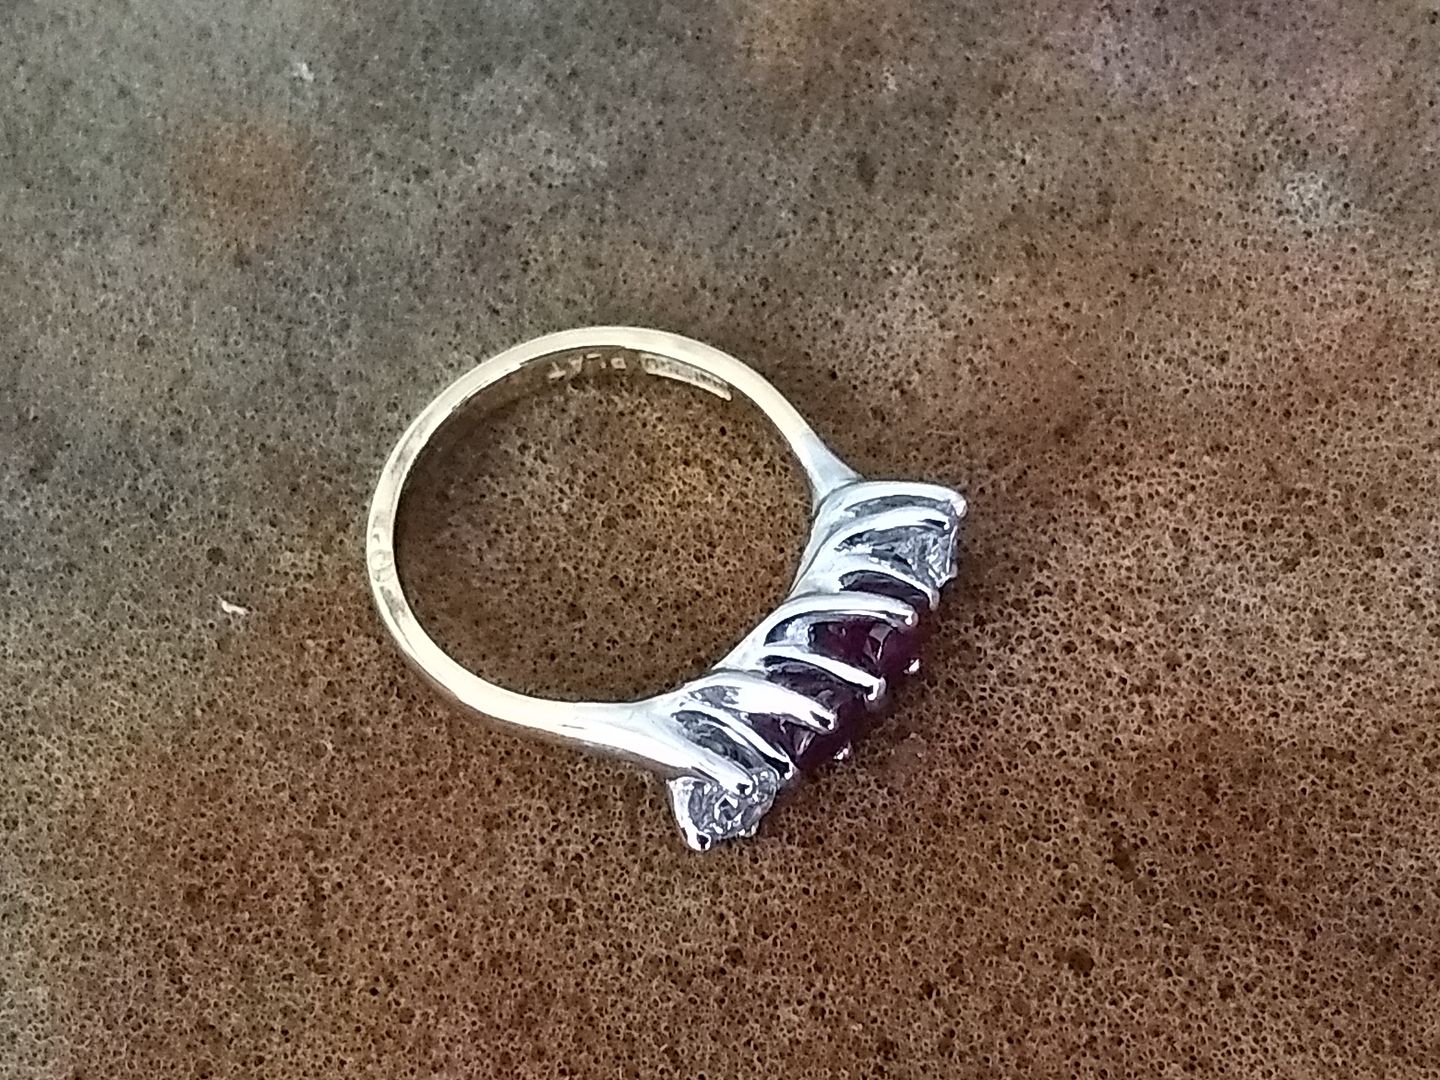
Even though it's a platinum head I still rhodium the metal to give it that last sparkle. It also hides any stains that the polishing couldn't get to.
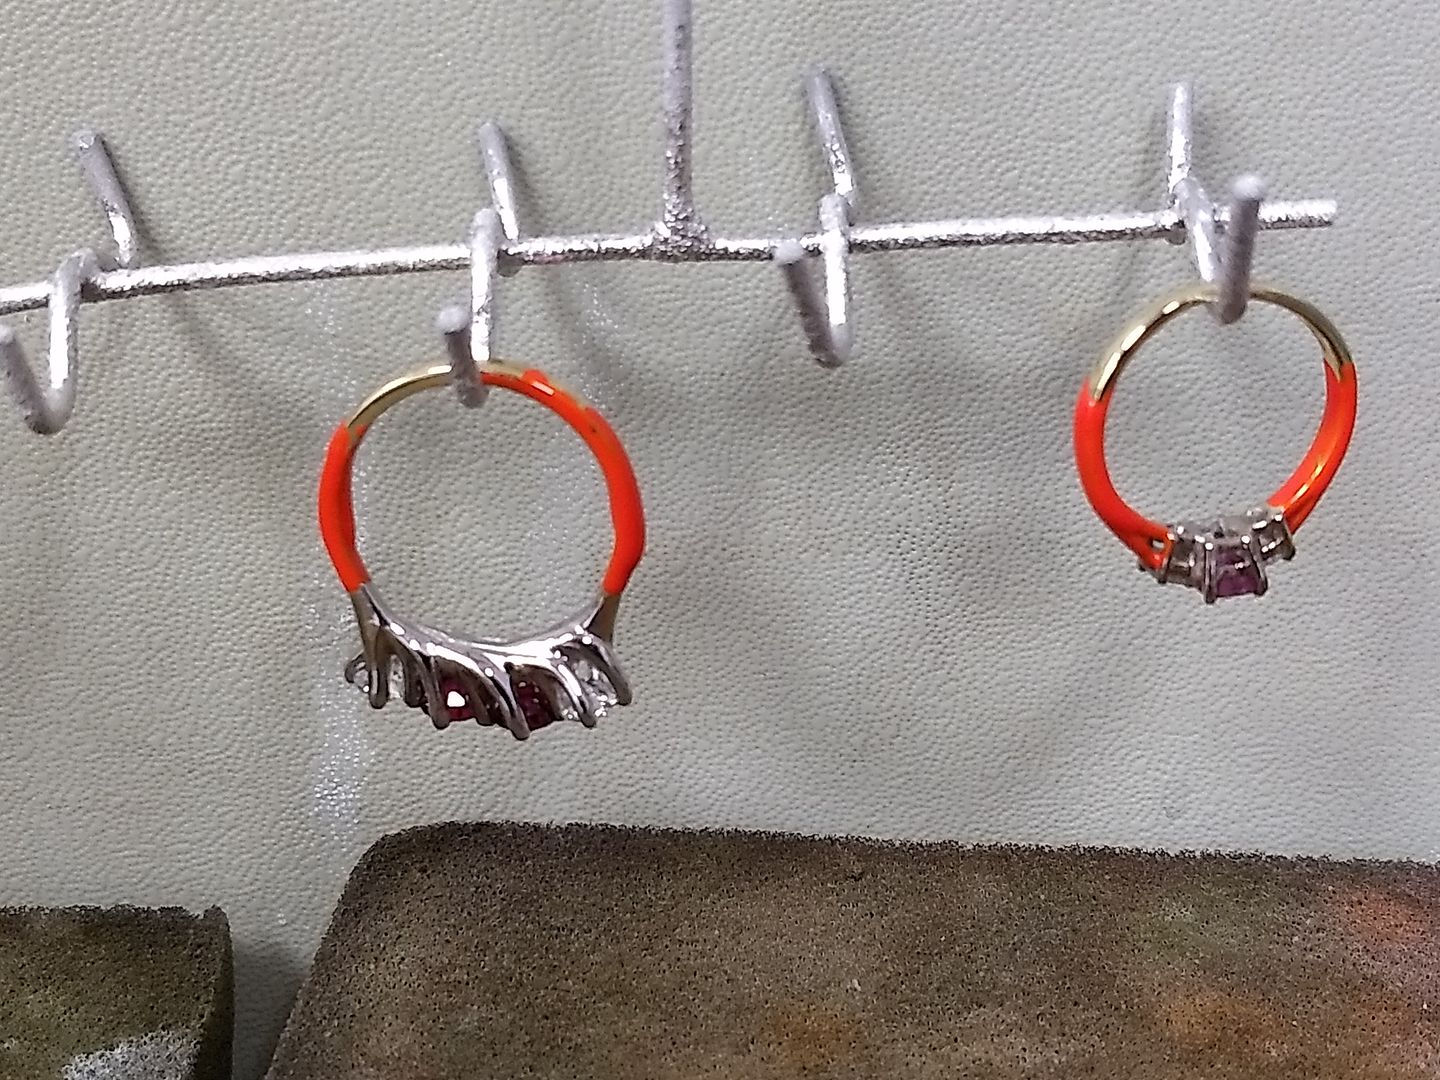
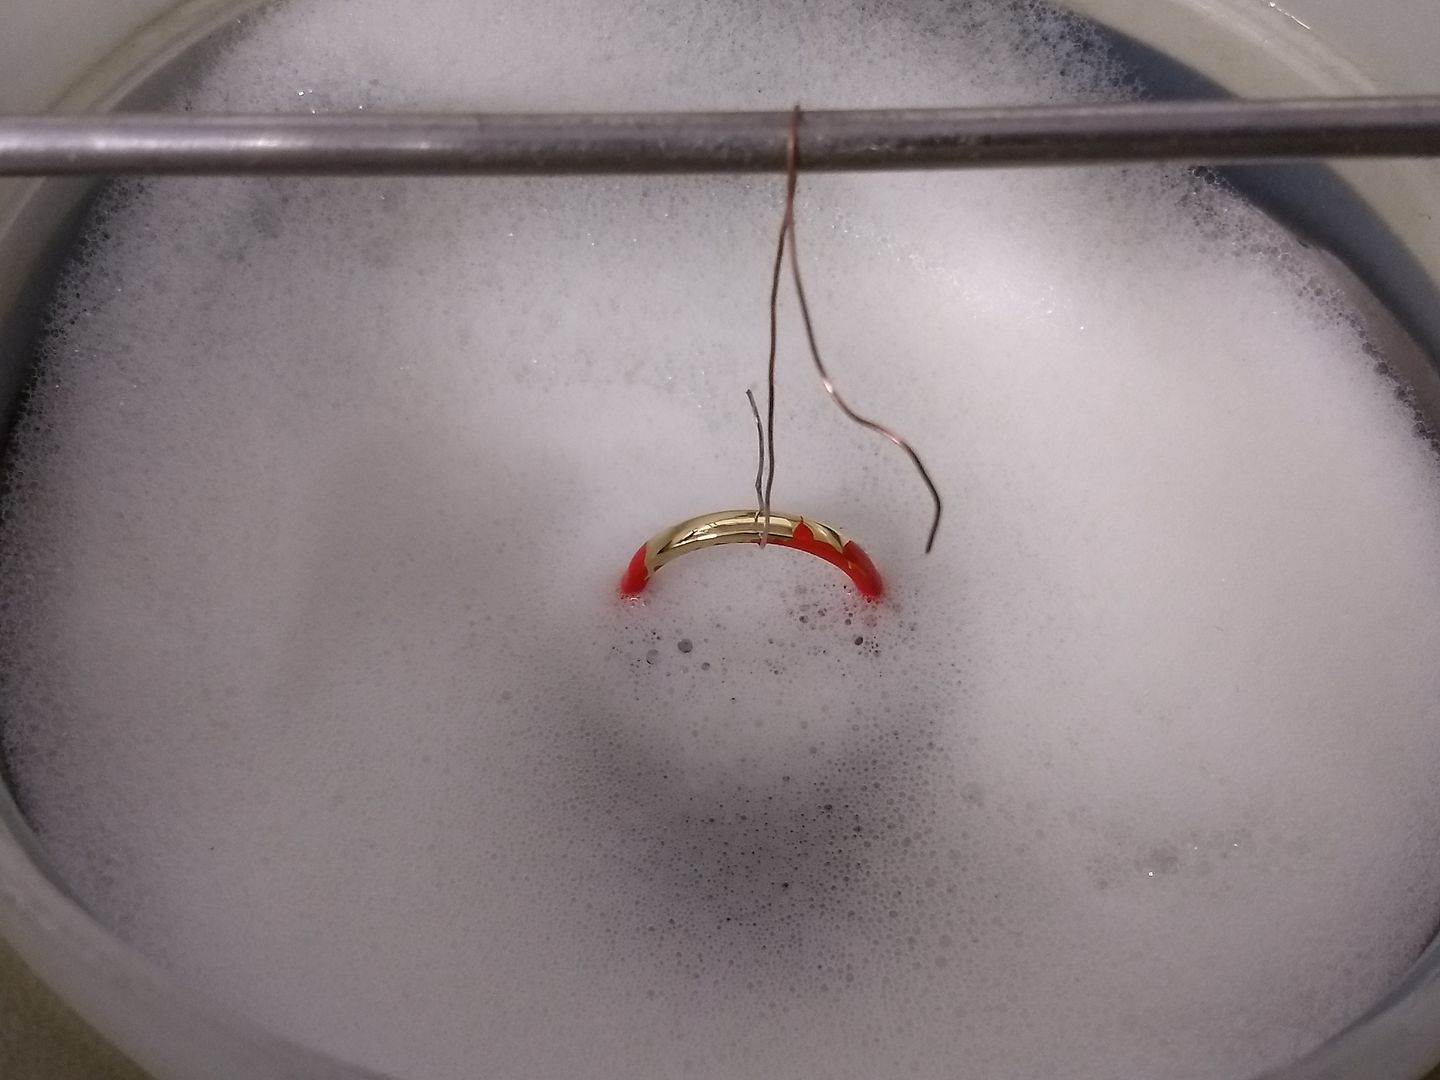
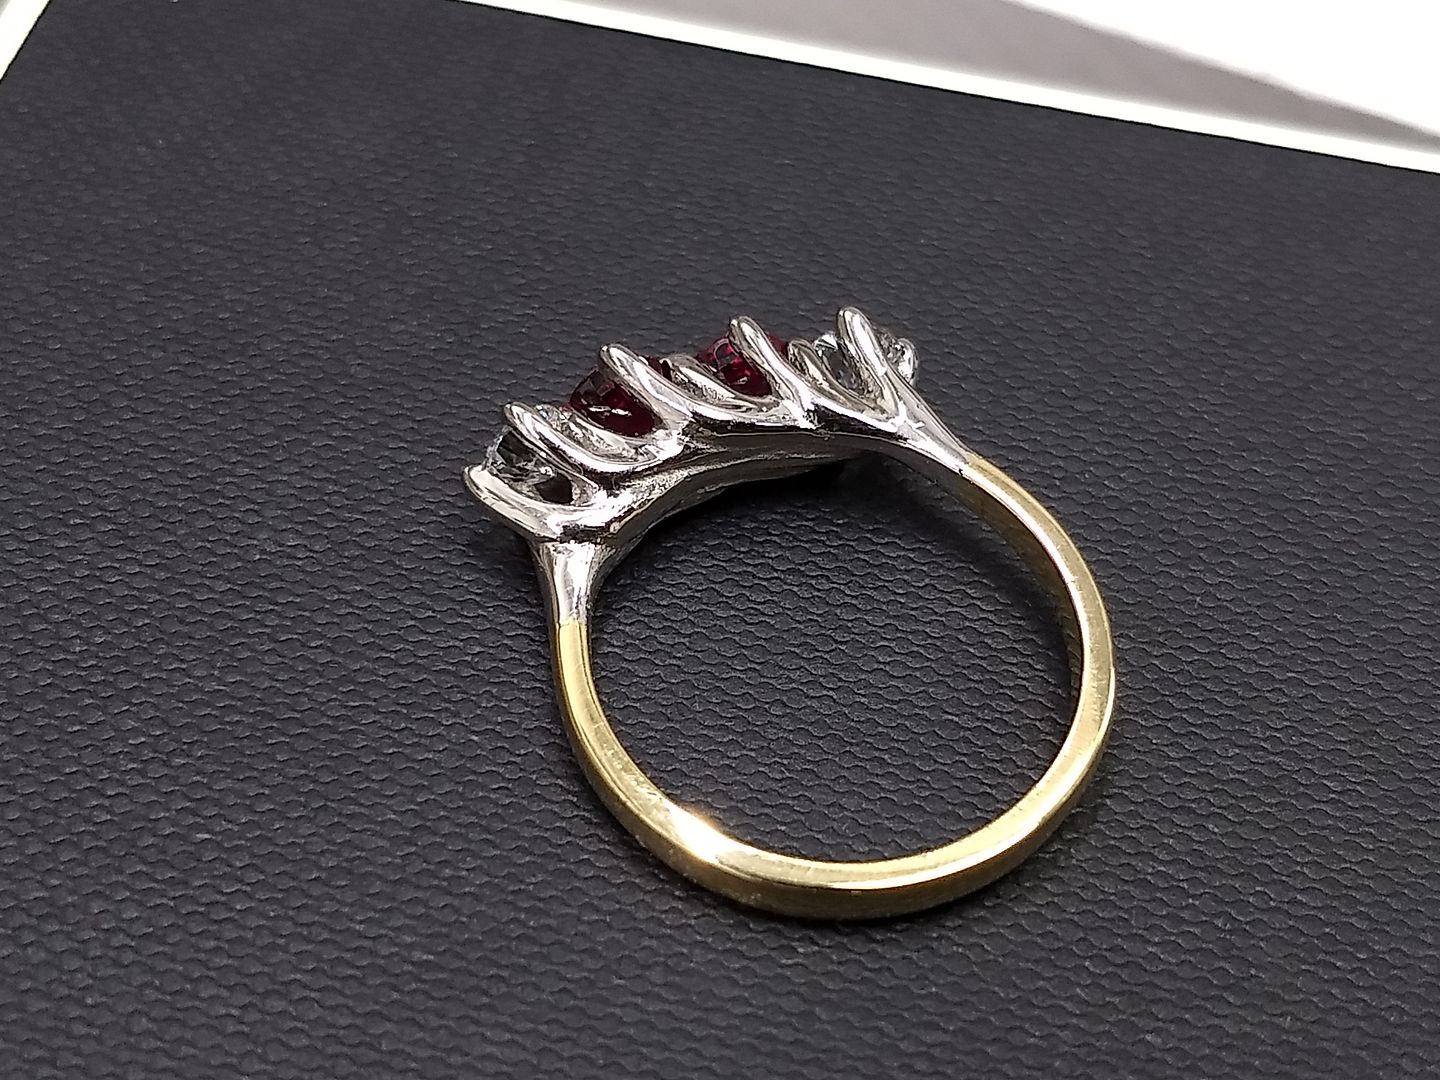
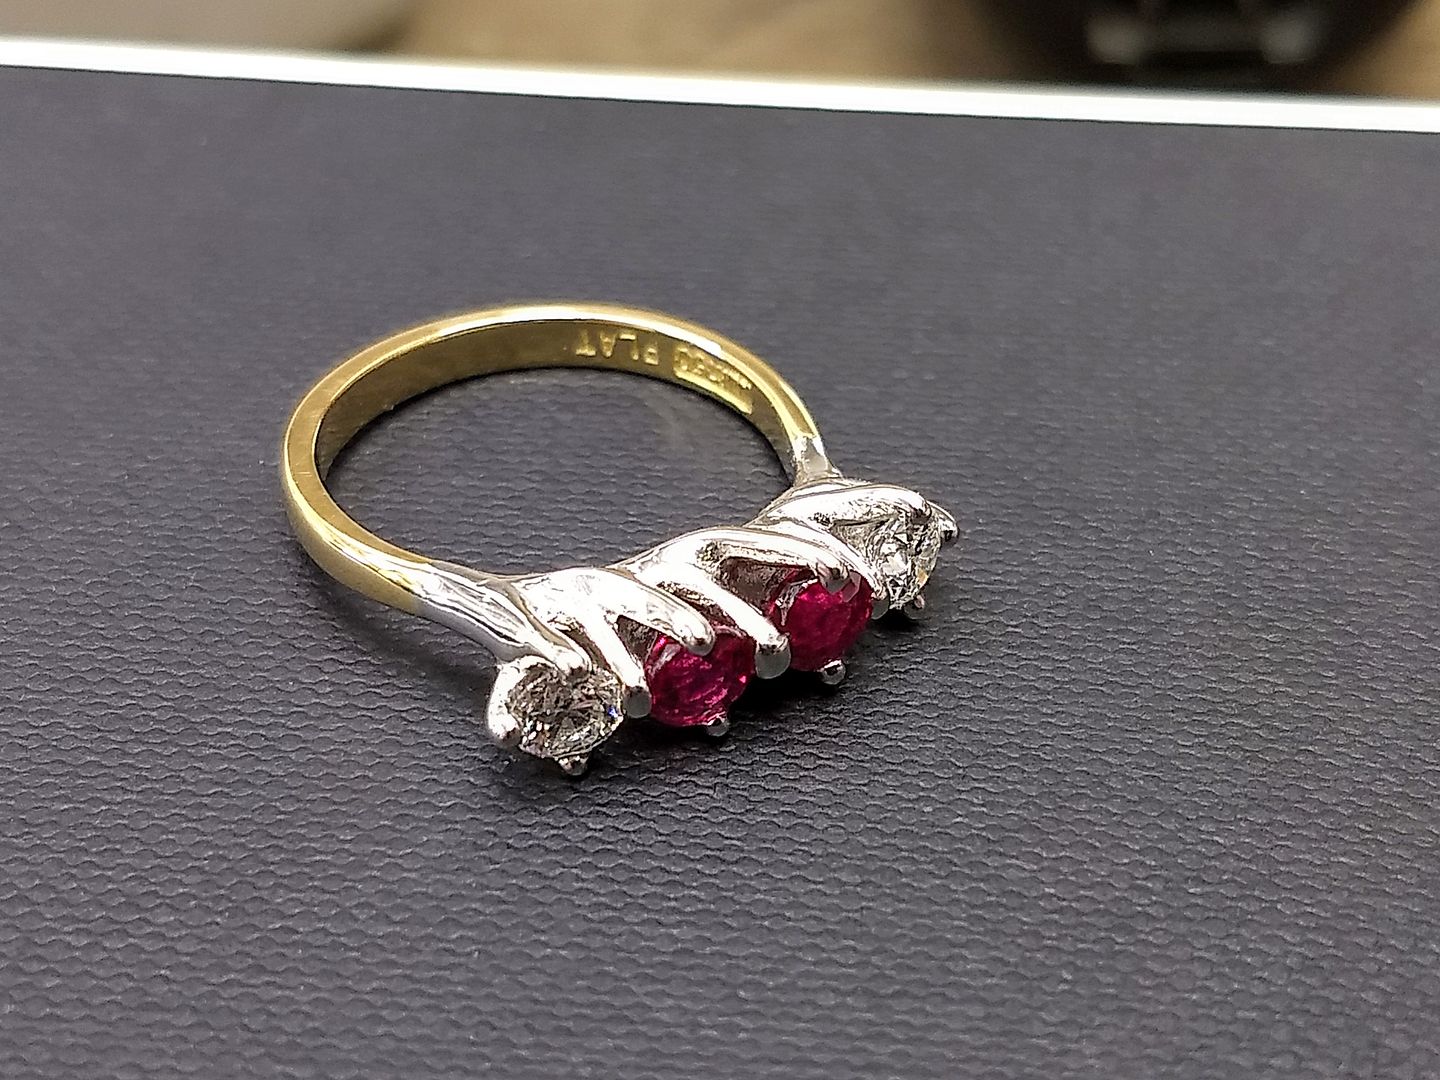
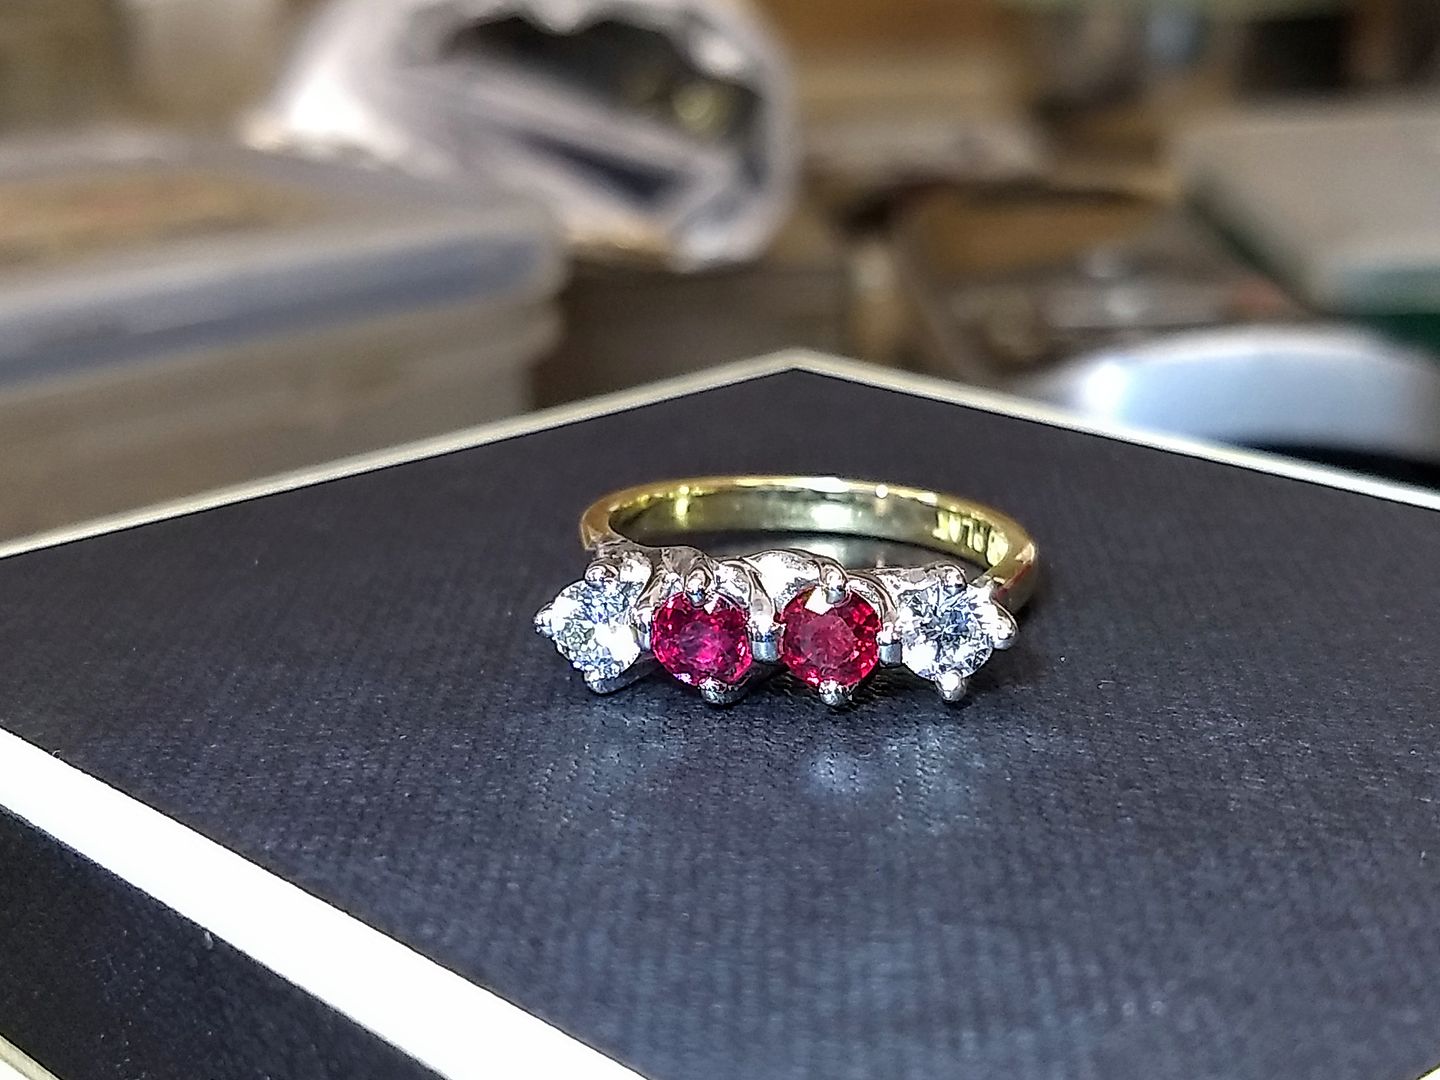
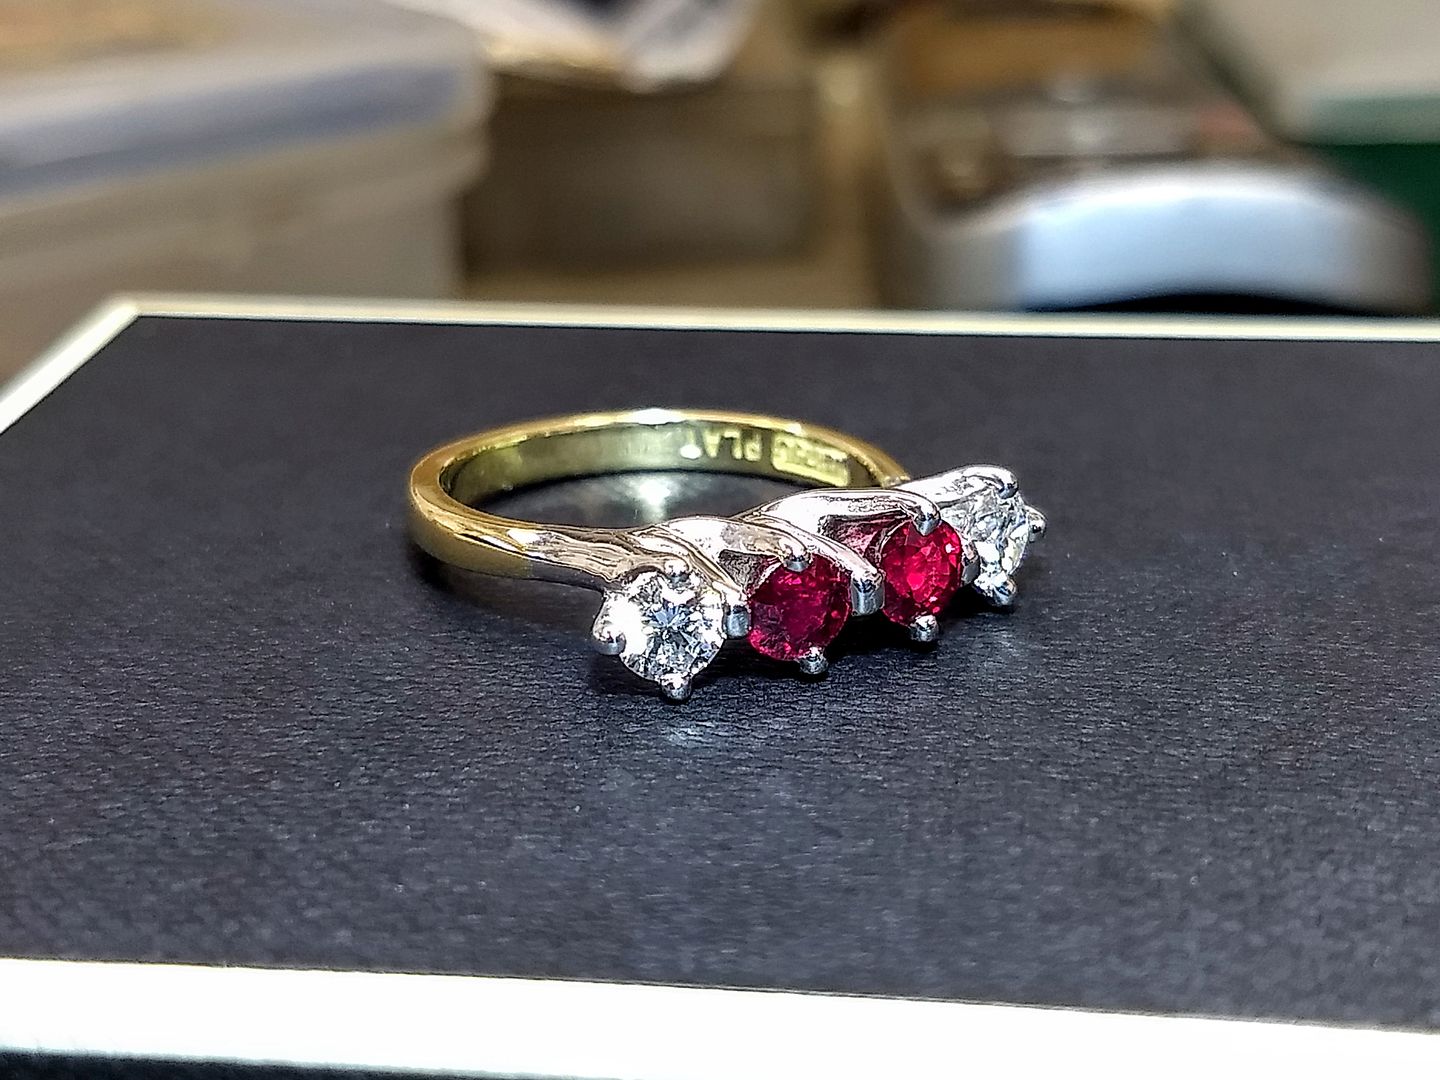
And there it is. I took some better pics on the DSLR that I have yet to upload. I'll do that this week and hopefully that will show the quality of the stones. The next job is to engrave the inside of the shank and hopefully the customer will get to see the ring in person next week. Have a great day all
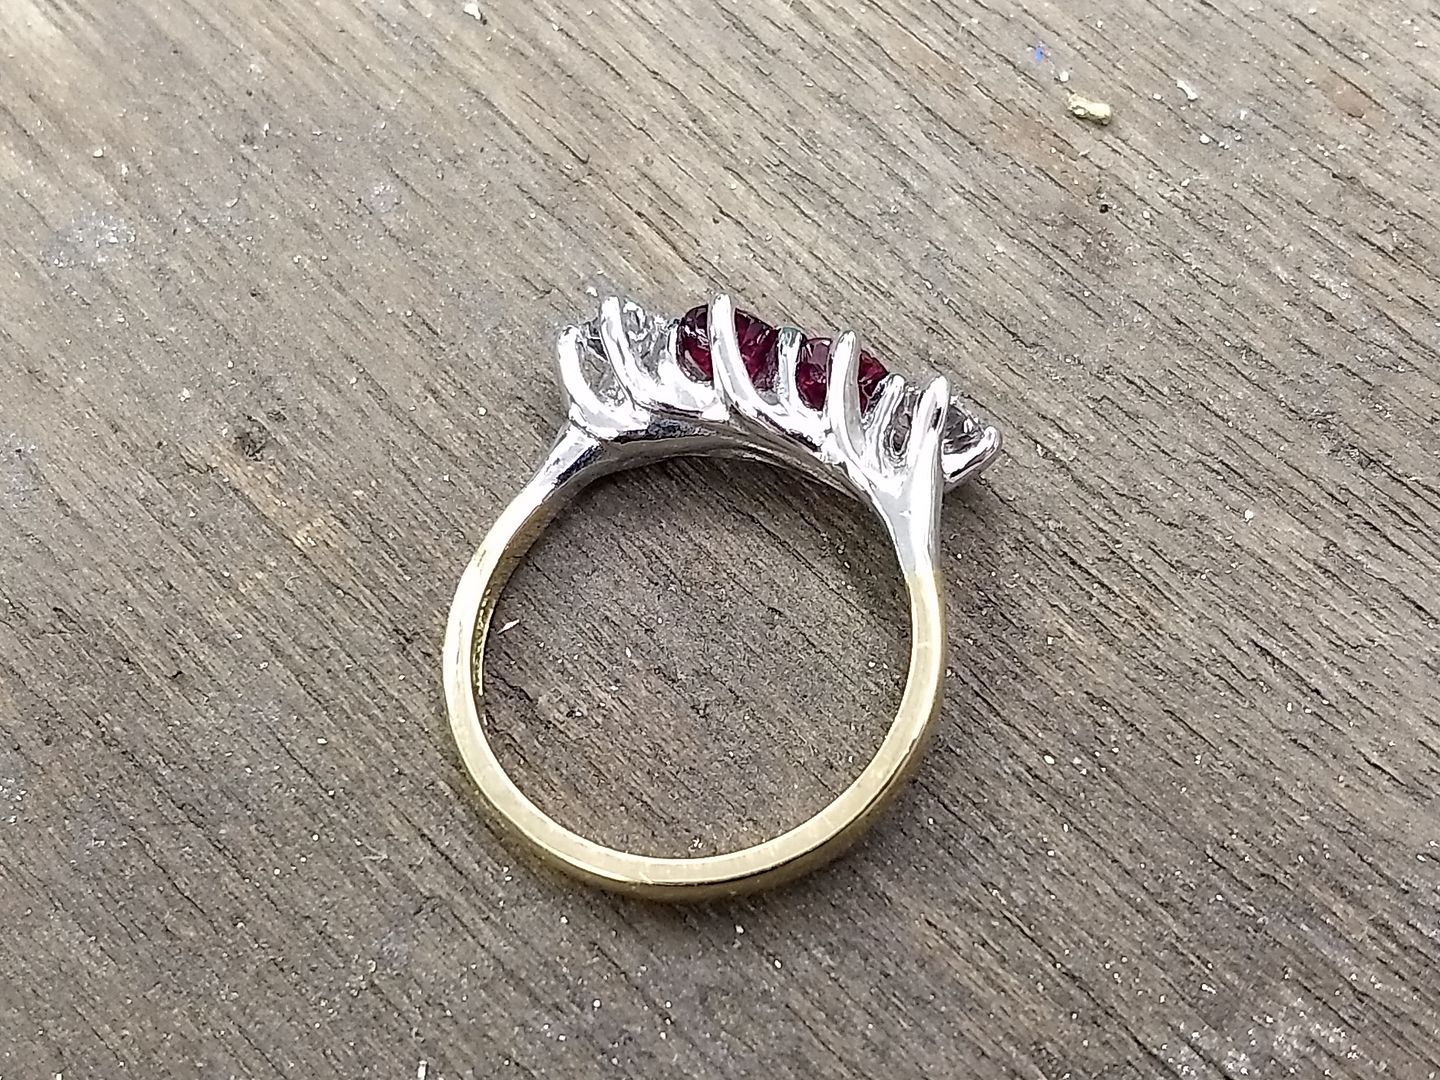
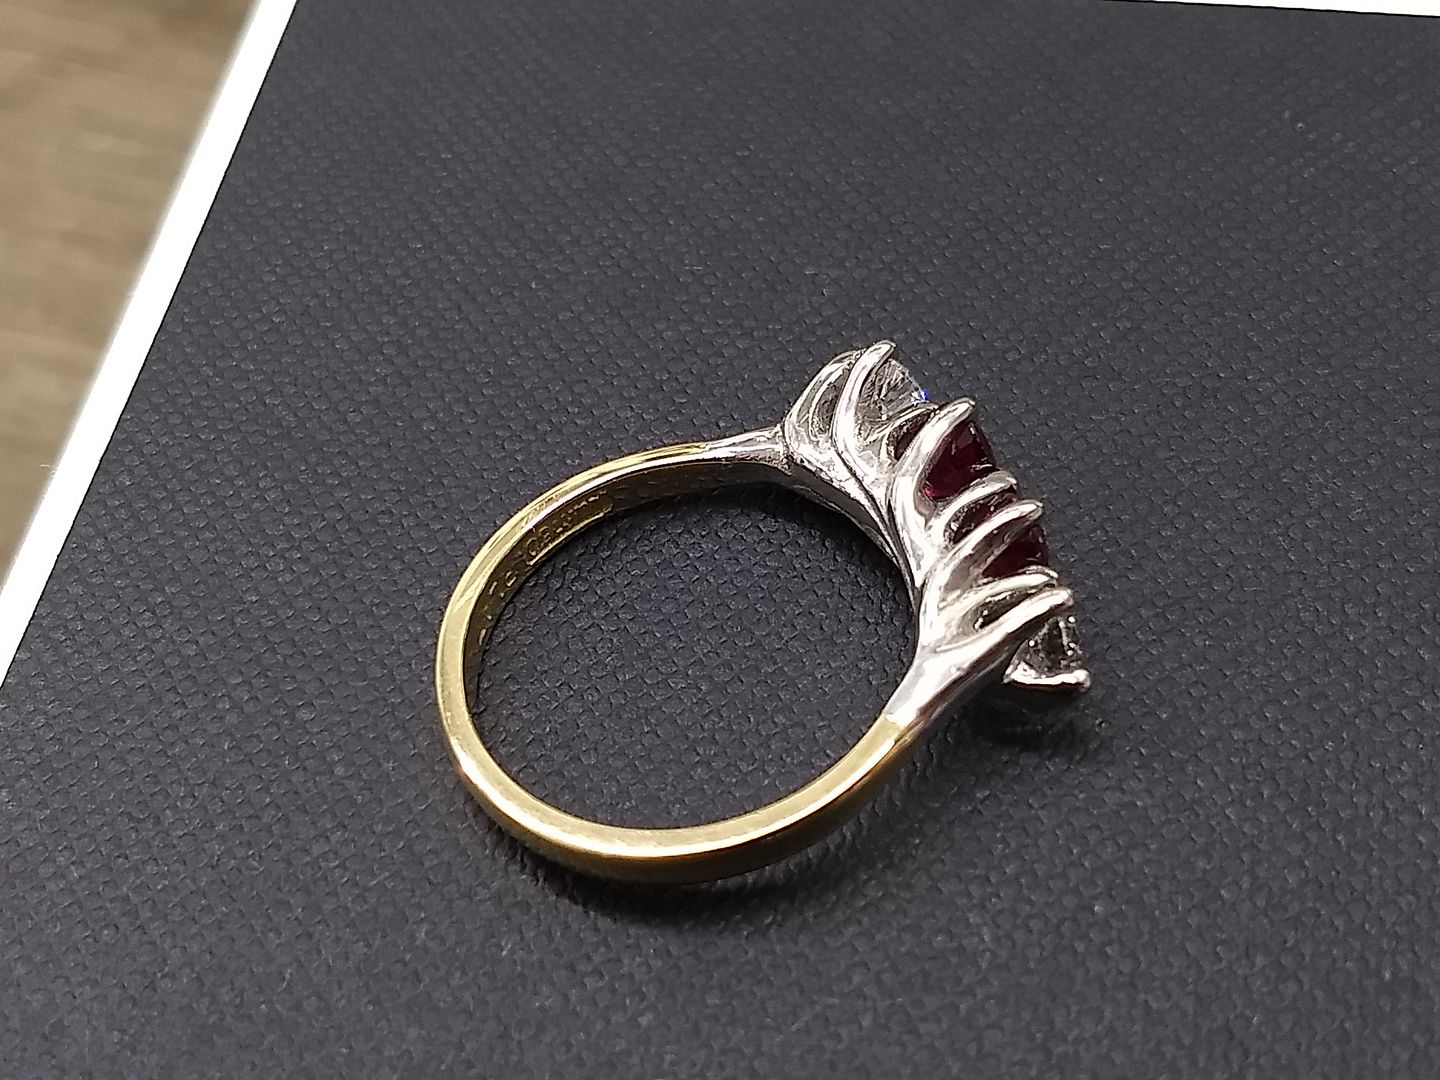

Sorry for the long delay in updating this thread. I've had a really busy year so far and being honest I've needed to overcome a few personal hurdles, emotionally and physically. Nothing major, I've just been a bit tired and off the boil. Anyway, the long awaited super-post has arrived and I'll try to explain as I go. There's a lot of photos so bear with me.

Back in the later part of 2018 a gentleman emailed me with the idea that he wanted a ring for his wife that could sit with another that he had commissioned some years ago. The original is a 3 stone diamond ring set in 18ct yellow gold and platinum. The twist here is the new one needs to be a 4 stone and because of the way the original is made we'll need to not just copy it, but also mirror it with an extra stone. The requirements for the stones were: pair of GIA certified D colour rounds and a matching pair of high end natural rubies. Game on (I was dreading this job actually. As far as bespoke goes, this is probably the most difficult. Platinum is a difficult material to work in this way and an expensive metal if you cock up).
The original item:

The first step is to make the inner section of the setting. It's a very interesting setting in that it has a middle carcass and outer claws as well as an undersetting that shows the arms flowing together. We start with some platinum wire and lots of medium solder (high enough melting temperature to be safe over time but low enough that we won't go blind heating it).

There is one middle arm of the inner carcass and this is the first piece of metal we bend. Remember, like all my jobs I measure very little. It's all by eye and experience / judgement.

With the inner bar done I cut some more sections of wire.

Pinned together I begin the soldering process. :/


The first inner claw is then bent to shape:

And is soldered in position to the middle bar / wire:

And then the next one:

Which creates what is starting to look like a stages head:

From here we add a few more wires to the carcass and slowly build the picture of what we are aiming for:


With all the wires in roughly the right place I add solder to fill gaps and generally bulk up the frame. With platinum being a soft metal I can still bend it a bit with the solder applied so I can still make minor adjustments from this point. I can't move anything though and bigger changes mean either cutting sections out or starting again:

After a bit of filing and soldering the centre carcass is taking shape and will soon be ready to clean up ready for the outer claws:


I cut some more wire and grab some more solder. More wire is also rolled as I need it:


Being careful not to upset the solder already in the setting I start to add the outer claws. They are bent first and then tacked in place:

One side done:

And then the other:


At this point the aim is to shape the setting to match the original. As you may have guessed, the customer has provided us with a silver sample to work from so we know the scale and layout. I use files and grinding tools to shape and trim the wires I have soldered in place:


Another twist is that the customer wants the rings to interlock. They can never sit perfect because of the positioning of the shank but I have made the setting so that they sit comfortably side by side:

A little view from under the new head. You can see it now starting to come together:


The head / setting is given a bit of a tidy and a check over to make sure there are no major errors:


The setting joins the shank with platinum shoulders in between. These are soldered in and filed to shape:


Another clean up after filing and it's looking like a ring component. The setting is made of something like 17 or 18 individual pieces and a whole lot of solder. The customer and I have decided that in the interests of my mental health and my eyes we should have this cast to produce a solid format so that If he decides to have another made in future we can do so without having to spend a good many hours and pounds doing it all again in wire. Before i get it off to our casting company (platinum casting is something we don't do in house) I attach a yellow shank so the customer can see what it might look like at the end.


Here are all the elements in the equation.

The cast came back after a couple of weeks and we can now get on with the rest of the build and setting the stones:

Original head and a nice lump of 18ct yellow gold:

The 18ct wire is rolled down to make the material for the shank, which is stamped to show the materials used (18ct is 750) :


The wire is cut to length and turned to the correct shape:

And then soldered on and sized to fit:

The ring is now a mount
 It's cleaned up and I prepare myself to set the stones:


The rubies go in first so I know how much room I have to play with and to set the heights. The inner claws are notched first and the rubies dropped in. The tops of the inner claws are then pressed before the outer claws get notched and pressed into position:

Diamond number one is in:

And then both:

The claws are then cut to length and adjusted for position:

Some gentle filing takes place and the stones are 99% the way there to being set. The pictures don't do them justice but the rubies are stunning.

Polishing is the next thing to happen. Platinum is a hard metal to polish because it's so dense. Marks are incredibly hard to remove from the nooks and crannies of a setting and if polished too hard will quickly show solder lines and drag our 18ct shank at the joint. This is why most rings are cast complete and machine finished. This is hand made in every way so I take my time and exercise great care:


Even though it's a platinum head I still rhodium the metal to give it that last sparkle. It also hides any stains that the polishing couldn't get to.


And there it is. I took some better pics on the DSLR that I have yet to upload. I'll do that this week and hopefully that will show the quality of the stones. The next job is to engrave the inside of the shank and hopefully the customer will get to see the ring in person next week. Have a great day all


Edited by ecain63 on Tuesday 19th March 08:20
Edited by ecain63 on Tuesday 19th March 08:28
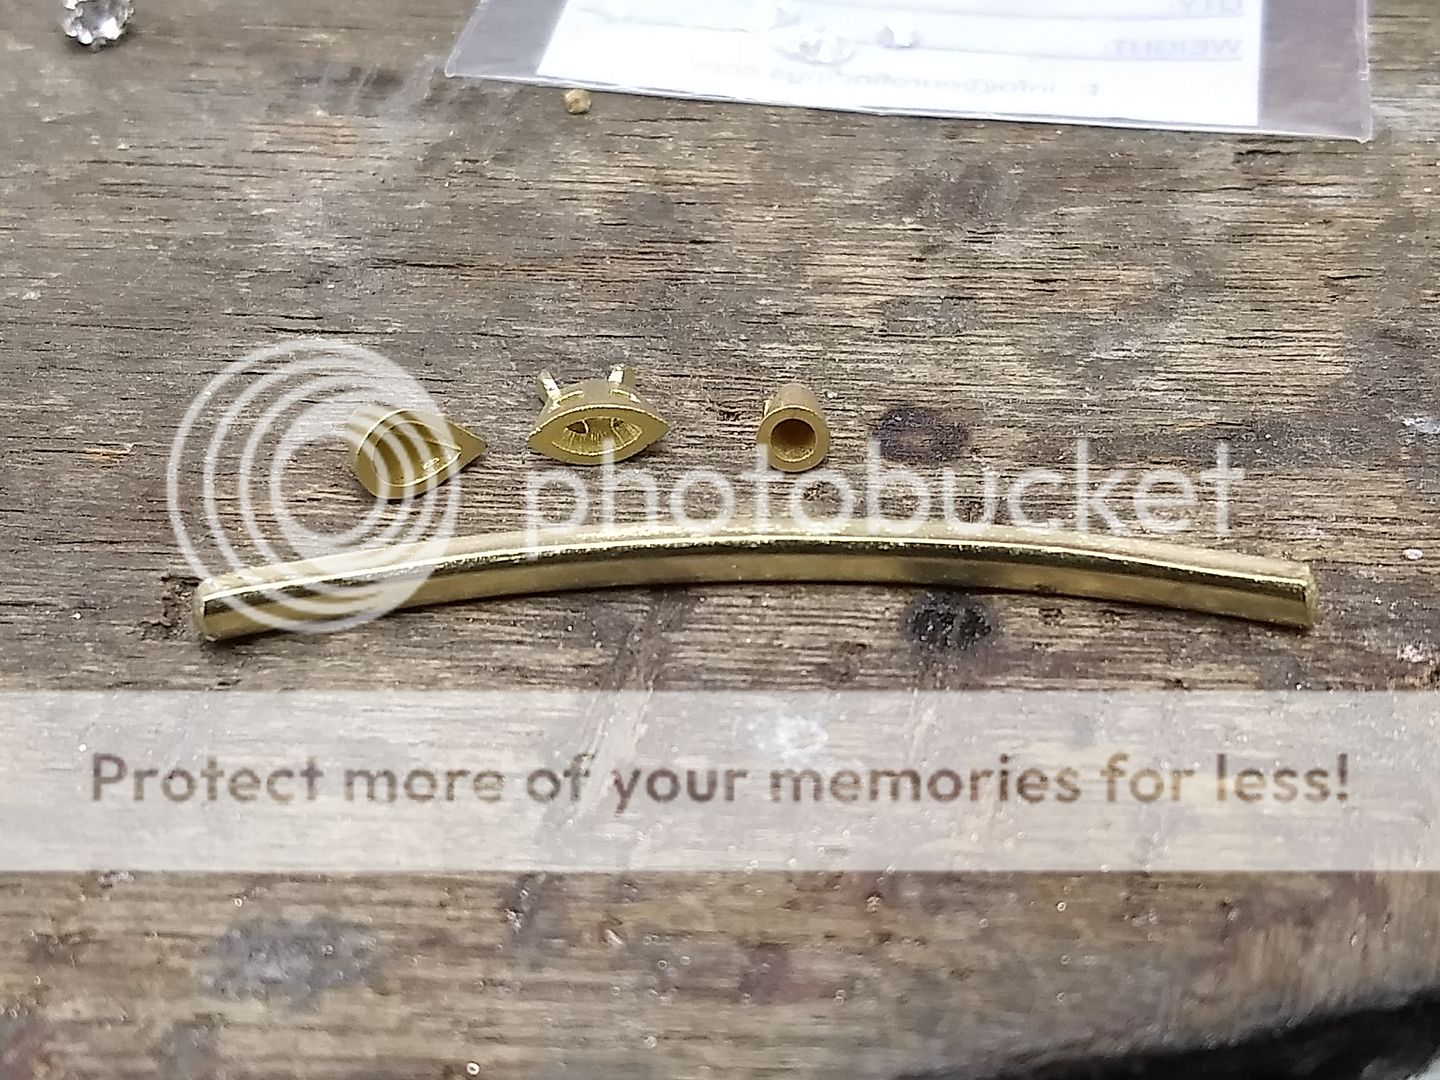
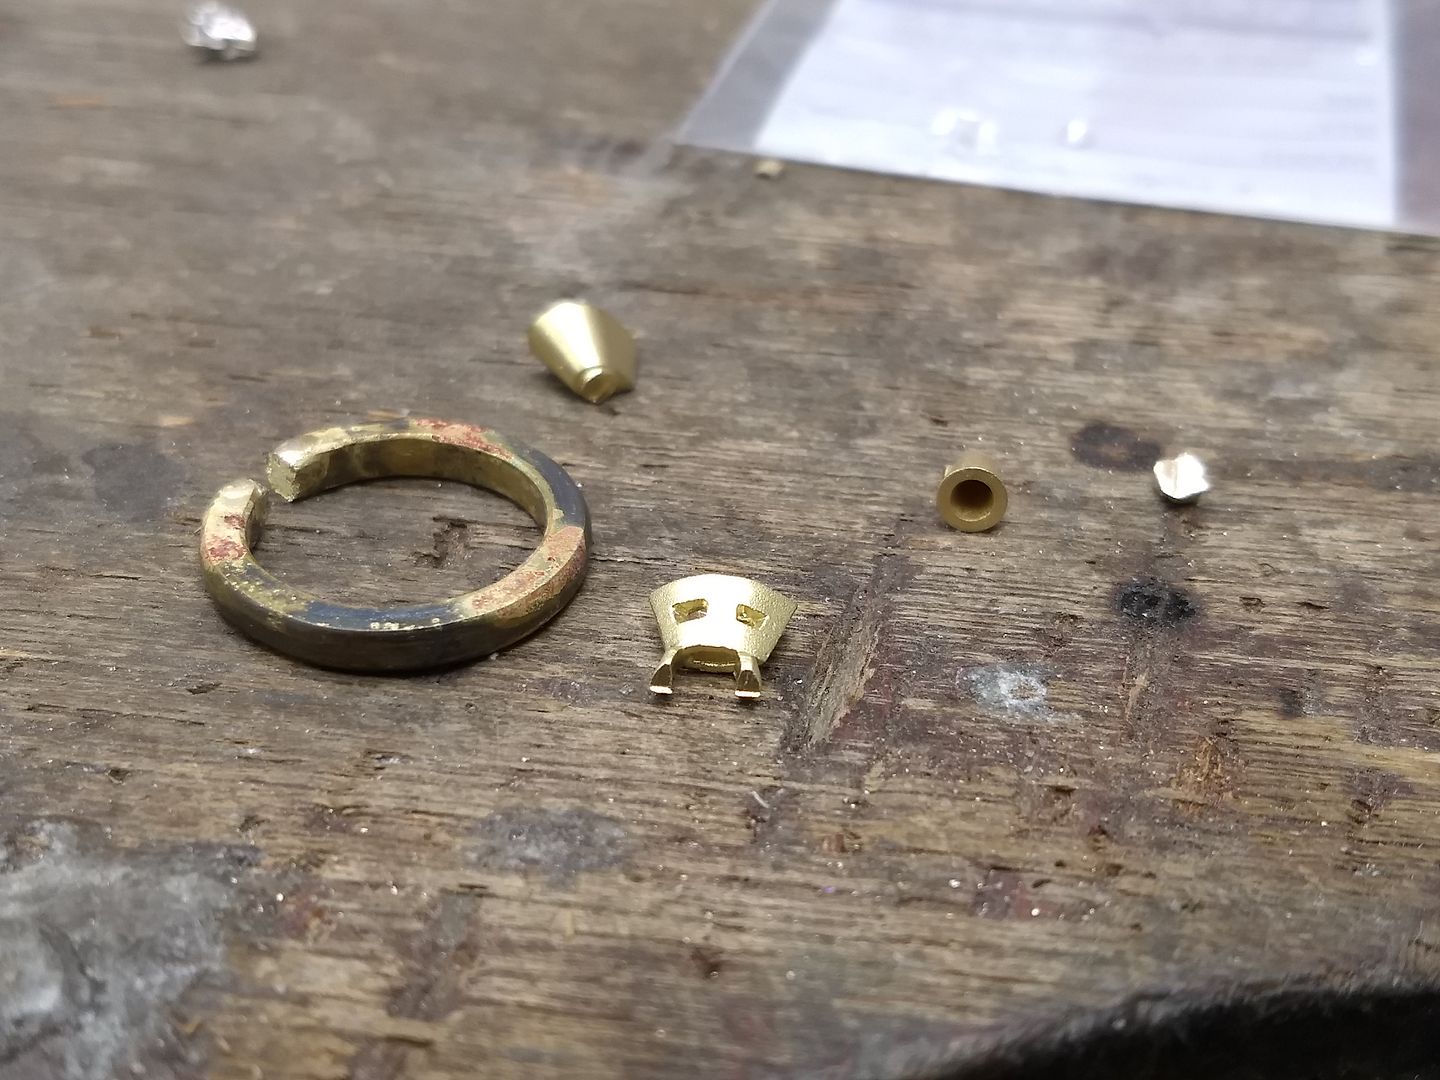
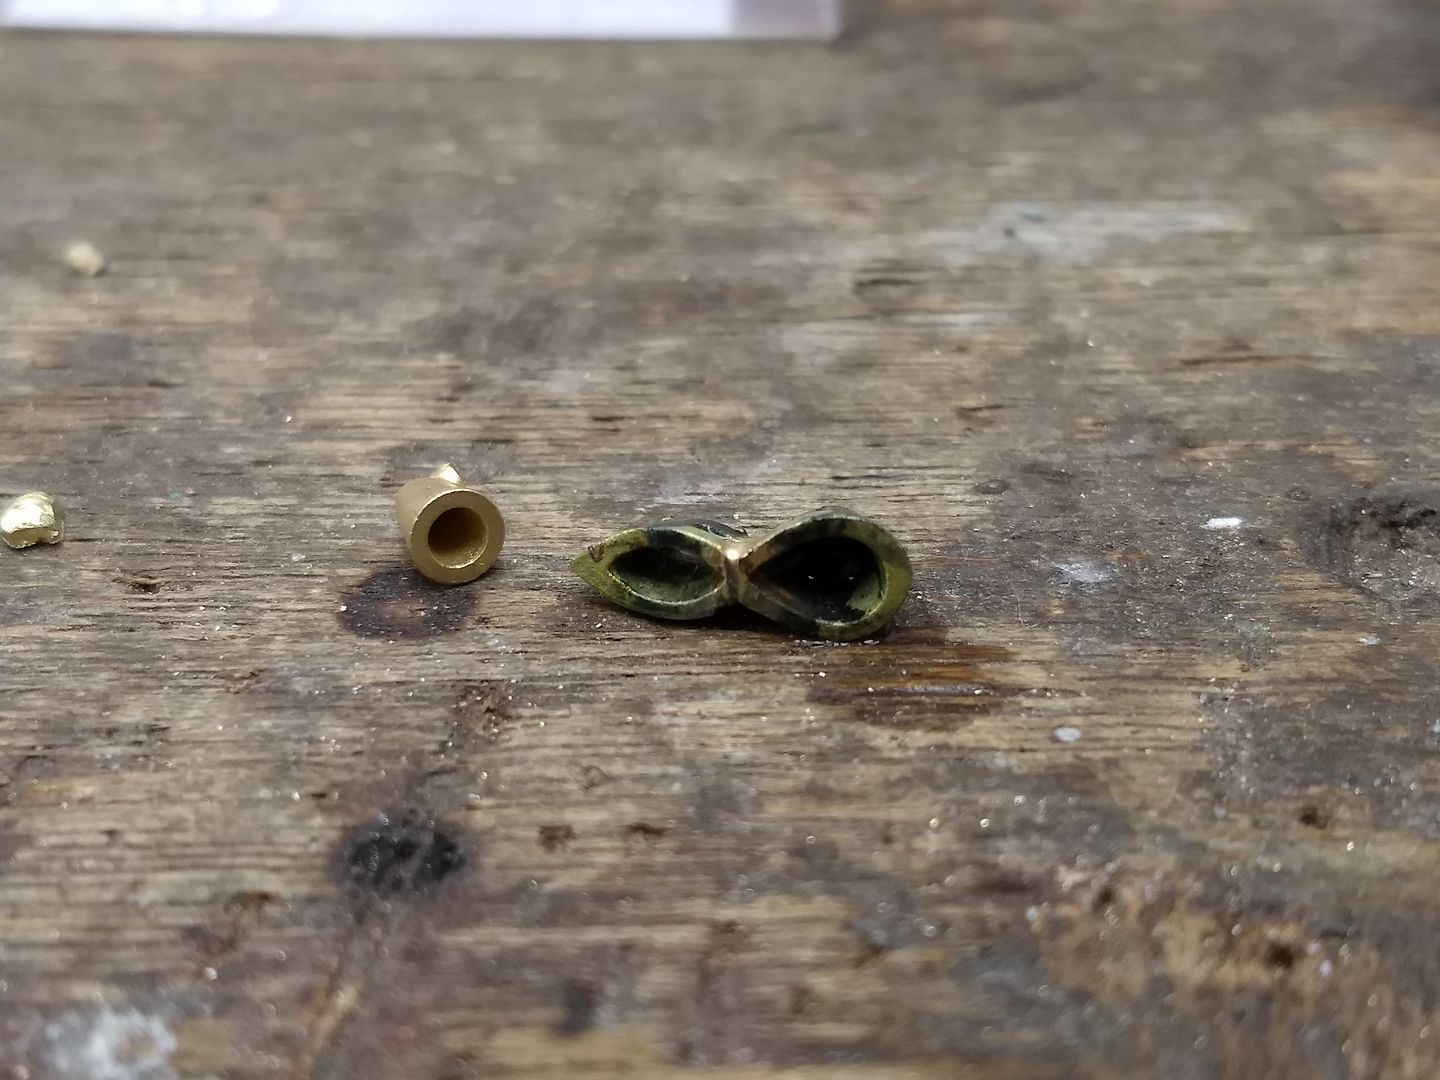
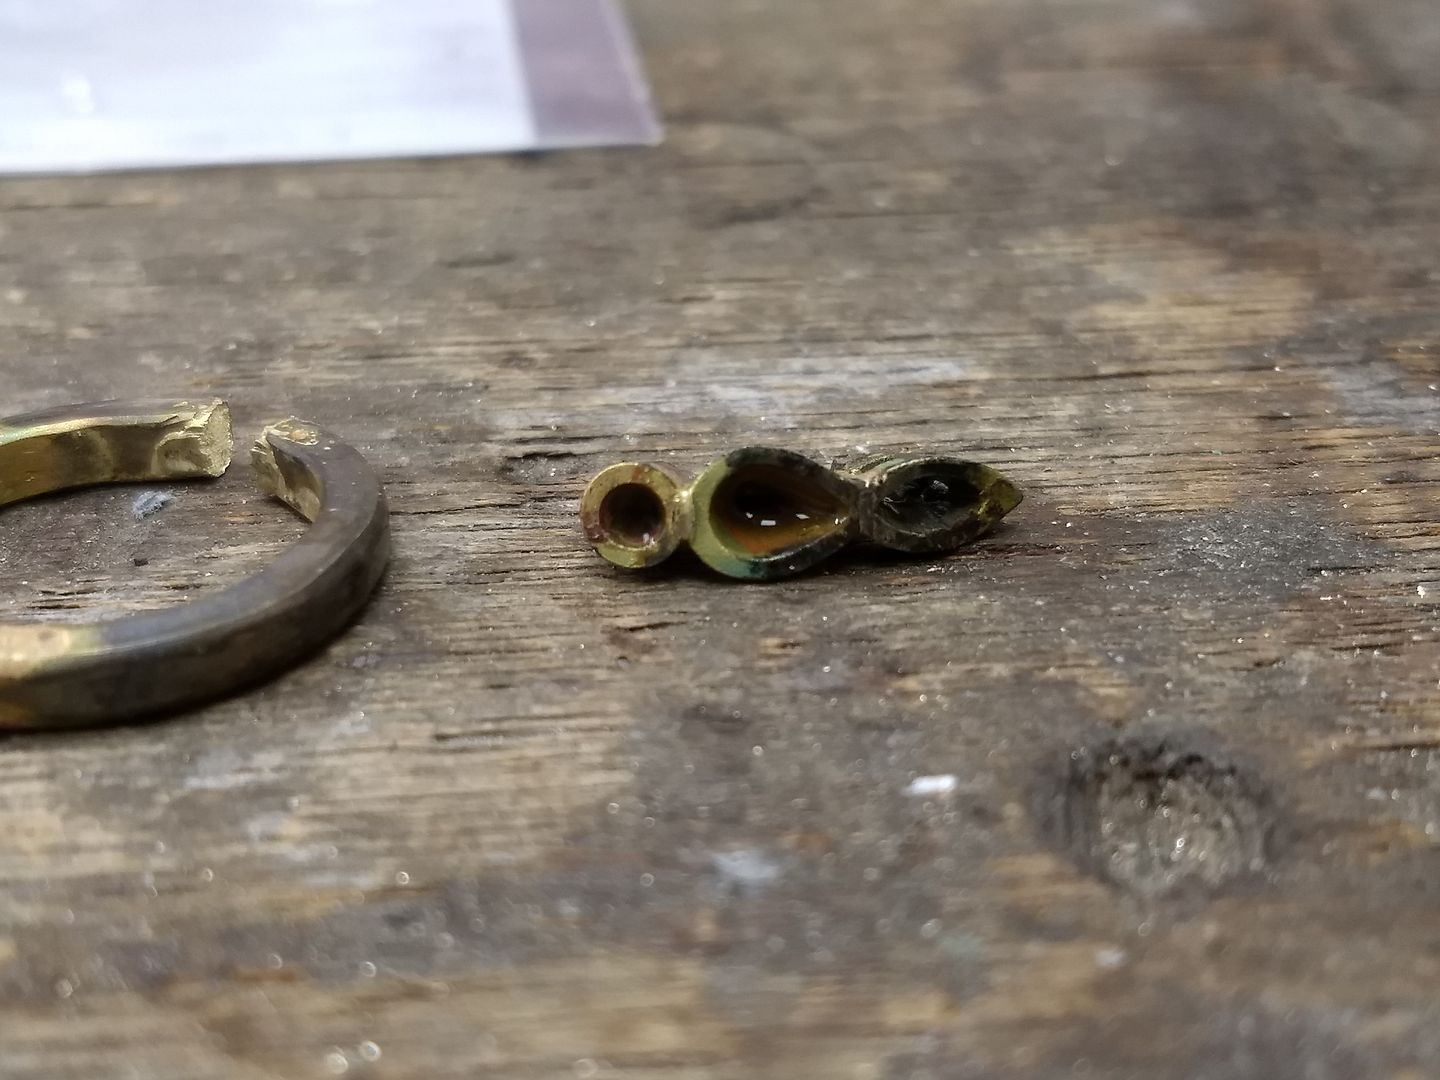
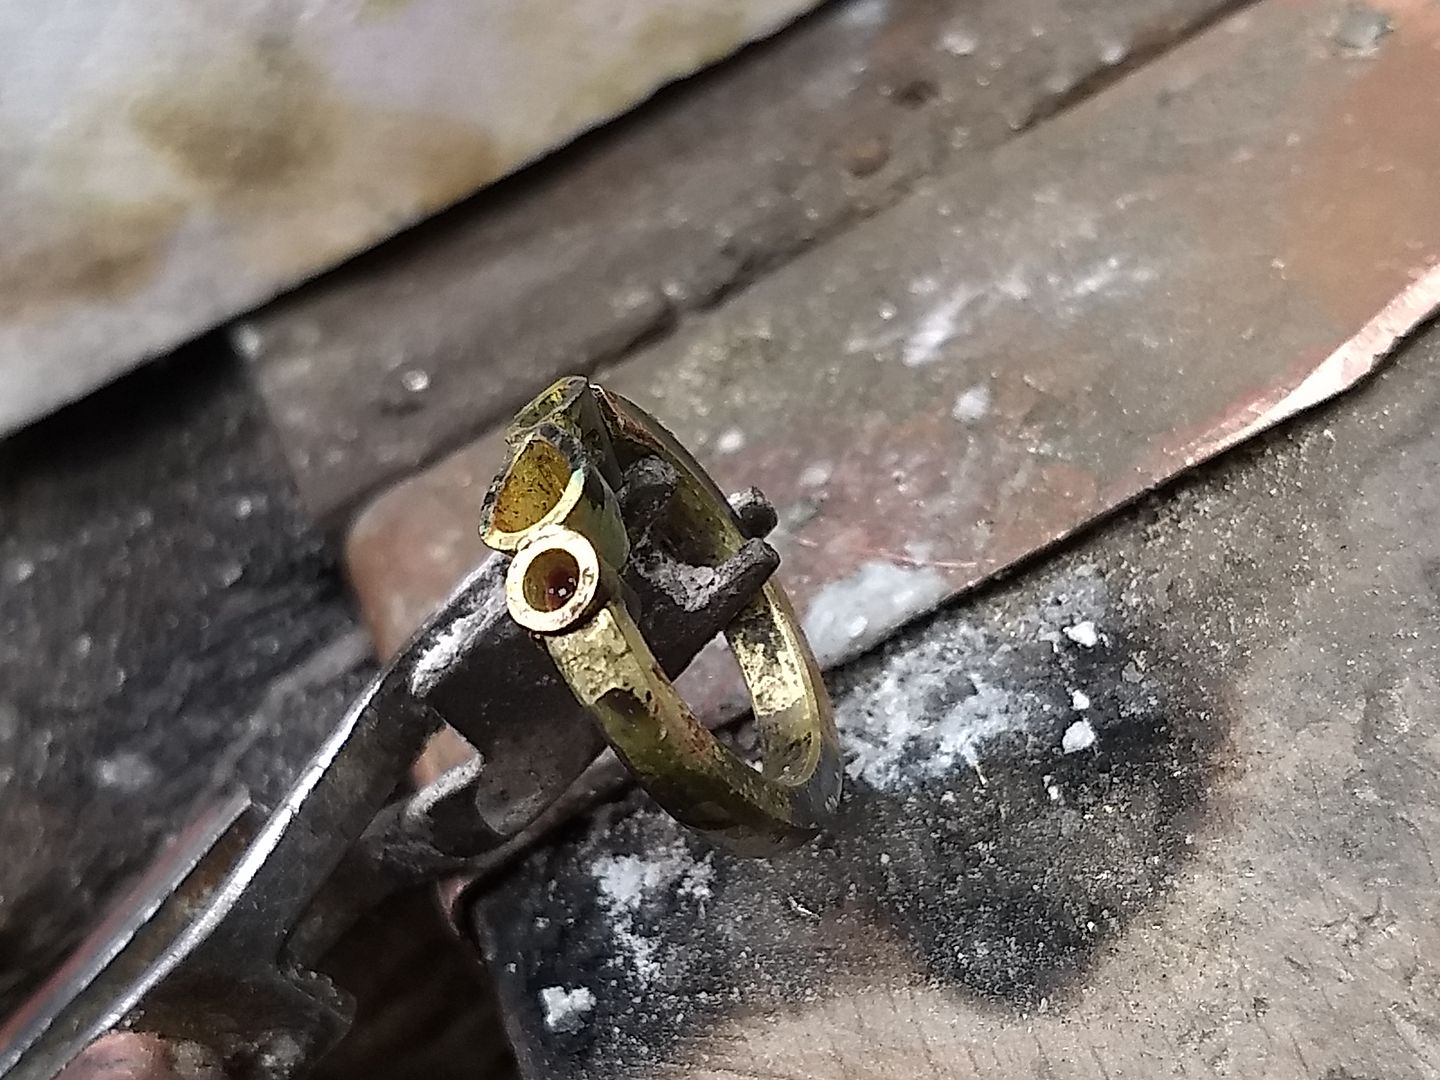
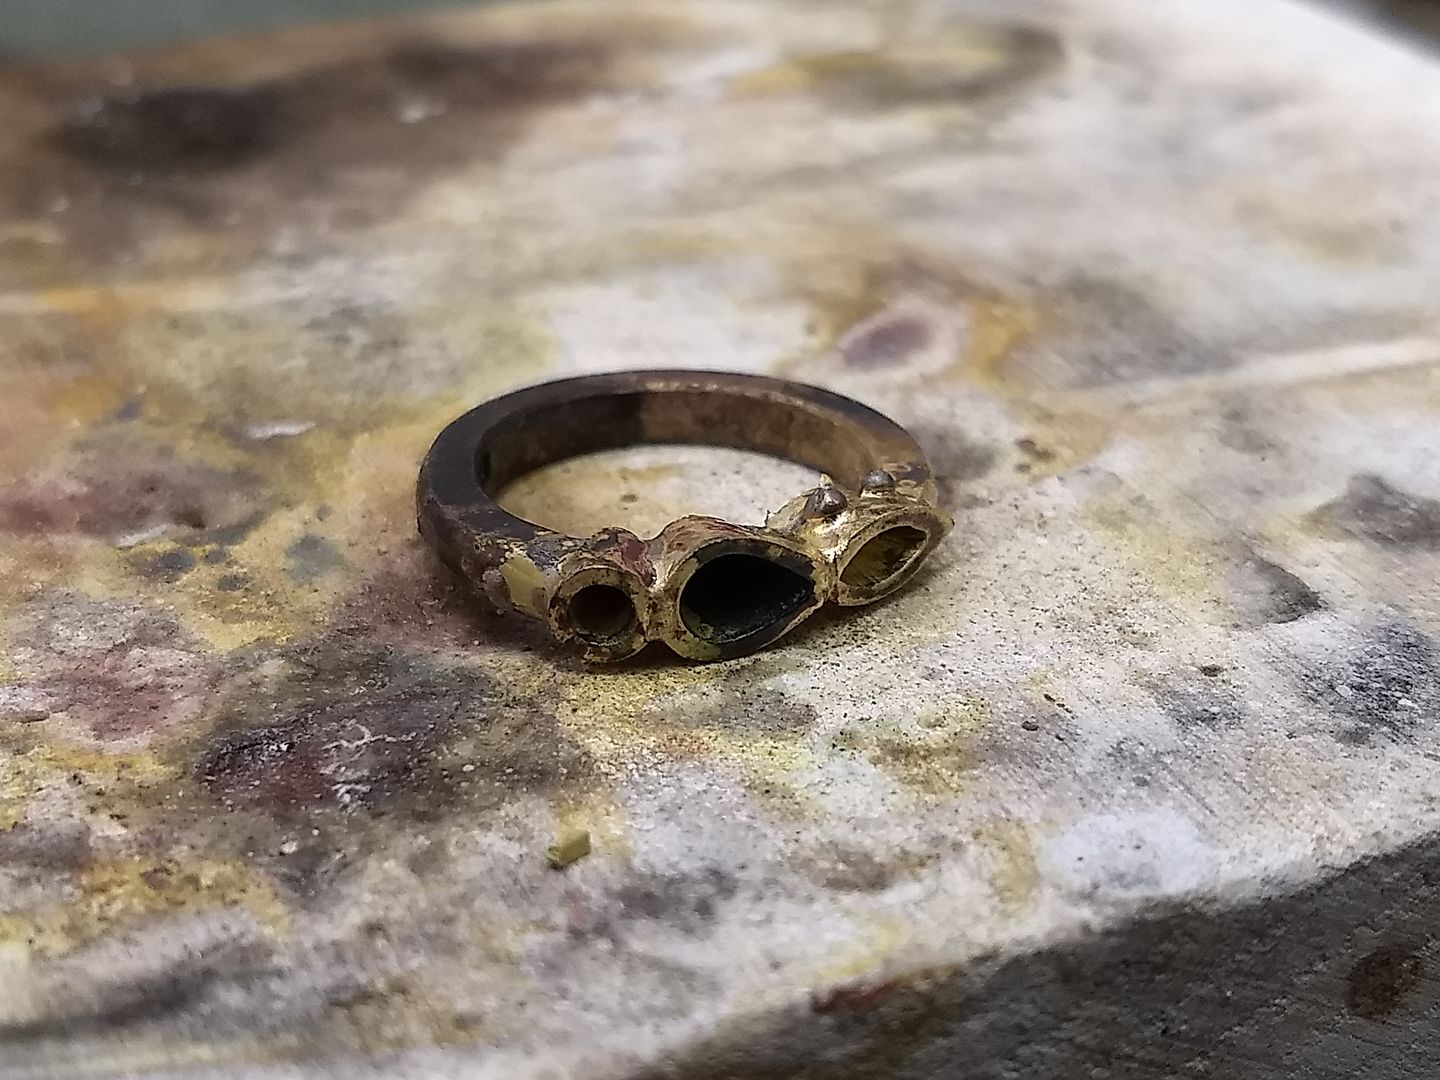
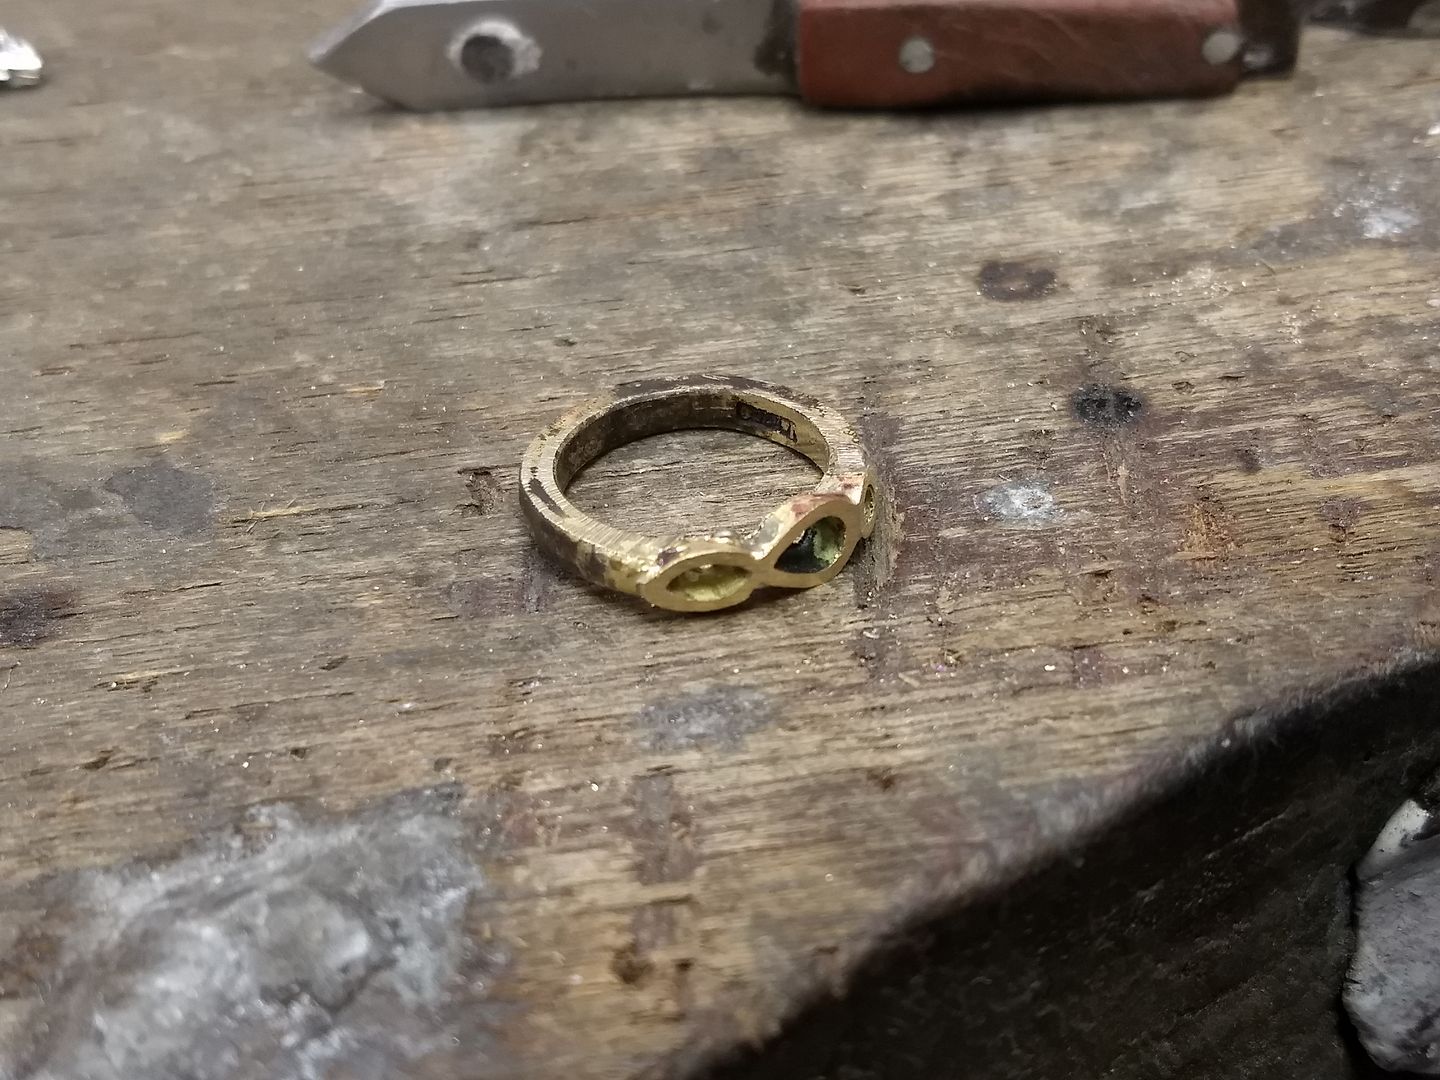
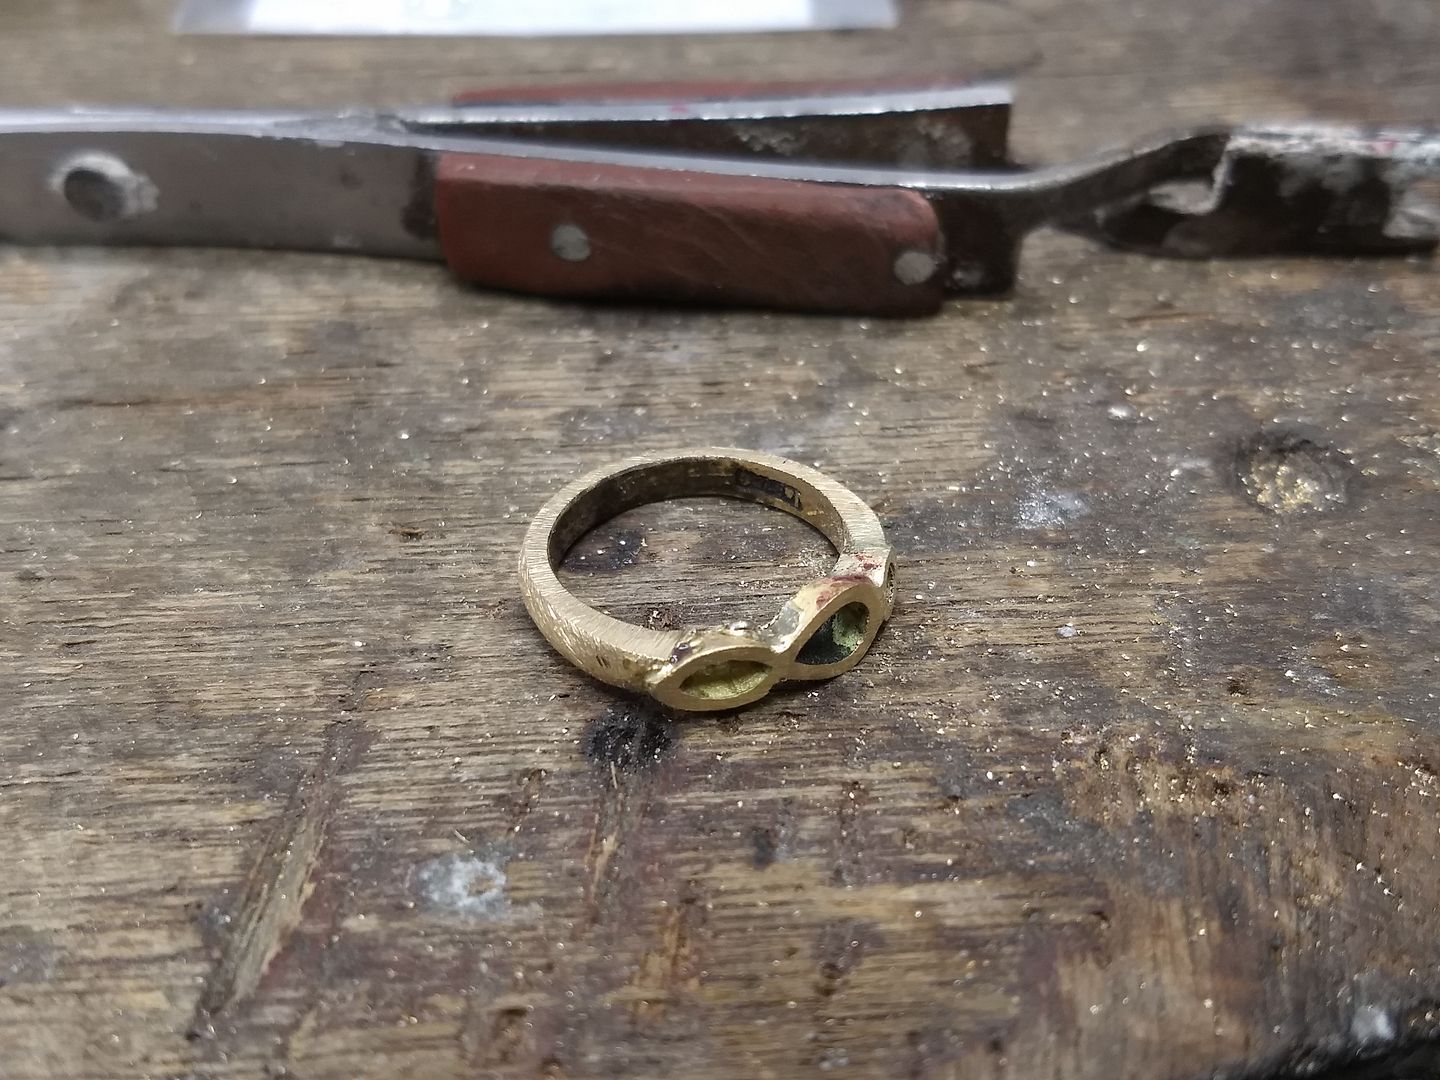
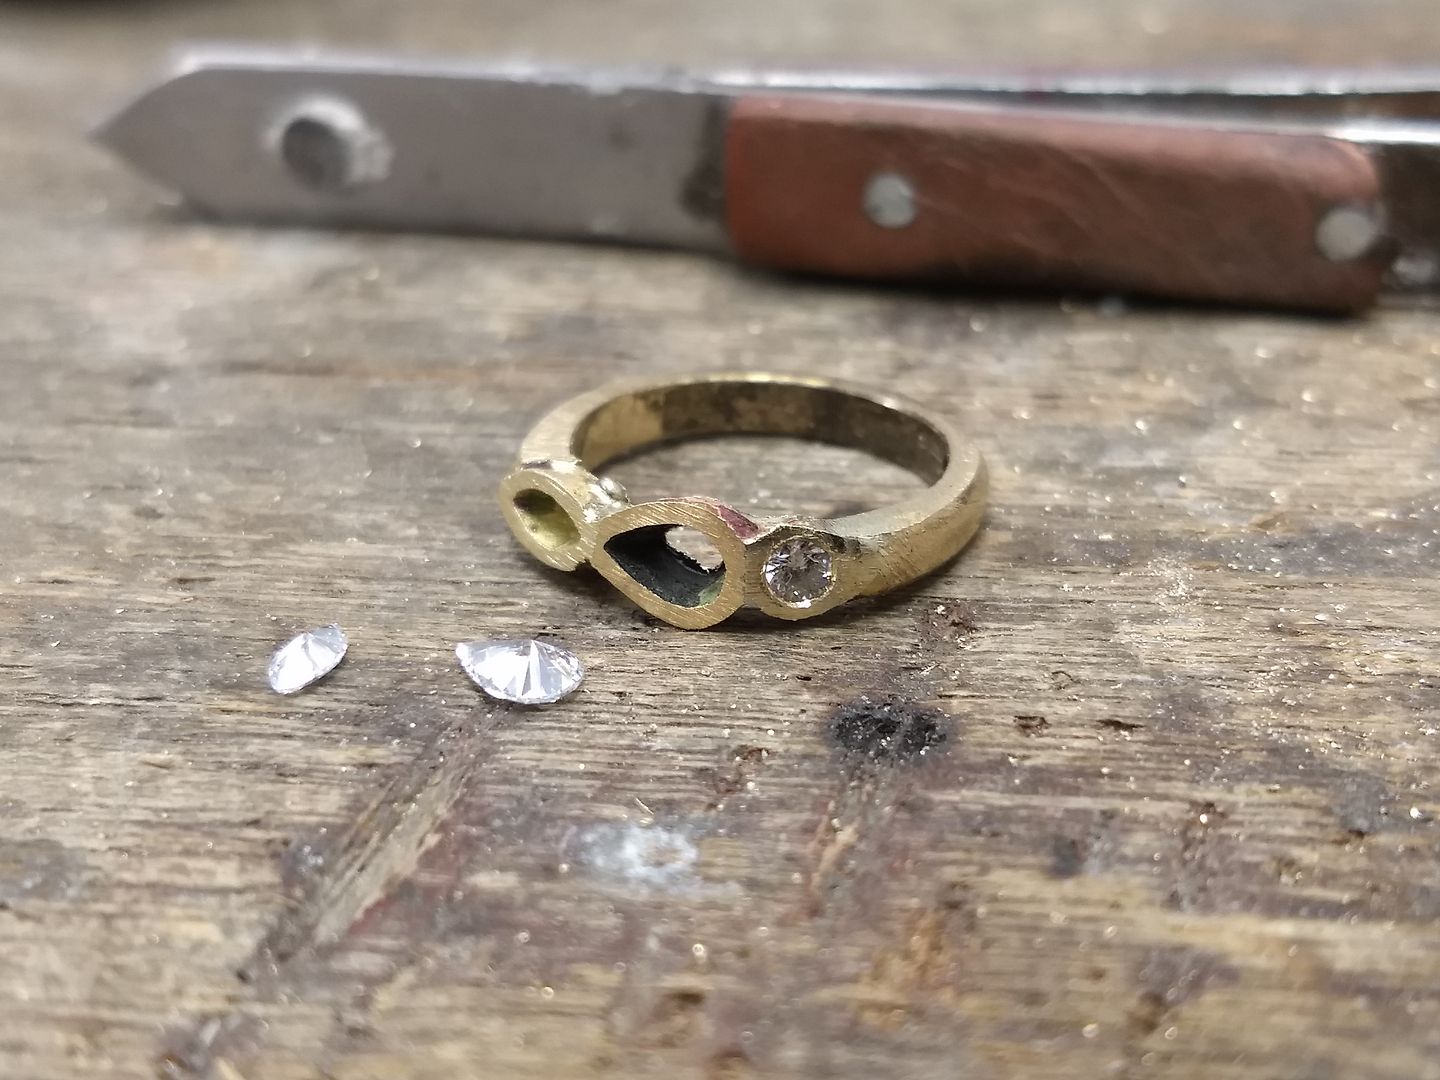
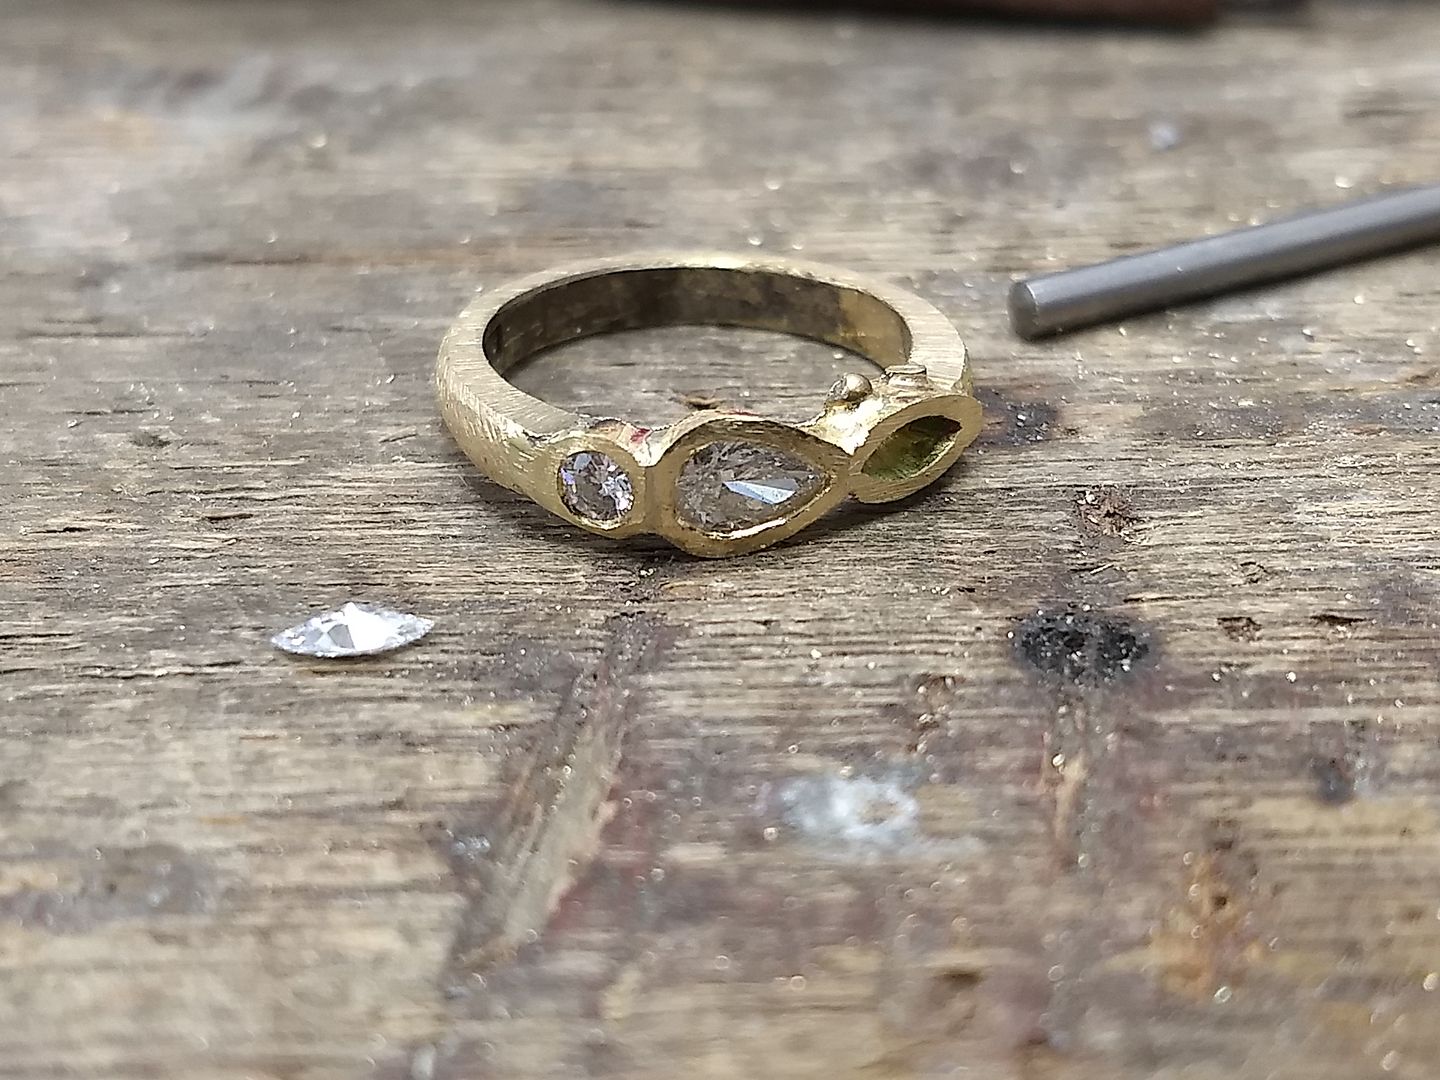
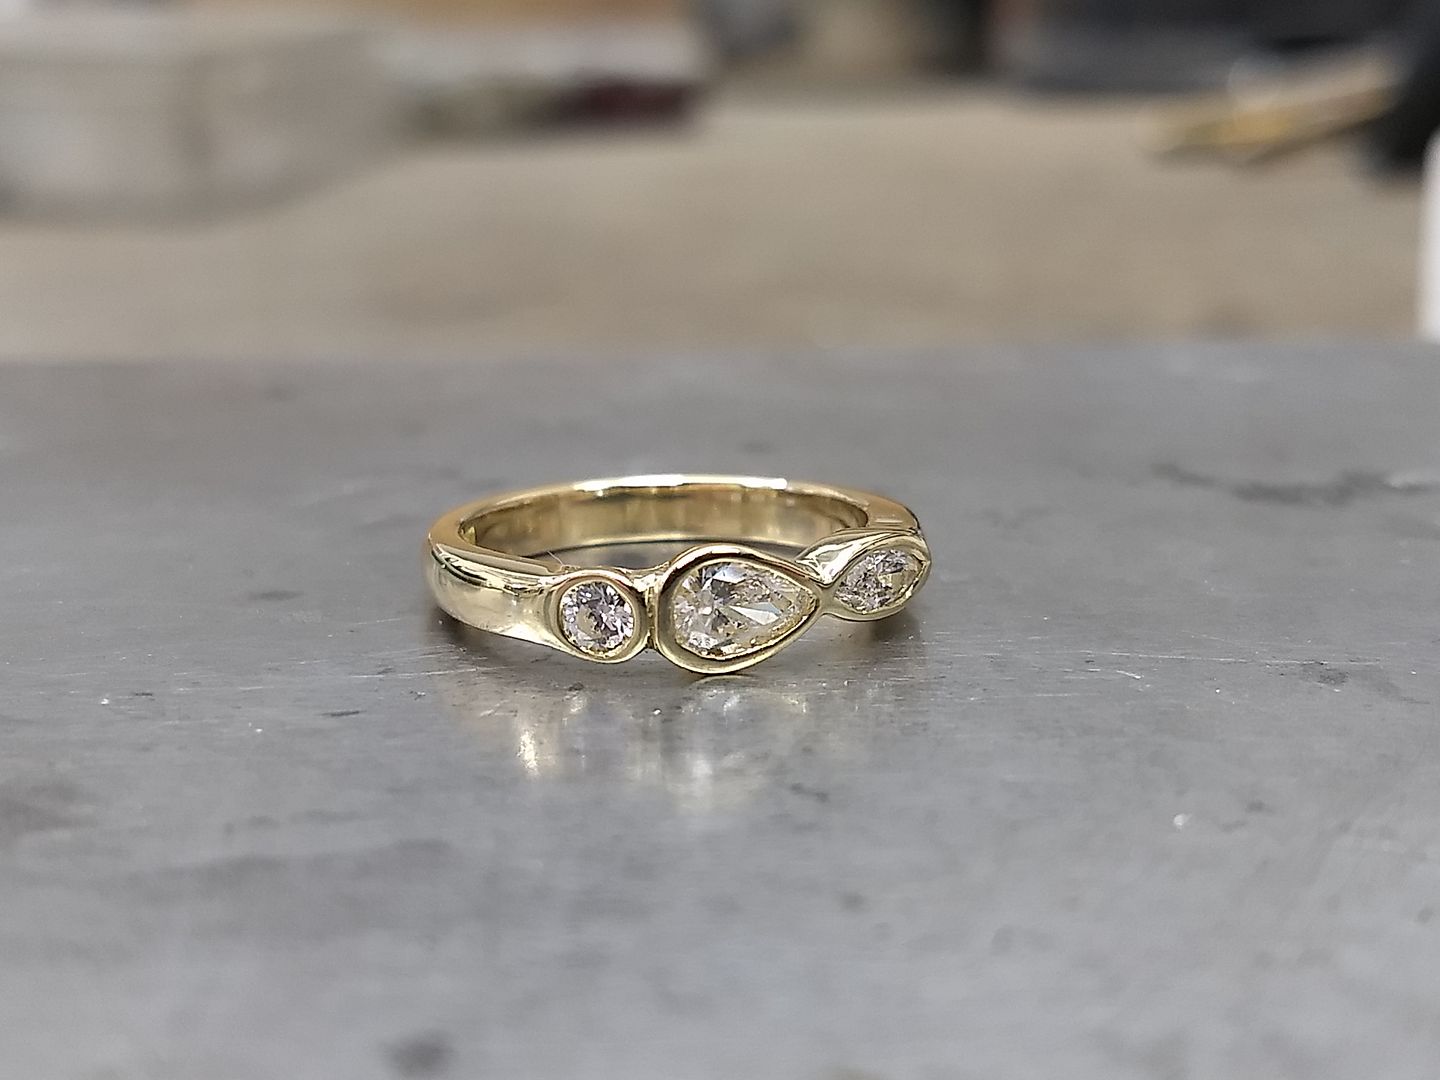
This is a job I did on Monday for one of my regulars. They supplied a brilliant cut diamond (her original engagement ring stone) and some 18ct yellow gold from the old mount. We supplied a 0.25ct pear cut diamond and an 0.11ct marquis cut diamond. The ring is constructed using cast component settings in 18ct yellow gold and a mix of 18ct yellow gold for the shank that included her own original ring.
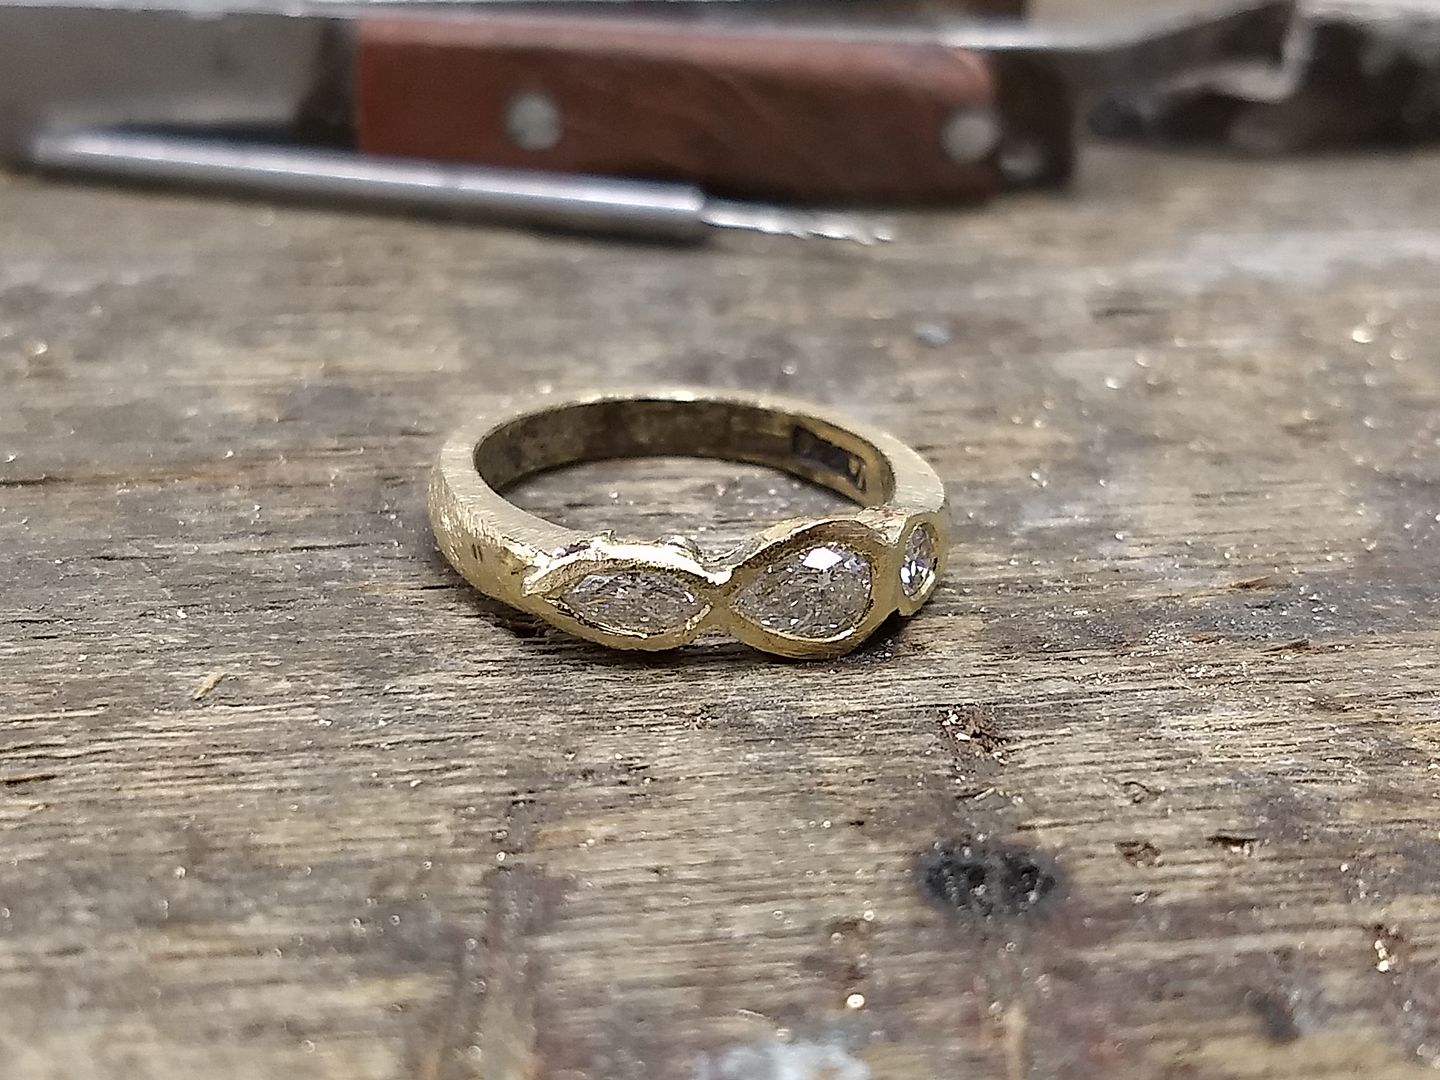
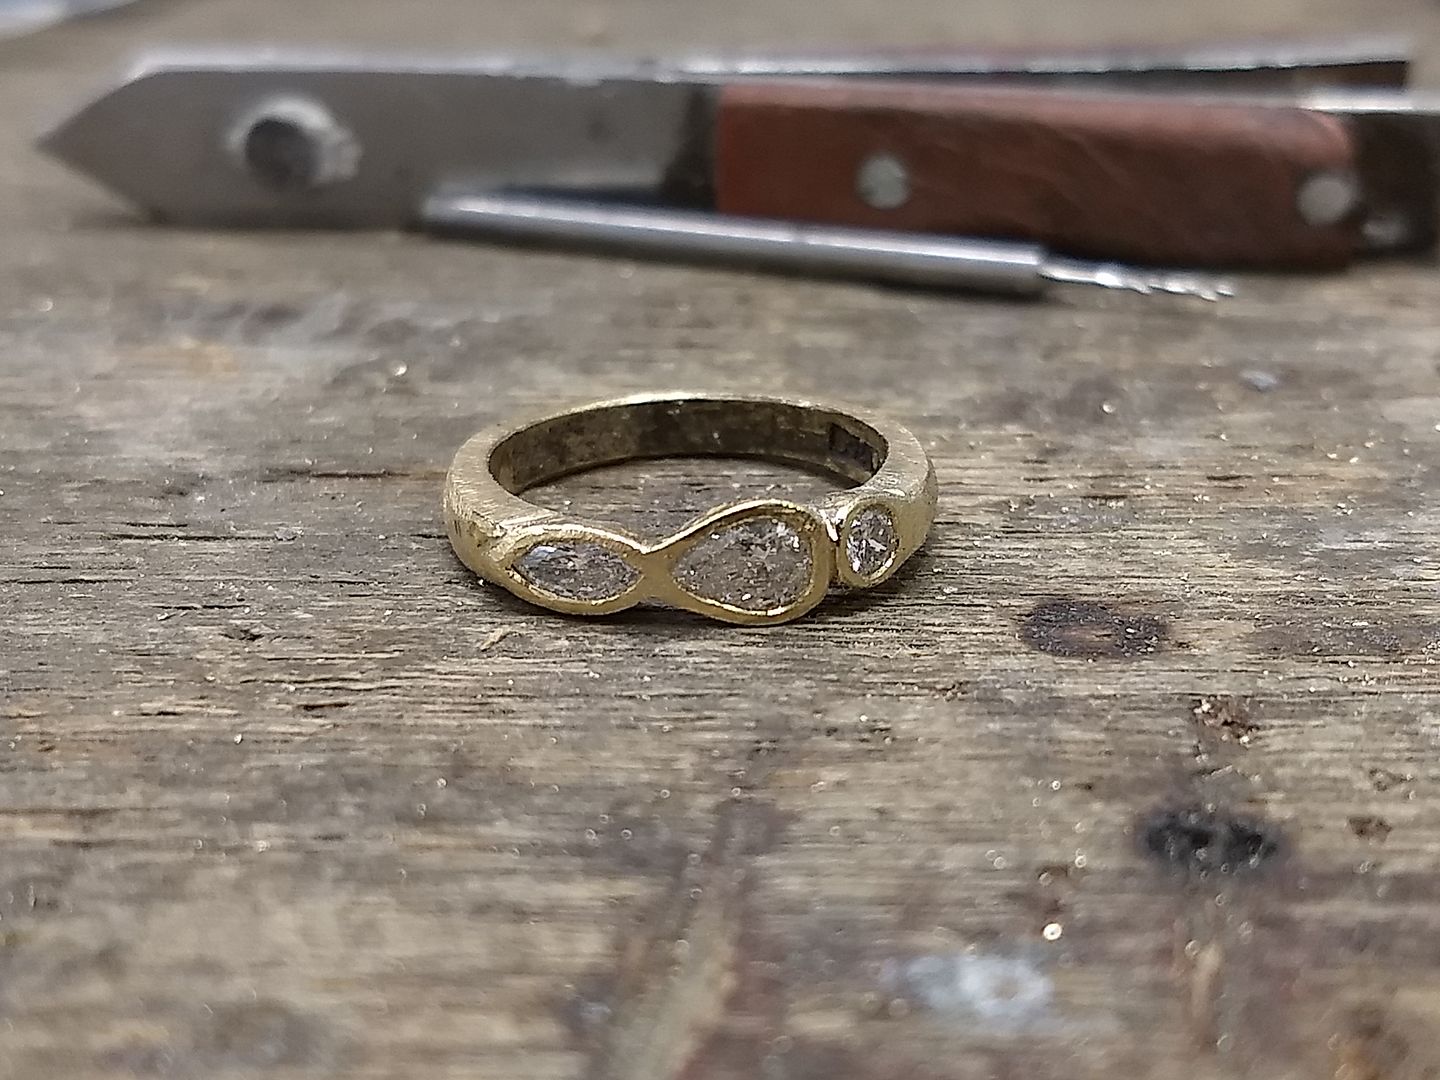
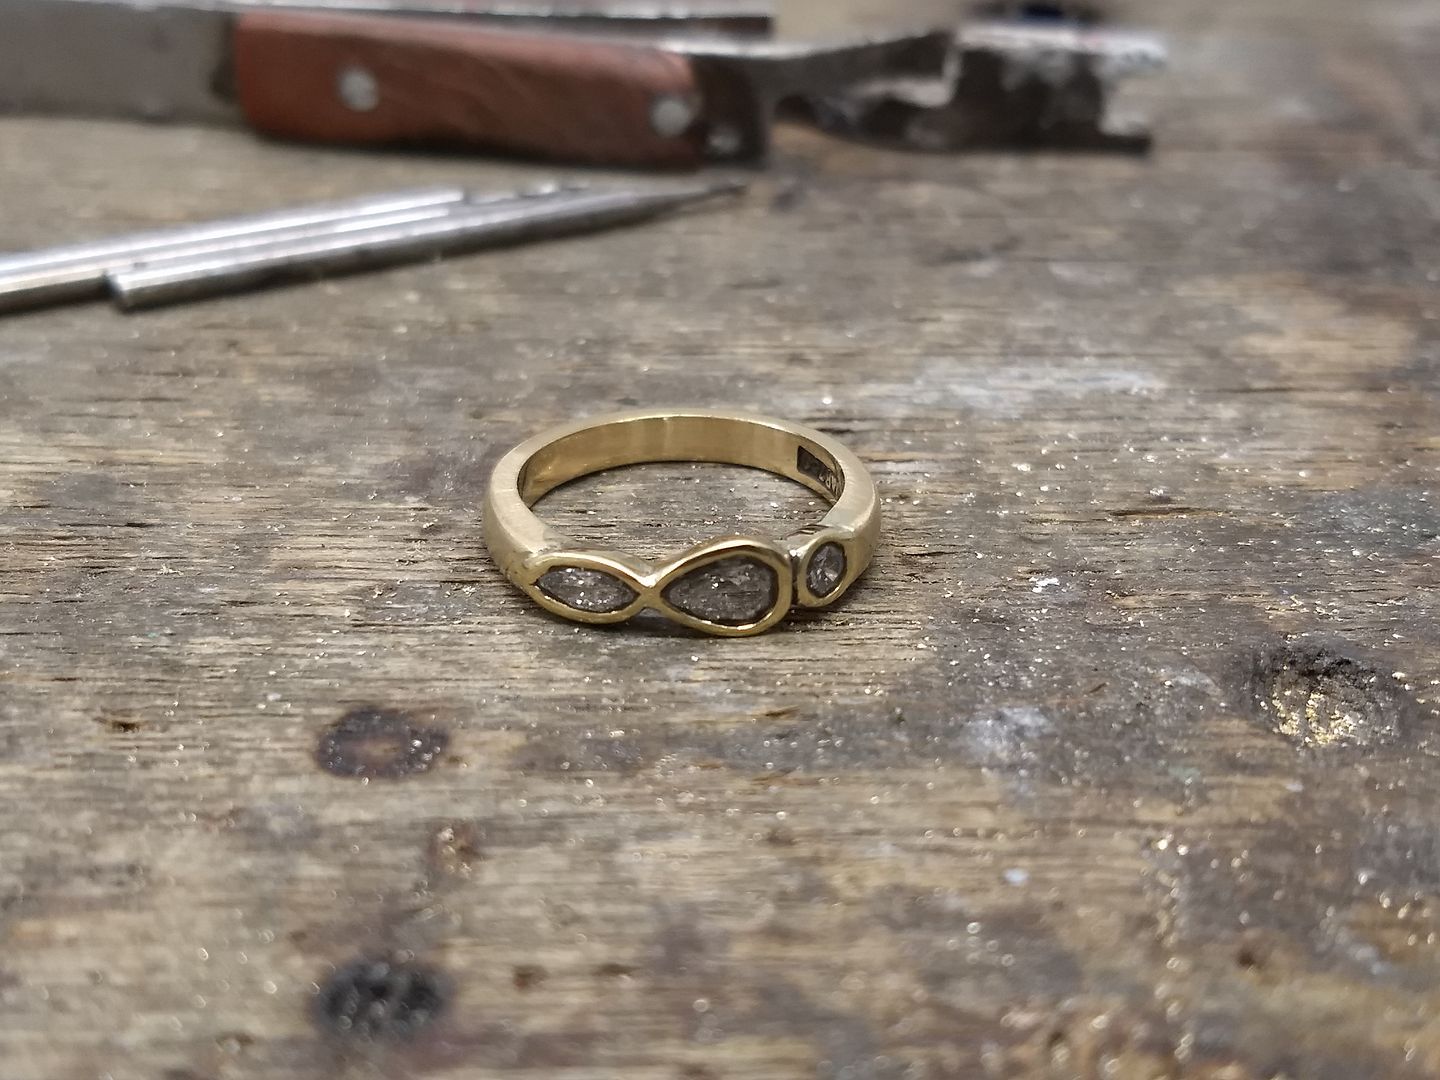
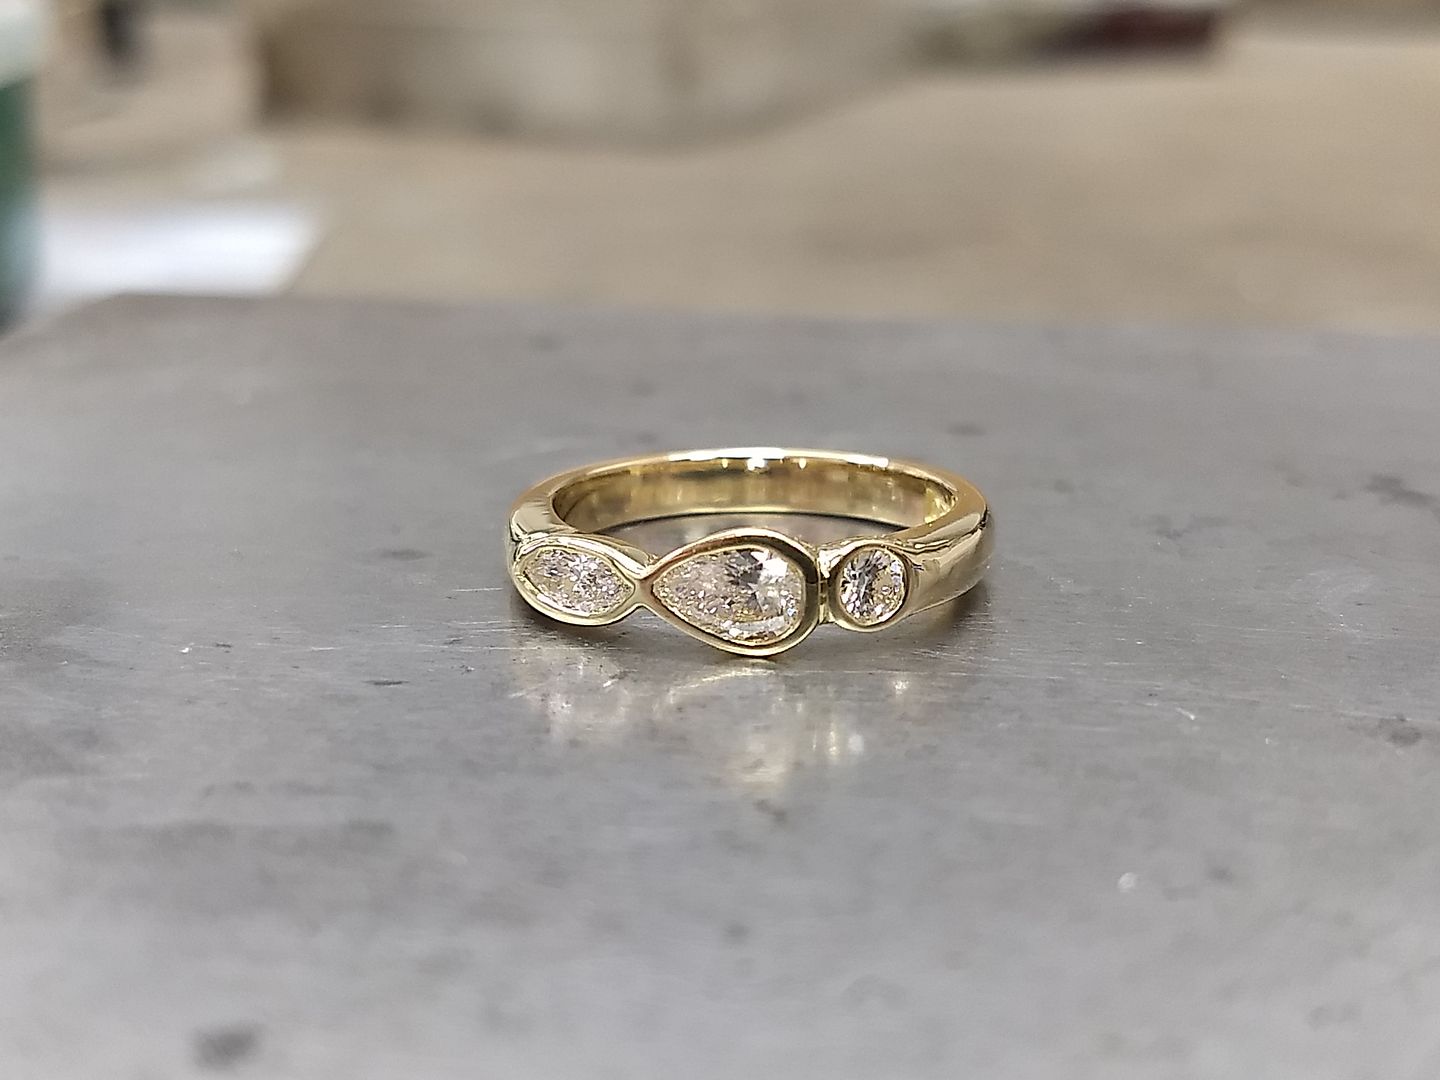


No matter how often I read this thread, I am always amazed how something so Meh in picture 6, gets to be become the finished product.
I looked at the early pictures wondering why anyone would want something that looked like that, the last picture shows something of true beauty and skill.
I looked at the early pictures wondering why anyone would want something that looked like that, the last picture shows something of true beauty and skill.
Beachbum said:
No matter how often I read this thread, I am always amazed how something so Meh in picture 6, gets to be become the finished product.
I looked at the early pictures wondering why anyone would want something that looked like that, the last picture shows something of true beauty and skill.
I looked at the early pictures wondering why anyone would want something that looked like that, the last picture shows something of true beauty and skill.

Every. Single. Time.
illmonkey said:
I do love this thread. It's akin to me doing DIY, I just love seeing something being made or fixed. But these are prettier!
Tell me, do you have your fingers insured, they've got to be worth several G with all those precious metal filings embedded in them
Ha! Yeah i probably should insure them. After having cancer I'm not the most insurance friendly guy so need to wait a couple of years before I can look for cover. Tell me, do you have your fingers insured, they've got to be worth several G with all those precious metal filings embedded in them

ctrph said:
Amazing work as always. Hope you don't mind if I ask a couple of setting questions.
1. Did you use a ball or a hart burr to do the undercuts on the claws?
2. What did you use to do the bezel setting a pusher or hammer handpiece?
For the undercuts on the middle laws I used a burr. Easy way to make a nice groove. For the outers I use a hand saw to cut the grooves.1. Did you use a ball or a hart burr to do the undercuts on the claws?
2. What did you use to do the bezel setting a pusher or hammer handpiece?
On round stones you can use a hammer handpiece without too many issues and a sharp pusher for the inner edge. For stones like the pear and marquis you have to be wary of the fragile points so a pusher and hammer combo is used to avoid too many shed tears. I'm not a dedicated setter so I'm sure there are flaws in my methods, but on the flipside a setter would struggle with the metalwork so unless I farm it out i have to the do the best I can with my own abilities and skills. Always learning, it never ends.
Silver Smudger said:
Beachbum said:
No matter how often I read this thread, I am always amazed how something so Meh in picture 6, gets to be become the finished product.
I looked at the early pictures wondering why anyone would want something that looked like that, the last picture shows something of true beauty and skill.
I looked at the early pictures wondering why anyone would want something that looked like that, the last picture shows something of true beauty and skill.

Every. Single. Time.
Gassing Station | Watches | Top of Page | What's New | My Stuff


