Anyone interested in home-built sailing dinghies?
Discussion


I need to rebuild many threads on many forums thanks to the Village Photos webhost disappearing and not renewing the security certificate.
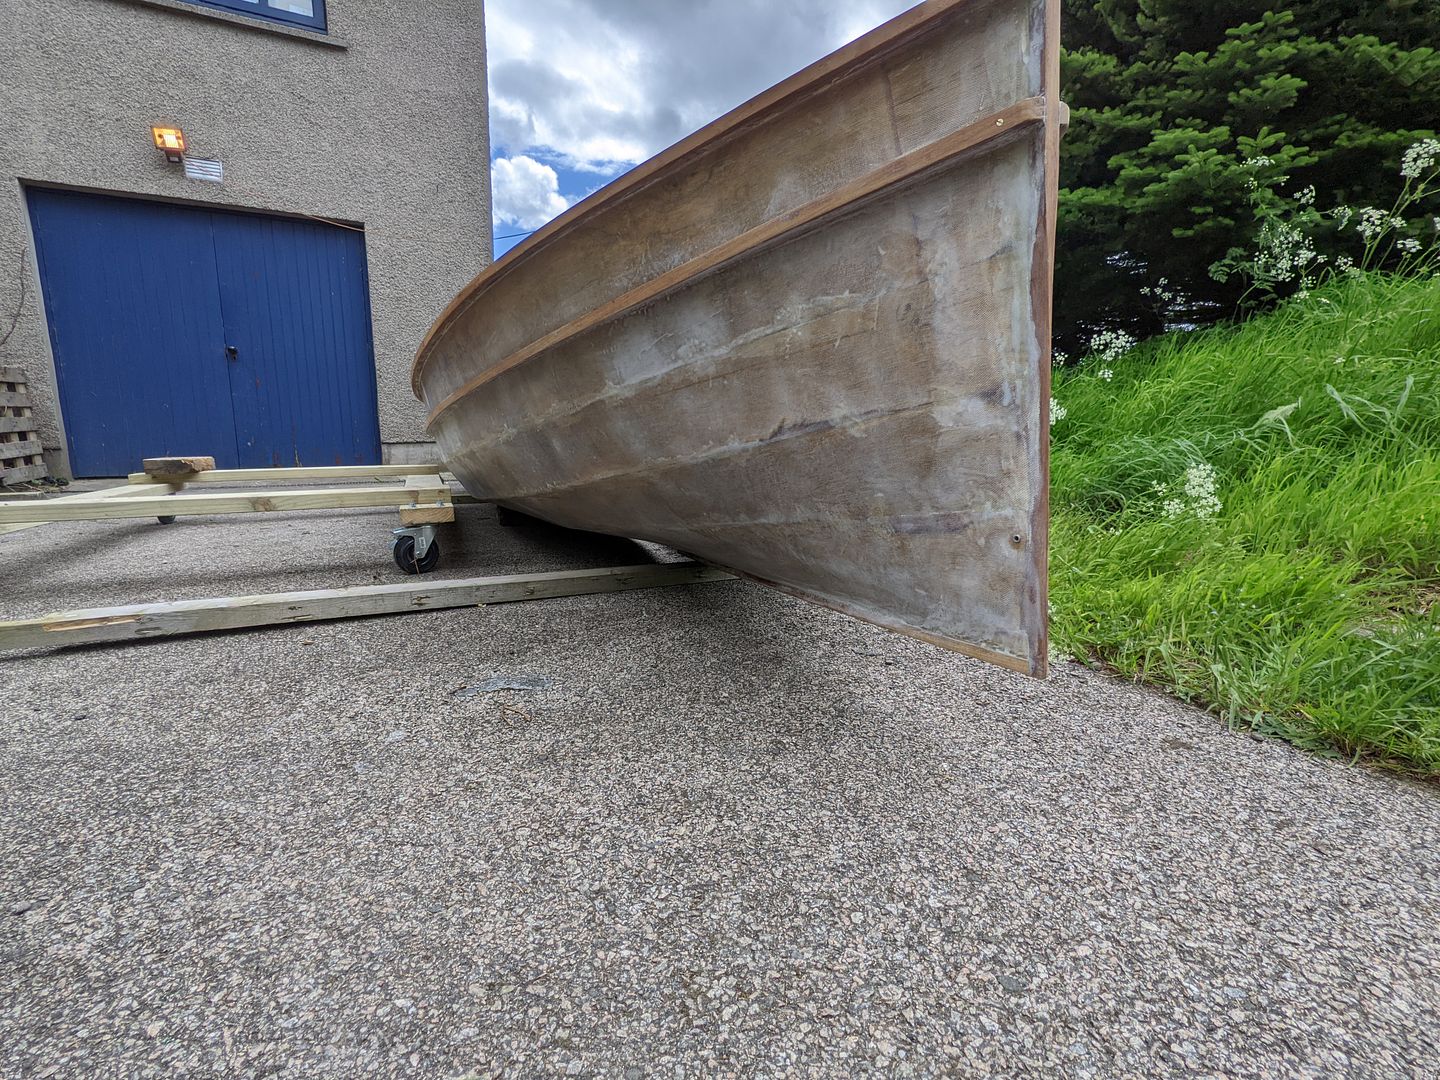
In the mean time though, I've started adding the lower rubbing strips. These are temporarily screwed in place whilst the epoxy cures.

The screws are out now, actually, and I'm ready to glue the next lamination on, which will be screwed from the inside this time.
In the mean time though, I've started adding the lower rubbing strips. These are temporarily screwed in place whilst the epoxy cures.
The screws are out now, actually, and I'm ready to glue the next lamination on, which will be screwed from the inside this time.
I dream that one day PH will join the post 00's era in build their own image hosting capability into the site, and that this will be easy to use, accept multiple files at once, but most crucially be stable over a long term basis.
We took image hosting in-house on our forum about ten years ago, well before the photobucket ransom incident in 2017, and alongside an improved user experience, one of the major driving factors was to being able to have control over the stability of the hosting provision tto avoid 'dead images' in threads like this, especially where the content was of long term interest, and in cases where the content was unique historical photographic records of the topic being discussed.
Problem is that sadly while forums can and do make money, and good quality image hosting can help support that, even thought is no longer overly expensive to provide, it is unlikely to make much money for you!
jamieduff1981 said:
This weekend I was mostly cutting up old cars, but I did manage, somehow, to singlehandedly get the second lamination of the lower rubbing strip dry-fitted. It needs some glue mixed up to final-fit it 

Looking good this! I think I've seen you on the cruising dinghies facebook group too. This weekend I rounded off the tops of the frames and glued in the braces.

I think it's time to fibreglass the inside now, as once the large breasthook which goes all the way back to the frame ahead of the mast, to provide a solid mounting for the bowsprit, access in here will get a bit more awkward.
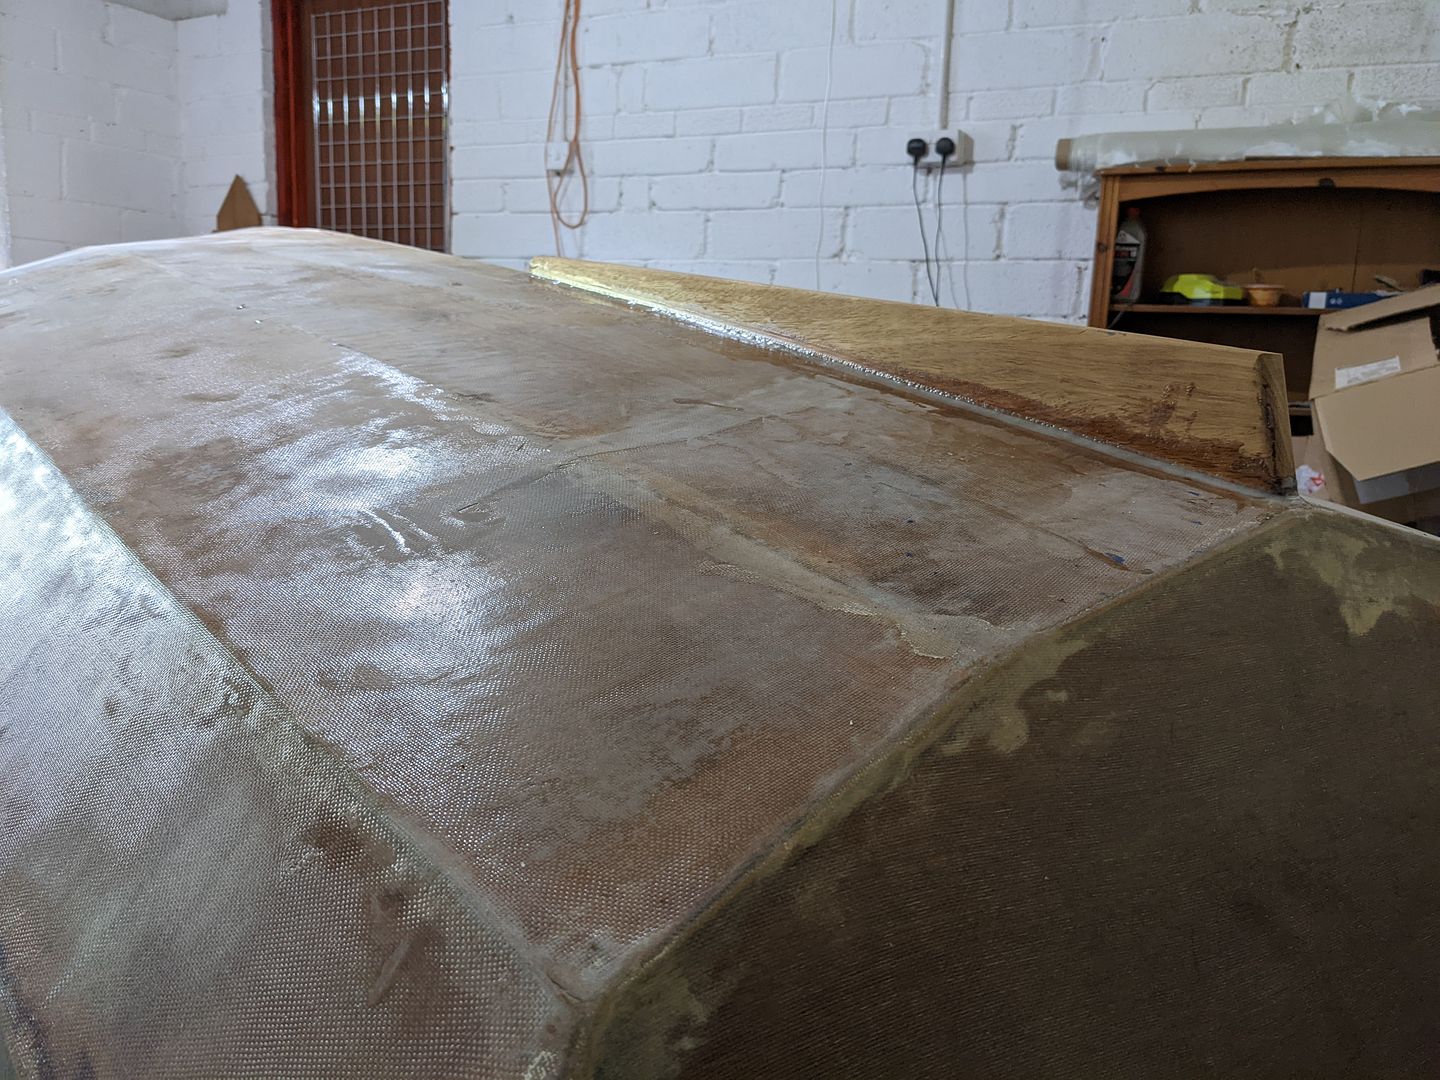
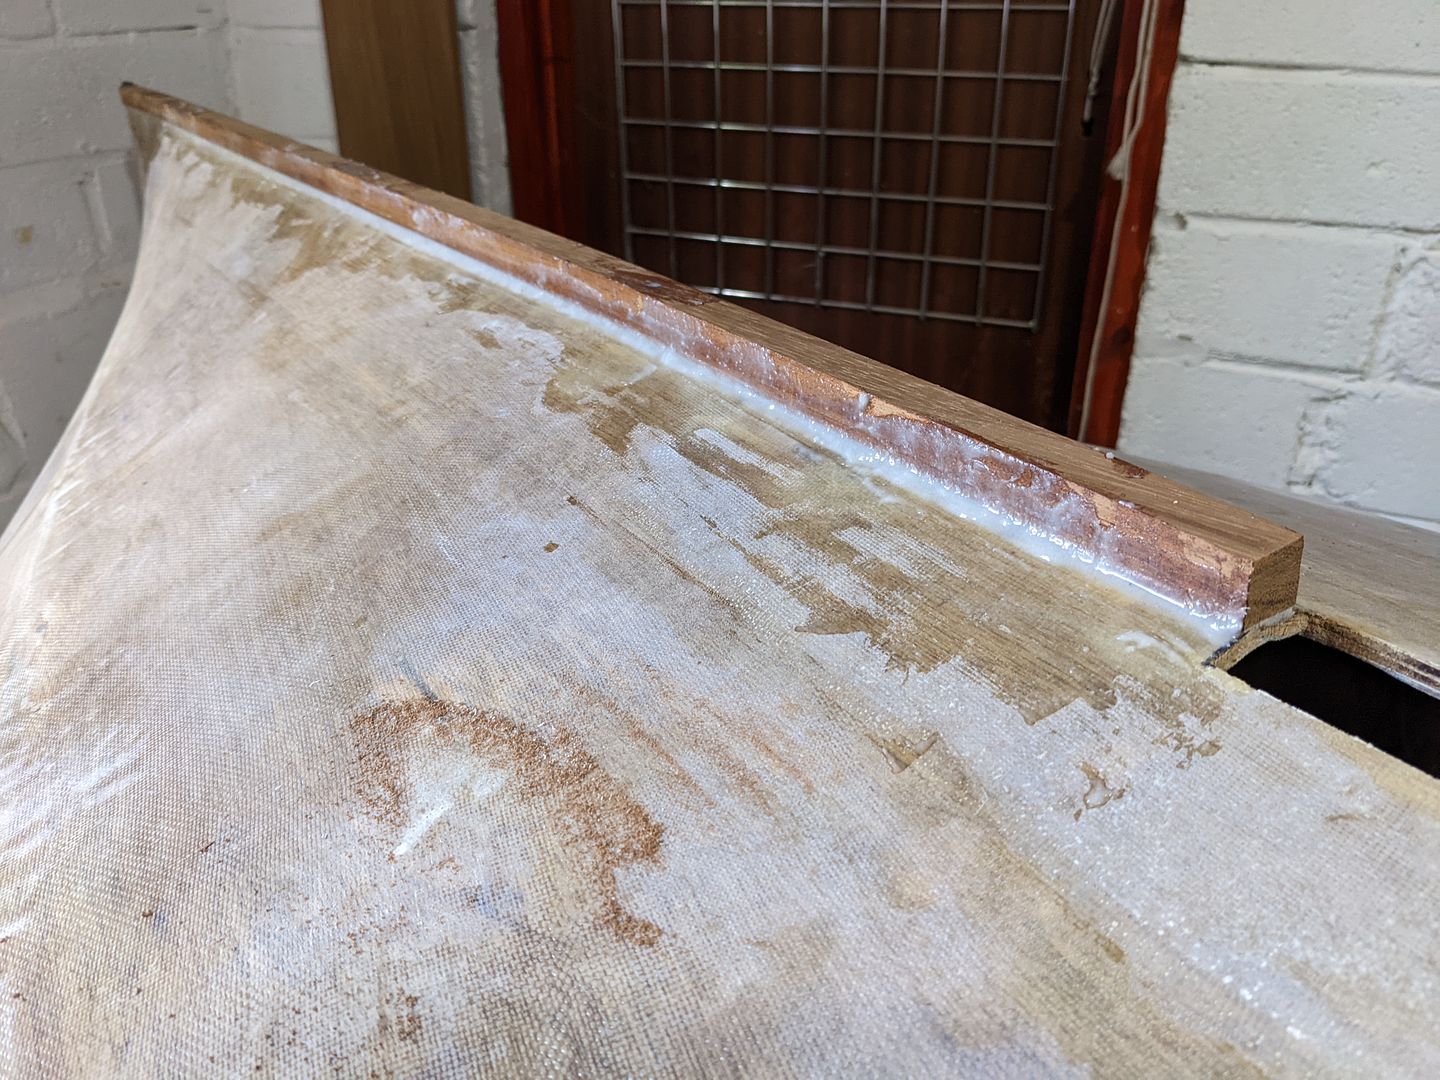
My dad visited today, which allowed me to get the first lamination of the remaining lower rubbing strip fitted. I'm really pleased with how this is looking. We're a long way from finished but I wasn't sure I'd ever get this far to be honest.
I think it's time to fibreglass the inside now, as once the large breasthook which goes all the way back to the frame ahead of the mast, to provide a solid mounting for the bowsprit, access in here will get a bit more awkward.
My dad visited today, which allowed me to get the first lamination of the remaining lower rubbing strip fitted. I'm really pleased with how this is looking. We're a long way from finished but I wasn't sure I'd ever get this far to be honest.
D1bram said:
Looking good this! I think I've seen you on the cruising dinghies facebook group too.
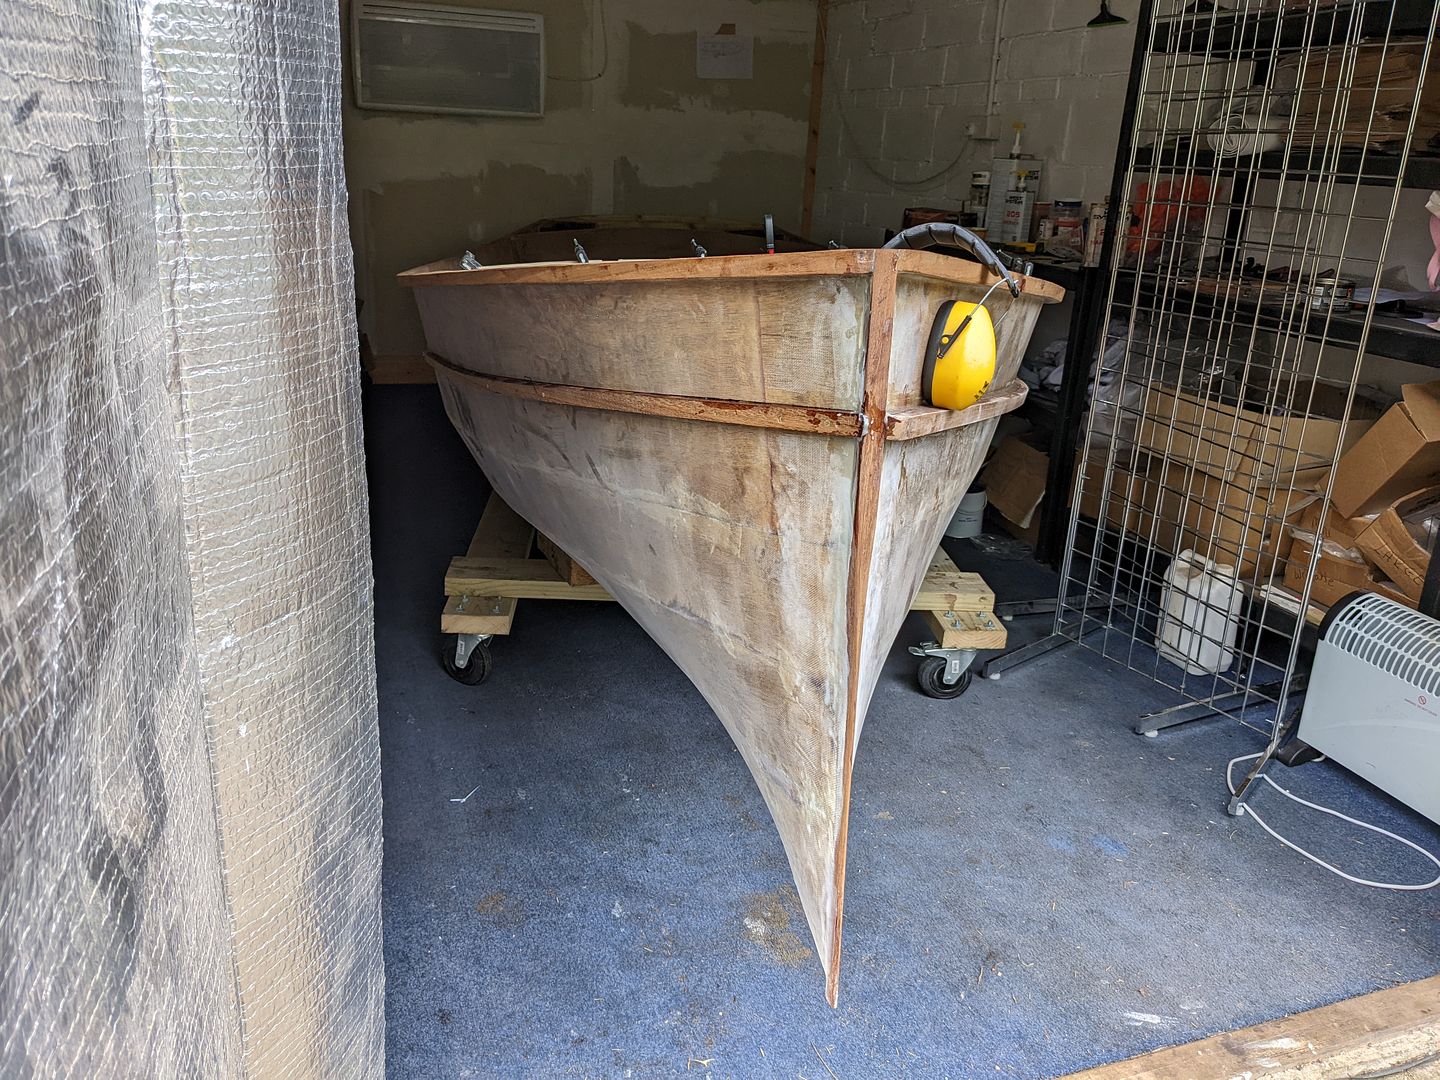
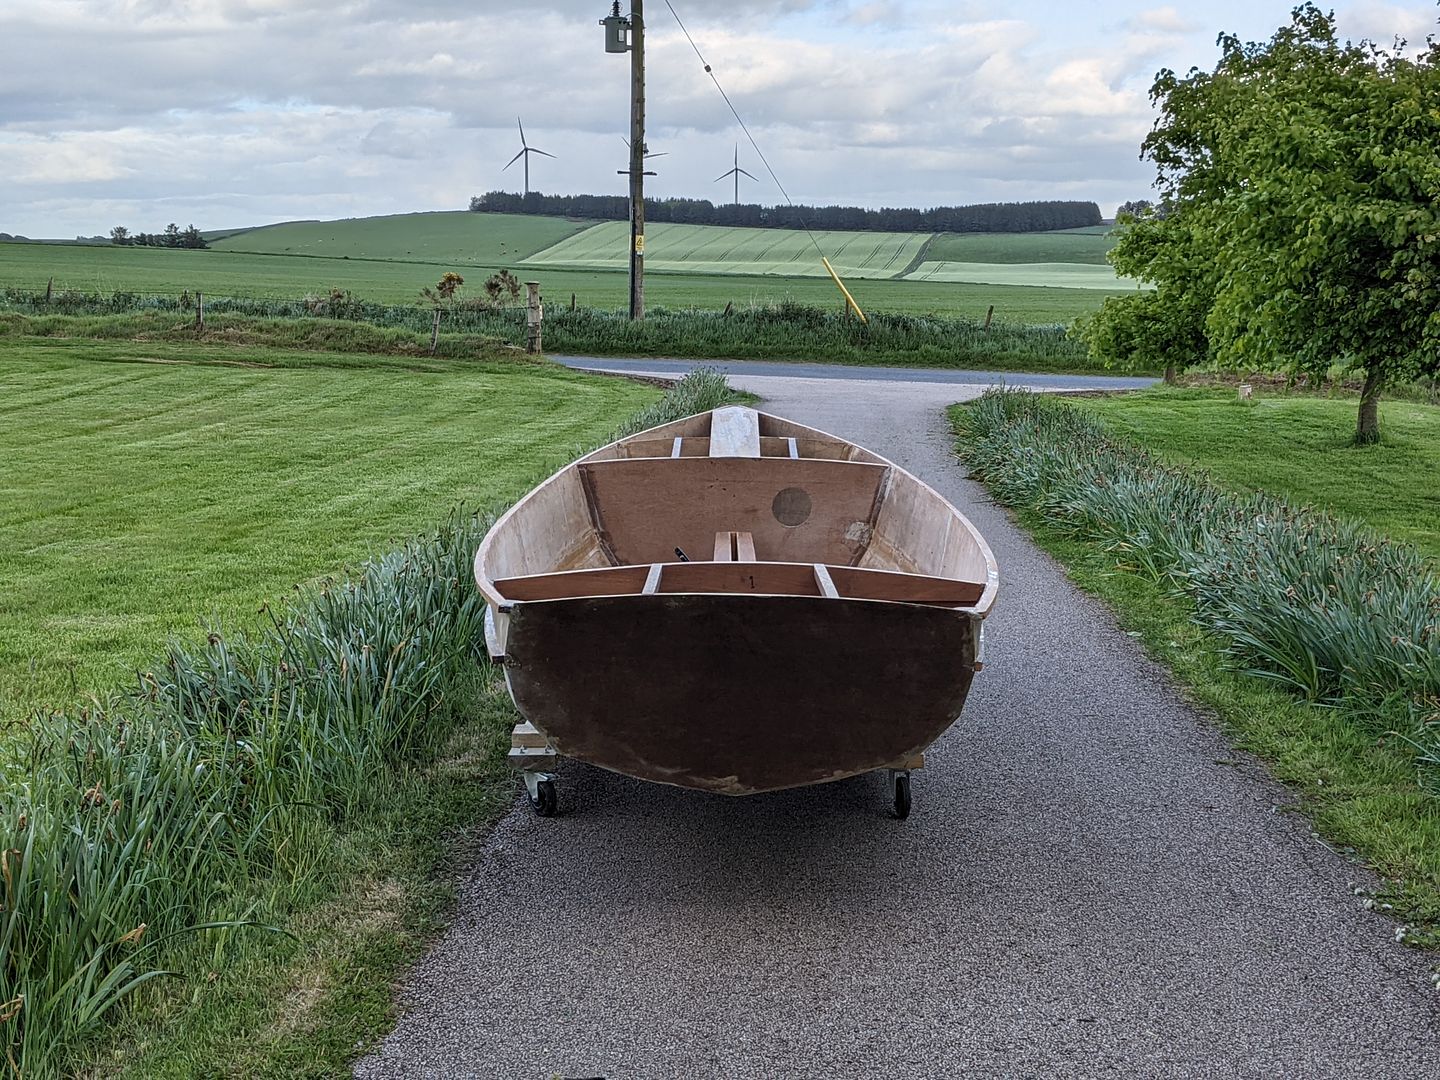
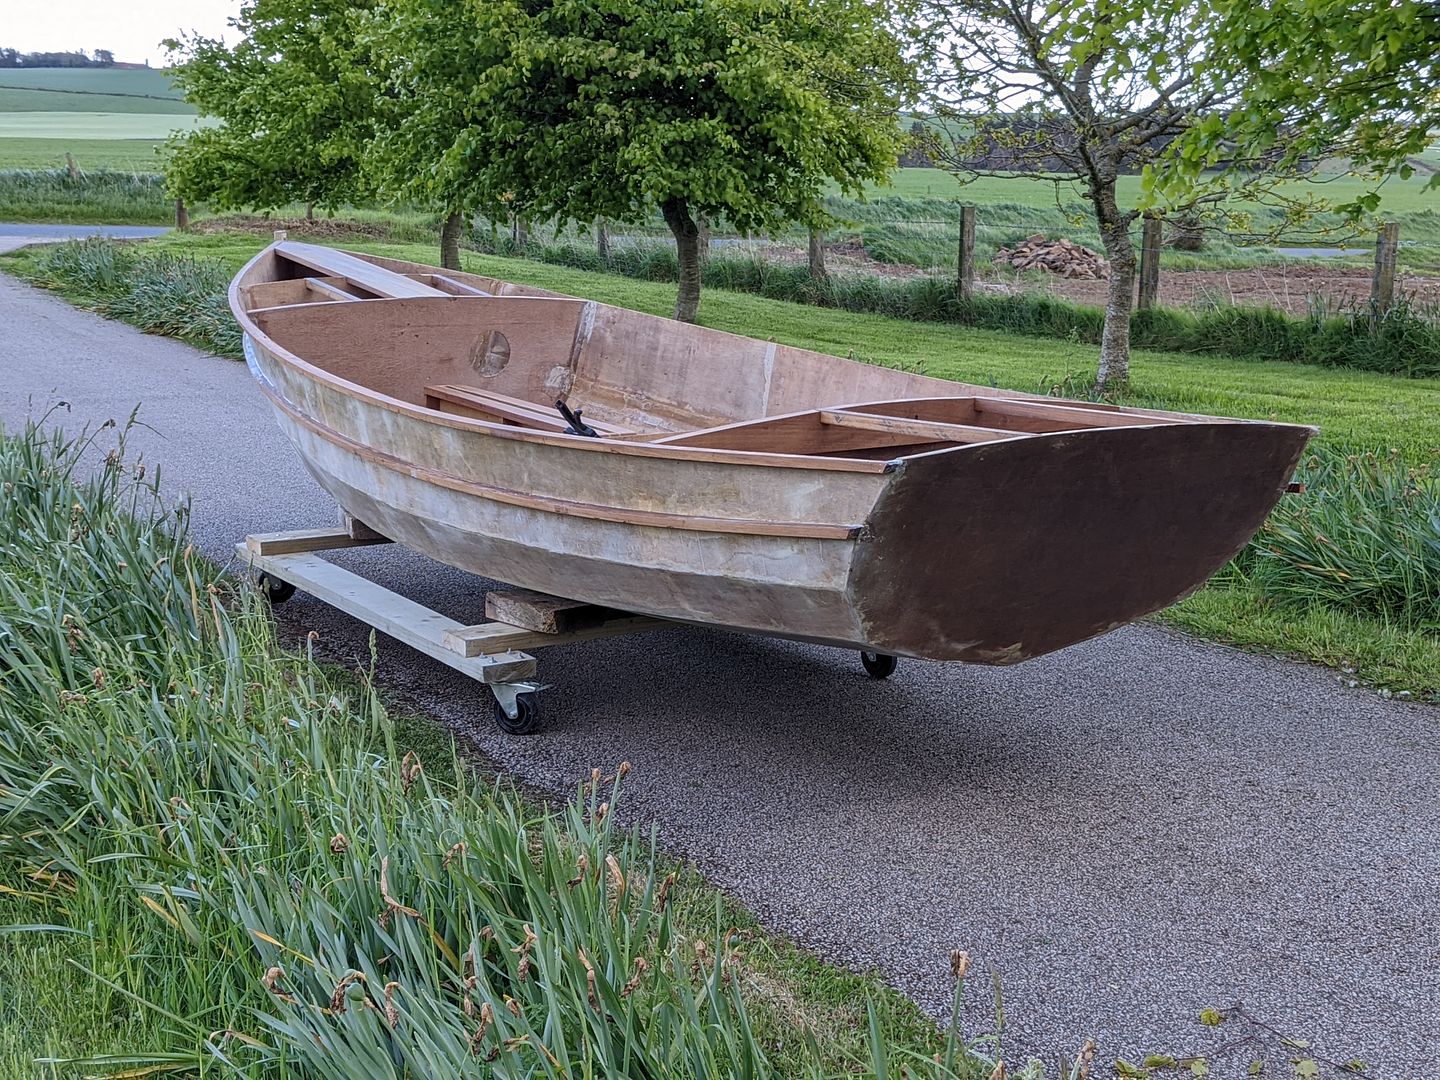
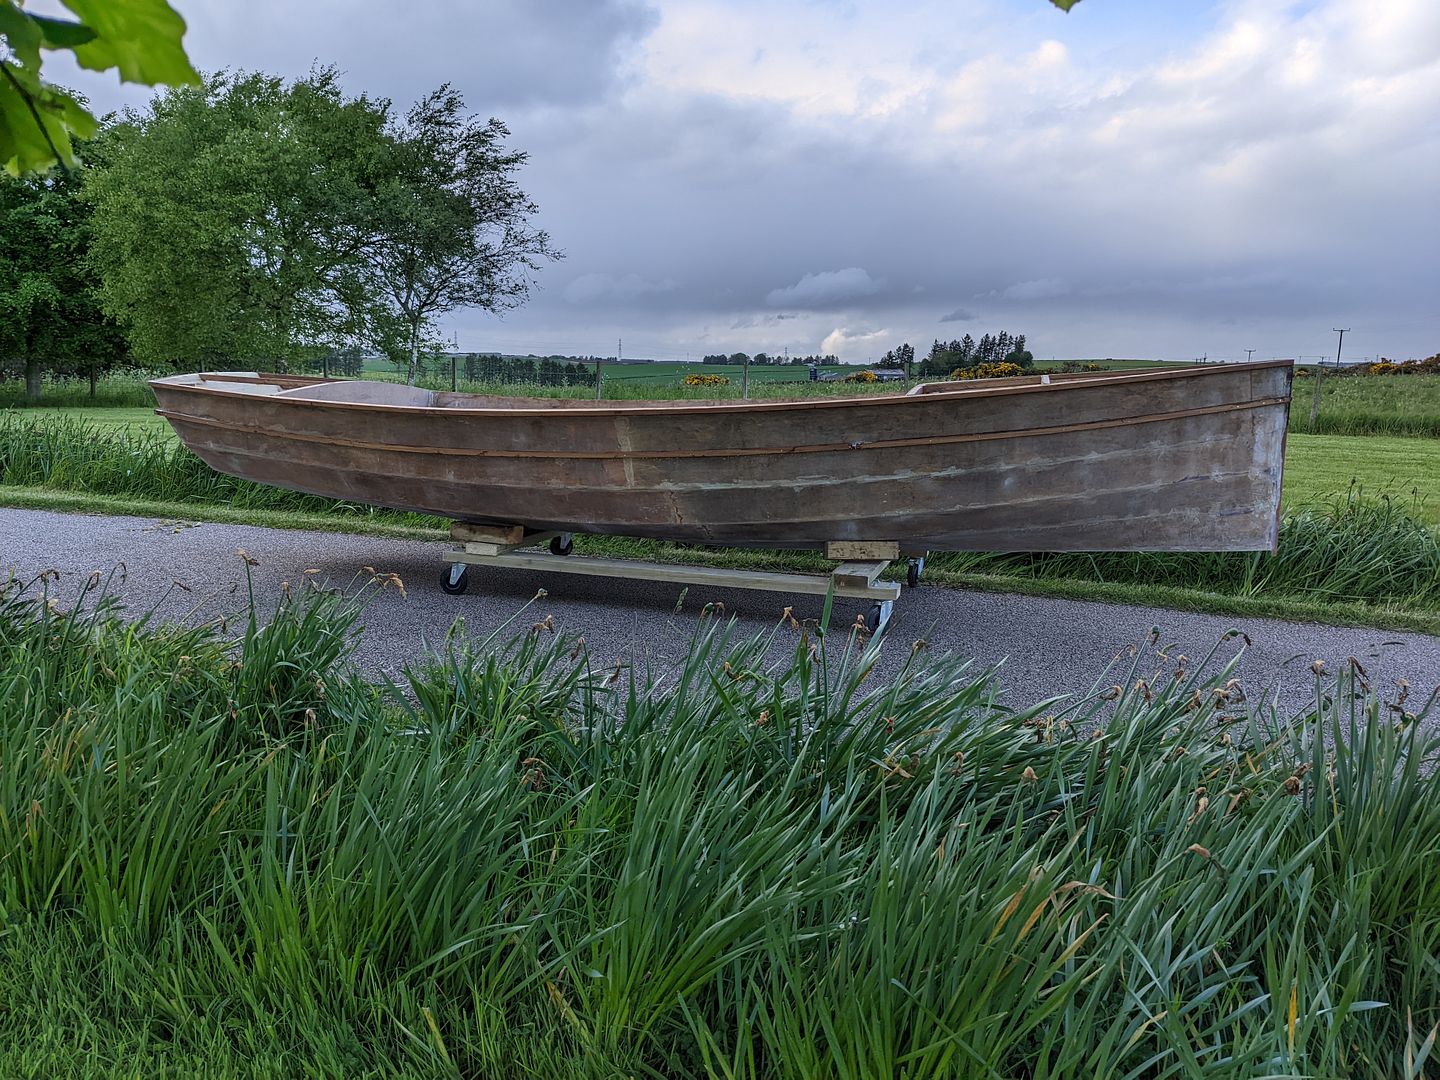
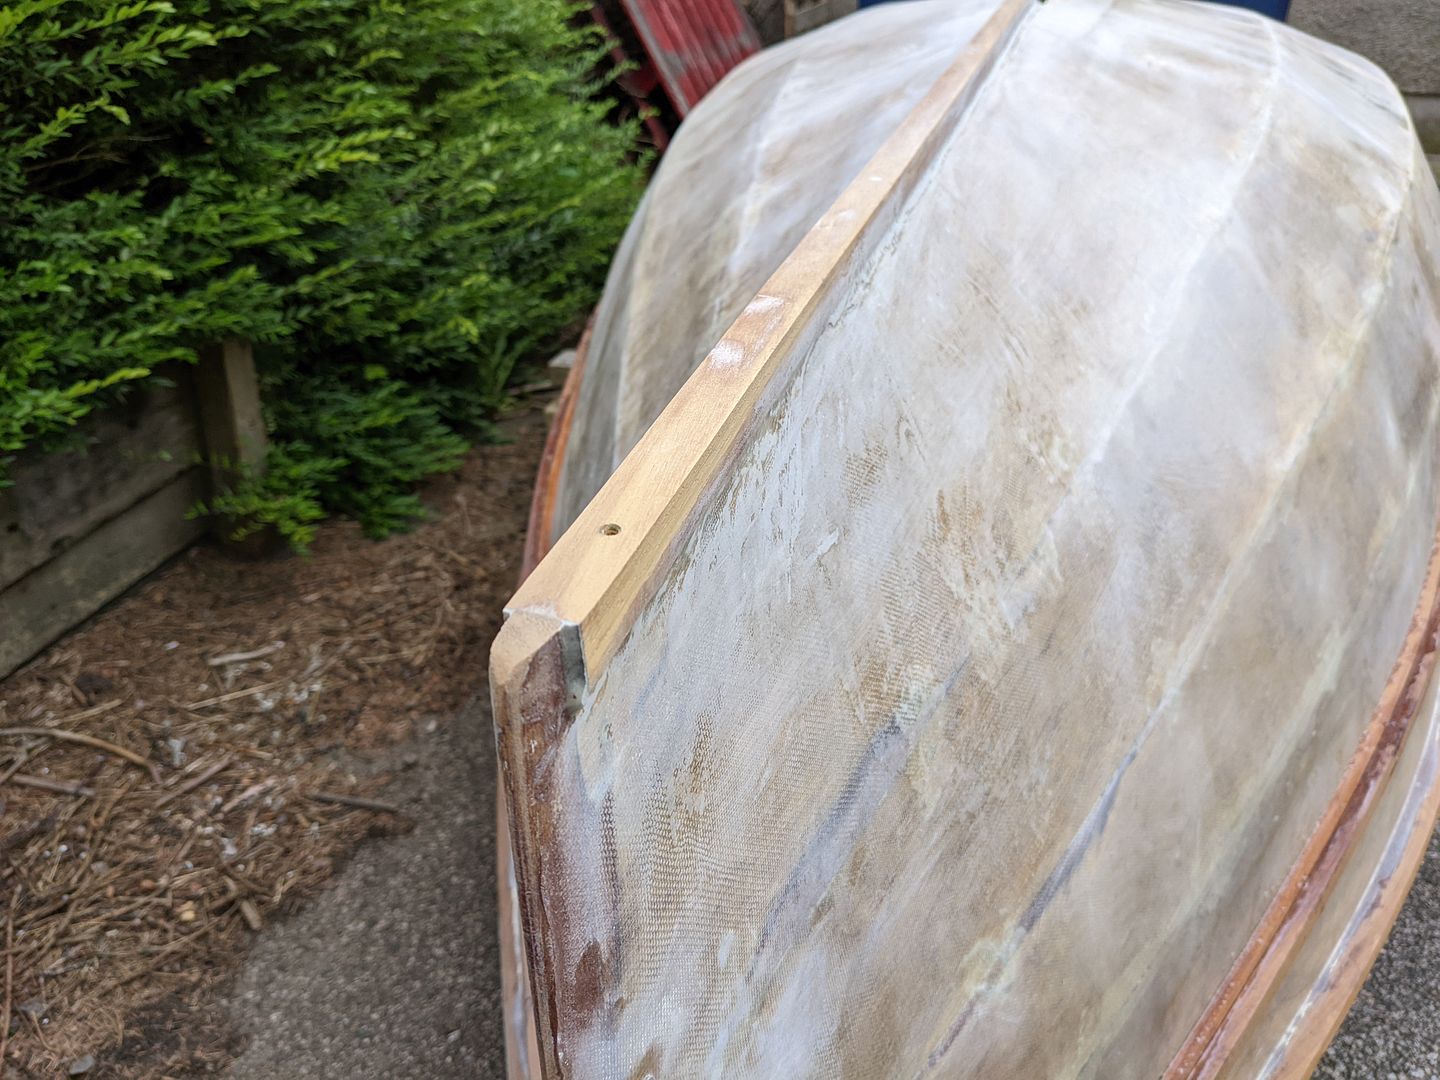
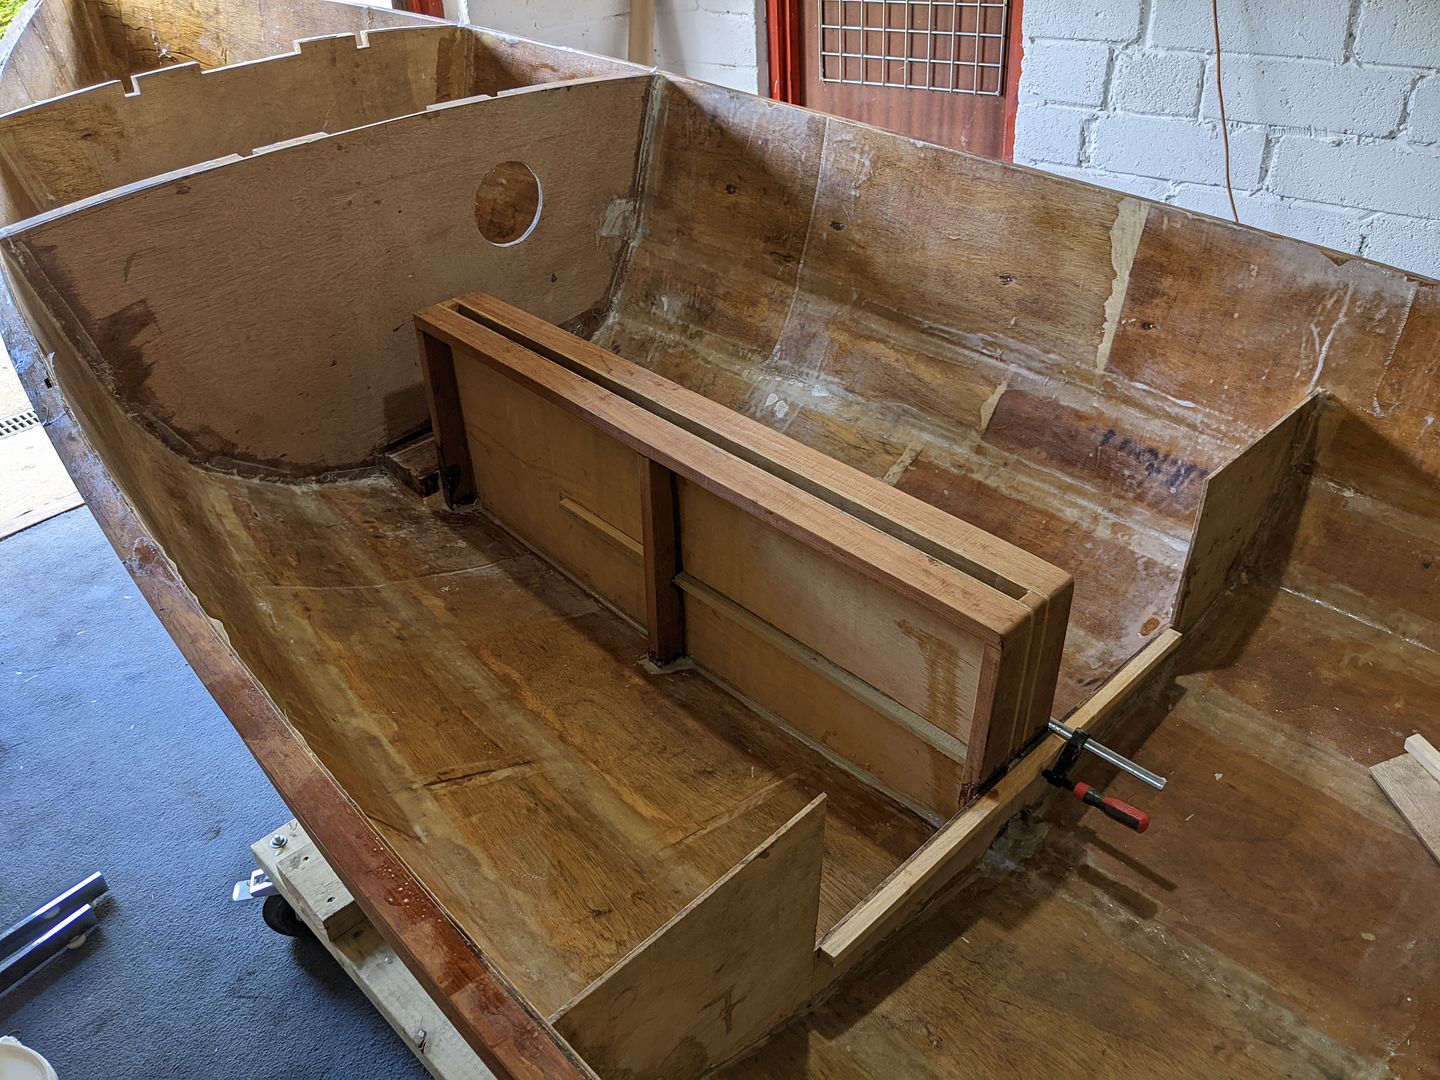
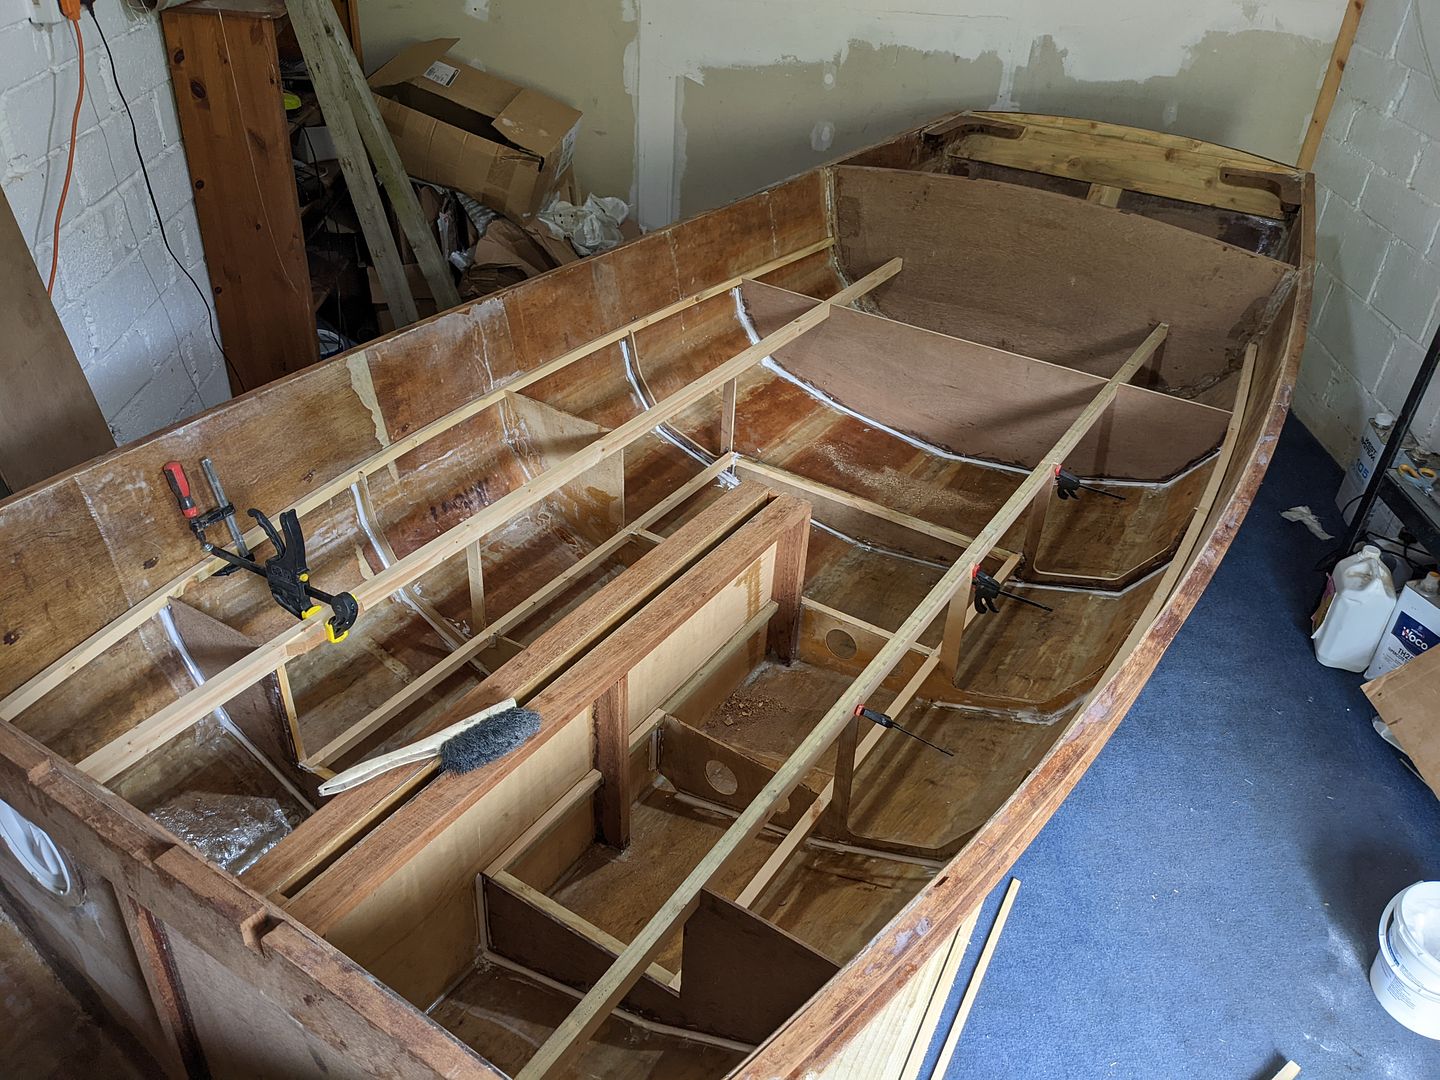
Hi, you probably have. I did join the Dinghy Cruising Association when I started this, which I'm happy I did. I'm not generally one for club "scenes" but I knew I'd run out of knowledge very fast doing this and the cruising dinghy seem really helpful.I've done a little more work inside, then wheeled it out for a better look at it. I haven't fitted the second lamination of that last rubbing strip yet, but will do soon.
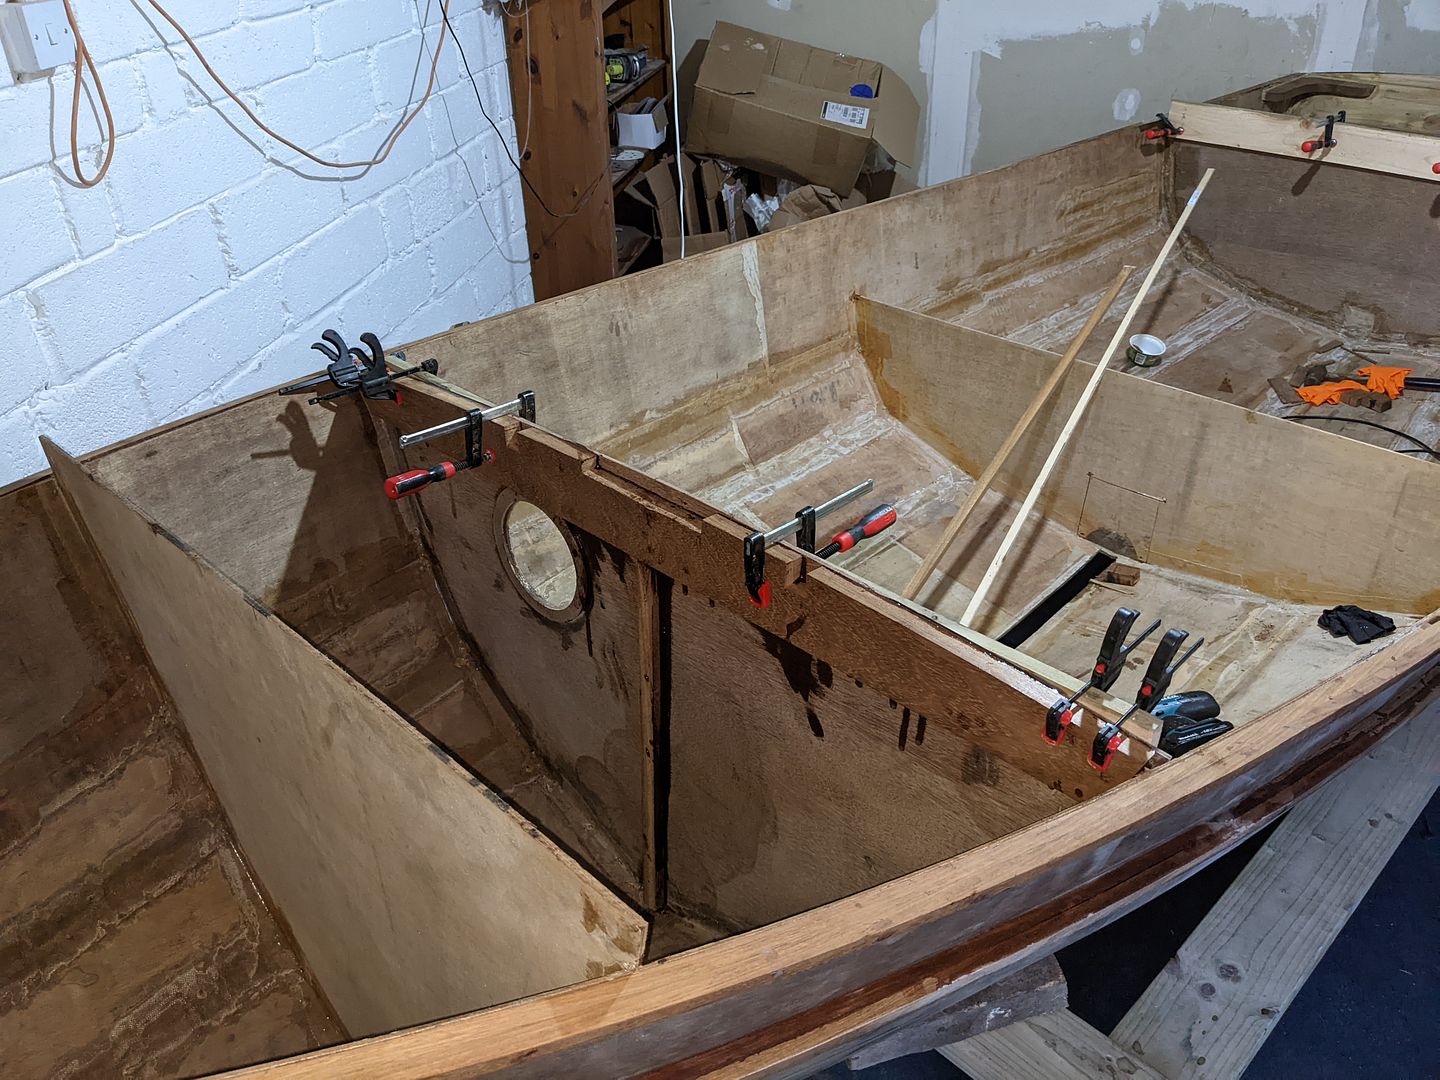
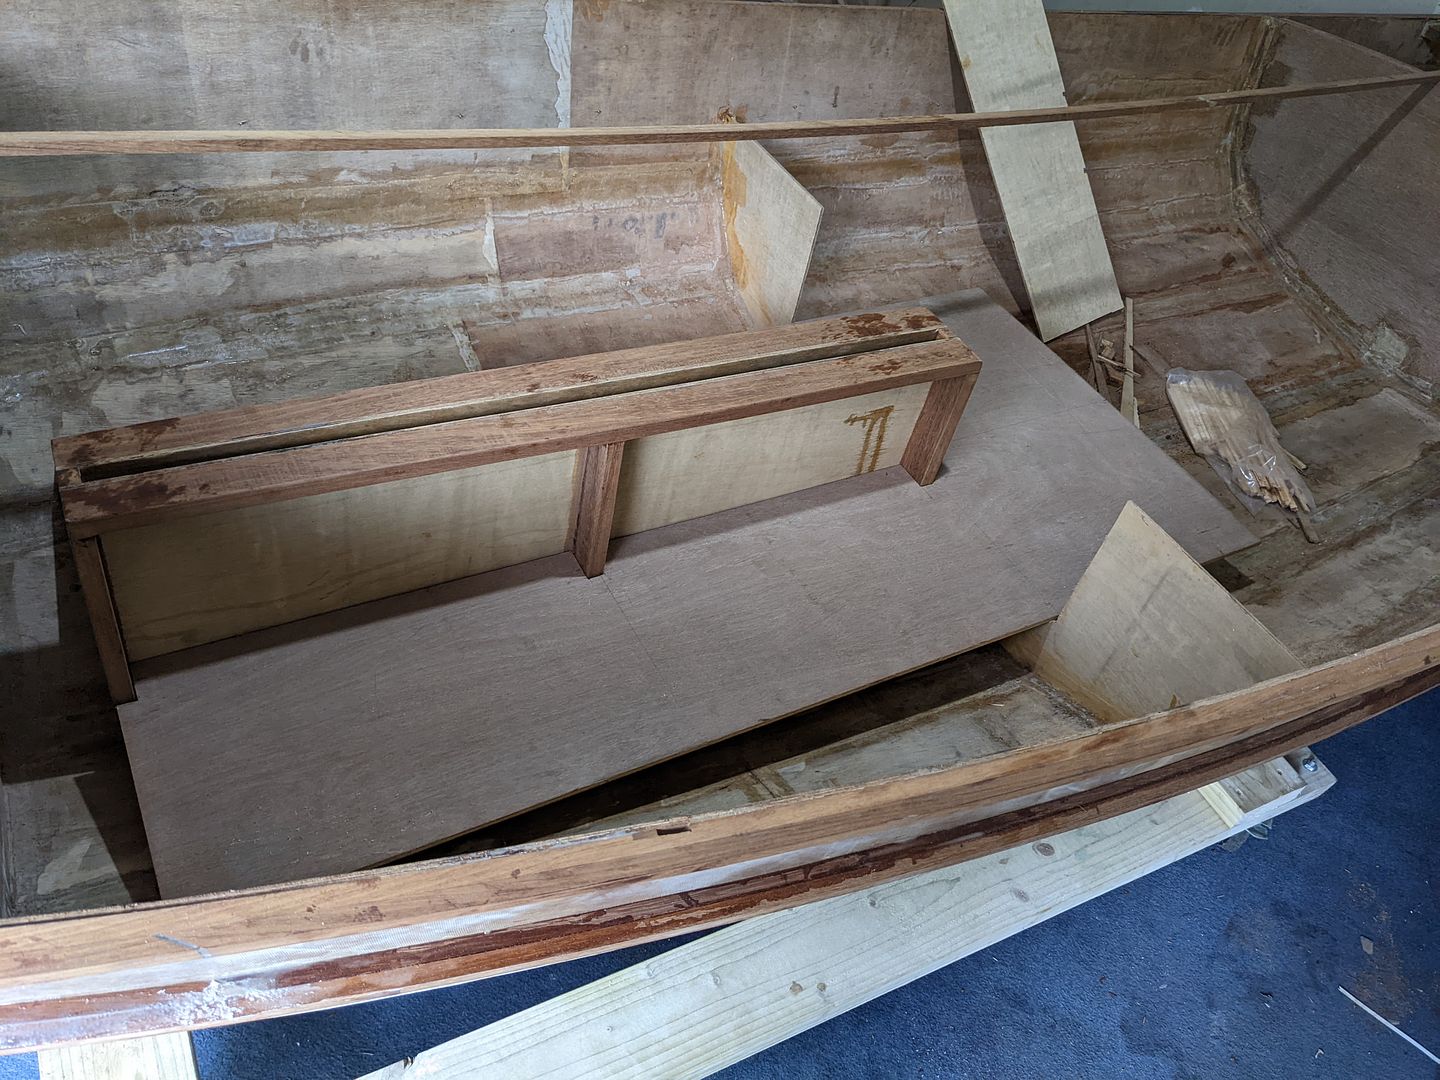
The new bits include some batons which will strengthen and support the decked areas, as well as the large breasthook which will support the bowsprit and transmit its loads back into the hull - or at least I hope it will

The new bits include some batons which will strengthen and support the decked areas, as well as the large breasthook which will support the bowsprit and transmit its loads back into the hull - or at least I hope it will
I've also started on the ballast tank. The top of the tank needs trimmed shorter at the forward end, and it will need to be split down the middle to allow it to be fitted after the daggerboard case is in but I found it easier to make it in one piece initially.

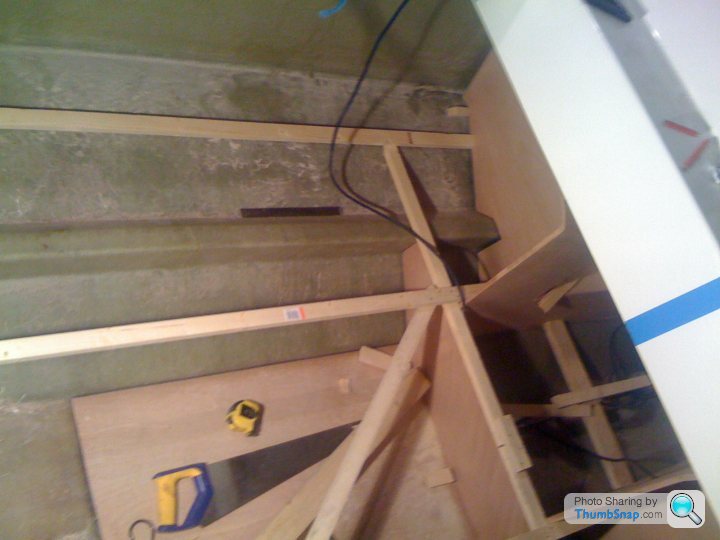
This sticky mess is going to be the mast step once the epoxy has cured and I've trimmed it to final dimensions.
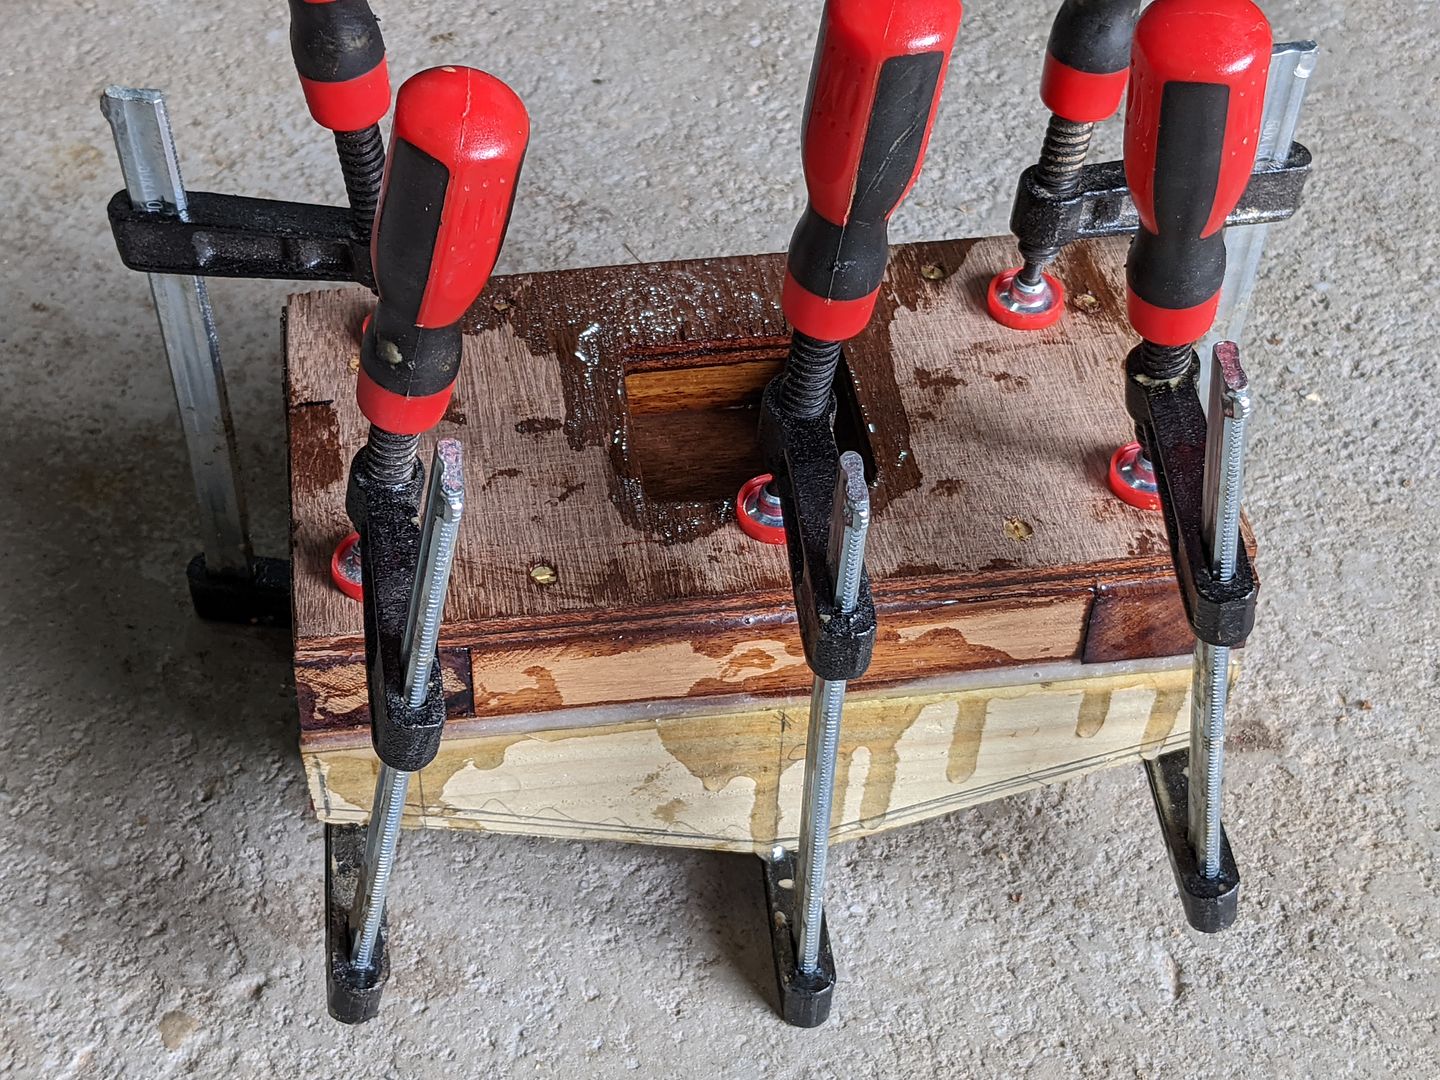
This sticky mess is going to be the mast step once the epoxy has cured and I've trimmed it to final dimensions.
The abomination in the previous post became safe to handle without getting covered in wet epoxy.
Tonight, I carefully sneaked up on it first finding some clean square edges amongst the mess, then triple checking my measurements and angles. The hull bottom is obviously changing shape in various ways along its length.
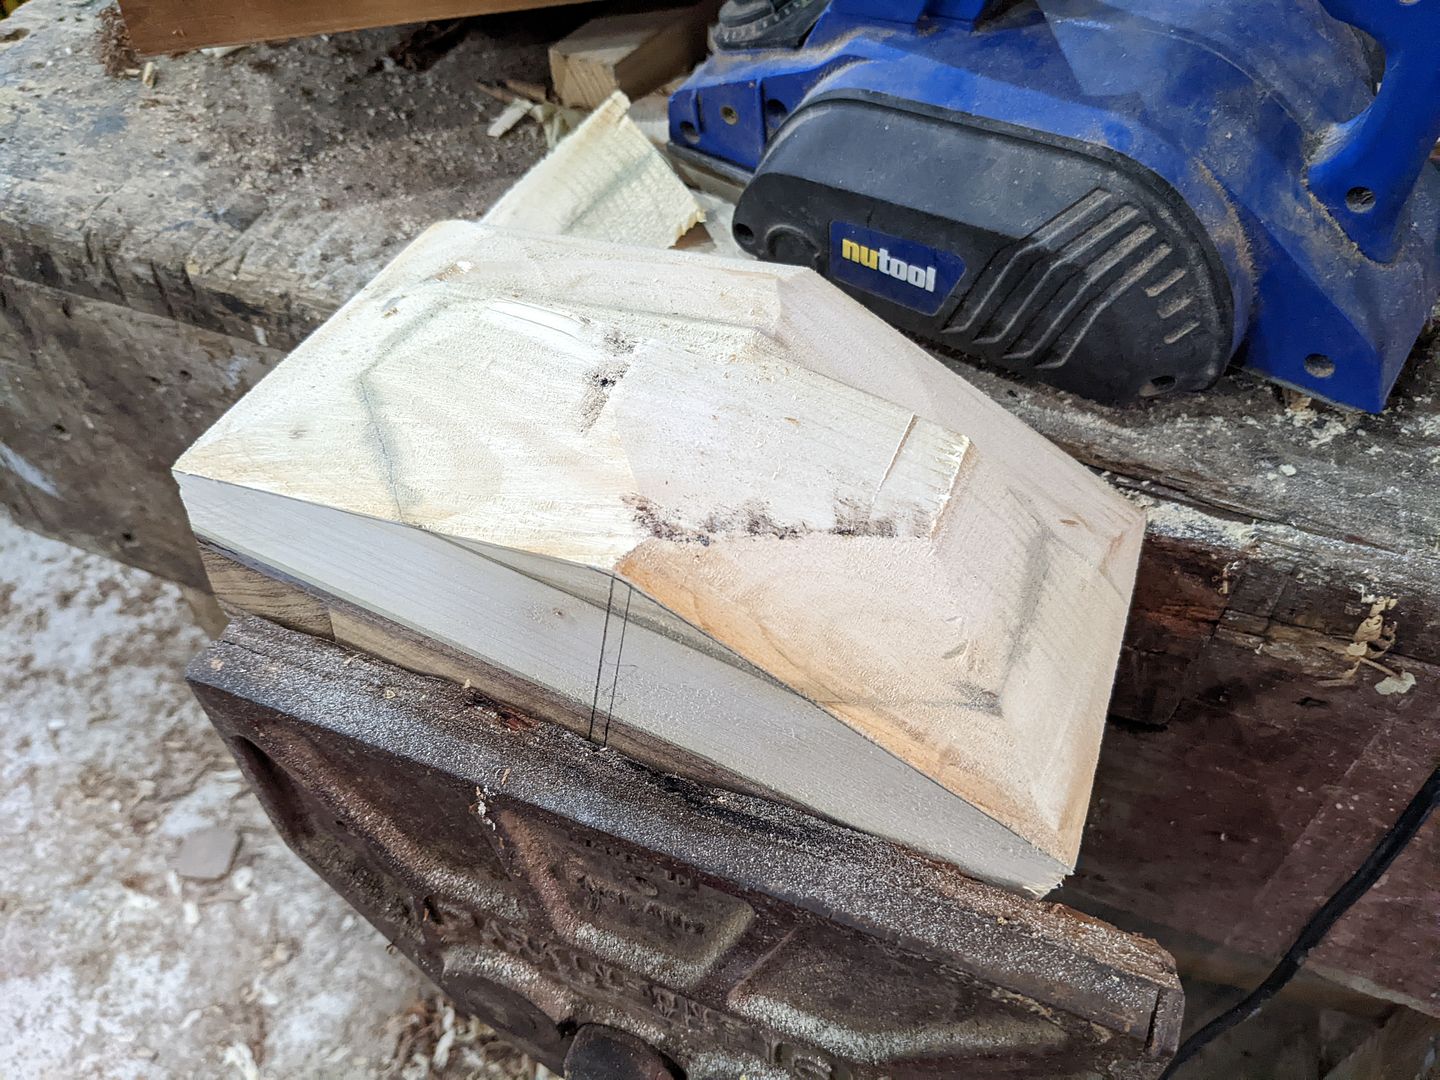
It turned out neat enough by being patient and taking it slowing and steadily.

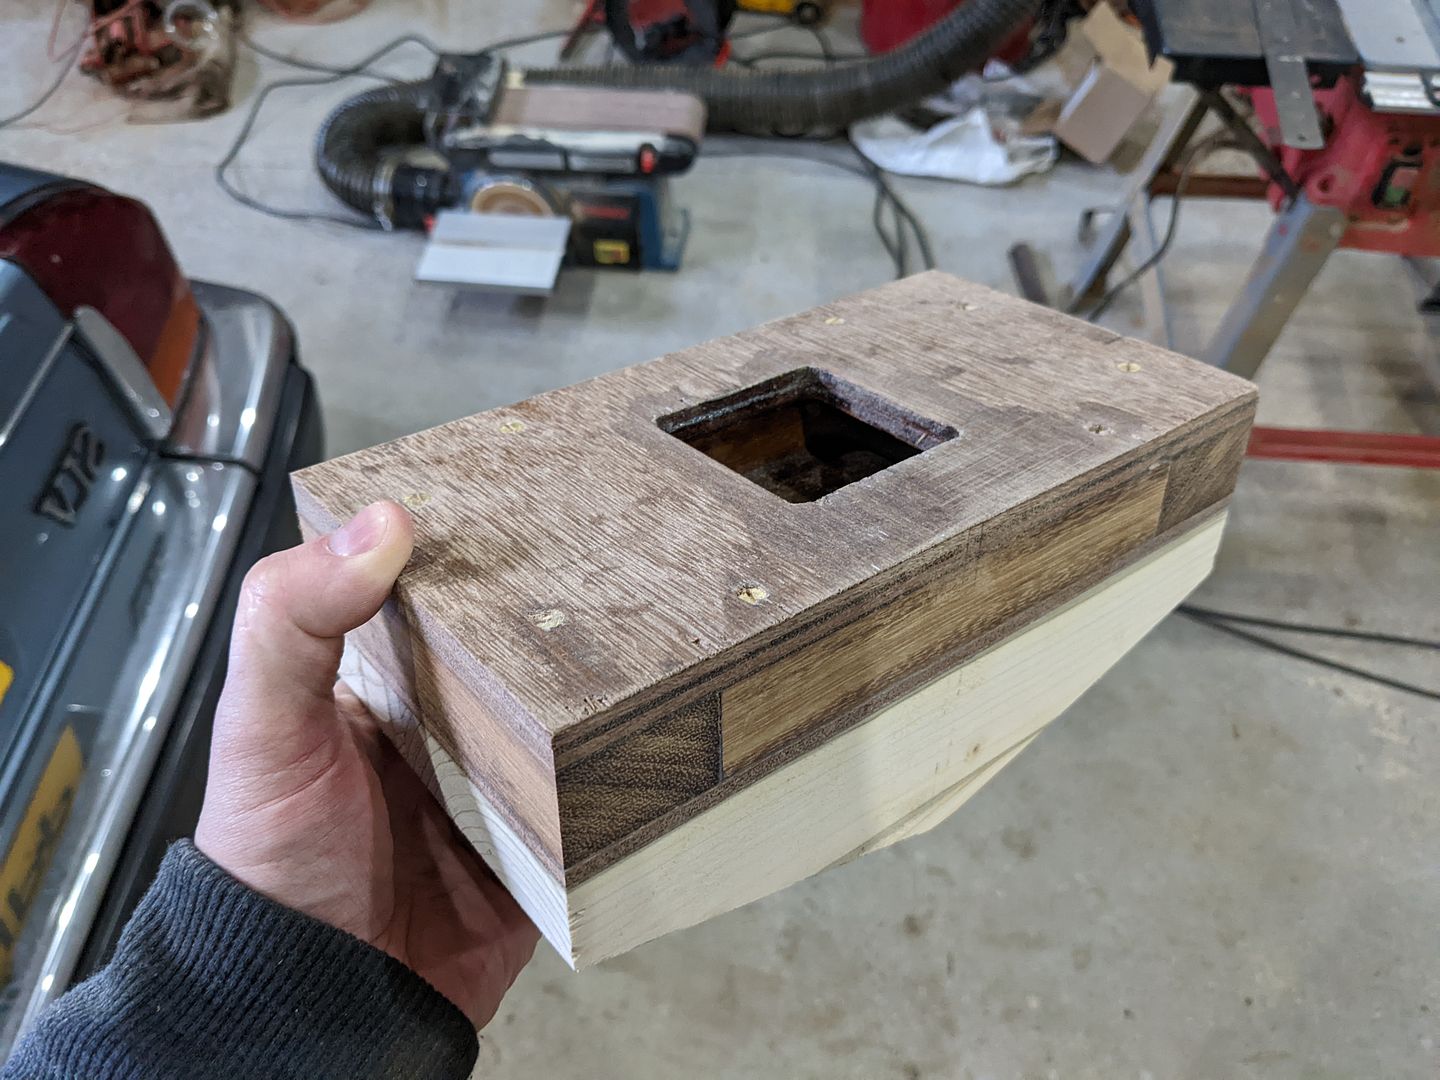
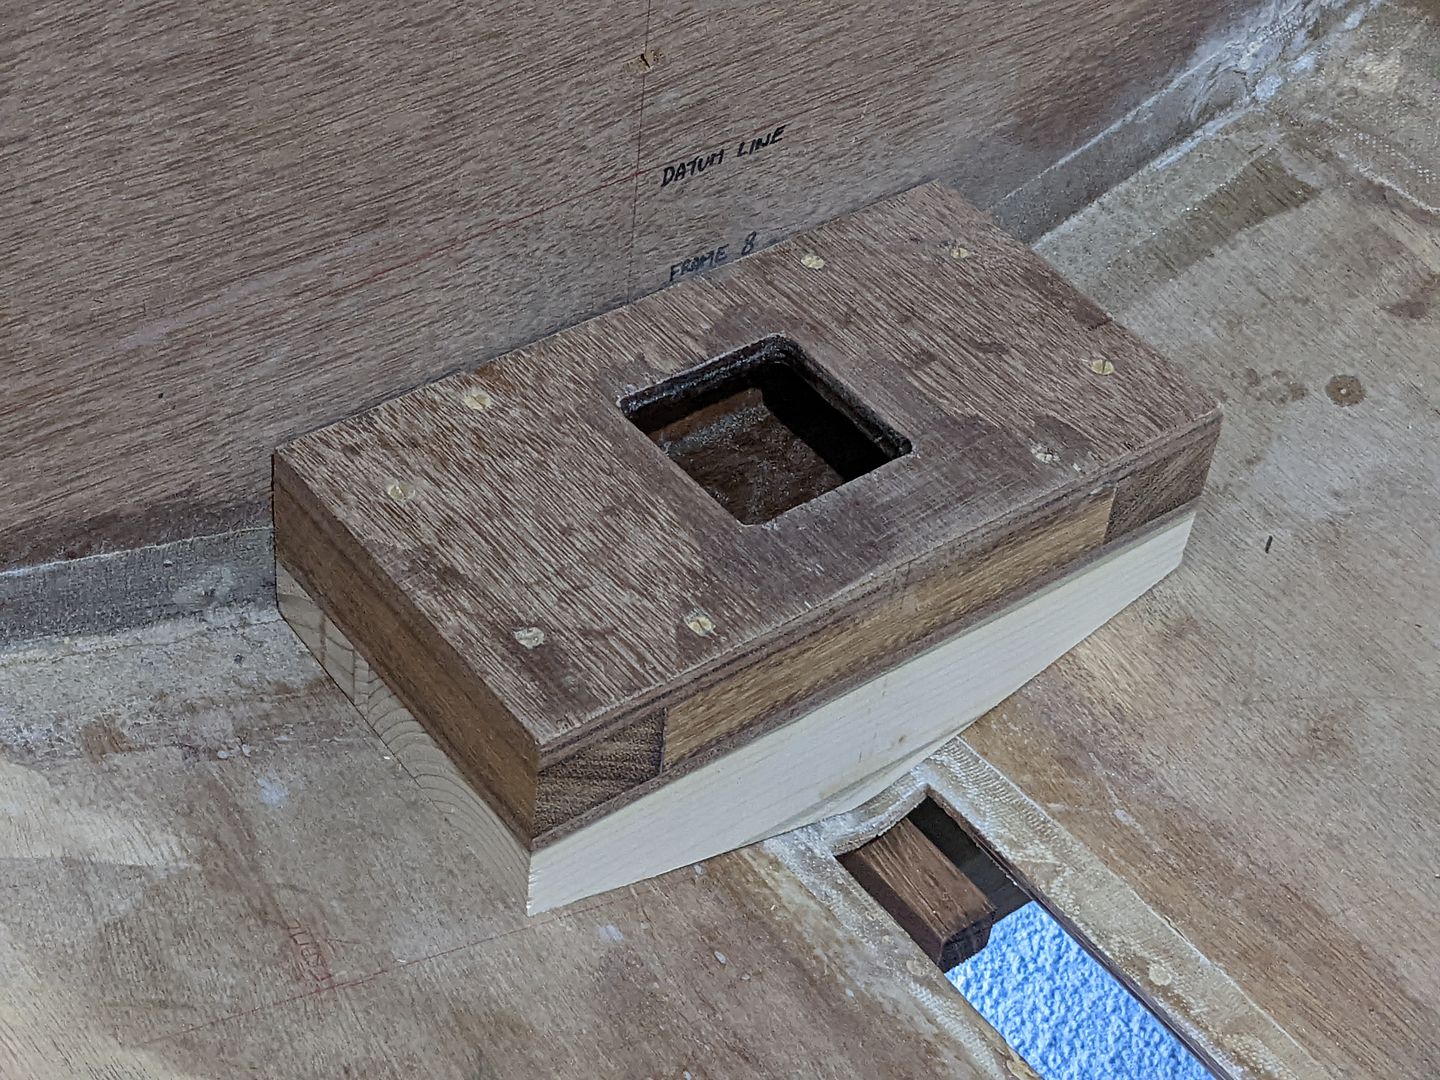
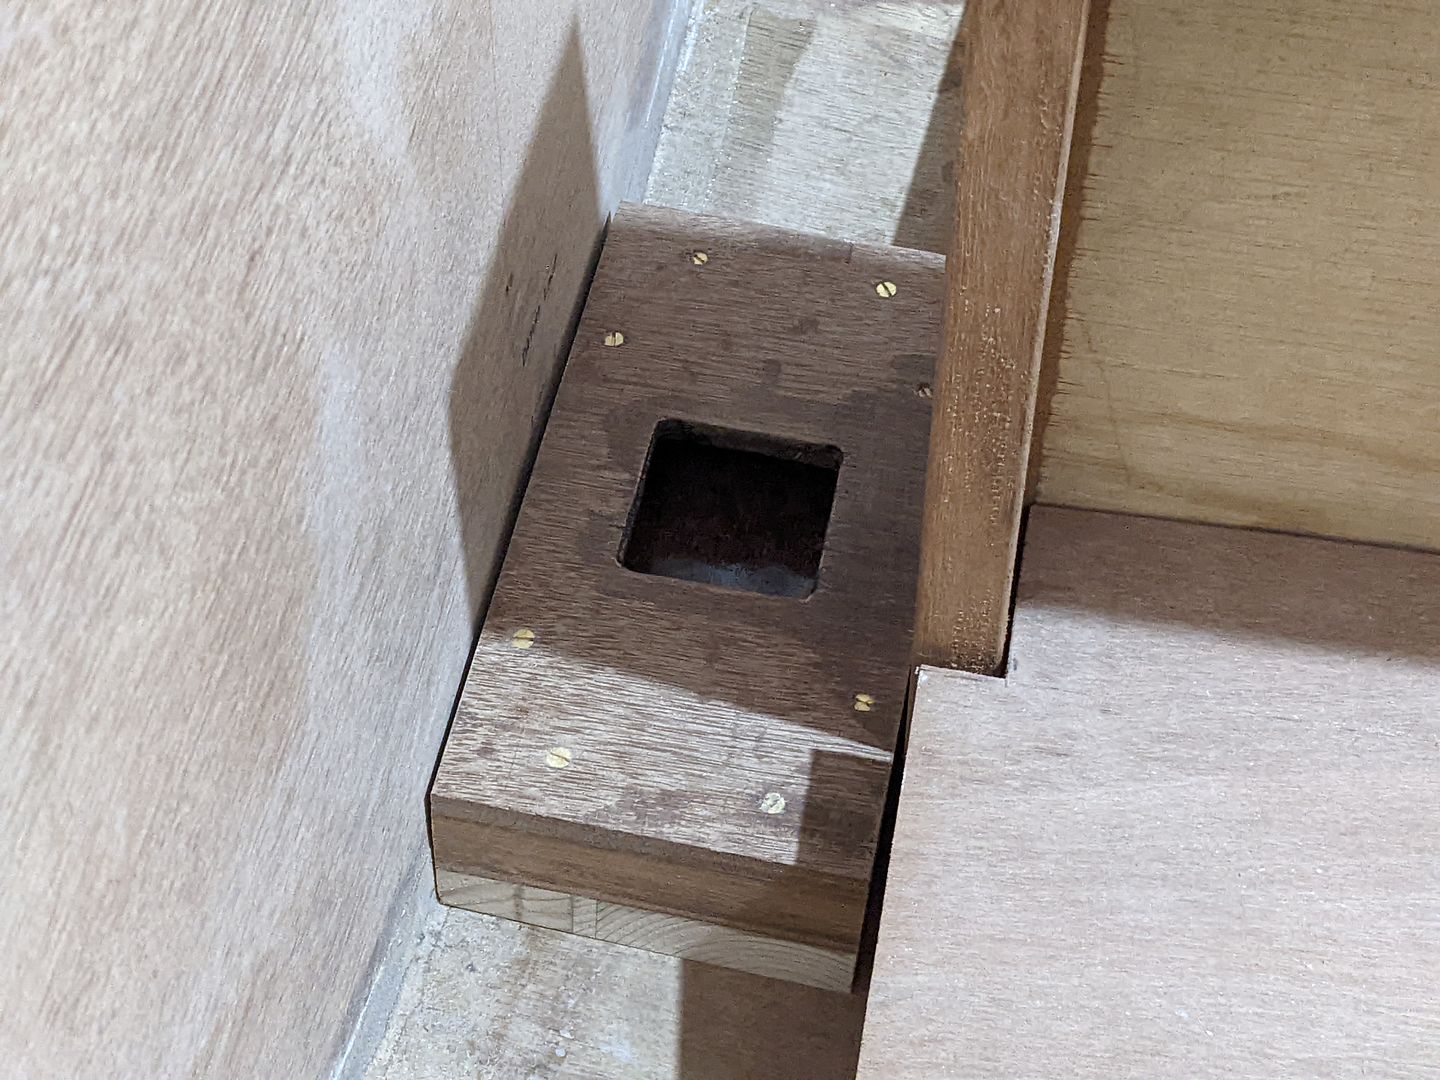
Perhaps none could be so surprised as I that I appear to have got the measurements, angles and the actual woodwork right because it actually fits properly where it's supposed to go. The plans call for a belt and braces glue and screw fitting - the latter being right through the bottom hull planks.
Tonight, I carefully sneaked up on it first finding some clean square edges amongst the mess, then triple checking my measurements and angles. The hull bottom is obviously changing shape in various ways along its length.
It turned out neat enough by being patient and taking it slowing and steadily.
Perhaps none could be so surprised as I that I appear to have got the measurements, angles and the actual woodwork right because it actually fits properly where it's supposed to go. The plans call for a belt and braces glue and screw fitting - the latter being right through the bottom hull planks.
I've added a short 8mm OD x 6mm ID stainless steel tube to the stem where the bobstay will fasten via a through-bolt. The bobstay will attach to the bowsprit. I used some of the excess tube to make a couple of drains for the mast step, which are drilled in at angles from the corners of the box where water may otherwise collect.
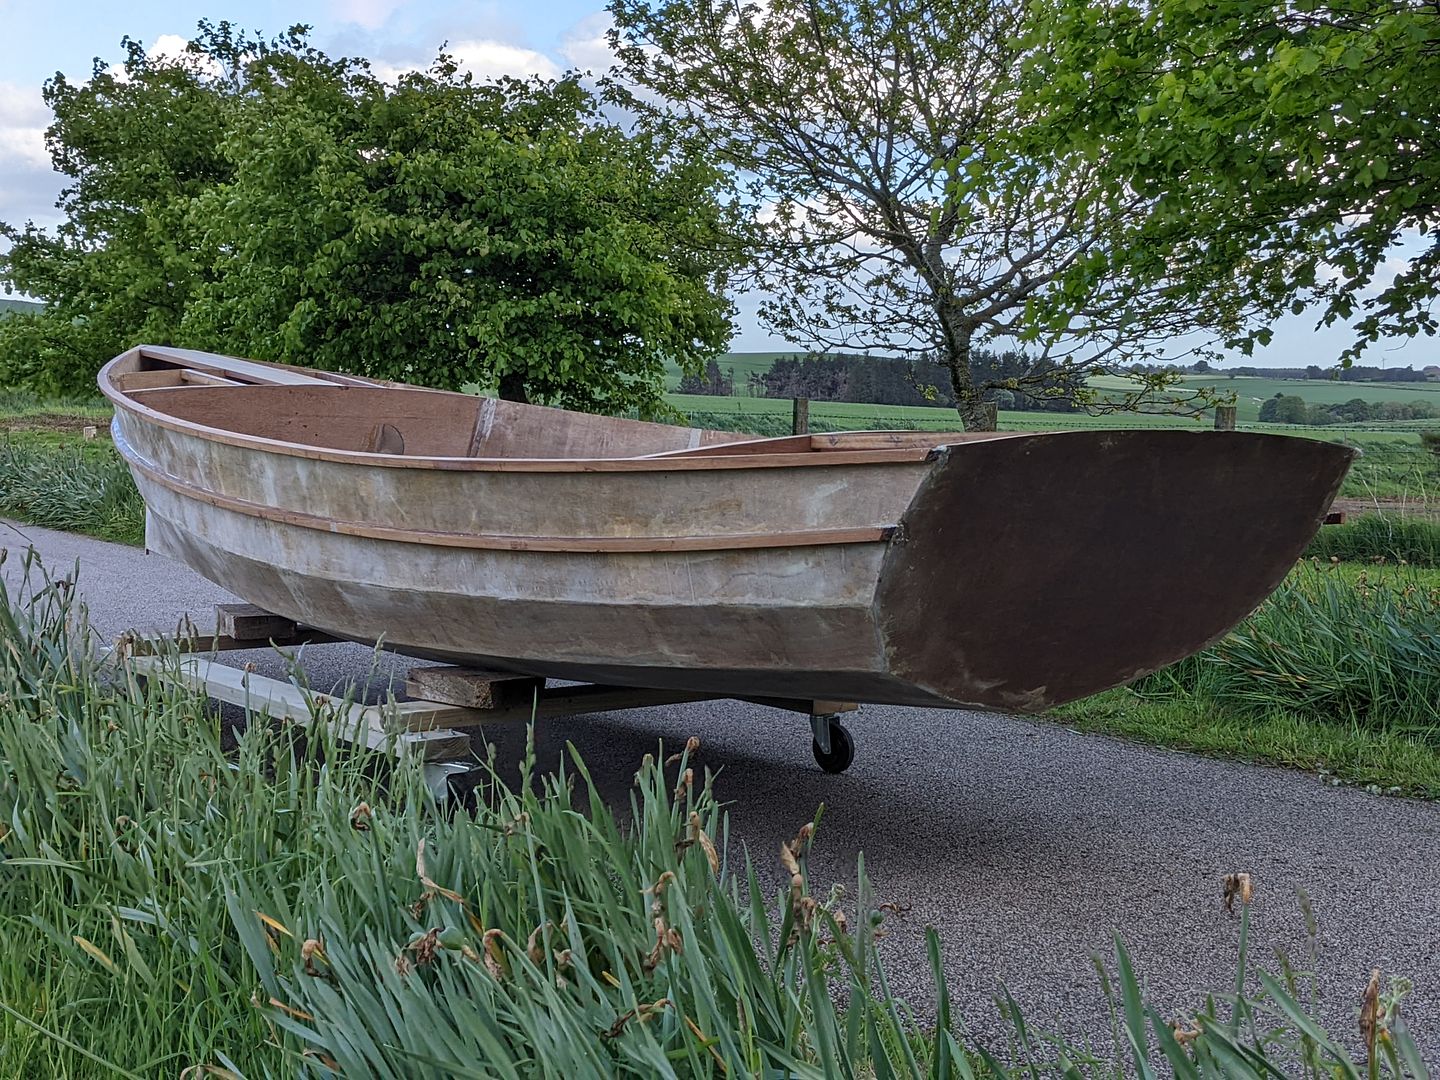
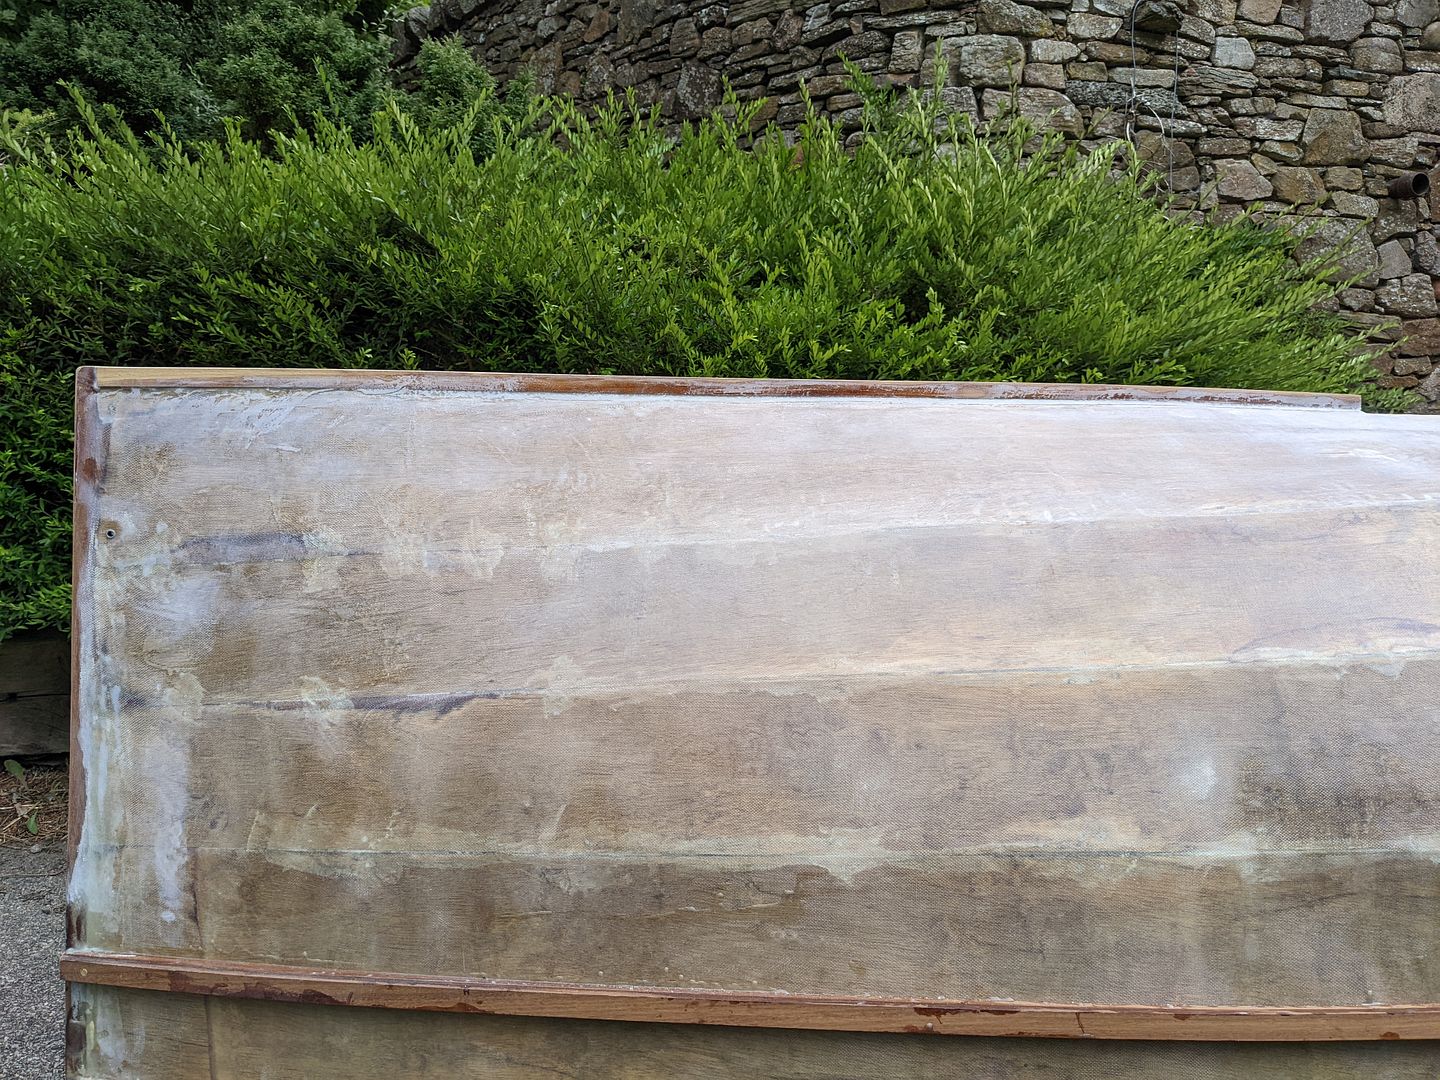
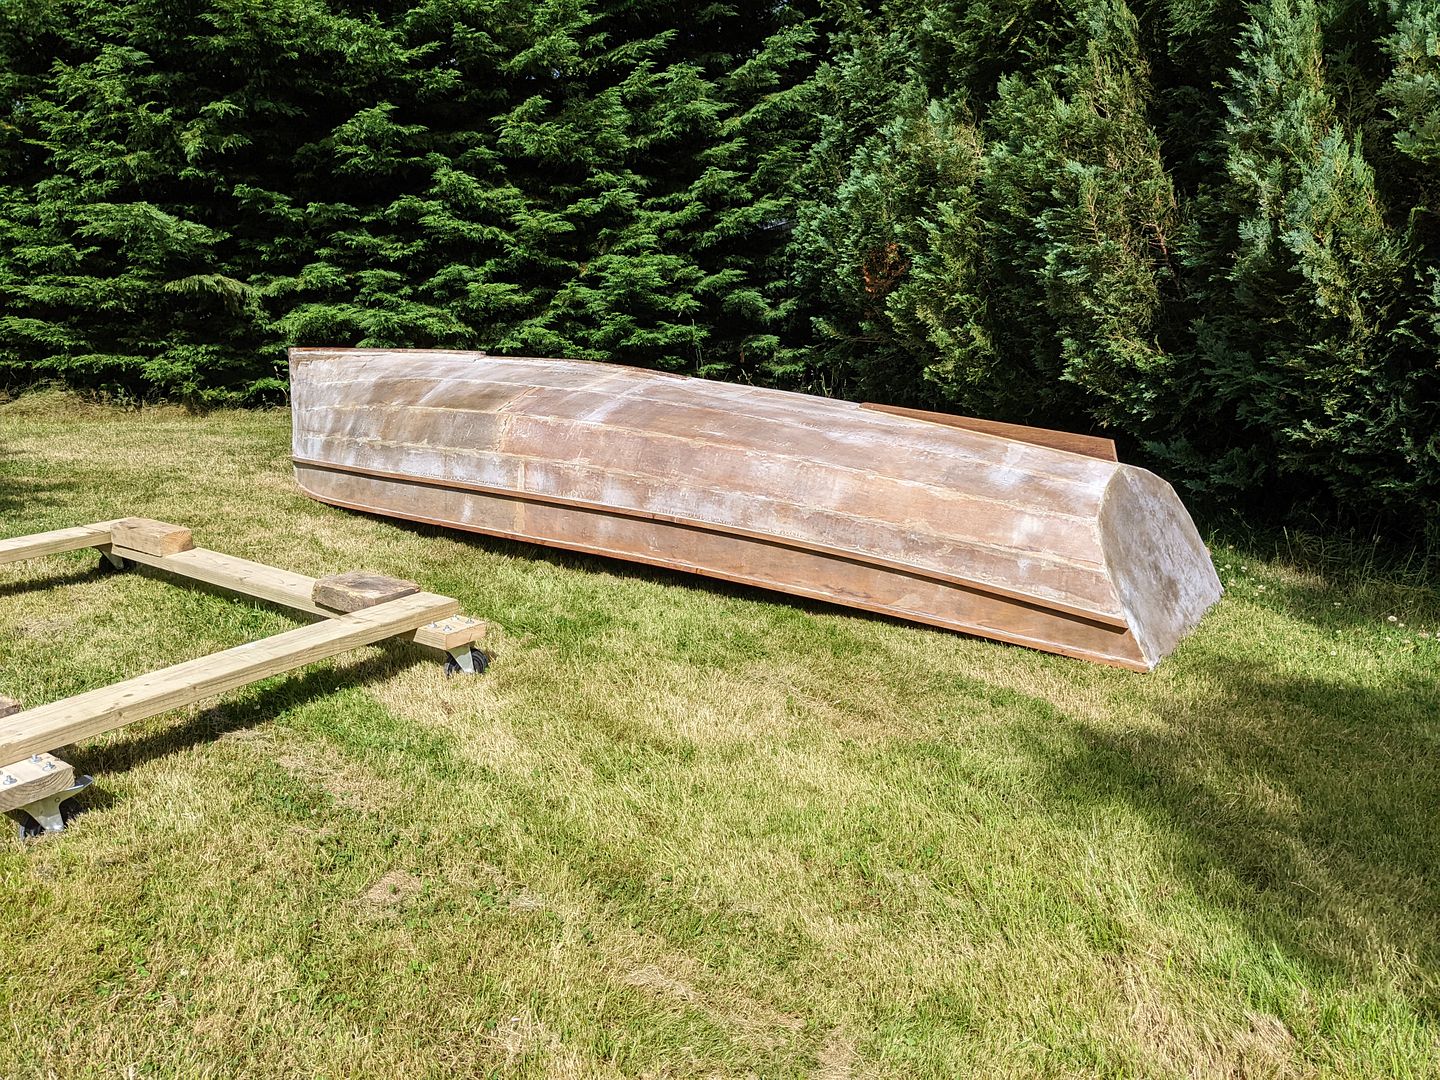
I wanted to do it, so I've inverted the boat again and added the false keel and skeg. These have been filleted with thickened epoxy. There are two more strakes to go on either side of the daggerboard case, and there are two blocks to go on the transom which mount the rudder hinges. Besides that, there are not many more bits to be added outside of the hull. Plenty more work inside, of course, plus the decking and, obviously the rig!

I wanted to do it, so I've inverted the boat again and added the false keel and skeg. These have been filleted with thickened epoxy. There are two more strakes to go on either side of the daggerboard case, and there are two blocks to go on the transom which mount the rudder hinges. Besides that, there are not many more bits to be added outside of the hull. Plenty more work inside, of course, plus the decking and, obviously the rig!

I've made some progress the last two days.
First of all, the interior of the boat is now fibreglassed. It's a messy job and involves very floppy fabric, so it's something I'd been putting off although I wanted it out of the way before moving on further with the internal bits and pieces.
Fibreglass is optional on the Campion Apple design. You do have to tape the seams, but actual glassing is discretionary. It's popular to glass the outside for abrasion resistance. It's going to be scraped on things - that's just a fact - so fibreglass on the outside helps protect the wood. It's often thought that fibreglassing the outside adds strength to the boat, which is partially true but is only really relevant if the plywood is whacked from the inside e.g. a heavy adult thumping down trying to avoid falling over. If we want to improve the hull's resistance to being punctured or stove in by hitting a stone for instance, the plywood will almost always fracture on the inside as the inner plies fail under tensile load. Therefore to improve puncture resistance from striking something outside the boat, it's actually the inside surface you need to fibreglass. So I have done both inside and outside. FYI, with the pound slumped against the US dollar, a 6kg pack of West Systems 105/205 or 206 epoxy is now up to £148 once the VAT is added...
Anyway, with the inside glassed, I was able to glue in the daggerboard case at last.
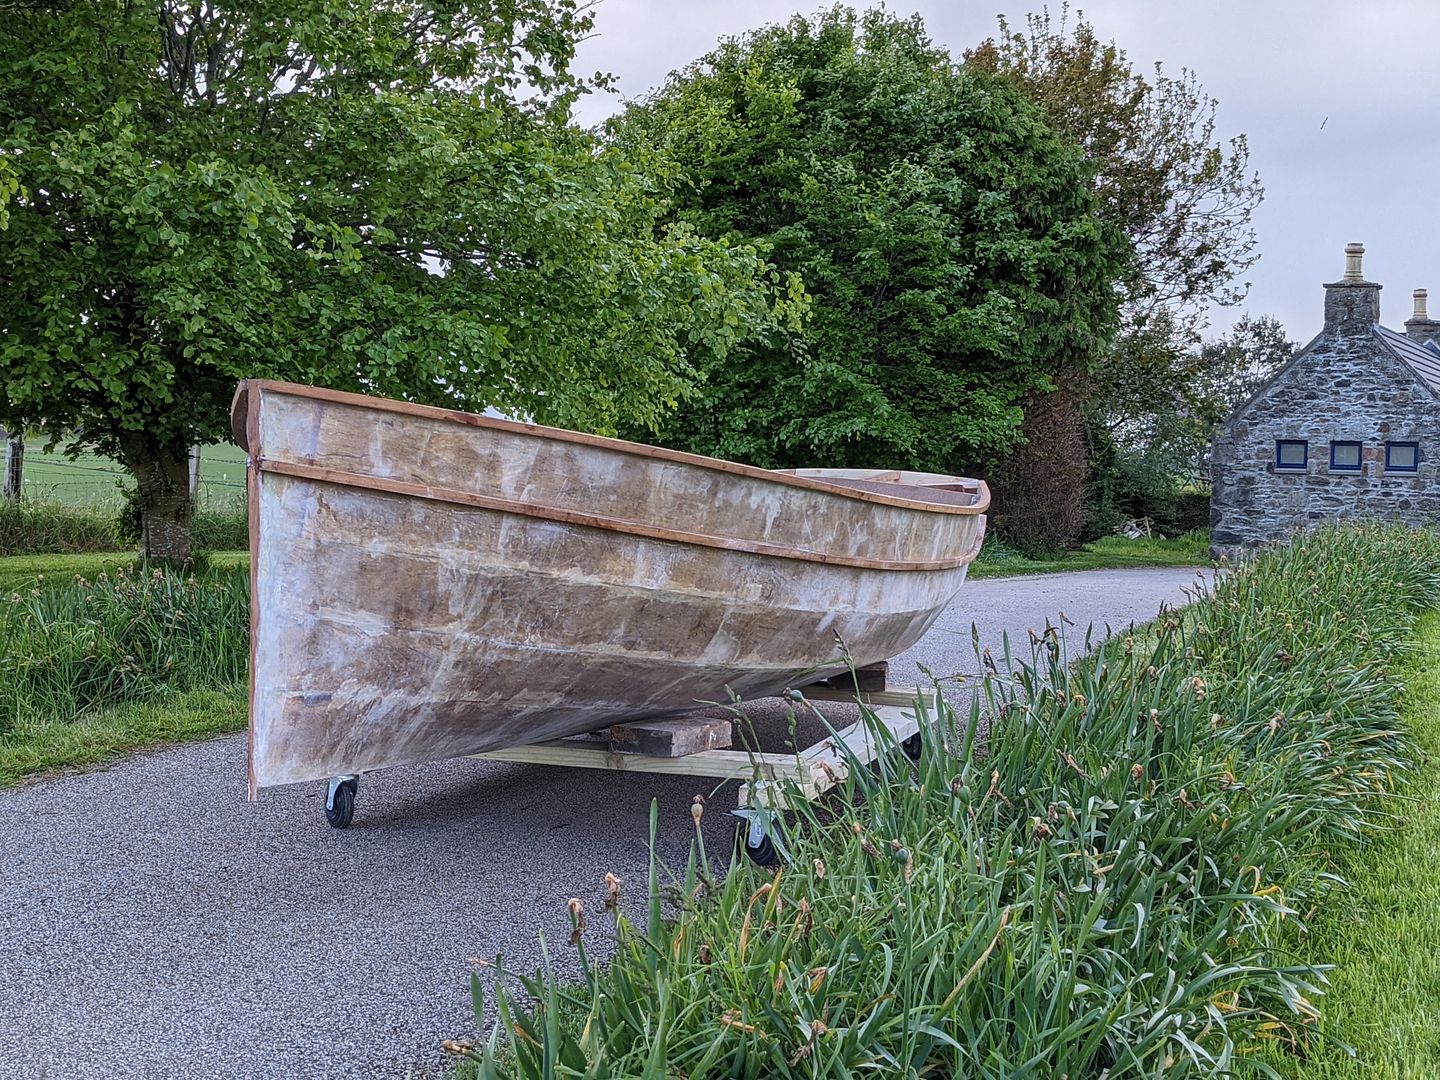
I left the epoxy fillets on the inside overnight to cure, then flipped the hull upside down on the grass to fair the case into the hull before squeezing epoxy thickened with milled fibres again into any gaps remaining.

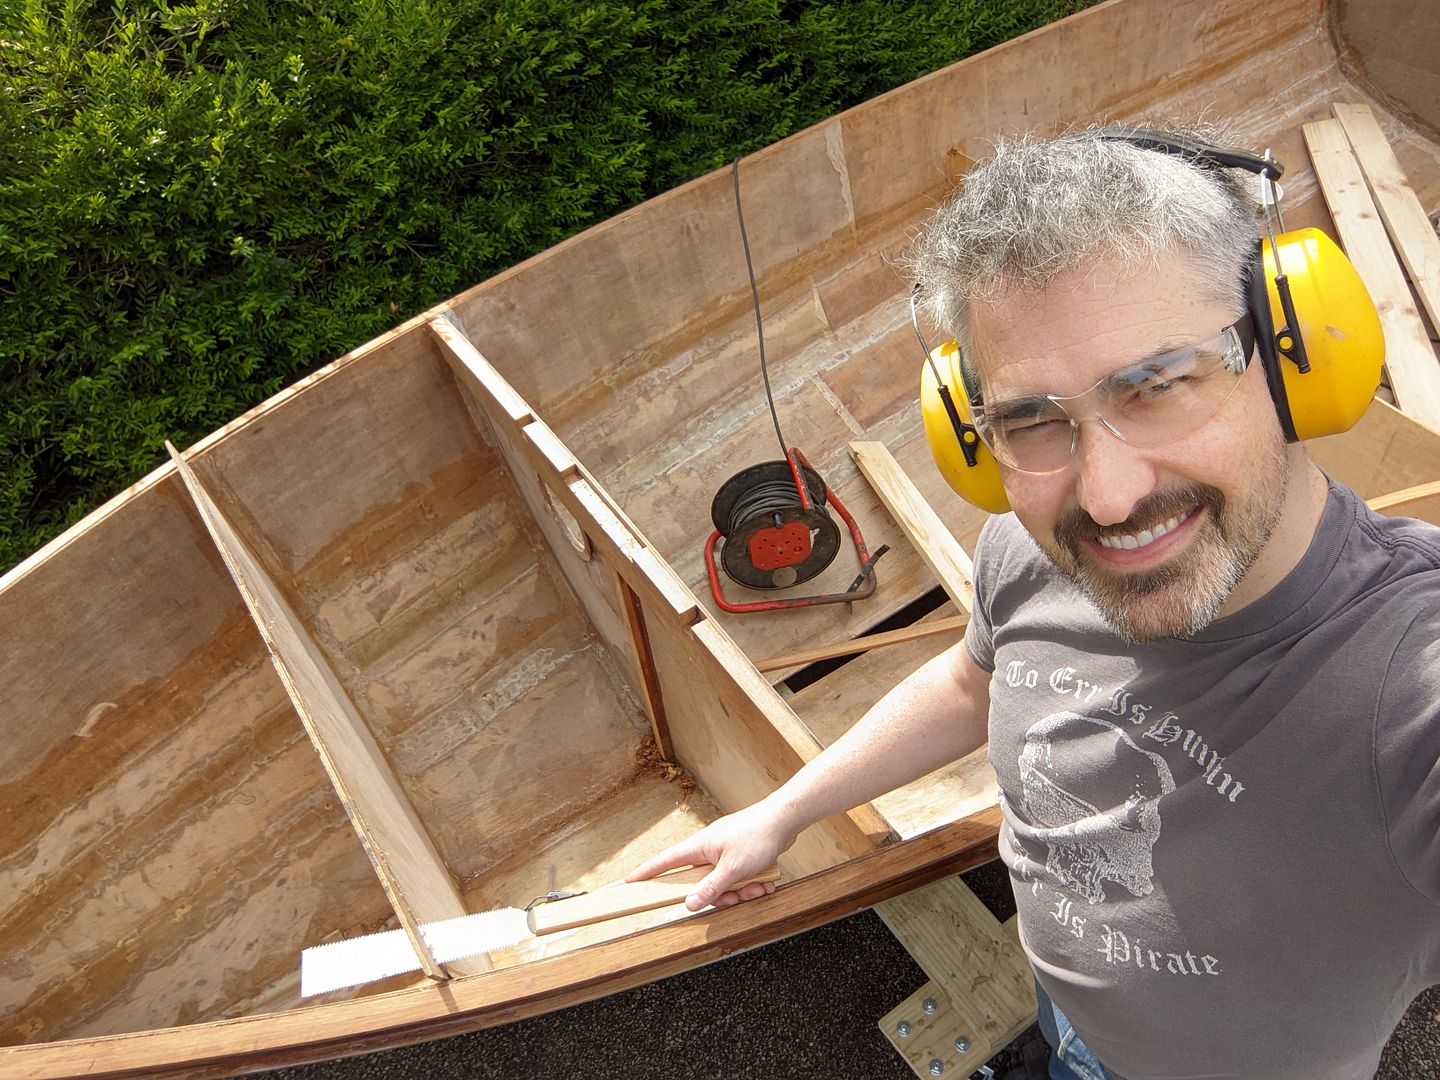
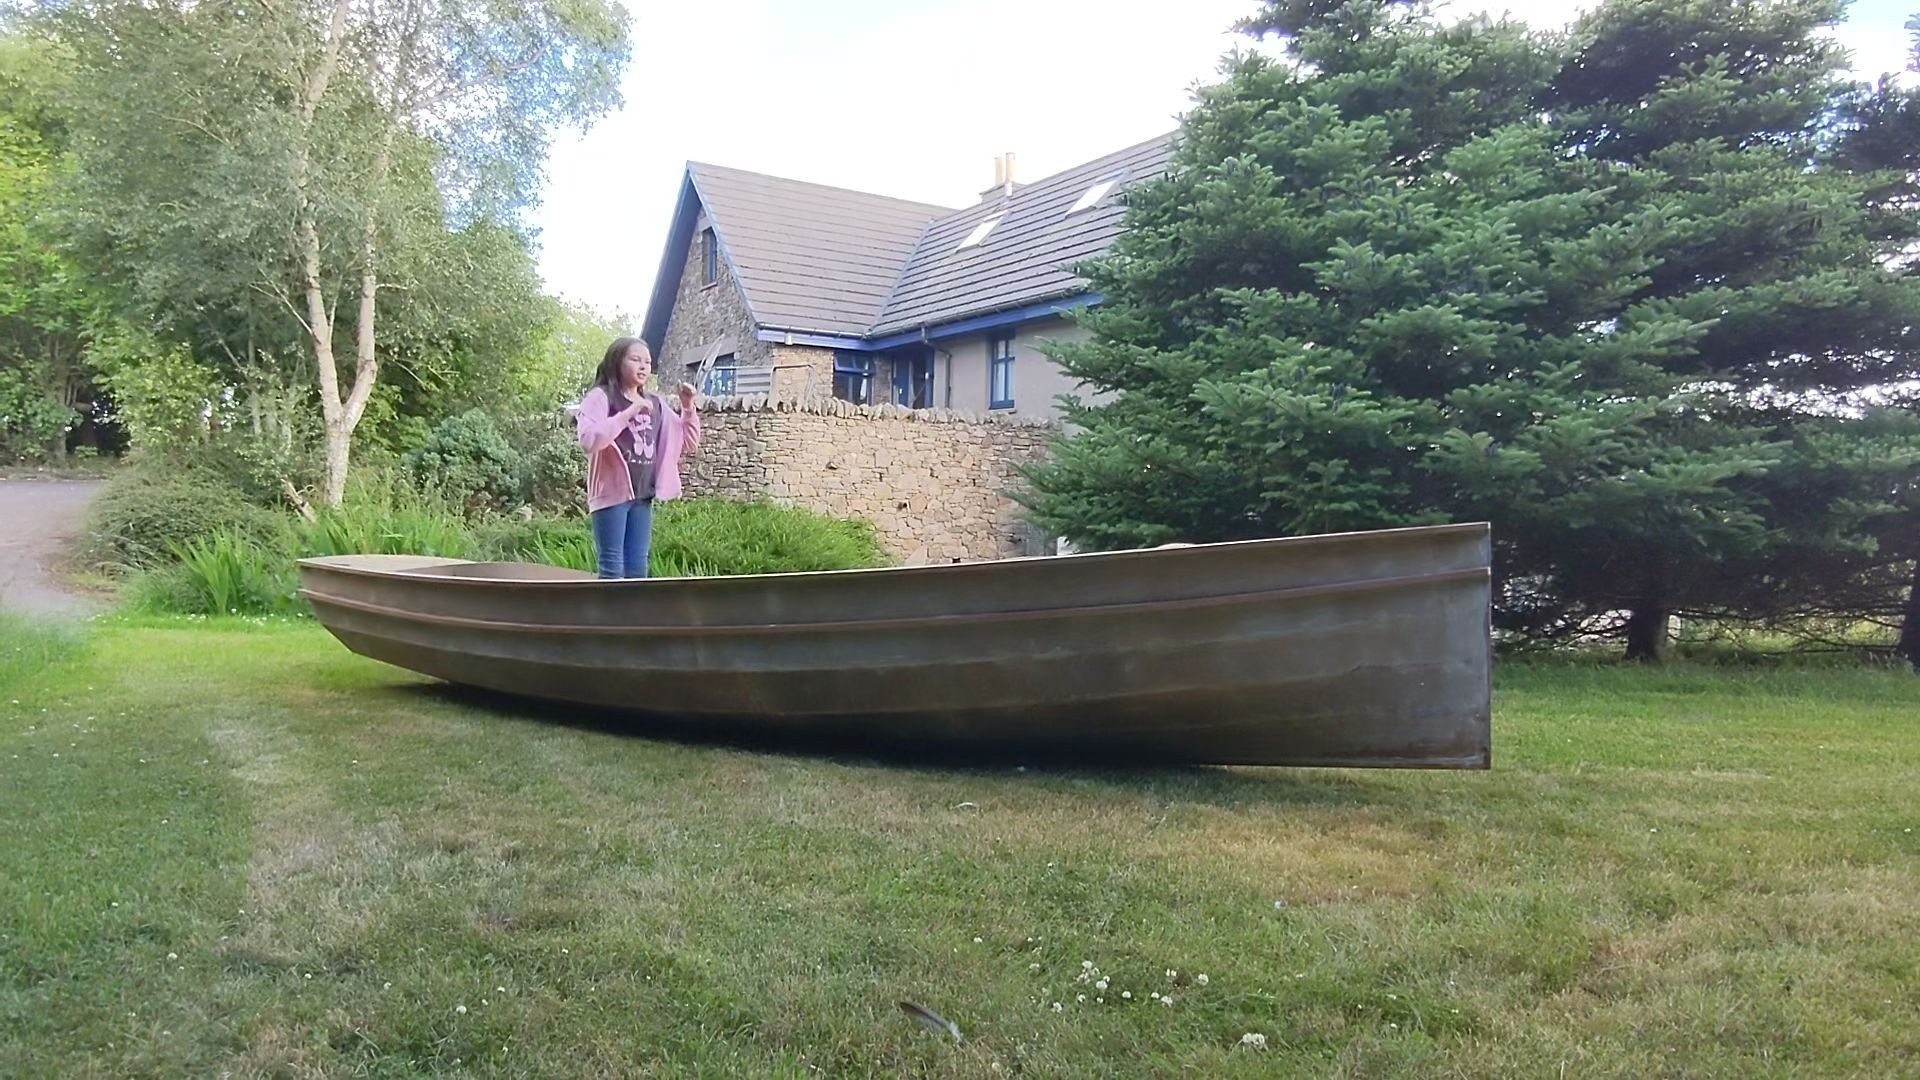
That had all day to cure and last night my daughter came to help me get the trolley back under the boat. Before doing that though, I wanted to build her confidence a bit. She was there at the beginning helping drill holes and fish tie-wraps through while I held big long wobbly plywood boards in place. Both she and her younger sister have had an impression that this thing is very flimsy, since it definitely was at the beginning. To show her how robust it was now it was fully glassed inside and out and had the gunwales on, I encouraged her to jump up and down in it. She's a careful child and not one to wreck everything they touch. Neither of my daughters break things. She's also been a ballet dancer for the last 7 years so even her jumping is lightly landing on the balls of her feet rather than crashing down on heels. The way I look at this is that a) if I didn't have total confidence in what I've built I wouldn't have told her to jump in it and b) if somehow I got that totally wrong and a small-for-her-age lightly-footed kid went through the bottom of it, then I don't want to go out on the water in it!
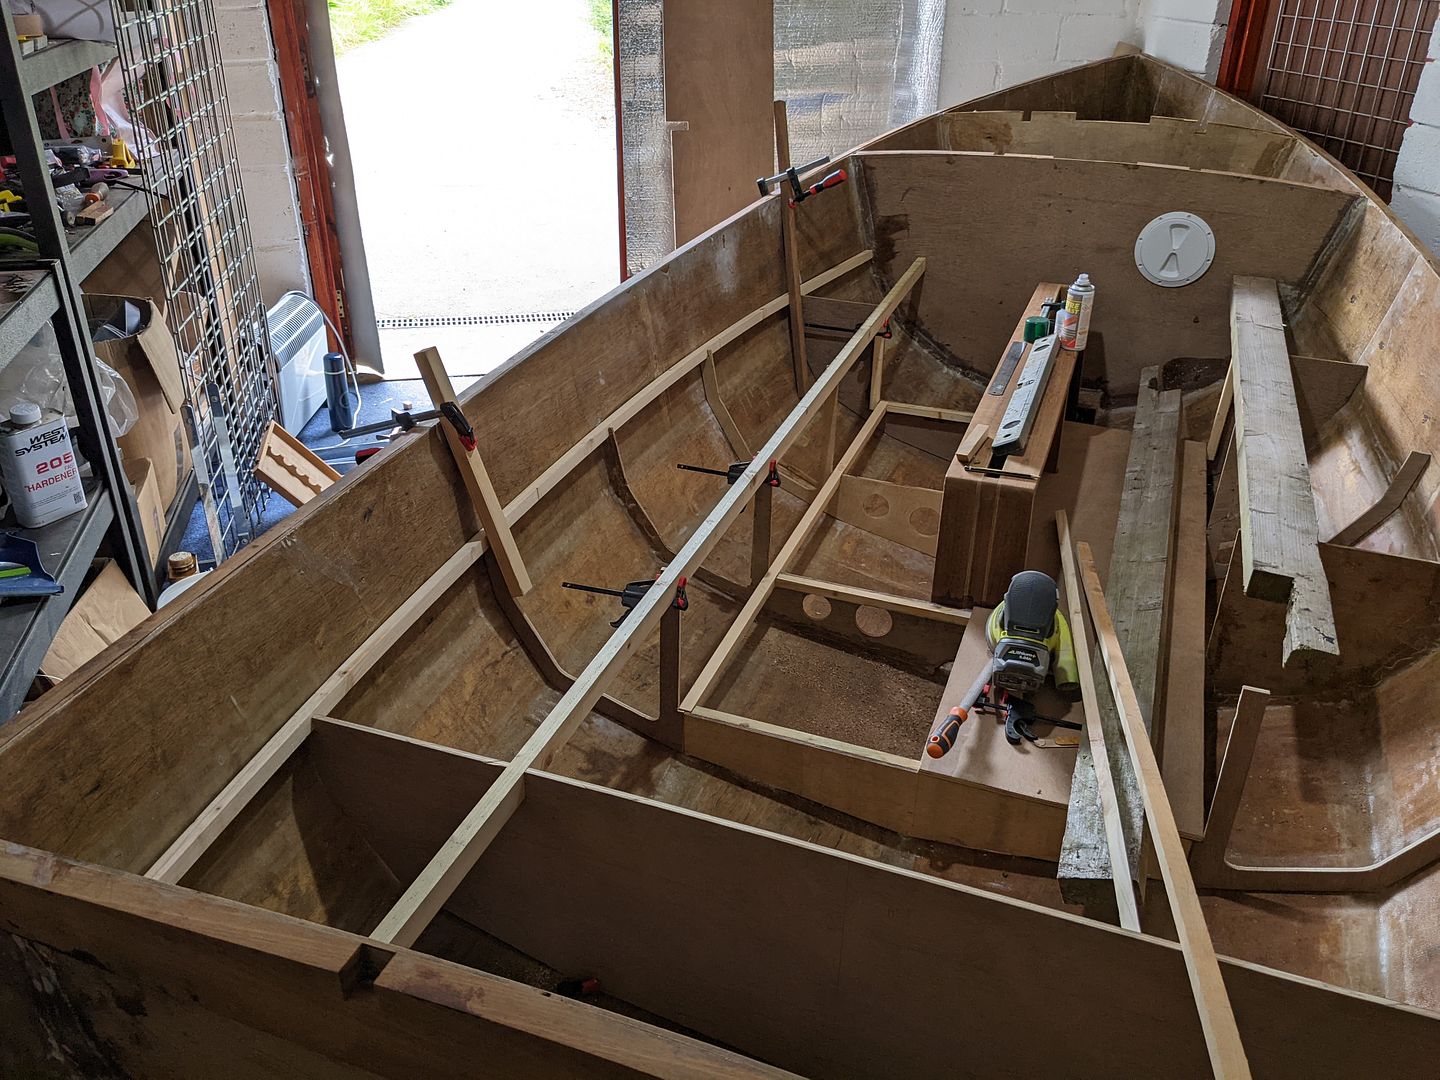
With the hull now approved by the daughter as adequate (to quote her "Ok, I'll come sailing, but I still don't really want to help much with the building") I can start filling in the missing frames inside the cockpit area. Sometimes it's easier to just cheat, and I like easy, so I made more templates for the frames from wooden spatulas tacked together with superglue.
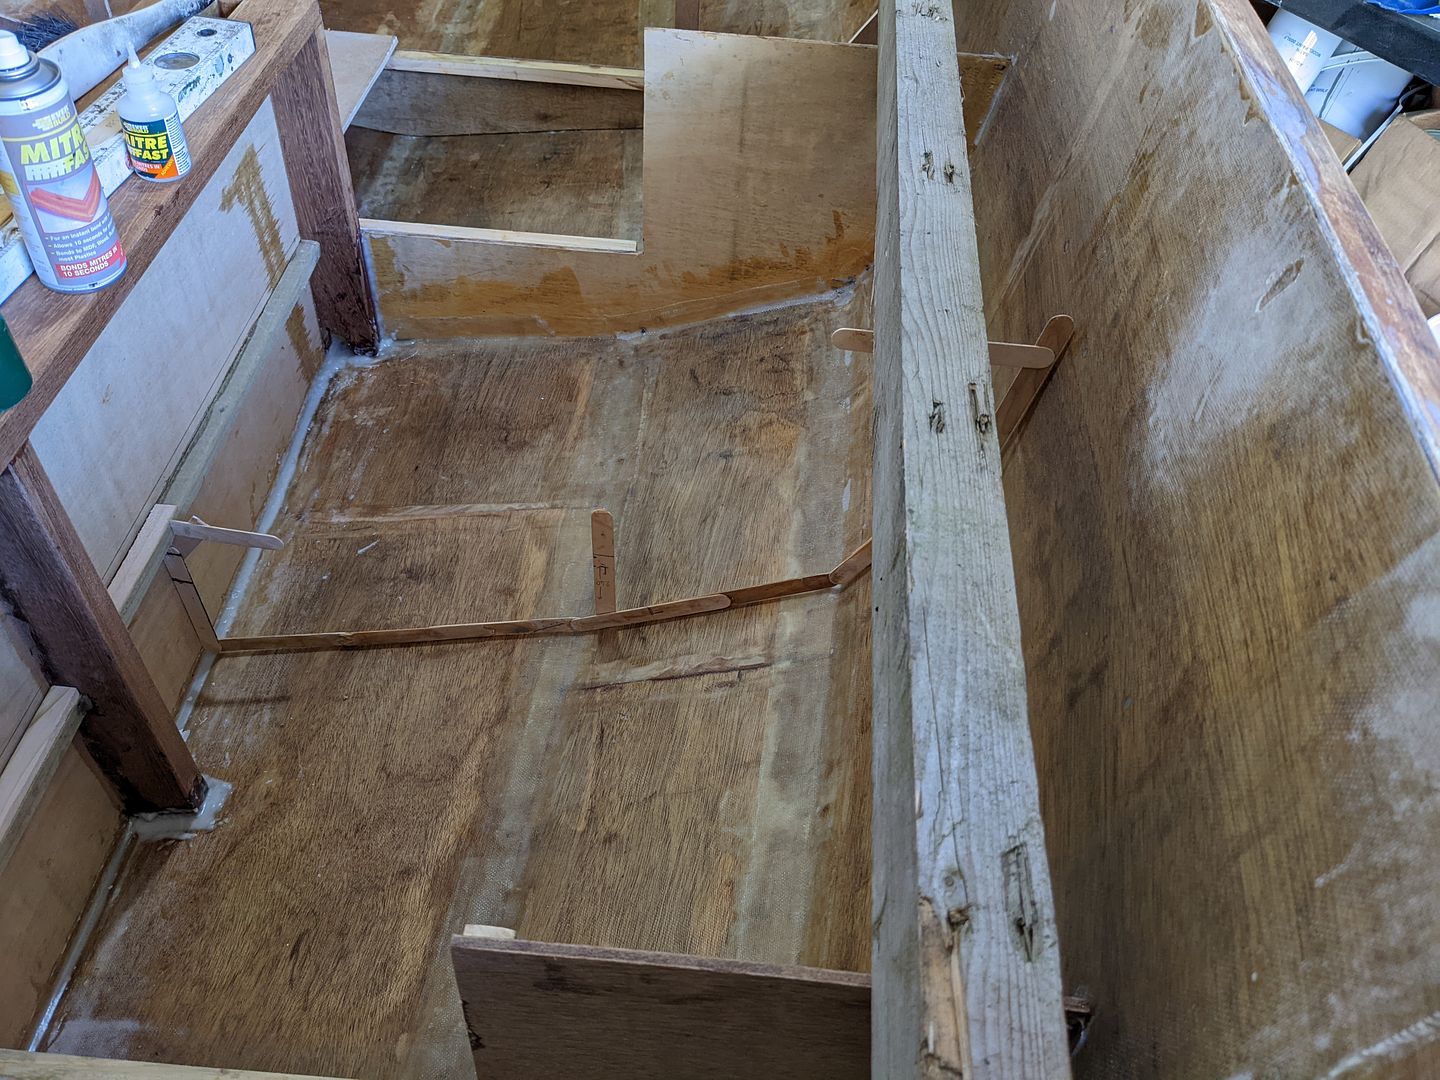
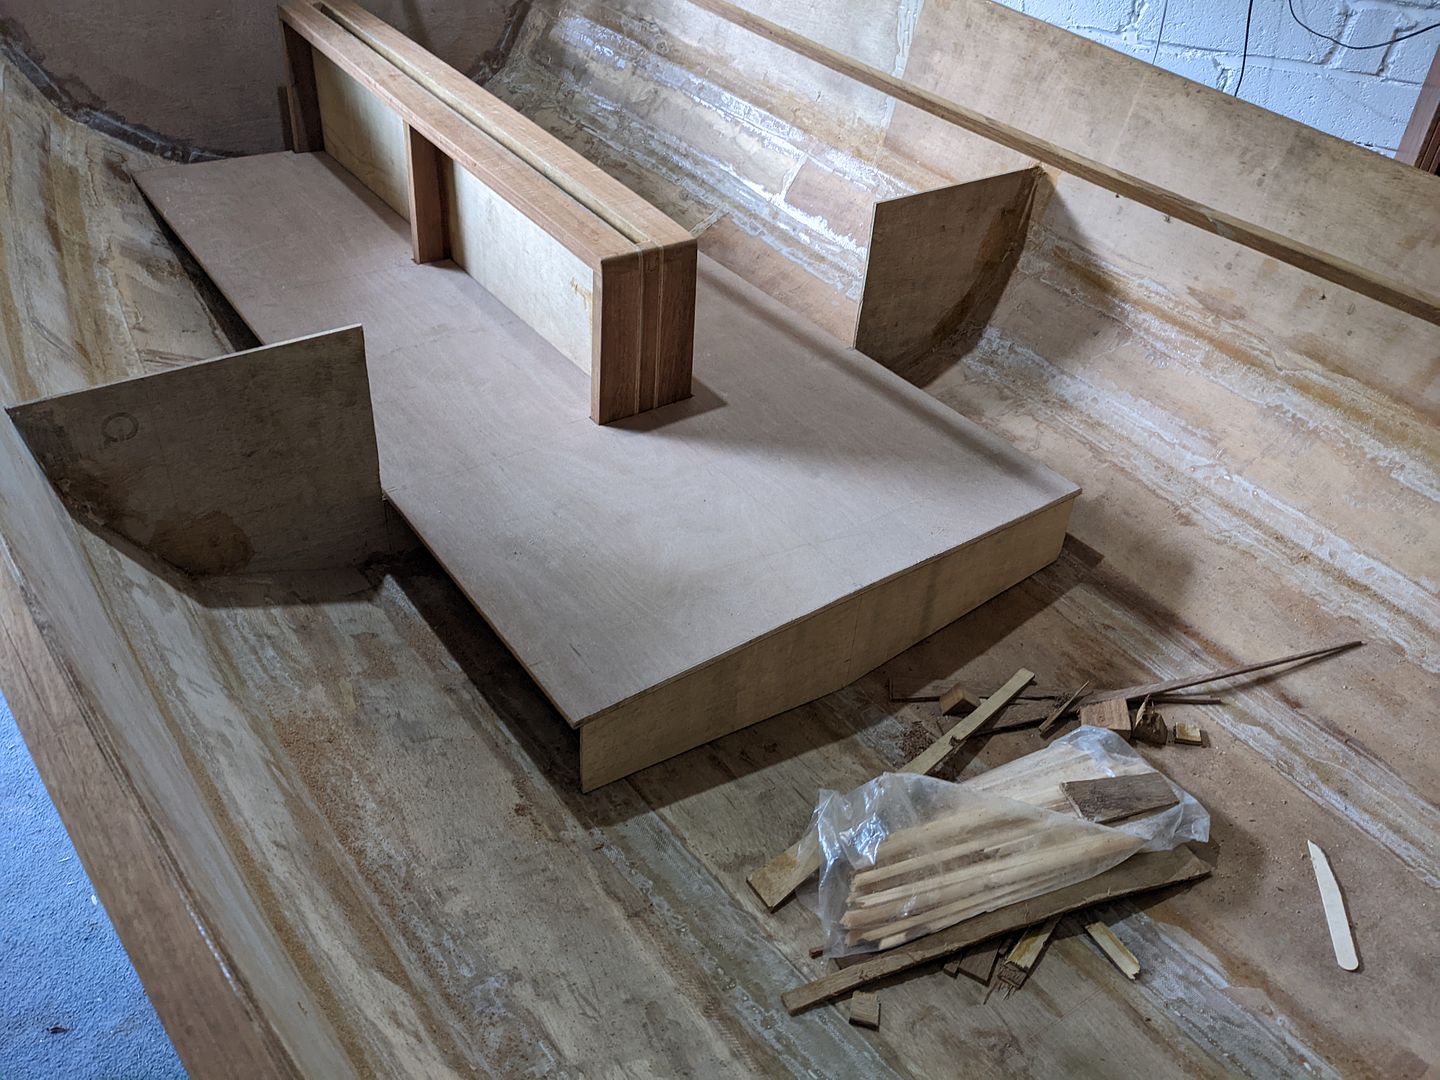
The frames I'm adding now will be in storage areas under the thwarts which I plan to hinge and make splash-proof with rubber strip seals. To make these spaces useful, the intermediate frames here are hollowed out. Strip wood will be added for gluing surface area where appropriate in due course.
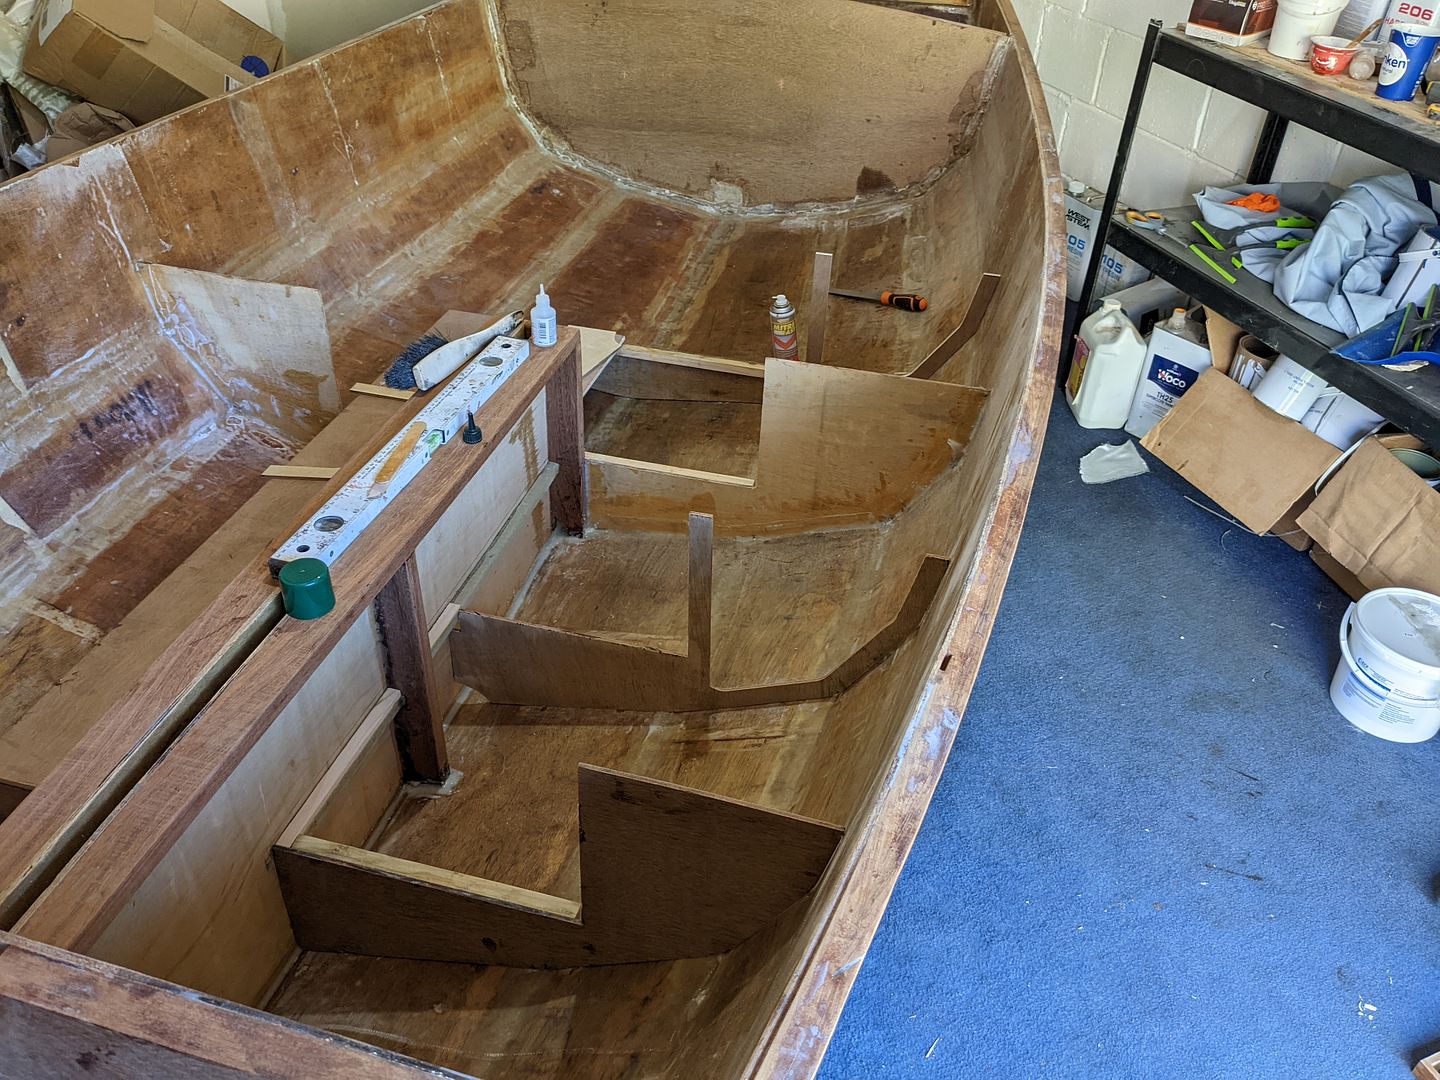
The ballast tank still needs sides as well as coated fully with epoxy on the inside to protect the wood from rot, but just in case I forget I cut out the holes to help them flood and drain better. There are mouseholes at the bottom but I'll add some vent holes to let the air out at the tops of these frames after the gluing surface area strips are in place.

Obviously I'm not using grotty old 2x4s for thwarts, but these are actually straight so I've used them to help mock up the interior.
First of all, the interior of the boat is now fibreglassed. It's a messy job and involves very floppy fabric, so it's something I'd been putting off although I wanted it out of the way before moving on further with the internal bits and pieces.
Fibreglass is optional on the Campion Apple design. You do have to tape the seams, but actual glassing is discretionary. It's popular to glass the outside for abrasion resistance. It's going to be scraped on things - that's just a fact - so fibreglass on the outside helps protect the wood. It's often thought that fibreglassing the outside adds strength to the boat, which is partially true but is only really relevant if the plywood is whacked from the inside e.g. a heavy adult thumping down trying to avoid falling over. If we want to improve the hull's resistance to being punctured or stove in by hitting a stone for instance, the plywood will almost always fracture on the inside as the inner plies fail under tensile load. Therefore to improve puncture resistance from striking something outside the boat, it's actually the inside surface you need to fibreglass. So I have done both inside and outside. FYI, with the pound slumped against the US dollar, a 6kg pack of West Systems 105/205 or 206 epoxy is now up to £148 once the VAT is added...
Anyway, with the inside glassed, I was able to glue in the daggerboard case at last.
I left the epoxy fillets on the inside overnight to cure, then flipped the hull upside down on the grass to fair the case into the hull before squeezing epoxy thickened with milled fibres again into any gaps remaining.
That had all day to cure and last night my daughter came to help me get the trolley back under the boat. Before doing that though, I wanted to build her confidence a bit. She was there at the beginning helping drill holes and fish tie-wraps through while I held big long wobbly plywood boards in place. Both she and her younger sister have had an impression that this thing is very flimsy, since it definitely was at the beginning. To show her how robust it was now it was fully glassed inside and out and had the gunwales on, I encouraged her to jump up and down in it. She's a careful child and not one to wreck everything they touch. Neither of my daughters break things. She's also been a ballet dancer for the last 7 years so even her jumping is lightly landing on the balls of her feet rather than crashing down on heels. The way I look at this is that a) if I didn't have total confidence in what I've built I wouldn't have told her to jump in it and b) if somehow I got that totally wrong and a small-for-her-age lightly-footed kid went through the bottom of it, then I don't want to go out on the water in it!
With the hull now approved by the daughter as adequate (to quote her "Ok, I'll come sailing, but I still don't really want to help much with the building") I can start filling in the missing frames inside the cockpit area. Sometimes it's easier to just cheat, and I like easy, so I made more templates for the frames from wooden spatulas tacked together with superglue.
The frames I'm adding now will be in storage areas under the thwarts which I plan to hinge and make splash-proof with rubber strip seals. To make these spaces useful, the intermediate frames here are hollowed out. Strip wood will be added for gluing surface area where appropriate in due course.
The ballast tank still needs sides as well as coated fully with epoxy on the inside to protect the wood from rot, but just in case I forget I cut out the holes to help them flood and drain better. There are mouseholes at the bottom but I'll add some vent holes to let the air out at the tops of these frames after the gluing surface area strips are in place.
Obviously I'm not using grotty old 2x4s for thwarts, but these are actually straight so I've used them to help mock up the interior.
Arnold Cunningham said:
I did very similar template making when I built my boat. Just slightly bigger sticks:
Disastrous said:
Still following this with a mixture of envy and awe!
What a wonderful job you’re making of it. I’m very impressed.
What a wonderful job you’re making of it. I’m very impressed.
Huff said:
+1 ; what a joy this thread is!
Thanks everyone, that means a lot actually and like many construction projects, it can be a lonely thing at time and some interaction on forums does help me find the motivation to work through the bits which are less fun.I have an update though

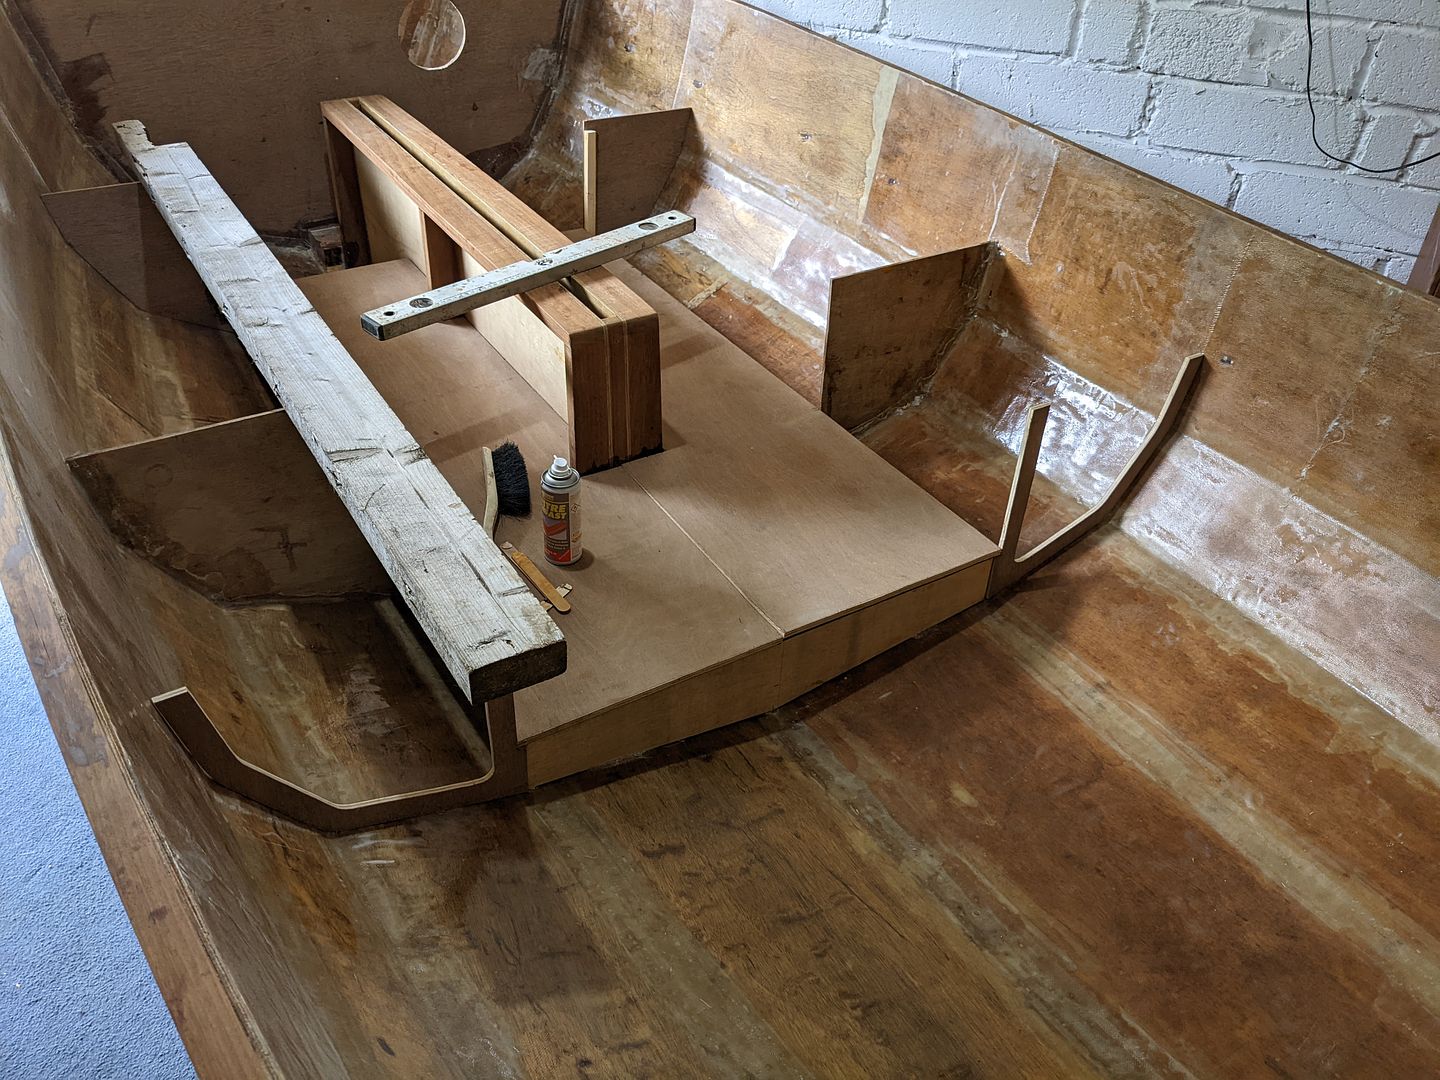
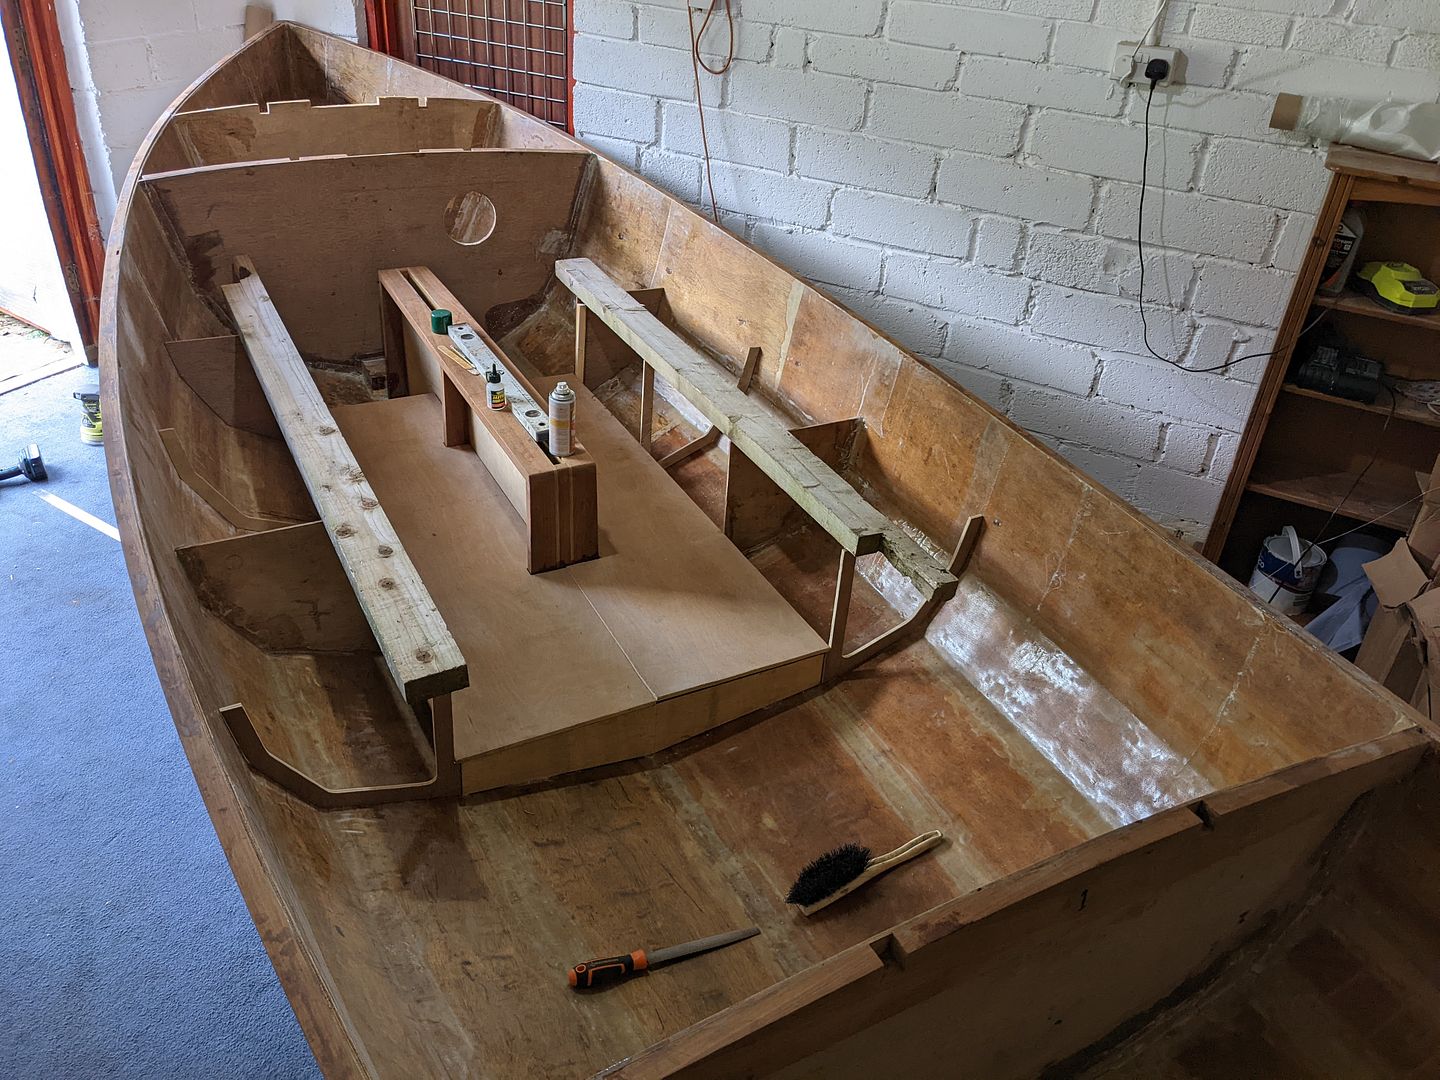
The really short version would be "I've been working with sticks again" but it's actually been a good 6 hours work milling down softwood (and replacing the blunt knives on my planer thicknesser), clamping things up, marking out lines and measurements, cutting notches out of all the frames etc but I feel like I've made some worthwhile progress even if it doesn't look like much.
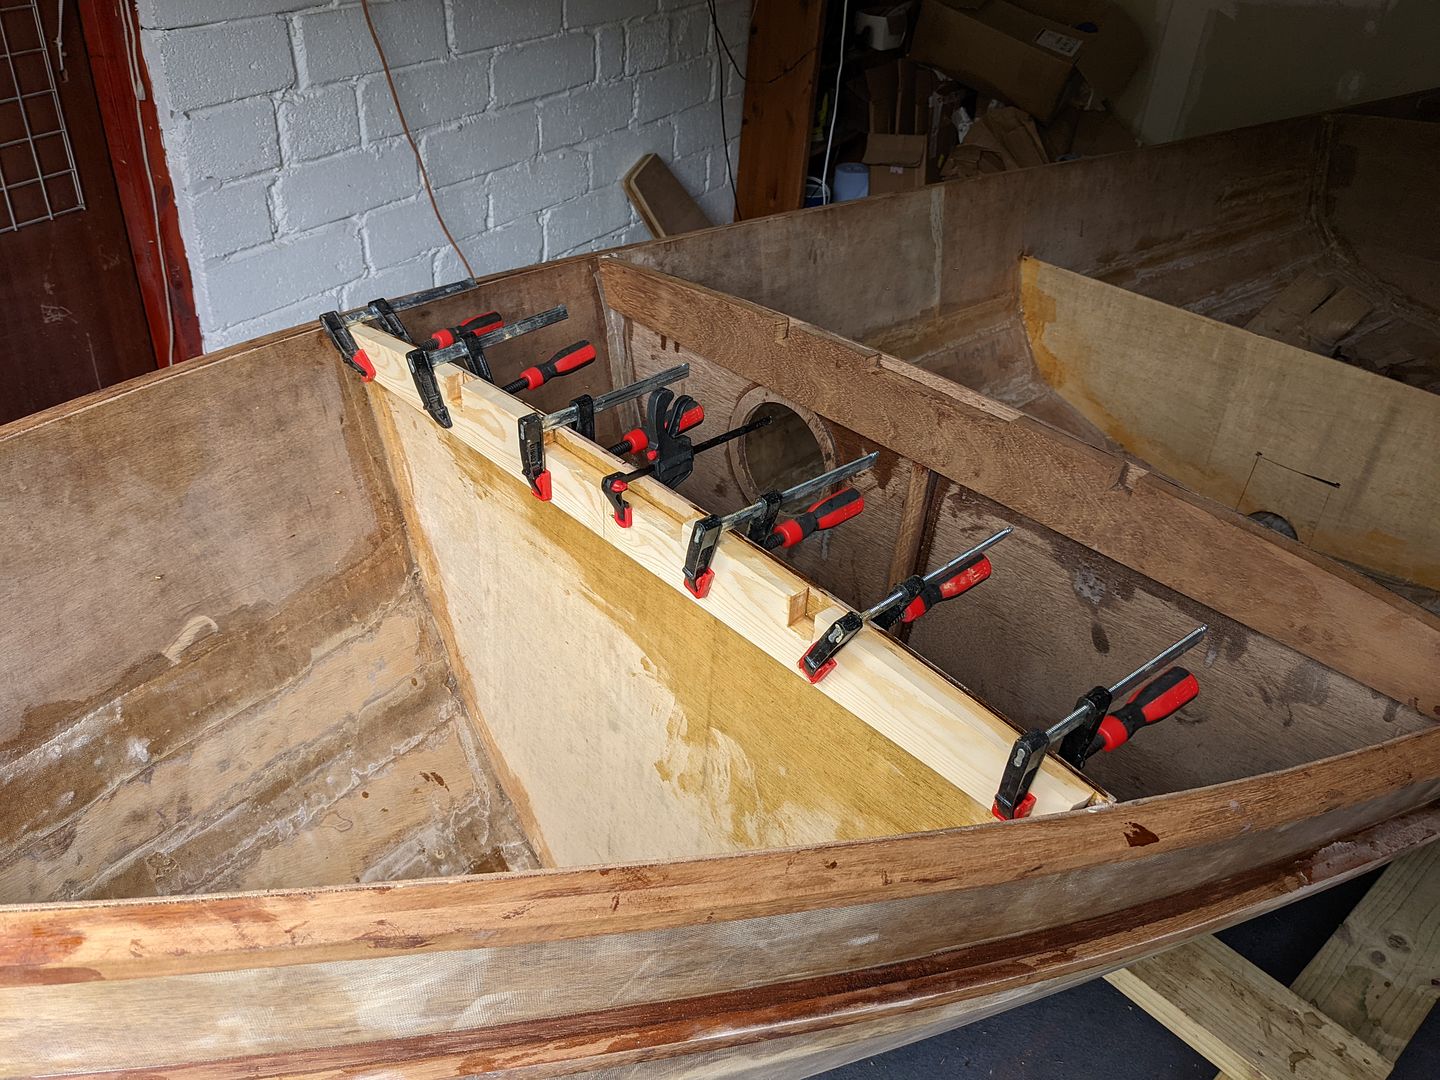
I deliberated/procrastinated over these as they need bevelled one way or another. I decided to fit them as square sections and bevel the top off horizontal. I haven't done the last part yet...
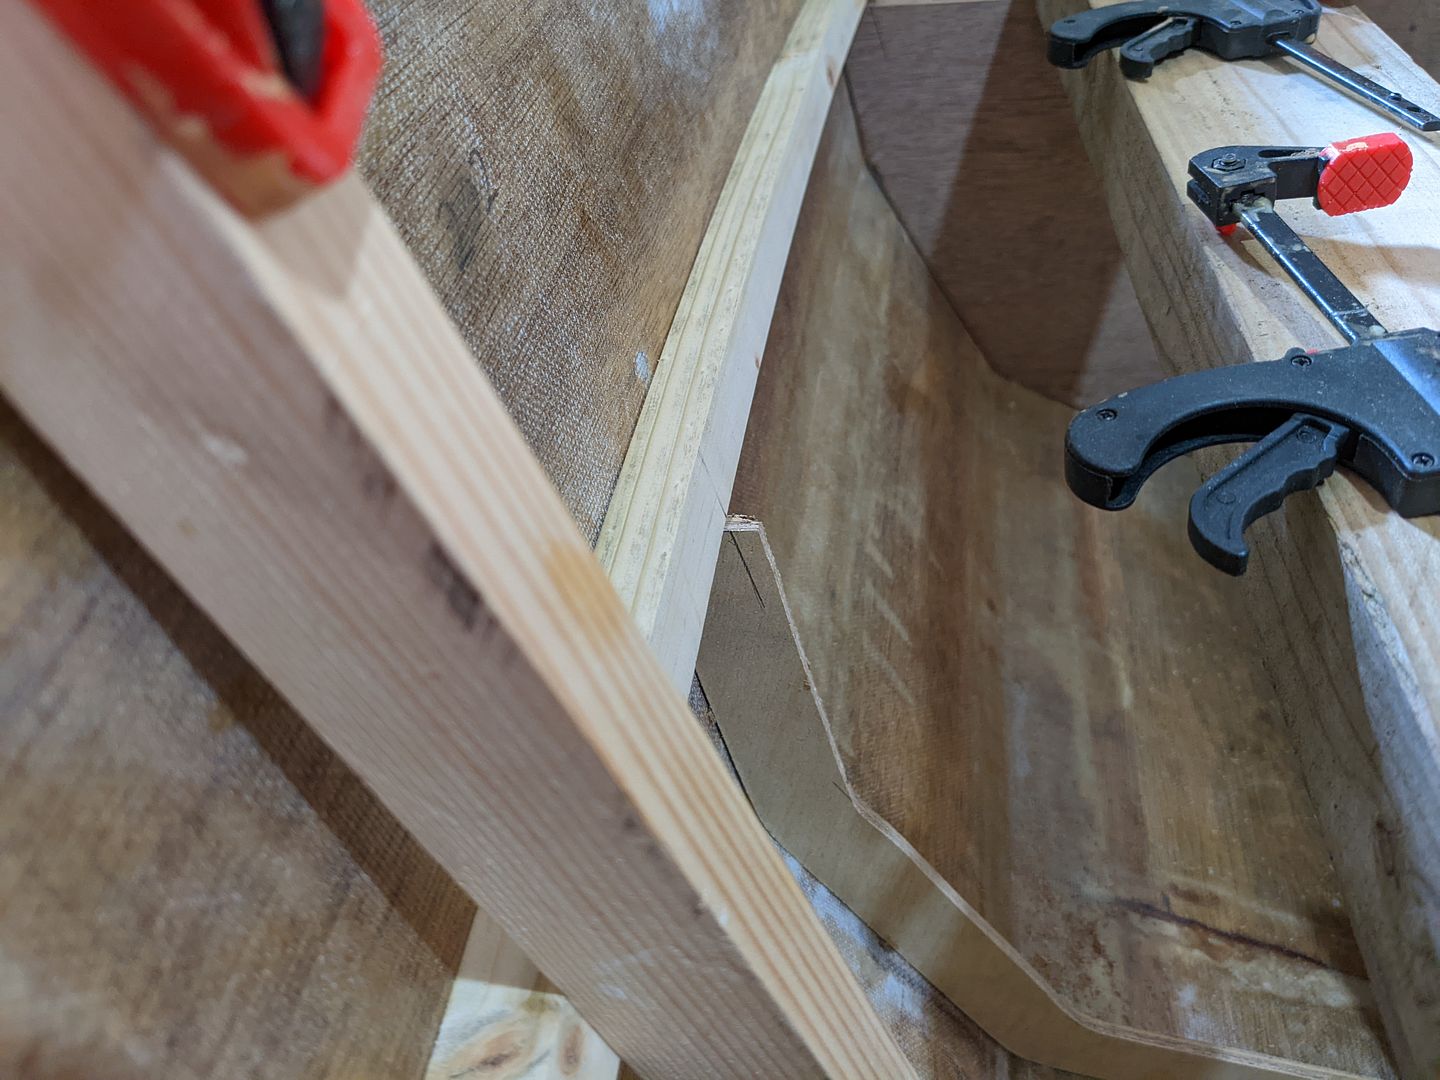
Some time later I'd cut out notches in each of the frames for a 20mm x 20mm strip along the outboard edge to support the thwarts and a 30mm x 20mm strip along the inside edge. Likewise, a 20mm x 20mm strip was laid in along the edges of the ballast tank. None of these parts are glued in yet, and the outboard strip is only very approximately clamped so the chasms visible will go when it's time to fit them permanently.
I need to box in the ballast tank but everything was moving just a little too much for my liking.
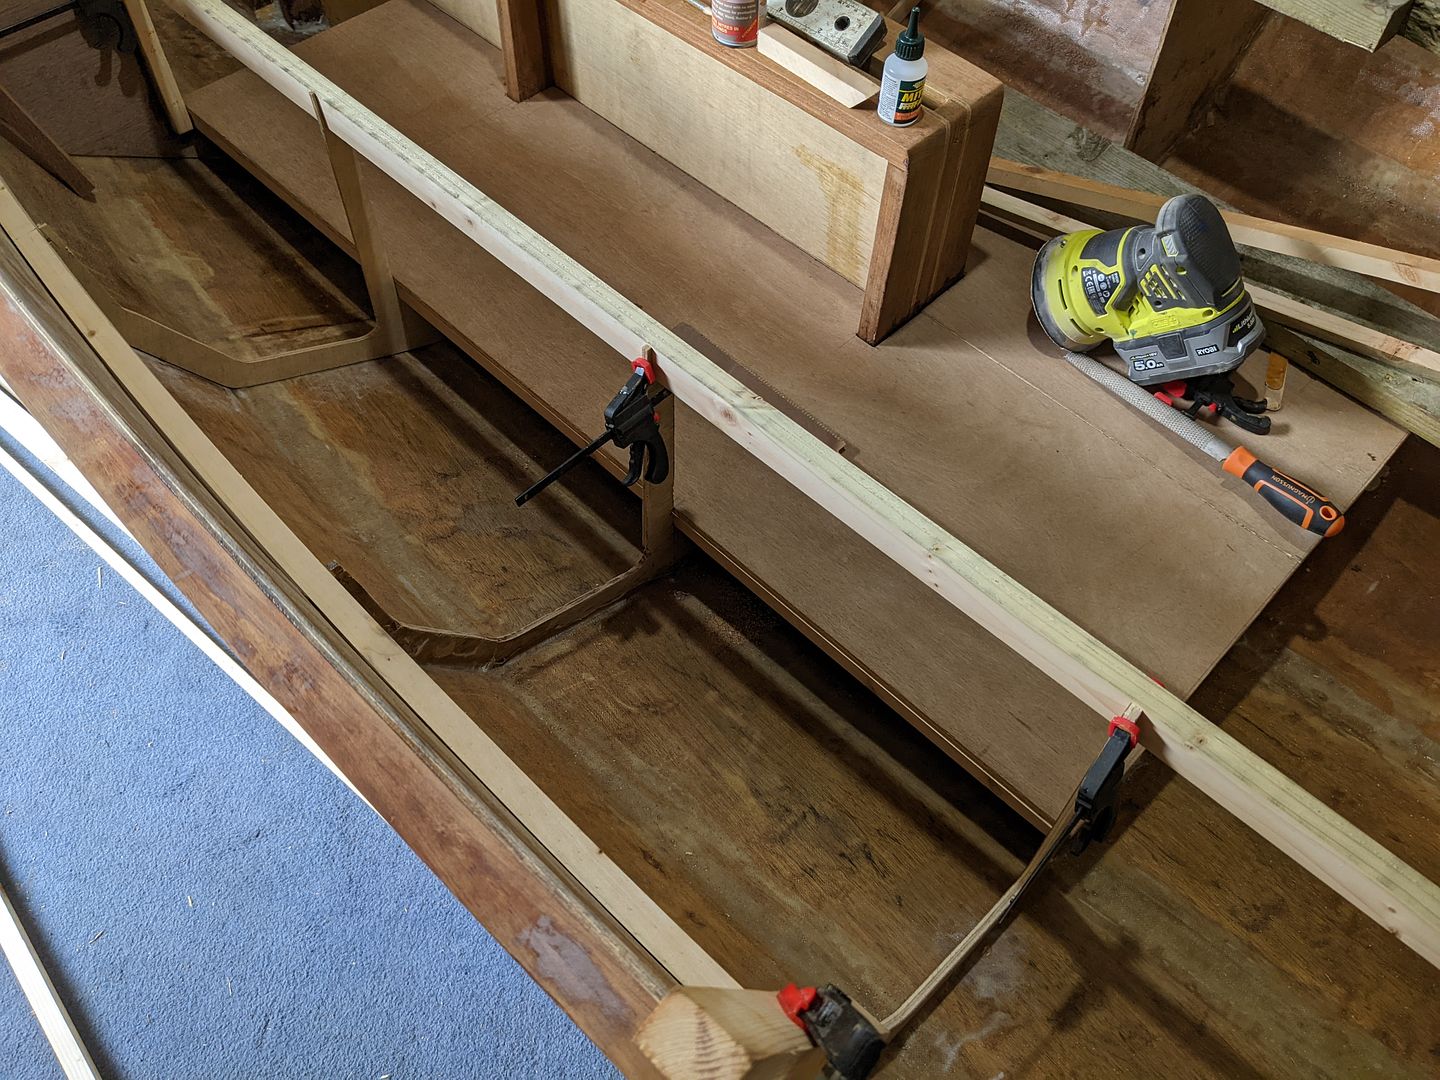
Crossing fingers that I remembered the essentials (actually I can still chain drill and rasp out anything I might have forgotten) I decided to just go for it and have glued in all the frames properly. Once this has cured I can measure up the gaps between to close in the ballast tank and the thwarts which are going to have dry(relatively) storage underneath them.
Our 17th wedding anniversary happened the other day, and as a surprise gift my wife had these made for me
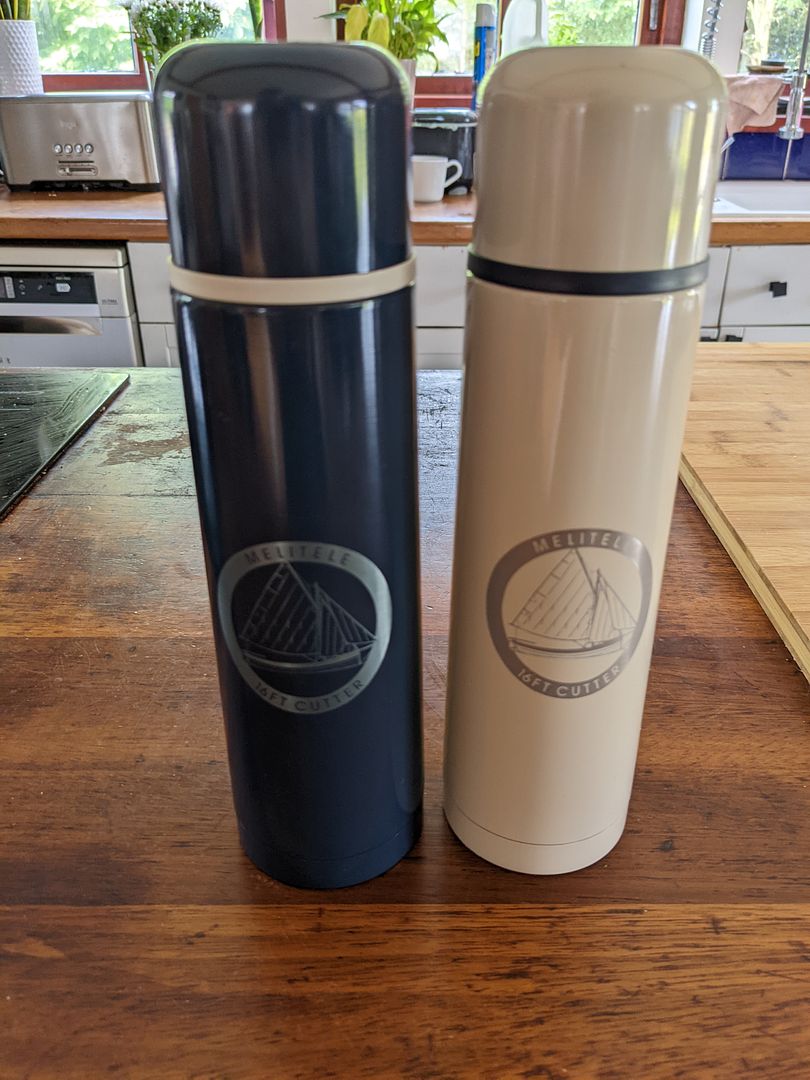
Thanks for looking in!

Gassing Station | Boats, Planes & Trains | Top of Page | What's New | My Stuff