The 40 Year Old House
Discussion


loudlashadjuster said:
<partridge>God, that's good</partridge>
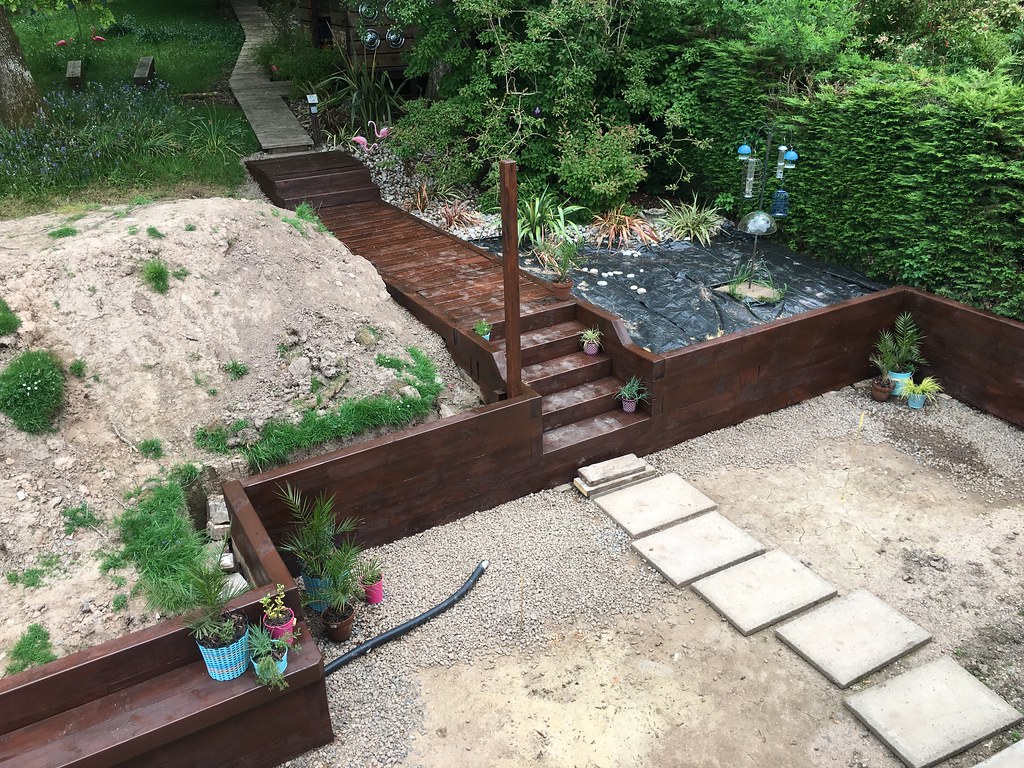
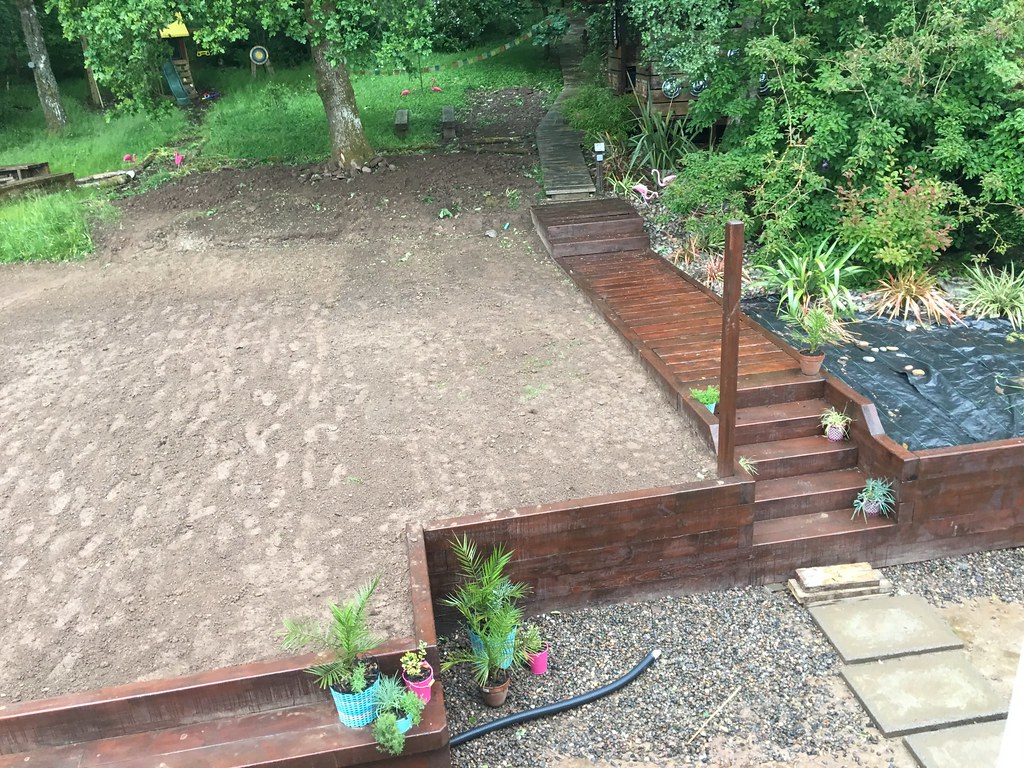
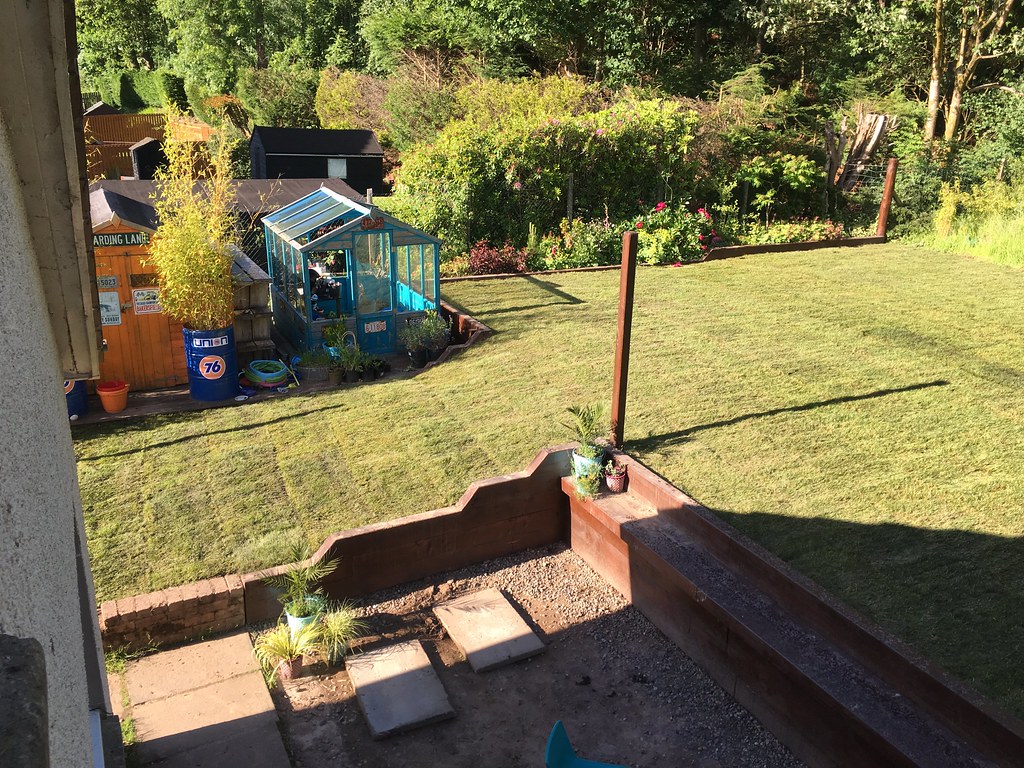
Ah, ha. Here's where I'm up to, wall all done and stained. Digger coming back this week to level off the soil, then I will turf.
 Untitled by Nick Grant, on Flickr
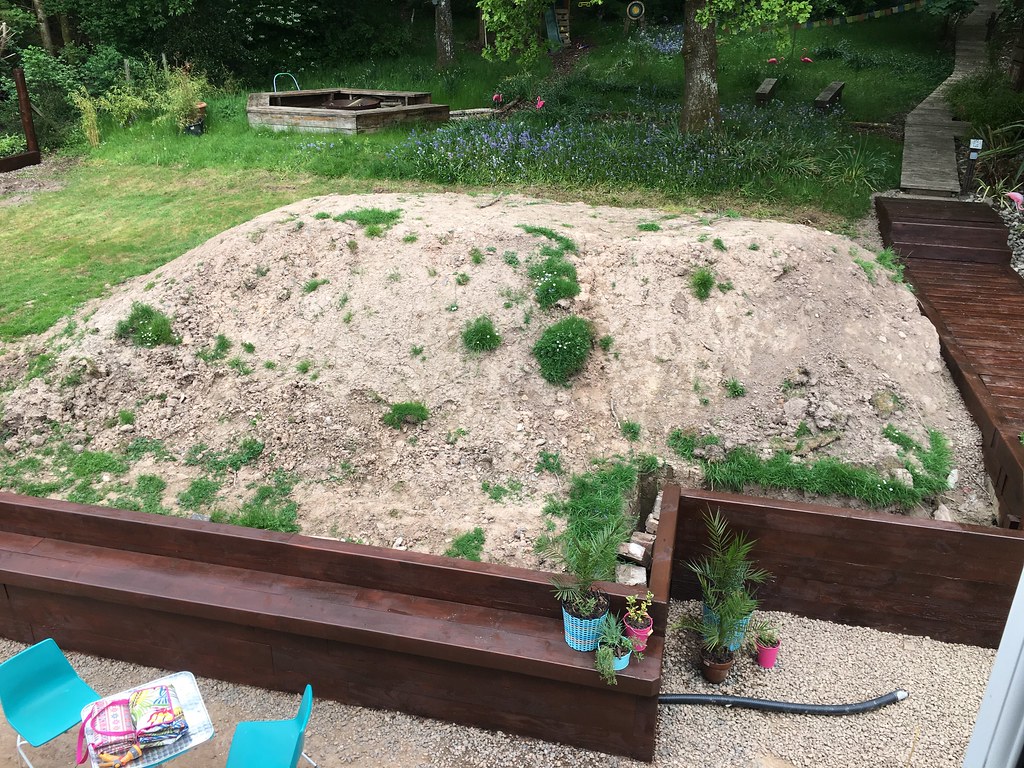 Untitled by Nick Grant, on Flickr
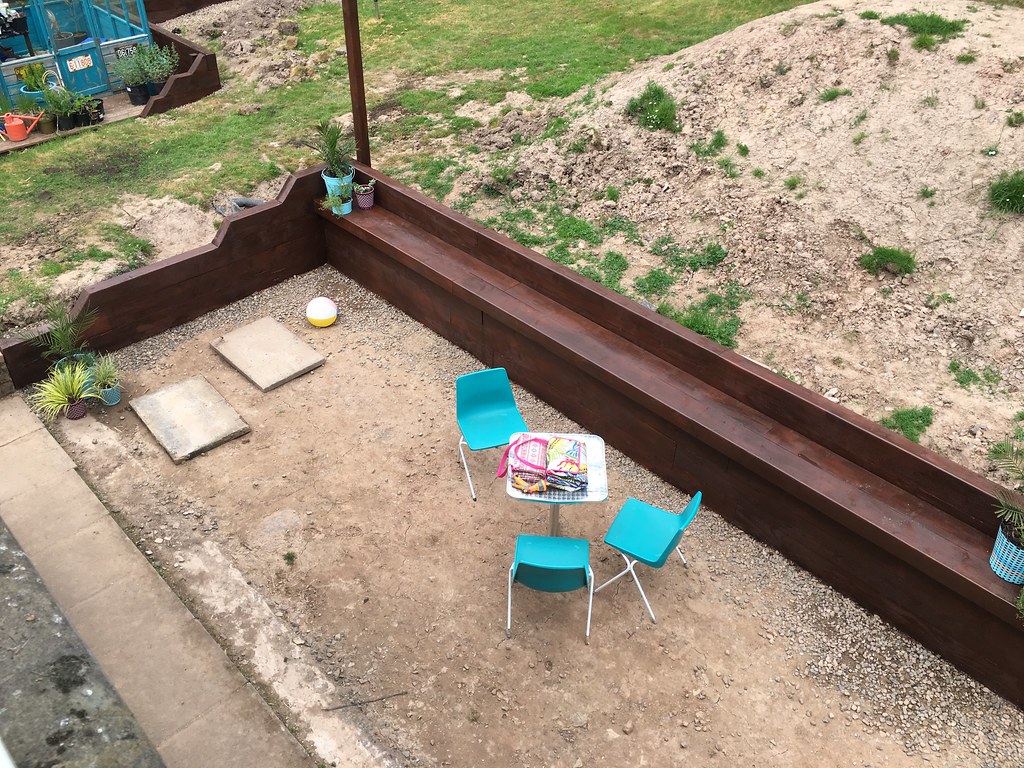 Untitled by Nick Grant, on Flickr
 Untitled by Nick Grant, on Flickr
juan king said:
That is truly inspirational! amazing work!
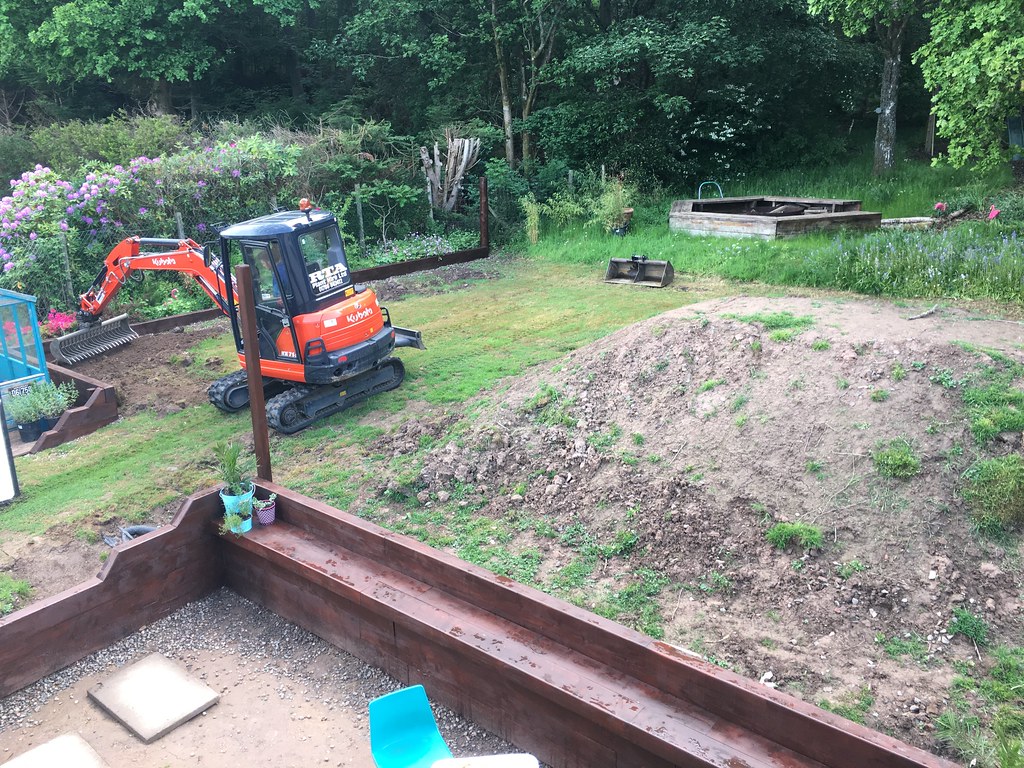
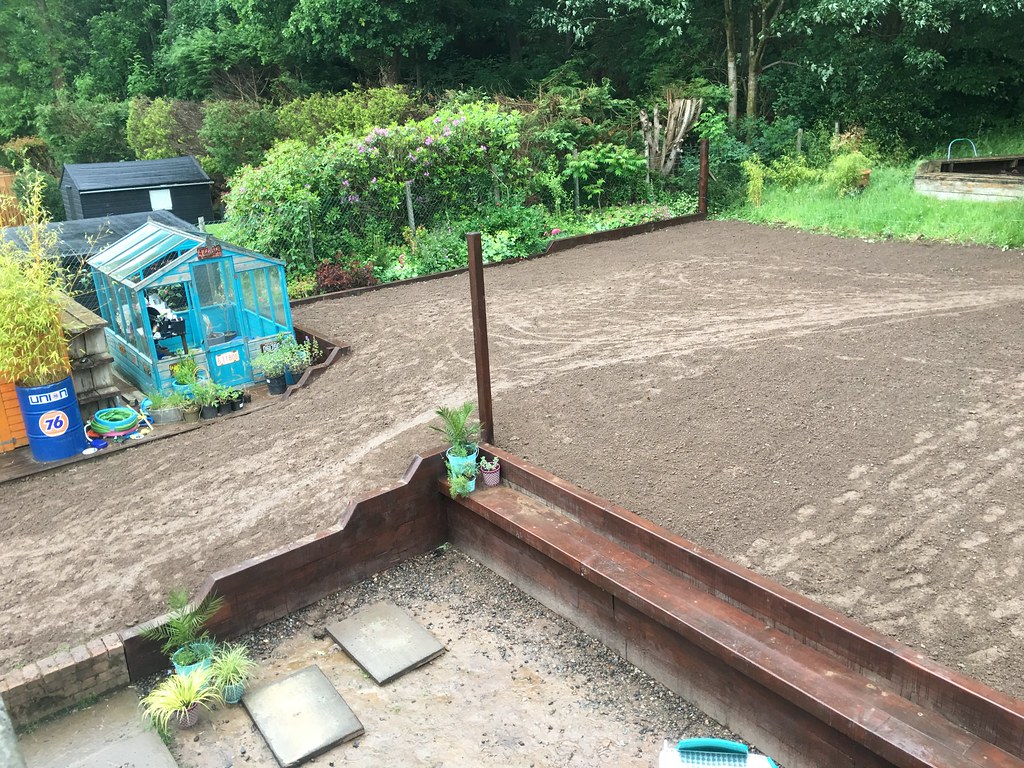
You are very kind thanks. Digger came back and the mountain has gone. Now the process of raking, removing stones and treading in begins.
 Untitled by Nick Grant, on Flickr
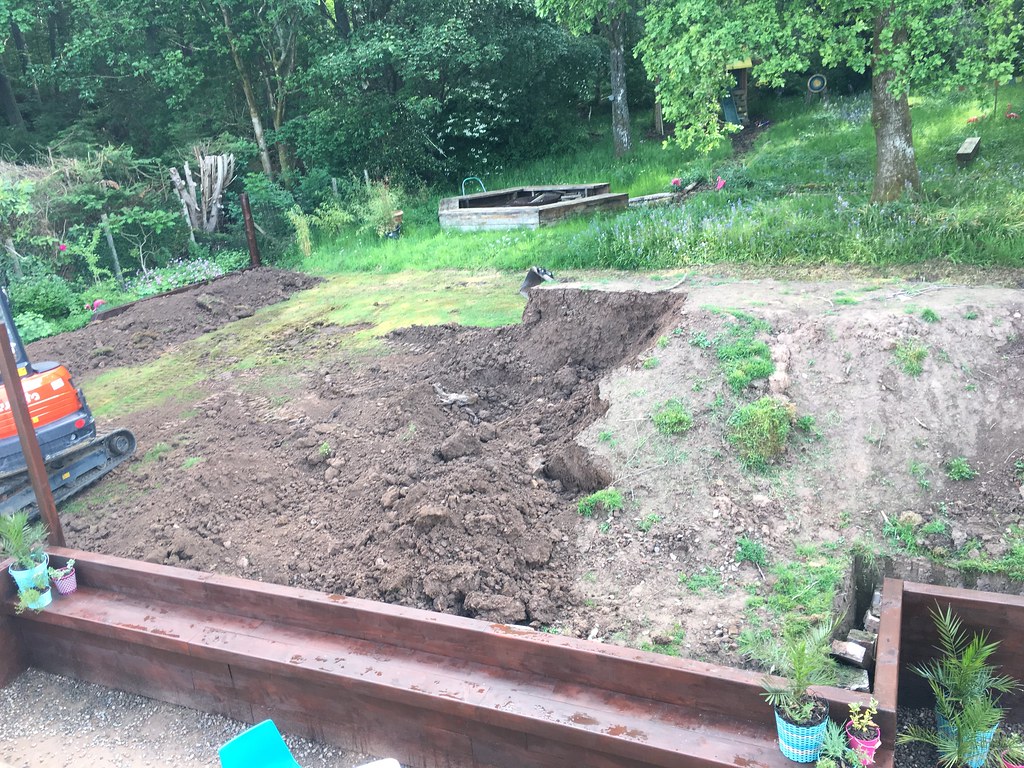 Untitled by Nick Grant, on Flickr
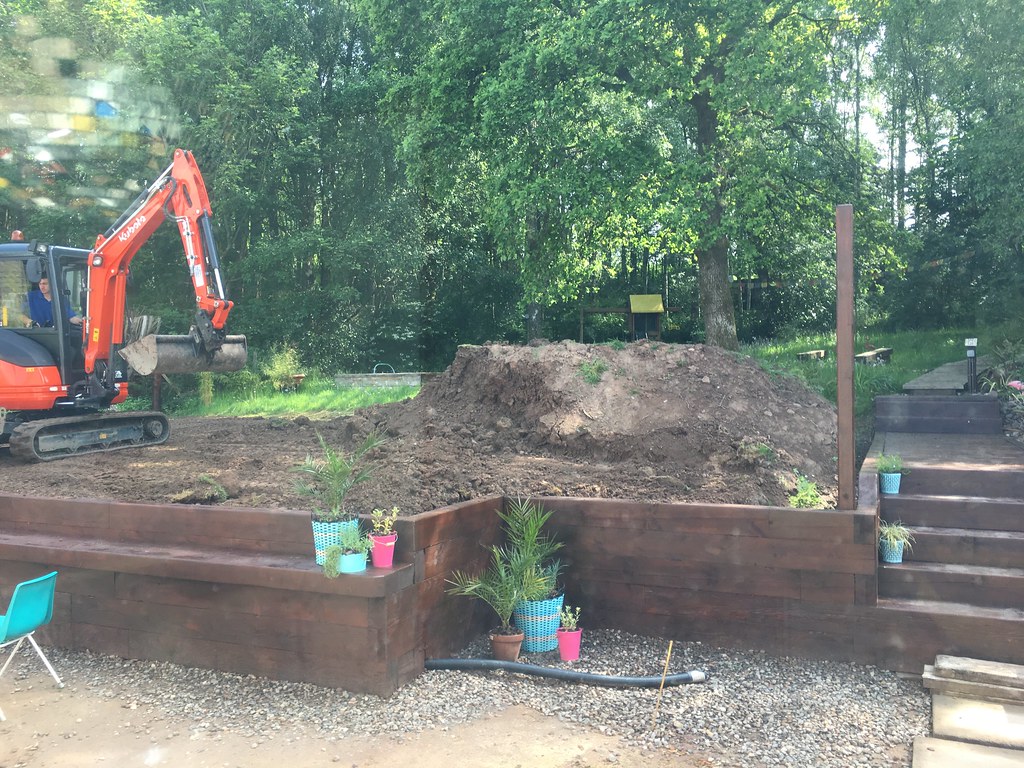 Untitled by Nick Grant, on Flickr
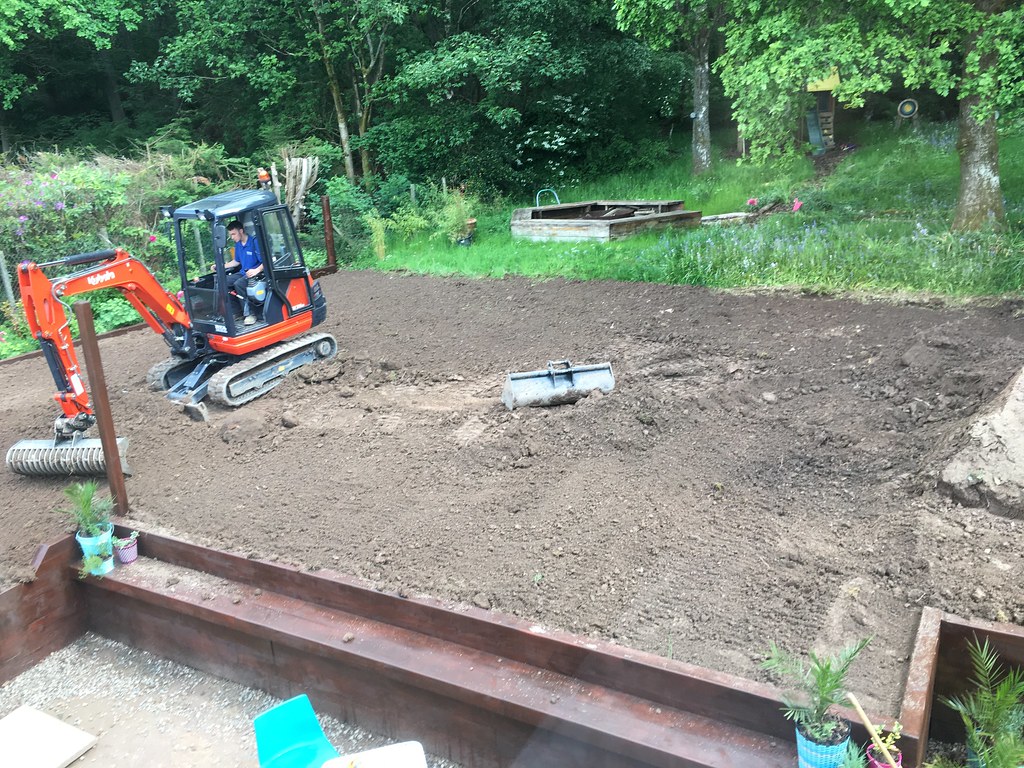 Untitled by Nick Grant, on Flickr
 Untitled by Nick Grant, on Flickr
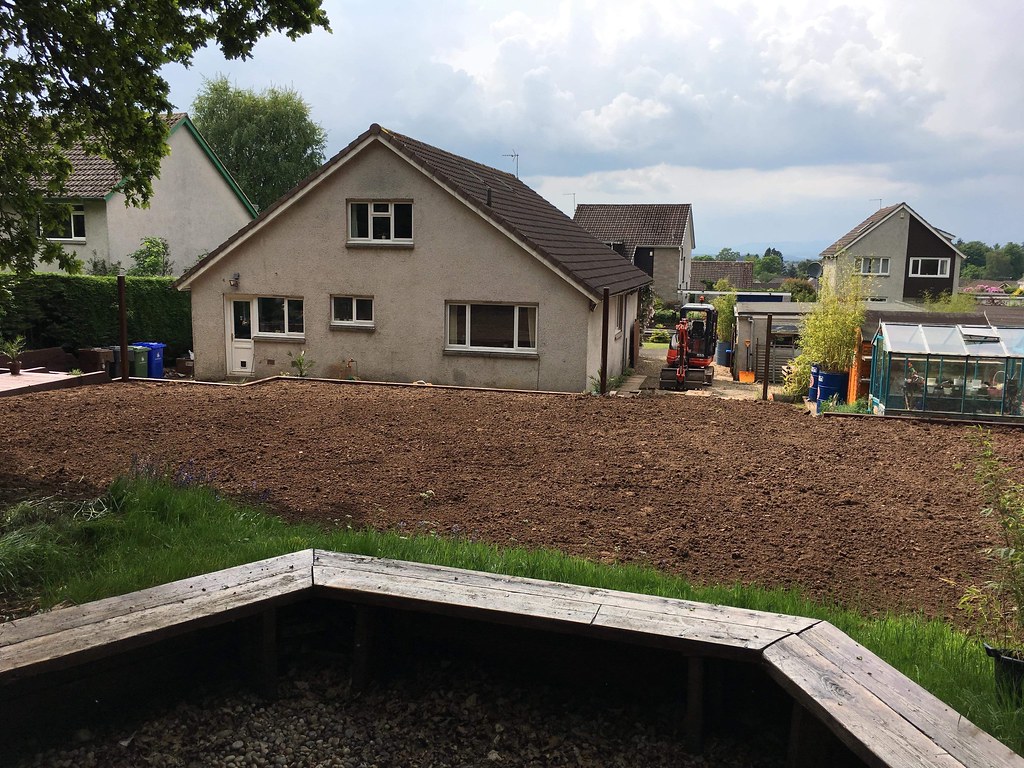 Untitled by Nick Grant, on Flickr
 Untitled by Nick Grant, on Flickr

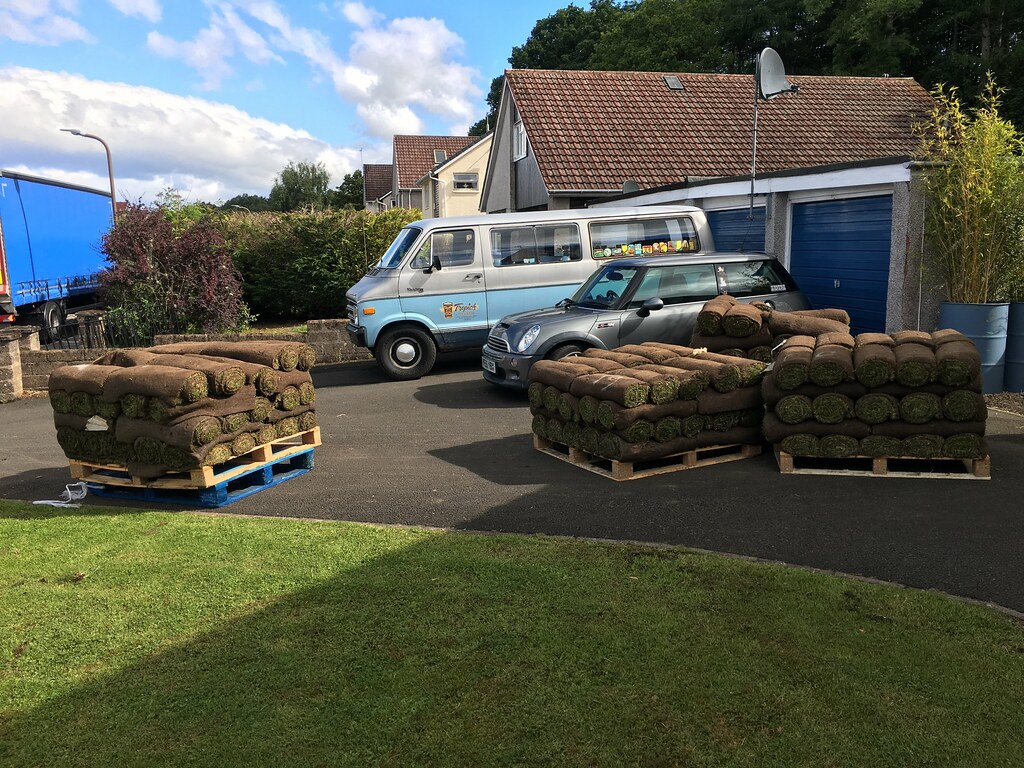
Big day in the garden today.
We've gone from this..
 Untitled by Nick Grant, on Flickr
 Untitled by Nick Grant, on Flickr
 Untitled by Nick Grant, on Flickr
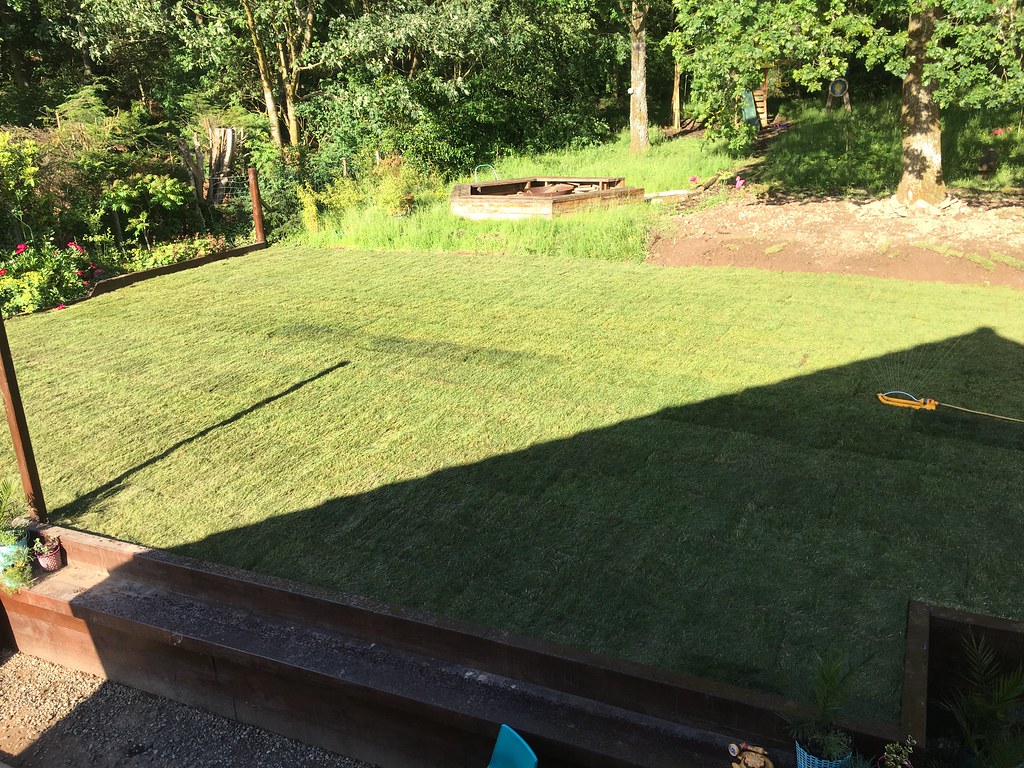
To this..
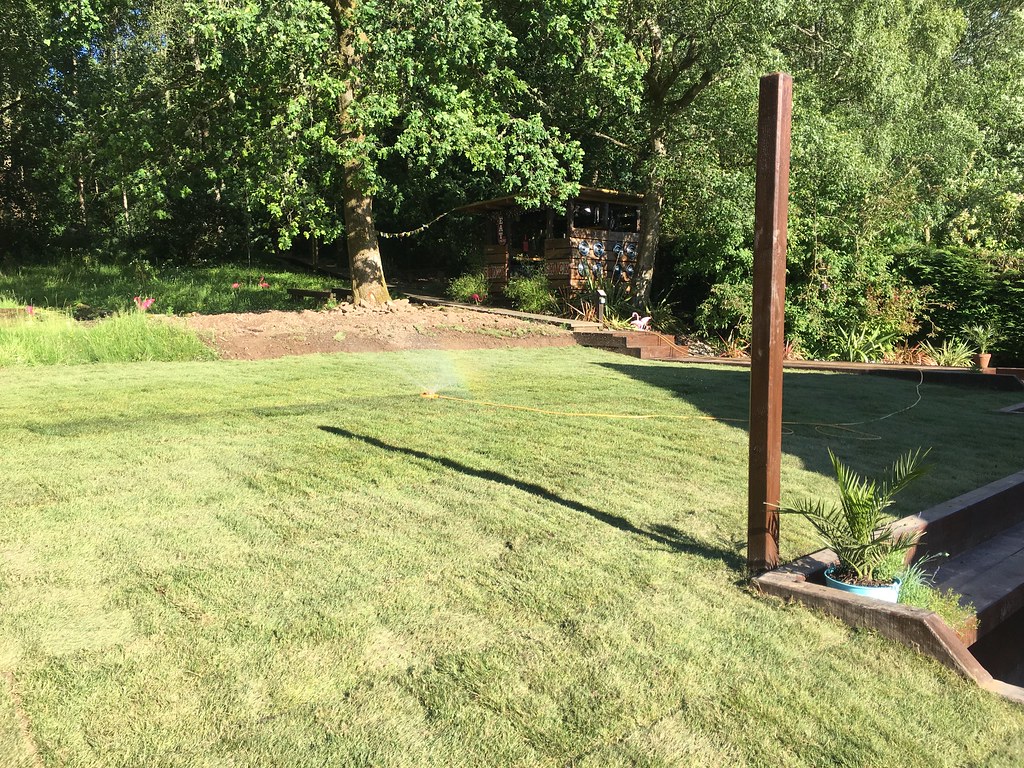 Untitled by Nick Grant, on Flickr
 Untitled by Nick Grant, on Flickr
 Untitled by Nick Grant, on Flickr
 Untitled by Nick Grant, on Flickr
We've gone from this..
Untitled by Nick Grant, on FlickrUntitled by Nick Grant, on FlickrUntitled by Nick Grant, on FlickrTo this..
Untitled by Nick Grant, on FlickrUntitled by Nick Grant, on FlickrUntitled by Nick Grant, on FlickrUntitled by Nick Grant, on FlickrTekno said:
Great thread & effort..
I need to put a retaining wall / feature to the front of the house. The finish to the wood looks really good - I'm a novice.. Can you walk me through the wood type & stain/treatment?
Thanks..
Cheers. I need to put a retaining wall / feature to the front of the house. The finish to the wood looks really good - I'm a novice.. Can you walk me through the wood type & stain/treatment?
Thanks..
They are pressure treated sleepers so come rough sawn.
I used Ryobi One cordless tools as they all use the same battery. With these I used the small router with a rounded bit to take all the corners off the top row and any external vertical corners. Then I sanded it all down using a belt sander and mouse sander to about 120 grit.
Stain is teak coloured Ronseal 5 year external wood stain that I bought at home base during a 3 for 2 sale. Gave it a few costs. First coast used loads, others not so much.

57 Chevy said:
chrisga said:
Looks great, will you be putting anything down on the wooden part of the path for grip? Is it slippery? Or do you not go up there in the wet/winter?
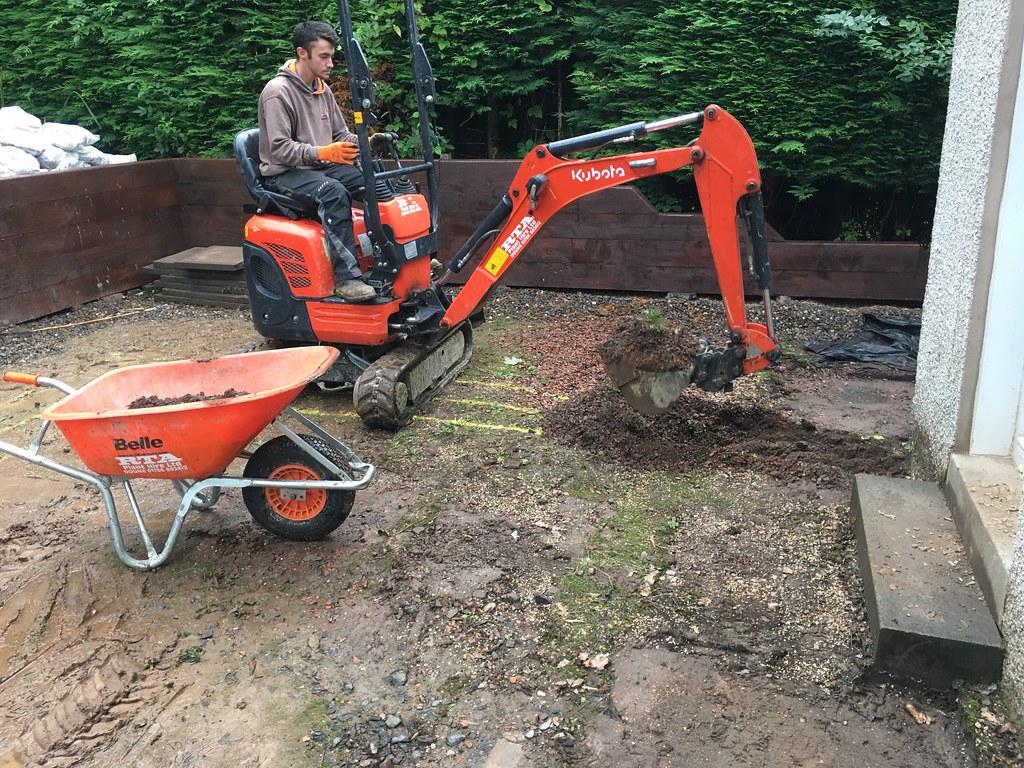
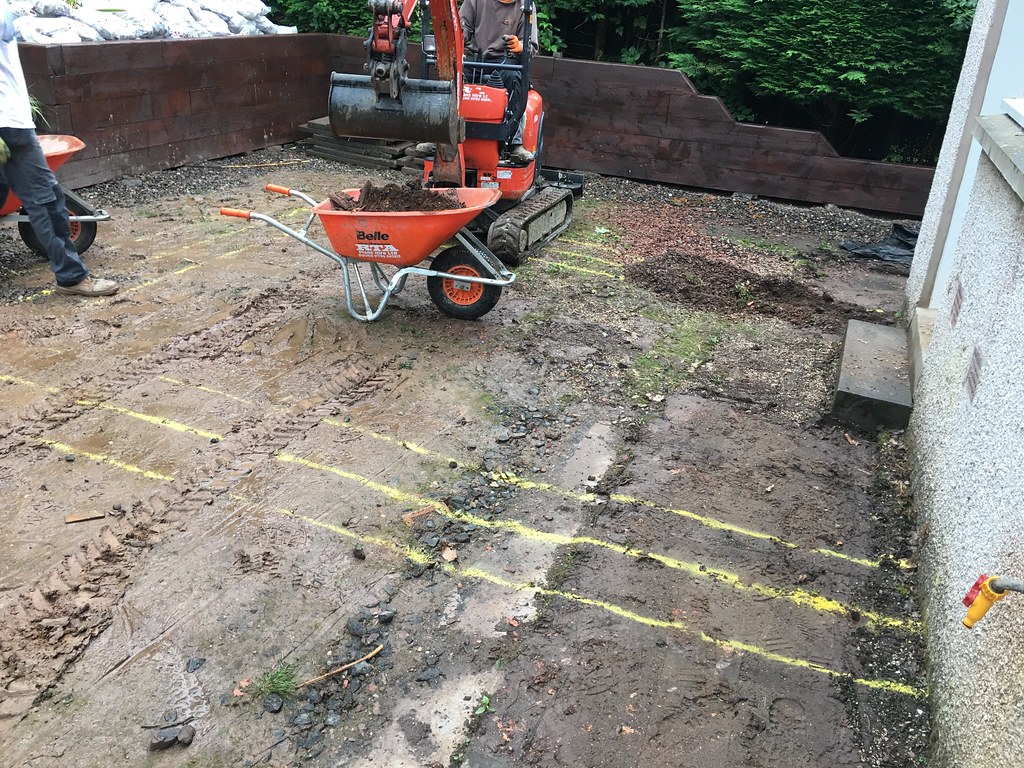
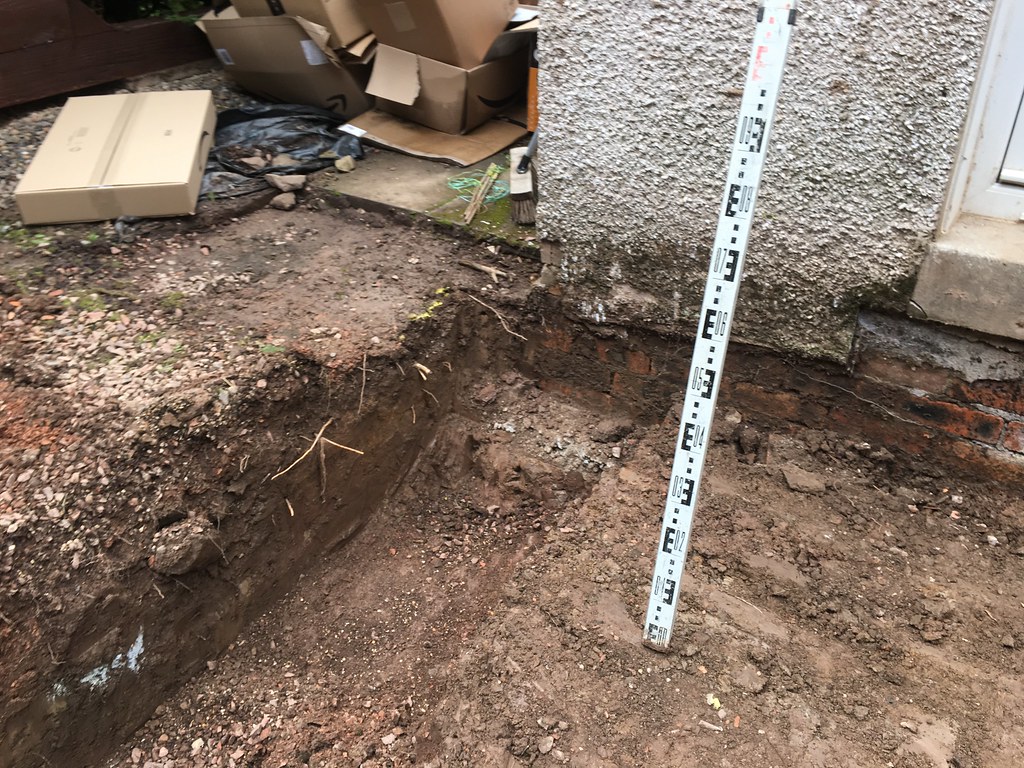
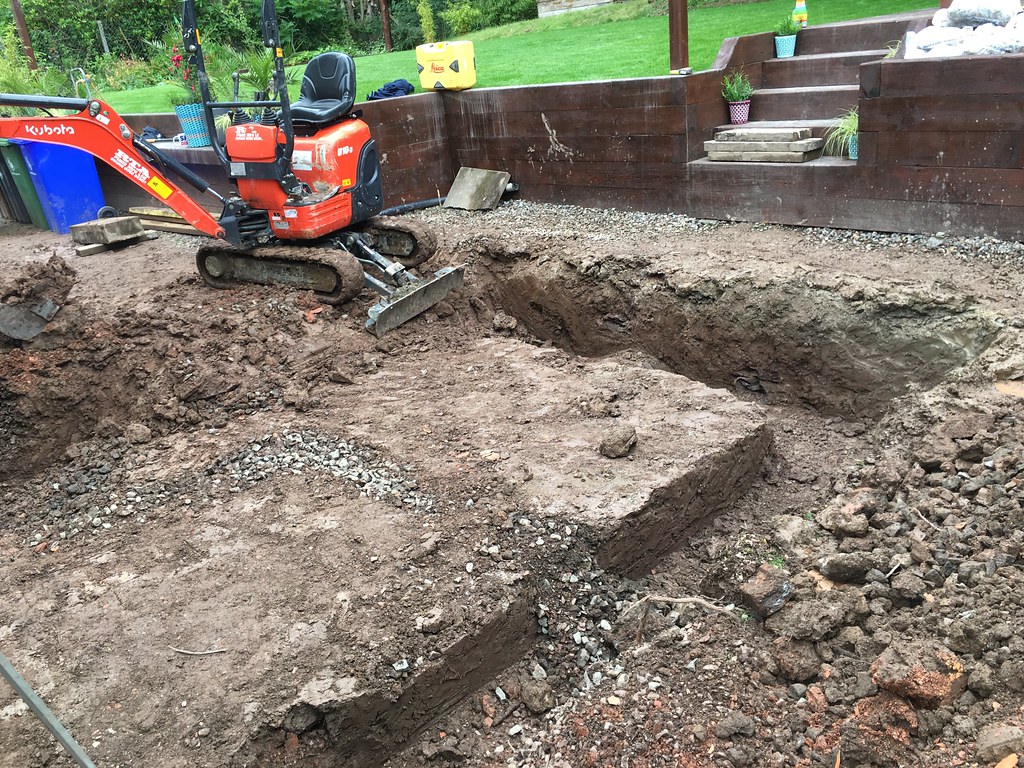
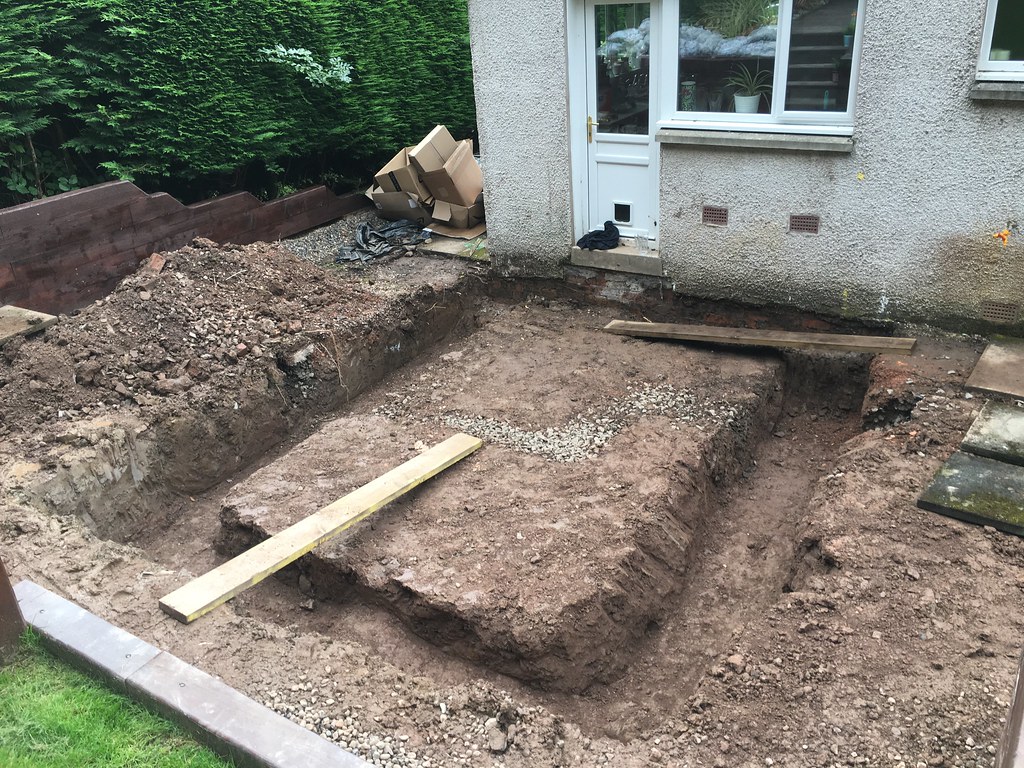
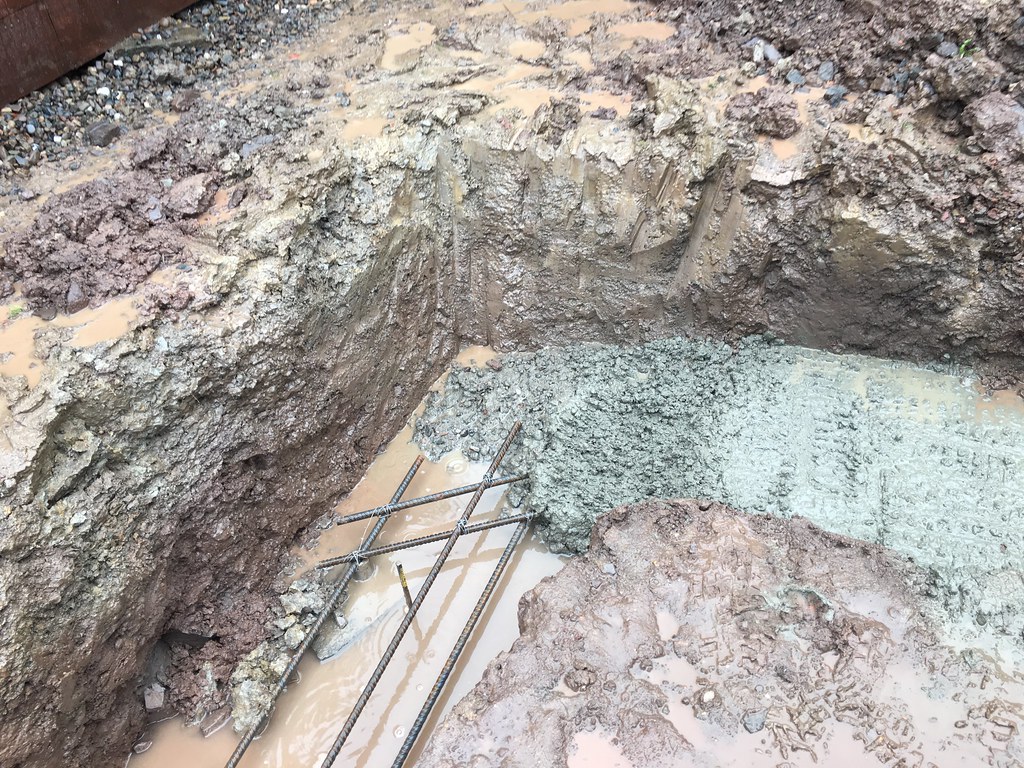
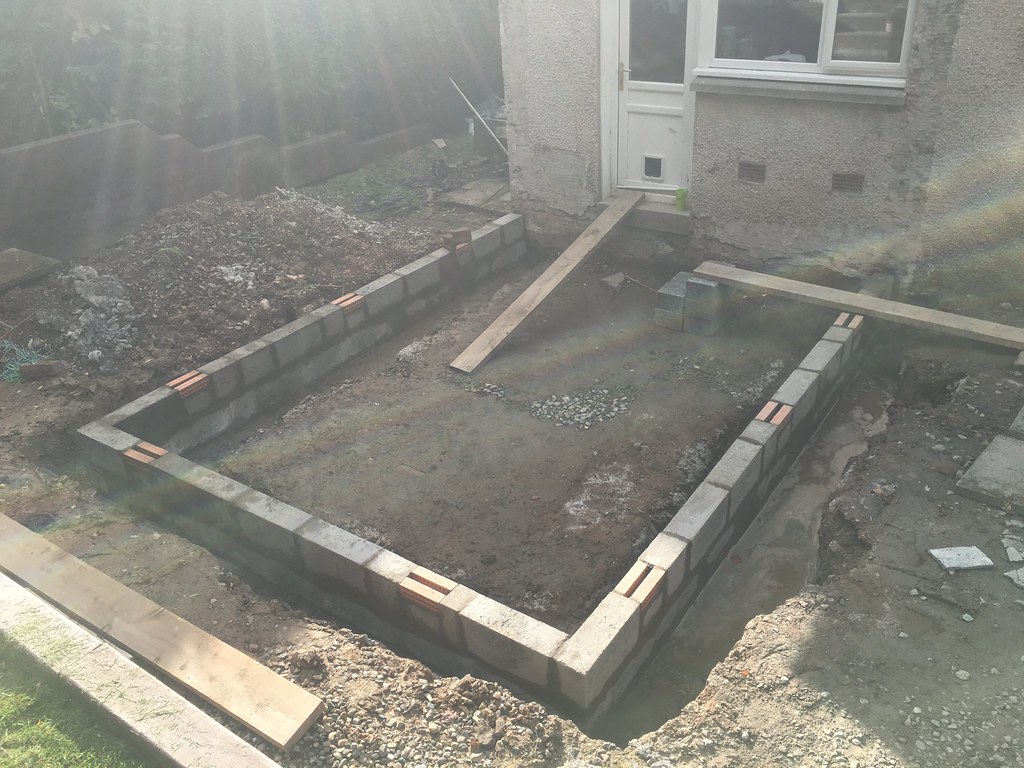
I use an exterior varnish and sand mix to give grip on the wooden paths, works really well. If anyone is wondering how the extension is going we've been paused over summer. After dealing with the local builders for quotes I've decided to build the extension myself. We found one good guy but he wanted north of twice our budget for this. So, last Saturday the foundations were dug. My friend on the digger as usual and two of us barrowing the soil out. 20 tonnes came out of this small plot! It's hard compacted clay and the little digger struggled a little on parts. We hit bedrock so the concrete will have something solid to sit on. Building inspector has been this morning and given the thumbs up so looking to pour the concrete on Thursday.
 Untitled by Nick Grant, on Flickr
 Untitled by Nick Grant, on Flickr
 Untitled by Nick Grant, on Flickr
 Untitled by Nick Grant, on Flickr
 Untitled by Nick Grant, on Flickr
Untitled by Nick Grant, on FlickrUntitled by Nick Grant, on FlickrUntitled by Nick Grant, on FlickrUntitled by Nick Grant, on FlickrUntitled by Nick Grant, on FlickrEdited by 57 Chevy on Tuesday 21st August 13:00
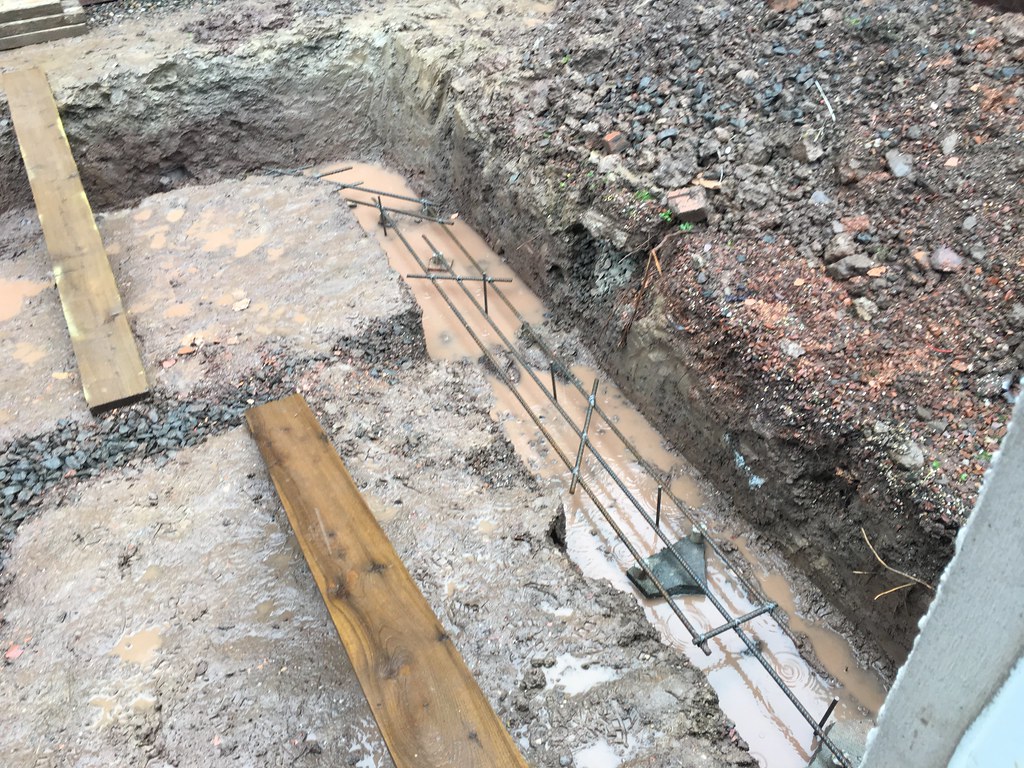
Well it's been a bit wet and the trench was turning into a moat. Got the cement guys to mix it as dry as they could and now we have foundations.
 Untitled by Nick Grant, on Flickr
 Untitled by Nick Grant, on Flickr
 Untitled by Nick Grant, on Flickr
 Untitled by Nick Grant, on Flickr
Untitled by Nick Grant, on FlickrUntitled by Nick Grant, on FlickrUntitled by Nick Grant, on FlickrUntitled by Nick Grant, on FlickrProgress is slow on this as I don't have any time off left this year to work on it so just grabbing time at weekends.
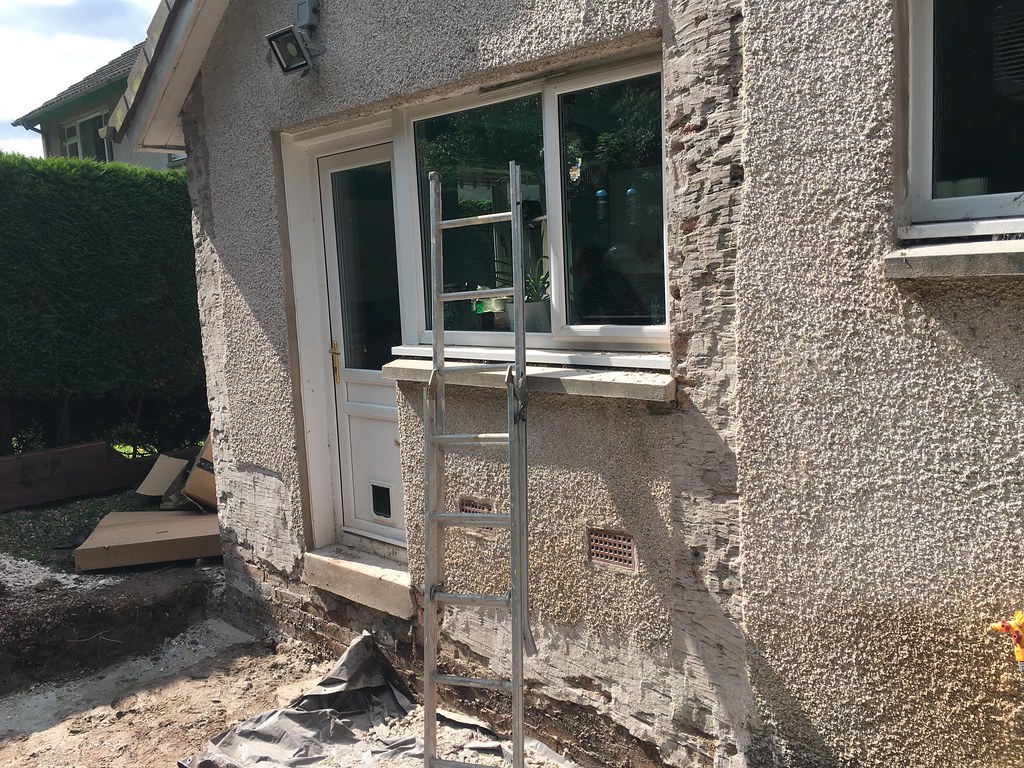
Stripped off the pebbledash where the new wall meets the old with an SDS drill with a chisel bit. Not a fun job.
 Untitled by Nick Grant, on Flickr
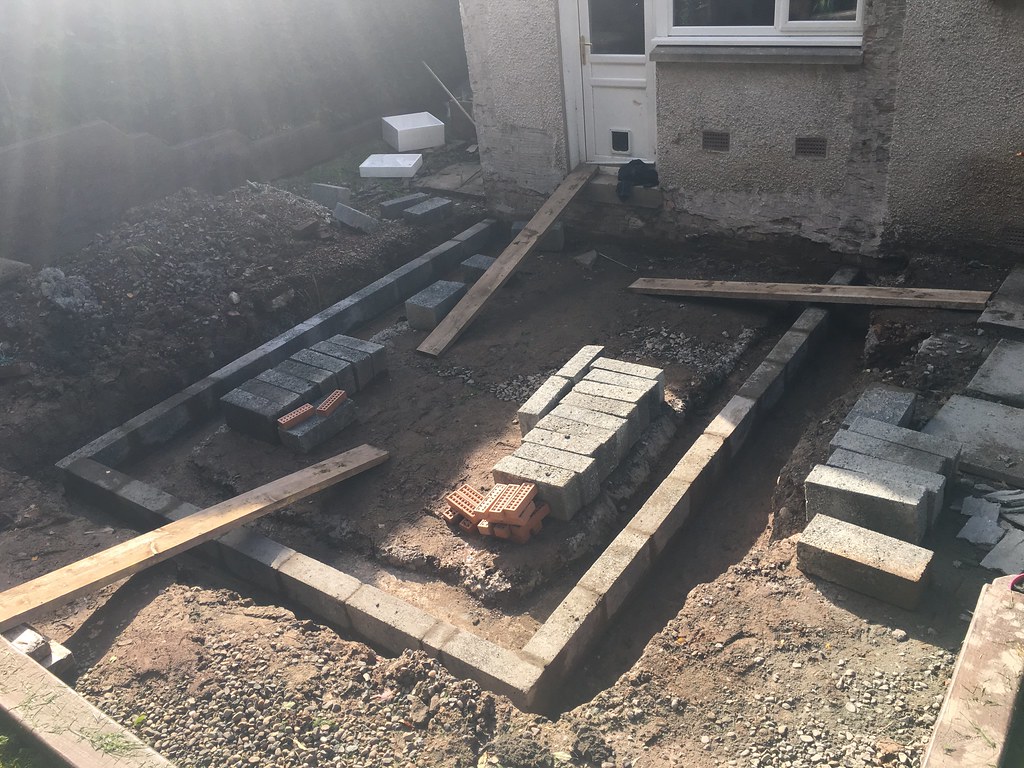
Then onto laying the blocks. Never done any bricklaying before so this was slow work. Loved using a 9" angle grinder with diamond blade though, great fun. These foundation blocks are heavy.
First layer...
 Untitled by Nick Grant, on Flickr
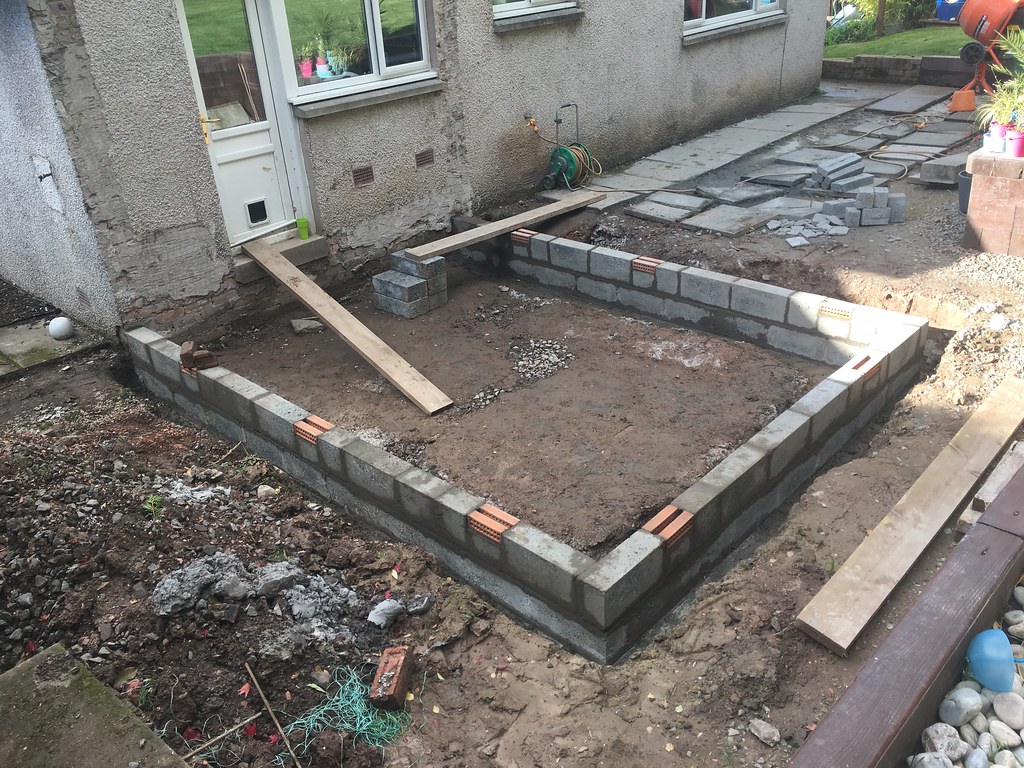
And where we are up to now...
 Untitled by Nick Grant, on Flickr
Stripped off the pebbledash where the new wall meets the old with an SDS drill with a chisel bit. Not a fun job.
Untitled by Nick Grant, on FlickrThen onto laying the blocks. Never done any bricklaying before so this was slow work. Loved using a 9" angle grinder with diamond blade though, great fun. These foundation blocks are heavy.
First layer...
Untitled by Nick Grant, on FlickrAnd where we are up to now...
Untitled by Nick Grant, on FlickrAbout time I updated this. It sat with a tarp over it for November and December but I'm back on it now.
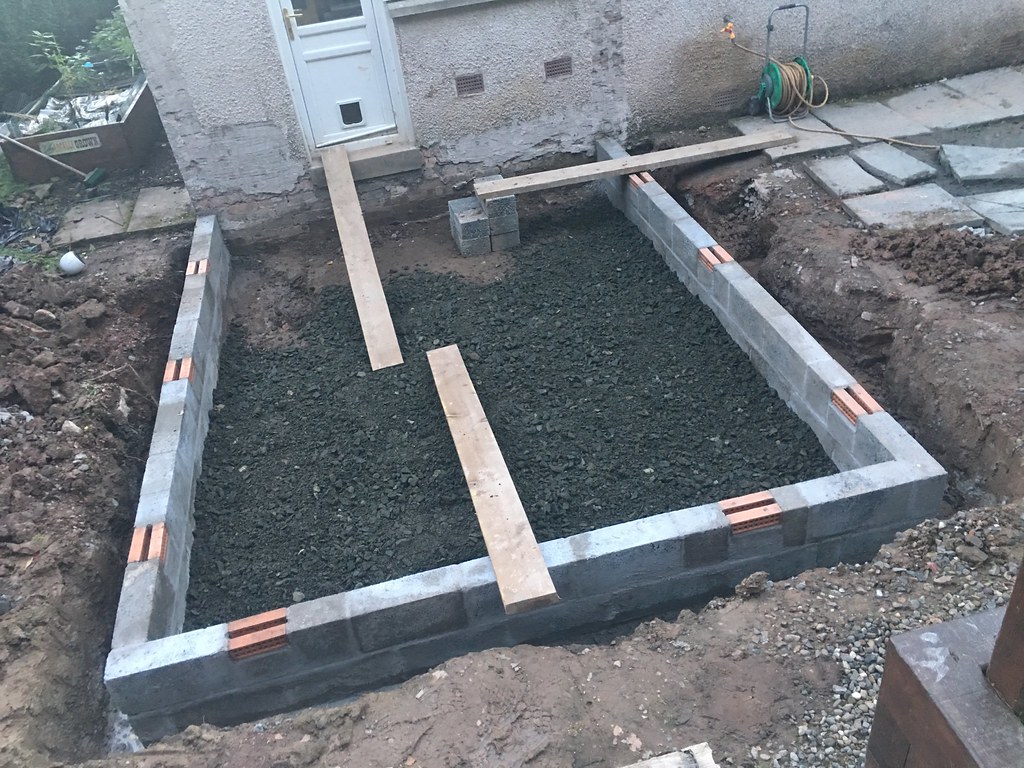
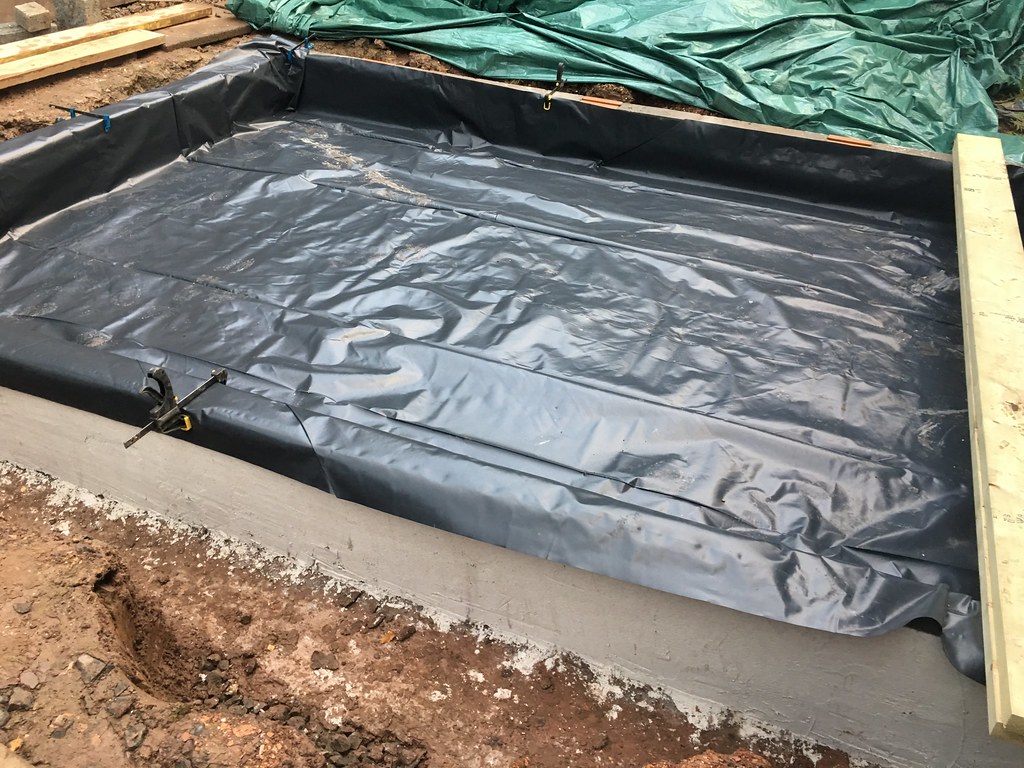
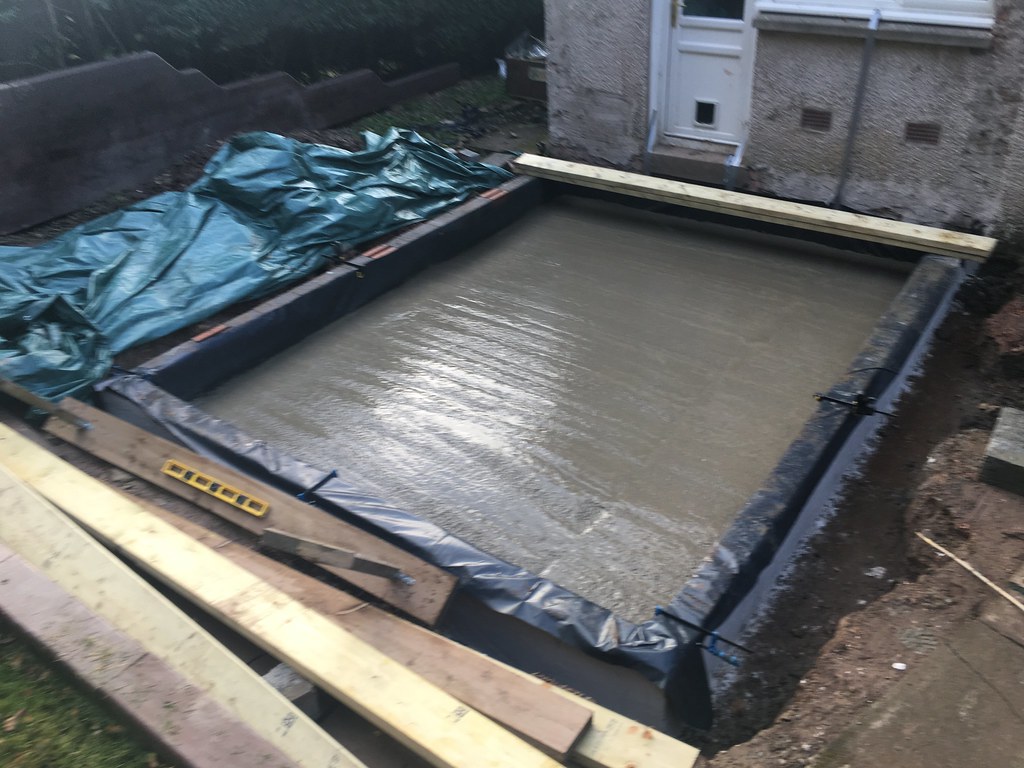
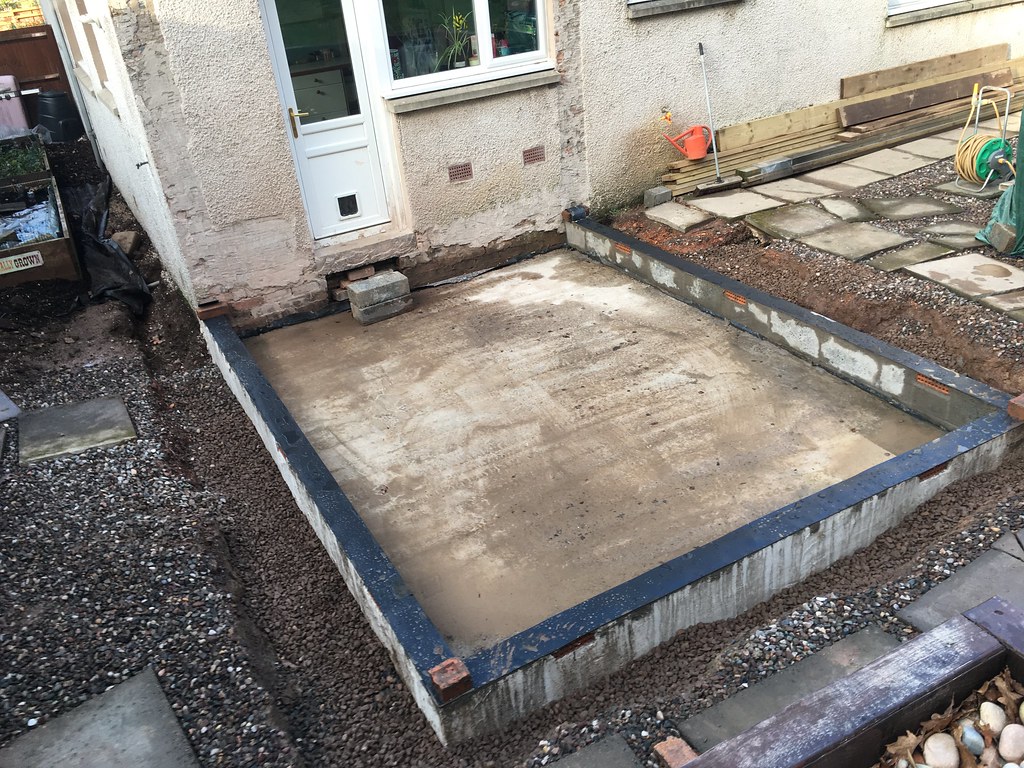
Here's some progress that was missed. Rendering the outside, MOT in and compacted, blinding layer in and compacted, membrane, concrete in and damp proof course on. I've also dug where the rainwater drains will flow.
Building inspector has been this week and given me the thumbs up so I can get on with the framing when the snow has melted. Will take a week off to crack on when it looks dry and above freezing for the week.
 Untitled by Nick Grant, on Flickr
 Untitled by Nick Grant, on Flickr
 Untitled by Nick Grant, on Flickr
 Untitled by Nick Grant, on Flickr
 Untitled by Nick Grant, on Flickr
 Untitled by Nick Grant, on Flickr
 Untitled by Nick Grant, on Flickr
Here's some progress that was missed. Rendering the outside, MOT in and compacted, blinding layer in and compacted, membrane, concrete in and damp proof course on. I've also dug where the rainwater drains will flow.
Building inspector has been this week and given me the thumbs up so I can get on with the framing when the snow has melted. Will take a week off to crack on when it looks dry and above freezing for the week.
Untitled by Nick Grant, on FlickrUntitled by Nick Grant, on FlickrUntitled by Nick Grant, on FlickrUntitled by Nick Grant, on FlickrUntitled by Nick Grant, on FlickrUntitled by Nick Grant, on FlickrUntitled by Nick Grant, on FlickrGassing Station | Homes, Gardens and DIY | Top of Page | What's New | My Stuff