Toms Garden Shed / Workshop / Office Build
Discussion


So, picking up where we left off...
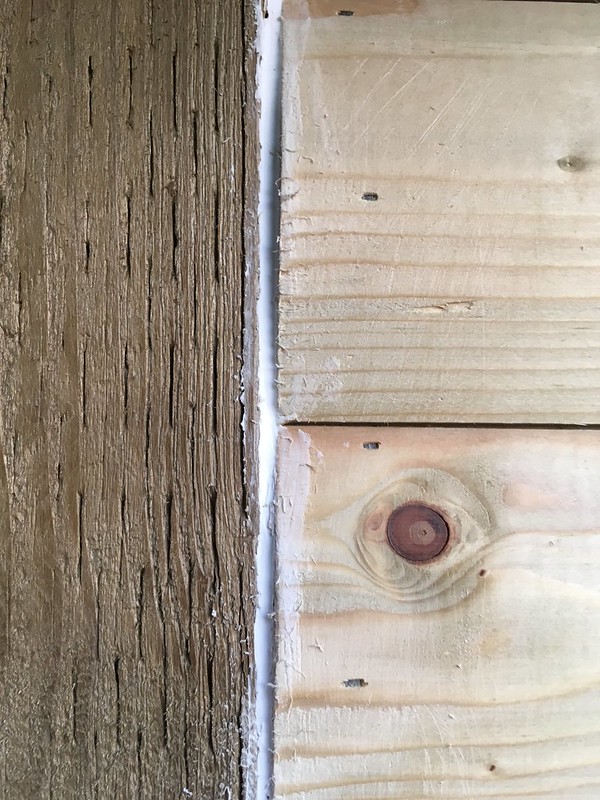
I ran some external grade paintable sealant around the joints to prepare it for painting - although 12 months on and I've still not actually got around to painting it - a job for the spring I think.
 IMG_3490 by Tomoose85, on Flickr
 IMG_3489 by Tomoose85, on Flickr
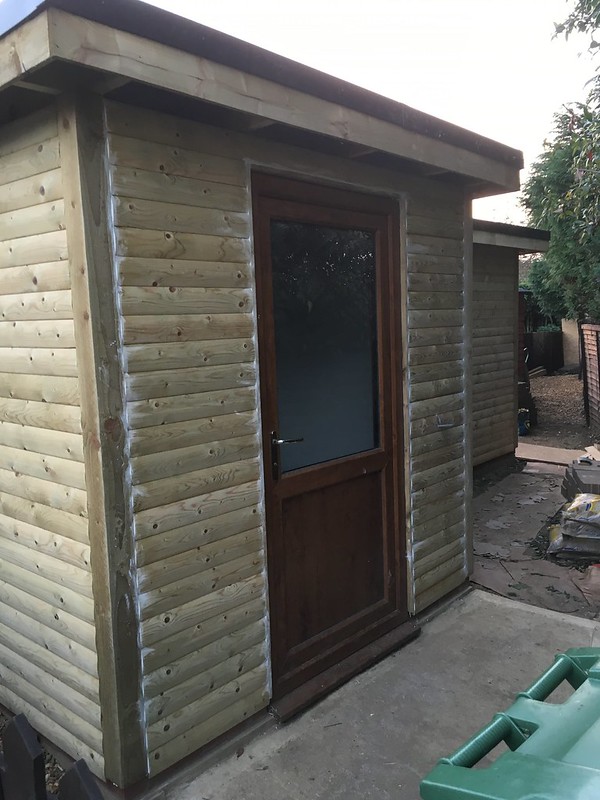
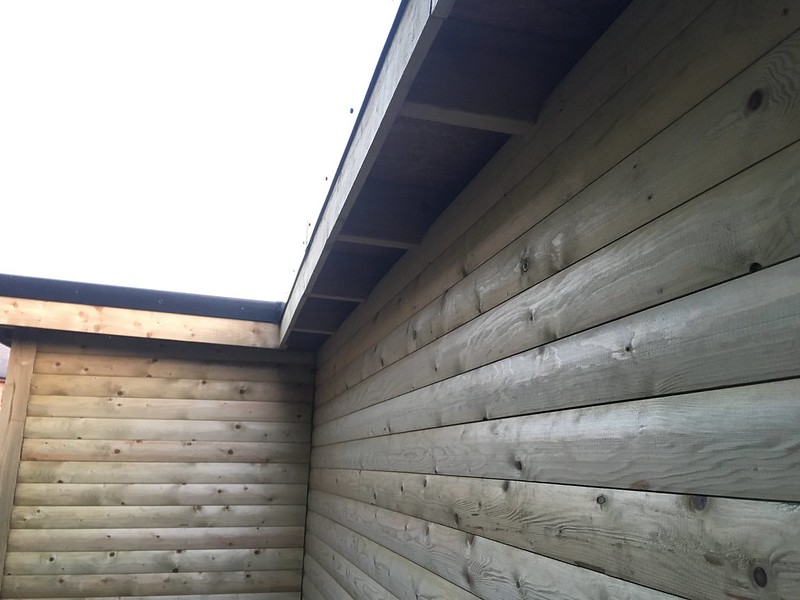
I finally got round to cutting the top pieces of cladding too.
 IMG_3493 by Tomoose85, on Flickr
 IMG_3494 by Tomoose85, on Flickr
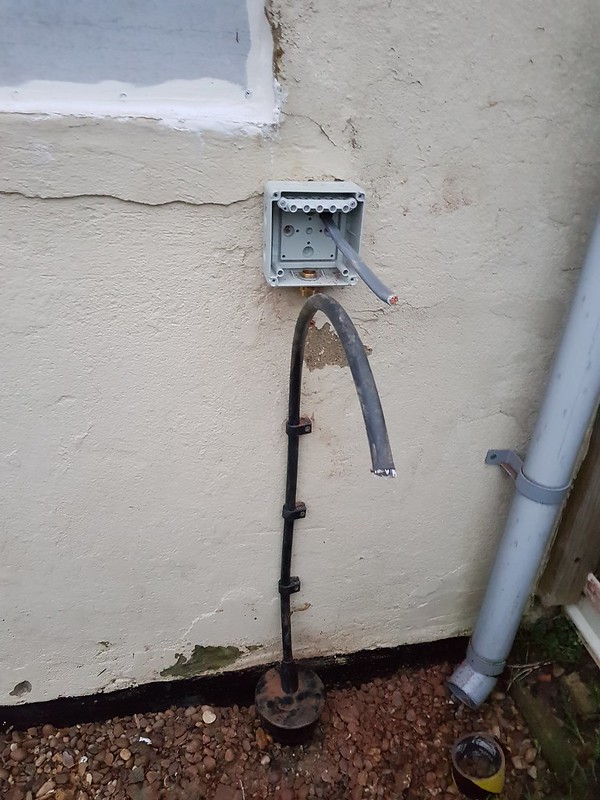
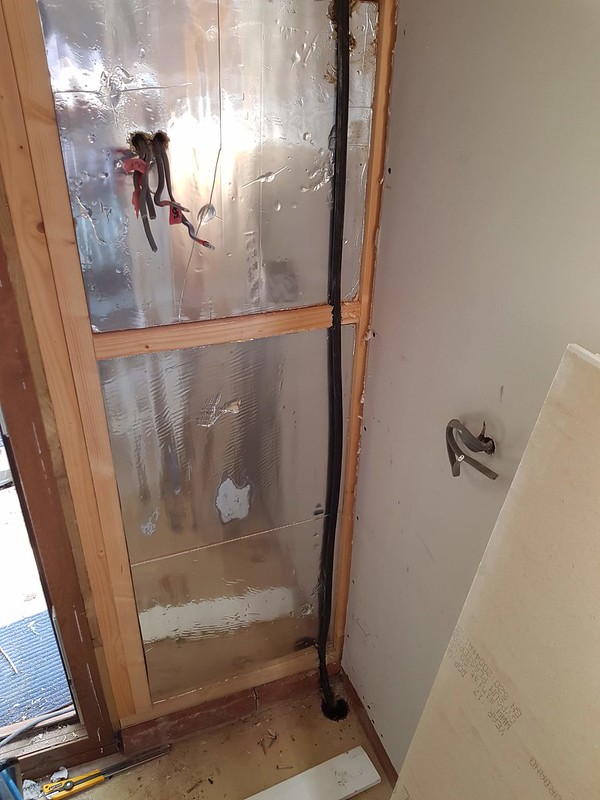
The next job was to get some power to it. Unfortunately for me my consumer unit is at the front of the house, so I had to take up all the upstairs floorboards, run it down the outside wall, across to my outhouse, then into an external grade box where it connects to the SWA which is ducted to the garden office.
 20180101_154425 by Tomoose85, on Flickr
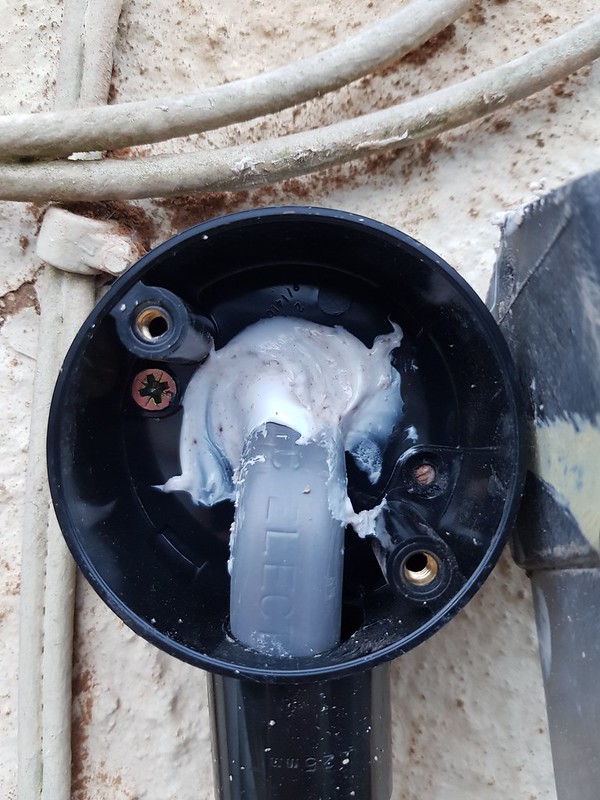
A good gob of sealant to help keep the electrics water tight!
 20180102_155616 by Tomoose85, on Flickr
The black conduit runs into the outhouse
 20180102_170451 by Tomoose85, on Flickr
 20180120_164519 by Tomoose85, on Flickr
A pipe cap was a nice way of finishing off the duct.
 20180120_171512 by Tomoose85, on Flickr
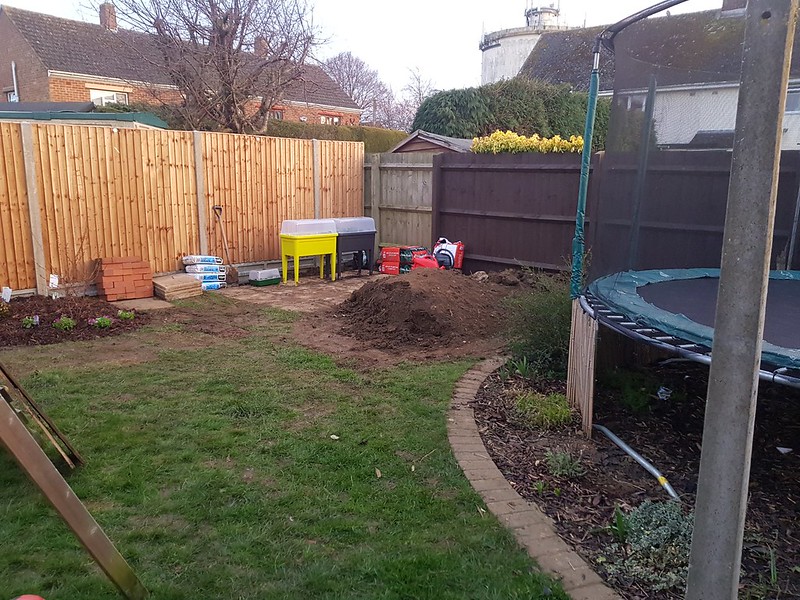
Then I got distracted by replacing the fence, and lots of gardening jobs!!
before:
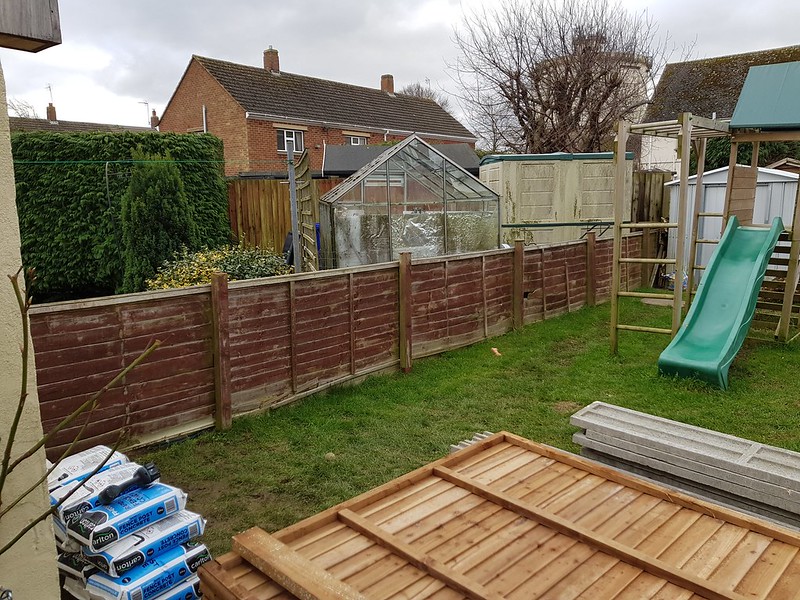 20180202_131035 by Tomoose85, on Flickr
after:
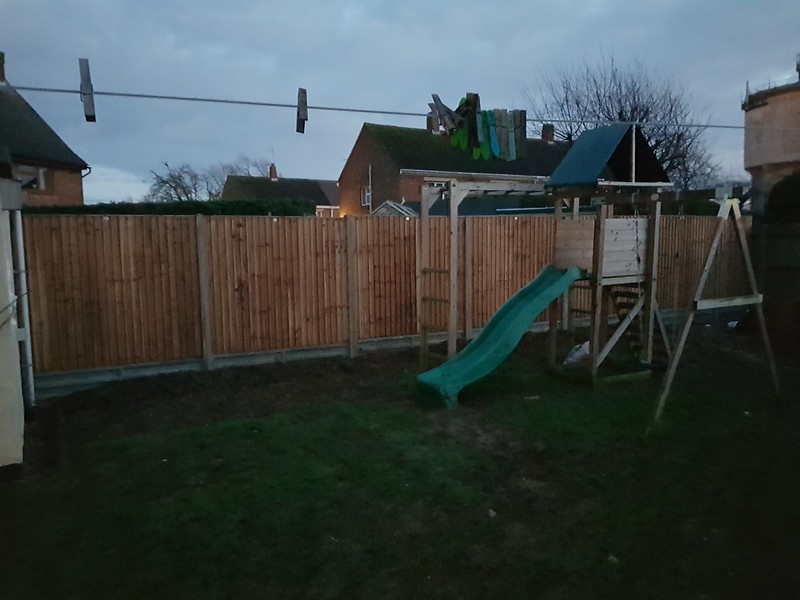 20180204_173401 by Tomoose85, on Flickr
A long day, but it was all done in a day!
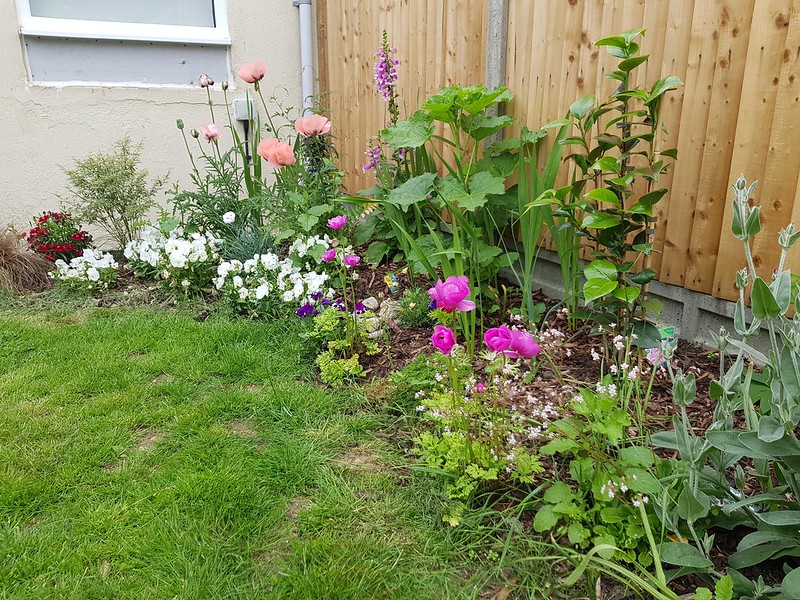
Thought I'd need some plants too to soften the garden up a bit:
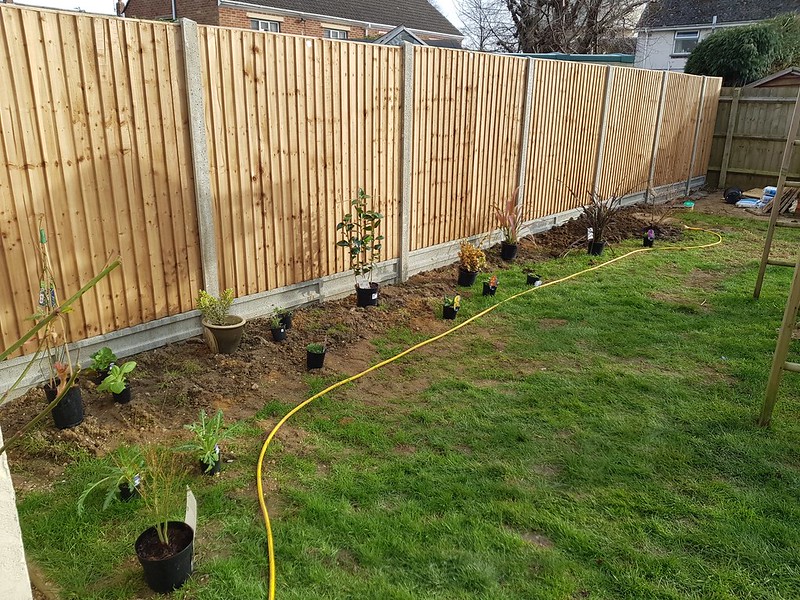 20180323_162013 by Tomoose85, on Flickr
soon became:
 20180609_103618 by Tomoose85, on Flickr
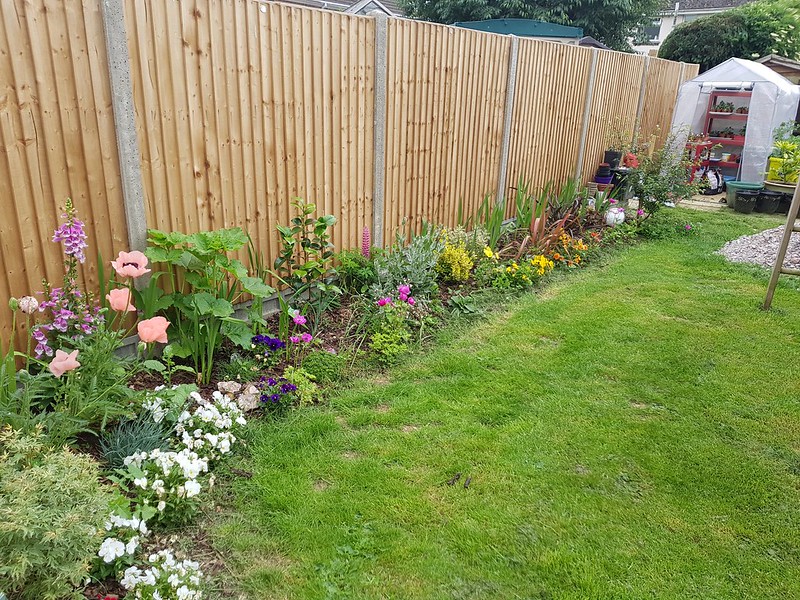 20180609_103605 by Tomoose85, on Flickr
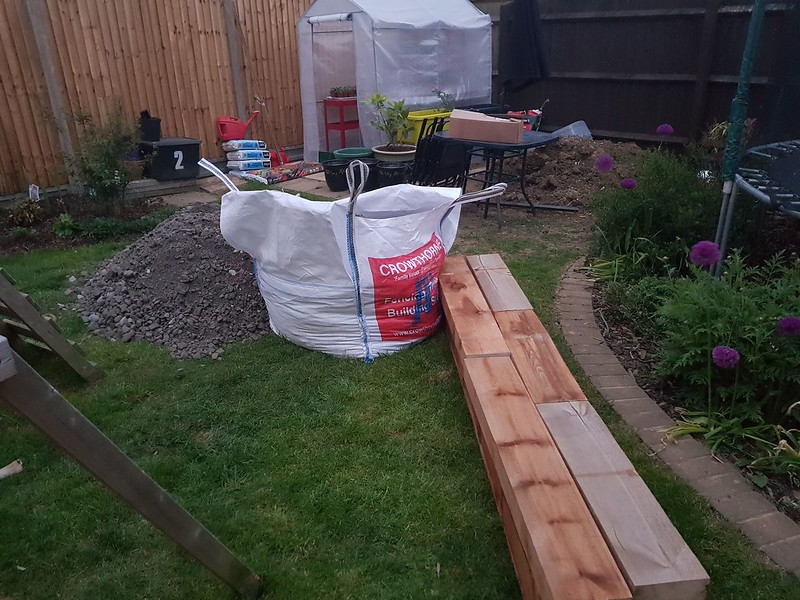
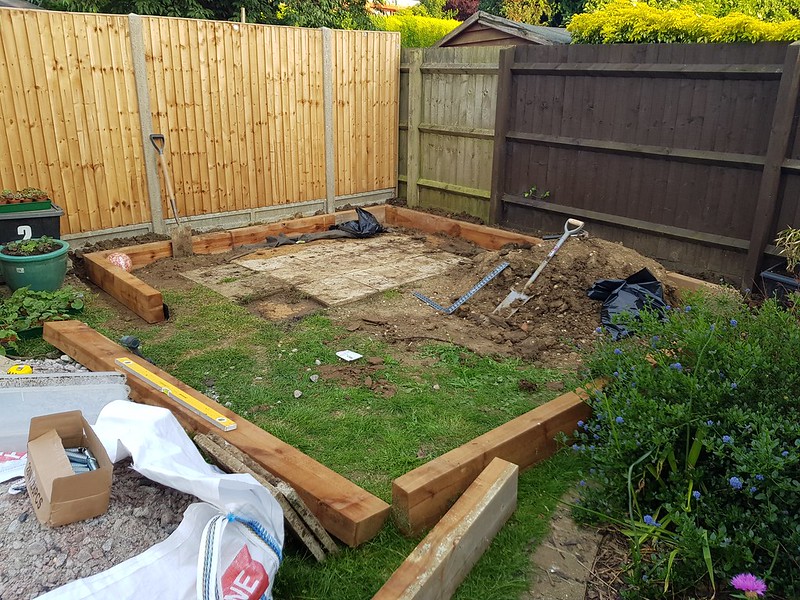
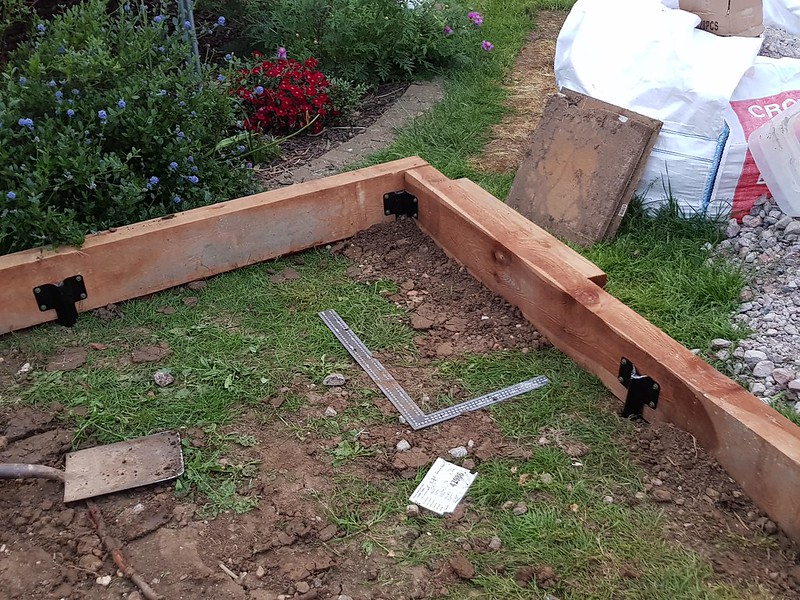
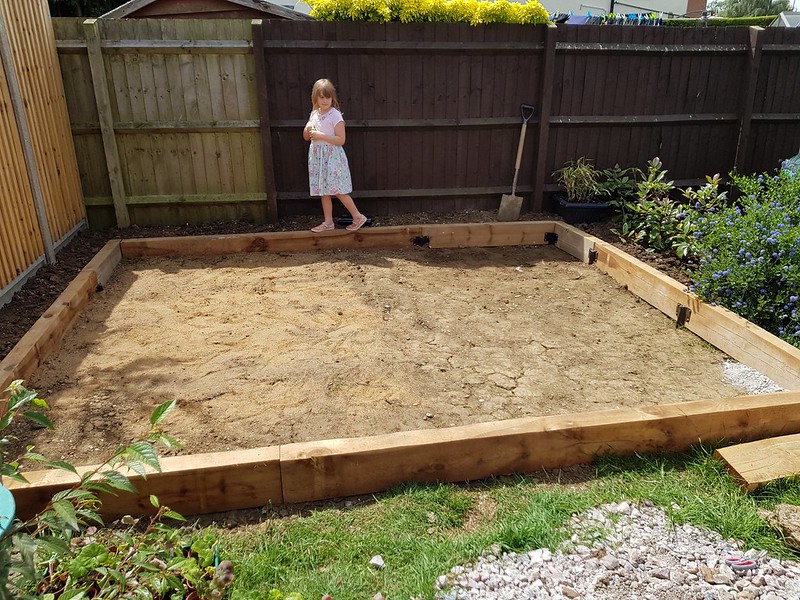
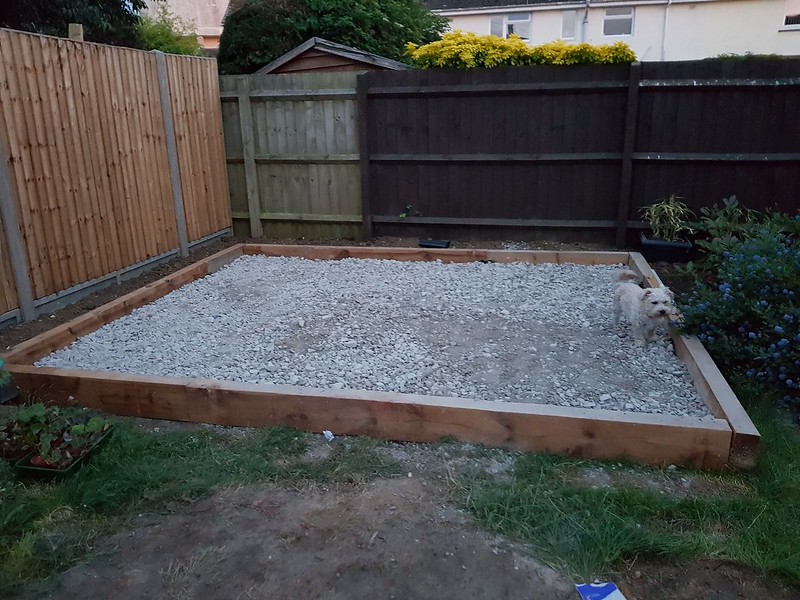
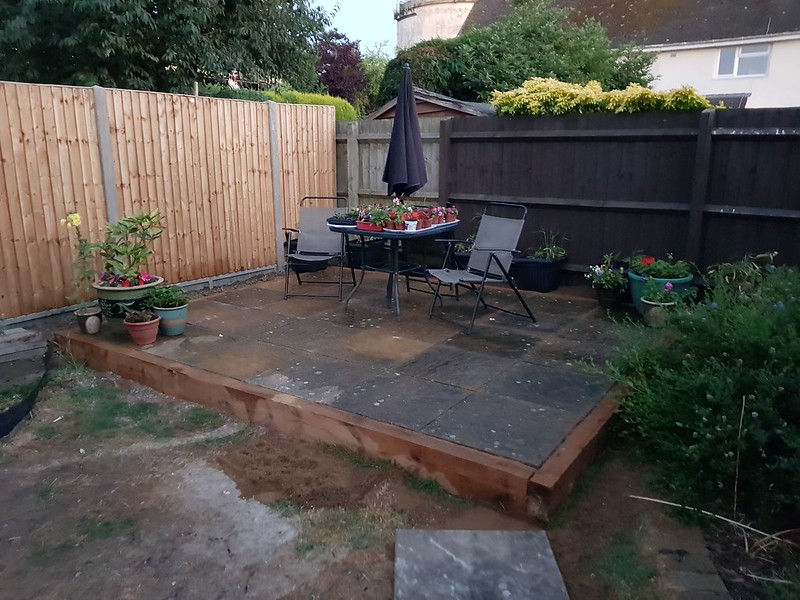
Then there was a gap where the old shed used to be, so a raised patio was the order of the day.
 20180325_192237 by Tomoose85, on Flickr
 20180523_212320 by Tomoose85, on Flickr
 20180610_202911 by Tomoose85, on Flickr
 20180610_211620 by Tomoose85, on Flickr
 20180623_130338 by Tomoose85, on Flickr
 20180623_215703 by Tomoose85, on Flickr
 20180630_103743 by Tomoose85, on Flickr
 20180710_215422 by Tomoose85, on Flickr
Oh and my wife decided she'd very much like a raised planter for salad, I wanted plants, so we went halves.
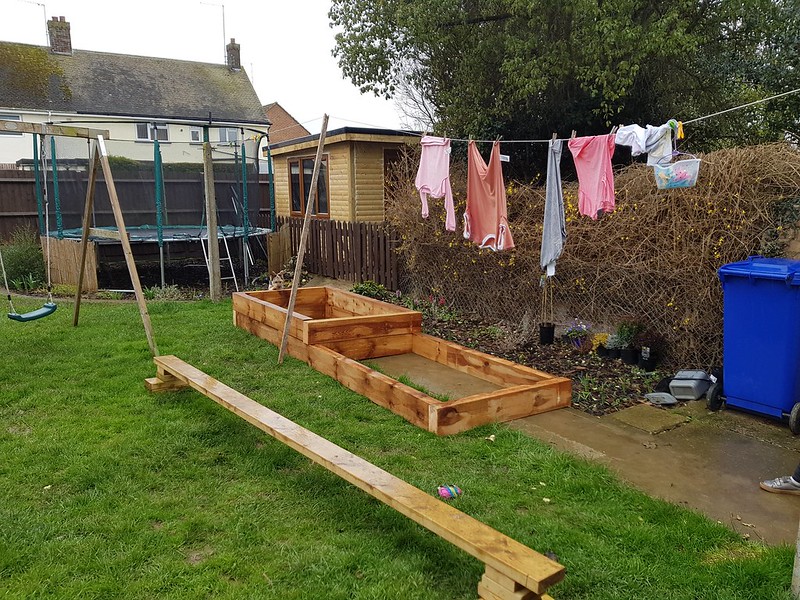 20180330_151651 by Tomoose85, on Flickr
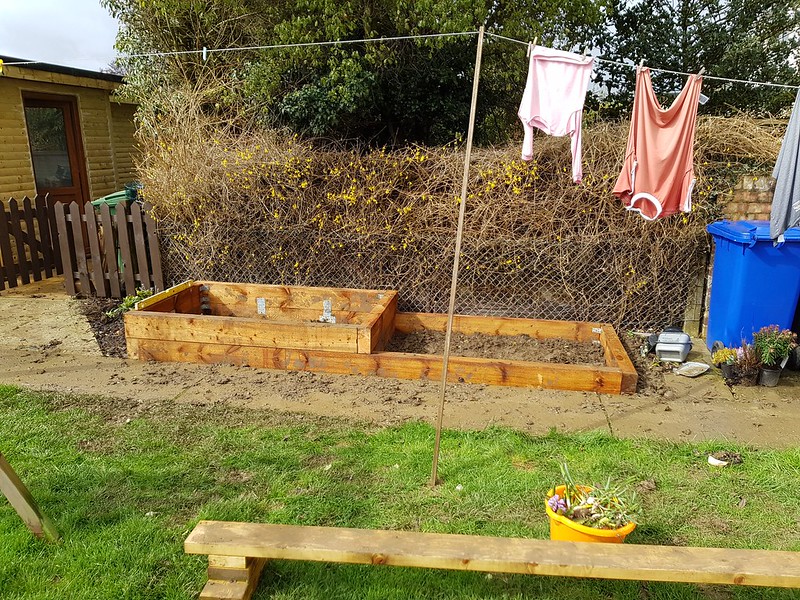 20180331_125623 by Tomoose85, on Flickr
 20180401_110602 by Tomoose85, on Flickr
Didn't take long to fill out a bit.
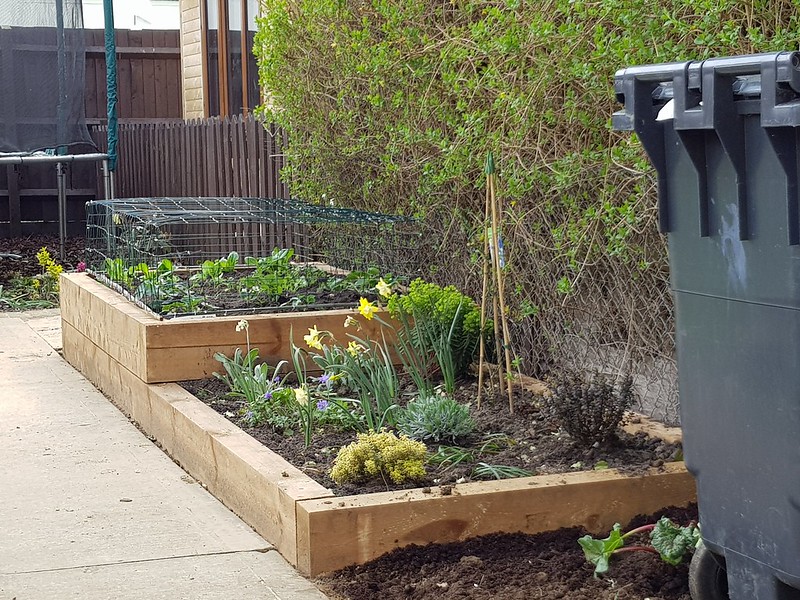 20180422_163002 by Tomoose85, on Flickr
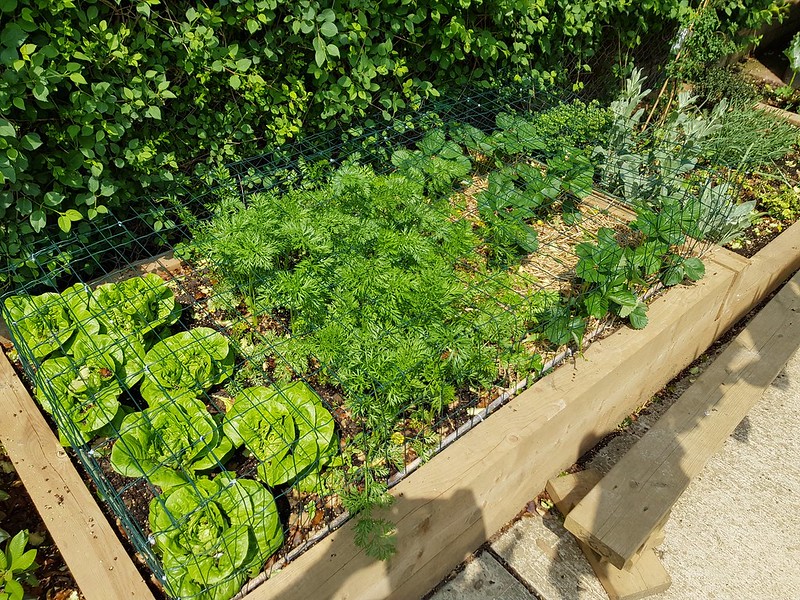 20180527_122618 by Tomoose85, on Flickr
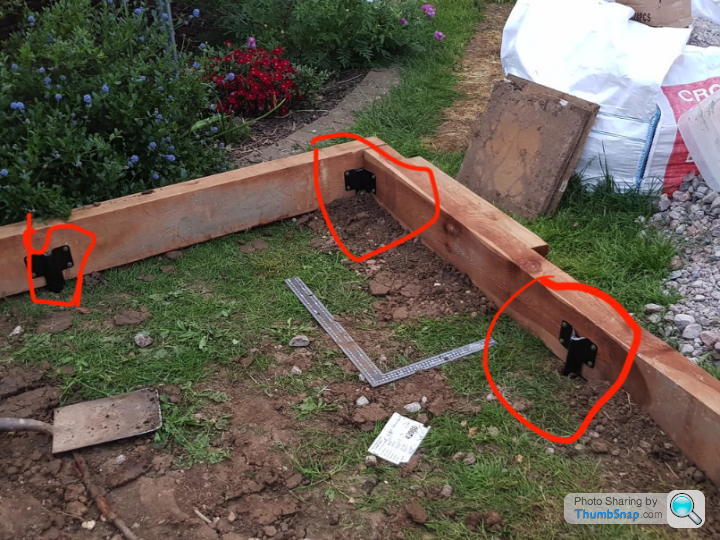
Oh, and then I had to make a gate.
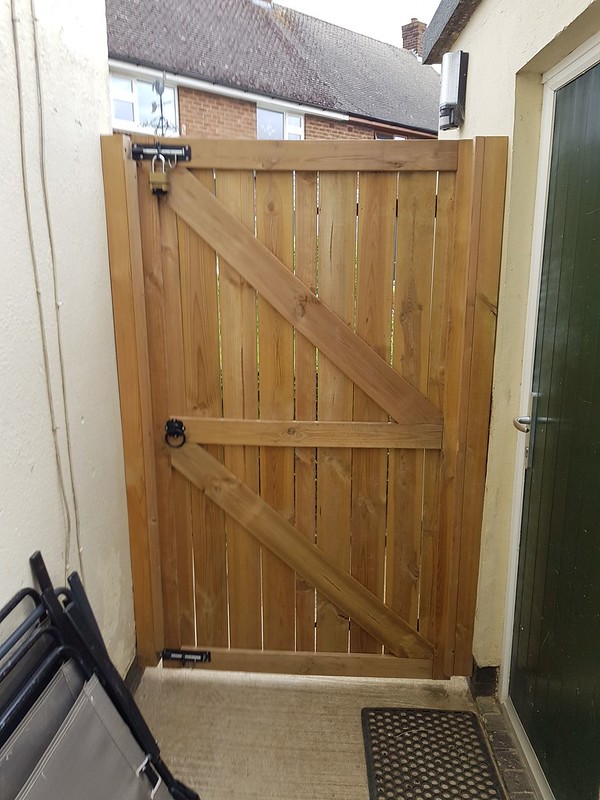 20180728_160811 by Tomoose85, on Flickr
I ran some external grade paintable sealant around the joints to prepare it for painting - although 12 months on and I've still not actually got around to painting it - a job for the spring I think.
IMG_3490 by Tomoose85, on FlickrIMG_3489 by Tomoose85, on FlickrI finally got round to cutting the top pieces of cladding too.
IMG_3493 by Tomoose85, on FlickrIMG_3494 by Tomoose85, on FlickrThe next job was to get some power to it. Unfortunately for me my consumer unit is at the front of the house, so I had to take up all the upstairs floorboards, run it down the outside wall, across to my outhouse, then into an external grade box where it connects to the SWA which is ducted to the garden office.
20180101_154425 by Tomoose85, on FlickrA good gob of sealant to help keep the electrics water tight!
20180102_155616 by Tomoose85, on FlickrThe black conduit runs into the outhouse
20180102_170451 by Tomoose85, on Flickr20180120_164519 by Tomoose85, on FlickrA pipe cap was a nice way of finishing off the duct.
20180120_171512 by Tomoose85, on FlickrThen I got distracted by replacing the fence, and lots of gardening jobs!!
before:
20180202_131035 by Tomoose85, on Flickrafter:
20180204_173401 by Tomoose85, on FlickrA long day, but it was all done in a day!
Thought I'd need some plants too to soften the garden up a bit:
20180323_162013 by Tomoose85, on Flickrsoon became:
20180609_103618 by Tomoose85, on Flickr20180609_103605 by Tomoose85, on FlickrThen there was a gap where the old shed used to be, so a raised patio was the order of the day.
20180325_192237 by Tomoose85, on Flickr20180523_212320 by Tomoose85, on Flickr20180610_202911 by Tomoose85, on Flickr20180610_211620 by Tomoose85, on Flickr20180623_130338 by Tomoose85, on Flickr20180623_215703 by Tomoose85, on Flickr20180630_103743 by Tomoose85, on Flickr20180710_215422 by Tomoose85, on FlickrOh and my wife decided she'd very much like a raised planter for salad, I wanted plants, so we went halves.
20180330_151651 by Tomoose85, on Flickr20180331_125623 by Tomoose85, on Flickr20180401_110602 by Tomoose85, on FlickrDidn't take long to fill out a bit.
20180422_163002 by Tomoose85, on Flickr20180527_122618 by Tomoose85, on FlickrOh, and then I had to make a gate.
20180728_160811 by Tomoose85, on FlickrBack to the garden office build!
I notched the wall for the main power cable so it was hidden.
 20180909_114257 by Tomoose85, on Flickr
Next up was insulation for the ceiling. I wanted good spec and I picked up a whole pallet of 100mm Kingspan (or Recitel?) for about £650, which was enough for the celing and plenty for another project too.
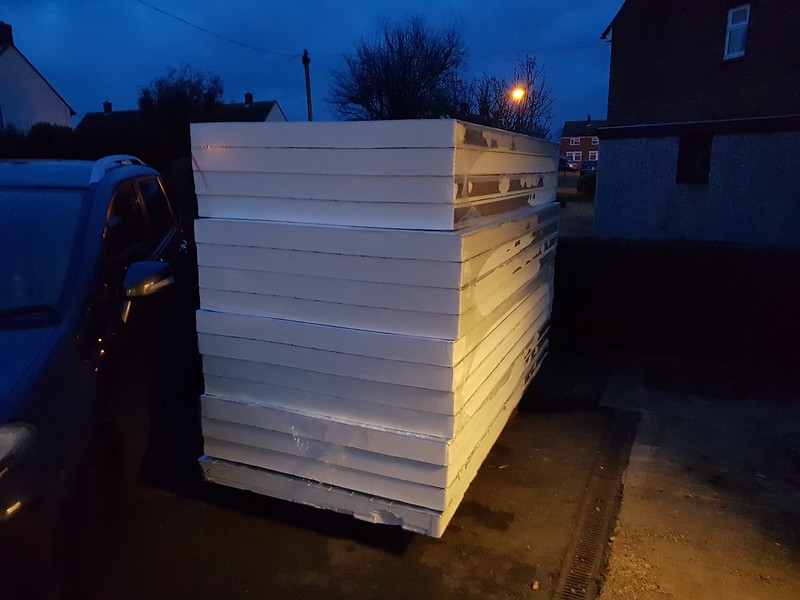 20180105_164139 by Tomoose85, on Flickr
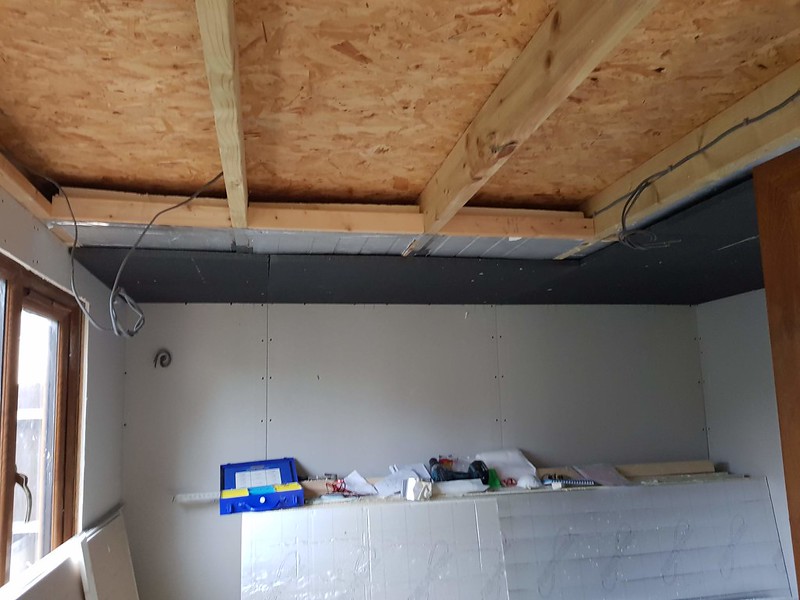
The plan was 100mm foil backed insulation, which leaves a 70mm air gap for ventillation of the roof. Then as the joists would be 'cold' I added 25mm of polystyrene to avoid any condensation lines on the ceiling. Way overkill really but its certainly been toasy out there with minimal heating.
 20180909_140625 by Tomoose85, on Flickr
 20180909_185002 by Tomoose85, on Flickr
 20180909_211625 by Tomoose85, on Flickr
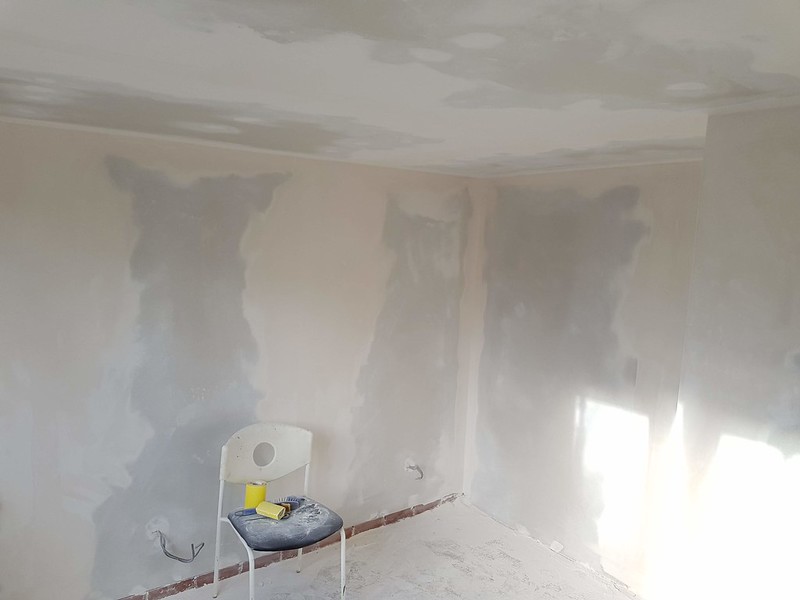
Then plasterboard.
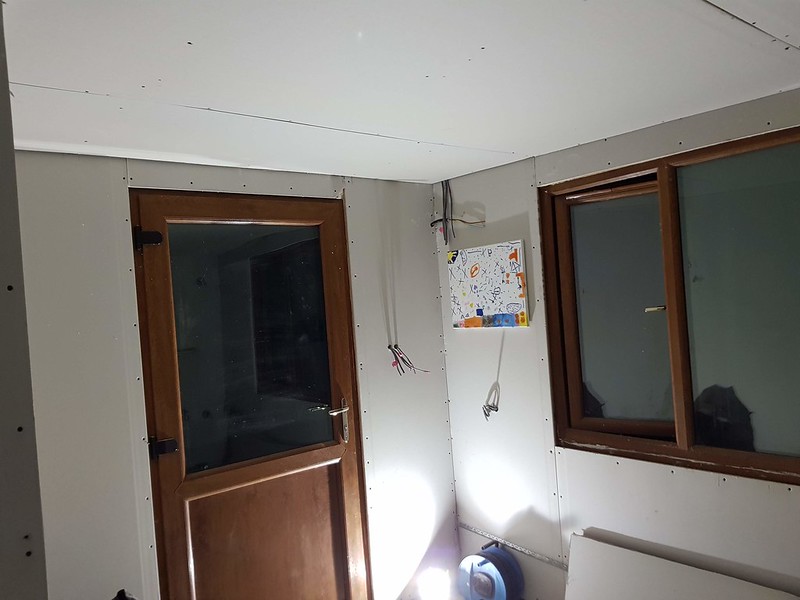 20180910_202914 by Tomoose85, on Flickr
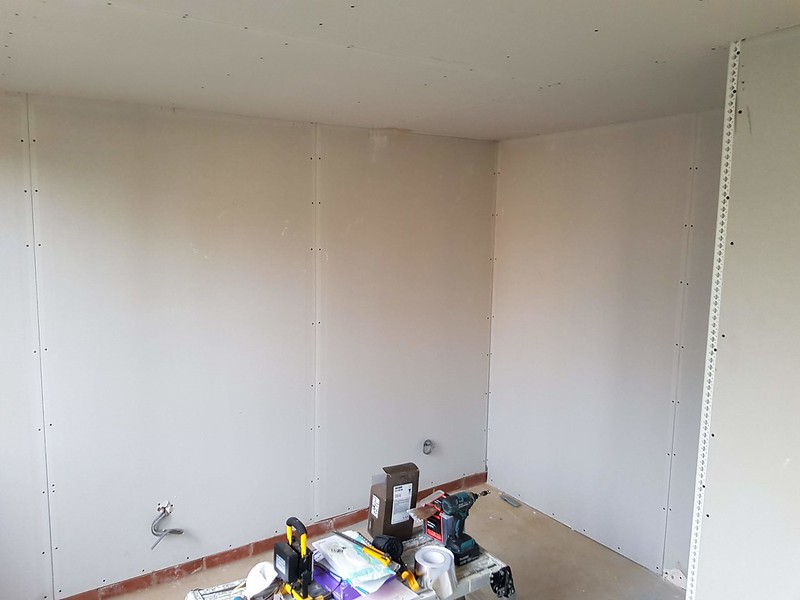 20180915_180411 by Tomoose85, on Flickr
I'm no plasterer, but tape and joint has yielded a flawless finish, albeit after a LOT of sanding!!!
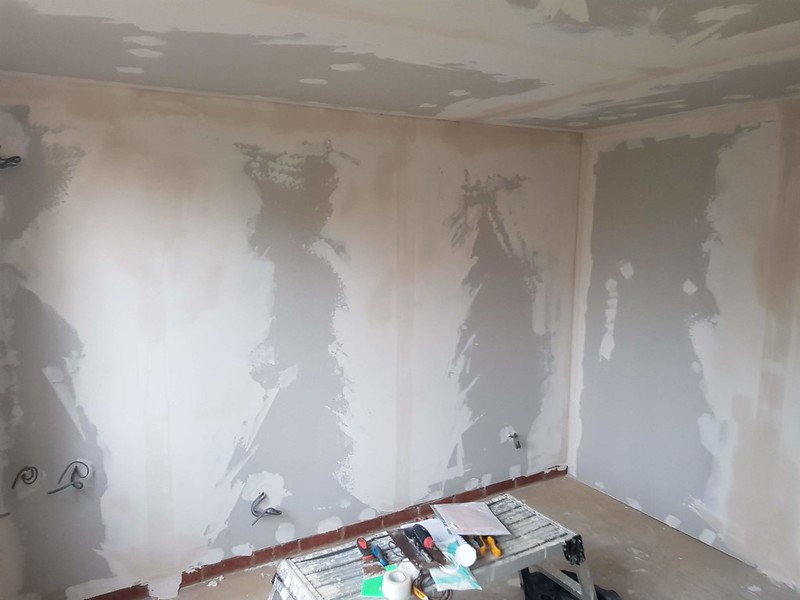 20180916_184812 by Tomoose85, on Flickr
 20180930_090951 by Tomoose85, on Flickr
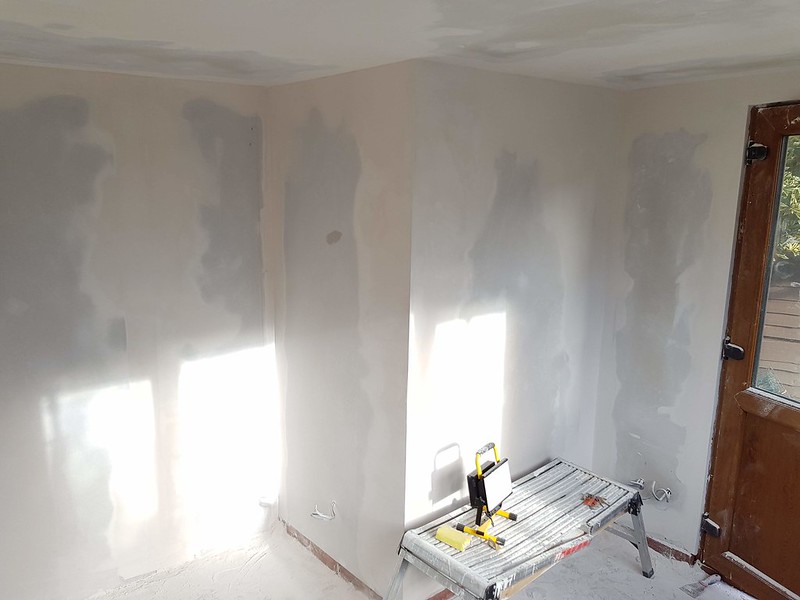 20180930_091000 by Tomoose85, on Flickr
A few coats of matt white, then I recessed in the down lighters. In hindsight I should have gone with a light fitting that didn't chop into the insulation, but I'm pleased with the finish.
 20181003_165711 by Tomoose85, on Flickr
A lick of paint and its starting to look like a room.
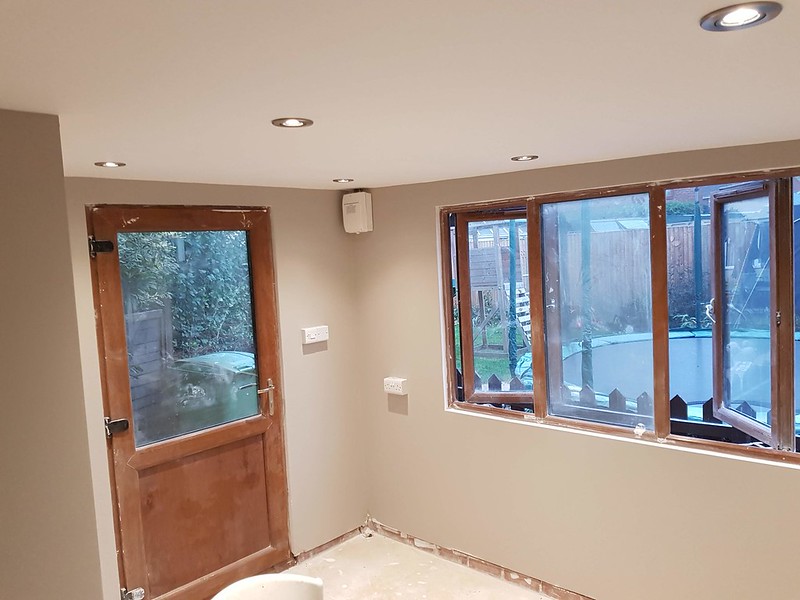 20181005_181038 by Tomoose85, on Flickr
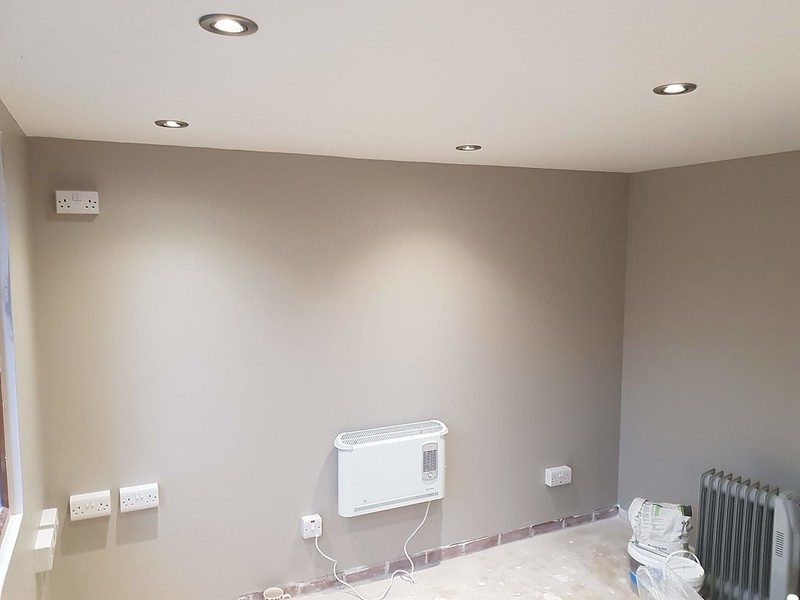 20181005_181052 by Tomoose85, on Flickr
In the end I did the second fix but left all the face plates loose so it was easy for the electrician to come and check everything, test and sign off. I did everything except the consumer unit wiring.
 20181005_191001 by Tomoose85, on Flickr
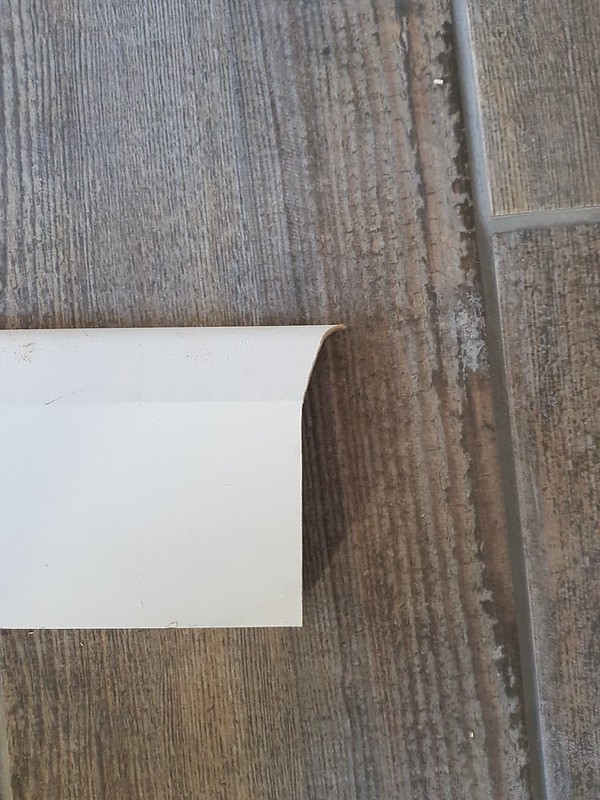
Tiling next!!
 20181014_145929 by Tomoose85, on Flickr
 20181028_202044 by Tomoose85, on Flickr
Then skirtings
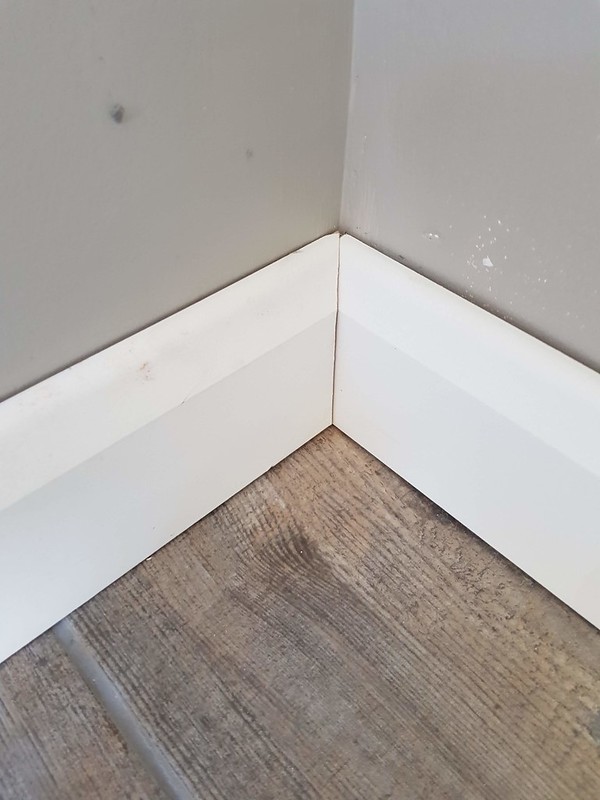 20181031_113040 by Tomoose85, on Flickr
 20181031_113030 by Tomoose85, on Flickr
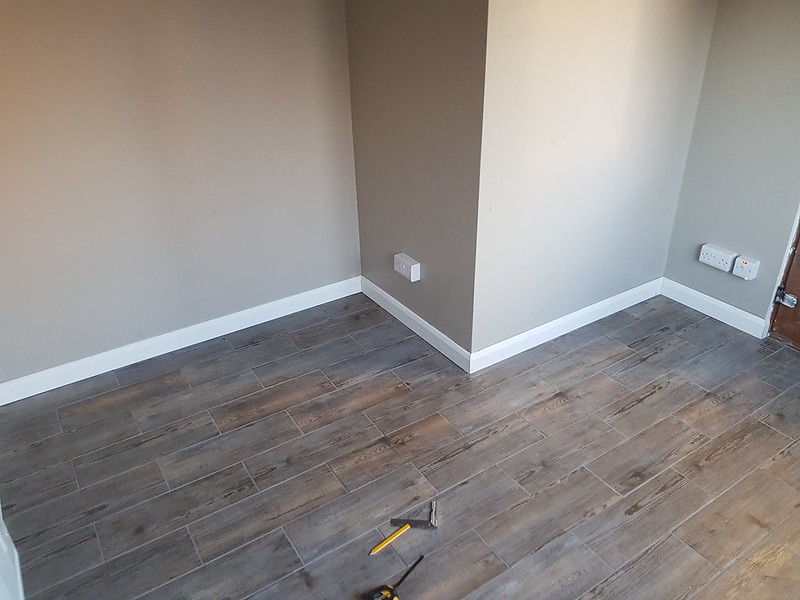 20181031_150252 by Tomoose85, on Flickr
Almost there!
I notched the wall for the main power cable so it was hidden.
20180909_114257 by Tomoose85, on FlickrNext up was insulation for the ceiling. I wanted good spec and I picked up a whole pallet of 100mm Kingspan (or Recitel?) for about £650, which was enough for the celing and plenty for another project too.
20180105_164139 by Tomoose85, on FlickrThe plan was 100mm foil backed insulation, which leaves a 70mm air gap for ventillation of the roof. Then as the joists would be 'cold' I added 25mm of polystyrene to avoid any condensation lines on the ceiling. Way overkill really but its certainly been toasy out there with minimal heating.
20180909_140625 by Tomoose85, on Flickr20180909_185002 by Tomoose85, on Flickr20180909_211625 by Tomoose85, on FlickrThen plasterboard.
20180910_202914 by Tomoose85, on Flickr20180915_180411 by Tomoose85, on FlickrI'm no plasterer, but tape and joint has yielded a flawless finish, albeit after a LOT of sanding!!!
20180916_184812 by Tomoose85, on Flickr20180930_090951 by Tomoose85, on Flickr20180930_091000 by Tomoose85, on FlickrA few coats of matt white, then I recessed in the down lighters. In hindsight I should have gone with a light fitting that didn't chop into the insulation, but I'm pleased with the finish.
20181003_165711 by Tomoose85, on FlickrA lick of paint and its starting to look like a room.
20181005_181038 by Tomoose85, on Flickr20181005_181052 by Tomoose85, on FlickrIn the end I did the second fix but left all the face plates loose so it was easy for the electrician to come and check everything, test and sign off. I did everything except the consumer unit wiring.
20181005_191001 by Tomoose85, on FlickrTiling next!!
20181014_145929 by Tomoose85, on Flickr20181028_202044 by Tomoose85, on FlickrThen skirtings
20181031_113040 by Tomoose85, on Flickr20181031_113030 by Tomoose85, on Flickr20181031_150252 by Tomoose85, on FlickrAlmost there!
Decorating done, cheap local second hand sofa in
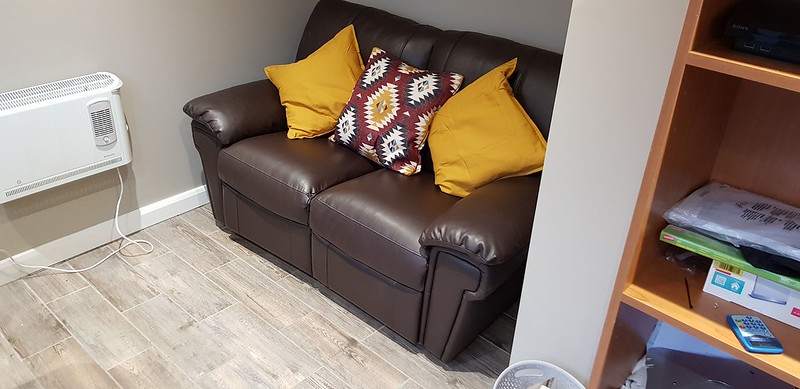 20181109_075224 by Tomoose85, on Flickr
Shelving
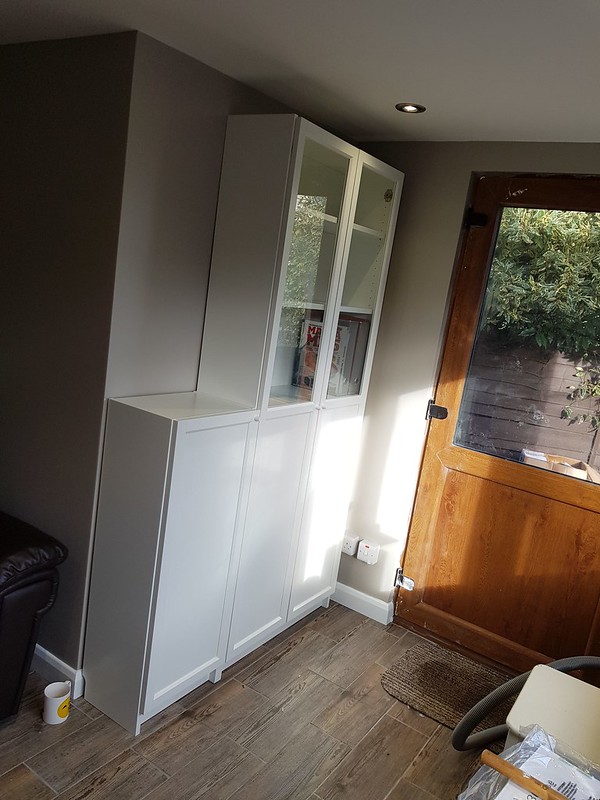 20181111_104716 by Tomoose85, on Flickr
Desk and hifi in:
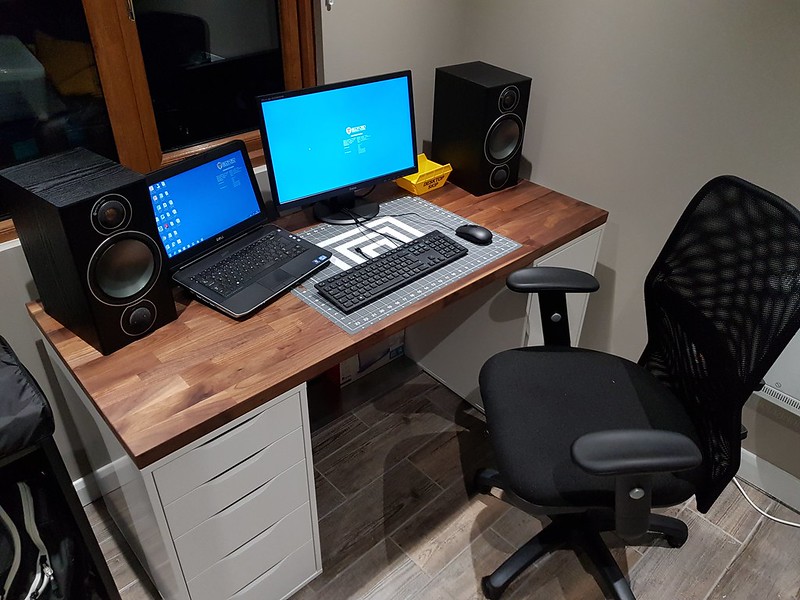 20181111_165804 by Tomoose85, on Flickr
The desk top is an Ikea Karlby walnut worktop which was improved significantly with liberal applications of Briwax - its really lovely now.
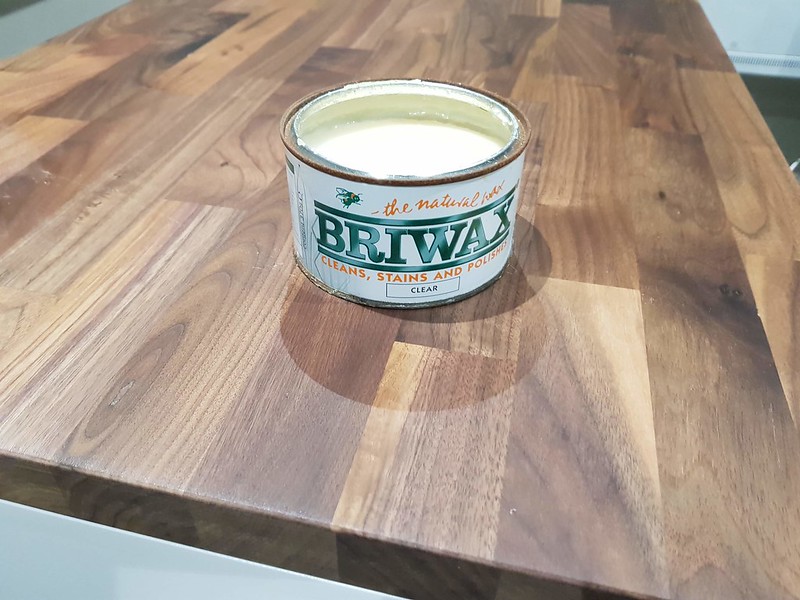 20181112_213714 by Tomoose85, on Flickr
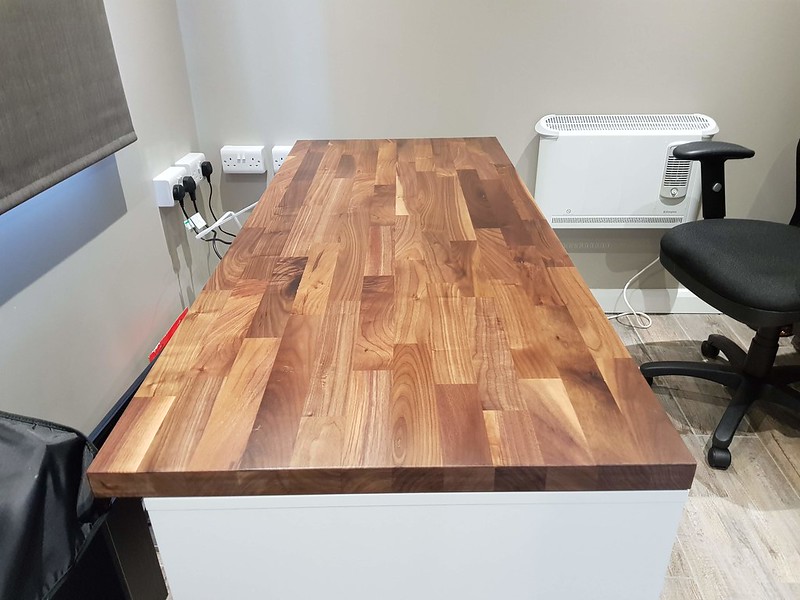 20181113_082045 by Tomoose85, on Flickr
Electric cable for the heater tidied up - not entirely happy but it'll do for now.
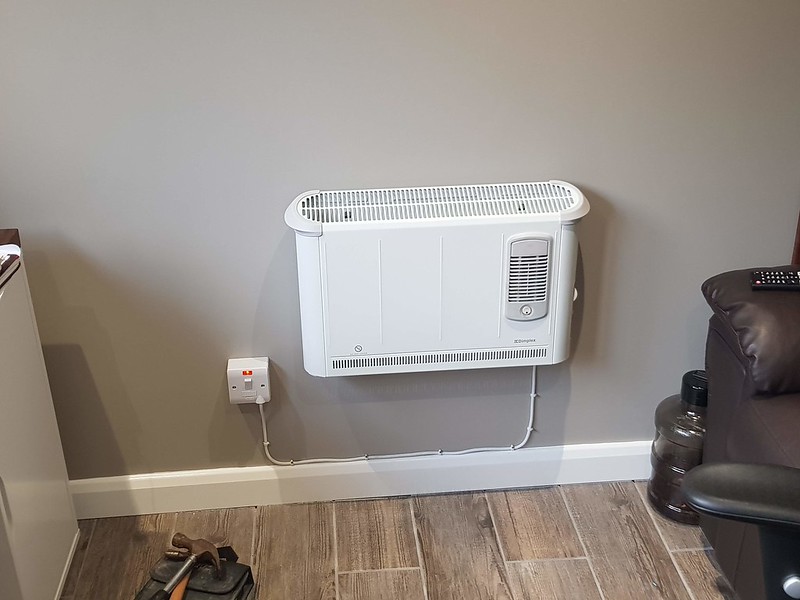 20181121_093002 by Tomoose85, on Flickr
And that brings me up to date. I still have to seal around bottom of skirtings and clean the door, and get a TV up, and sort cabling etc., but I'm in and using it and I'm delighted.
I'm at £4200 for everything for the building from the concrete base to the electrics being signed off, which I think is decent value, remembering there is a 10x7 shed incorporated into it too.
I'll update with finished photos when its done, but that won't be for a while!
Please let me know if you have any questions, feedback is welcome!
Cheers.
20181109_075224 by Tomoose85, on FlickrShelving
20181111_104716 by Tomoose85, on FlickrDesk and hifi in:
20181111_165804 by Tomoose85, on FlickrThe desk top is an Ikea Karlby walnut worktop which was improved significantly with liberal applications of Briwax - its really lovely now.
20181112_213714 by Tomoose85, on Flickr20181113_082045 by Tomoose85, on FlickrElectric cable for the heater tidied up - not entirely happy but it'll do for now.
20181121_093002 by Tomoose85, on FlickrAnd that brings me up to date. I still have to seal around bottom of skirtings and clean the door, and get a TV up, and sort cabling etc., but I'm in and using it and I'm delighted.
I'm at £4200 for everything for the building from the concrete base to the electrics being signed off, which I think is decent value, remembering there is a 10x7 shed incorporated into it too.
I'll update with finished photos when its done, but that won't be for a while!
Please let me know if you have any questions, feedback is welcome!
Cheers.


Thanks for the comments everyone!
I use it at least one day a week for working from home, and I have a digital piano out there which is used by me and the kids. Its also doubling up as a TV room in the evenings, so it's getting plenty of use.
It is of course now painted, but I still need to put some soffit boards up. I'll press on over the next couple of weekends and get some finished photos ASAP.
Thanks again for the kind words!
Amazing DIY, I like the raised patio idea kinda like building a raised flower bed but then looks like you done the sub base mot, sand and patios on top and at least you can then get it level and sound since you have a perfect top to work off.
Maybe a nice step or slope to walk on and off it though, since if it was me I am 100% sure I would have caught the edge of my top shoe on it and face first into the patio.
Otherwise everything looks stunning, builder or trademan I take it ?
Maybe a nice step or slope to walk on and off it though, since if it was me I am 100% sure I would have caught the edge of my top shoe on it and face first into the patio.
Otherwise everything looks stunning, builder or trademan I take it ?
PAT64 said:
Amazing DIY, I like the raised patio idea kinda like building a raised flower bed but then looks like you done the sub base mot, sand and patios on top and at least you can then get it level and sound since you have a perfect top to work off.
Maybe a nice step or slope to walk on and off it though, since if it was me I am 100% sure I would have caught the edge of my top shoe on it and face first into the patio.
Otherwise everything looks stunning, builder or trademan I take it ?
The raised patio has worked well. The step up is something like 170mm which is a pretty normal step height to be honest, it's certainly not been a problem. Maybe a nice step or slope to walk on and off it though, since if it was me I am 100% sure I would have caught the edge of my top shoe on it and face first into the patio.
Otherwise everything looks stunning, builder or trademan I take it ?
I'm not a tradesman, I'm a Highway Engineer. I just like to get stuck in.
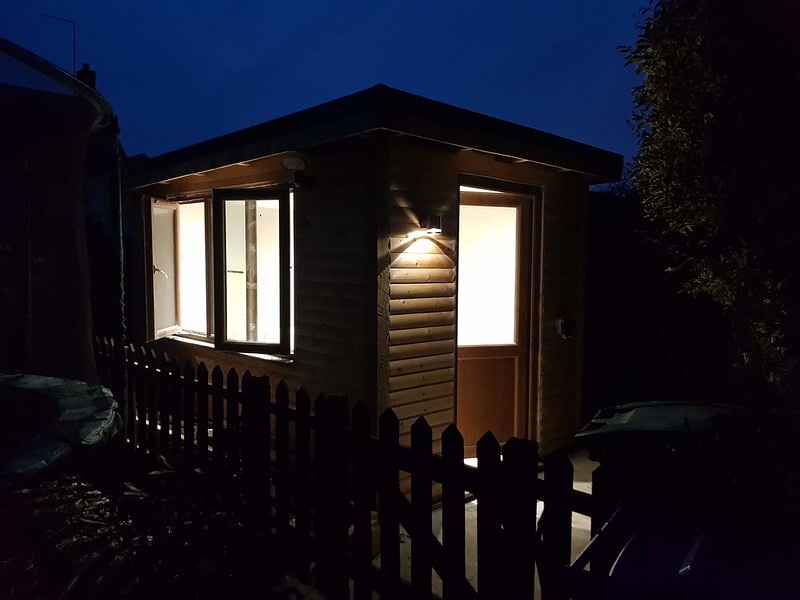
It's proving to have been a very wise investment given the current situation!
 20200324_111309 by Tomoose85, on Flickr
Here's a pic from earlier in the week. Still a few little bits to do, mainly fitting some soffit boards and soffit lighting, but it's getting plenty of use!
I'm also considering painting the window and door frames, are there any products out there which won't look awful?
Thanks for reading!
Edited by PartOfTheProblem on Thursday 9th April 16:37
PartOfTheProblem said:
I'm also considering painting the window and door frames, are there any products out there which won't look awful?
Edited by PartOfTheProblem on Wednesday 8th April 07:19
I see that you have made a little patio area. Can I ask how you built this up?
I’m going to be doing my front yard soon and I think with whacked hardcore and whacked sand there won’t be a lot of movement but I’m worried about the grout failing if there is.
Yours looks like it’s bedded on sand? How are you finding this?
I’m going to be doing my front yard soon and I think with whacked hardcore and whacked sand there won’t be a lot of movement but I’m worried about the grout failing if there is.
Yours looks like it’s bedded on sand? How are you finding this?
Gassing Station | Homes, Gardens and DIY | Top of Page | What's New | My Stuff