Toms Garden Shed / Workshop / Office Build
Discussion


Flying machine said:
This is absolutely brilliant - well done, I would be super pleased with myself if I'd managed to do something like this!
Is there anything that you would have approached/done differently if you were going to do it again? (i.e. advice you would give to someone like me who is enthused by this project!).
What are you going to do with the inside? Plasterboard and skim?
Looking good - great project!
Thanks!Is there anything that you would have approached/done differently if you were going to do it again? (i.e. advice you would give to someone like me who is enthused by this project!).
What are you going to do with the inside? Plasterboard and skim?
Looking good - great project!
Generally I think its come together well, although I'd definitely draw plans next time to save a lot of head scratching. I can't think of anything I'd do differently though, except maybe using a thicker timber for the walls (89x38 instead of the 63x38 I used), although only so I could fit flush back boxes for the sockets without interfering with the insulation, I'm going to have to go with surface mount patress boxes to keep the integrity of the insulation.
The other thing would be to put some extra studs in for the ceiling so it could be straight, mine will follow the roof slope which is something I hadn't thought about, but I'll fit some adjustable spots and it'll be fine.

Inside the shed end will stay OSB. The office end will be plasterboard, although I'll probably tape and fill joints rather than skimming the whole room, we'll see.
CharlesdeGaulle said:
That really is a very impressive build, especially if you're not in the trade. Well done, great job.
Fancy coming around to my place to do the same thing for someone else?
Thanks. I've got a few people who have requested I build them something, I may well look into this a bit more seriously Fancy coming around to my place to do the same thing for someone else?
samdale said:
What fixings/spacing/tools did you use to attach the cladding? I've started building my shed and am going for a similar style with loglap and square post corners.
I hired a Paslode brad gun, and used 16ga 50mm brads. I ordered cladding in the lengths required to ensure I had no joins. I spaced the boards out with the edge of a steel straight edge (approx 1mm), and kept checking with a small spirit level, as some boards varied in width slightly, so its a case of tweaking things here and there to make it look right.Hope that helps,
Tom.
Pheo said:
I’m impressed by the accuracy of your cladding cuts!
Thanks. It helps to build the thing square in the first place, and I was cutting 3 or 4 boards at a time with my compound mitre saw.anonymous said:
[redacted]
Yes. I'm no bricklayer, bricks and mortar are expensive, the concrete pad is 50mm above the surrounding gravel, plus the height of the brick, and gravel is very good at preventing the rain bouncing and splashing up the walls.Most sheds have no bricks of course.

The sole plate is pressure treated and there is a breather membrane and the cladding overlaps the bricks. I'm not too worried

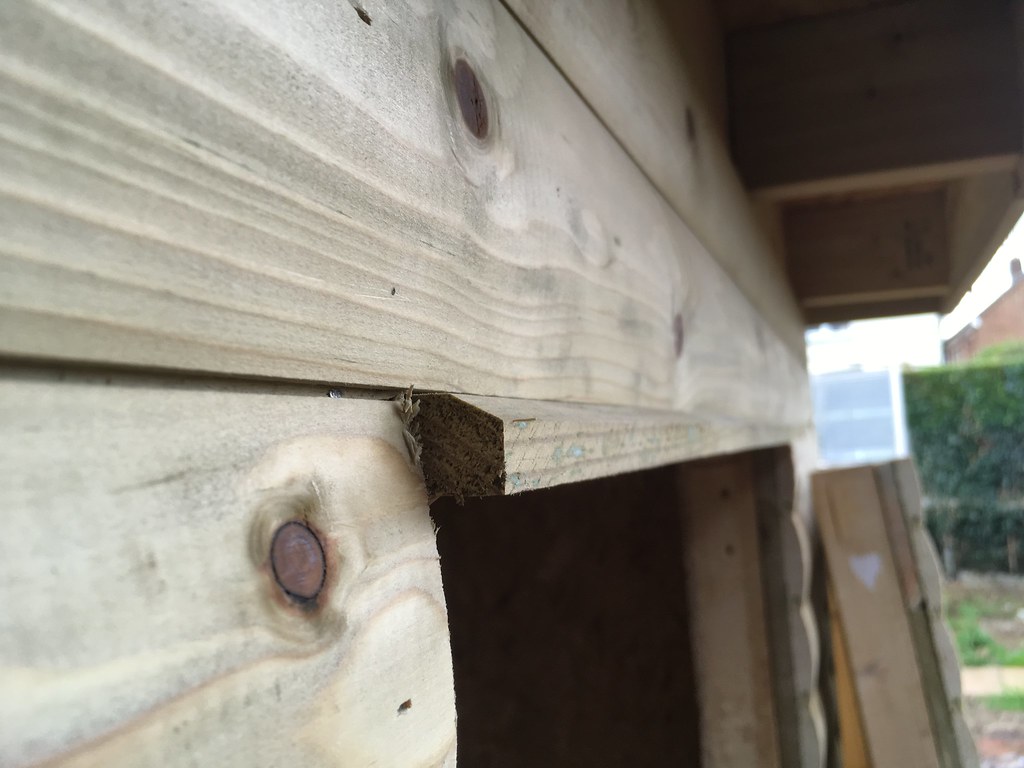
So its time for a bit of an over-due update.
So as it stands - I still need to finish the top pieces of cladding and get the thing painted.
 IMG_3248 by Tomoose85, on Flickr
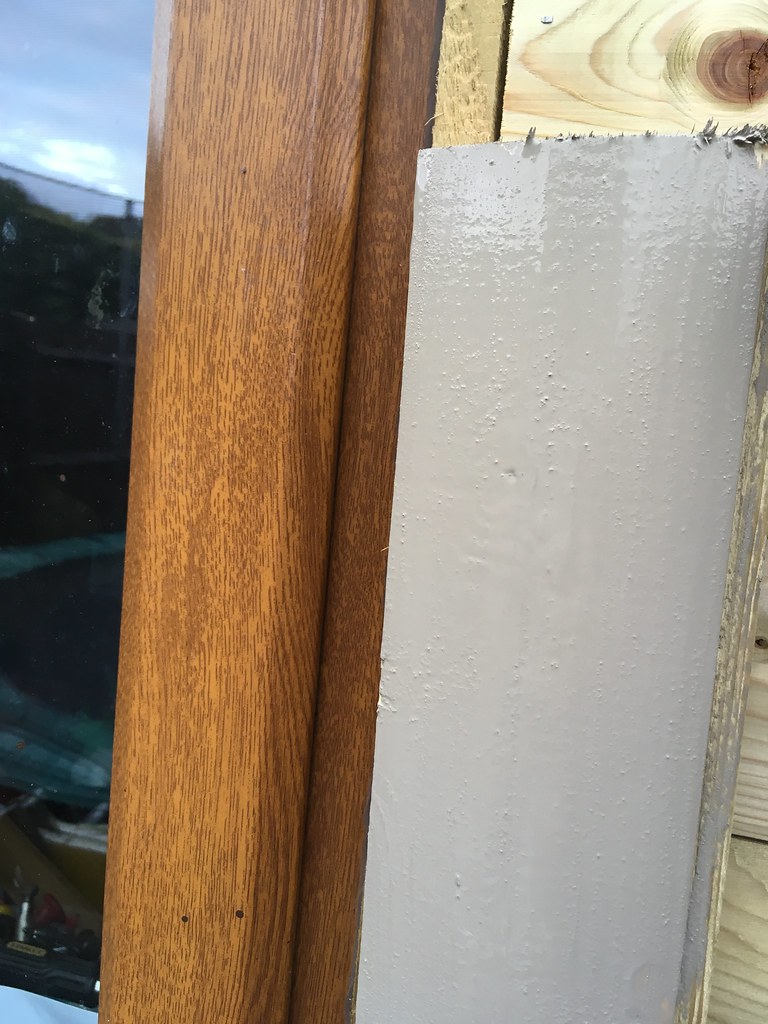
I've decided to go with Sadolin Superdec, £84 for a 5l tin at Crown Decorating Centres, but found it for £60 online, so 10l ordered. My wife chose Antler Brown, and I think it will look quite nice.
This was the picture my wife liked:
 fullsizeoutput_45b8 by Tomoose85, on Flickr
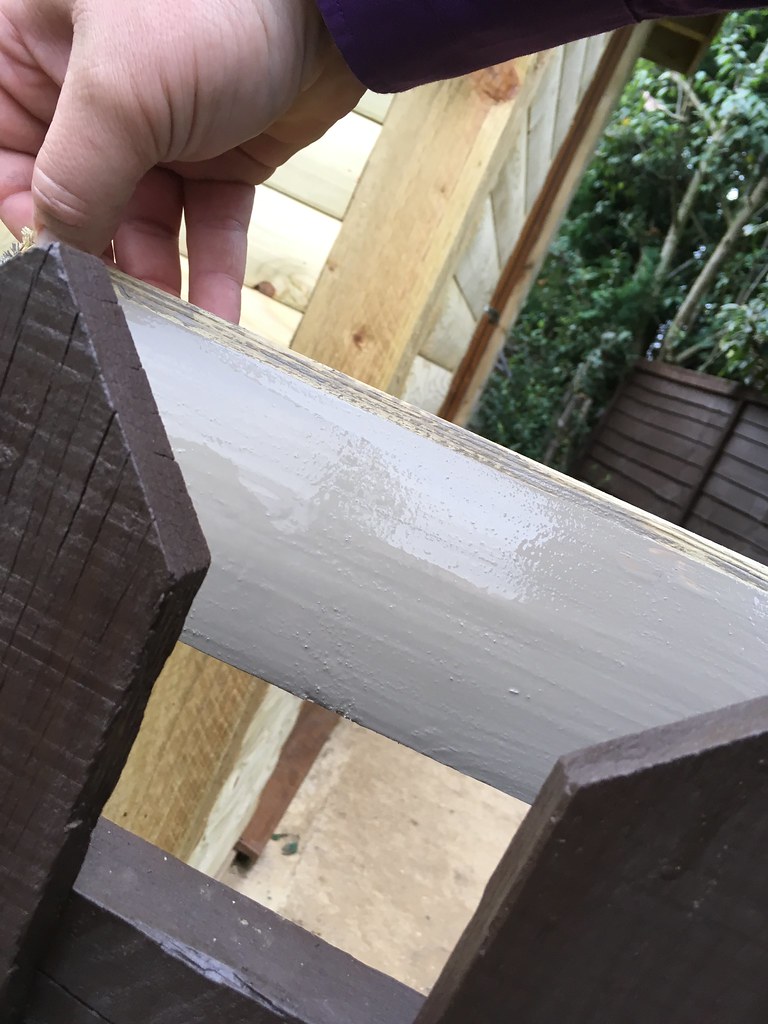
And a tester piece
 IMG_3305 by Tomoose85, on Flickr
 IMG_3306 by Tomoose85, on Flickr
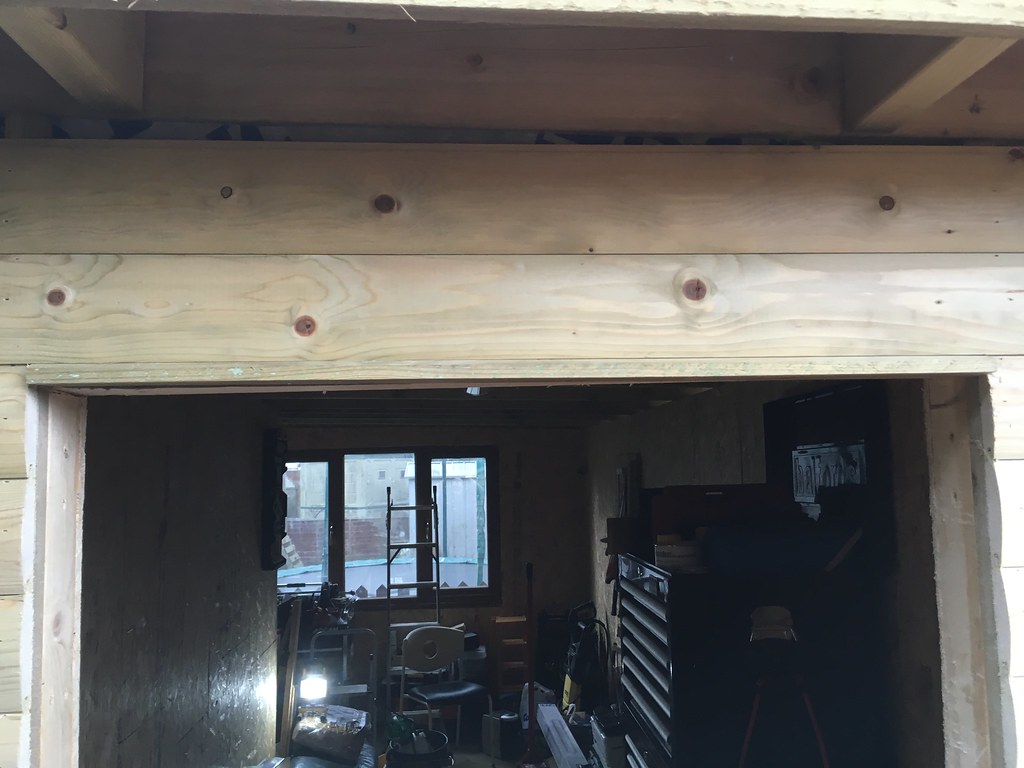
Next up was to cut out the 'shed' door. I used a reciprocating saw for this, and it was tricky to keep the cut straight. I wouldn't do it this way again to be honest as the finish is a bit disappointing. Oh well at least it won't really be seen!
 IMG_3442 by Tomoose85, on Flickr
The gap is quite big as the door is 120mm thick!
I fit a capping rail above the door to keep water out as best as possible.
 IMG_3359 by Tomoose85, on Flickr
 IMG_3357 by Tomoose85, on Flickr
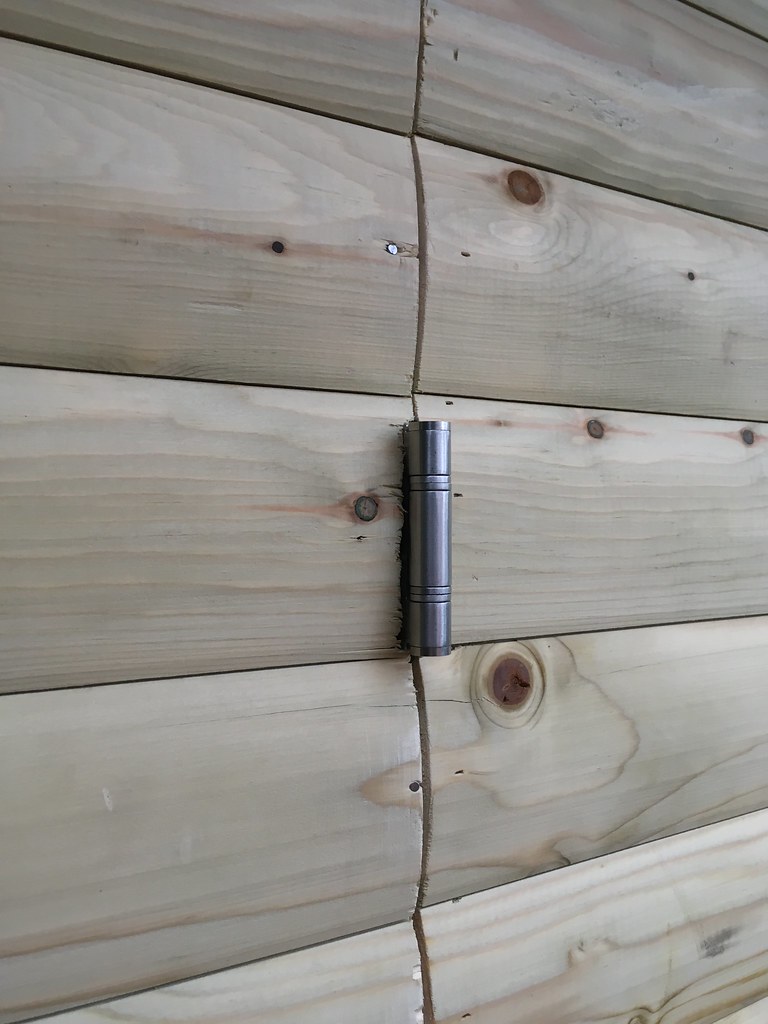
Lovely heavy duty ball bearing parliament hinges
 IMG_3368 by Tomoose85, on Flickr
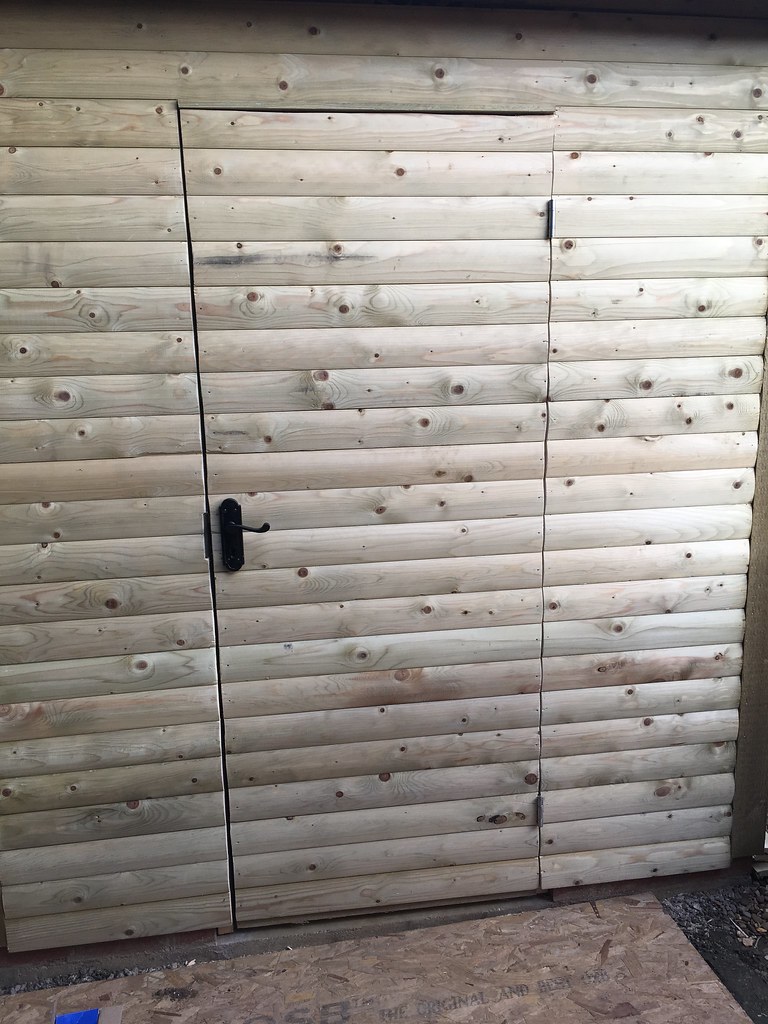
Door handle fitted. I will be replacing the top piece of cladding on the door as the cutline isn't great.
 IMG_3443 by Tomoose85, on Flickr
All stiffened up with some OSB.
 IMG_3444 by Tomoose85, on Flickr
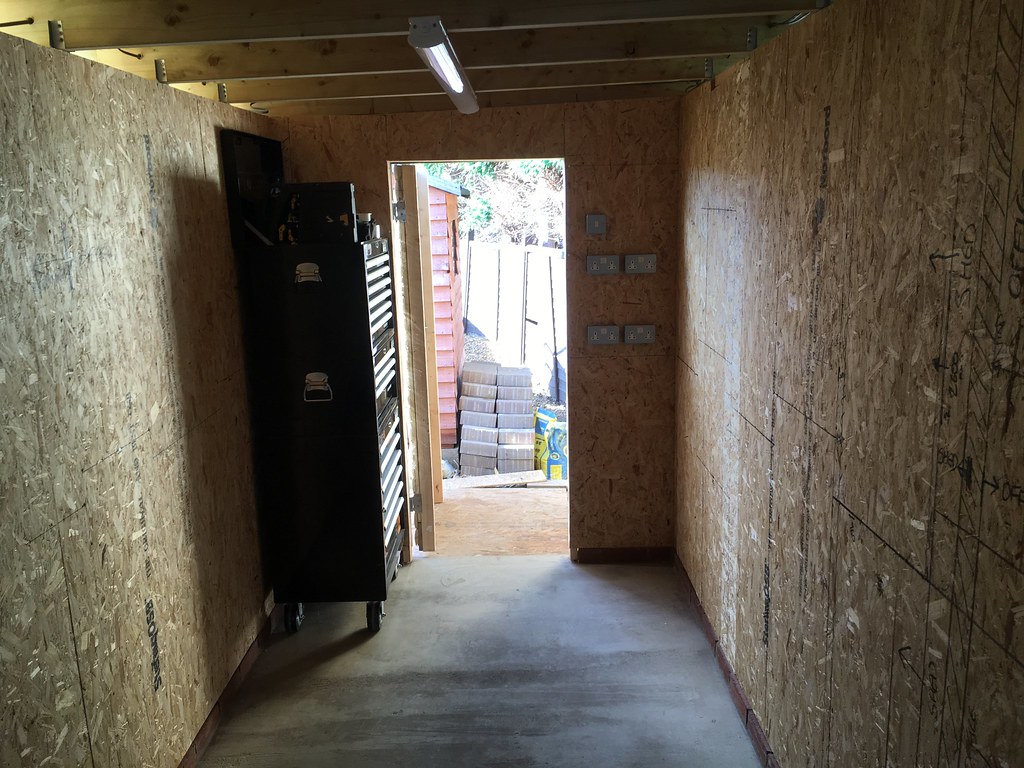
And starting to take shape!
 IMG_3378 by Tomoose85, on Flickr
 IMG_3380 by Tomoose85, on Flickr
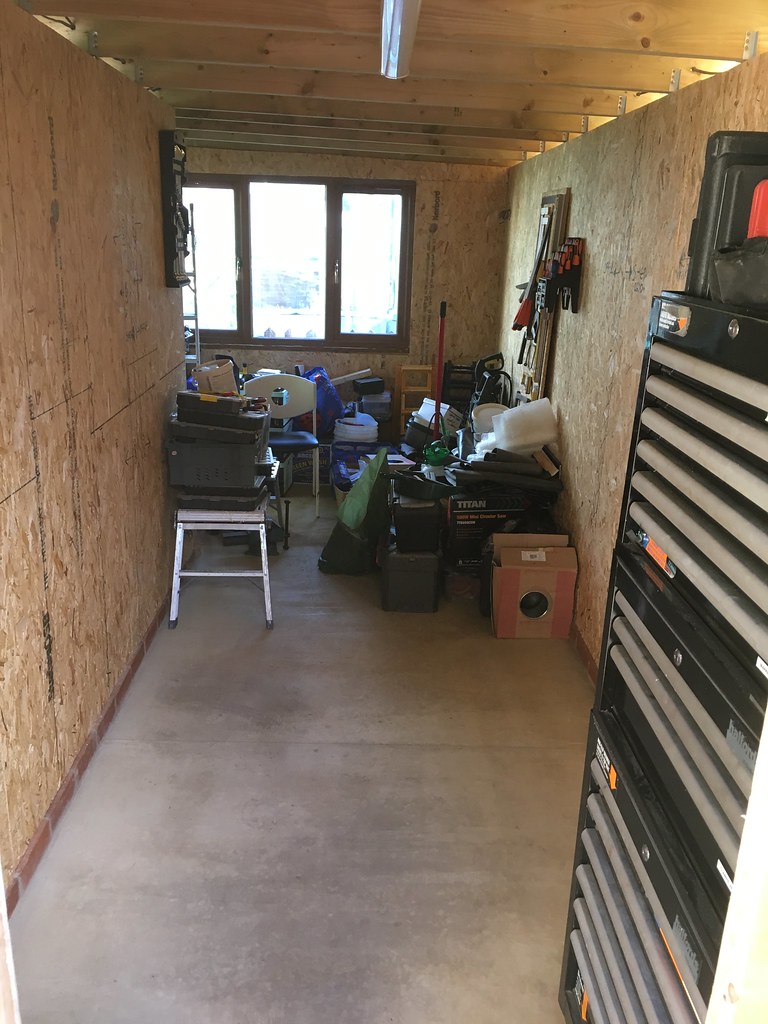
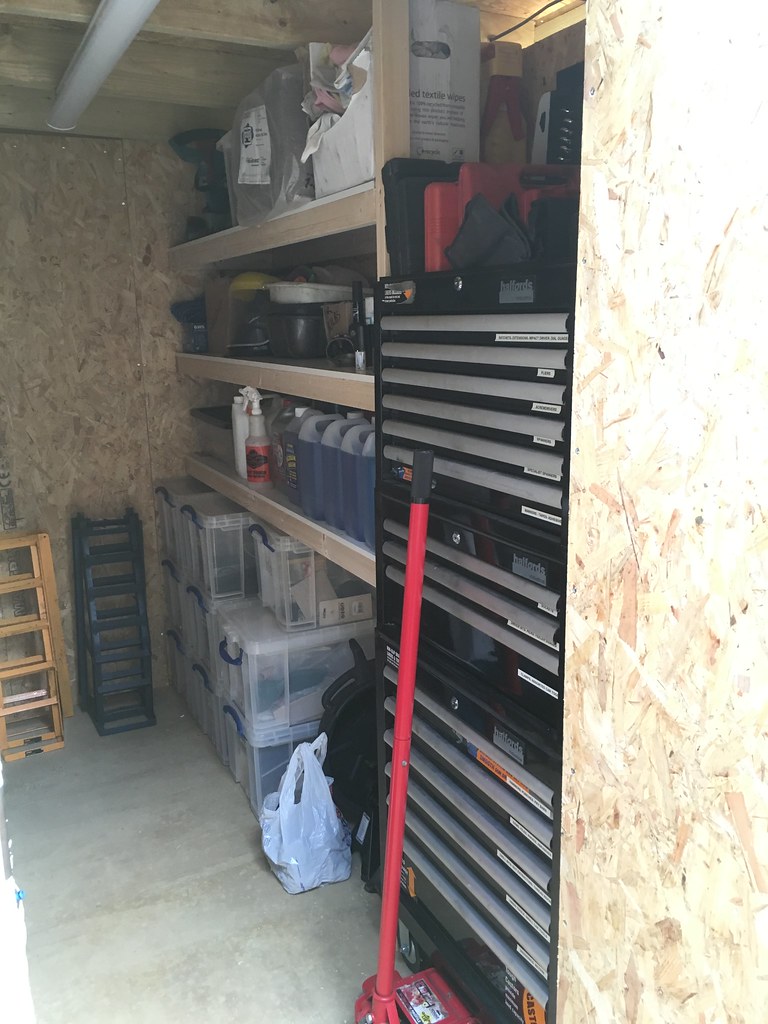
Keen to get the 'office' emptied of all my tools, I started about making some racking for the 'shed'.
 IMG_3390 by Tomoose85, on Flickr
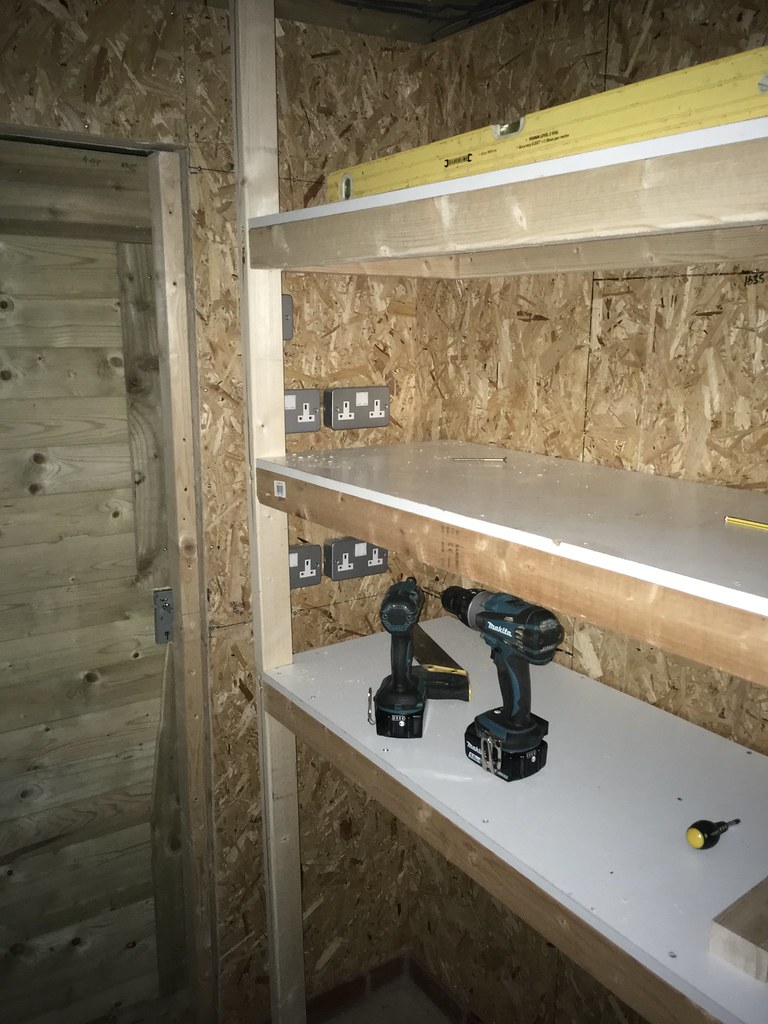
Charging area:
 IMG_3391 by Tomoose85, on Flickr
The stud wall separating the 'office' and the 'shed' was put up
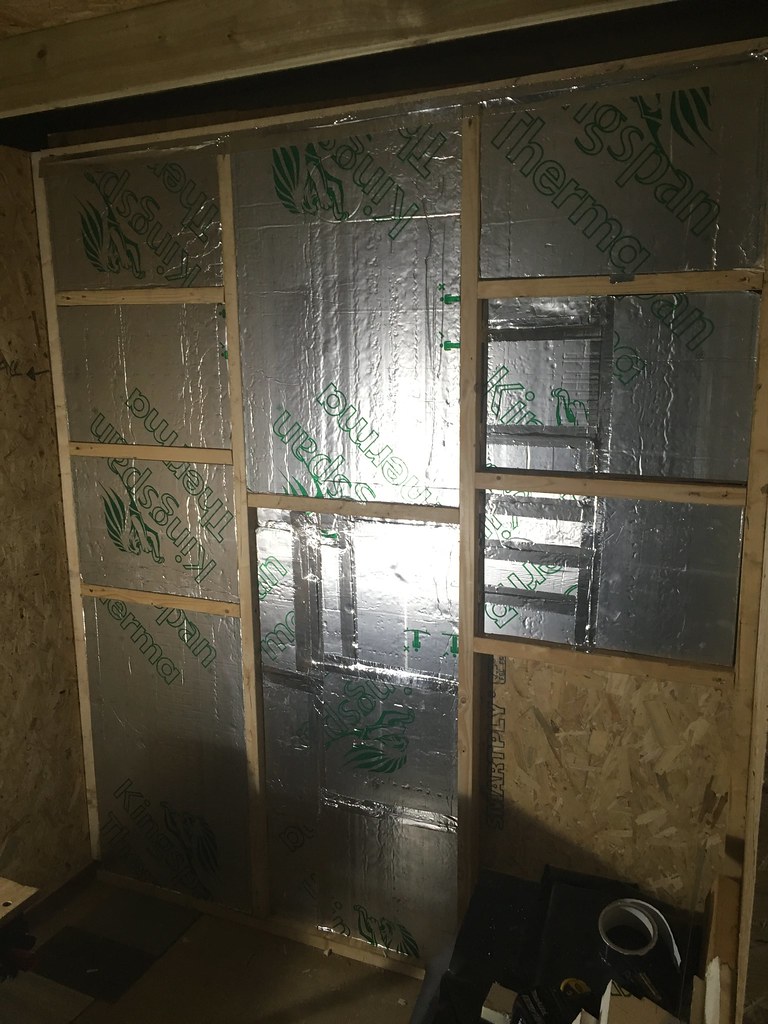 IMG_3408 by Tomoose85, on Flickr
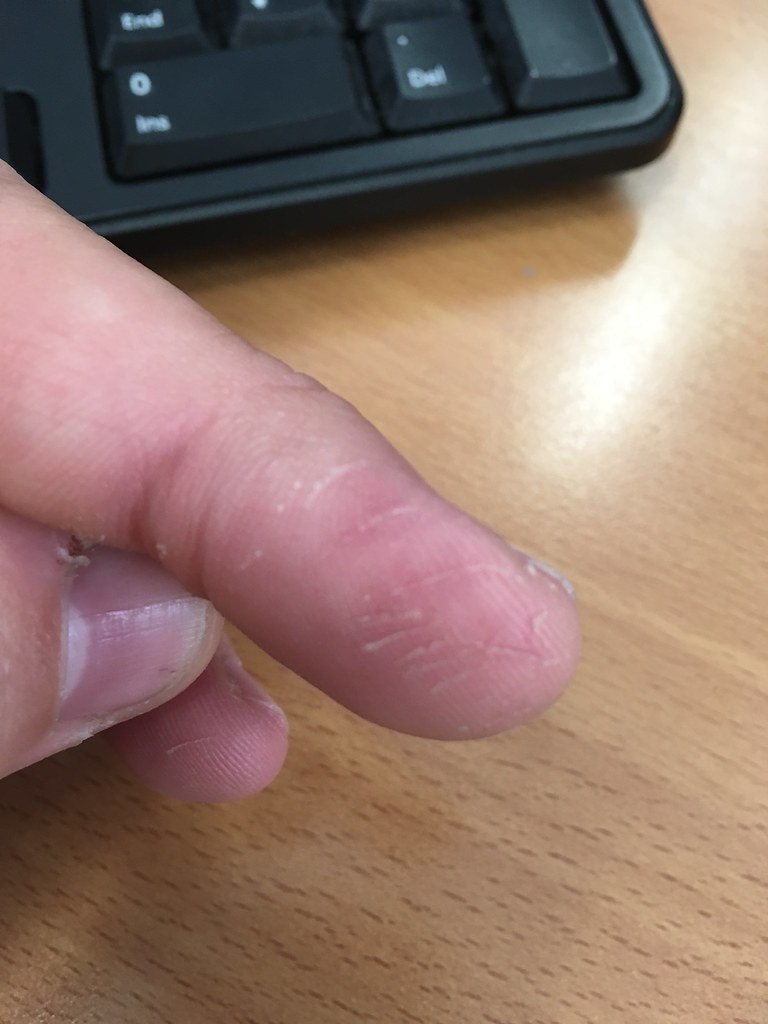
b d foil tape
  - wear gloves folks!
 IMG_3410 by Tomoose85, on Flickr
And filling it with my crap!
 IMG_3445 by Tomoose85, on Flickr
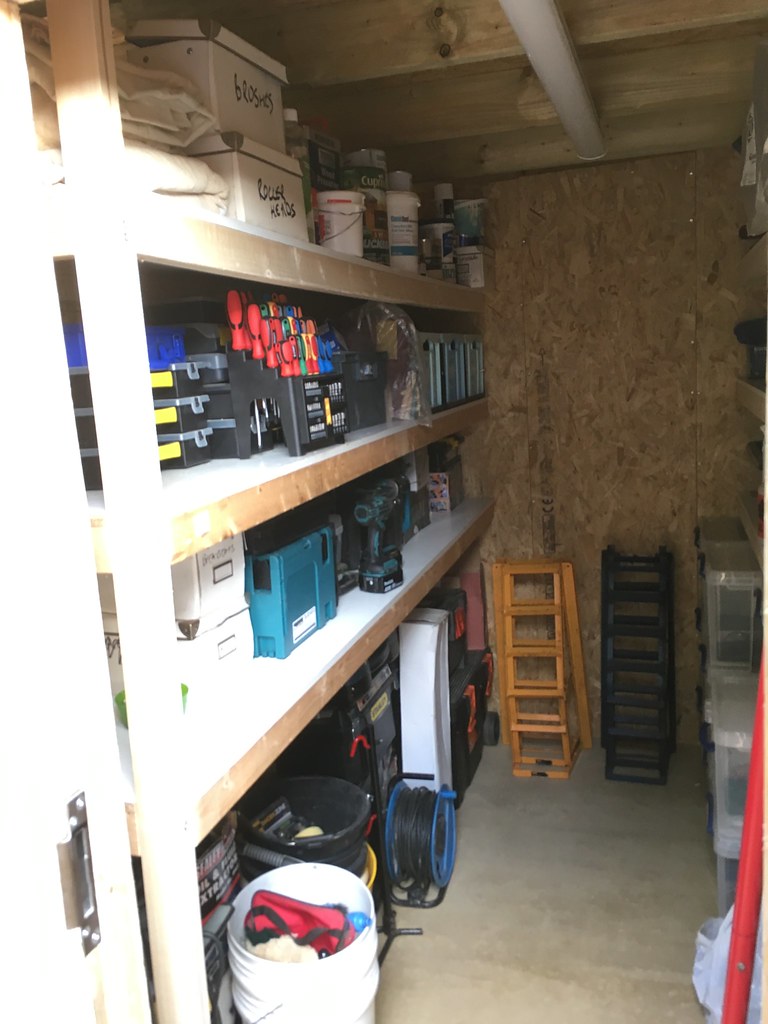 IMG_3446 by Tomoose85, on Flickr
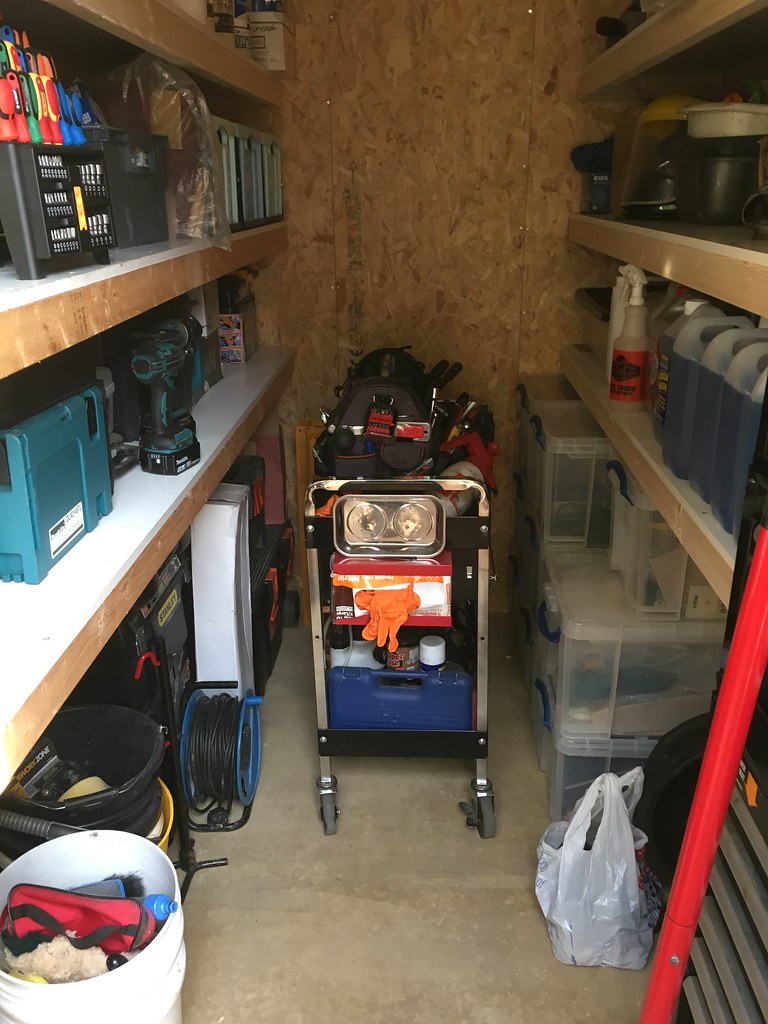 IMG_3448 by Tomoose85, on Flickr
Oh, and back of the door - a place for everything and everything in its place
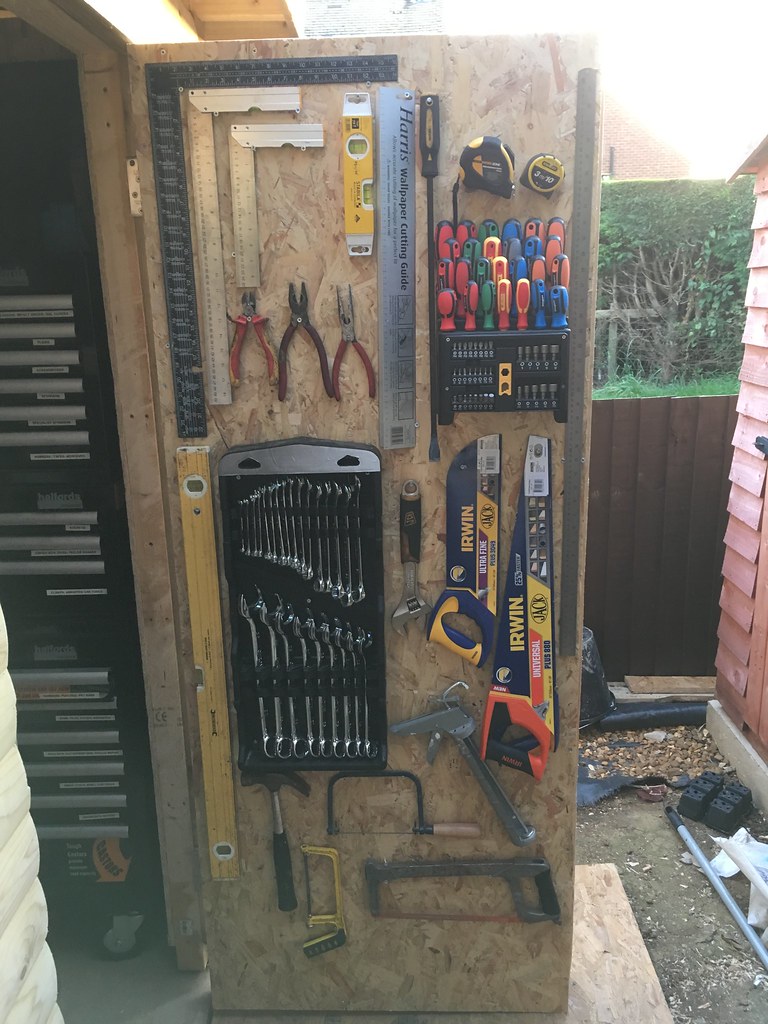 IMG_3451 by Tomoose85, on Flickr
So as it stands - I still need to finish the top pieces of cladding and get the thing painted.
IMG_3248 by Tomoose85, on FlickrI've decided to go with Sadolin Superdec, £84 for a 5l tin at Crown Decorating Centres, but found it for £60 online, so 10l ordered. My wife chose Antler Brown, and I think it will look quite nice.
This was the picture my wife liked:
fullsizeoutput_45b8 by Tomoose85, on FlickrAnd a tester piece
IMG_3305 by Tomoose85, on FlickrIMG_3306 by Tomoose85, on FlickrNext up was to cut out the 'shed' door. I used a reciprocating saw for this, and it was tricky to keep the cut straight. I wouldn't do it this way again to be honest as the finish is a bit disappointing. Oh well at least it won't really be seen!
IMG_3442 by Tomoose85, on FlickrThe gap is quite big as the door is 120mm thick!
I fit a capping rail above the door to keep water out as best as possible.
IMG_3359 by Tomoose85, on FlickrIMG_3357 by Tomoose85, on FlickrLovely heavy duty ball bearing parliament hinges
IMG_3368 by Tomoose85, on FlickrDoor handle fitted. I will be replacing the top piece of cladding on the door as the cutline isn't great.
IMG_3443 by Tomoose85, on FlickrAll stiffened up with some OSB.
IMG_3444 by Tomoose85, on FlickrAnd starting to take shape!
IMG_3378 by Tomoose85, on FlickrIMG_3380 by Tomoose85, on FlickrKeen to get the 'office' emptied of all my tools, I started about making some racking for the 'shed'.
IMG_3390 by Tomoose85, on FlickrCharging area:
IMG_3391 by Tomoose85, on FlickrThe stud wall separating the 'office' and the 'shed' was put up
IMG_3408 by Tomoose85, on Flickrb
d foil tape - wear gloves folks!IMG_3410 by Tomoose85, on FlickrAnd filling it with my crap!
IMG_3445 by Tomoose85, on FlickrIMG_3446 by Tomoose85, on FlickrIMG_3448 by Tomoose85, on FlickrOh, and back of the door - a place for everything and everything in its place
IMG_3451 by Tomoose85, on FlickrSo tonight I have mostly been installing plasterboard. So far so good I think.
 IMG_3453 by Tomoose85, on Flickr
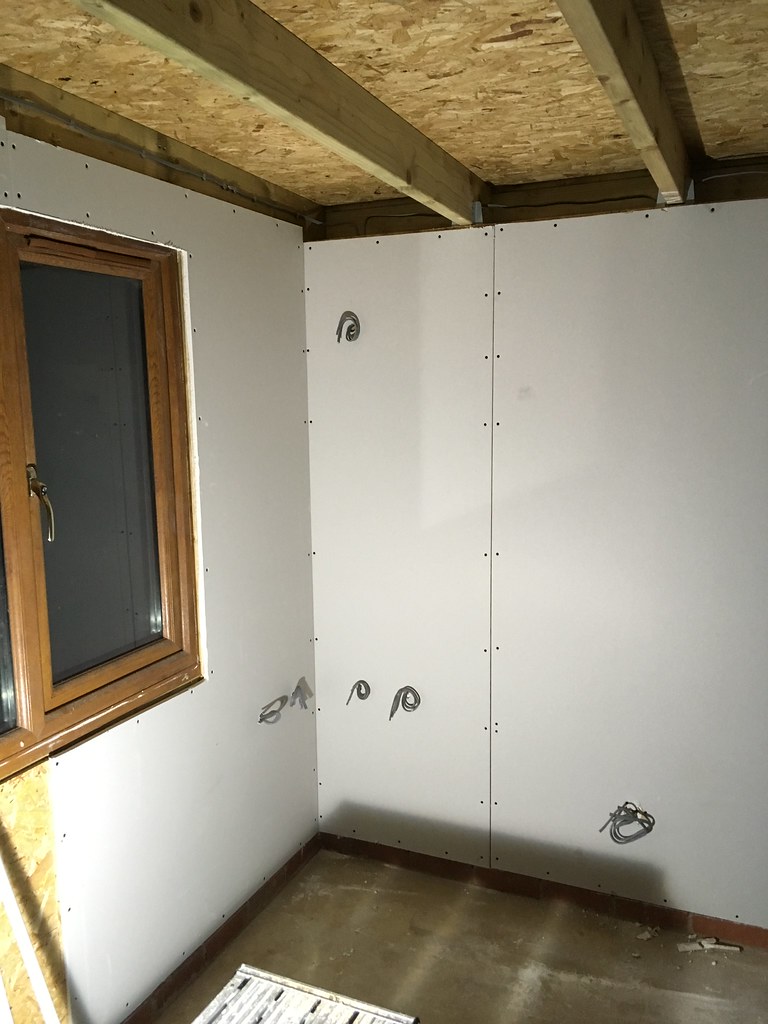 IMG_3454 by Tomoose85, on Flickr
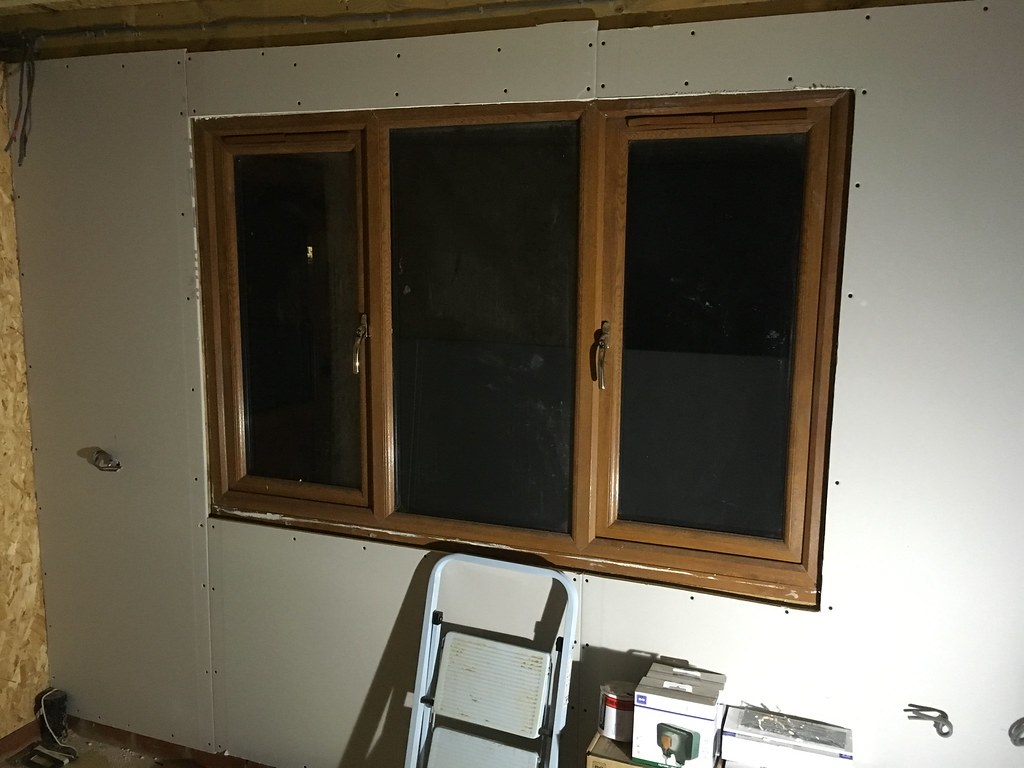 IMG_3456 by Tomoose85, on Flickr
 IMG_3458 by Tomoose85, on Flickr
Oh, and I'm getting desperate for an electrician!! The only person to quote so far is £1213+VAT, which seems really very expensive to me considering first fix is done. Happy to pay a PHer proper money if there are any electricians on the forum?
Cheers, and comments welcome as always.
IMG_3453 by Tomoose85, on FlickrIMG_3454 by Tomoose85, on FlickrIMG_3456 by Tomoose85, on FlickrIMG_3458 by Tomoose85, on FlickrOh, and I'm getting desperate for an electrician!! The only person to quote so far is £1213+VAT, which seems really very expensive to me considering first fix is done. Happy to pay a PHer proper money if there are any electricians on the forum?
Cheers, and comments welcome as always.
gmaz said:
You seem to be pretty handy at DIY (understatement of the year) so how come you are not tackling most of the electrics yourself, apart from the CU connection?
I’d be quite happy to do the lot, but legally you must be “competent”. It will need testing and signing off for Part P too. Although I’ll be running it all through an extension lead before paying £1500 bloody quid!


PartOfTheProblem said:
Quite timely actually, I moved in last weekend and I'm doing the last finishing touches inside tomorrow. I forgot about this thread, I'll go through my photos and update it over the next few weeks ??
👍 Planning something similar in my garden in the Spring and have enjoyed this thread - would love to see your updates!
Gassing Station | Homes, Gardens and DIY | Top of Page | What's New | My Stuff