DIY Electric Roller Garage Doors
Discussion


VvrooomM said:
Cheap rollers flex easily. They can be pushed in and up enough to get a small person under or a car jack and then you're in. Buy cheap buy twice!!
My father had a jewellery shop with the heaviest duty steel roller shutter available, that was also locked with 3 ground anchors after the first break in - trust me if they want to get in a domestic version they will - in seconds with any of the aluminium ones - they are easily cut with a handsaw !The last time they used a stihl saw and cut through it - the shop was on the main road and the Police took 30 mins to attend.
VvrooomM said:
Cheap rollers flex easily. They can be pushed in and up enough to get a small person under or a car jack and then you're in. Buy cheap buy twice!!
Yes agreed - they are not particularly high security. You can mitigate to an extent by connecting it up as a zone on your house alarm using a magnetic contact like this:https://www.ebay.co.uk/p/Roller-Shutter-Metal-Door...
Belle427 said:
laracer said:
I have fitted two Auto Roll (www.auto-roll.com) double garage doors over the last 10 years. They were the cheapest available at the time (last one fitted 3 years ago) and the quality was as good as more expensive ones that I looked at. They were easy to fit (if you are reasonably handy) and you only really need a second body to lift the roller up.
The key to it is to get your measurements right, if you can measure and mount the door on the inside of the opening - it gives you a bit more leeway.
The first one I fitted had a "magic eye" system that worked well, the latest one has a "sensitive" rubber strip - this also works well - personally I wouldn't order one without this protection.
Both doors were/are completely reliable - the only thing to keep in mind is that there are batteries fitted to the sensitive strip (it's a wi-fi system) and they last about 3 years - the door only partially closes when they are done (it can be hand cranked down) - 2 minute job to replace.
I too was happy with my Autoroll, was the cheapest at the time on their ebay shop.The key to it is to get your measurements right, if you can measure and mount the door on the inside of the opening - it gives you a bit more leeway.
The first one I fitted had a "magic eye" system that worked well, the latest one has a "sensitive" rubber strip - this also works well - personally I wouldn't order one without this protection.
Both doors were/are completely reliable - the only thing to keep in mind is that there are batteries fitted to the sensitive strip (it's a wi-fi system) and they last about 3 years - the door only partially closes when they are done (it can be hand cranked down) - 2 minute job to replace.
Made them mistake of buying a commercial style roller shutter which was far too heavy.
I have no clue how to get the old doors off, or dispose of them, can't exactly take them to the tip!


There is a bit of tolerance in the guide rails obviously and you can be slightly out, even on the barrel/floor squareness as depending on the thickness of your rubber seal at the base, this anomaly can be taken out there but better obviously to get the thing dead square all round (as much as you can) ...
Well, what a day!!! My back is ruined. Thanks to the help of a mate they are both up and working!
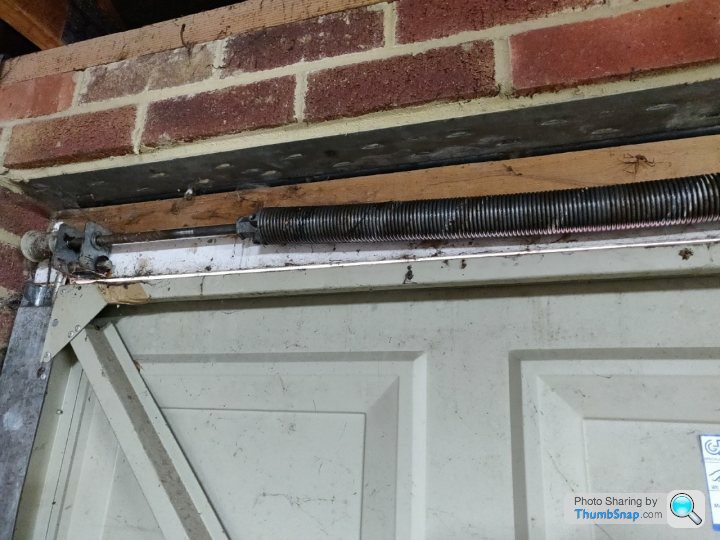
Started by figuring out the dam springs, they weren't as bad as we thought:

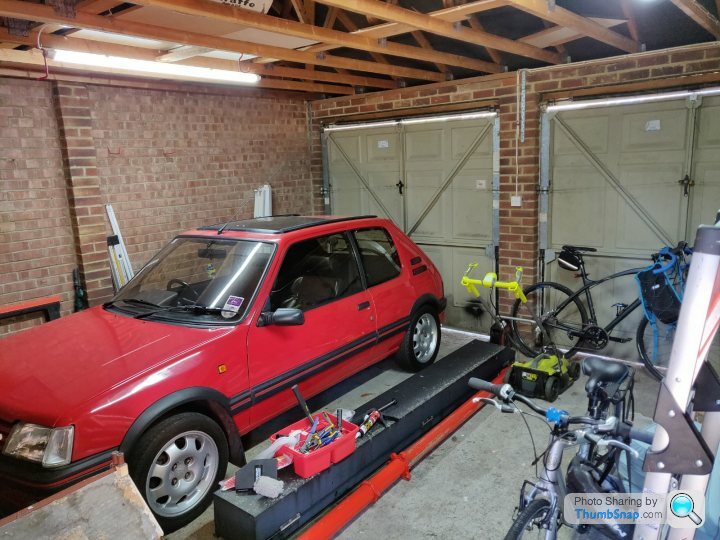
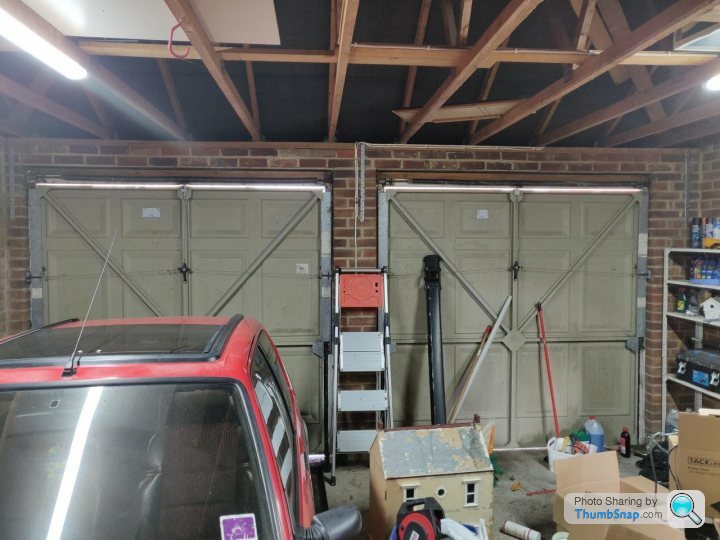
Next task was to get the old doors off, not too bad, just disconnect the arms and lift out.
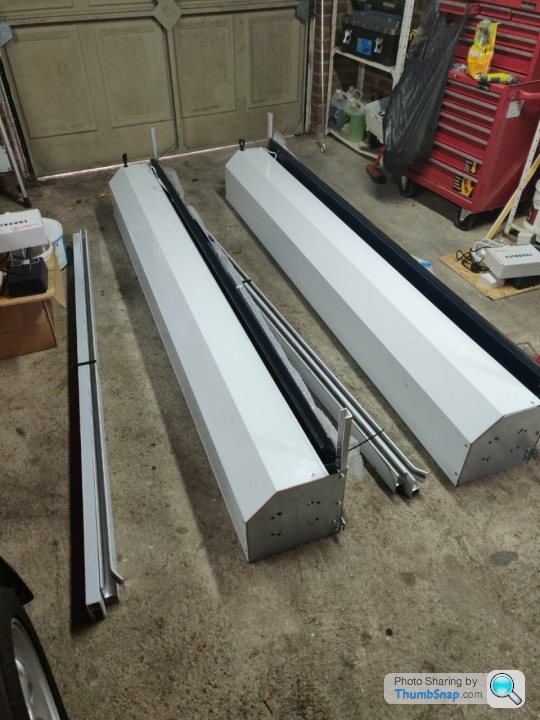
We then slotted the new guide rails to the main unit, guided the shutter in, bolted and lifted in to place.
The old door frames were a pain, seems the builders screwed through the frame and sunk the screws into wet mortar Luckily with the pursuading tool we got them off. We also had to leave the top bit of the frame as the soffets attach to them, but no problem apart from one door we had to support the frame top with brackets.
Also needed to chisel a little of the concrete floor away one side as it wasn't level.
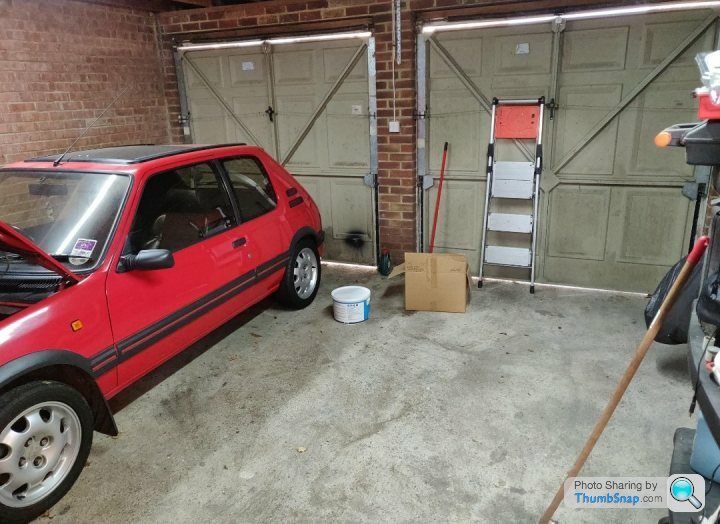
Anyway, first door in place:


On to the next door which was easier, apart from the top of the old frame as mentioned.

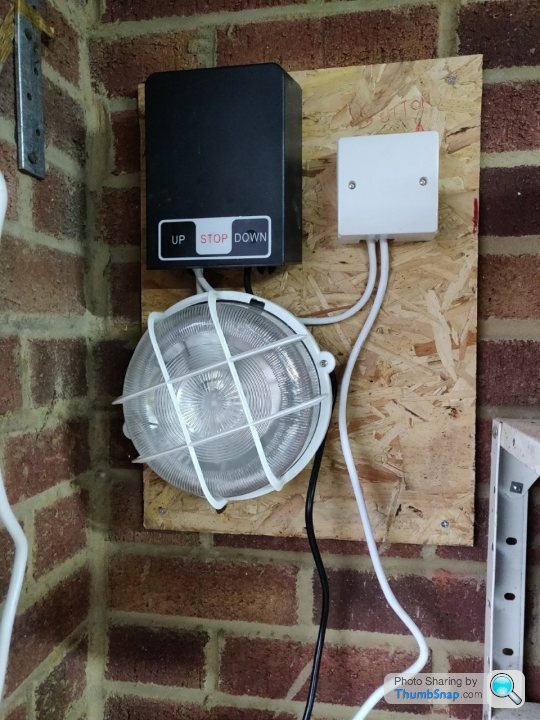
Screwed the already programmed control unit and light boards to the wall (i'll remount or paint later):
Now I don't have sockets there yet, that's next week, but could operate the doors once wired in as they just use a regular plug. The doors are already set to a open and close level for you, worked brilliantly.
The finished article!


Knackered, but very pleased and saved myself a lot of ££££.
Started by figuring out the dam springs, they weren't as bad as we thought:
Next task was to get the old doors off, not too bad, just disconnect the arms and lift out.
We then slotted the new guide rails to the main unit, guided the shutter in, bolted and lifted in to place.
The old door frames were a pain, seems the builders screwed through the frame and sunk the screws into wet mortar
Luckily with the pursuading tool we got them off. We also had to leave the top bit of the frame as the soffets attach to them, but no problem apart from one door we had to support the frame top with brackets.Also needed to chisel a little of the concrete floor away one side as it wasn't level.
Anyway, first door in place:
On to the next door which was easier, apart from the top of the old frame as mentioned.
Screwed the already programmed control unit and light boards to the wall (i'll remount or paint later):
Now I don't have sockets there yet, that's next week, but could operate the doors once wired in as they just use a regular plug. The doors are already set to a open and close level for you, worked brilliantly.
The finished article!
Knackered, but very pleased and saved myself a lot of ££££.

Gassing Station | Homes, Gardens and DIY | Top of Page | What's New | My Stuff