Residuals, Man Maths and a 540C
Discussion


Craigwww said:
Your're right, muscle is heavier than fat, so my six pack might be weighing me down... and my hair.
Always makes me laugh when a manufacturer goes to great lengths to shave a few pounds off a car here, there and everywhere and then the owner sits in it and negates all their workRamboLambo said:
Craigwww said:
Your're right, muscle is heavier than fat, so my six pack might be weighing me down... and my hair.
Always makes me laugh when a manufacturer goes to great lengths to shave a few pounds off a car here, there and everywhere and then the owner sits in it and negates all their workAlso when I checked in for a flight after a chap who must have weighed 30 stone+ and they then tried to charge me extra because my suitcase was 2 kg over the limit.....
Ferruccio said:
Even more true in relation to bicycles and motorbikes.
Also when I checked in for a flight after a chap who must have weighed 30 stone+ and they then tried to charge me extra because my suitcase was 2 kg over the limit.....
Nothing worse, imagine being the poor soul that's got to sit next to him Also when I checked in for a flight after a chap who must have weighed 30 stone+ and they then tried to charge me extra because my suitcase was 2 kg over the limit.....

justin220 said:
Great skills. What tools did you use out of interest?
Thanks but if you were to look closely, you can see certain artefacts/indicators of ham-fistedness. And for the sake of honesty, there are no doubt some PH PSD gurus who will, if they're kind, not cringe at the very basic methods I outline below!However, it was Photoshop (CS4), using various selection methods: lasso (vector & freehand) + marquee, to select areas, copy/paste into a new layer, apply a mask and use the gradient tool to fade here and there after applying multiple masks.
Repeated this method to duplicate parts of the image, in order to 'paste' them over the unwanted areas, then carefully erased parts of the new layer away to allow the wanted subject area below to come though, and to remove unnecessary areas of the copied parts.
Also, the duplicated areas had their edges softened with a modified eraser setting (ie, hardness reduced, small diameter).
Clone tool used in other areas to clone parts of the background, in order to create foundation to layer on top of. Some layers were darkened slightly to allow them to blend in to their new location. Opacity of layers adjusted here and there to give some transparency where required.
If you zoom in there are plenty of indicators of the rather 'rustic' approach I used to uproot some of the trees and bushes and transplant them elsewhere to mask the buildings etc.
For instance, the outline of the F50 is slightly blurred on the upper windscreen area and nearby roof outline, due to not taking enough care with an appropriate tool/settings.
But overall (as long as I keep quiet) seems I can get away with it. If I wasn't so lazy I would have signed up for a Yahoo account in order to download/duplicate the full res version from flickr to work on that for much better results - but as it was, grabbed the lower res thumbsnap version.
justin220 said:
Superb, thanks for that detailed write up. I'll have a go.
I tend to do quick fixes with the blemish tool but appreciate it is a bit crude. I really need to practice a bit more with layers and masking
I was mesmerised by the healing/blemish tool when it first came out. It was a revelation - it's an incredibly useful tool.I tend to do quick fixes with the blemish tool but appreciate it is a bit crude. I really need to practice a bit more with layers and masking
However, rather than working on the image as a whole, working on selected areas brought into a new layer will open up a new way of working, new results and possibilities (I remember when layers and transparency were introduced to photoshop - v4 if I recall - that was a milestone) - very definitely worth exploring. I suppose you could say it's like removing panels from a car to paint them more effectively. wrap them or something.
Also, my rather clumsy approach doesn't take into account the recent versions of Photoshop which have tools enabling the easy removal of unwanted elements/areas in pics - but being stuck in the relative PS dark ages, I'm not familiar enough to give any useful pointers.
With a bit of luck perhaps someone more up to date can advise. Good luck!
Incidentally, feel free to put any questions up if you want some clarification on anything I've mentioned, or other aspects of photoshop (I might not be much use if you've got a more up to date version).
Edited by ReverendCounter on Friday 11th May 12:03
justin220 said:
Nice one thanks. I'll have a shot.
Are you essentially cutting out what you want onto a new layer, and then working on the back layer behind it? Making the corrections on the back layer?
Yes and or no - this is the thing with photoshop, there are always several ways to end up with a similar result. Let me explain.Are you essentially cutting out what you want onto a new layer, and then working on the back layer behind it? Making the corrections on the back layer?
(and apologies if I post something ridiculously obvious)
Assuming there’s a need to remove an unwanted item in a pic - on a more complex area, the approach I would take would be:
Duplicate the entire image you want to work on so you’re working on a copy.
Make life as easy as possible by looking around the pic for areas which are similar to the area around the unwanted item.
Select your chosen area via your preferred method (polygon/freehand lasso, marquee, even pen tool if you need bézier curves - but the pen tool needs a process or two applied to it to make the selection active).
You might want to experiment with the Feather setting, when using the lassos and marquee, to automatically create a ‘blending’ edge or or soft edge to your selection. Then optionally play with the ‘Refine Edge’ submenu/sliders. Just experiment with those at this stage to see how it refines the edge.
I would also check ‘anti alias’ box - gives a more natural edge when you select and copy an area - prevents hard edges, but high res images/selections will still appear hard until you zoom right into the pixels.
So once your area is selected, cmd+C, cmd+V - gets your selection into a new layer.
Then you can drag that layer into the desired location on top of the unwanted item. Don’t worry if it obscures wanted areas.
I would continue this in a rather rough fashion at this stage because you can apply processes to refine these new layers into a coherent new single layer later on.
What I would suggest is, try to identify and copy these new areas from different parts of the pic - which are similar enough to approximately or closely match the immediate areas around the unwanted item - because you’ll probably find there aren’t enough pixels of different values, within a similar range, in the immediate vicinity of the unwanted item you’re going to cover.
What this simply means is, you’ll get artefacts if you’re copying the same areas repeatedly, you’ll see these small groups/patterns of repeated pixels which are a dead giveaway.
To work on the main image/back layer - which isn’t always necessary - what you can do is, use the clone tool to do everything I’ve just said not to do in the rough area of the unwanted item; at this stage some artefacts aren’t too problematic.
Basically you’re putting some rough undercoat down - cloning areas to go over the unwanted item to quickly cover it with similar value pixels (similar parts of the pic) to create this undercoat, roughly blocking out the item.
Then start to take your copied layers and work on those by using the eraser tool to get rid of the part of the new layer that you don’t need, for instance. Experiment with the Eraser tool settings - I would go for Brush rather than block - block is 100% hard edged and meant for quick, rough removal.
Perhaps apply a layer mask (bottom of Layer palette, looks like white circle on landscape rectangle) - work with the Gradient tool on the layer by highlighting/clicking the new chained box which is your mask. you can switch between the image later and the mask by highlighting each in turn to switch between them.
The Gradient tool preset needs to be Name: Back, White, selected by clicking in the button/gradient zone which appears in the contextual menu area and appears once you’re using the Gradient tool. Click and release to apply the grad. you should see the layer fade out or in. Experimentation is the key here.
They’re not destructive, meaning you can go back and re-edit/reapply them - you’re applying them to the mask, not the layer (yet), or delete the mask and create a new one.
Once you’re happy with that particular fade, you can Apply the mask, making those permanent changes to the layer. Create a new one on the same layer, and apply a new fade/new direction to that if you want.
At this stage you could hit cmd+U and adjust the sliders to get your new edited part to match the colour tone/brightness if necessary. You can adjust the Opacity to make it transparent by 0-100% (Layer palette>Opacity box slider.
Keep on building up these new layers on top of the area where the unwanted item was and if you’re reasonably careful, you’ll be able to cover it without anyone knowing there was an unwanted item in the pic.
Then once you’ve Applied all of your masks, got the colour balance/tone/brightness/opacities of your layers nicely coherent - then duplicate them - then I would drag them into order in the layer palette and Merge Down or cmd+E, so the original new layers remain, and the duplicated layers can be merged into one new layer which nicely covers the unwanted item.
However it all depends on complexity of the area you need to cover sometimes very little of the above is necessary and you can simply copy and paste an area, drag in into place, perhaps reshape it with Edit>Transform>the appropriate variant, dragging the handles to slightly enlarge/reduce, or apply a simple mask and fade, to get it to blend into it's new location.
Sometimes, like you’ve referenced, a simple few steps with the right clone/healing tool settings are enough.
But those steps are the methods I’ve used in old photoshop to rebuild a background in a pic, and put new elements into it to mask unwanted items and any resulting any artefacts/rough edits.
Feel free to shout up if there’s anything unclear - might take a day or two to respond.
Oh, one other thing - try to flip the item that you bring into the new layer + location - it's surprising how the eye can pick up duplicated things, once you've trained yourself to look for them - if it's flipped it makes it less easy to spot and your coverage of the unwanted item is less noticeable. And try to work on the highest res version of the main image you've got.
Wow, thanks for that, brilliant details! I'll have a go tonight with a couple of random pictures 
Had to stop last night and catch a couple of pictures of the sunset, a pity I didn't have my camera with me, phone pics only!
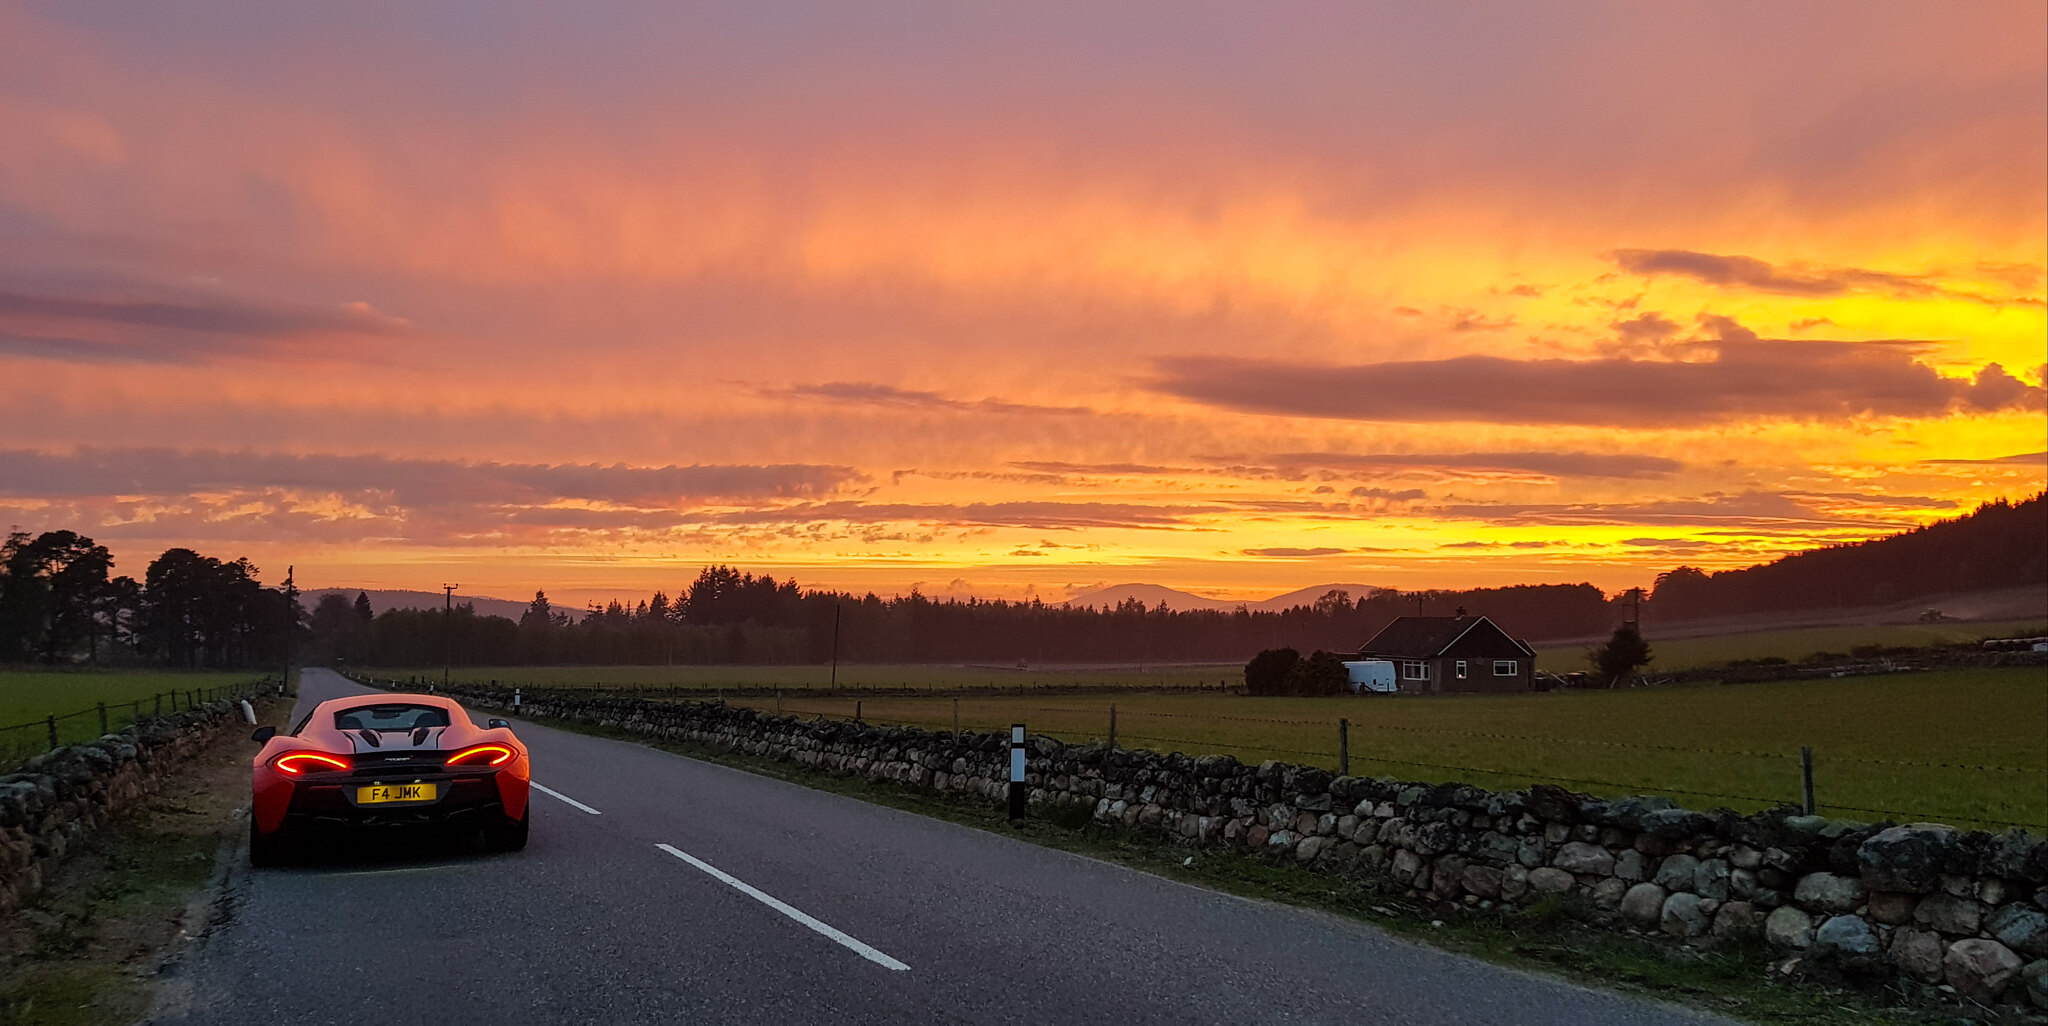 PSX_20180512_214258 by justinking1986, on Flickr
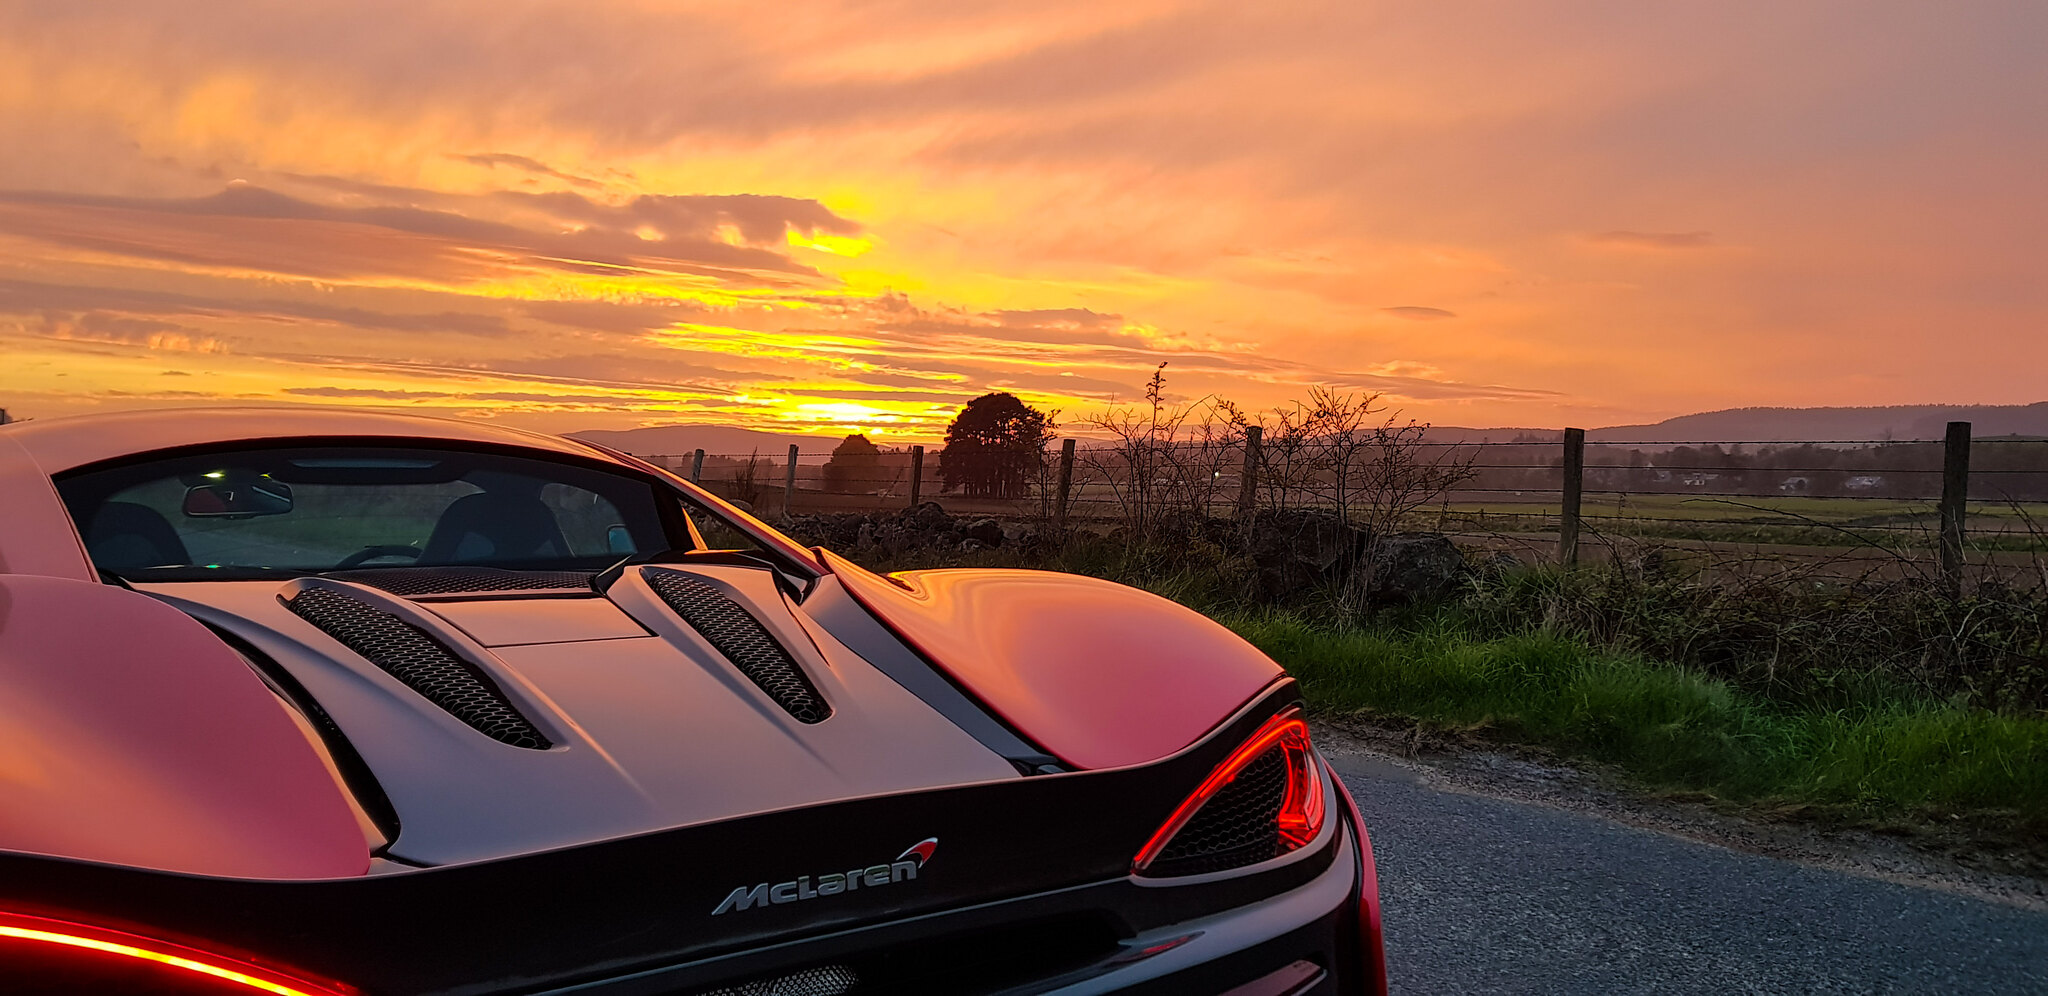 PSX_20180512_214124 by justinking1986, on Flickr
Had to stop last night and catch a couple of pictures of the sunset, a pity I didn't have my camera with me, phone pics only!
PSX_20180512_214258 by justinking1986, on FlickrPSX_20180512_214124 by justinking1986, on FlickrReverendCounter said:
That second one in particular looks great - you're going to have your work cut out if you decide to get rid of the grass verge and fence!
No chance is more likely 
ATC100ASLs said:
Justin I know its unlikely, but are you a professional photographer ? Your eye for a fantastic shot,scene, capturing a moment is superb, phono cam or not, incredible
Thanks! Afraid not, just a keen amateur. Love taking the camera out whenever I get the chance which doesn't happen as often as I'd like. I'll maybe get out for a drive this afternoon and get a couple more I think if I could have any job, it'd be a photographer. Although I can imagine it would quickly lose its appeal if I had to do it every day to pay the bills. Like any job I suppose!
Gassing Station | McLaren | Top of Page | What's New | My Stuff