my noble build thread from across the pond
Discussion


i am a relatively new owner (2 weeks) of chassis #51. wanted to join up here since you guys are really alot more active and have lots of info on this site and alot of diy guys here too.
wanting to share my build. i do all my work myself and can hopefully add some info and diy stuff to the site and other noble owners.
it has been a super busy first couple weeks. car needed a very thorough cleaning and detailing first and foremost, and complete inspection looking for parts needing repair or replacement. i do it to every new car i buy, and well, with the rain here, have still yet to even drive the car! i am sure it will be well worth the wait though!
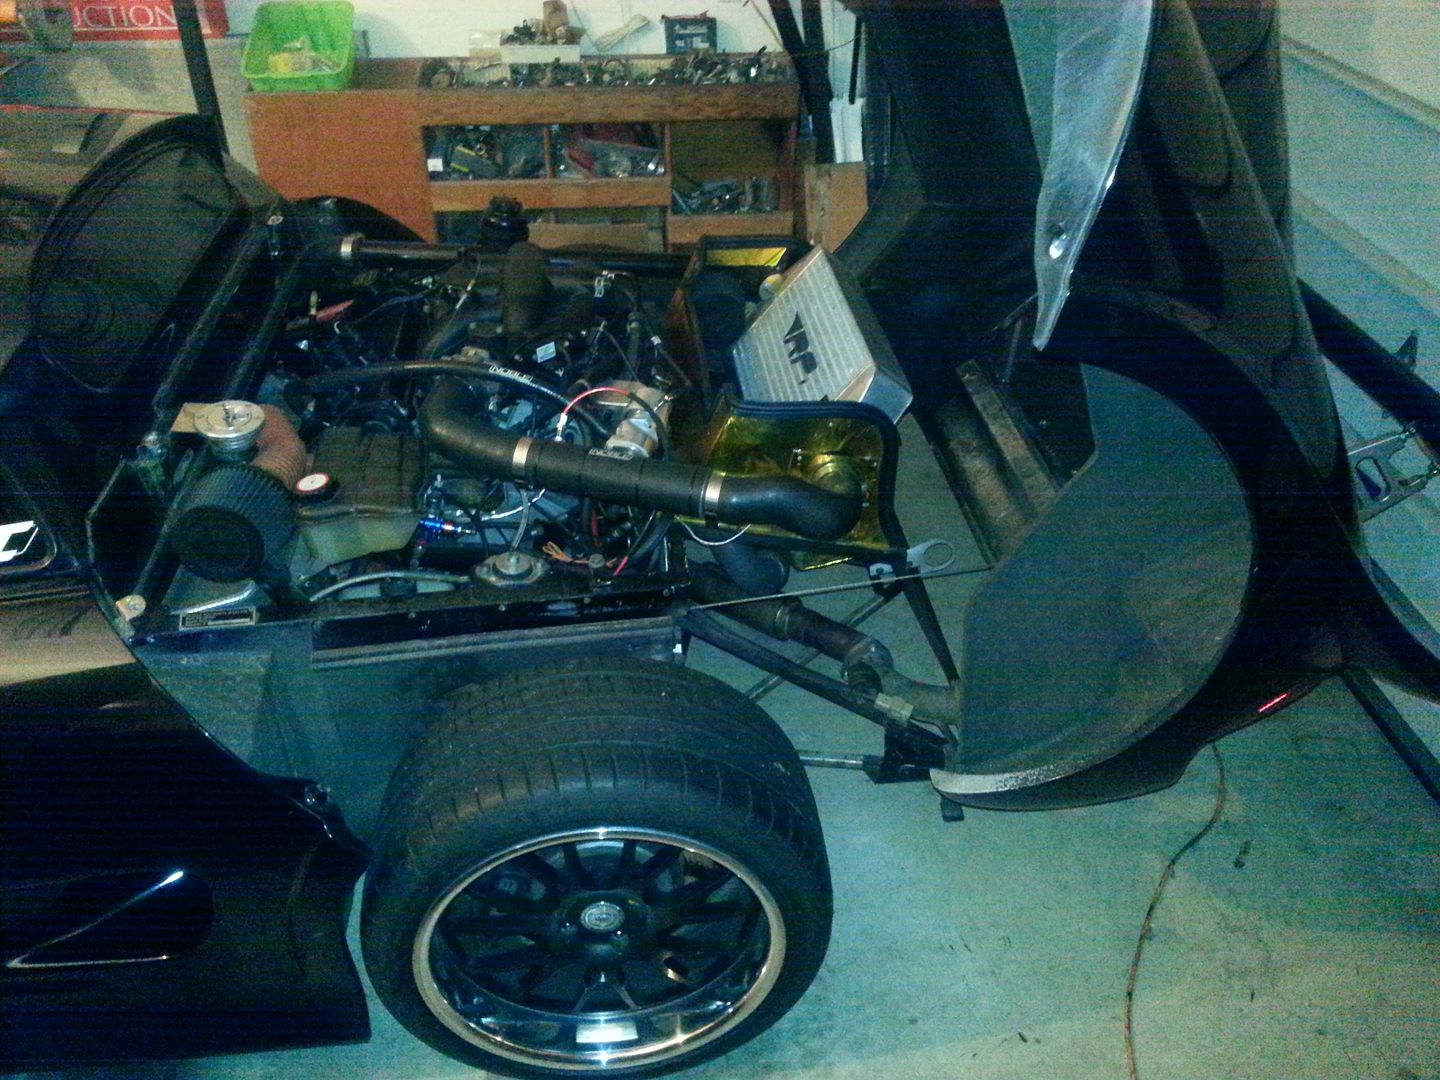
car has already been previously modified extensively. gt28 turbos, custom exhaust, motec m84 ecu, lightweight flywheel, after market clutch, too many gauges, larger intercooler, and other supporting parts. as of right now car is tuned to 400rwhp. engine mods planned are valvesprings with titainium retainers, larger injectors, and start cranking boost up!
also on the list very soon is making all new intercooler charge pipes, make my own exhaust, clean up wiring, custom one off set of 3 piece wheels, and then probably repaint car in spring time. i also noticed alot of the rear bushings are toast on my car, so i will be making a full poly bushing kit for the car. i currently make poly bushings for all of the years and models of dodge vipers, so it will be a pretty easy task with this car.
on with the pics!
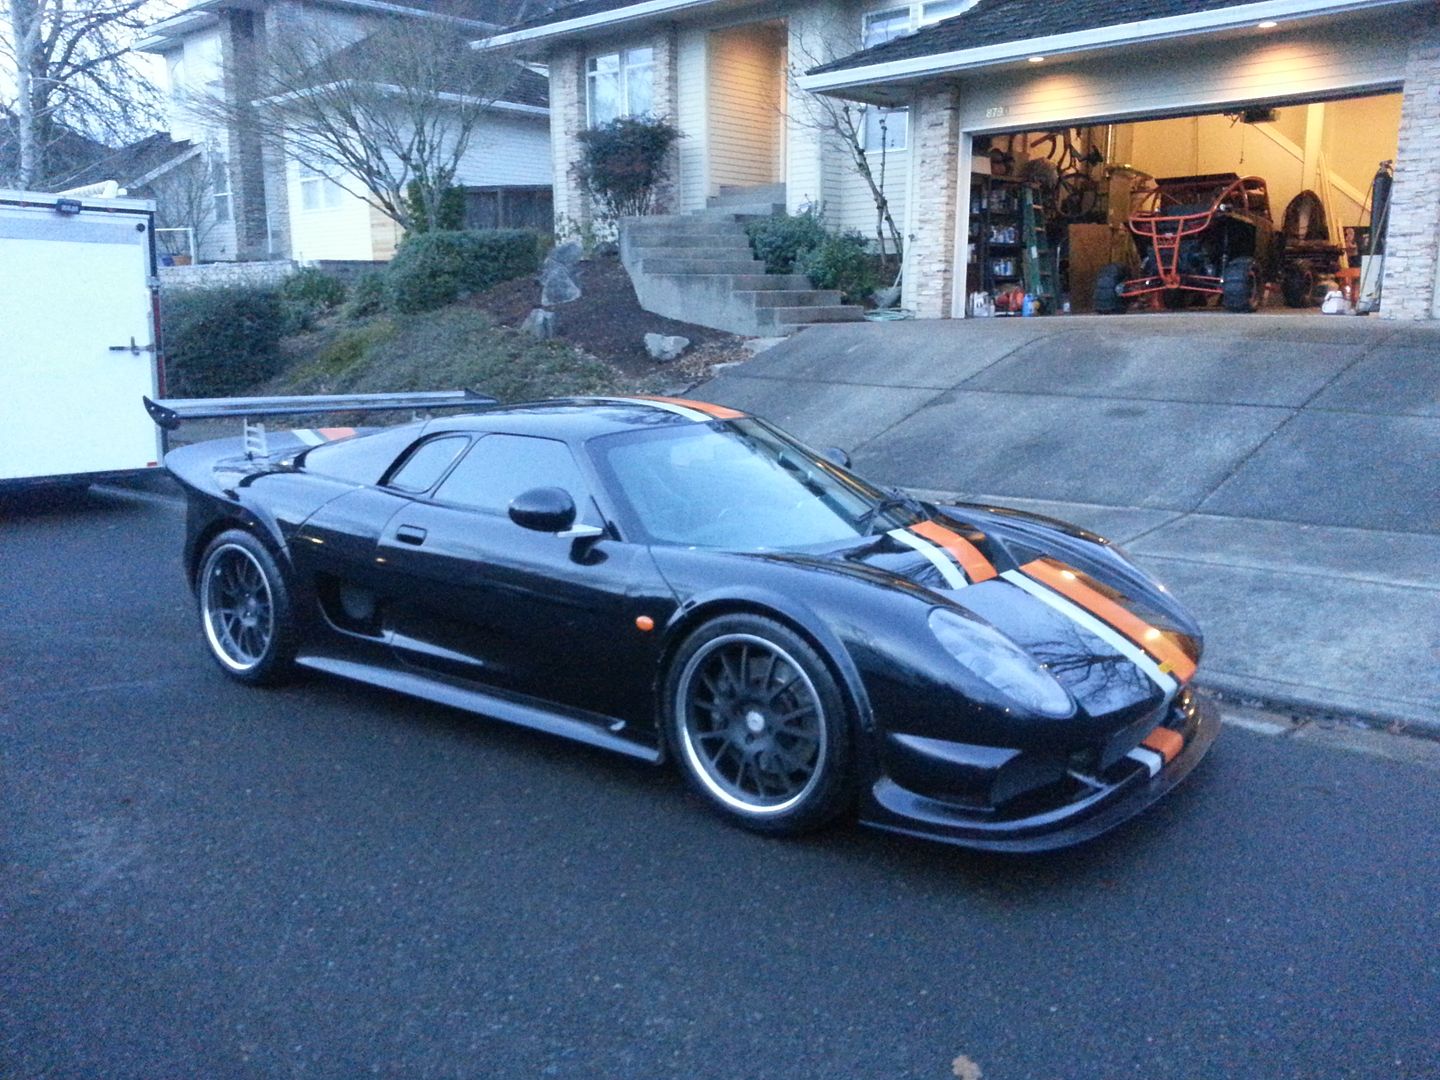
guess i will start with as purchased condition-

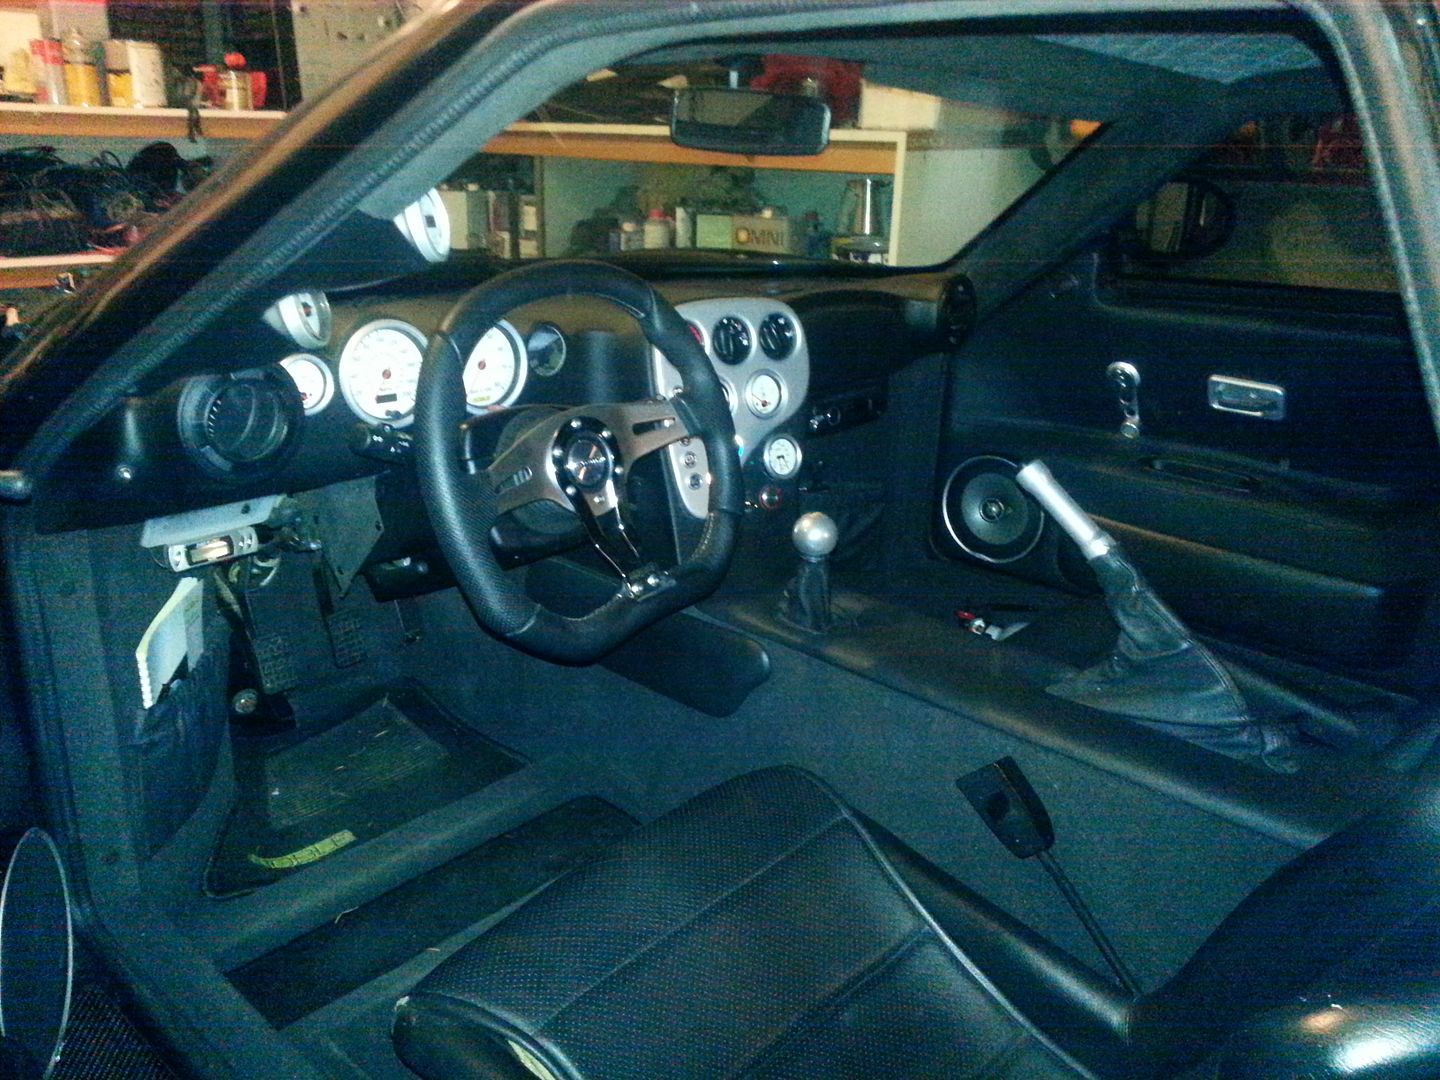
i know, steering wheel is on wrong side, haha.
dirty!
wanting to share my build. i do all my work myself and can hopefully add some info and diy stuff to the site and other noble owners.
it has been a super busy first couple weeks. car needed a very thorough cleaning and detailing first and foremost, and complete inspection looking for parts needing repair or replacement. i do it to every new car i buy, and well, with the rain here, have still yet to even drive the car! i am sure it will be well worth the wait though!
car has already been previously modified extensively. gt28 turbos, custom exhaust, motec m84 ecu, lightweight flywheel, after market clutch, too many gauges, larger intercooler, and other supporting parts. as of right now car is tuned to 400rwhp. engine mods planned are valvesprings with titainium retainers, larger injectors, and start cranking boost up!
also on the list very soon is making all new intercooler charge pipes, make my own exhaust, clean up wiring, custom one off set of 3 piece wheels, and then probably repaint car in spring time. i also noticed alot of the rear bushings are toast on my car, so i will be making a full poly bushing kit for the car. i currently make poly bushings for all of the years and models of dodge vipers, so it will be a pretty easy task with this car.
on with the pics!
guess i will start with as purchased condition-

i know, steering wheel is on wrong side, haha.

dirty!


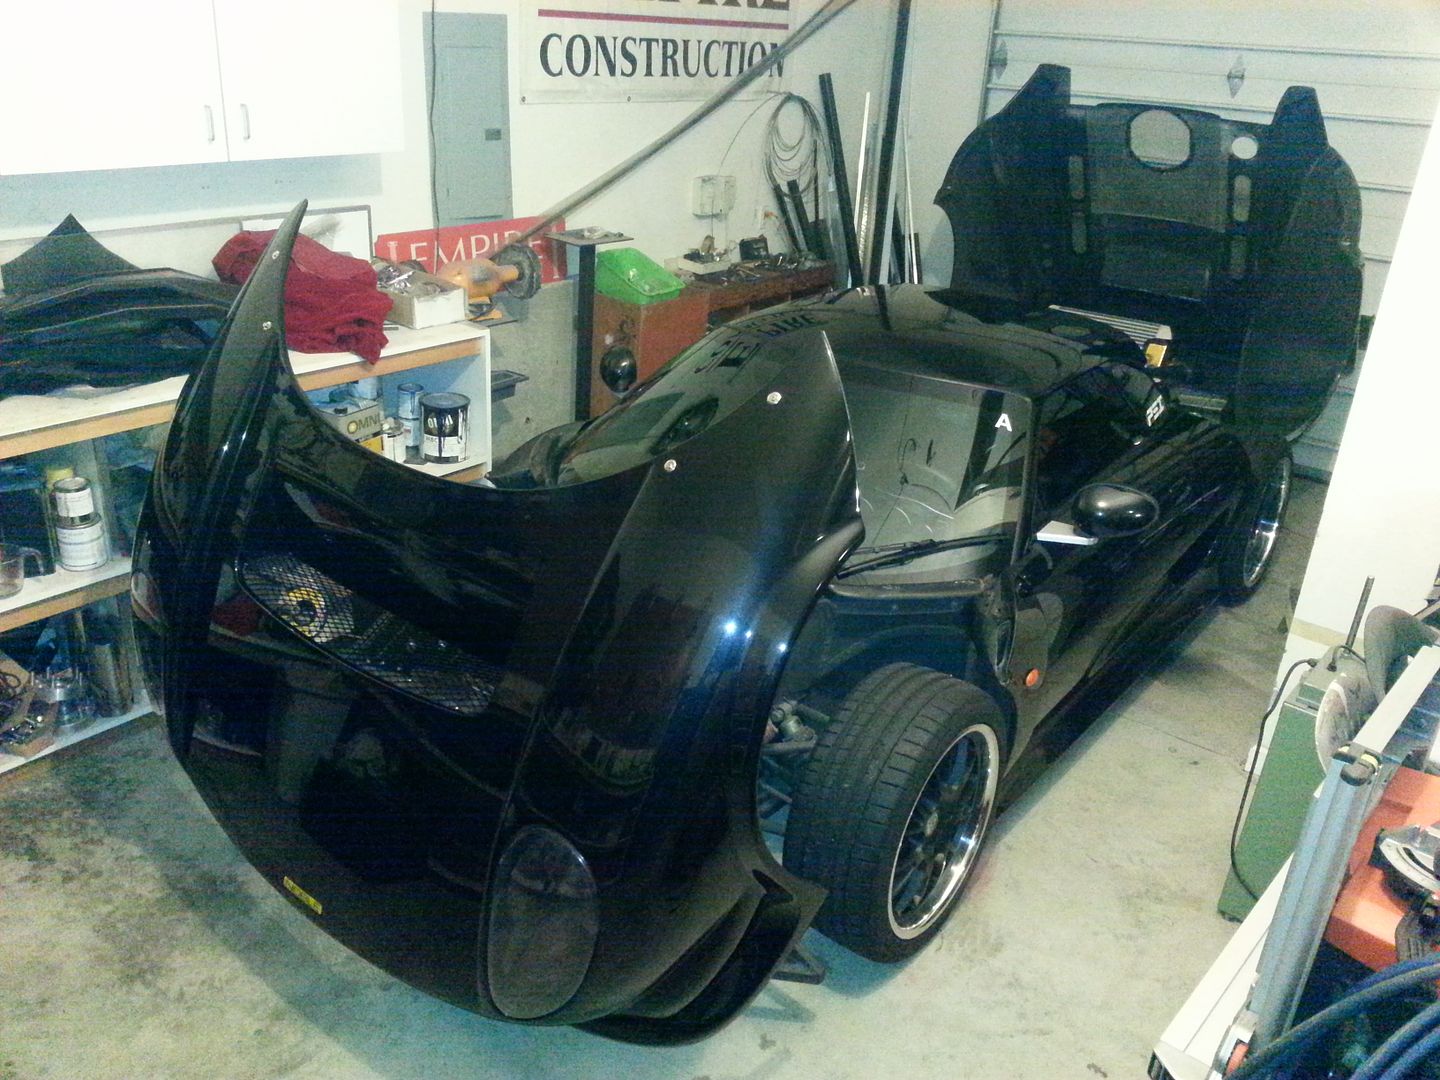
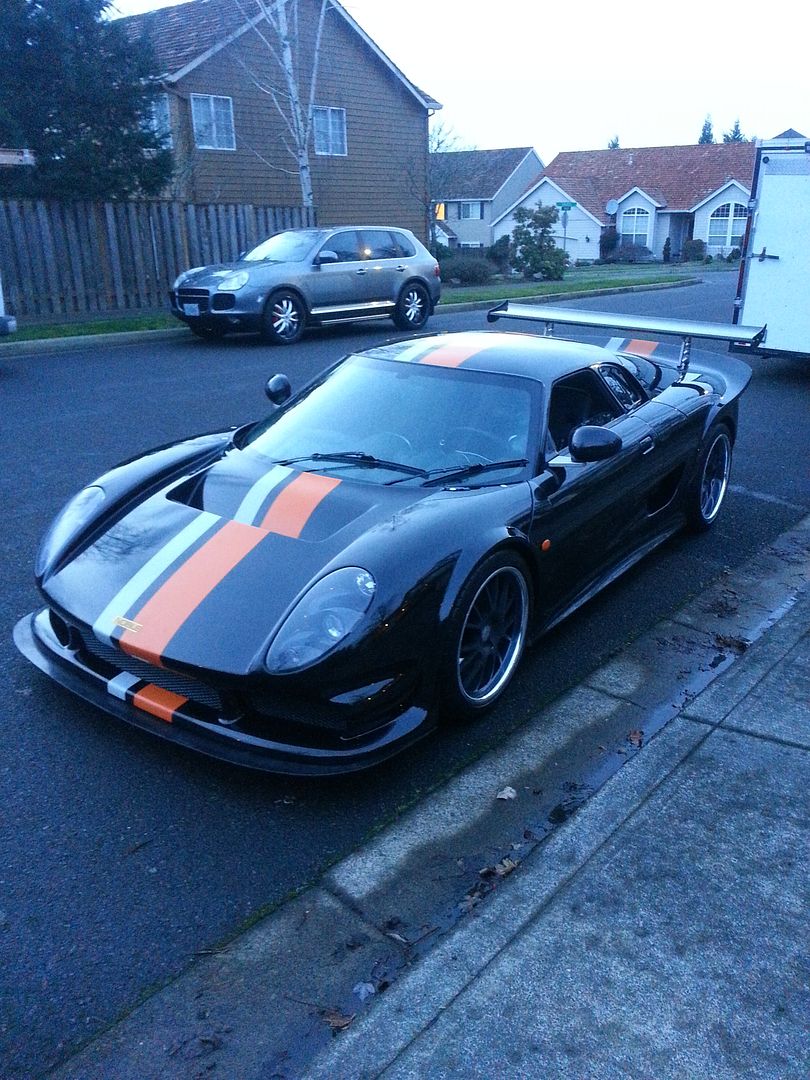
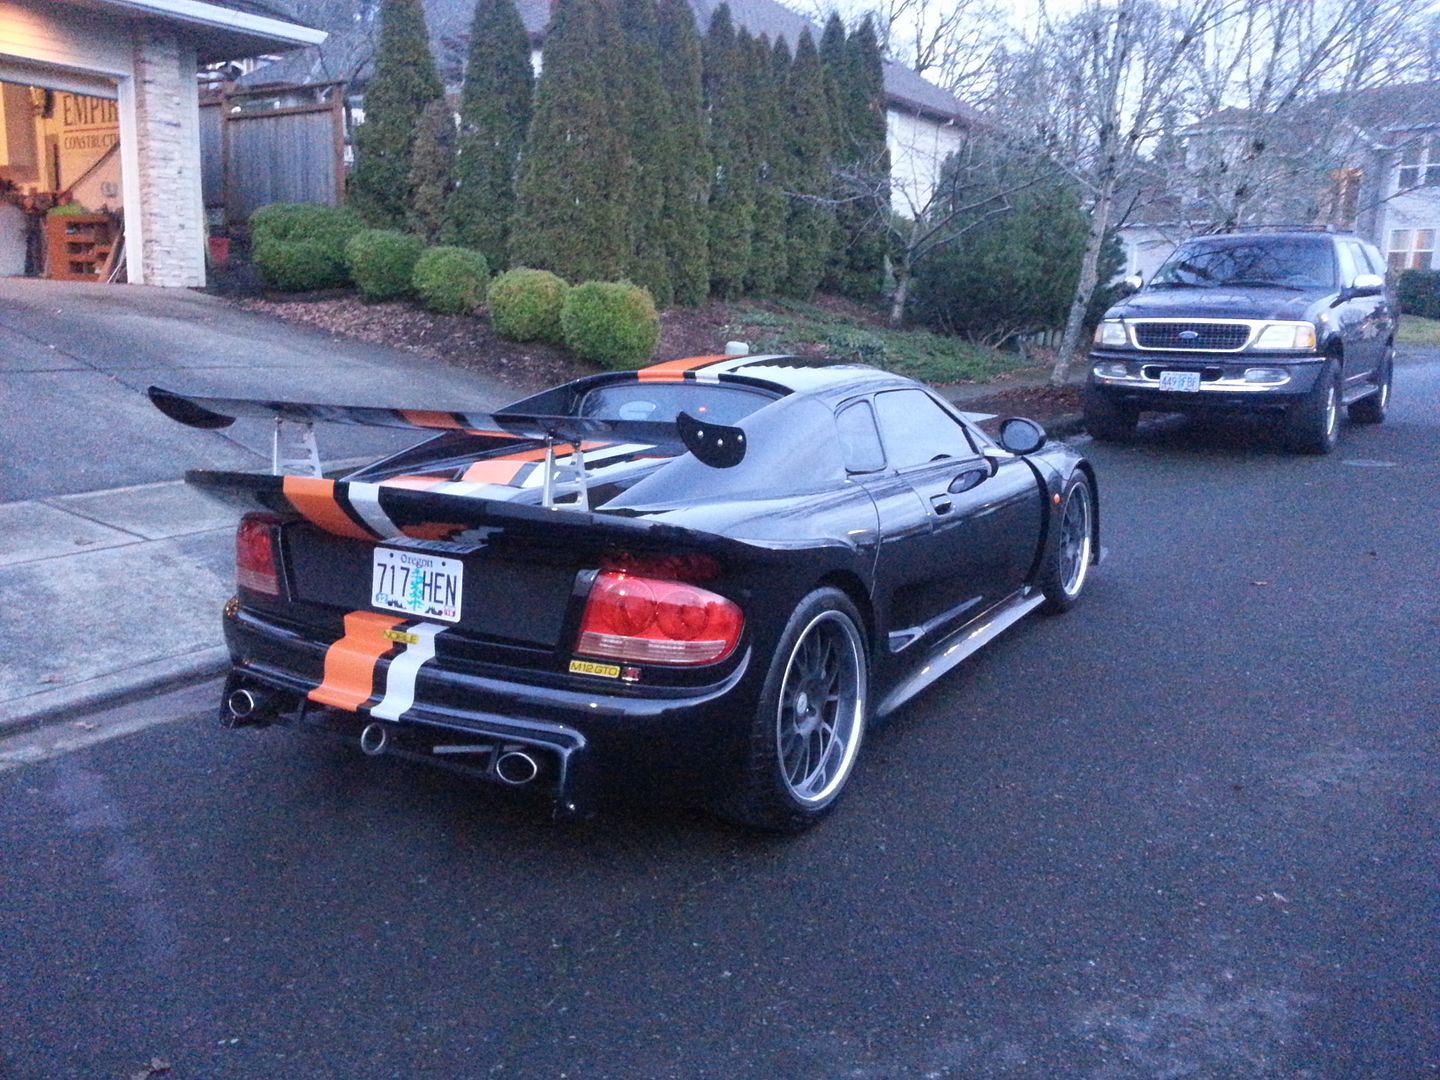
many many hours cleaning. repainted underside of front and rear clams. removed and repainted all inner fender components and new brake ducts. felt the car needed stripes, so kind of playing around with colors before finalizing a new paint job.
made a new front splitter, side splitters, and rear lower winglets. all pieces made from 1/4" abs plastic sheet then covered in 3d cf vinyl. the abs is tough as nails and easy to form with a heat gun and some patience.
very simple side splitters ready for covering.
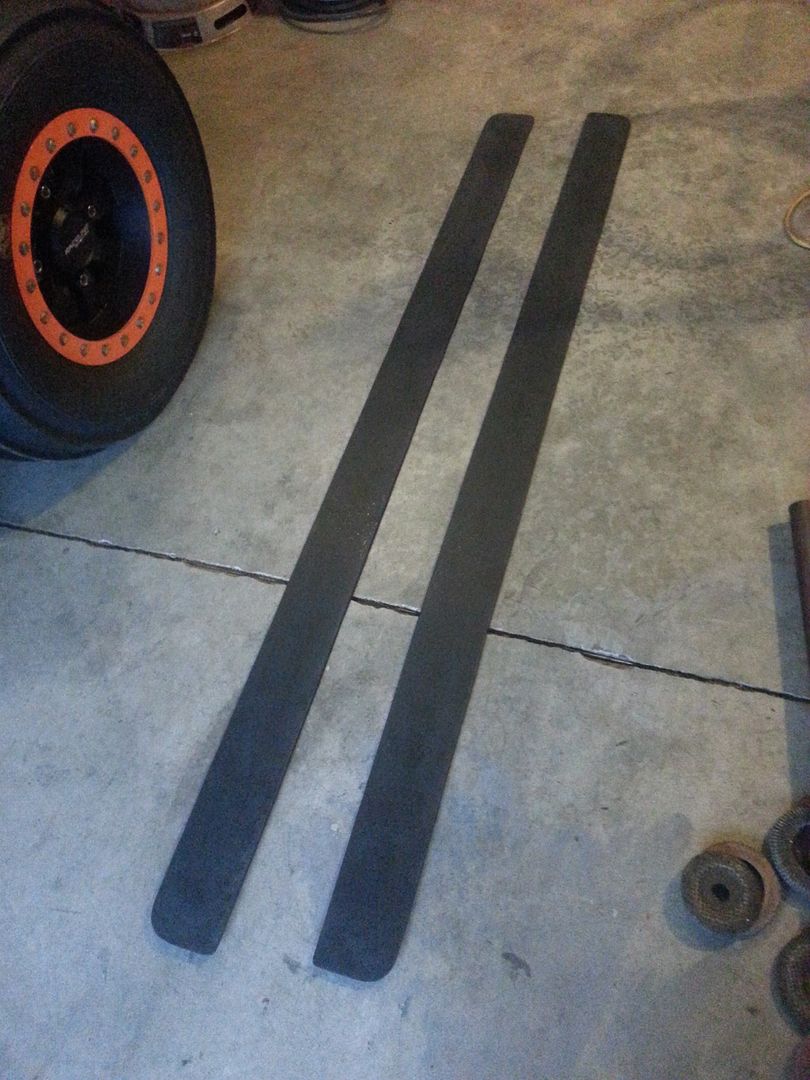
front splitter marked and ready to be cut out.
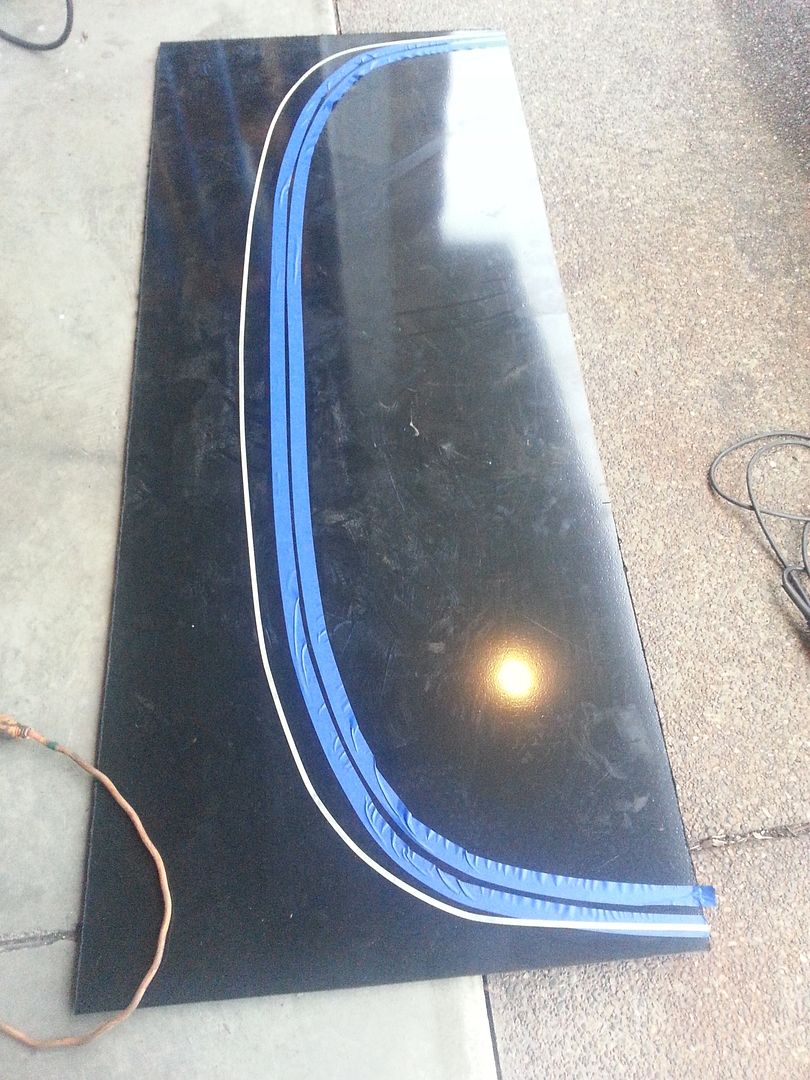
made a new front splitter, side splitters, and rear lower winglets. all pieces made from 1/4" abs plastic sheet then covered in 3d cf vinyl. the abs is tough as nails and easy to form with a heat gun and some patience.

very simple side splitters ready for covering.


front splitter marked and ready to be cut out.


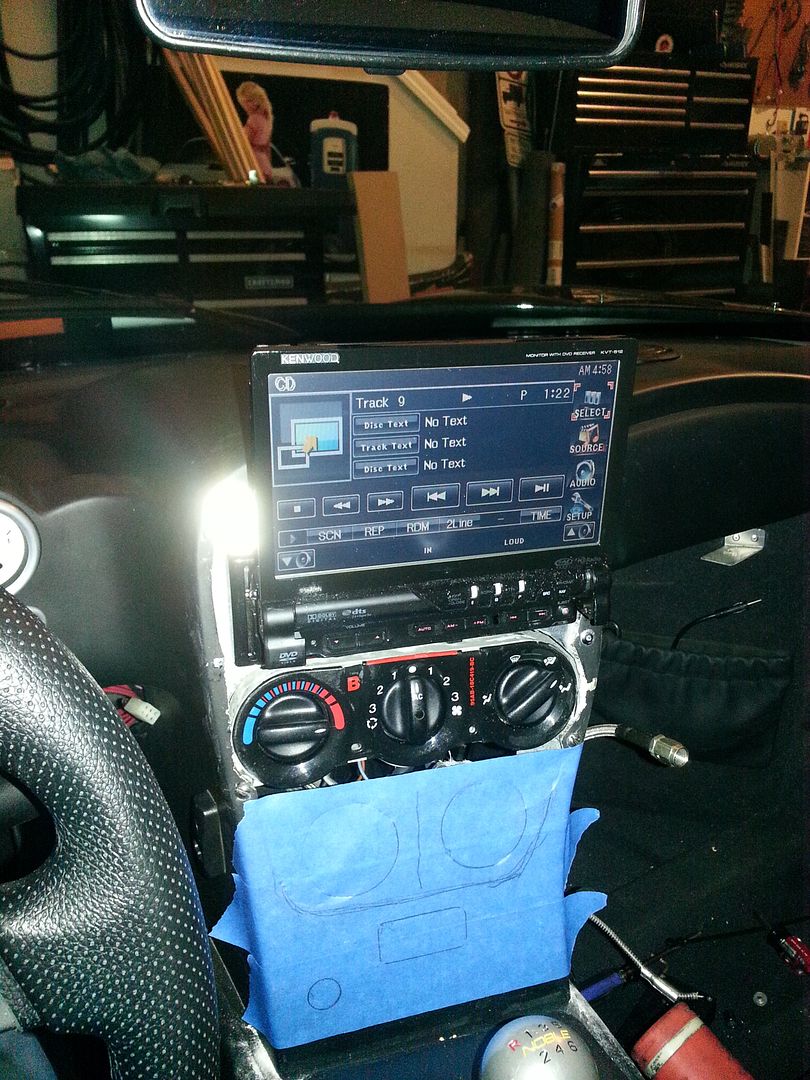
i really wanted to add navi and a back up camera to the car. luckily i had both a 2 din and single din with flip up screen sitting here to choose from. i was not willing to modify the structure behind dash, and after 2-3 days trying to come up with every option to use the 2 din (even pulling head unit apart and making my own housing!) i had to settle for the single din with flip up screen. i did find a way to do it though and screen does not block your view. heater controls must be lowered though and not at top position. i also wanted to move the idiot lights to in front of you and clean up center console.
step by step-
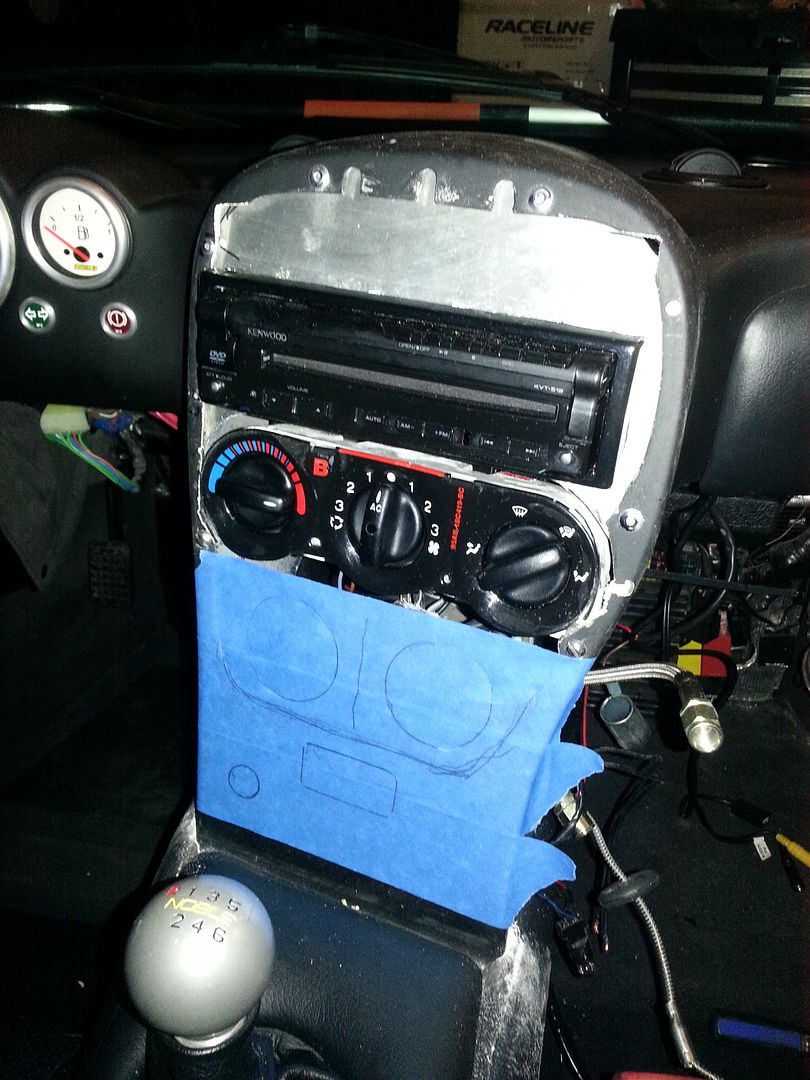
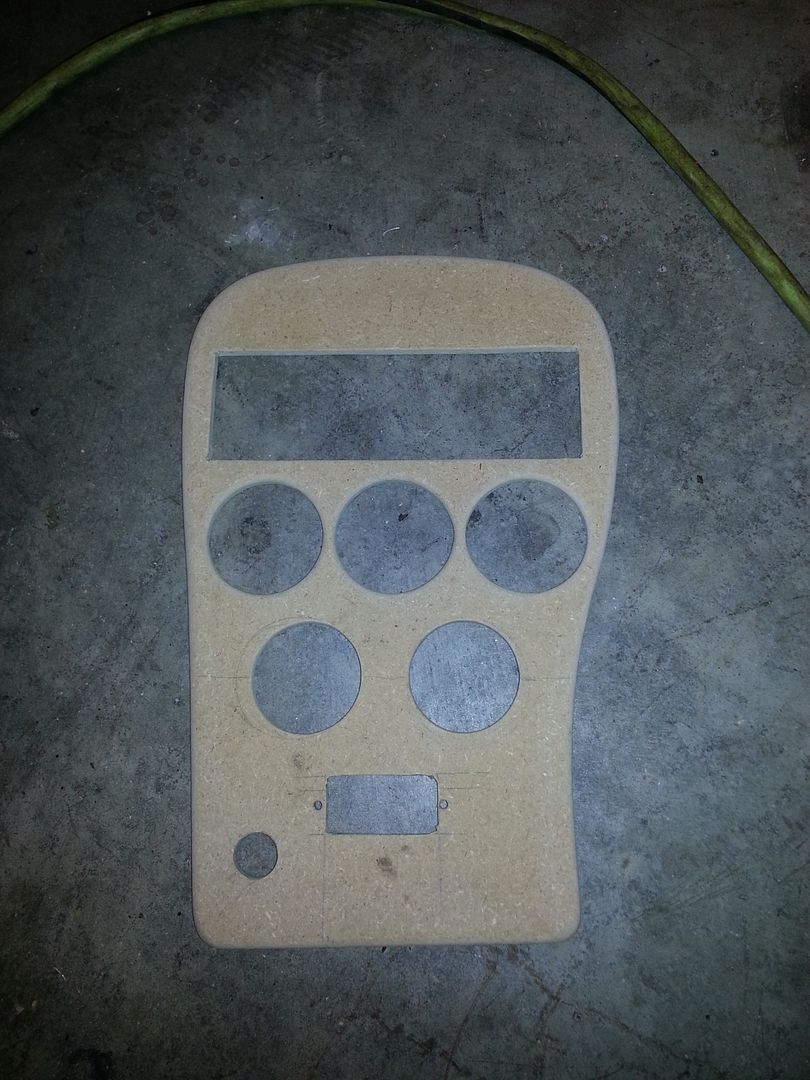
positions i chose for the lights. i brushed the bezels also to match existing gauge trim
here is the center pulled apart trying to plan install-
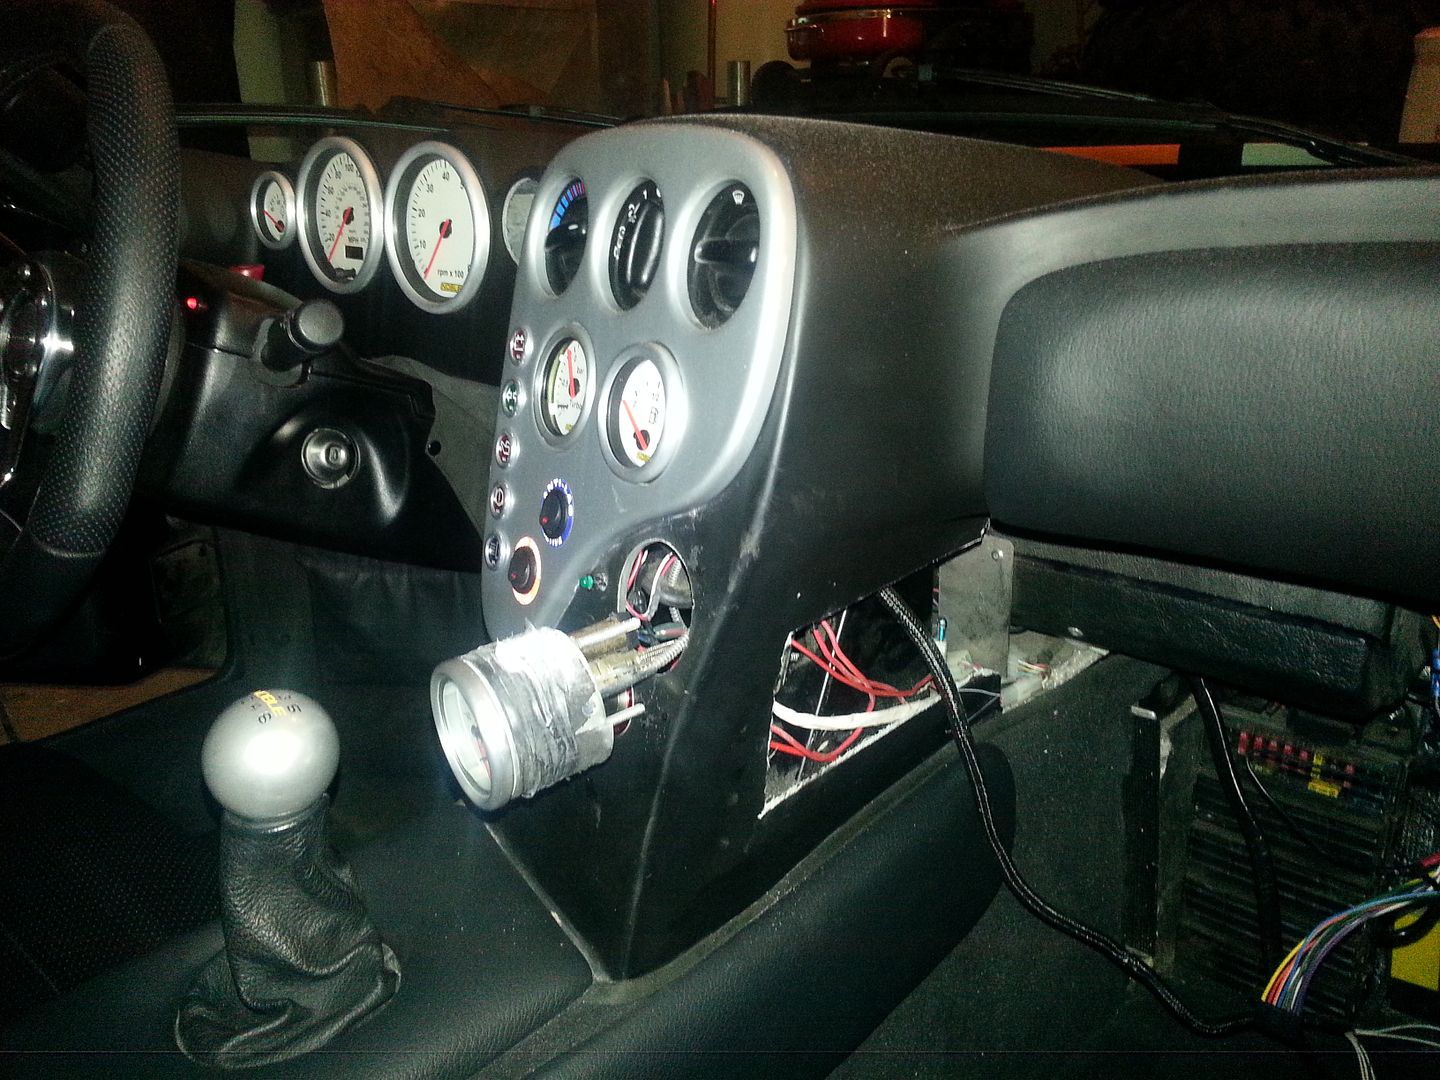
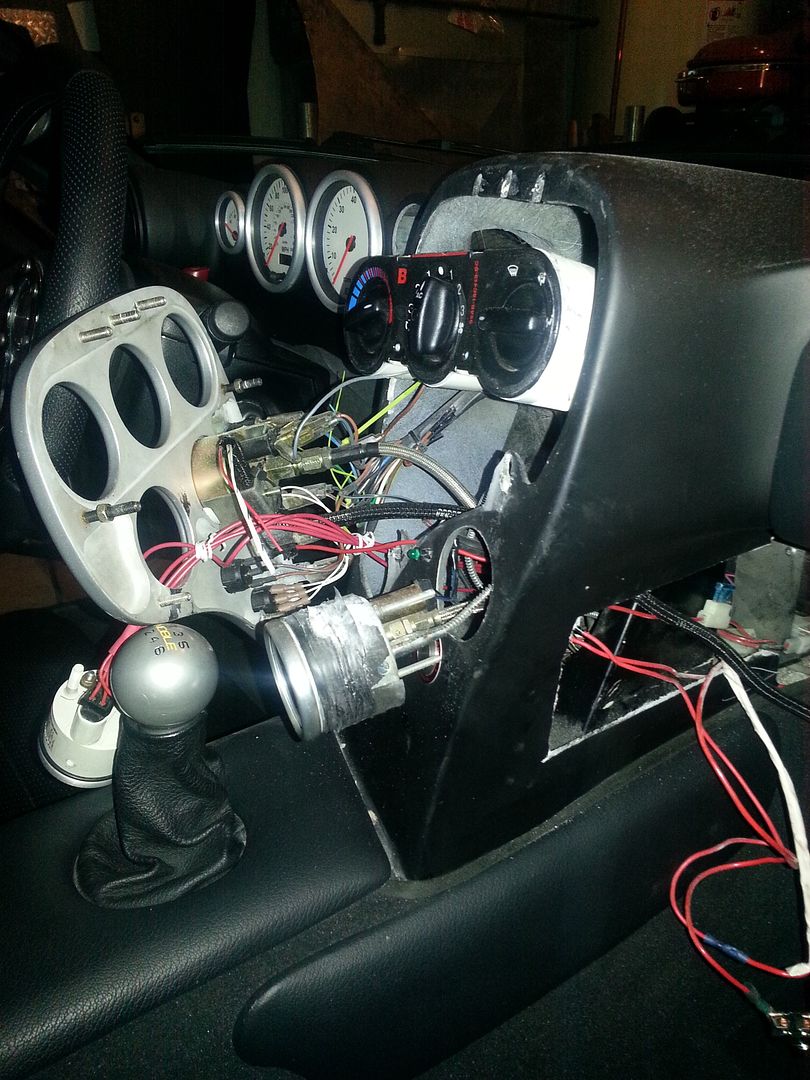
a single head unit WILL fit above the structural cross bar if heater controls are moved below it. to move heater controls you need to unhook the grey heater cable and the wire harnesses, then route controls back around the bar to come from under it. reroute grey cable and hook up and also wiring harnesses. moving was easy, positioning was hard! i also had to fill in the area to mount the hu. i used a pice of 22ga aluminum and riveted it in. heater controls are held in by a couple new bolts with spacers to set controls flush with existing console face.
this is the actual view from the drivers seat. monitor does not block view at all.
new finish faceplate. i purchased some leather and will be wrapping to match existing black leather in car.
step by step-
positions i chose for the lights. i brushed the bezels also to match existing gauge trim

here is the center pulled apart trying to plan install-


a single head unit WILL fit above the structural cross bar if heater controls are moved below it. to move heater controls you need to unhook the grey heater cable and the wire harnesses, then route controls back around the bar to come from under it. reroute grey cable and hook up and also wiring harnesses. moving was easy, positioning was hard! i also had to fill in the area to mount the hu. i used a pice of 22ga aluminum and riveted it in. heater controls are held in by a couple new bolts with spacers to set controls flush with existing console face.

this is the actual view from the drivers seat. monitor does not block view at all.

new finish faceplate. i purchased some leather and will be wrapping to match existing black leather in car.

here is the finished product. it came out looking pretty good in my opinion, and can now have all of the entertainment options i wanted in the car. i will hold off going wild on the sound system for the moment as other parts are higher on the list. i used to compete in sound quality competitions though, so my bar is set pretty high for a quality system though.
some more wiring to finish it up, but this is what it looks like-
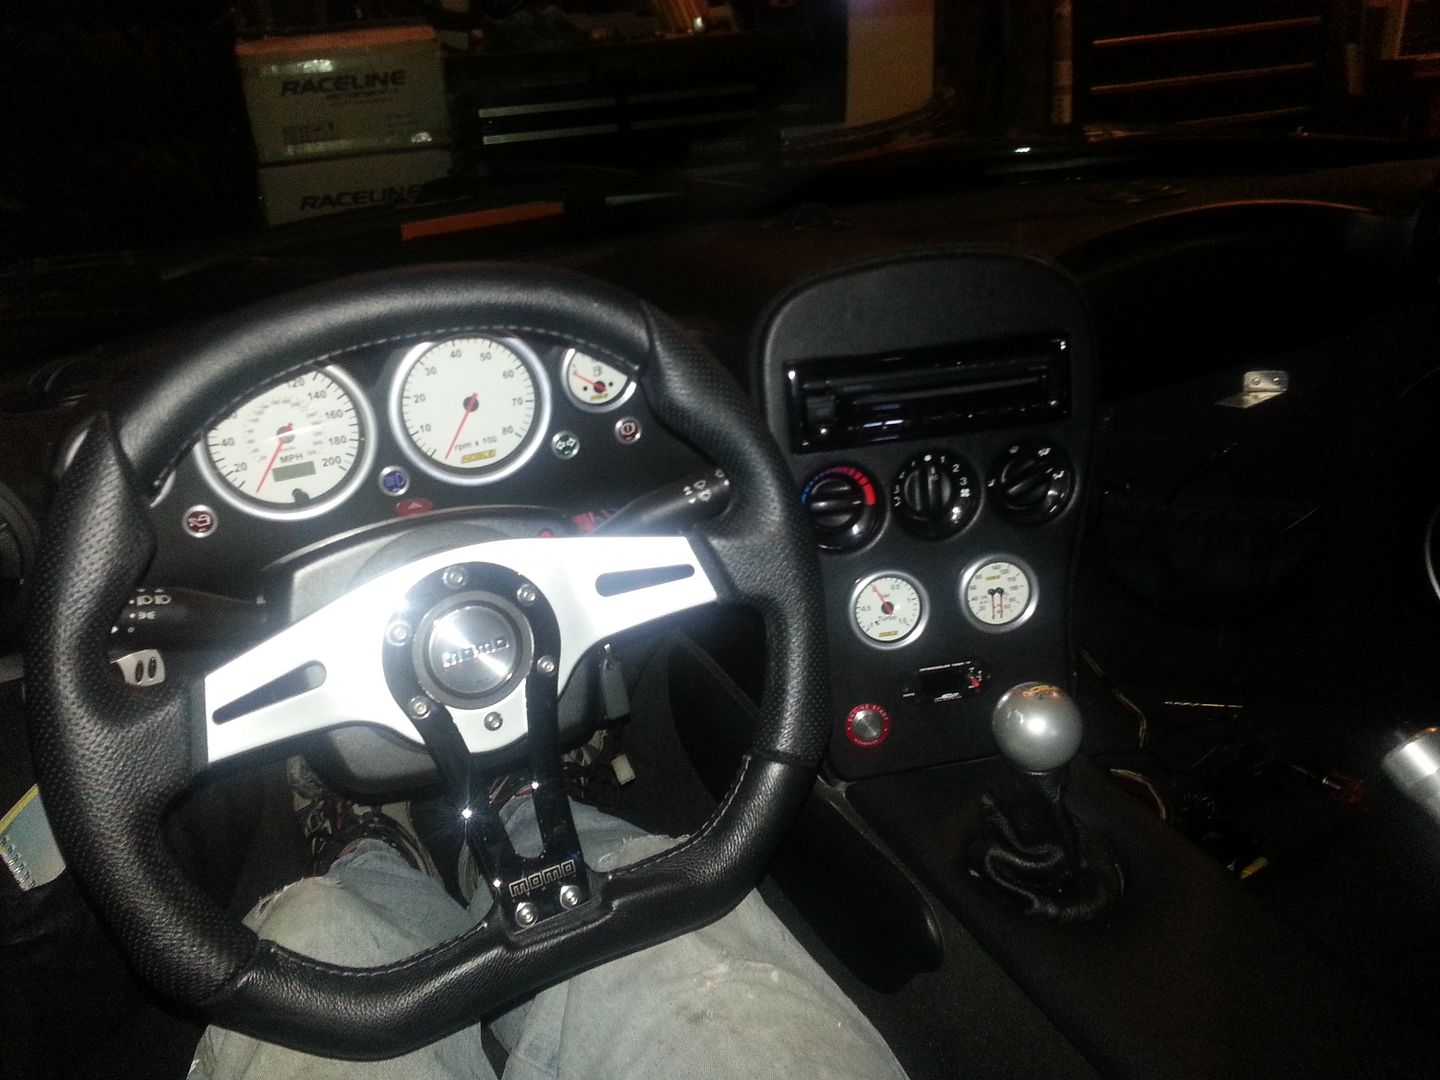
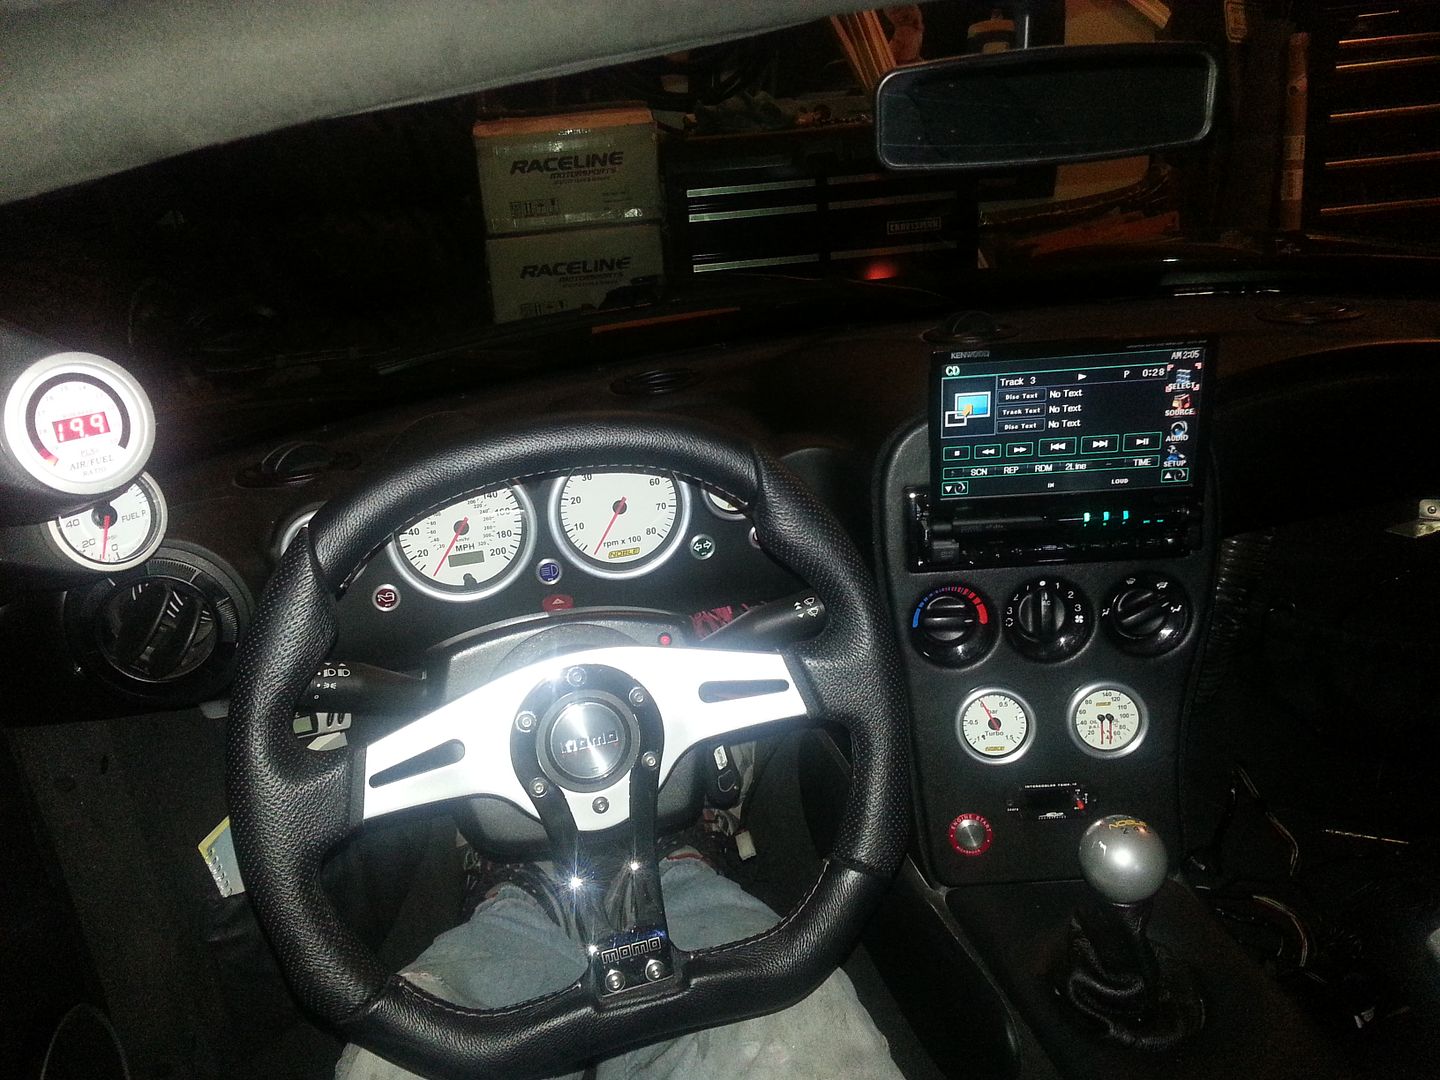
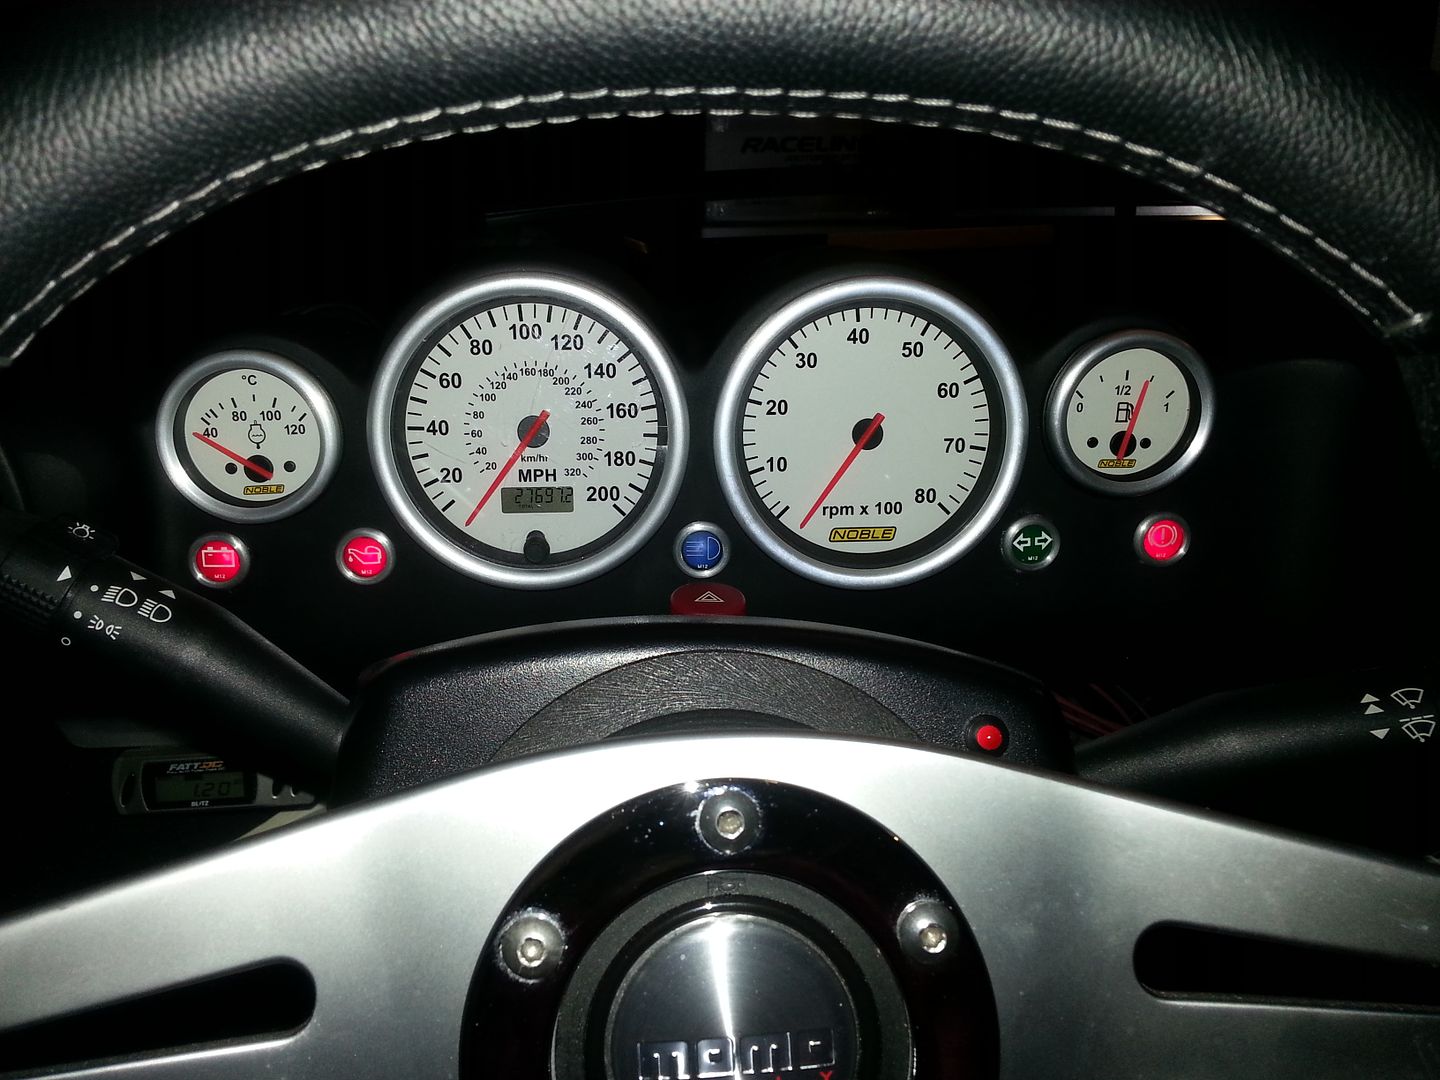
i think i have gauges to monitor other gauges!

on the passenger side i will be making a glovebox/shelf for phone and ipod or whatever, and adding in a couple usb chargers and lighter outlet. it will all be wrapped in matching leather also. will be starting that in the next couple days.
so ya, it has been a very busy 2 weeks of ownership so far!
some more wiring to finish it up, but this is what it looks like-


i think i have gauges to monitor other gauges!

on the passenger side i will be making a glovebox/shelf for phone and ipod or whatever, and adding in a couple usb chargers and lighter outlet. it will all be wrapped in matching leather also. will be starting that in the next couple days.
so ya, it has been a very busy 2 weeks of ownership so far!
 you certainly have been a busy bunny in only two weeks.
Very nice - you've certainly done a lot in 2 weeks.
One suggestion / observation: I find the high-beam warning light very bright and distracting, even in its stock-location. With it directly in front of your line of sight, you might find it too bright. Don't know whether a resister could be added perhaps to dim it down a bit.
One suggestion / observation: I find the high-beam warning light very bright and distracting, even in its stock-location. With it directly in front of your line of sight, you might find it too bright. Don't know whether a resister could be added perhaps to dim it down a bit.

Jarcy said:
Very nice - you've certainly done a lot in 2 weeks.
One suggestion / observation: I find the high-beam warning light very bright and distracting, even in its stock-location. With it directly in front of your line of sight, you might find it too bright. Don't know whether a resister could be added perhaps to dim it down a bit.
i showed the previous owner the work and he warned me about that dimmer light. i have a feeling i will needing to do lots of toning down on gauge lights in there, lol. i have some of the spray can tint stuff and could probably just tint the bulb itself until it was dim enough.One suggestion / observation: I find the high-beam warning light very bright and distracting, even in its stock-location. With it directly in front of your line of sight, you might find it too bright. Don't know whether a resister could be added perhaps to dim it down a bit.
ERIKM400 said:
Impressive amount of work done in just two weeks of ownership.
Just one question: if the outdoor pics are taken in front of your house, then how the hell do you manage to get the car in and out of the garage???
Oh and by the way: the steering wheel is exactly where it should be ;-)
i like my cars low, really low! the noble is actually almost double the height i am used to or normally set a car at. with that said, i come in at an angle then straighten at last second to get into garage. it does take the whole driveway to do it though. hence all the other cars parked on the street that would normally be in the driveway that are mine too, haha. the noble doesn't even touch at all when done correctly.Just one question: if the outdoor pics are taken in front of your house, then how the hell do you manage to get the car in and out of the garage???
Oh and by the way: the steering wheel is exactly where it should be ;-)
it is one reason making these front and side splitters are my first projects on a new to me car. helps protect the body when you run into these situations, especially for a 'glass bodied car.
Gassing Station | Noble | Top of Page | What's New | My Stuff