Mev exocet build
Discussion


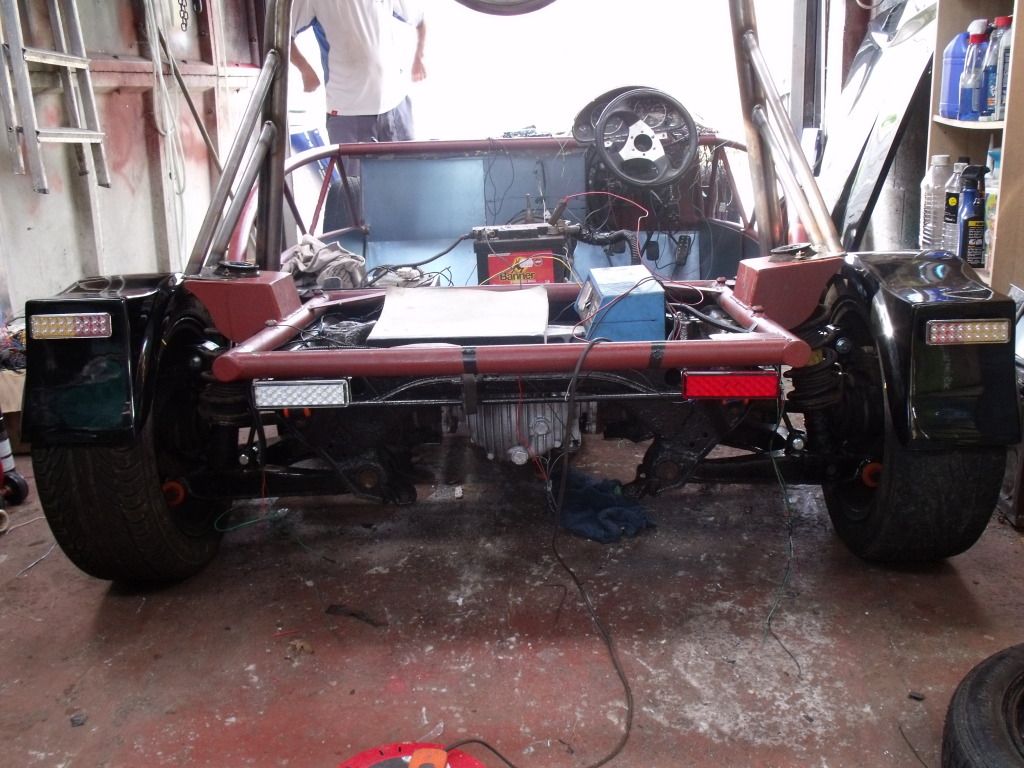
So day 15 mostly done by my father was to temperoy wire in the lights to see what they look like
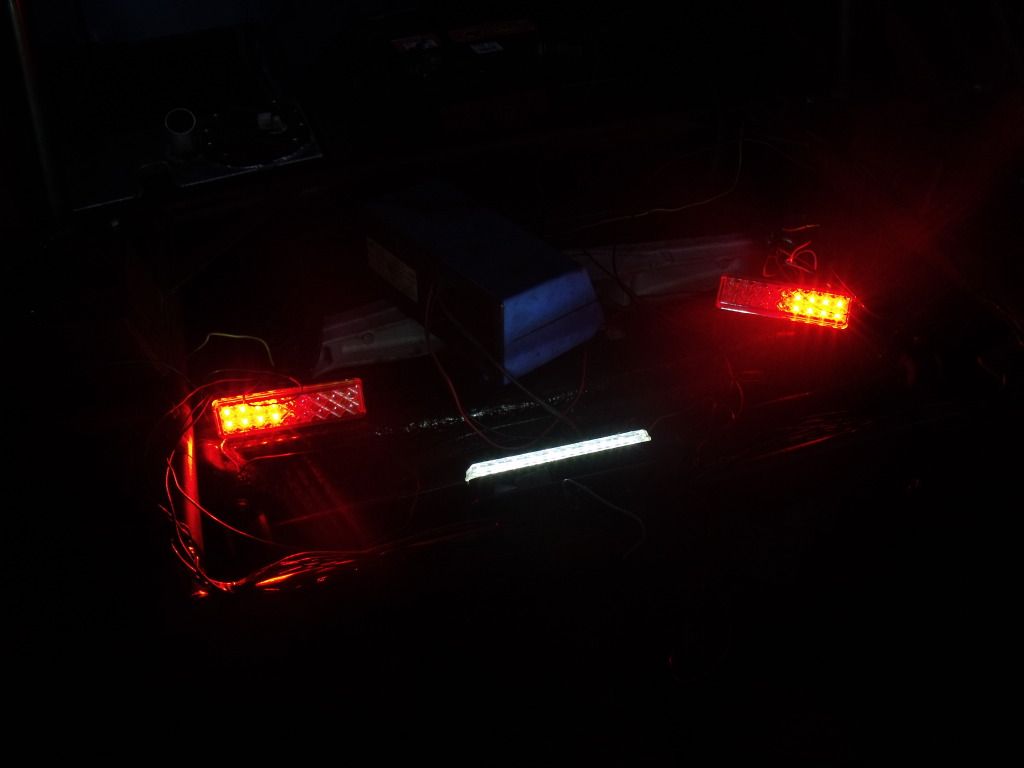
tail lights and reverse very bright going to have to wire in my own fog light as i can't find any wiring for it
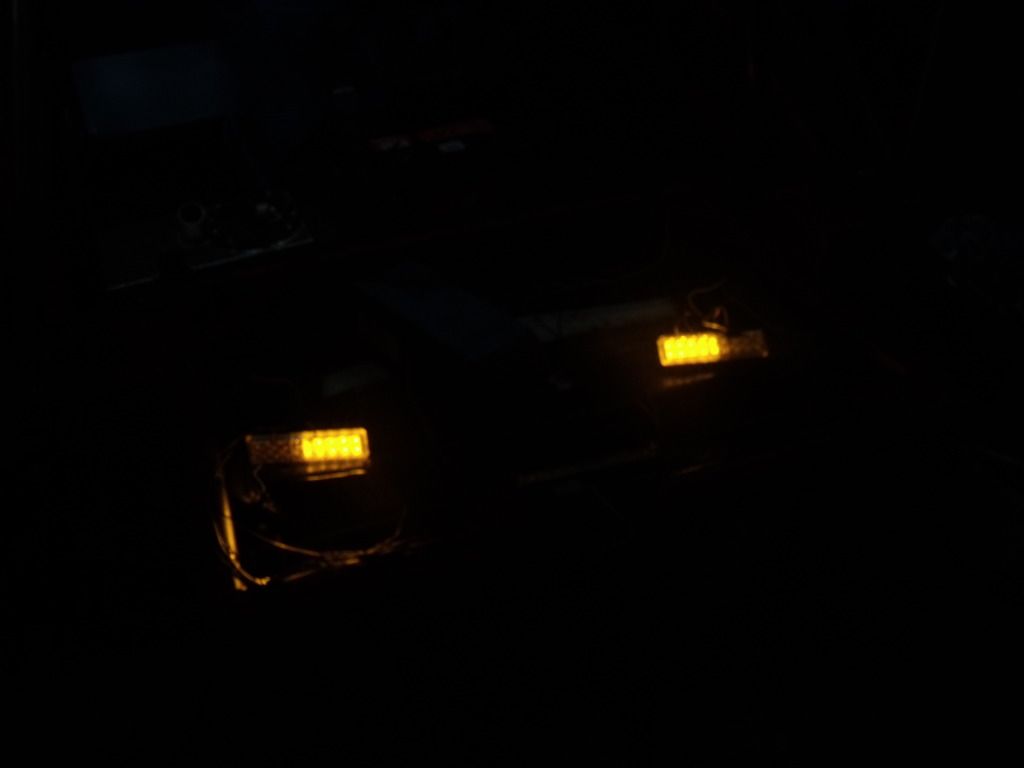
rear indicators
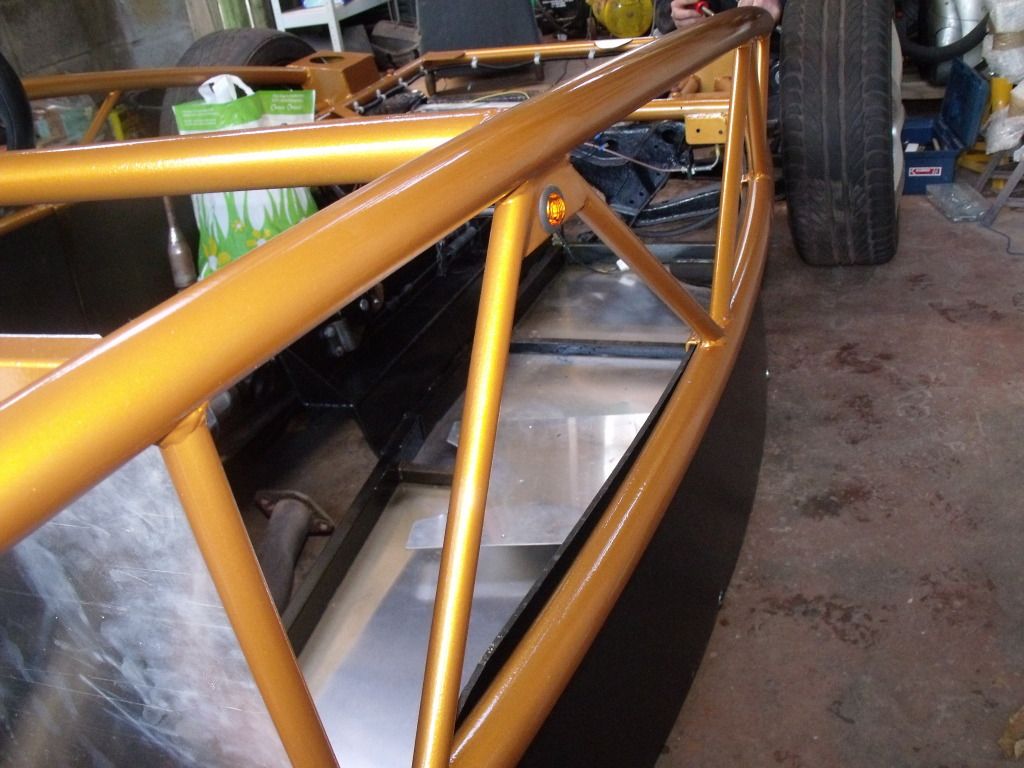
front indicators and side repeaters

So this weekend will finish of the wiring route it to the way i want it and mount the fuse boxes, mount the lights and hopefuly try to get it running.
tail lights and reverse very bright going to have to wire in my own fog light as i can't find any wiring for it
rear indicators
front indicators and side repeaters
So this weekend will finish of the wiring route it to the way i want it and mount the fuse boxes, mount the lights and hopefuly try to get it running.
Day 16
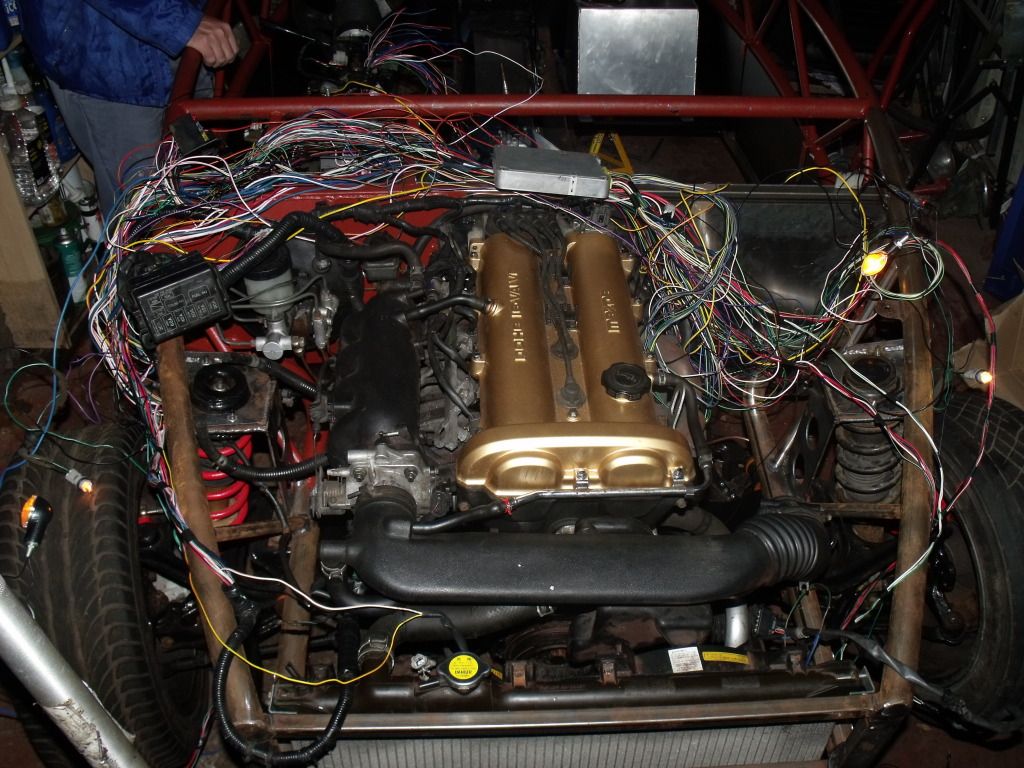
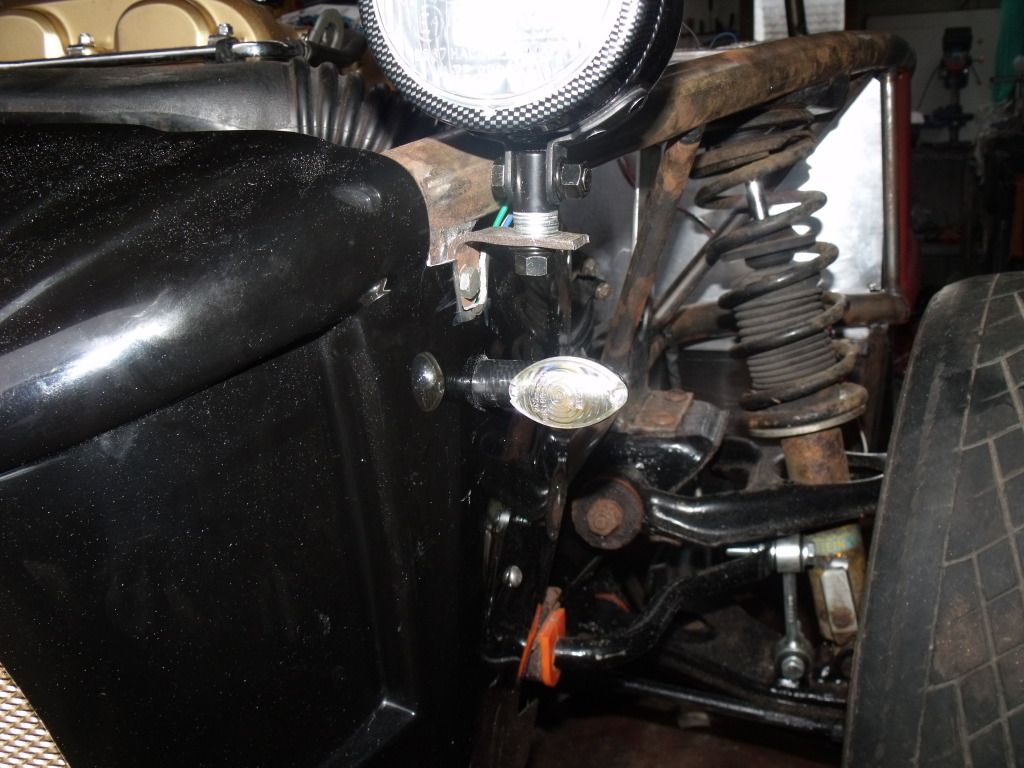
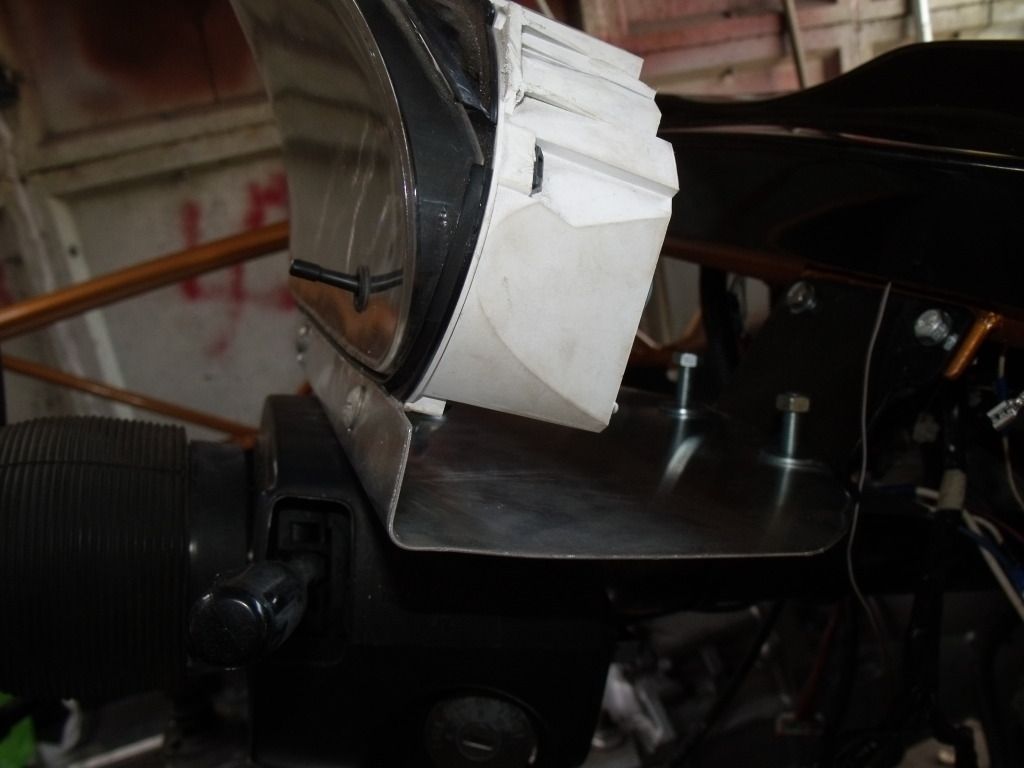
After my lights arrived decided to get the front lights fixed. For the headlight i cut a bit scrap metal i had laying around the garage bent to shape and cut the nose slightly to mount the brackets. The inidcators bolted straight onto the nose cone
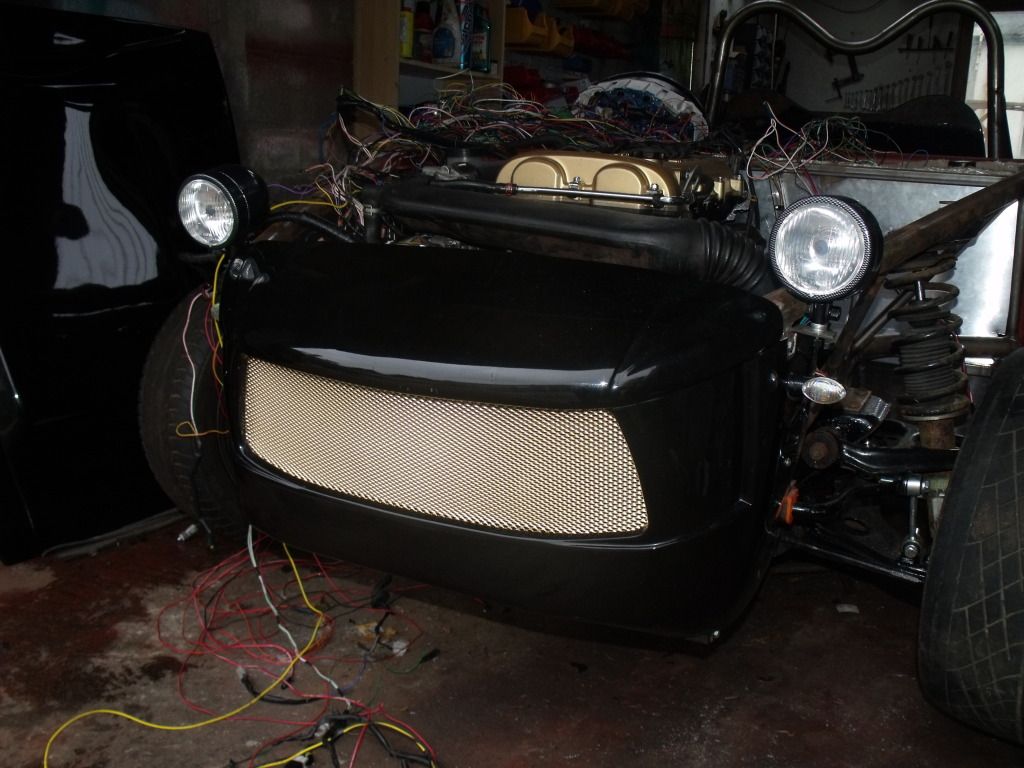
Close up of the lights
Also started to make brackets for the back lights

will mount the fog and reverse under the back frame by the edges and the stop/tail and indicator on the cylce wings.
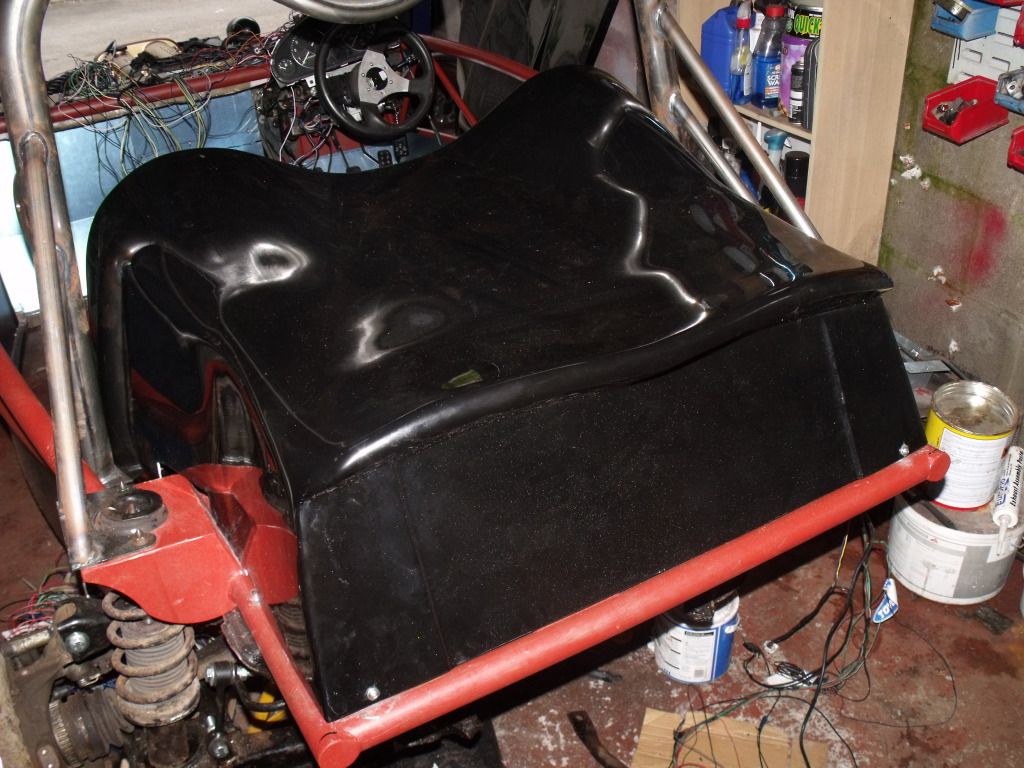
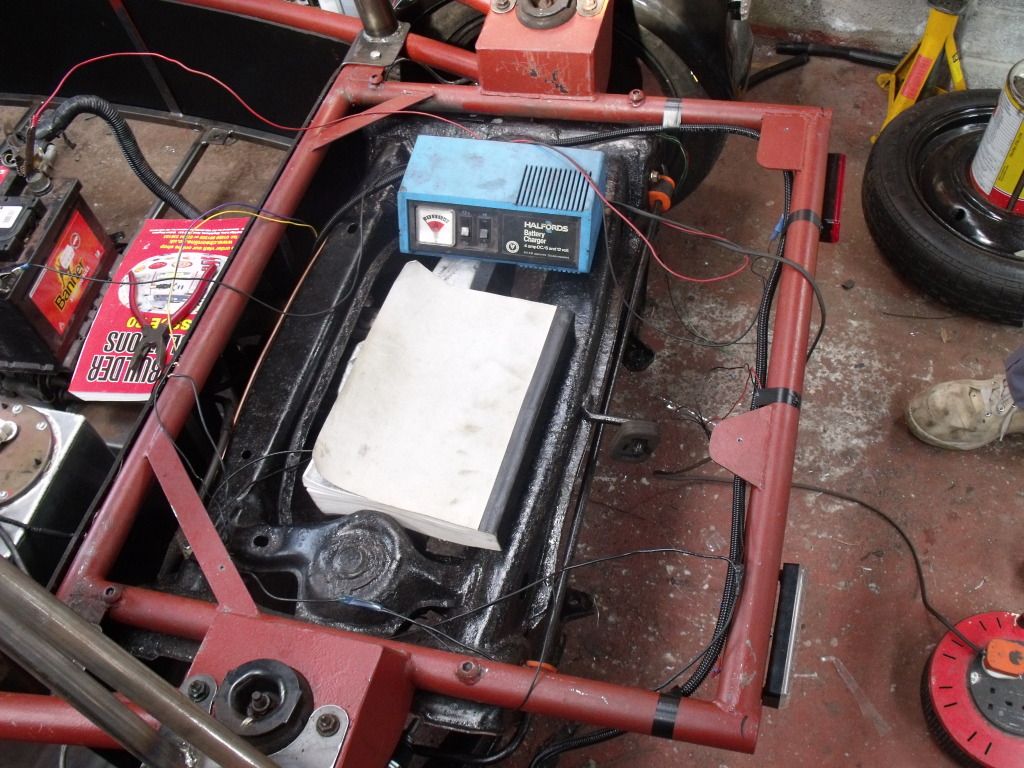
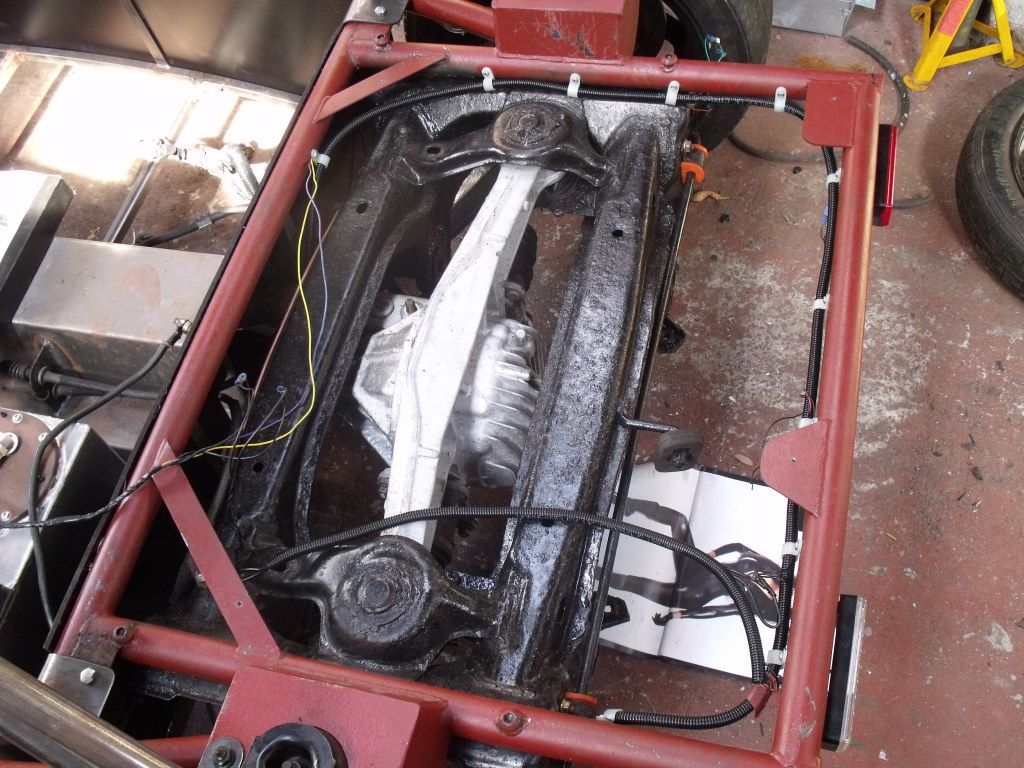
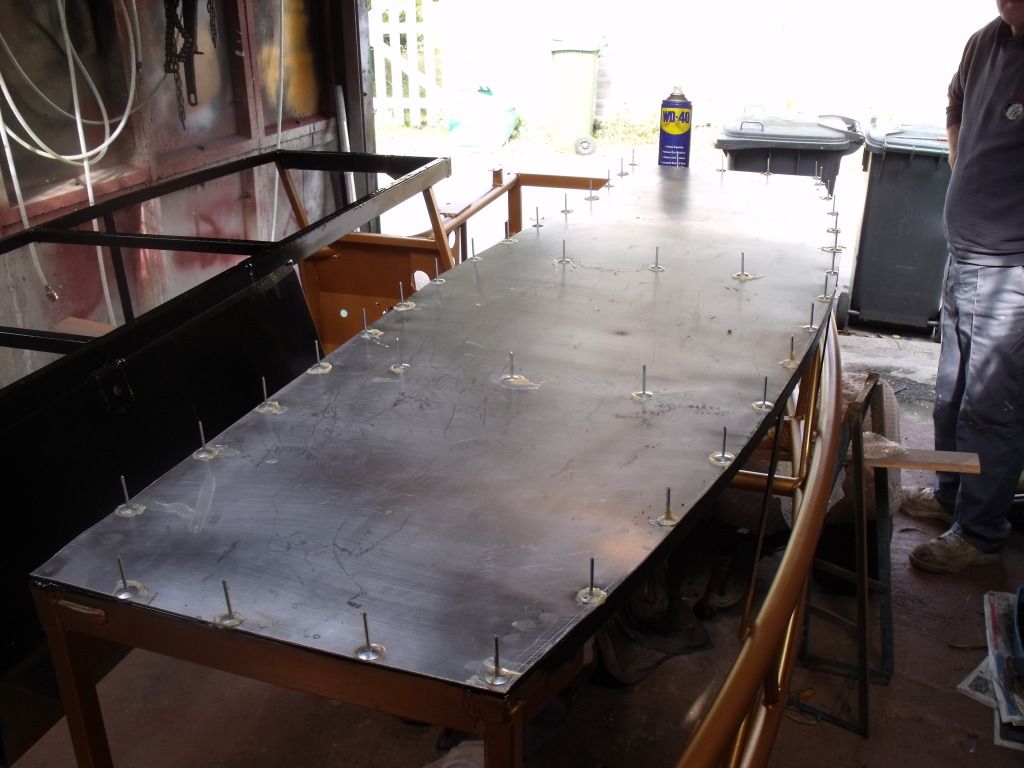
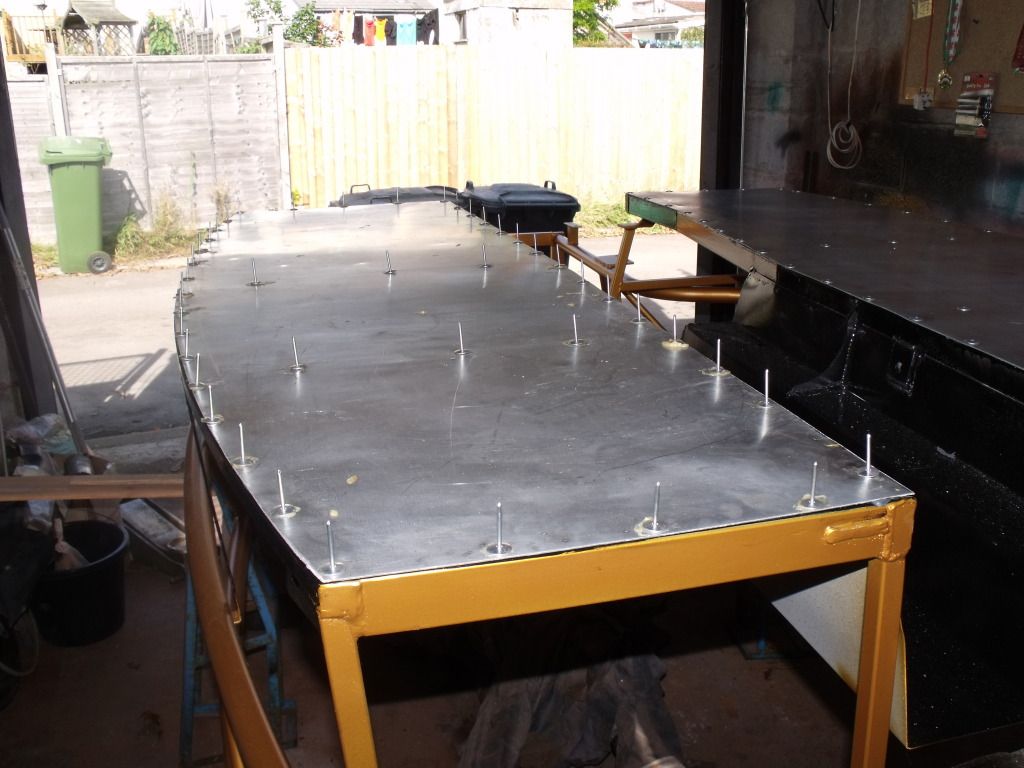
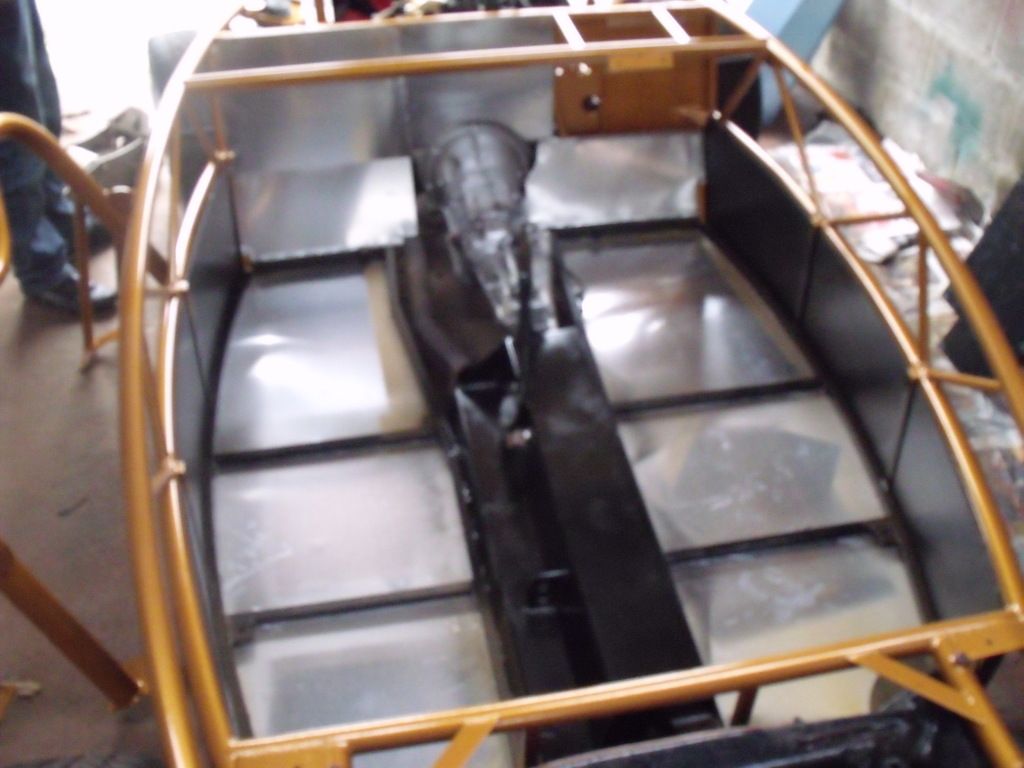
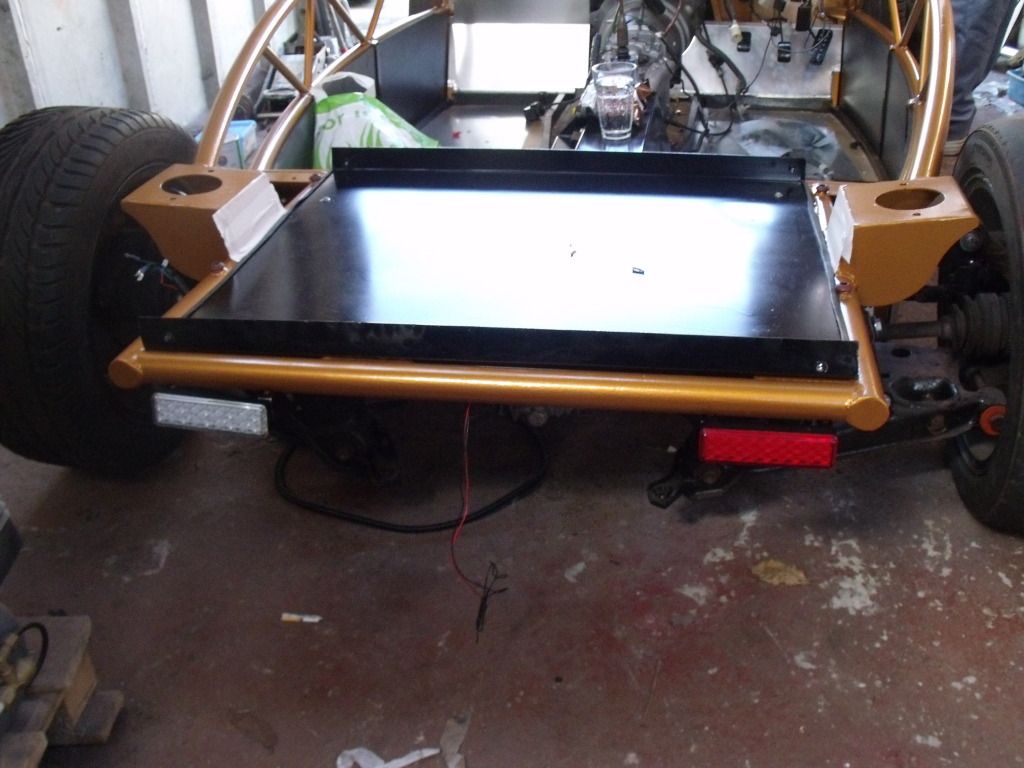
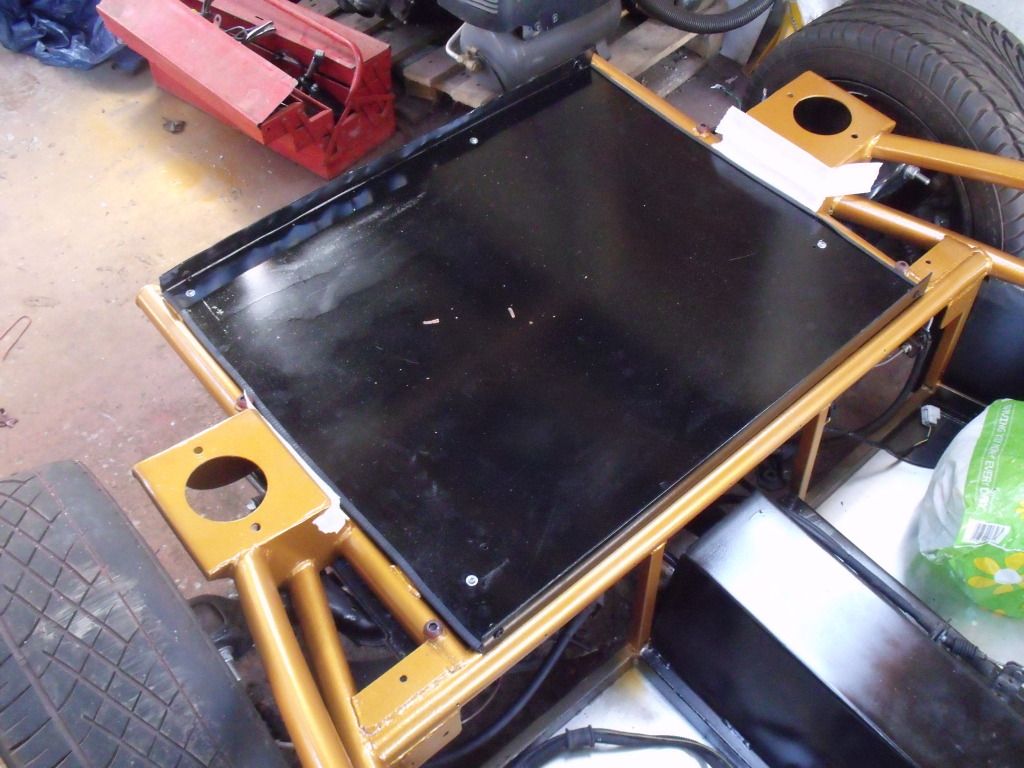
As im using the ally fuel tank i decided to cover the area where the mx5 tank would go with a used sign where my father works
screwed directly to the plates for where the tank would bolt onto the plate has edges on it so used that to bolt the rear cover to it use 4 m6 rivnuts with it like this i have a bit of a boot too
 .
.
After my lights arrived decided to get the front lights fixed. For the headlight i cut a bit scrap metal i had laying around the garage bent to shape and cut the nose slightly to mount the brackets. The inidcators bolted straight onto the nose cone
Close up of the lights
Also started to make brackets for the back lights
will mount the fog and reverse under the back frame by the edges and the stop/tail and indicator on the cylce wings.
As im using the ally fuel tank i decided to cover the area where the mx5 tank would go with a used sign where my father works
screwed directly to the plates for where the tank would bolt onto the plate has edges on it so used that to bolt the rear cover to it use 4 m6 rivnuts with it like this i have a bit of a boot too
.Day 17
Finally mounted the rear lights made 4 L brackets mounted from the frame for the fog and reverse. With them done mounted the stop/tail indicator on the back of the cycle wings
With that done tempory routed the wiring to the back lights will have to get some clips to secure them
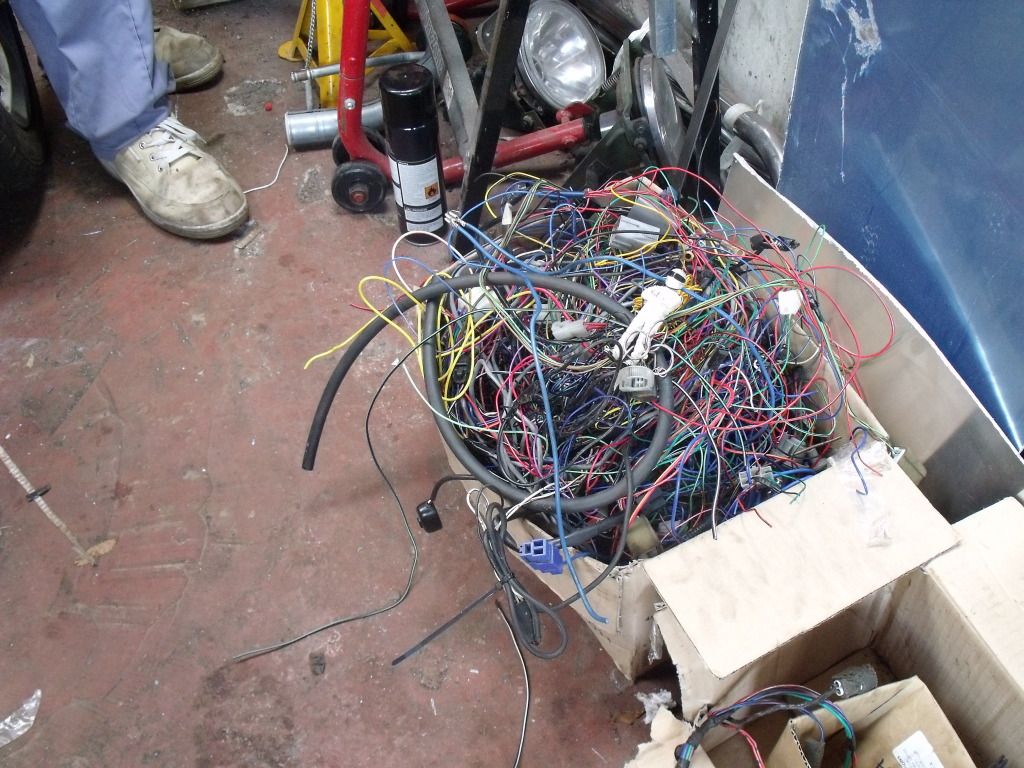
Also the wires i cut out should save some weight just in wiring
 .
.
Finally mounted the rear lights made 4 L brackets mounted from the frame for the fog and reverse. With them done mounted the stop/tail indicator on the back of the cycle wings
With that done tempory routed the wiring to the back lights will have to get some clips to secure them
Also the wires i cut out should save some weight just in wiring
.Day18
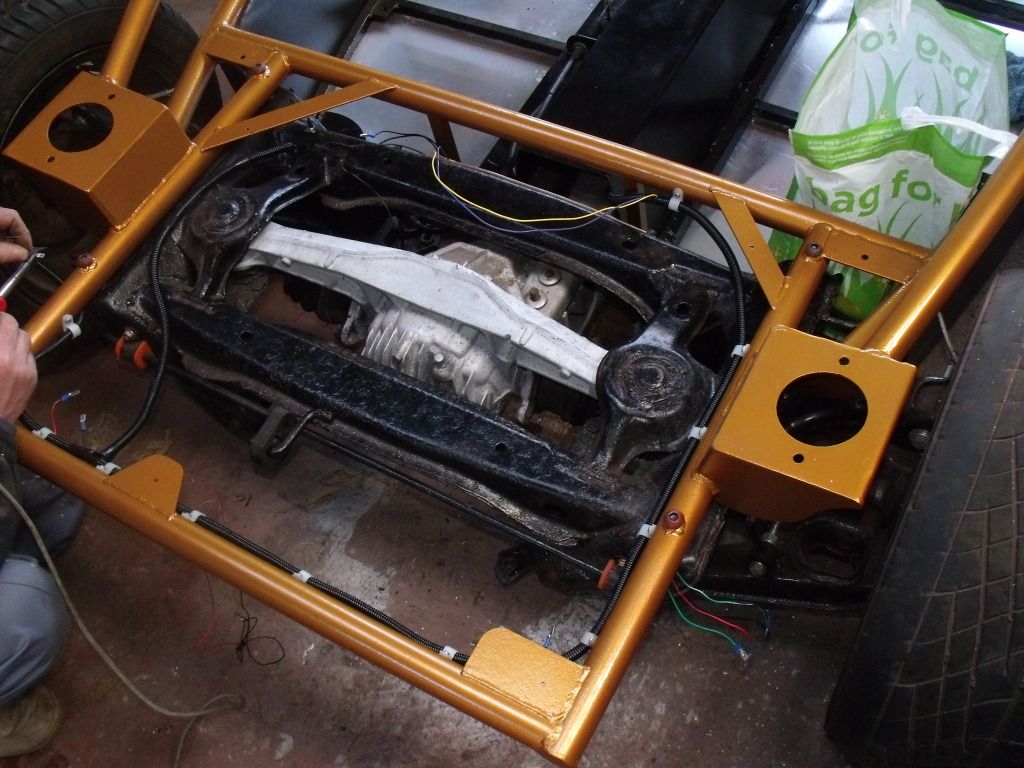
Made a bracket that bolts to the abs sensor holes then bolted the wing stay to it and with this way you could still retain the abs

Found a packet of large p clips and routed the loom for the lights
With that done attempteed to start the car. Tempory fitted some fuel lines which were from the donor.
First thing check for fuel no fuel swapped pipes around and fixed that.
Then check for a live to the coil packs no live trace it back to a dodgy ignition connections with that fixed tryed to start it no luck.
Check for a spark ok removed sparks plugs 2 covered in oil cleaned them up still not firing. Adjust the crank angle sensor and
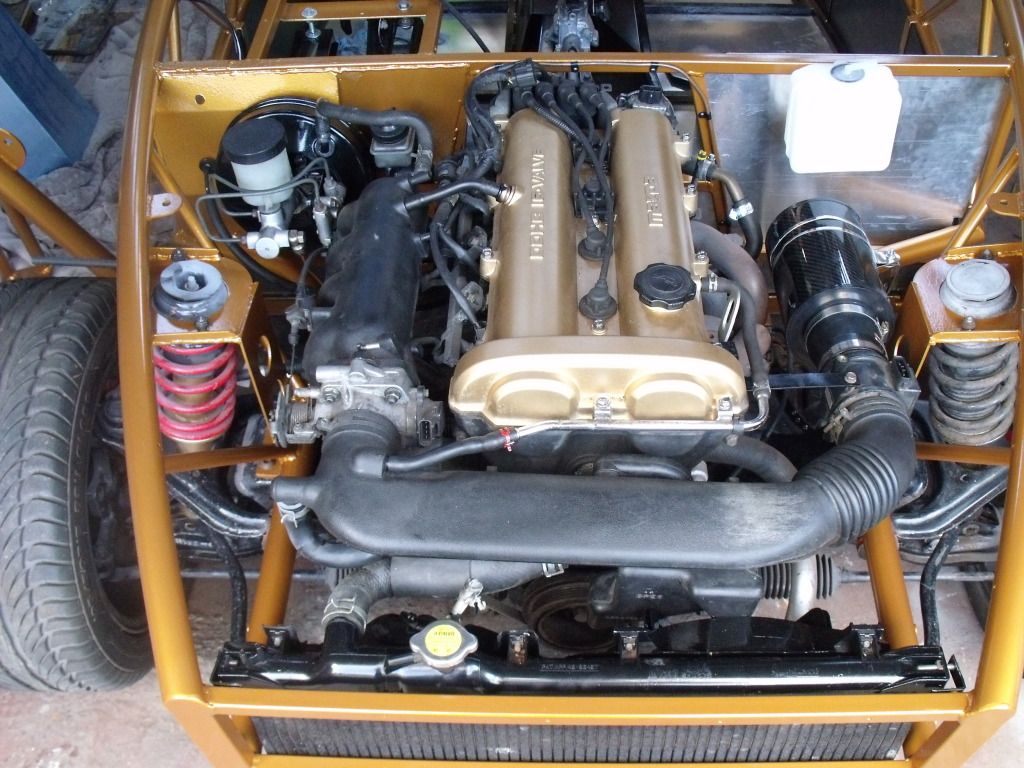
bingo engine started straight up and runs sweet as it did 4 months ago.
With is starting now and a proper manual for the mx5 managed to get the fuel gauage, rev clock, most of the instrument symbols but oil pressure and backing light not working thing the oil pressure switch is faulty.
Got to finish the front loom, fit a few more things like mirros, header tank and a few other things then strip it down to paint the frame.
Made a bracket that bolts to the abs sensor holes then bolted the wing stay to it and with this way you could still retain the abs
Found a packet of large p clips and routed the loom for the lights
With that done attempteed to start the car. Tempory fitted some fuel lines which were from the donor.
First thing check for fuel no fuel swapped pipes around and fixed that.
Then check for a live to the coil packs no live trace it back to a dodgy ignition connections with that fixed tryed to start it no luck.
Check for a spark ok removed sparks plugs 2 covered in oil cleaned them up still not firing. Adjust the crank angle sensor and
bingo engine started straight up and runs sweet as it did 4 months ago.
With is starting now and a proper manual for the mx5 managed to get the fuel gauage, rev clock, most of the instrument symbols but oil pressure and backing light not working thing the oil pressure switch is faulty.
Got to finish the front loom, fit a few more things like mirros, header tank and a few other things then strip it down to paint the frame.
Turn7 said:
Interesting build, looking good so far - good luck with IVA.
Thank you hopefully be on the road for spring next year.Day 19
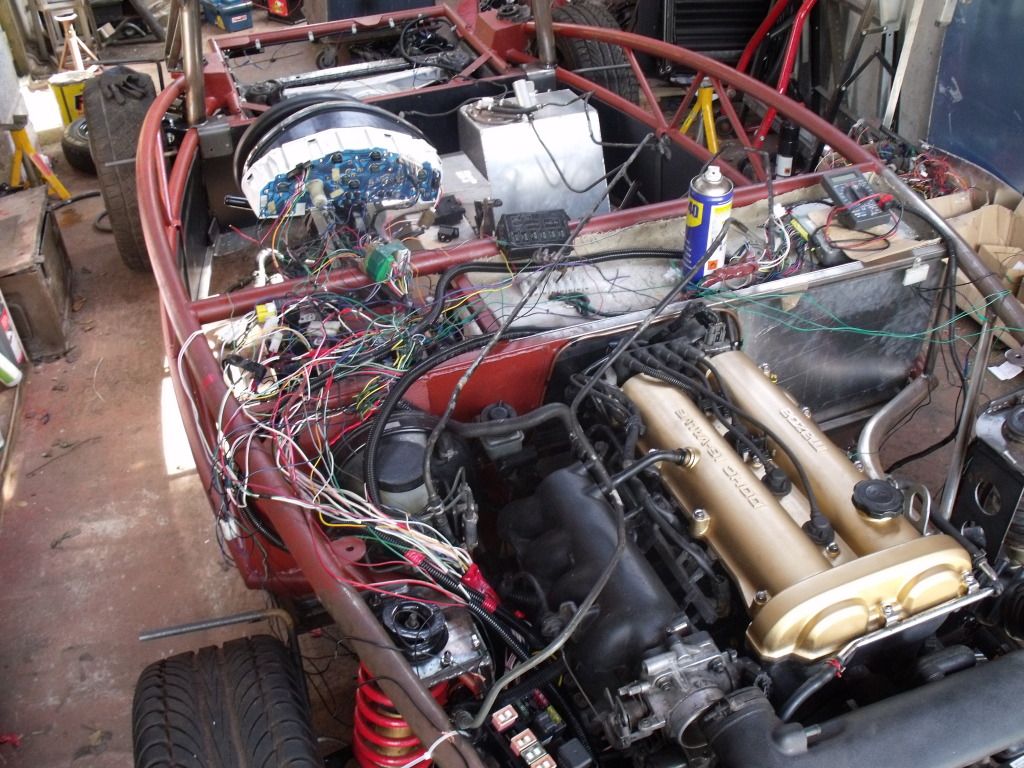
Another order to car builders solution turned up on thursday so had plenty to get on with.
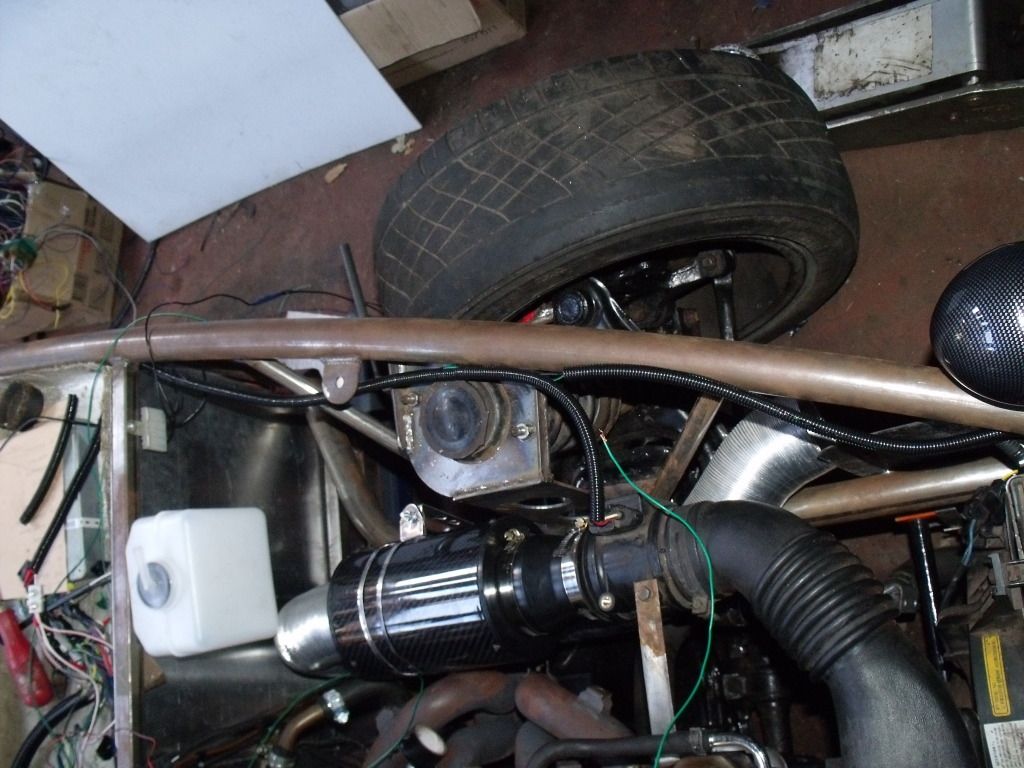
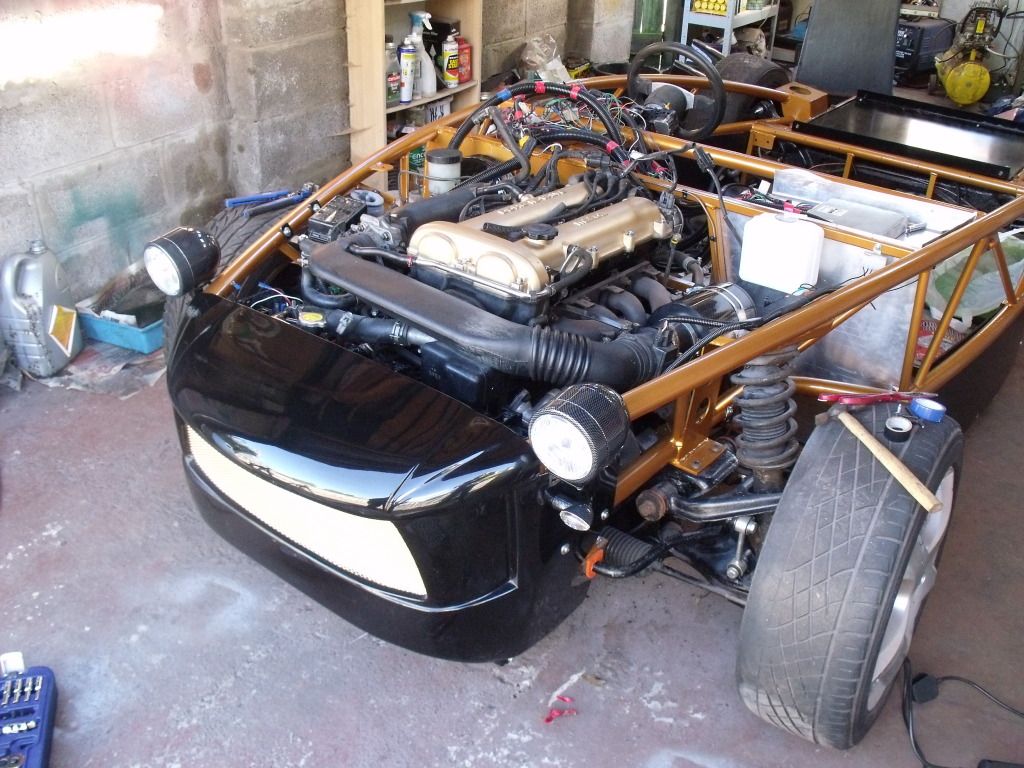
Mounted the header tank, air filter and cold air feed
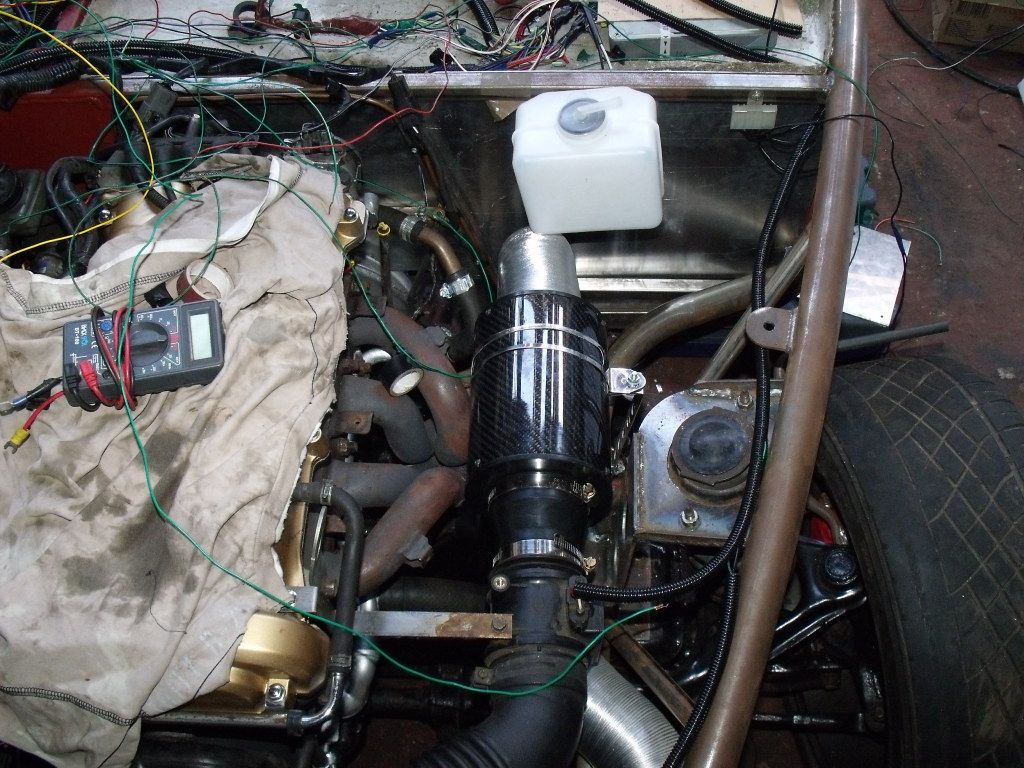
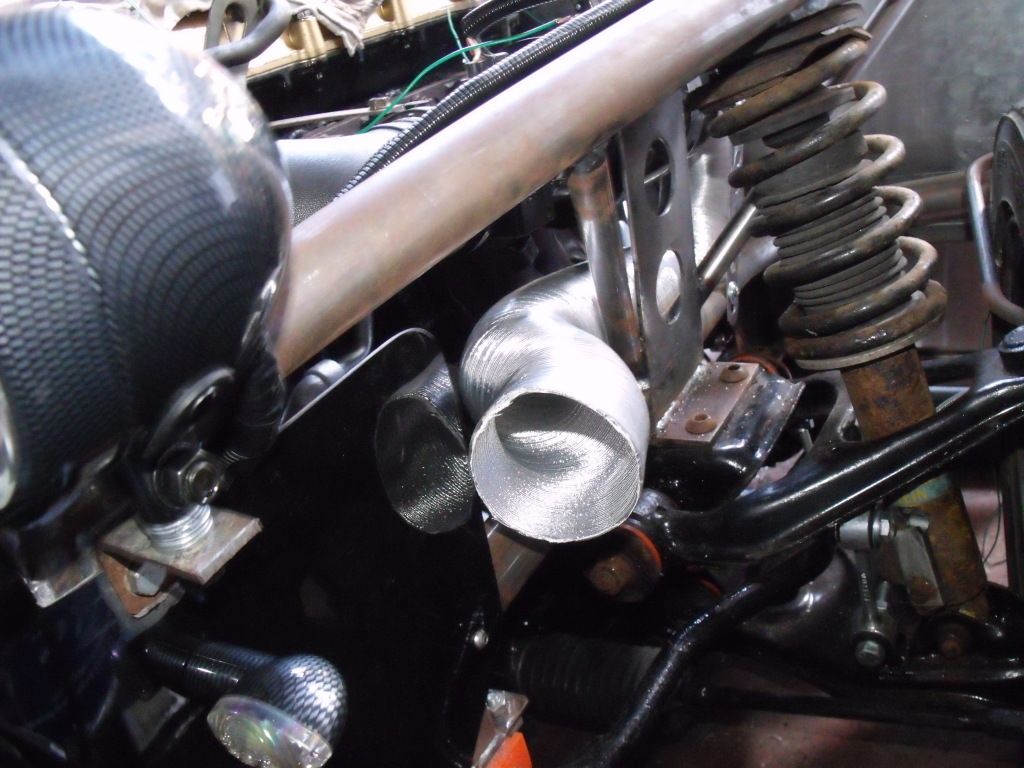
Will make a bracket up to attach the end of the cold air feed pipe to it.
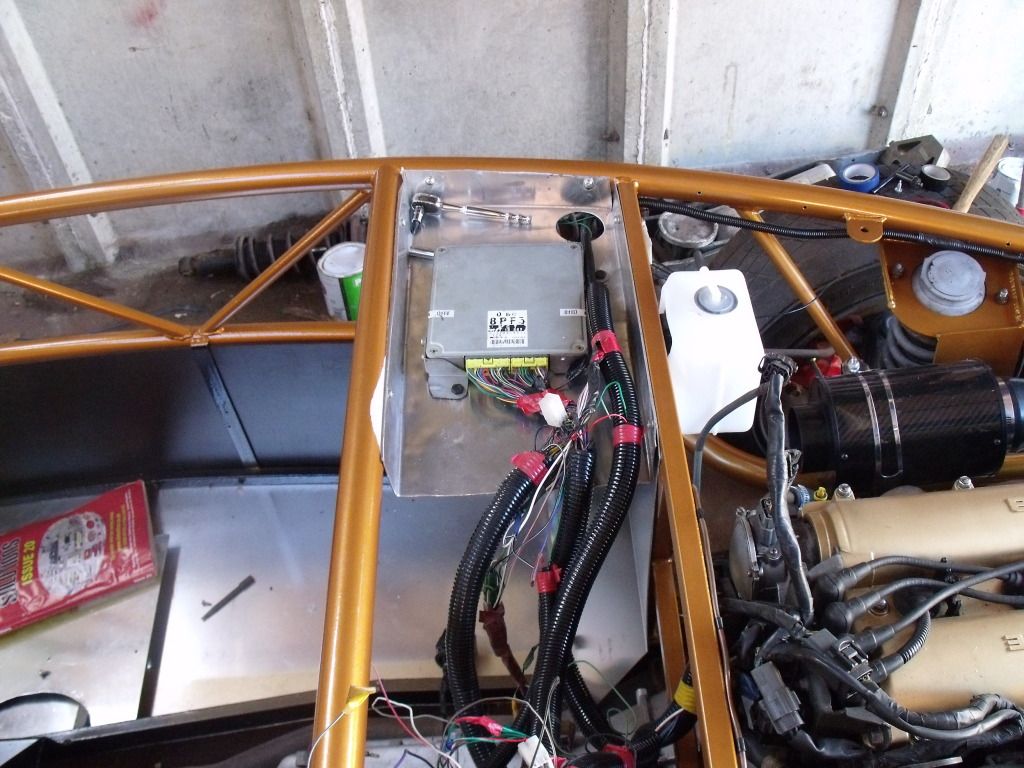
Then got on with the wiring and bolted the ecu in to place
only wires going down the n/s are the indicators and map sensor wires everything else will run down the o/s
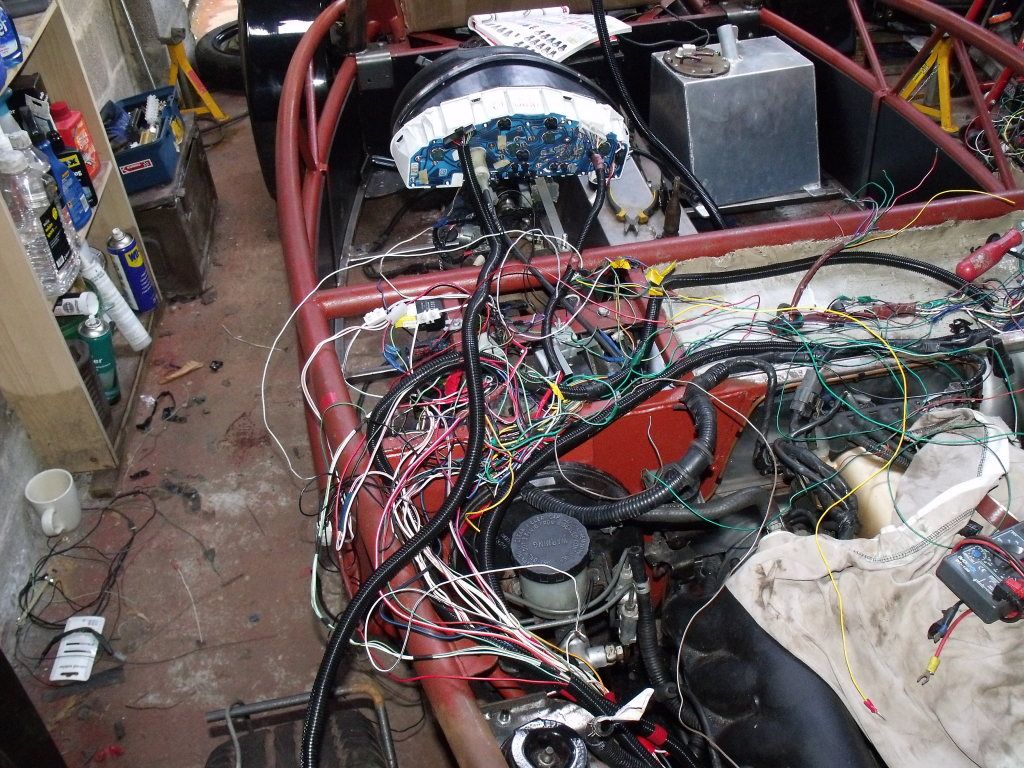
Just the o/s to finish to finish of the wiring, then mount fuel tank and exhaust then ready to strip back down to paint the frame.
Day 20
Finished of the wiring welded 2 plates up for mouting the side repeaters on and finished up some odds and sods then stripped it all apart and got the frame of the car in less than a hour shame it doesn't take an hour to put it together ;D.
Got to finish of drilling the holes for floor and fuel and brake pipes then can get on with preping the frame for paint hoping to get it done by the end of august then put it backtogether and do a couple of track days hoping to be able to go to llandow for the ckc track day.
Stuart Mills said:
Great build story Chris, if you push on and get it drivable you could always trailer it to the "Bring em home" weekend on the 25th Aug at MEV HQ
Thanks. I very much doubt i will be able to paint it by them let alone rebuild it. Will deffo go next year.Just one question can you show me a picture of how you mounted the ally fuel tank on the lightweight exocet. Ive got an idea how to do it but will requires the floor to be on first.
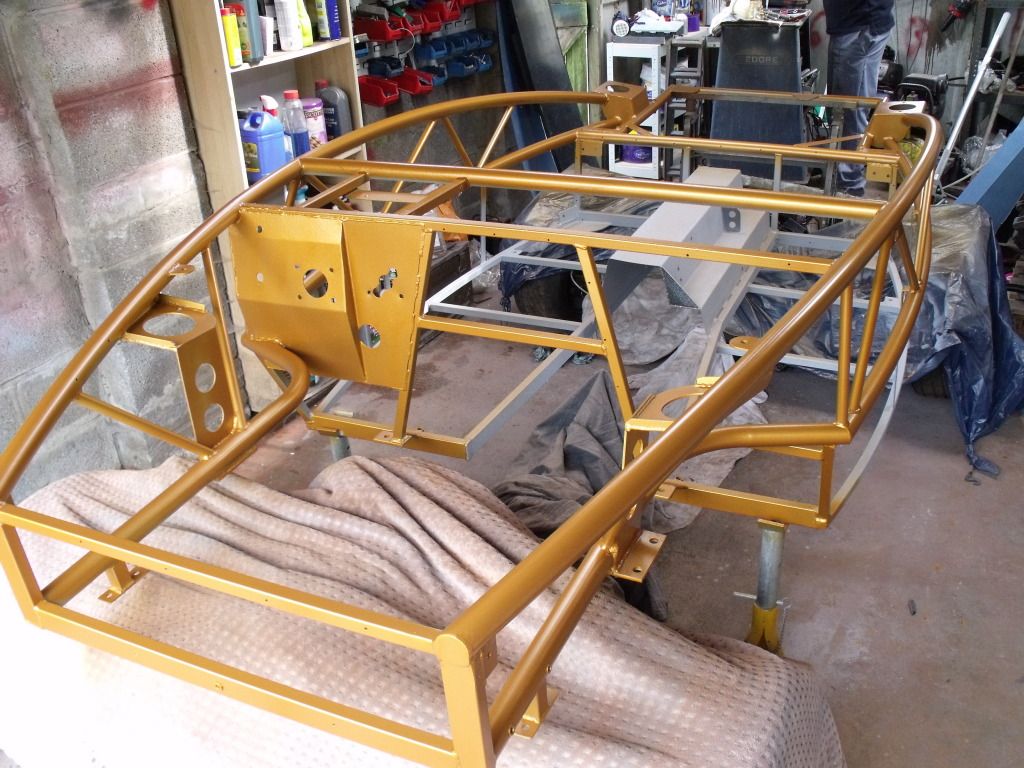
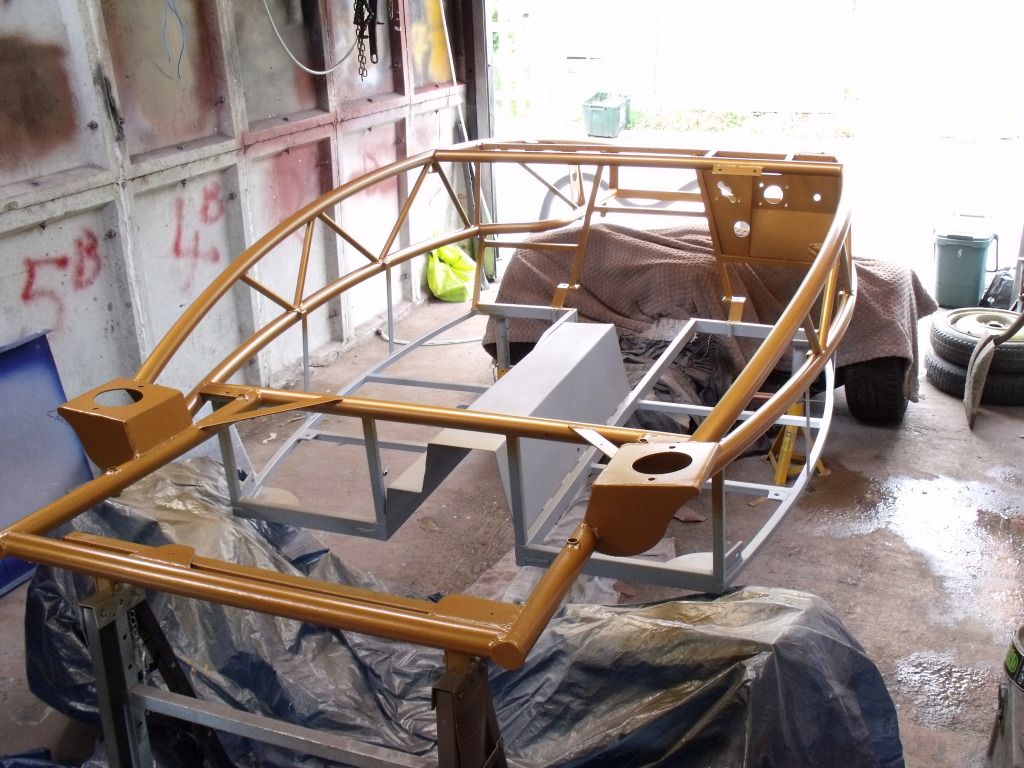
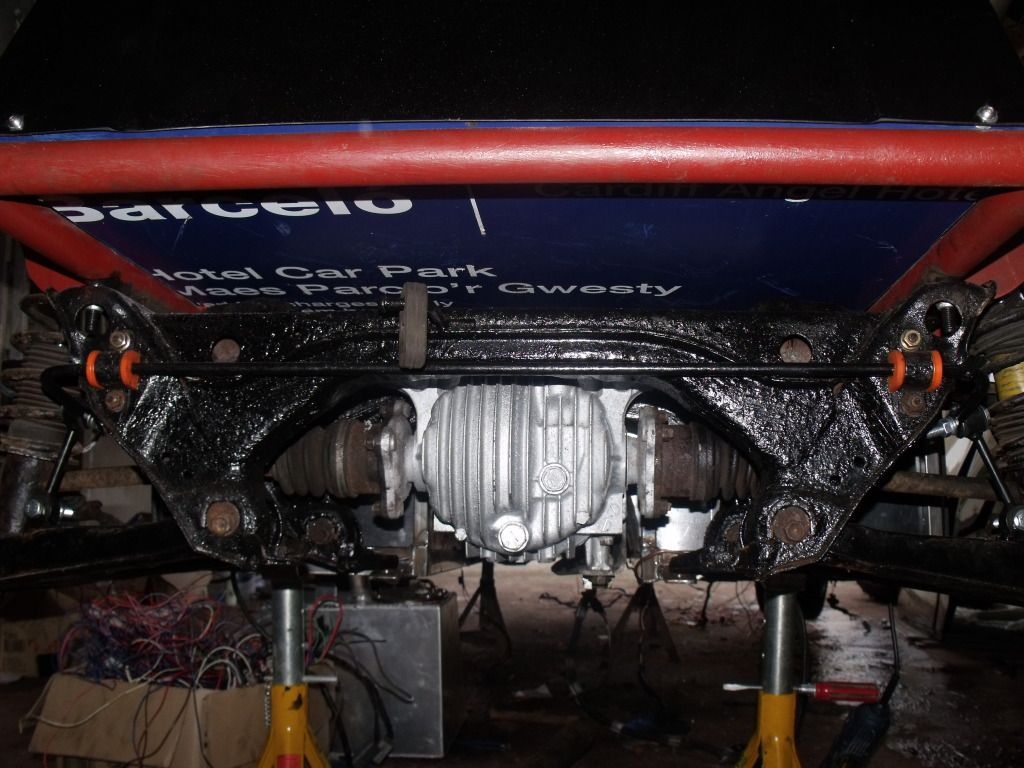
Been a while since the last update but since the last post flipped the frame upside down to paint the underside of the frame and also painted the floor bars in black. With it upside down decided to rivet the floor on ran a bead of silcone and dipped each rivet in waxoil to prevent it from rusting.
Got a few marks in the frame so will have to give it a final layer of colour them a couple of layers of lacquer then got to bolt everything back up which hopefully will only take a weekend.
Got a few marks in the frame so will have to give it a final layer of colour them a couple of layers of lacquer then got to bolt everything back up which hopefully will only take a weekend.
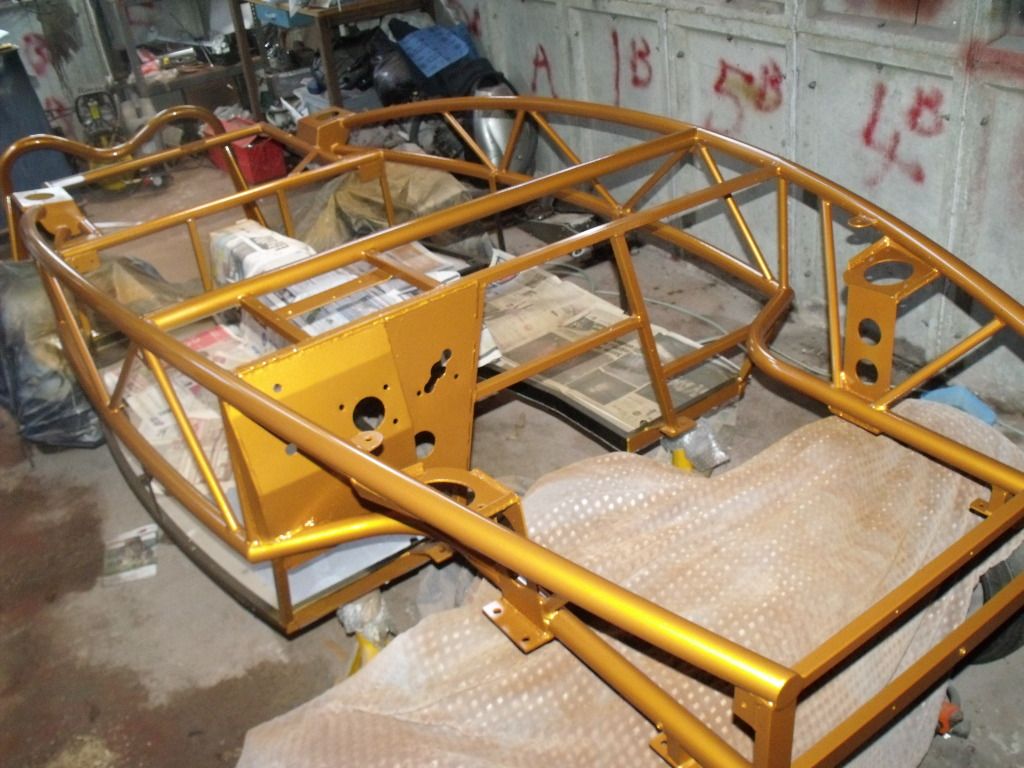
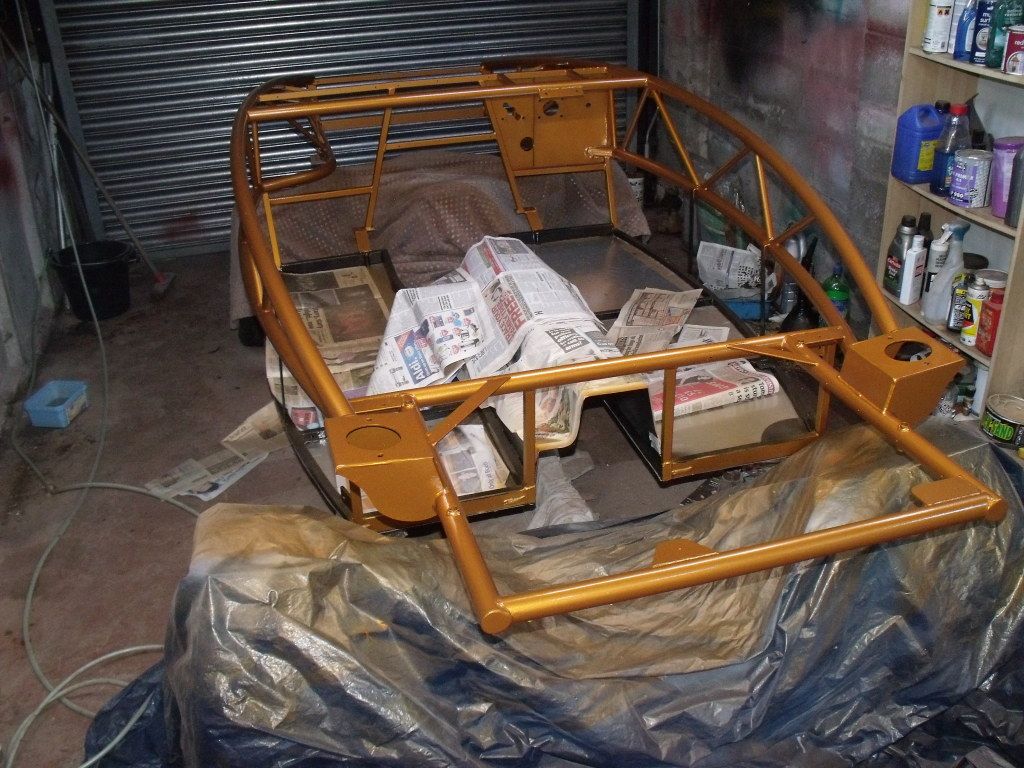
So with the holes drilled for the fuel and brake pipes 2 of my mates come over to lift the frame back onto the ppf didn't take to long got it all bolted down some pics
Finished just in time for the f1 so after the race fitted the rad, horn's side panels, and bulkhead panels
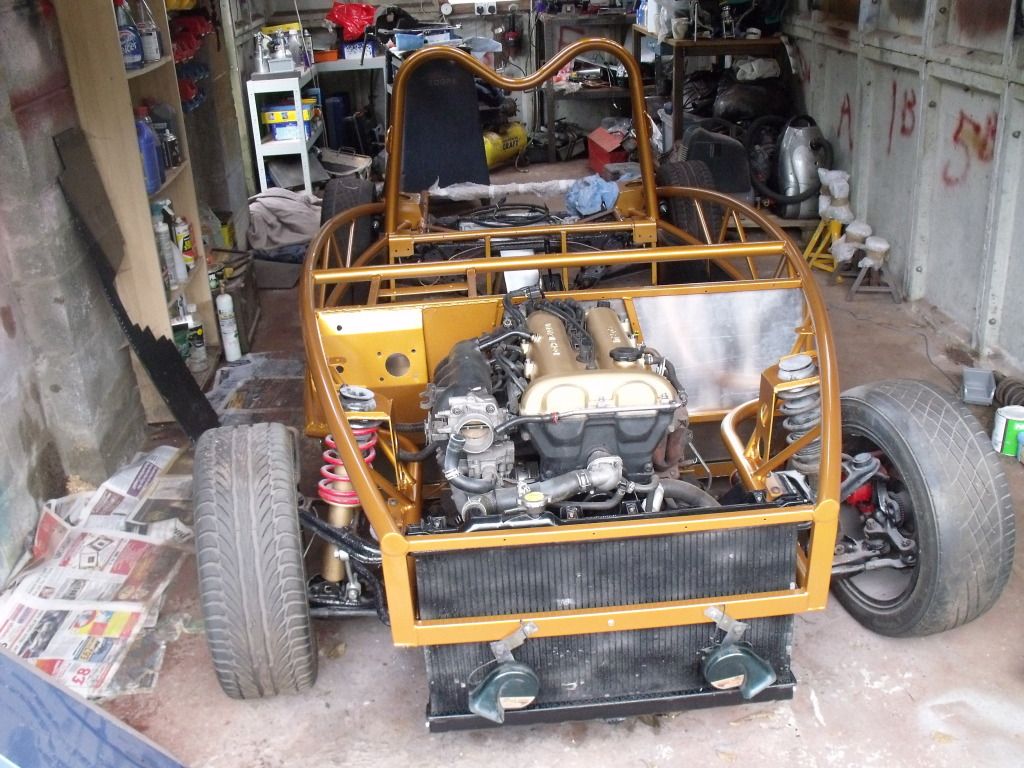
Hopefully with a good day next weekend will have it mostly finished keep you updated.
Finished just in time for the f1 so after the race fitted the rad, horn's side panels, and bulkhead panels
Hopefully with a good day next weekend will have it mostly finished keep you updated.
randlemarcus said:
I seem to recall you mentioning a luggage compartment earlier in the thread. How did that work out?
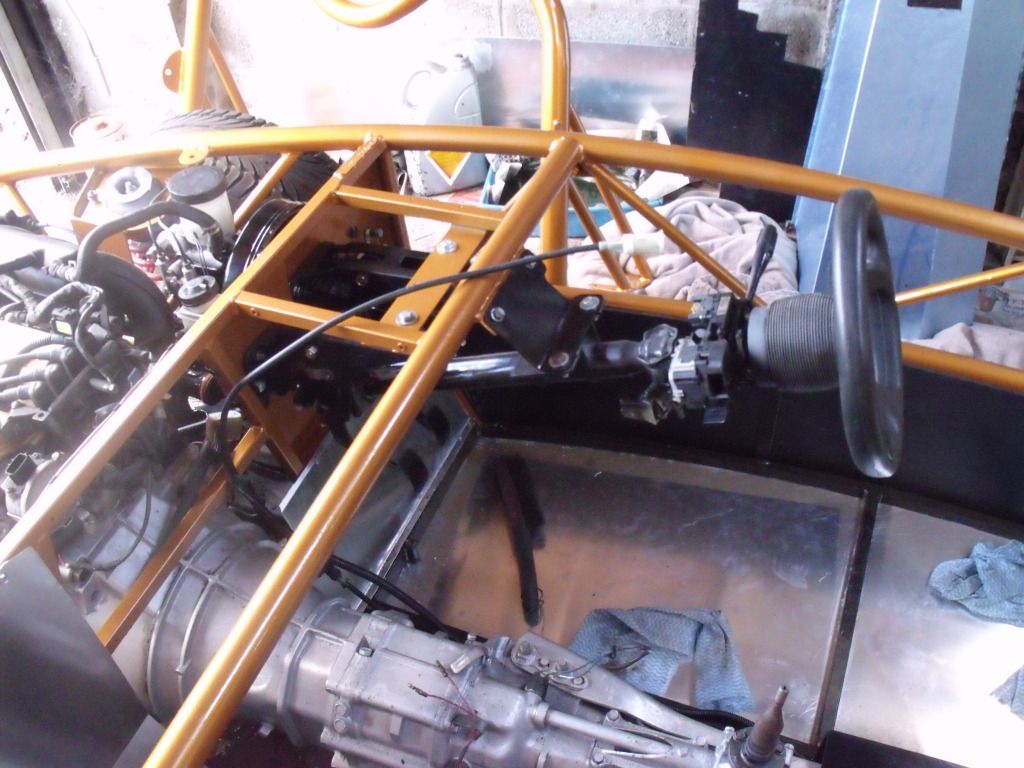
Will reveal that tomorrow.But another good day on it mounted the steering collum, brake servo/master cylinder, clutch master cylinder, pedals, air intake and filter, handbrake cabels, side repeaters and attached the rear wiring loom.
Pics
Steering collum and pedals
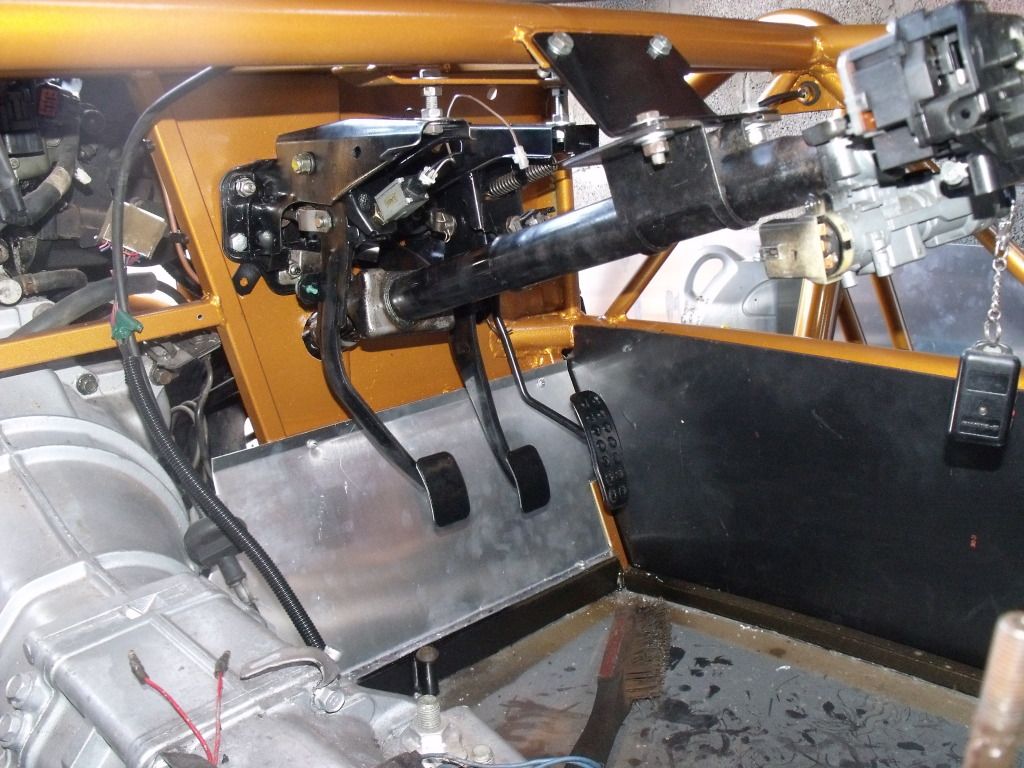
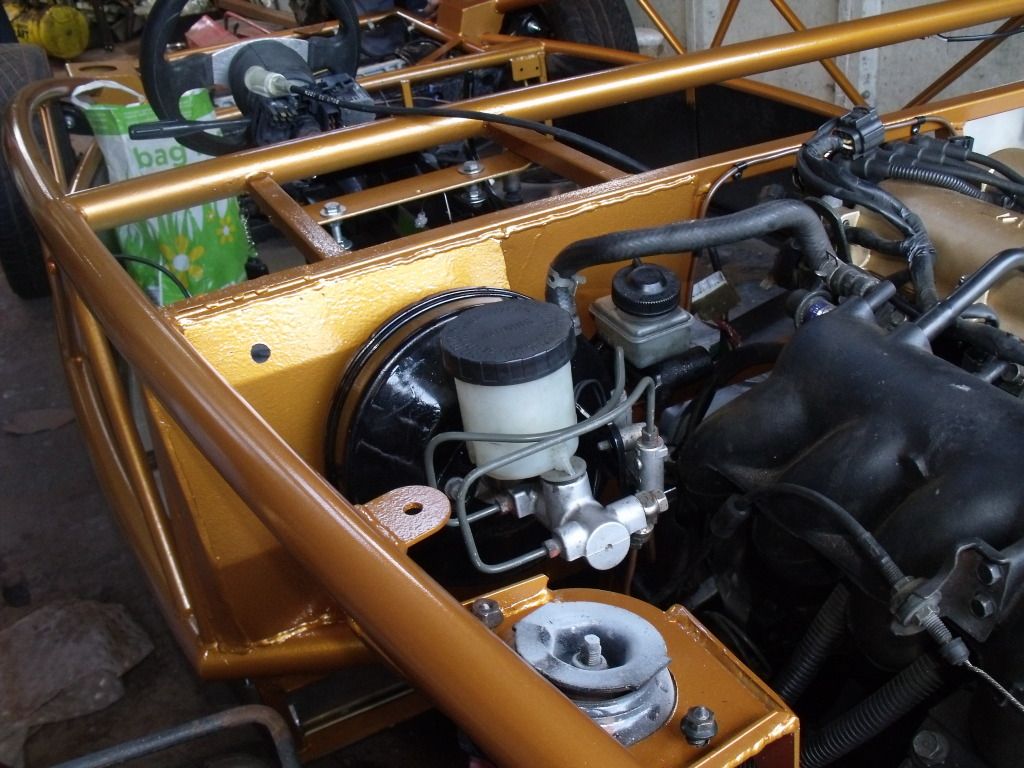
Brake servo/ master cylinder and air intake system
Rear loom and side repeaters
Same place on the other side.
Hopefully tomorrow will have the loom all in place, lights, and start on mounting the body work keep you updated.
Steve_D said:
MG CHRIS said:
It must be seen from the rear of the vehicle between 5 degrees and 60 degrees out from the side of the vehicle. It must also be seen between 5 degrees below and 15 degrees above horizontal assuming it is not higher than 750mm from the ground.
The 5 out and 5 down is the killer as the rear wing is in the way.
I hope yours is OK but we have seen all to many that fail.
The fix is to fit that same style lamp (Looks like the one we buy from CBS) into the rear lower lip of the front cycle wing. If you need to go this way let me know and I can suggest a way to modify the lamp so it takes up less room behind the cycle wing.
Steve
Edited by Steve_D on Sunday 14th October 10:39
Thanks for the offer for the cylce wing if i need to move it will let you know and yea the lights are from cbs.
Another day more progress.
So first job was to attach the rear lights with that done painted the boot floor and covered the edge in edging trim
it also acts as a way to secure the boot cover to be bolted onto the floor using 4 rivnuts.
With that done mocked up a number plate (off my other kit car) put it in place and marked out the holes for the no plate lights, joined the the 2 sets of lights wiring together to join up to the exsiting loom and glued it to the back of the cover.
also trimed down the thickness of the boot cover and added edging stuff provided in the kit around the bottom

Mounted the front end, headlights, indicators, layed the loom in the right position and started connecting everything up
Decided to bin my fiberglass attempt at a dash tray and made one out of alluminium just need to get it welded up on the joins and bolted in the ecu
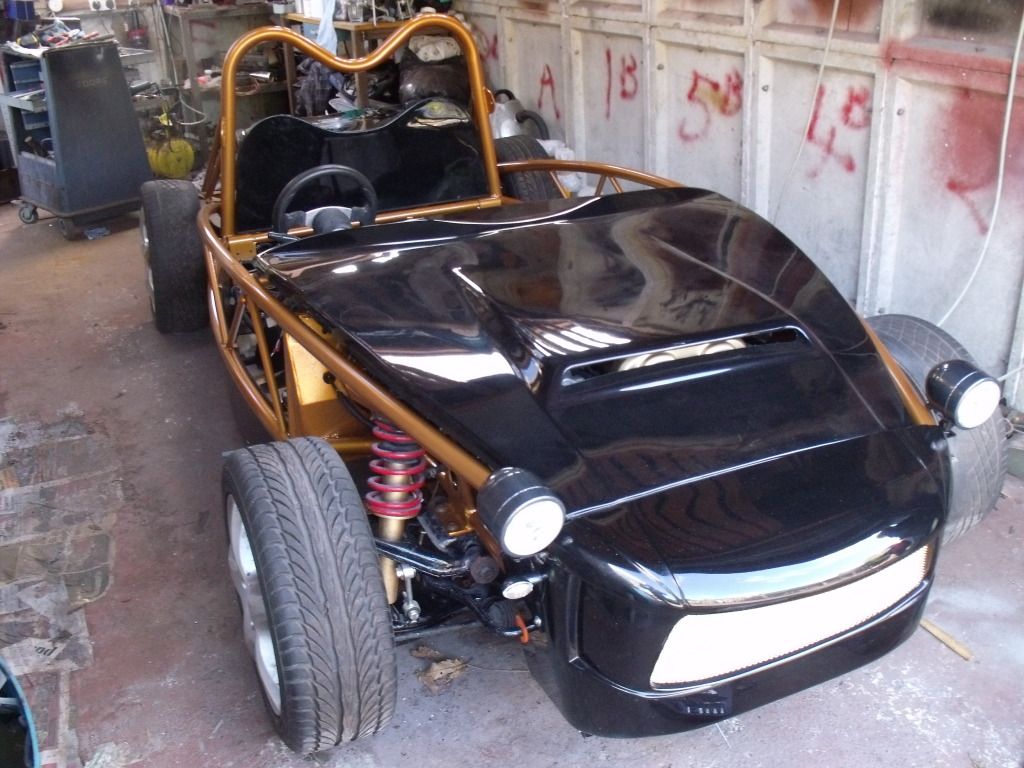
With getting bored with wiring put the boot cover in place and roll bar and placed the bonnet on looking like a exocet now
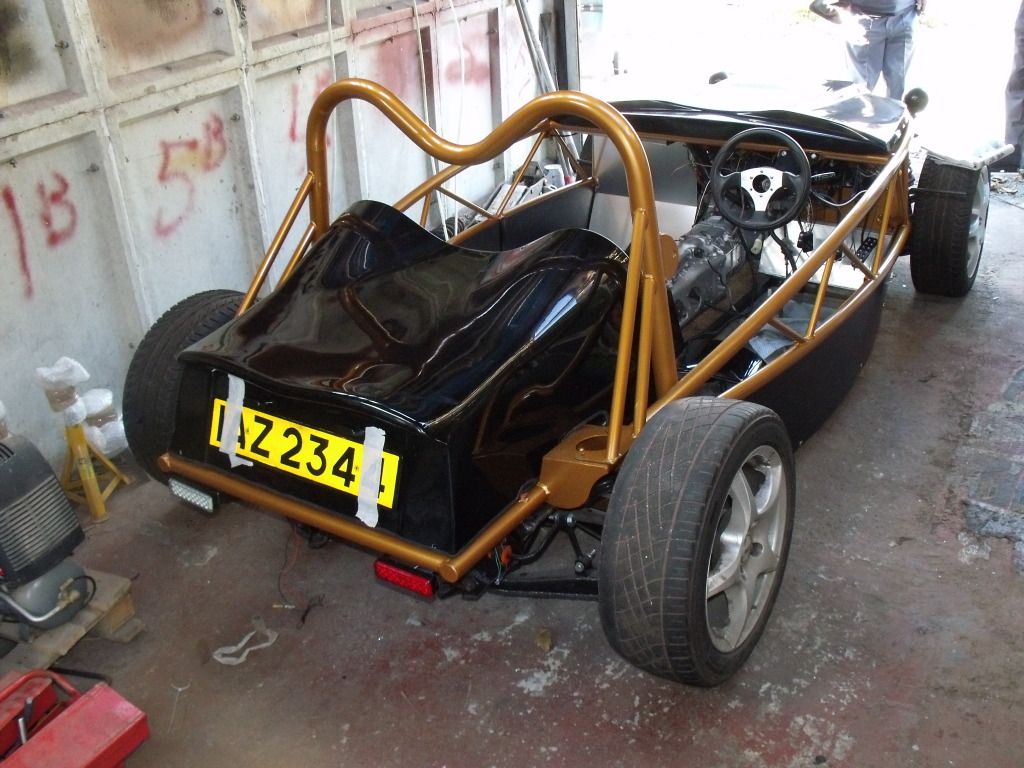
Not many jobs left hoping to go for a track day at llandow on the 20th november for a bit of a shake down and a bit of fun.
So first job was to attach the rear lights with that done painted the boot floor and covered the edge in edging trim
it also acts as a way to secure the boot cover to be bolted onto the floor using 4 rivnuts.
With that done mocked up a number plate (off my other kit car) put it in place and marked out the holes for the no plate lights, joined the the 2 sets of lights wiring together to join up to the exsiting loom and glued it to the back of the cover.
also trimed down the thickness of the boot cover and added edging stuff provided in the kit around the bottom
Mounted the front end, headlights, indicators, layed the loom in the right position and started connecting everything up
Decided to bin my fiberglass attempt at a dash tray and made one out of alluminium just need to get it welded up on the joins and bolted in the ecu
With getting bored with wiring put the boot cover in place and roll bar and placed the bonnet on looking like a exocet now
Not many jobs left hoping to go for a track day at llandow on the 20th november for a bit of a shake down and a bit of fun.
inman999 said:
The two tyres (Yohohama's if i'm not mistaken) are looking a bit worn on the shoulders  .
.
It's looking really good have you got the IVA booked yet?
I will be getting 4 new tyres soon looking at toyo's 50 each good for track and road will be refurbing the wheel at the same time. Yes the tyres are yokohama how did you guese that..It's looking really good have you got the IVA booked yet?
Haven't got iva booked looking to get it completly done by end of year and iva it ready for march/ april time.
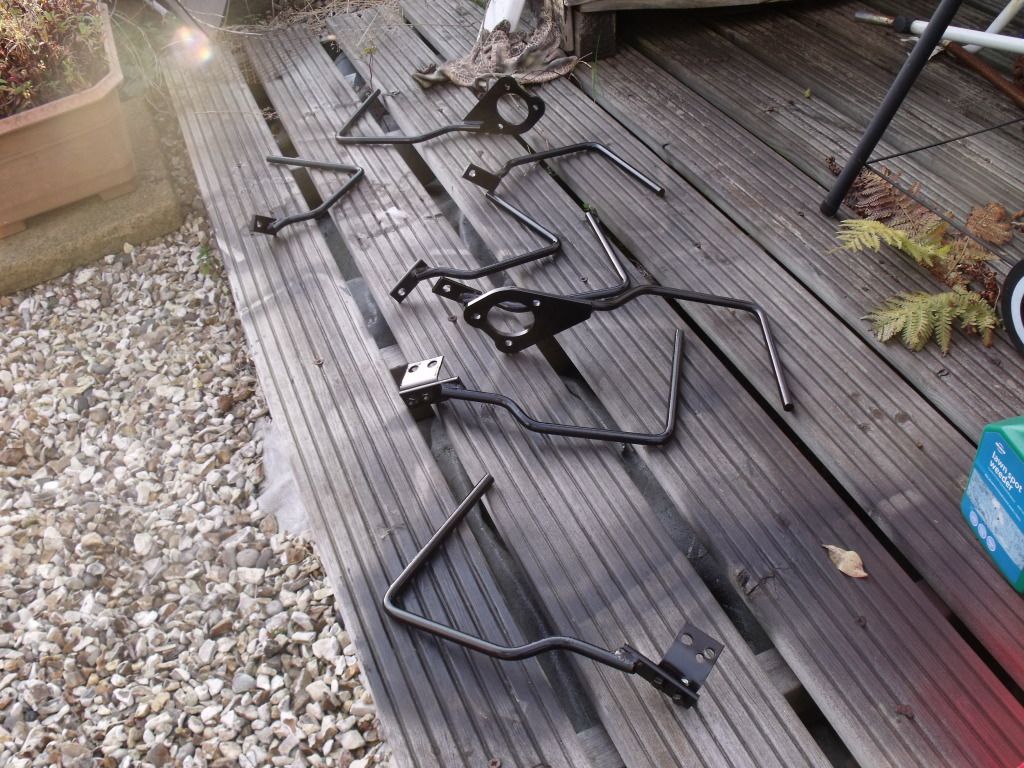
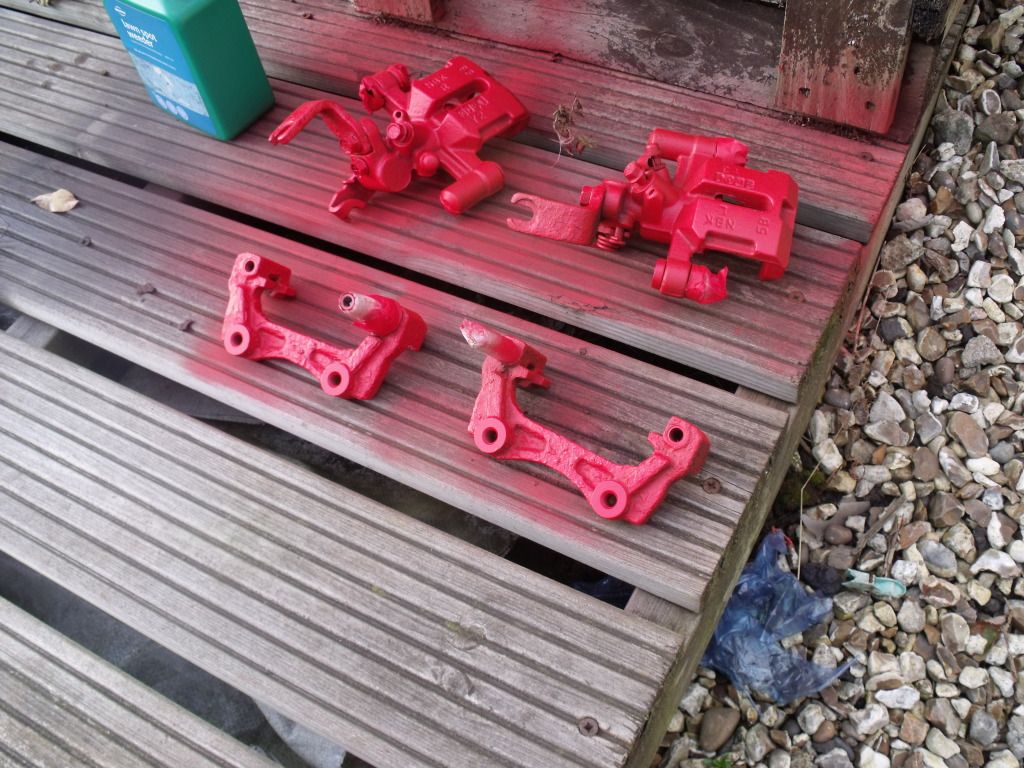
Another update allbut a small one. Got the car up of the ground and strip the brakes ready for the wing stays and wheel spacers.
So with them off painted the rear callipers and carriers and also the wing stays
Found a way of mounting the clocks (well i didn't my father did)
pictures explains better than what i will so here they are
The base is also attached to the cover underneath to stop it lifting up.
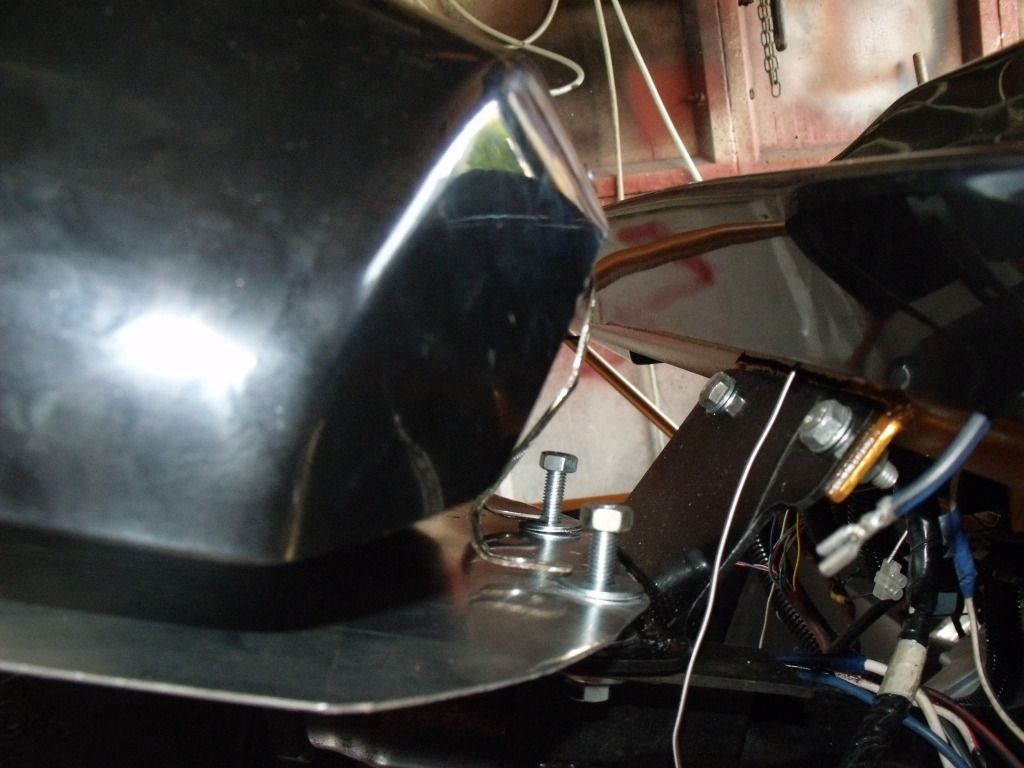
2 brackets attached to the pod bolts to the steering collum bolts.
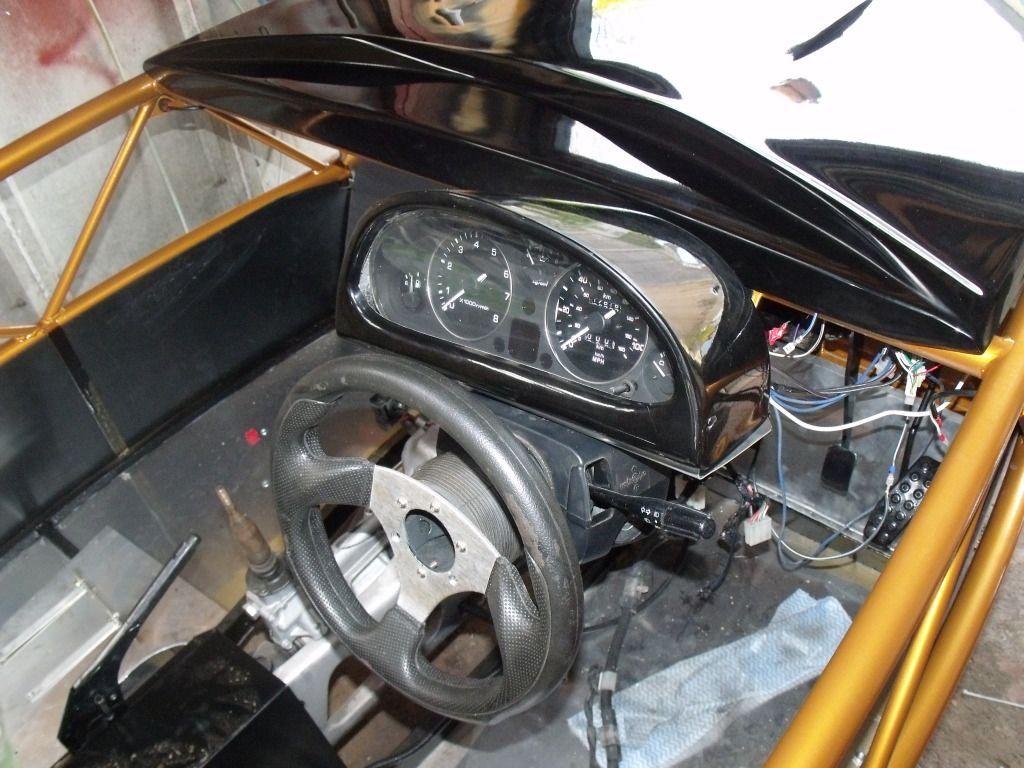
It's not perfect but without the seat in place i can't really allign everything up so will wait till i get the seats in first.
Got a week of the week after next so should make some decent progress.
So with them off painted the rear callipers and carriers and also the wing stays
Found a way of mounting the clocks (well i didn't my father did)
pictures explains better than what i will so here they are
The base is also attached to the cover underneath to stop it lifting up.
2 brackets attached to the pod bolts to the steering collum bolts.
It's not perfect but without the seat in place i can't really allign everything up so will wait till i get the seats in first.
Got a week of the week after next so should make some decent progress.
Gassing Station | Kit Cars | Top of Page | What's New | My Stuff