Discussion


Zeb74 said:
Now you're talking! An all train fork lift or a slightly over engineered engine crane 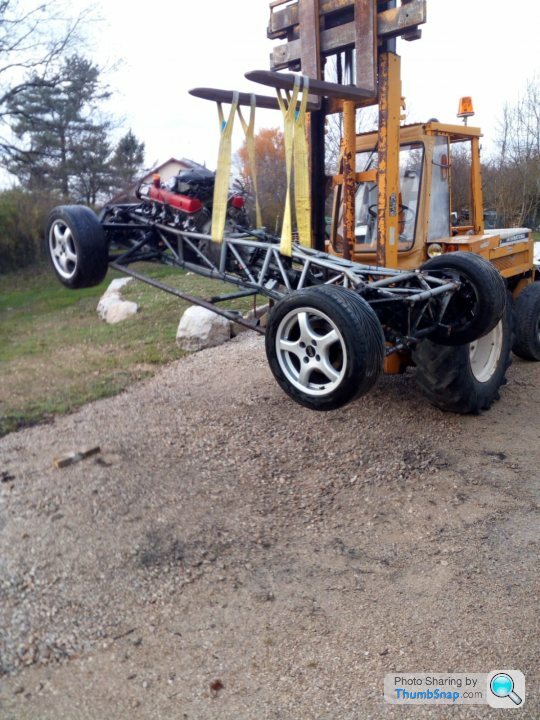

Yea the paint on the body is blistered already sadly, but I have a decent canvas tarp I'm going to be using meantime. There's a lad up the road from me with a old barn which is empty, I'm trying to see if I can get it in there, he's like the Scarlet pimpernel though!
No question I 'll need to build a garage this year.
Bit of an update. Still very cold up here but at least been dry last couple days.
Got my rolling chassis up on axle stands and removed the exhaust from the down pipe back, angle grinder used as hopelessly rusty. Will be looking to fit stainless manifolds and down pipes (I have a full replacement exhaust I got with the car which is down pipe back)
Pulled the propshaft off.
Engine mounting bolts removed ( took ages as seized and access a pig) , used a load strap to tie up the gearbox end to the chassis and removed the gearbox mounting.
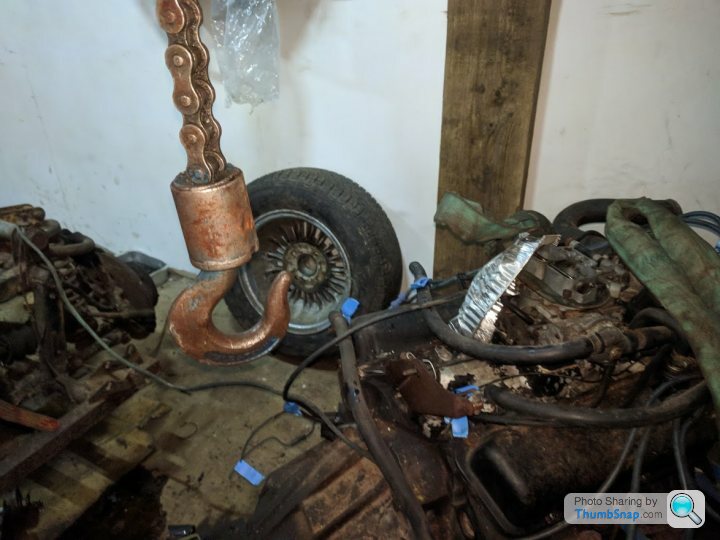
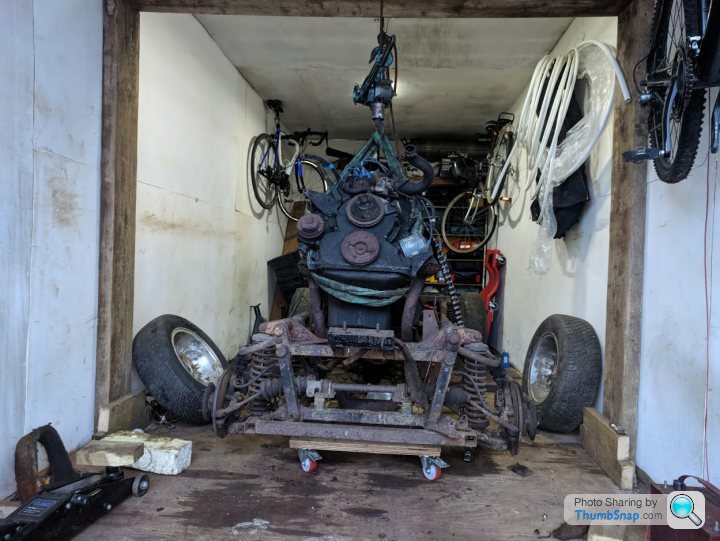
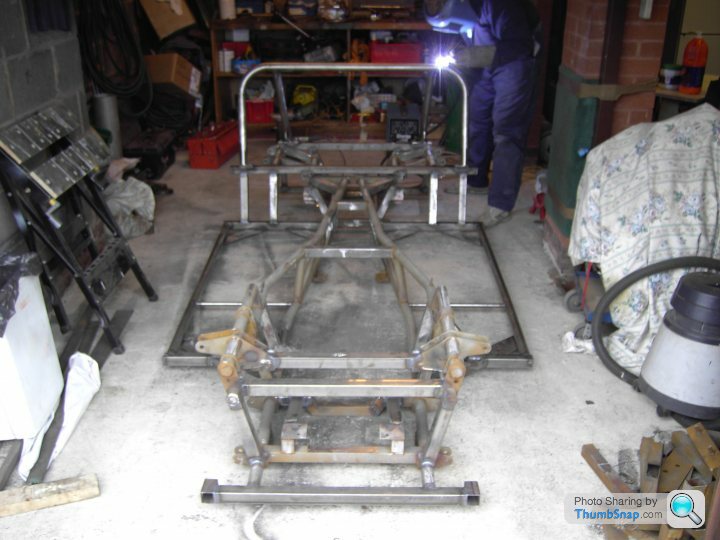
No engine crane or load leveler available so used the same frame I had constructed to lift the body with "hellboy" to do the lifting. Used a ratchet strap from the gearbox to act as a load lever. Ran out of jacking space so had to take the front wheels off and drop the front so the discs were nearly on the deck.
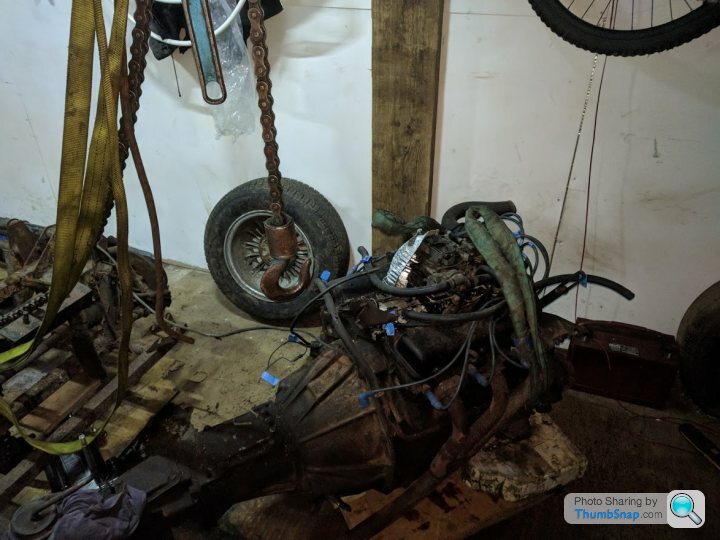
Engine and box came out with a bit of struggle and was dumped onto an old trolly I had left over from a previous fight with a cast iron stove.
Should have drained the gearbox oil and a fair bit tipped out the propshaft hole as I tilted the engine
All in all done worse jobs, but cant remember when
Hellboy:
Engine on the way:
Engine out:
Got my rolling chassis up on axle stands and removed the exhaust from the down pipe back, angle grinder used as hopelessly rusty. Will be looking to fit stainless manifolds and down pipes (I have a full replacement exhaust I got with the car which is down pipe back)
Pulled the propshaft off.
Engine mounting bolts removed ( took ages as seized and access a pig) , used a load strap to tie up the gearbox end to the chassis and removed the gearbox mounting.
No engine crane or load leveler available so used the same frame I had constructed to lift the body with "hellboy" to do the lifting. Used a ratchet strap from the gearbox to act as a load lever. Ran out of jacking space so had to take the front wheels off and drop the front so the discs were nearly on the deck.
Engine and box came out with a bit of struggle and was dumped onto an old trolly I had left over from a previous fight with a cast iron stove.
Should have drained the gearbox oil and a fair bit tipped out the propshaft hole as I tilted the engine
All in all done worse jobs, but cant remember when
Hellboy:
Engine on the way:
Engine out:
That's probably the worst bit of my chassis as well. . The square sections also look like one of the more changeling bits to replace due to the number of connections they have. I now have the front of chassis completely stripped and it looks pretty good.
At the rear I have wire brushed all the bolts and am giving them a few soaking of releasing oil before I start disassembly. Initial plan is to disconnect the drive shafts, take off the shocks and unbolt the wishbones to take each "corner" off in a single piece. That way it can be disassembled on the bench. The Diff looks to be secured by some real Victorian engineering and huge bolts. Expecting a fight!
Constructing these chassis's originally must have taken an age, never seen a more complicated arrangement. It must be strong as feck though.
Cheers, yes sometimes you have to pick your battles. If I think I'm getting out of my depth with the chassis I would be looking to put it out to someone to repair. However when I built my house, the few jobs I got others in to do generally caused me nothing but grief. So hopefully it wont come to that.
Cheers - I've never used one of those, any good? Although in my case it wouldn't have helped, the diff breather pipe got snapped off when some ham fisted idiot was removing the diff (okay it was me), it broke off flush to the diff casing and it was an aluminium threaded pipe and it was in there good. Luckily what broke was the little breather elbow and they are cheap and easily had on ebay.
Chassis now fully stripped and I have been in contact with a local shot blasters who is talking circa £200 for blasting it.
Chassis now fully stripped and I have been in contact with a local shot blasters who is talking circa £200 for blasting it.
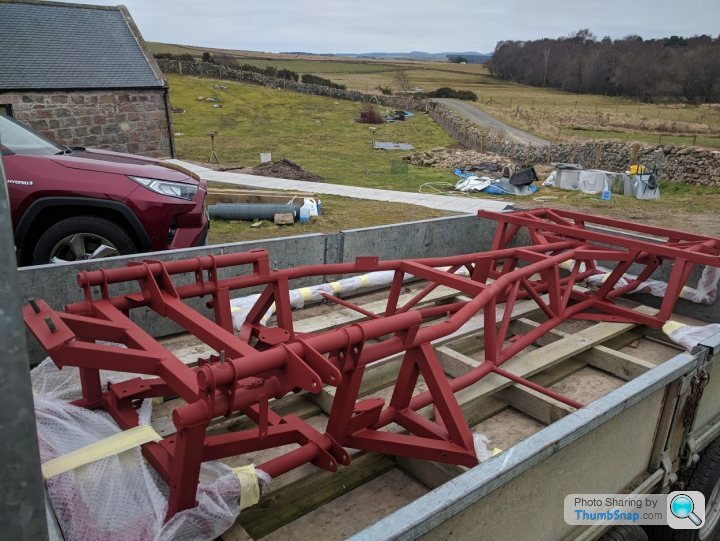
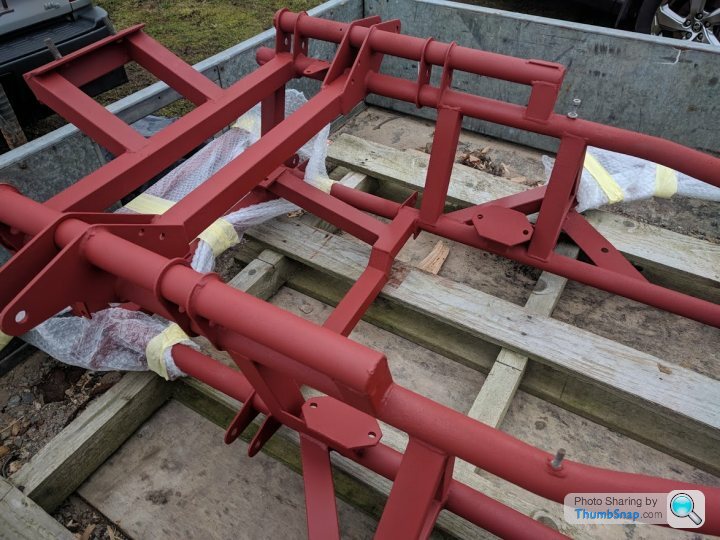
Been a while but I have been working away on the car and now have my chassis back after shot blasting. Not had a detailed look at it but seems better than I was expecting. One Outrigger at the front is rotted & needs replacing, the other side is strangely perfect. At the rear the top square section tubes are rusty at the ends ( holes) but pretty solid elsewhere. Some pitting of the round tubes at the rear at the top but doesnt look serious. The holy outrigger you can see some cowboy has bubble gummed on a lap welded patch to it in a real dodgy area, right where it joins onto the main chassis. Looks like Im not the only cowboy out there 
I had them primer the chassis with weld through primer, with the idea being to prevent flash rusting and allowing me to grind it back where it will be getting welded. Apparently this primer is the same stuff they use for offshore so hopefully good stuff!
£280 cash all in


I had them primer the chassis with weld through primer, with the idea being to prevent flash rusting and allowing me to grind it back where it will be getting welded. Apparently this primer is the same stuff they use for offshore so hopefully good stuff!
£280 cash all in
Edited by calum62 on Wednesday 3rd March 21:00
Edited by calum62 on Wednesday 3rd March 21:19
Interesting and useful feedback. The pictures are perhaps deceptive the red primer is very thin and I can see pitting etc as well as I could if the metal was bare. I suspect this chassis has had outriggers replaced before as seems infeasible for a 40 years old car (living in Scotland) to be as good as they are. Seen pictures of Chimeras where the outriggers are just about completely missing!
Been side tracked with a flooding issue last week or so but will be giving the chassis a good inspection and planning what I need to do. As was said not a time to be cutting corners. There's a local Motor engineering workshop that does race car builds, who have a coded welder fabricator and I was considering taking it past them for a bit of advice and perhaps asking to them to do some of the fab work.
She was born with this Chassis and I think having the original chassis is a desirable thing. The only way I'd put a new chassis on the car is if someone fabricated one out of chromemoly and gave it to me for free
GAjon said:
Overall it doesnt look that bad.
But, as you have it bare, dont compromise now, any tube that shows any sign of perforation should be cut out completely and replaced, you dont want to finish your rebuild and find the chassis has started to corrode already.
As i said previously, take time, cut out one tube at a time, completely. make cardboard templates of the joints to wrap or fold around the tubes (And by tubes I mean both round and square sections).
Do one side at a time using the other side as your datum.
Tack the replacements into position before cutting out the next section, even if it means breaking new tack welds.
Tack it all up with good tacks, save all your welding untill last.
This chassis was similar to yours, on the bottom right you can see the extent of some of the tubes removed.
Just noticed that pile of rusty tubes, frightening! But, as you have it bare, dont compromise now, any tube that shows any sign of perforation should be cut out completely and replaced, you dont want to finish your rebuild and find the chassis has started to corrode already.
As i said previously, take time, cut out one tube at a time, completely. make cardboard templates of the joints to wrap or fold around the tubes (And by tubes I mean both round and square sections).
Do one side at a time using the other side as your datum.
Tack the replacements into position before cutting out the next section, even if it means breaking new tack welds.
Tack it all up with good tacks, save all your welding untill last.
This chassis was similar to yours, on the bottom right you can see the extent of some of the tubes removed.
Apologies I'm still alive. Just has a bit of a 6 month hiatus while I did some some other jobs!
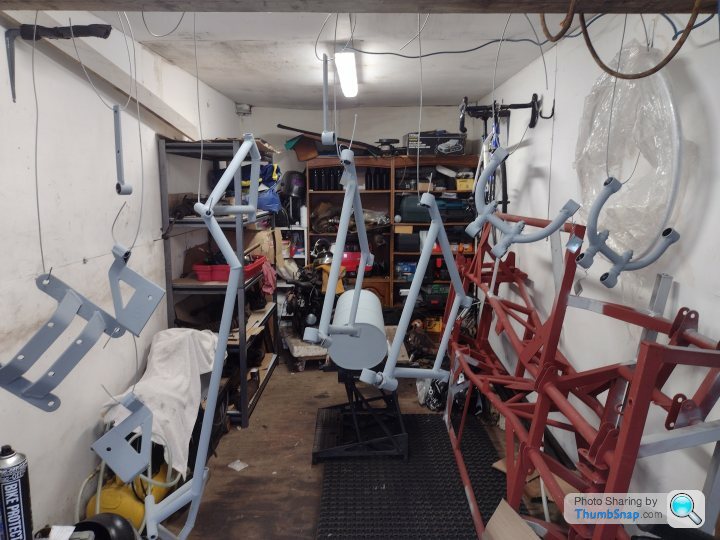
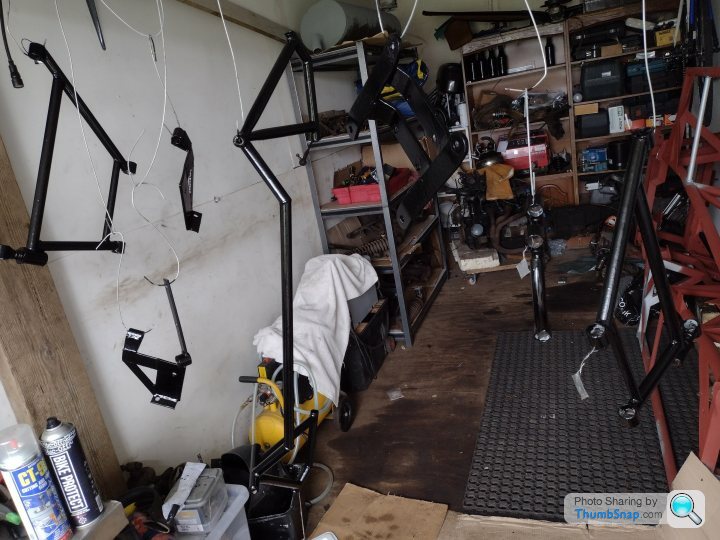
Off work for a week so have started painting chassis components and will paint chassis this week before it gets too cold to paint.
Painting the running gear after stripping to bare metal with a grinder with wire wheel with two coats of Electrox cold galvanizing paint and the two coats of Frost Extreme black chassis paint - As I had some and it gives a nice period look. All brush painted. The cold galvanizing paint is nice and thick and easy to apply with brush strokes disappearing. The Frost Chassis paint is quite runny and after one coat looked s te, 2nd coat has tidied things up and it looks decent.
The Chassis in primer currently is getting a coat of silver epoxy mastic paint (brushed). Then going to spray stone chip on the vulnerable areas (out riggers etc) then give it another coat of epoxy mastic.
Homebrew on the shelf in the background

Off work for a week so have started painting chassis components and will paint chassis this week before it gets too cold to paint.
Painting the running gear after stripping to bare metal with a grinder with wire wheel with two coats of Electrox cold galvanizing paint and the two coats of Frost Extreme black chassis paint - As I had some and it gives a nice period look. All brush painted. The cold galvanizing paint is nice and thick and easy to apply with brush strokes disappearing. The Frost Chassis paint is quite runny and after one coat looked s
te, 2nd coat has tidied things up and it looks decent.The Chassis in primer currently is getting a coat of silver epoxy mastic paint (brushed). Then going to spray stone chip on the vulnerable areas (out riggers etc) then give it another coat of epoxy mastic.
Homebrew on the shelf in the background
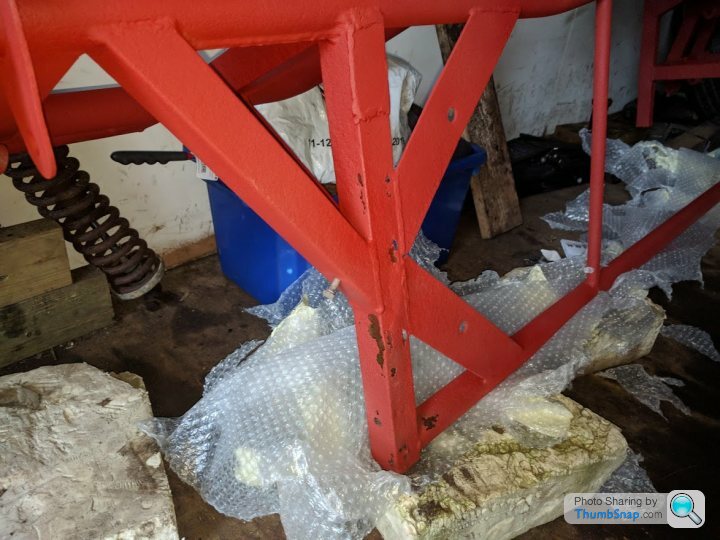
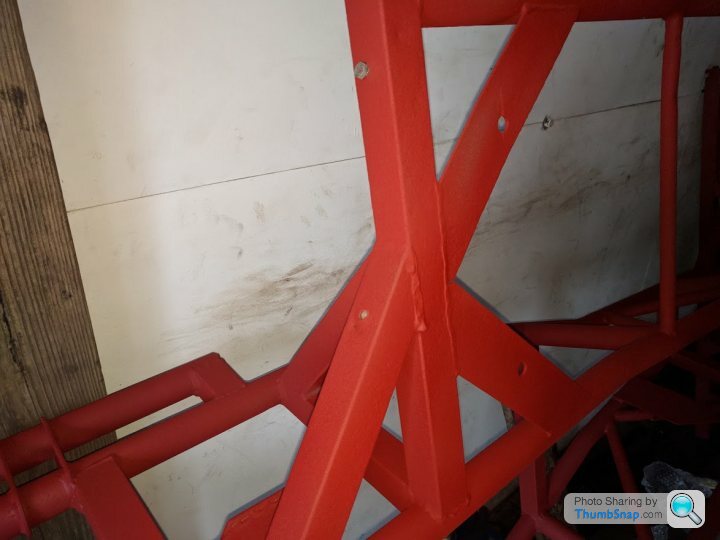
So onto the chassis. I need to press on and get it all painted as getting cold now.
Brush painted 1st coat of Jotomastic AL90 epoxy mastic. Took about 4 hours!
Supposed to be silver but looks more grey to me. Having the chassis shot blasted leaves a great finish for painting. Am now swithering on whether to paint the chassis to chassis black. Two coats of epoxy mastic then a couple coats of Frost chassis black maybe
Gassing Station | TVR Classics | Top of Page | What's New | My Stuff