Jensen Interceptor restoration
Discussion


P5Nij said:
dpp said:
This is the model my wife bought which was a great inspiration whilst looking at a rusty shell.
The colour does change depending on the light levels which is nice.
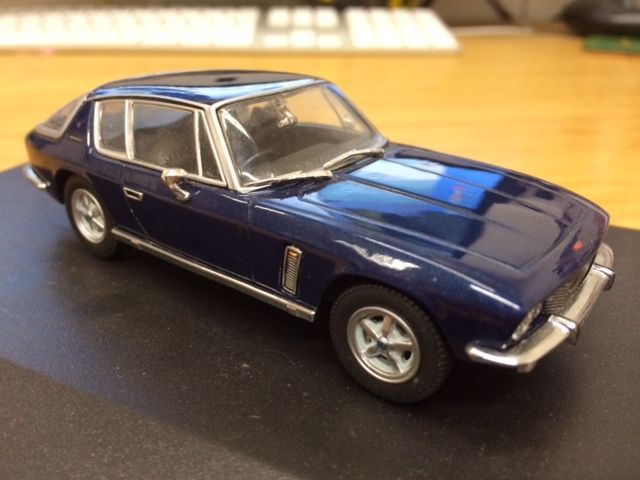
Info please Sir! I can just see one of those sitting on the mantlepiece... ;O)The colour does change depending on the light levels which is nice.

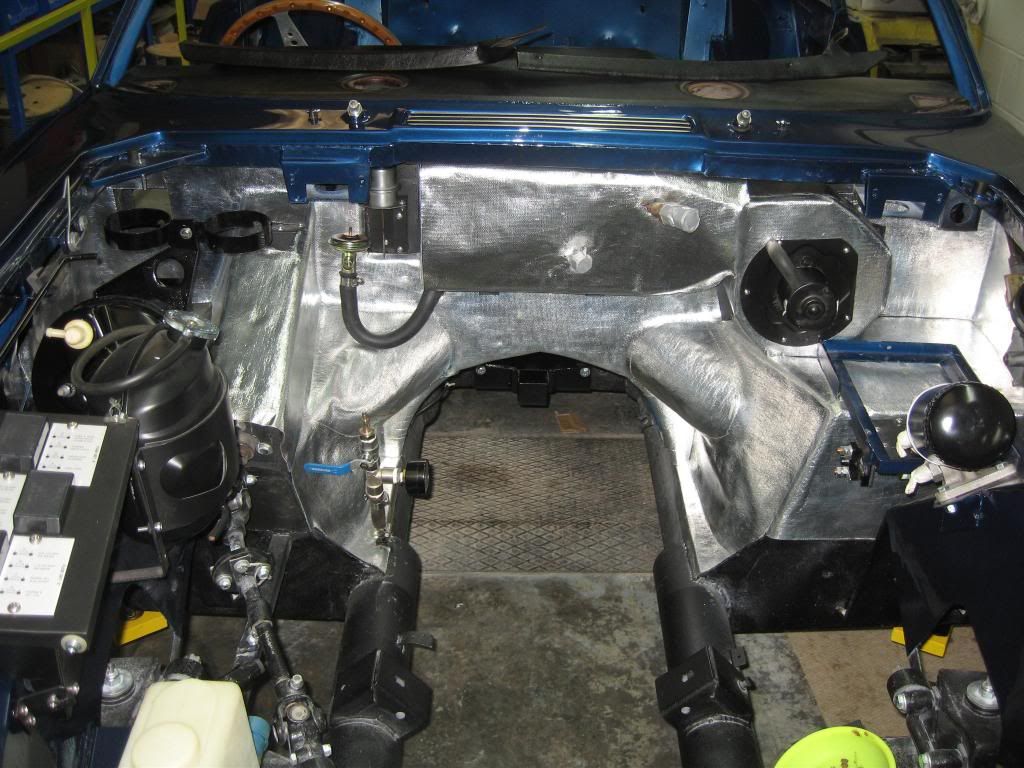
Now that the car is back the lengthy task of fitting armaflex insulation and heatshield to the bulkhead has begun, along with repairing and refitting the heater box.
The work is very satisfying at this stage as with so little attached to the car progress is easy to see.
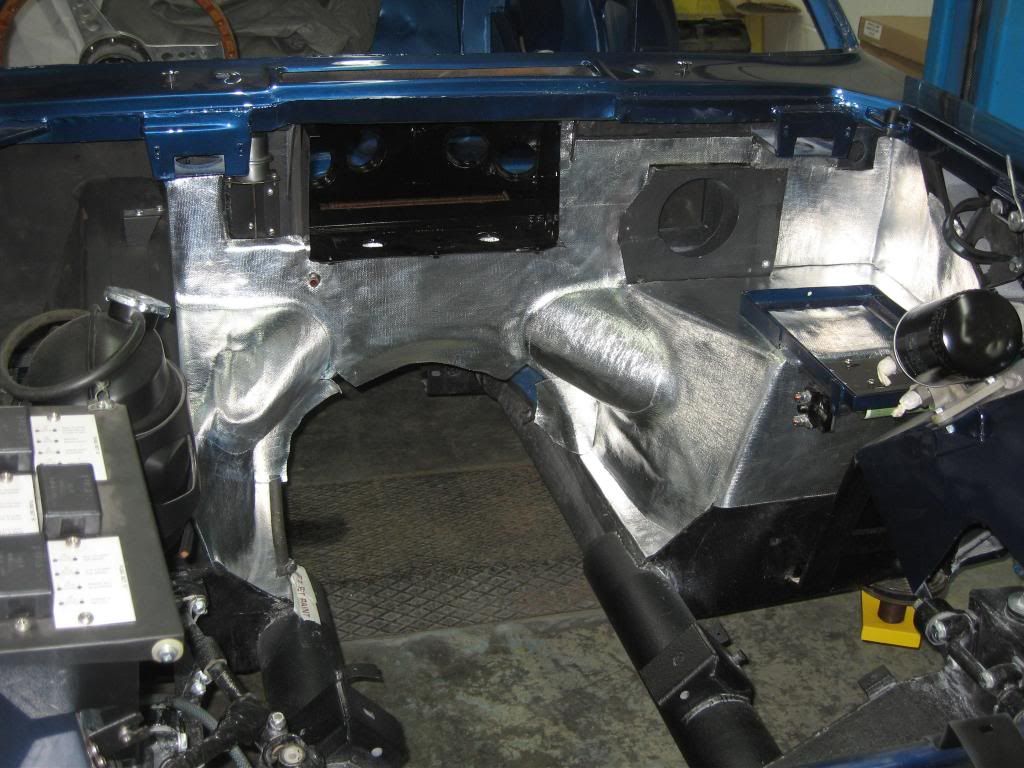
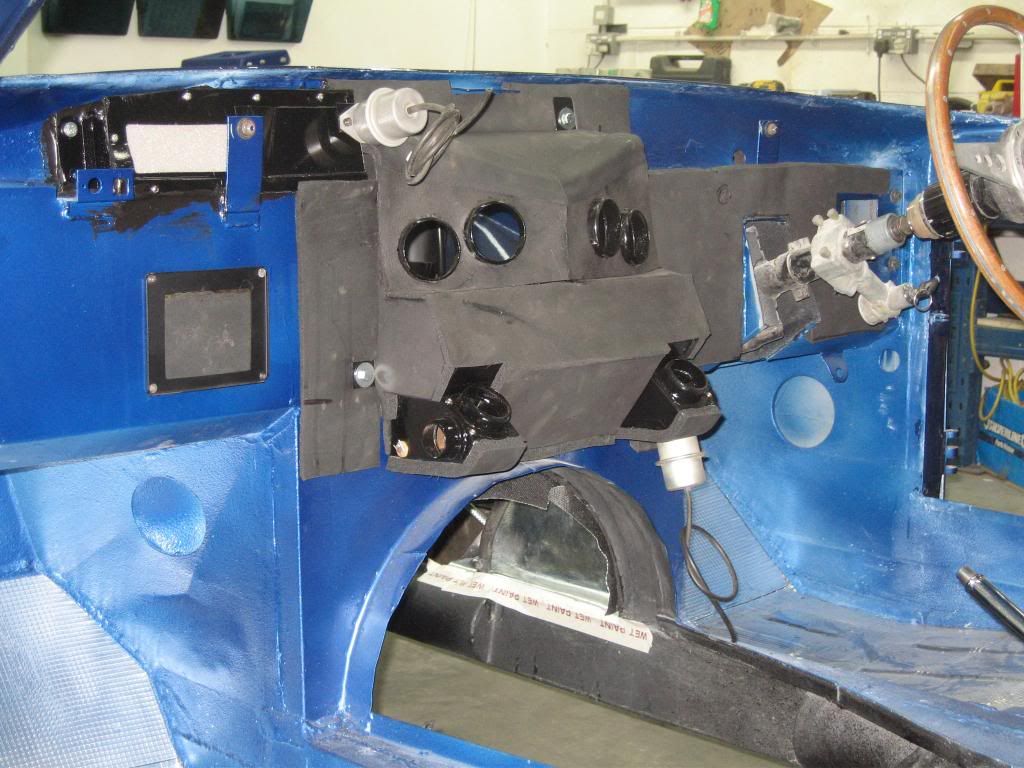
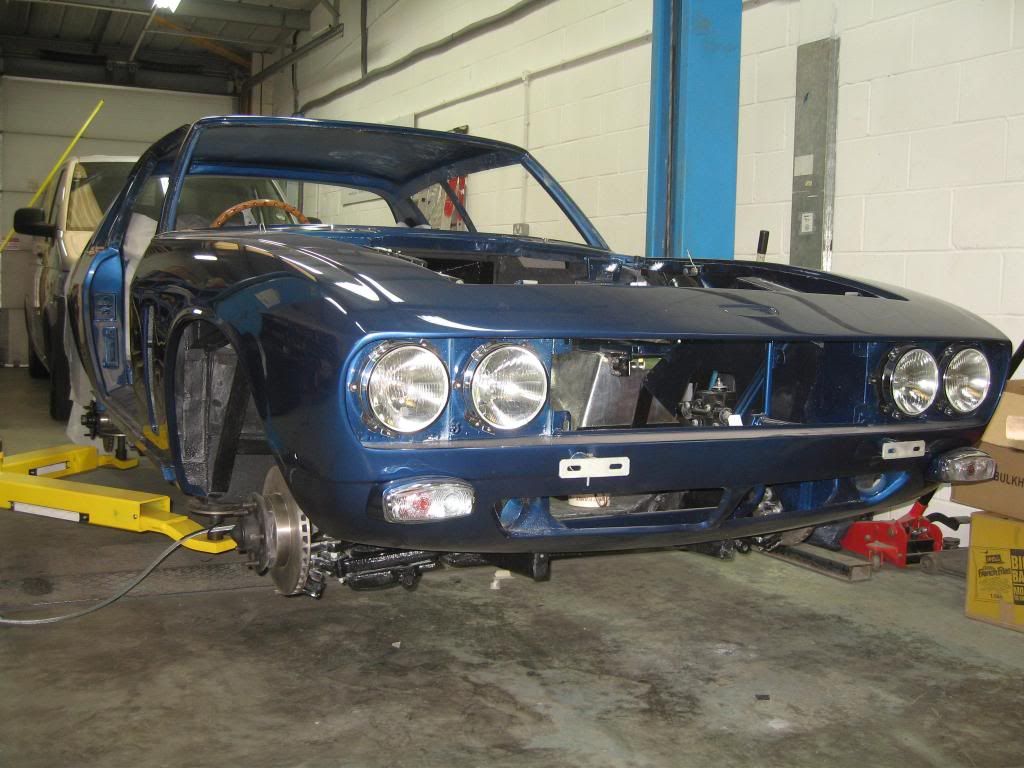
I also fitted the lights as this was a quick job with instant results in making the shell look like a car again
The work is very satisfying at this stage as with so little attached to the car progress is easy to see.


I also fitted the lights as this was a quick job with instant results in making the shell look like a car again

williamp said:
Dpp, did you not consider using a more modern heat/noise insulation n the bulkhead?? These old cars get a lot of heat soak through e bulkhead. Great on a winters day, awful on a summers day. And the noise will still be there..
Hi WillampI used Armaflex which looks similar to the original foam, this is used to insulate modern industrial a/c and air handling units, this was then covered in the heat reflective covering which is used on some modern vehicles and looks as close to original as possible.
I did test the heat shied with a blowtorch before fitting it.
Ive never had the chance to drive one of these cars but I understand they can get hot in the engine bay and that heat does get into the car this was why I wanted an a/c car.
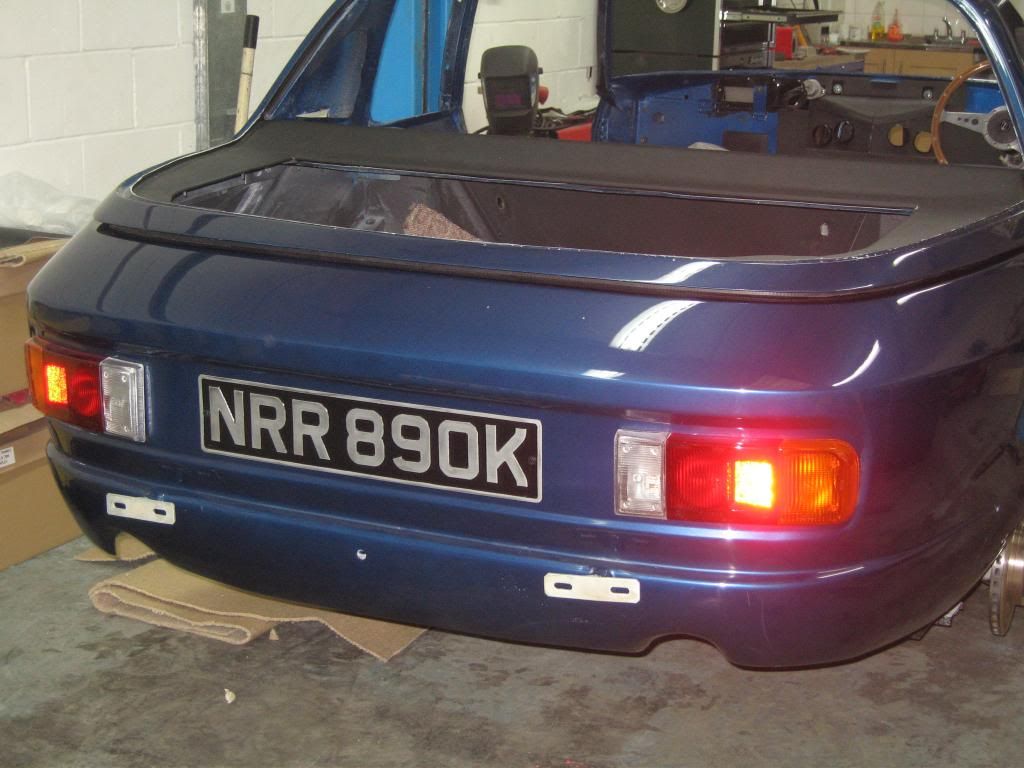
I thought I would get round to some external items as it gives me encouragement to keep going so I decided to fit a few items to the rear and recover the parcel shelf. The hole in the middle is for a removable piece to be fitted.
I had some new number plates made at a show but on close inspection the were poorly pressed and delaminated as soon as I drilled the mounting holes so I shotblasted and repainted the ones that were on the car when I bought it and they looked much better.
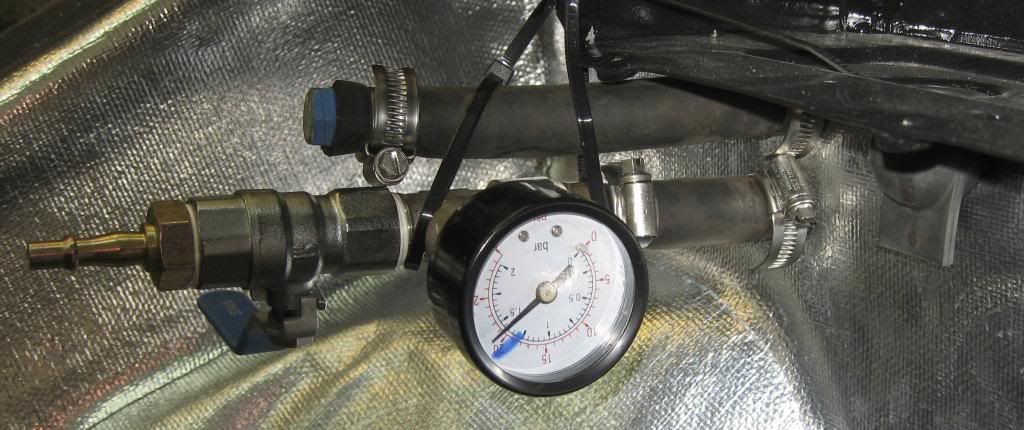
Having seen what is involved in removing the heater box to get to the heater matrix I decided to pressure test it whilst it was still accessible.

72twink said:
What make of heat sheilding have you used in the engine bay on top of the Armaflex, it looks like it's takent the complex shapes very well!
Its called Shieldtex made by Thermal Velocity in Manchester, it was quite easy to work with and is rated to 250 degrees C the foil is laminated to a glass cloth so it is fairly thick but still forms very well.It took me a long time to install all this and i thought I may have to bring somebody in to make it look neat but I took my time and it all worked out in the end.


Amstrange1
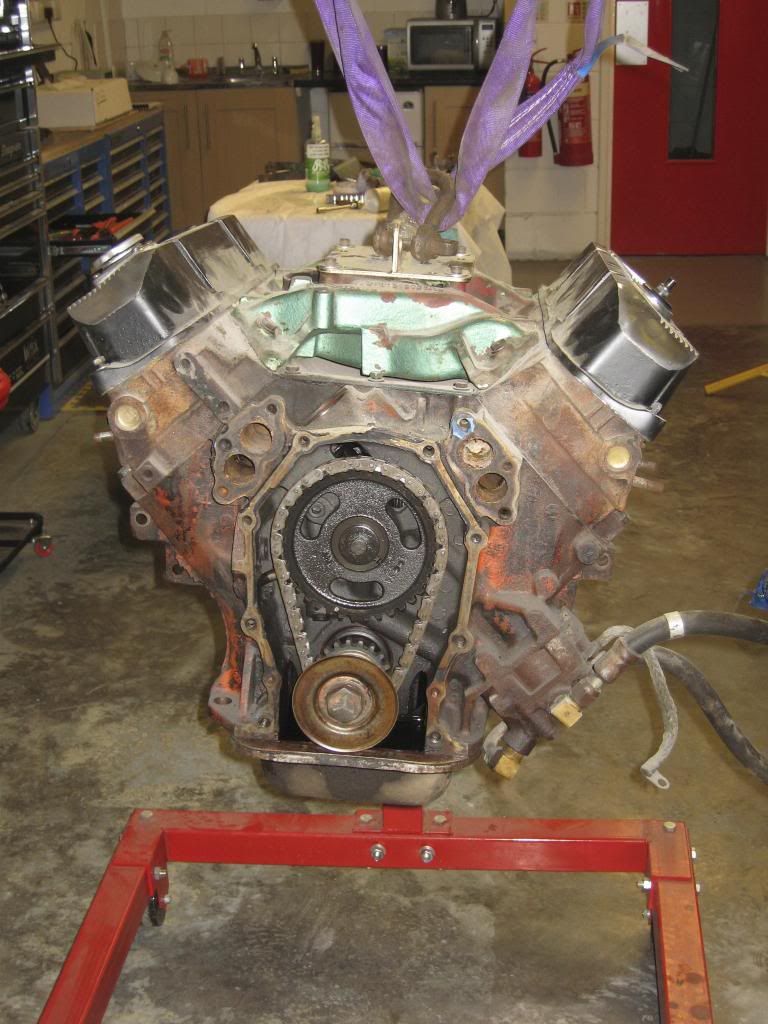
The car will be almost original and there are no plans for the engine apart from a stock rebuild even keeping the cast headers, I am not fitting upgraded fans, alternator or fast wind starter either as this car has managed over 40 years without them.
If when I come to start using the car these items look like must haves then I will think about fitting them then. The only mod so far is to fit a delay timer to the wipers and this gets hidden by using the speaker fader position and knob it will look standard but the knob will have a different function.
Breadvan
The tyres are from Blockley Tyres www.blockleytyre.com and cost £150 a corner plus VAT they are the original size 205/70VR15, I cant remember the guys name but he was very pleasant to deal with.
The tyres also have a classic tread pattern which I think looks better than the Pirelli 4000s most people use. Some people upgrade to 17" wheels and can then buy cheaper tyres but I think they look too modern for the car
Now that I have managed to reduce my parts pile I have decided to start on the engine so far I have stripped some ancillaries and covers and lifted it onto a stand.
Meanwhile my servo and front callipers have come back from refurb looking great.
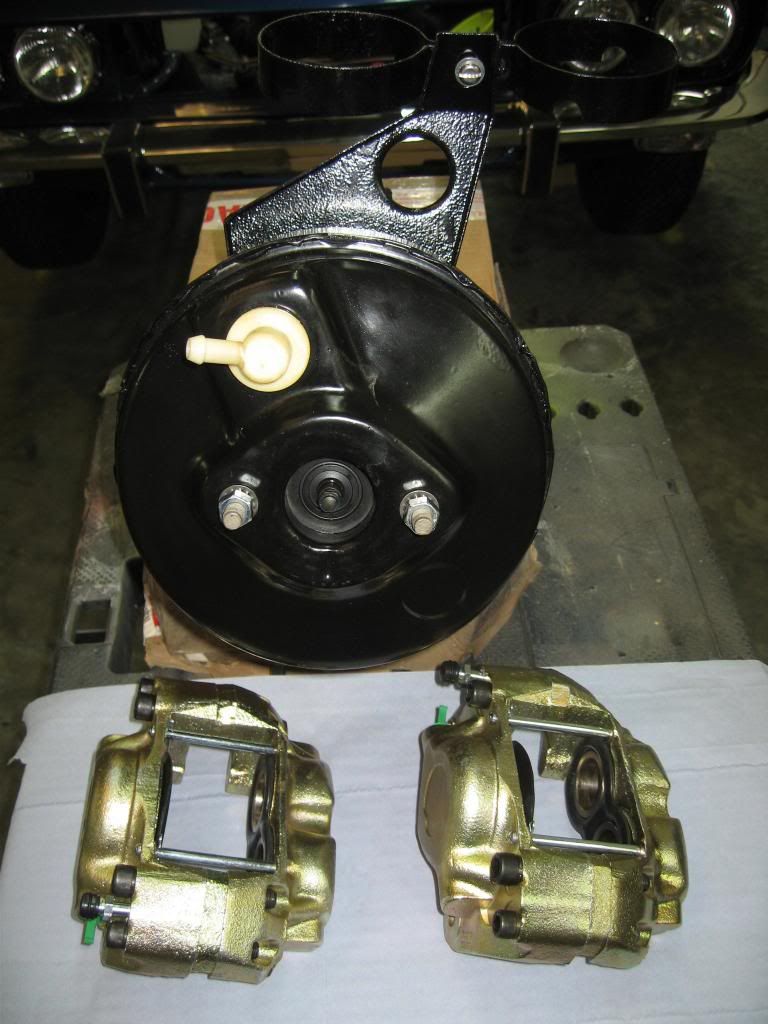
Ive still got a long way to go but it is now starting to resemble a car again

Meanwhile my servo and front callipers have come back from refurb looking great.

Ive still got a long way to go but it is now starting to resemble a car again
I have almost completed the firewall insulation & heatshield and fitted a few more components in the engine bay and the pressure tester is now checking the vacuum reservoir built into the chassis tube
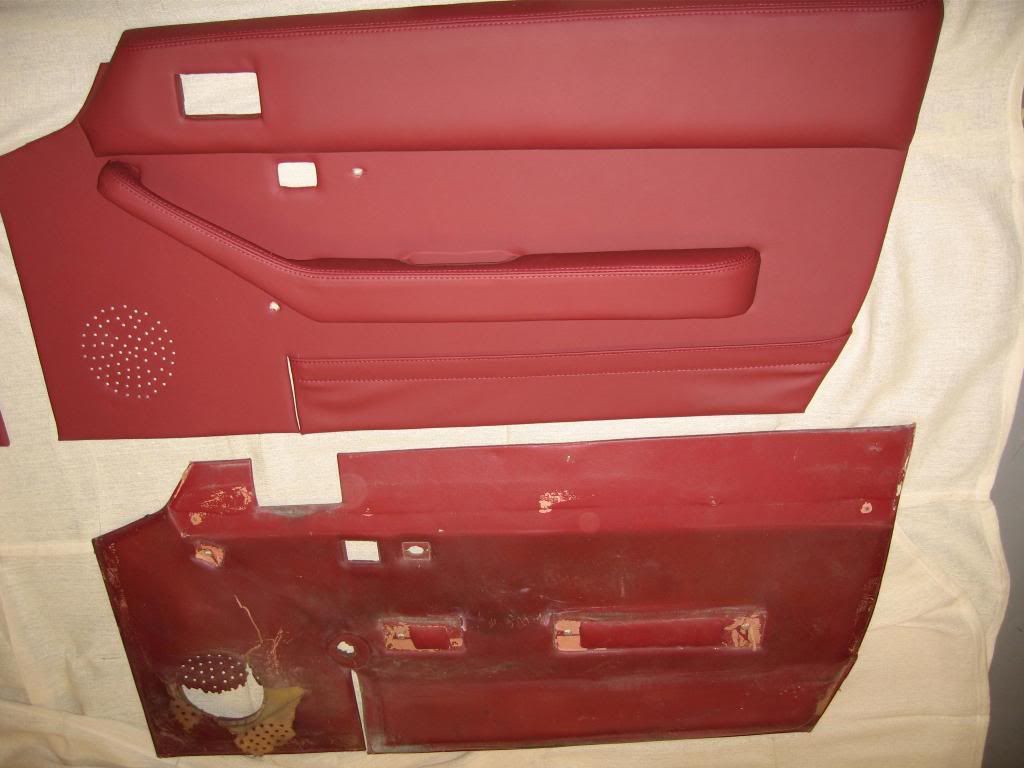
The first parts of the interior have retuned from the trimmer, this shot shows the old door card next to the new one the colour is a darker red on the old but it had been painted over the lighter shade which can be seen at the top of the old door card
Here are a few more bits of trim I picked up

The first parts of the interior have retuned from the trimmer, this shot shows the old door card next to the new one the colour is a darker red on the old but it had been painted over the lighter shade which can be seen at the top of the old door card

Here are a few more bits of trim I picked up

sars said:
Just stunning absolutely stunning, fabulous to see this done to a true classic and to see it happen through your posts, thanks
Thanks SarsI pushed it outside to see what it looked like in daylight


The dashboard has also been refitted and as usual this small job made a huge visual difference whereas usually hours of work seem to make little difference visually

Email sent Sinnr
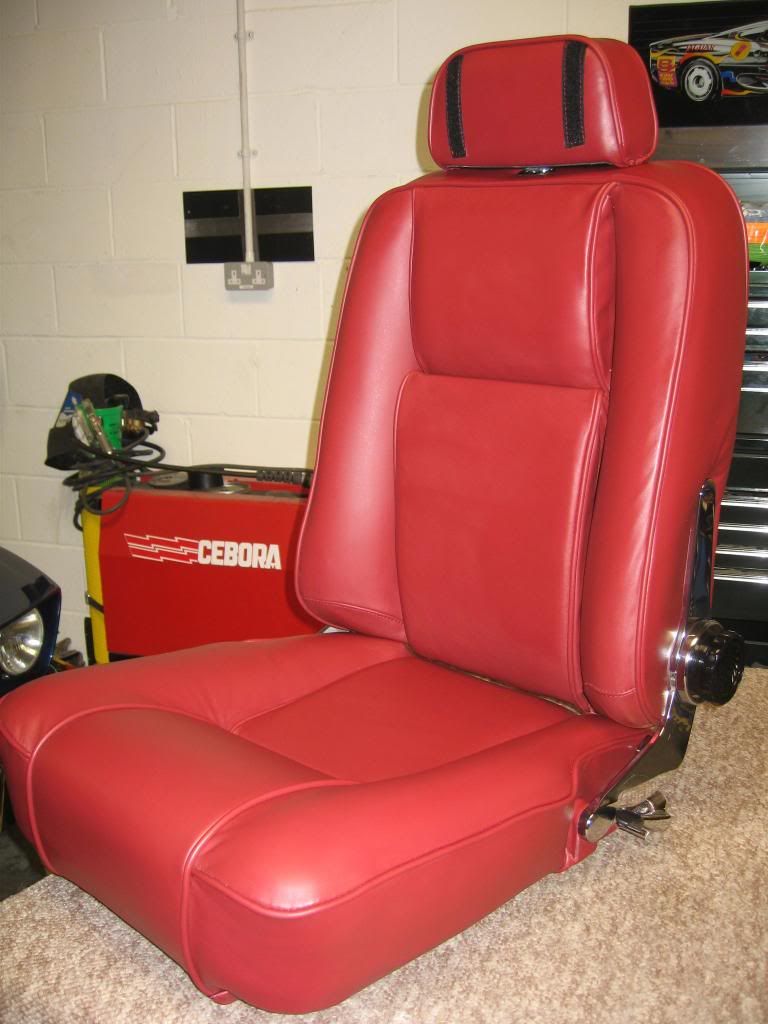
The trimmer has now finished and I have all the parts back the front seats look fantastic
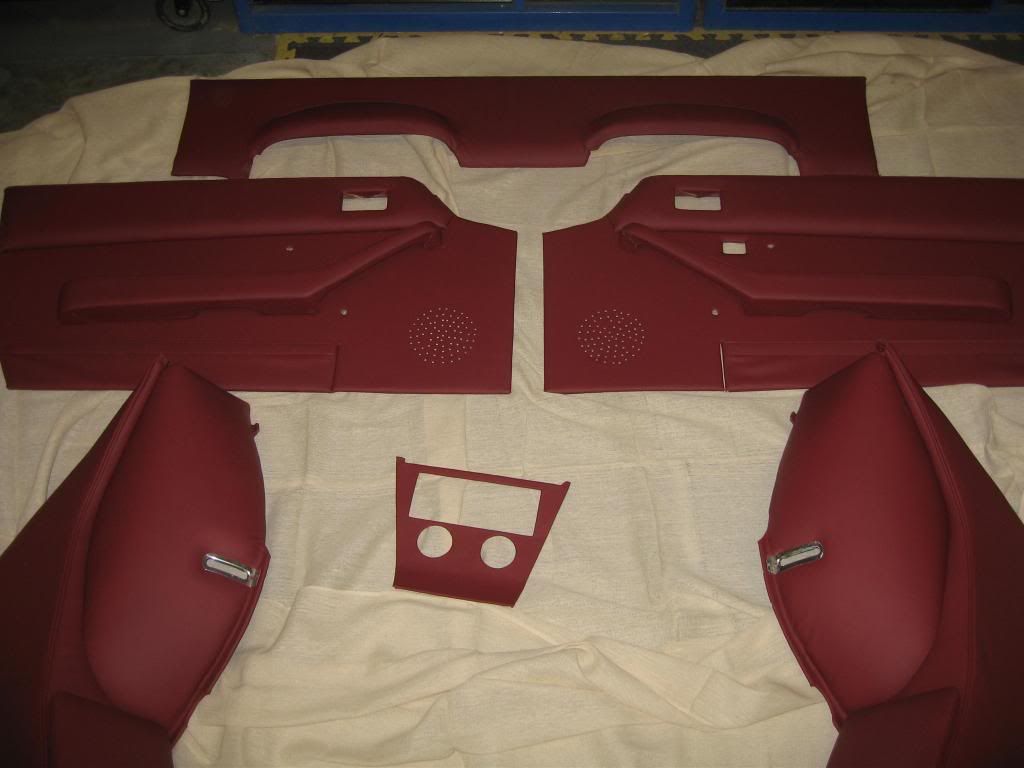
Heres a selection of all the bits and pieces that were trimmed its amazing how many parts there are
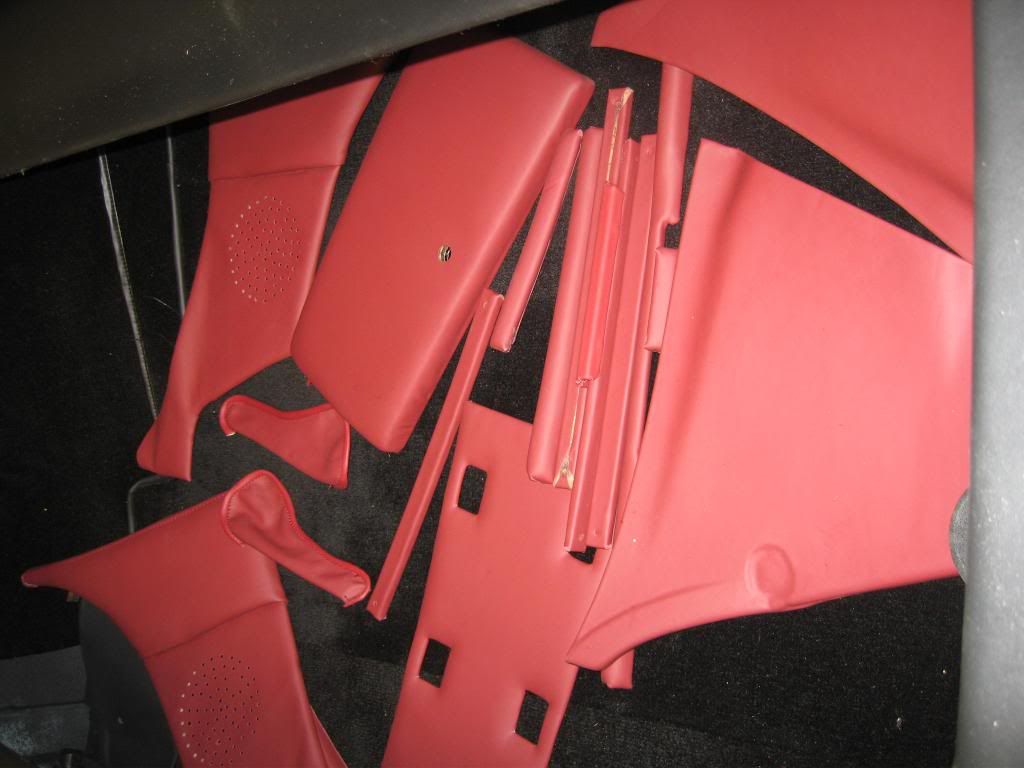
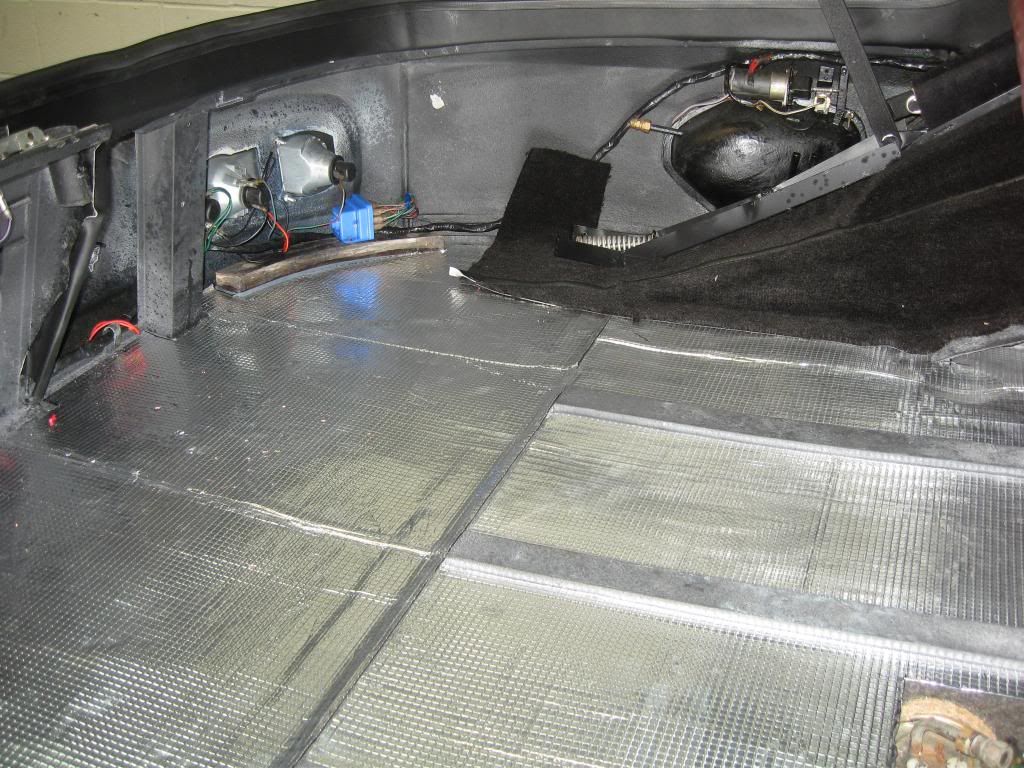
I have made a start on the boot fitting some sound deadening, I have made a concession to modern materials as the original material acted like a huge sponge.
The trimmer has now finished and I have all the parts back the front seats look fantastic

Heres a selection of all the bits and pieces that were trimmed its amazing how many parts there are

I have made a start on the boot fitting some sound deadening, I have made a concession to modern materials as the original material acted like a huge sponge.

irocfan said:
this thread just keeps on giving. AWESOME! It's interesting looking at a full on resto and then comparing to a restomod http://www.thepetrolstop.com/2013/01/segrave-jense... I actually like both
Hats off to the guys that carry out restomods like the Segrave car, there is enough work putting one back to a documented design as it left the factory without having to try and get lots of different parts to fit together and work.My next job was to strip clean and repaint the steering column and fit new bushes and bearings, the lower bush is close to the exhaust manifold and suffers from the heat.


Then the window fitter came to fit the front and rear screens which he made look really easy and after he had finished I spent hours refitting the s/s trim.
Heres the money shot


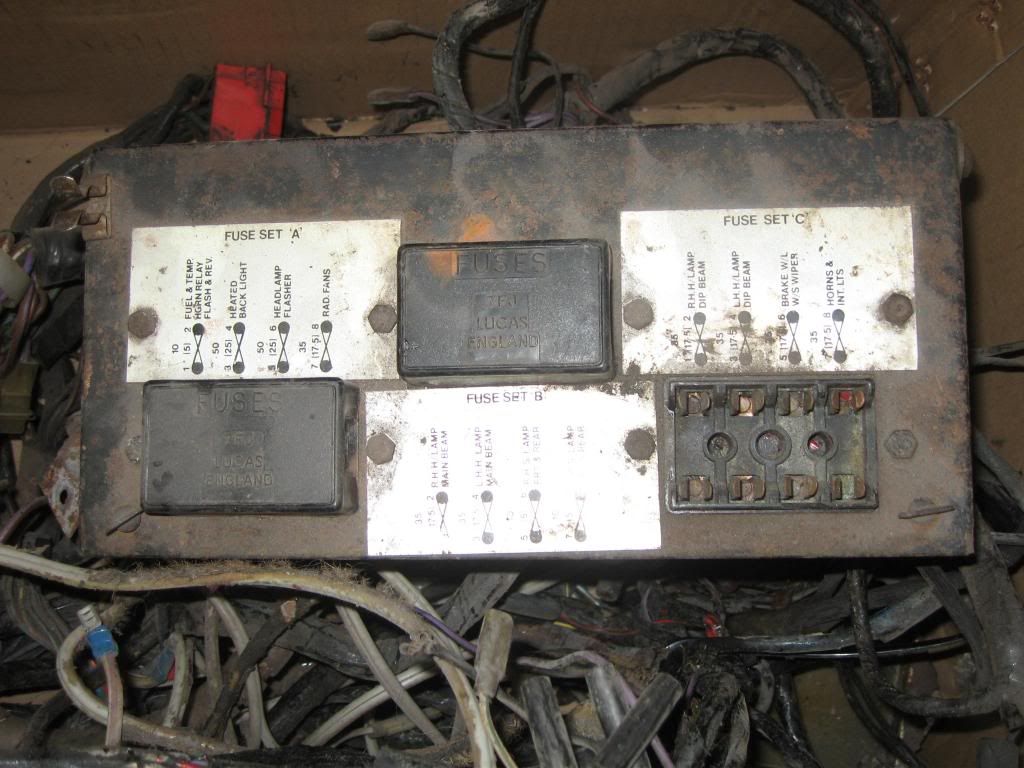
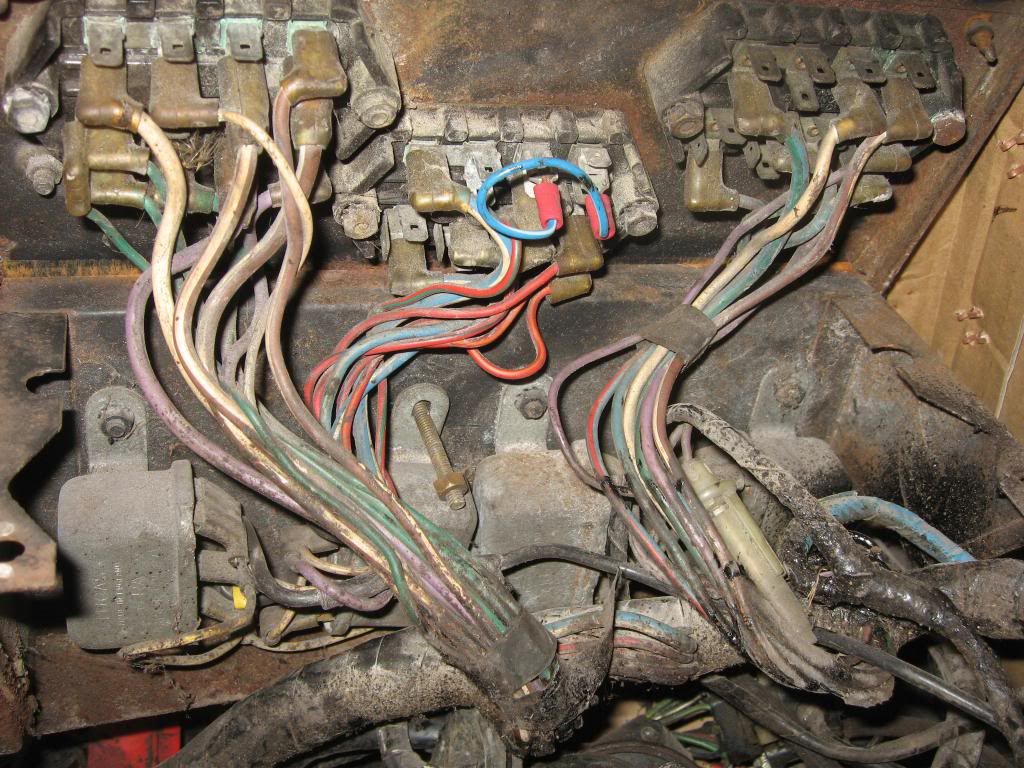
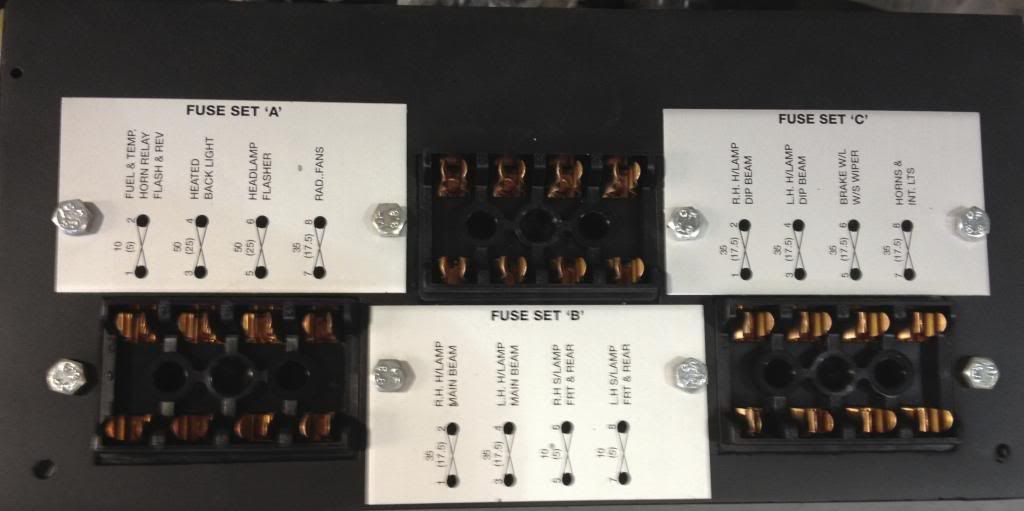
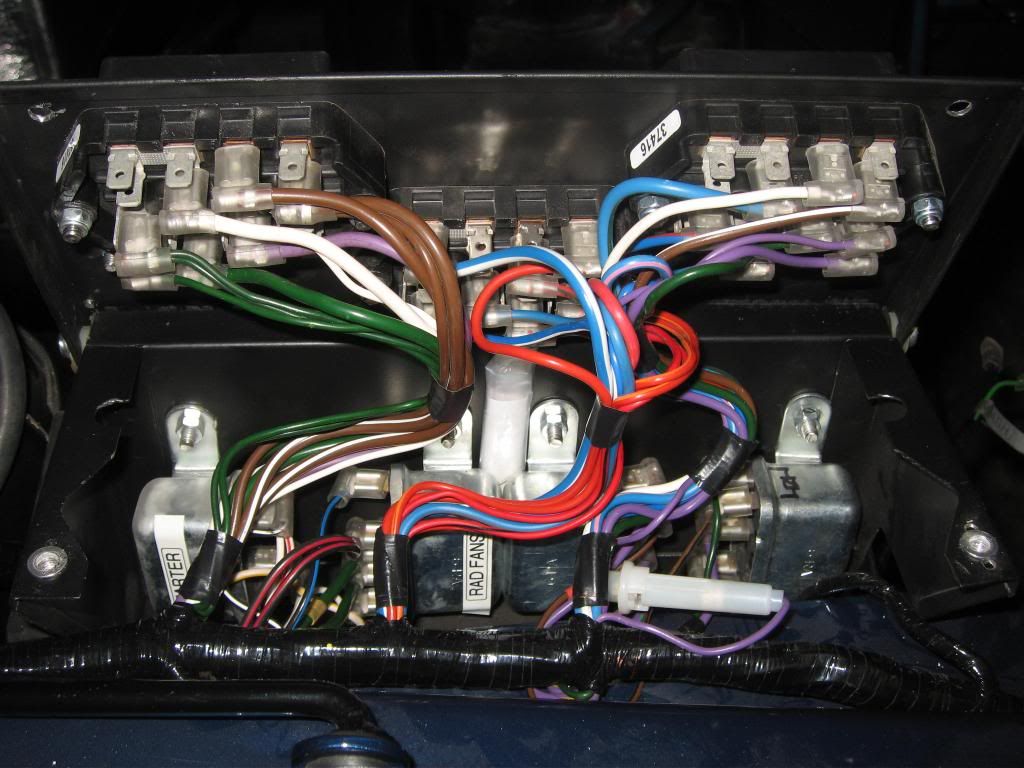
Although everything worked electrically on the car it was in need of some cosmetic restoration and replacing some working but worn components should help with reliability in the future.
The fusebox was painted and new legends, fusebox's and relays fitted and refitted to the car with a new engine bay wiring loom, which required a few modifications to suit my car as some components are in different locations to the later cars.
This is how it started
This is the new look
[URL=http://s1119.photobucket.com/user/davefinic/media/PH%20Thread/IMG_0002_zps56cef4c5.jpg.html]
 [/URL]
The fusebox was painted and new legends, fusebox's and relays fitted and refitted to the car with a new engine bay wiring loom, which required a few modifications to suit my car as some components are in different locations to the later cars.
This is how it started


This is the new look

[URL=http://s1119.photobucket.com/user/davefinic/media/PH%20Thread/IMG_0002_zps56cef4c5.jpg.html]
[/URL]These are my switches when I stripped them out
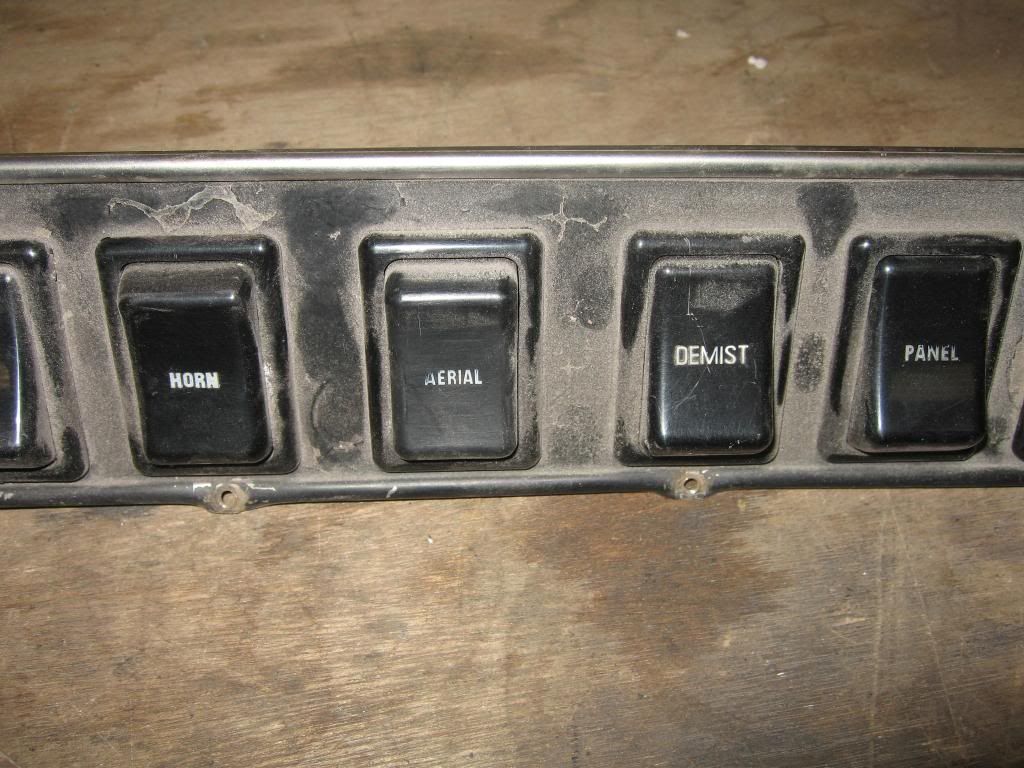
I tried everything including scraping out the existing white and filling with tipex and tile grout reviver but the solution that looked best -

- was to take the pain and buy new switches, the "panel" switch is original and I haven't decided if im going to replace it yet as they are only available with the legend "lights"
I was in 2 minds as to reuse the existing switches or buy new as they are fairly expensive when you have to buy them all but with the rest of the work I have done and hopefully some extra reliability I decided why not dig my hole a little deeper
Hi Breadvan
Sorry to hears yours is not well its a nice looking car and you seem to try and use it which is good.
My story is now about 6 months behind real time and will soon catch up to where im at now, hopefully my plan from when I got the shell back painted was to be finished by the end of May 2014.
Everything is almost going to plan and I have spent 640 hours working on the car since it was painted and still have a fair amount to do, bolting it back together doesn't take too long but the time refurbishing each component before refitting does.
Ive also spent way too much on it so am trying to save by doing things like refurbishing my own rear brake callipers which will save me about £300.
Poorcardealer
The amount you can spend on these restorations can vary massively lets just say im into this for about 30% more than I expected. In saying that I have gone further than I first imagined with everything stripped and refurbished before being refitted.
The biggest cost is what you will spend on labour and how much you can do yourself, I have tried to do as much as I can myself but you have to realise your capabilities and I will only do something I feel I can do as good a job as a professional on. If I do something that turns out crap I will be my biggest critic and either have another go or pass it on to a professional.
I know of a similar project to mine all professionally done where the cost is more than 3 times what my total spend will be and I can understand where their price is coming from.
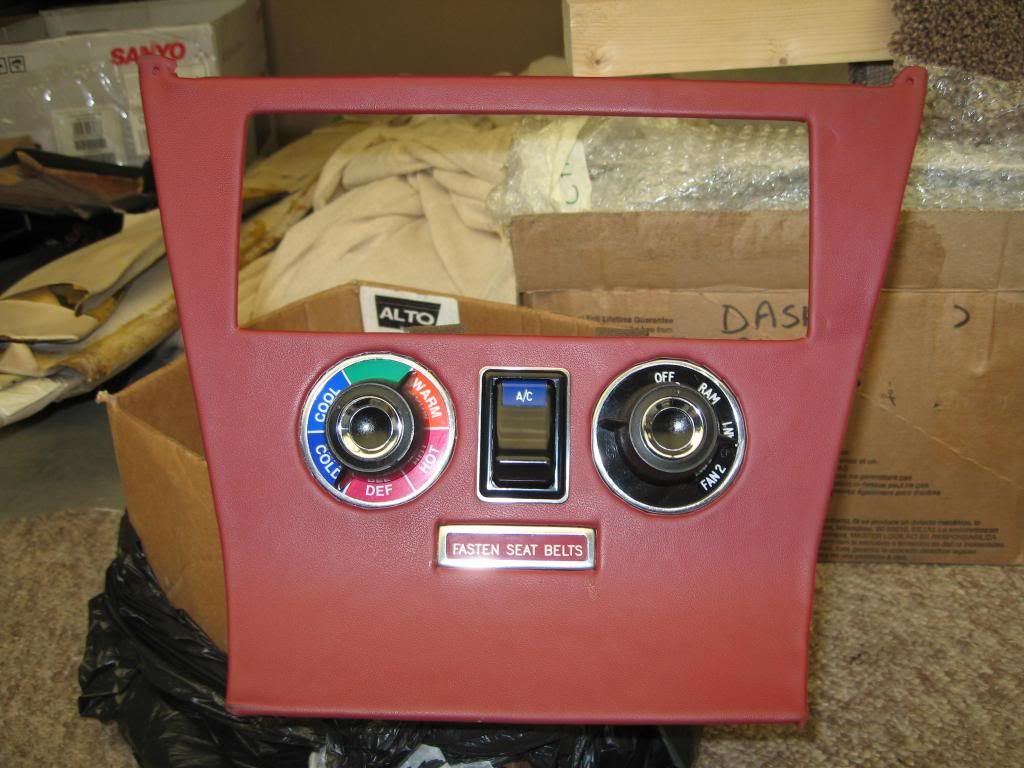
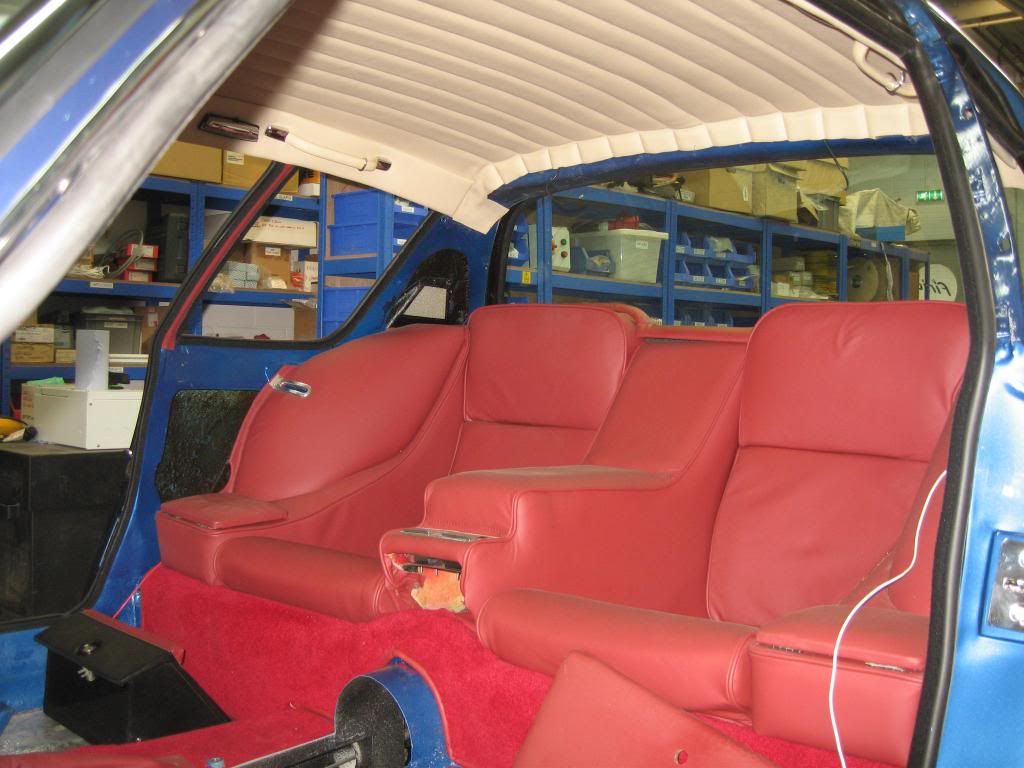
Anyway onwards with the build, this is the retrimmed heater control plate with new dials and legends, that big hole is for my Learjet 8 track to fit in, I was pleased to find the original unit still with the car when I bought it.
The trimmer fitted my new headlining and I trial fitted the rear seats.
The amount you can spend on these restorations can vary massively lets just say im into this for about 30% more than I expected. In saying that I have gone further than I first imagined with everything stripped and refurbished before being refitted.
The biggest cost is what you will spend on labour and how much you can do yourself, I have tried to do as much as I can myself but you have to realise your capabilities and I will only do something I feel I can do as good a job as a professional on. If I do something that turns out crap I will be my biggest critic and either have another go or pass it on to a professional.
I know of a similar project to mine all professionally done where the cost is more than 3 times what my total spend will be and I can understand where their price is coming from.
Anyway onwards with the build, this is the retrimmed heater control plate with new dials and legends, that big hole is for my Learjet 8 track to fit in, I was pleased to find the original unit still with the car when I bought it.

The trimmer fitted my new headlining and I trial fitted the rear seats.

Gassing Station | Readers' Cars | Top of Page | What's New | My Stuff