My 205 4X4 Cosworth
Discussion


Caddyshack said:
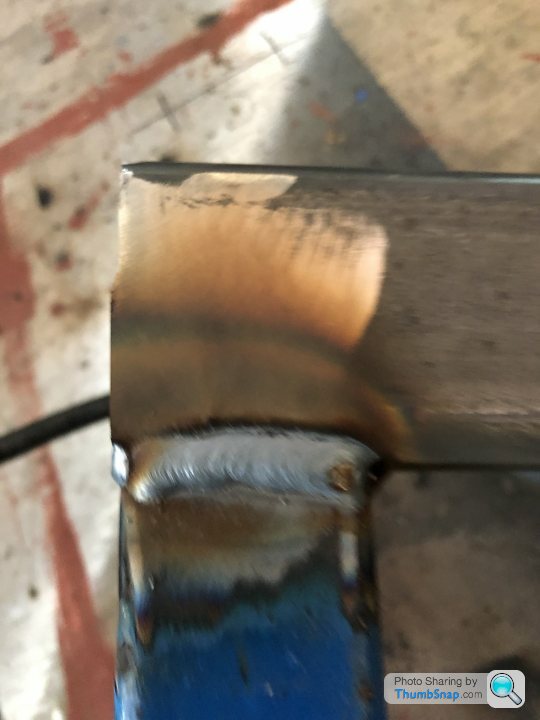
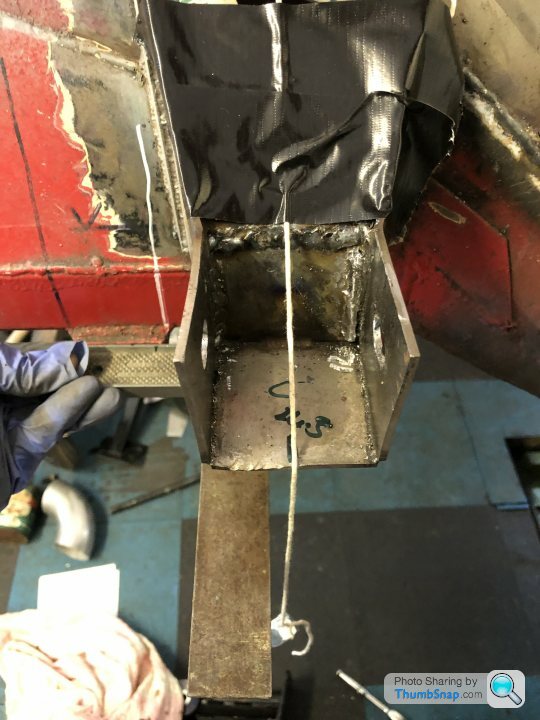
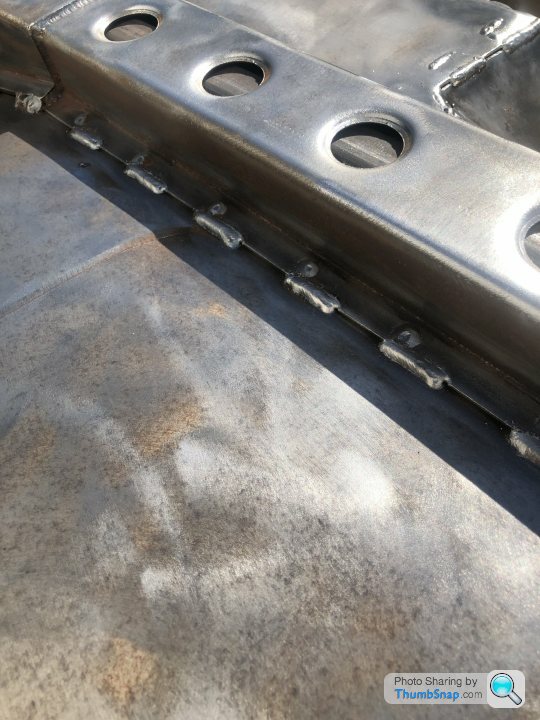
Thanks, that weld was never meant to tie in to the floor, that weld ties the plate to the 3mm upstand. After this was done I did a much more Amps weld to tie that weld to the floor. The old box was cut off so I left 3mm sticking out of the floor and welded the plate to that.
In the pic below you can see what I welded the plate to…that is the weld you are commenting on, not the one that connects it all to the floor.
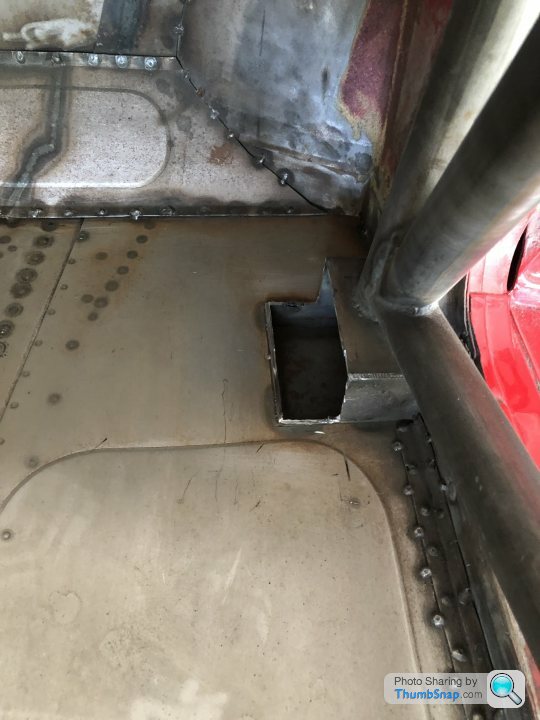
That's great, just checking, amazing how many people weld cold with a MIG unfortunately.In the pic below you can see what I welded the plate to…that is the weld you are commenting on, not the one that connects it all to the floor.
PhillipM said:
Caddyshack said:
Thanks, that weld was never meant to tie in to the floor, that weld ties the plate to the 3mm upstand. After this was done I did a much more Amps weld to tie that weld to the floor. The old box was cut off so I left 3mm sticking out of the floor and welded the plate to that.
In the pic below you can see what I welded the plate to…that is the weld you are commenting on, not the one that connects it all to the floor.
That's great, just checking, amazing how many people weld cold with a MIG unfortunately.In the pic below you can see what I welded the plate to…that is the weld you are commenting on, not the one that connects it all to the floor.
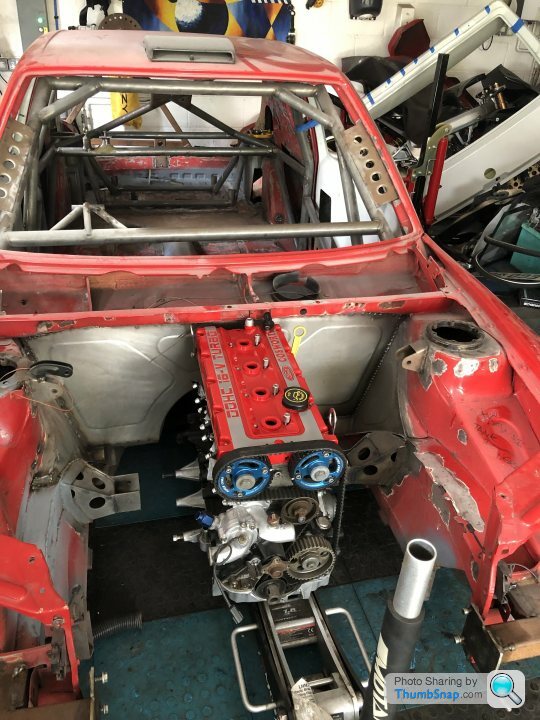
Time to offer up the engine.
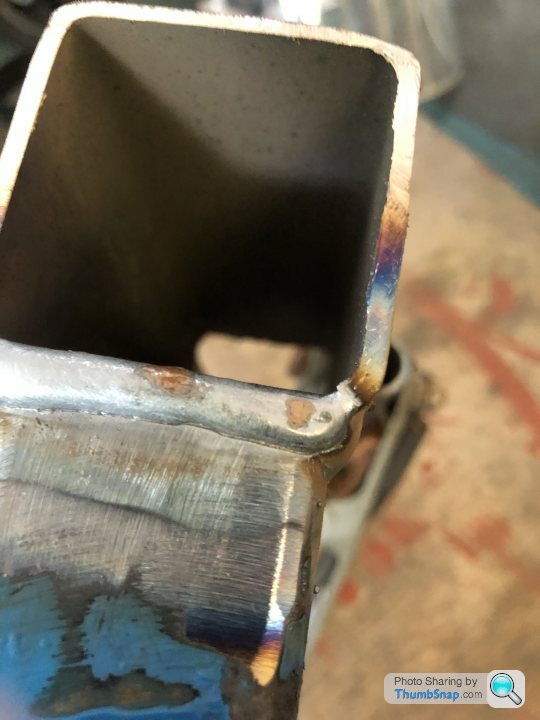
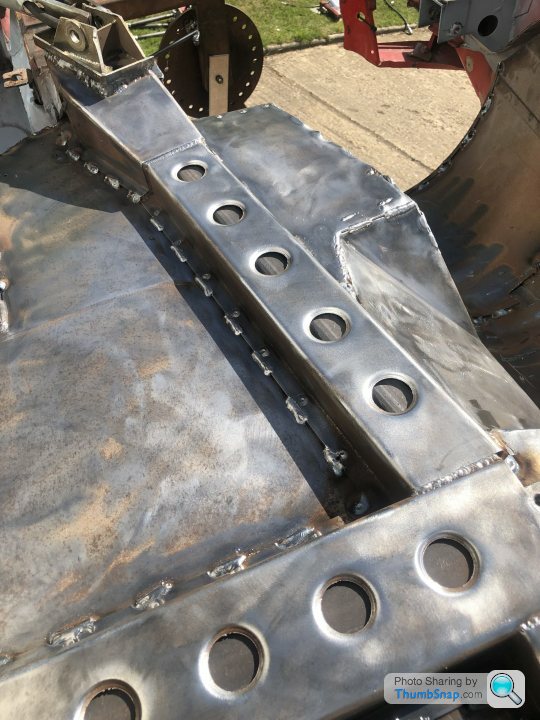
I had to cut back the insides of the chassis side engine mounts and re-weld them - 5mm each side to allow the bushes to fit with no touching, this meant slotting the bolt holes so I will weld a plat to strengthen the fixing and stop the bolt moving.
Sits bang on according to the spirit level.
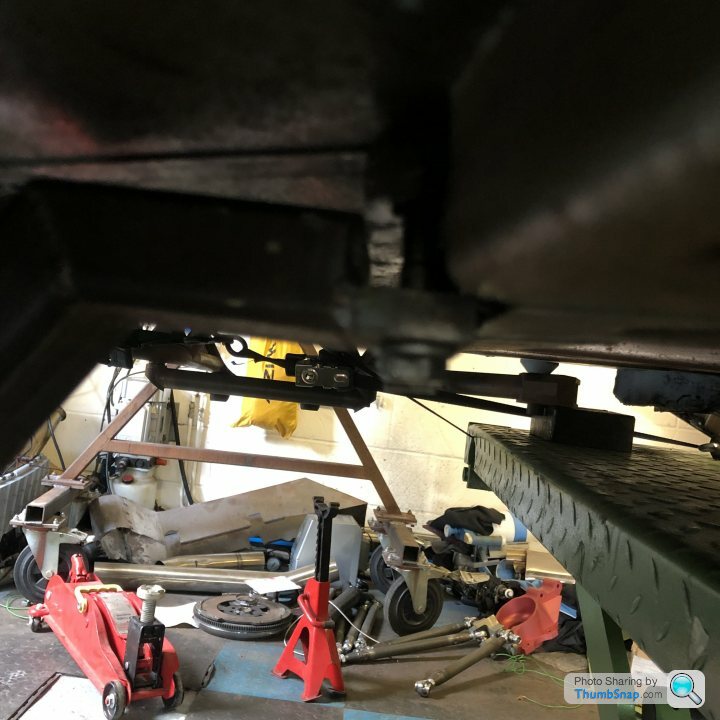
Today was gearbox day so I started off making an adjustable height gearbox trolley in case it needs to go in and out a few times.
Chippy 348 and Philip m on here recommended I upped the welding amps too (thanks mateys)
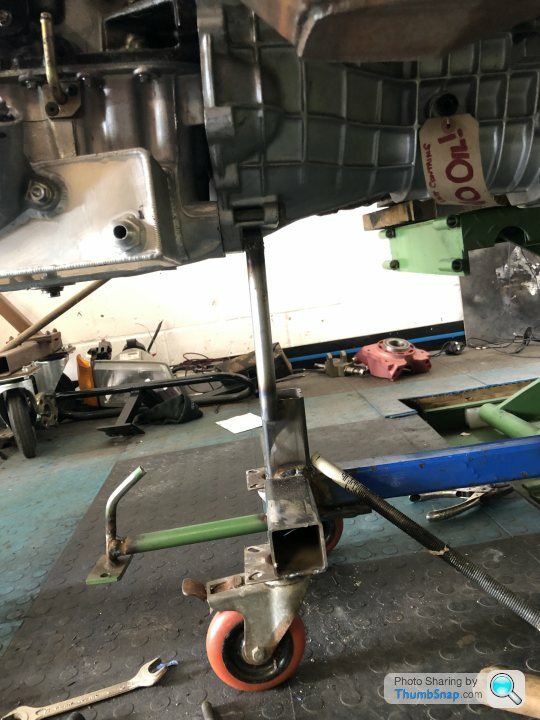
I can wind a big bolt at the rear to raise the back of the box. The funny green bit poking out the front let’s me lift the front on my low rise jack but I had enough room to slowly drop the ramps to meet the box.
Chippy 348 and Philip m on here recommended I upped the welding amps too (thanks mateys)
I can wind a big bolt at the rear to raise the back of the box. The funny green bit poking out the front let’s me lift the front on my low rise jack but I had enough room to slowly drop the ramps to meet the box.
Edited by Caddyshack on Saturday 4th June 16:59
About 1.5 yrs before I took the car back I was asked to drive the 4.5 hr journey (each way)to take my oppliger box up, this is due to the fact that it has a 1 inch spacer in the middle to allow for the bigger gear seat over a standard 4x4 box…I was reluctant to take it as the project had gone on 2 yrs at that point and relations had become pretty dire…I was assured the box was needed to make sure it would fit the tunnel.
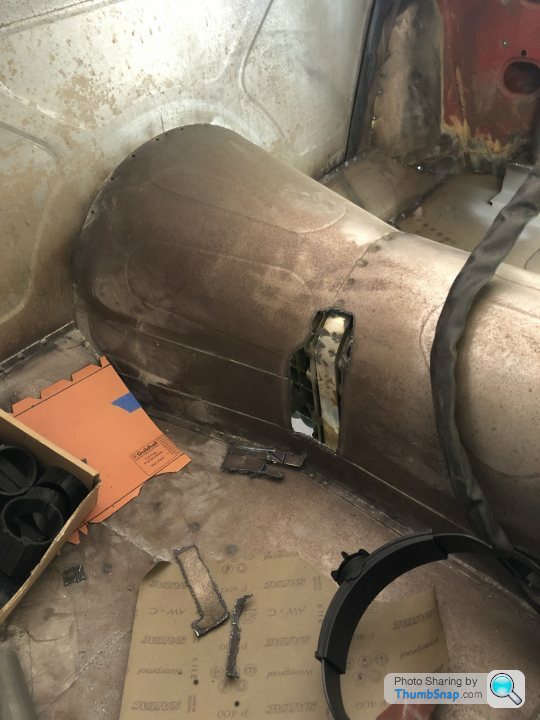
I now know it was never offered up as even the hole where the gear selector pokes through was in the wrong place so the box could not actually be offered up.
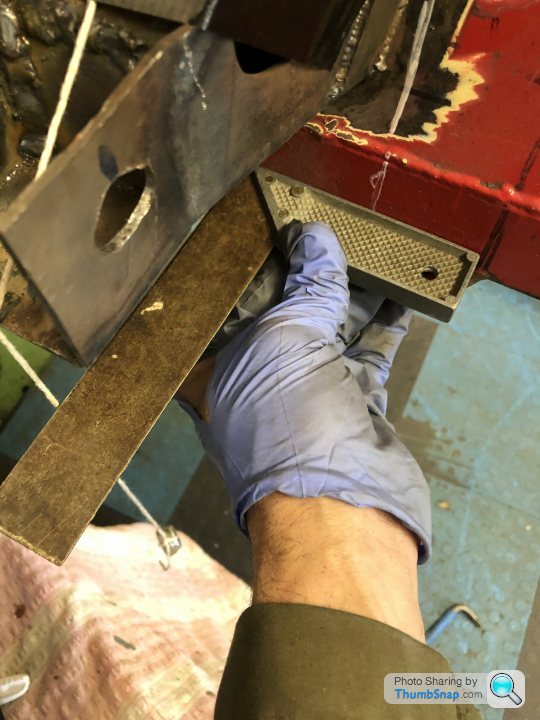
I used the plasma to allow a rough hole where the selector needed to come through…this also showed me that the gear selector cradle was fouling the tunnel even with 25mm still to go up on the gearbox mount.
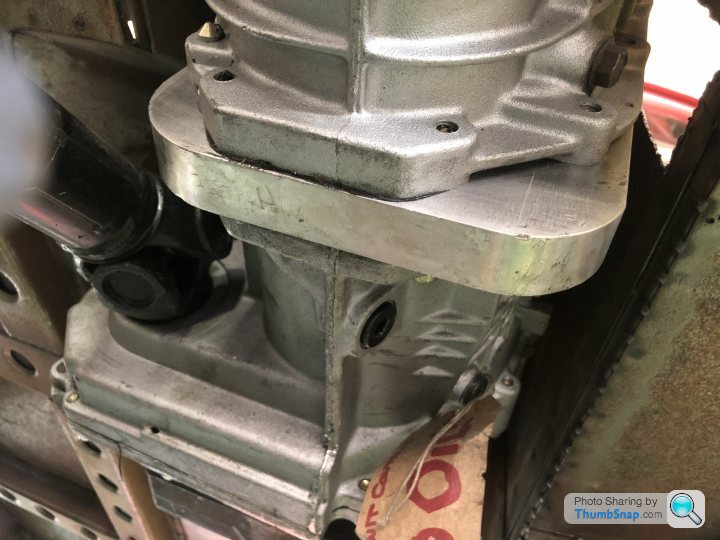
Above is the 1 inch spacer.
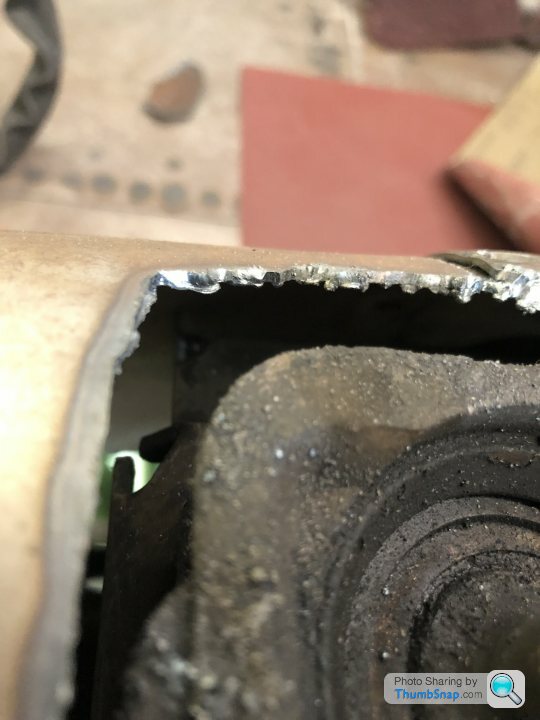
Transfer case hit the tunnel so had to be cut. Again the gearbox mount is not all the way home yet. I couldn’t cut out the transfer tunnel and move it back in a simple way as the front prop is fouling the tunnel too.
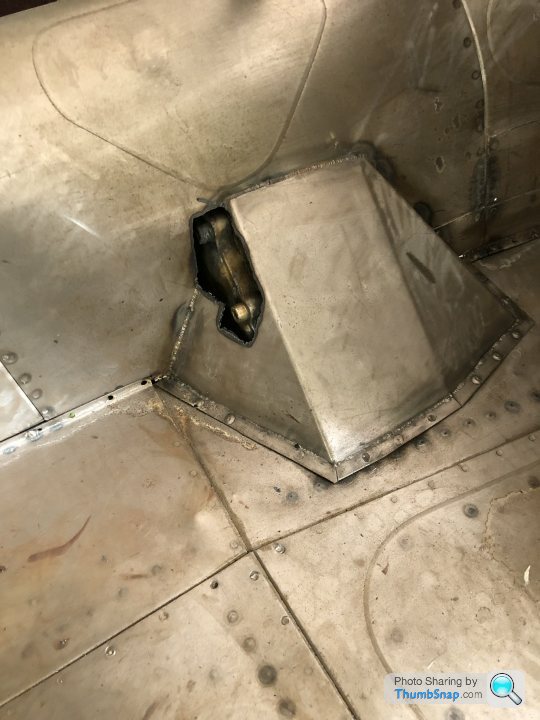
Above, I had to cut the tunnel to allow the spacer to fit. I will make a low profile box to cover this….very annoying as the whole point was a one piece tunnel.
Above, transfer case was hitting the tunnel.
Above, spacer hitting the tunnel before I cut it. I will drop the box tomorrow and shave as much of the spacer off as I can as I don’t want any knocking when the drivetrain moves.
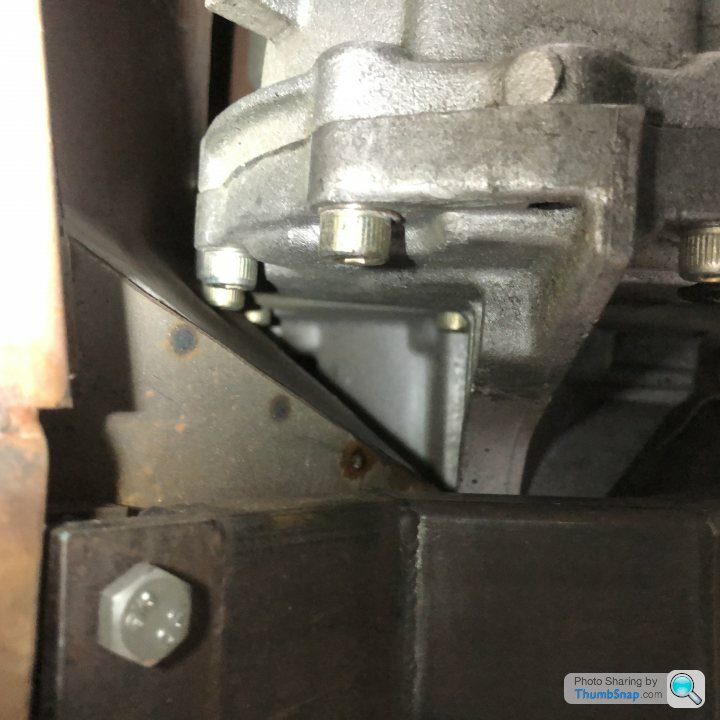
As you can see above, the gearbox support is a long way from home and will need some mods. I wanted to bring the engine up a tad but I will need to be careful as it all needs room to move.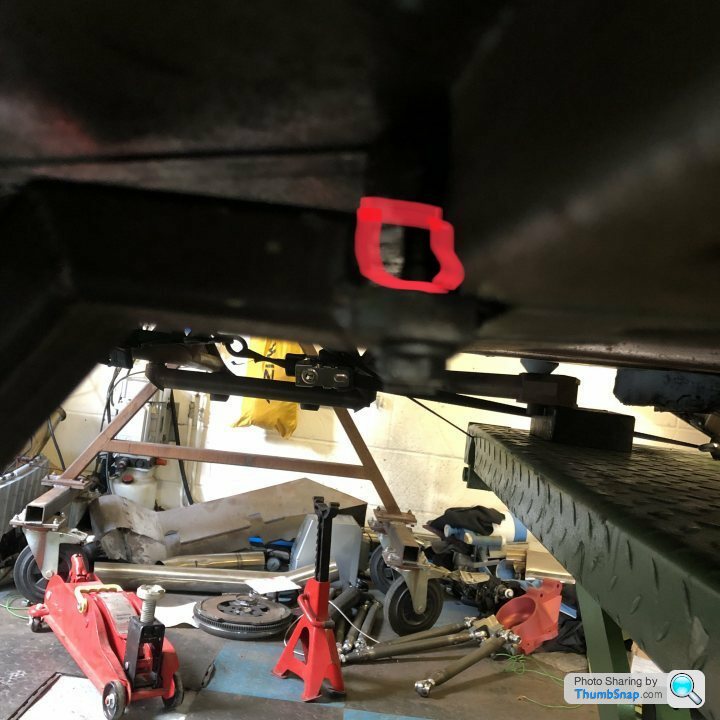
I now know it was never offered up as even the hole where the gear selector pokes through was in the wrong place so the box could not actually be offered up.
I used the plasma to allow a rough hole where the selector needed to come through…this also showed me that the gear selector cradle was fouling the tunnel even with 25mm still to go up on the gearbox mount.
Above is the 1 inch spacer.
Transfer case hit the tunnel so had to be cut. Again the gearbox mount is not all the way home yet. I couldn’t cut out the transfer tunnel and move it back in a simple way as the front prop is fouling the tunnel too.
Above, I had to cut the tunnel to allow the spacer to fit. I will make a low profile box to cover this….very annoying as the whole point was a one piece tunnel.
Above, transfer case was hitting the tunnel.
Above, spacer hitting the tunnel before I cut it. I will drop the box tomorrow and shave as much of the spacer off as I can as I don’t want any knocking when the drivetrain moves.
As you can see above, the gearbox support is a long way from home and will need some mods. I wanted to bring the engine up a tad but I will need to be careful as it all needs room to move.
Edited by Caddyshack on Saturday 4th June 17:13
When I drop the box I will first jack the car lightly on the box to leave any witness marks at any tight places and then deal with accordingly.
A little bit of care and attention would have meant this would not have happened. I paid a lot of money for a "professional" to do this work.
I still need to buy a new slave cylinder and dry break hydraulics as those too went walkies with the other bits. If anyone bought a slave with a female side dry break but not the other side then I would love that part back please.
So far I have lost:
Output hubs x3
Front top mounts
Engine mounts
Brand new steering rack with quaife internals
Slave and hydraulic line for clutch
I think the cradle is a heavier one than I paid for
Brake adapters
Part of a coilover
Anti roll bar parts
2x front bearing caps
I am sure I will discover more.
Edited by Caddyshack on Saturday 4th June 18:59
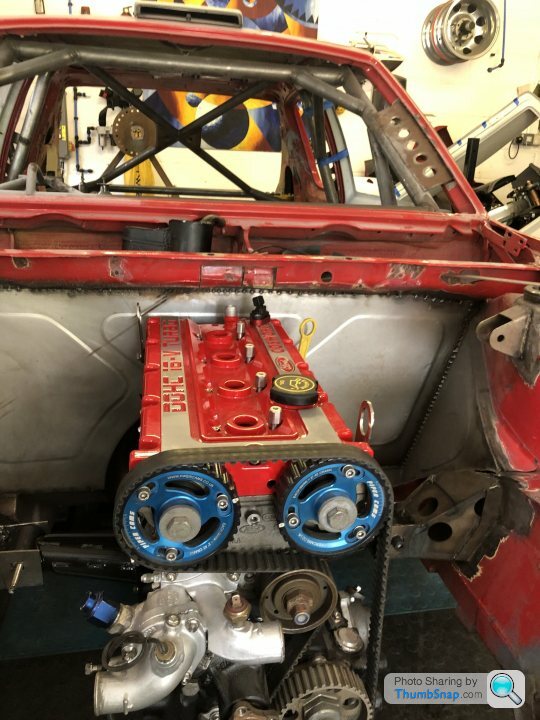
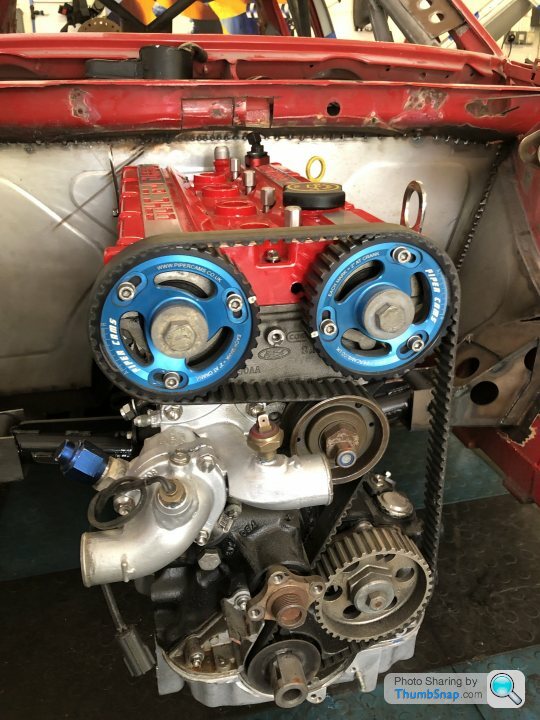
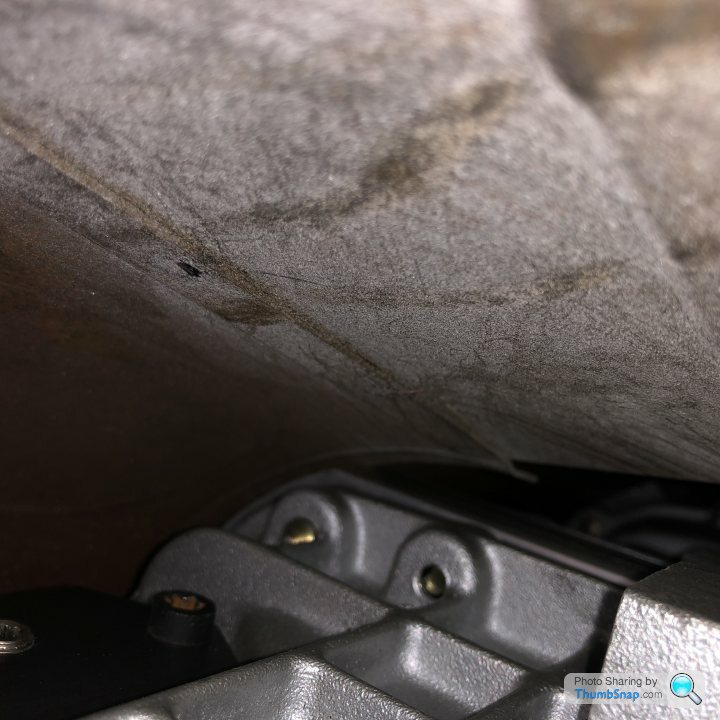
When I sat in the car looking at the tunnel I noticed the gear selector hole was off towards the passenger side. I then went round the front and the whole engine and gearbox looked at a slight angle. It sits level but kicks off to one side…so I had to measure the engine mounts.
I used a plum line after checking the car was sitting level on my ramps. This and a set square off the chassis legs showed that although they had drawn correct datum’s off the chassis the drivers side mount had a centre line 4mm behind the passenger side.
I double checked as many reference points on the car and kept finding the same 4mm.
It seems they measured it correctly but then failed to spot that one chassis plate is 4mm shorter on the passenger side and that threw out their measurements.
The simplest solution was for me to cut off the rear of the mount and weld it 4mm forward then measure 62mm off that and position the front part…this allows the engine to site bang on and will bring the tail of the gearbox back in line.
Check, check and check again as the SAS say. If only the fabricators had bothered.
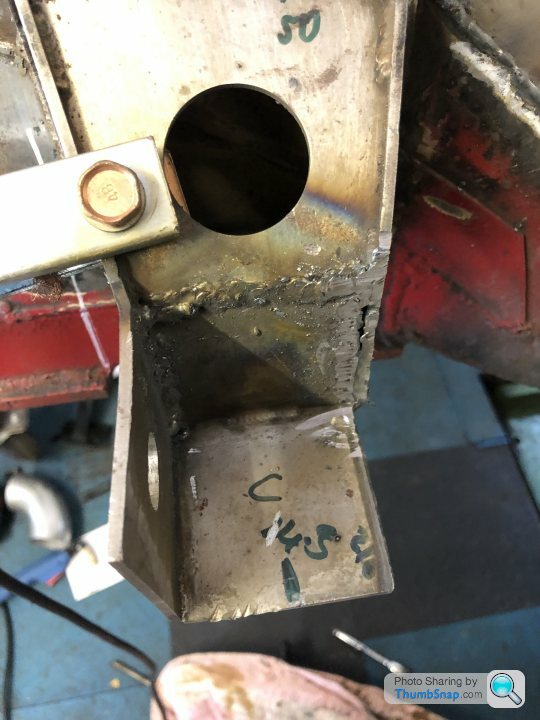
The green centre line is central to the mount but the mount is 4mm too far back towards the bulkhead. The bulkhead is perfectly square to the car and this also confirms the 4mm error. 4mm at the front equals a huge deviation by the time you get to the output end of the gearbox.
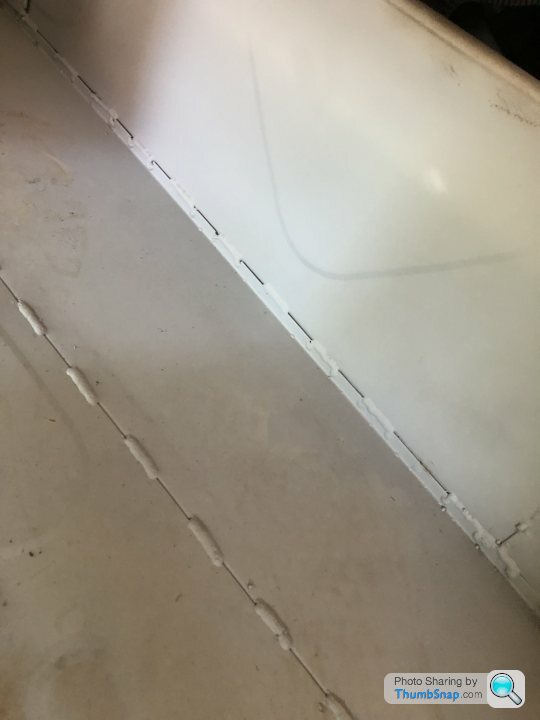

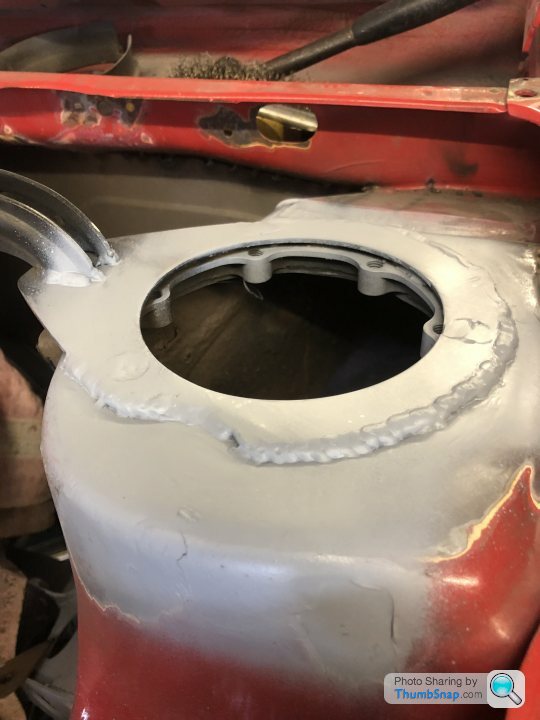
GTRene said:
nice and clean, not so easy to do, also not easy to get all well protected against moist/rust, but I guess you give it a good treatment :-)
Yes, those holes are a bad design. I am having to drip rust proofer in to them, squirt in epoxy primer and then I have some special wax to spray in with the compressor. The rest I have now sanded with scotch brite whilst using a de-rust liquid. Then bilt hamber rust treatment…then epoxy over top. I will then coat the underside in a body coloured raptor spray on liner.

Gassing Station | Readers' Cars | Top of Page | What's New | My Stuff