Ferrari F430 Spider
Discussion


Please excuse the poor quality photos in this update.
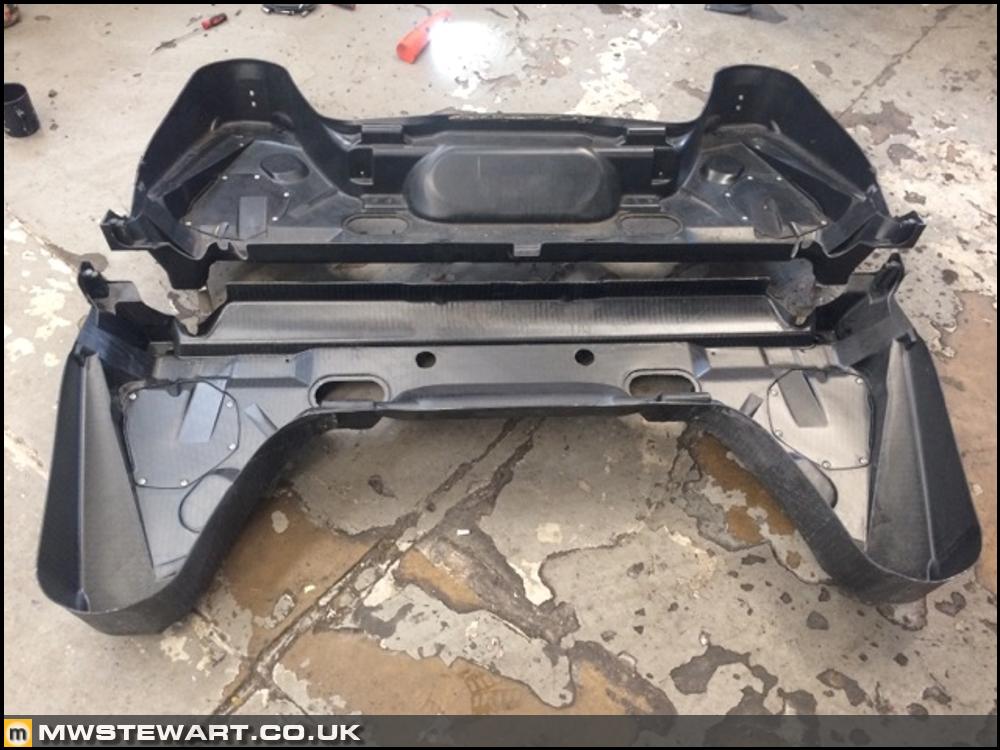
Carbon fibre hood tray
Ed has fitted my carbon hood tray. It was interesting to compare the weight to the original part - the carbon part is considerably lighter.
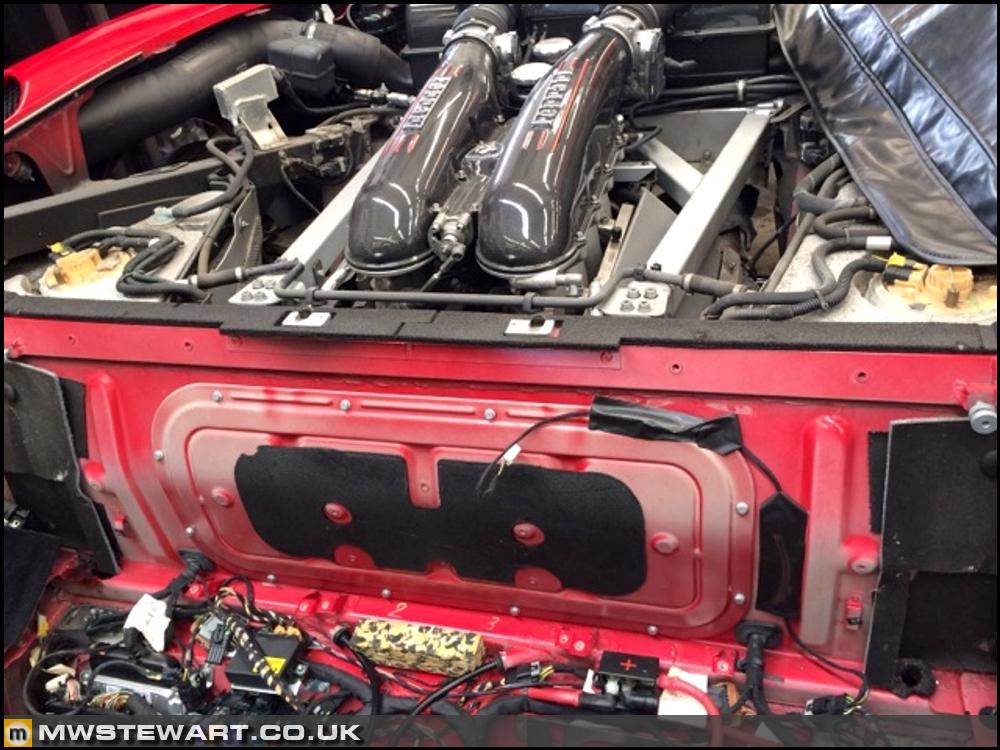
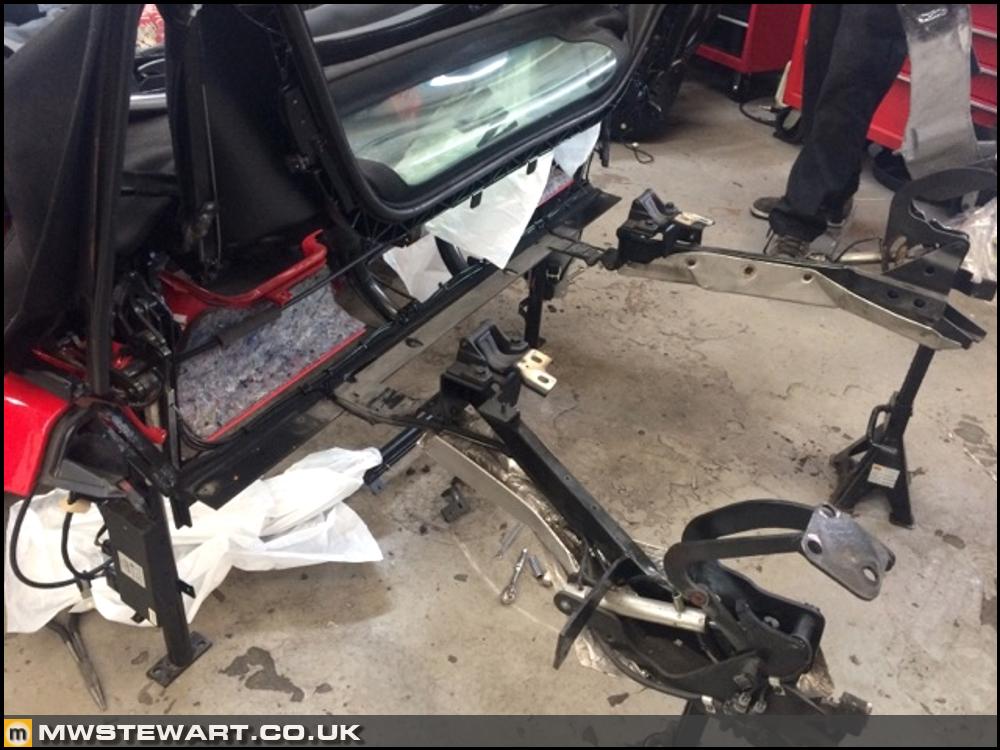
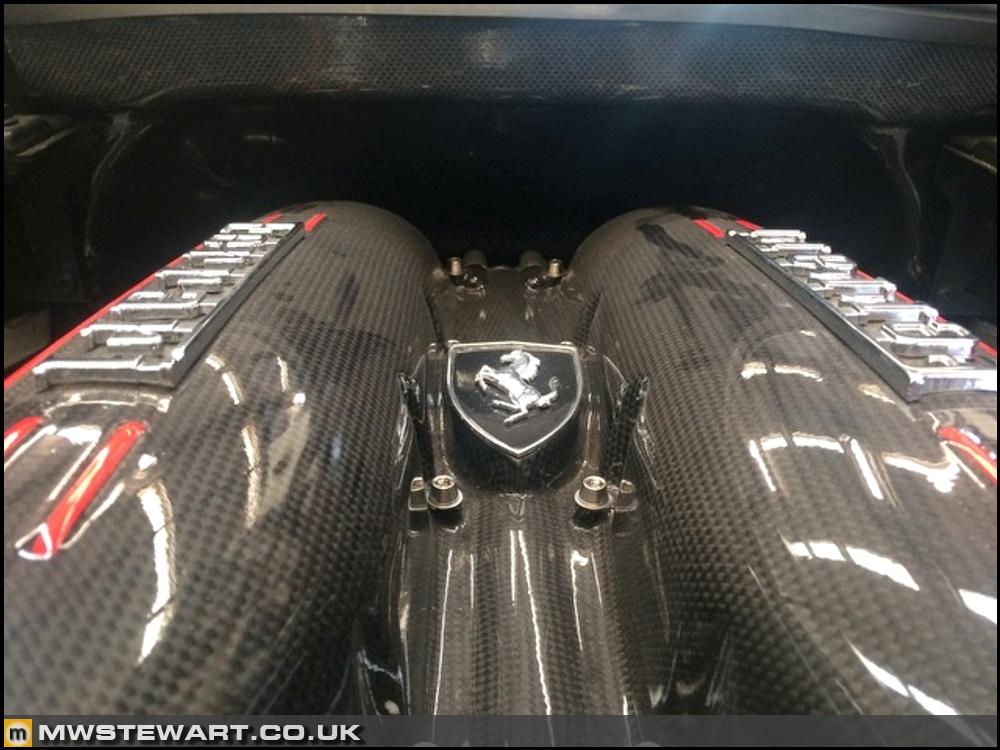
Here are a few photos of the car with the roof cassette removed. Quite a sight.
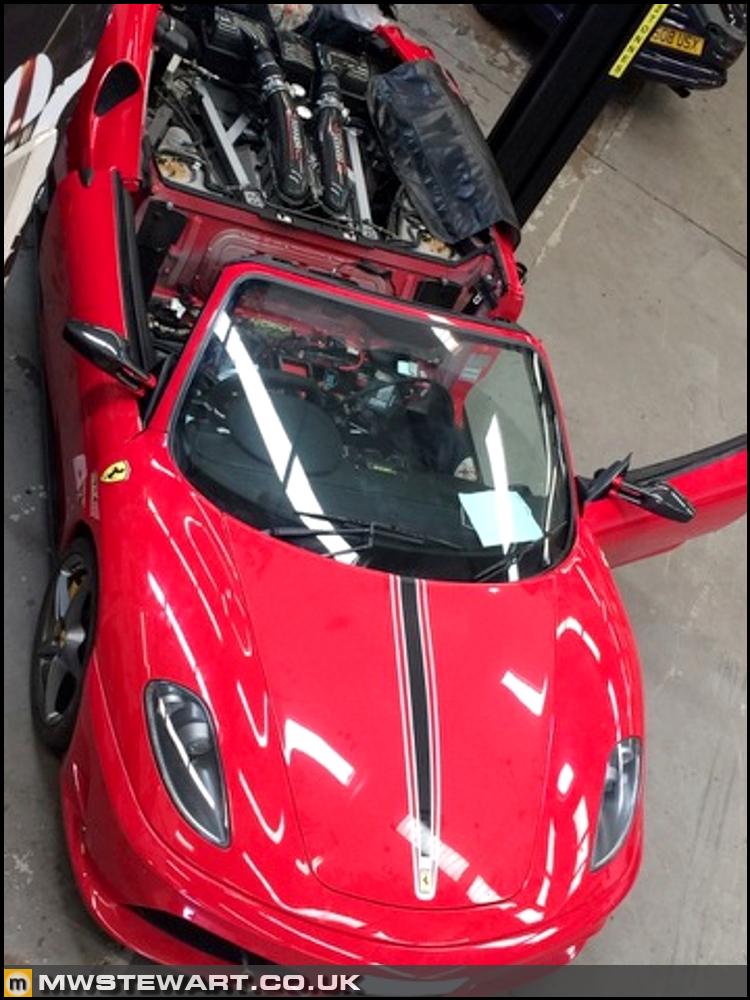
N.B. my paintwork hasn't faded: the car is covered in dust from standing in my workshop for over a year.
The new tray is made from unidirectional carbon fibre, but I asked for the rear external side to be finished in plain weave as it is faces into the engine bay where most other parts are also plain weave. I think this adds a very nice and completely unique finishing touch.
Trimming update
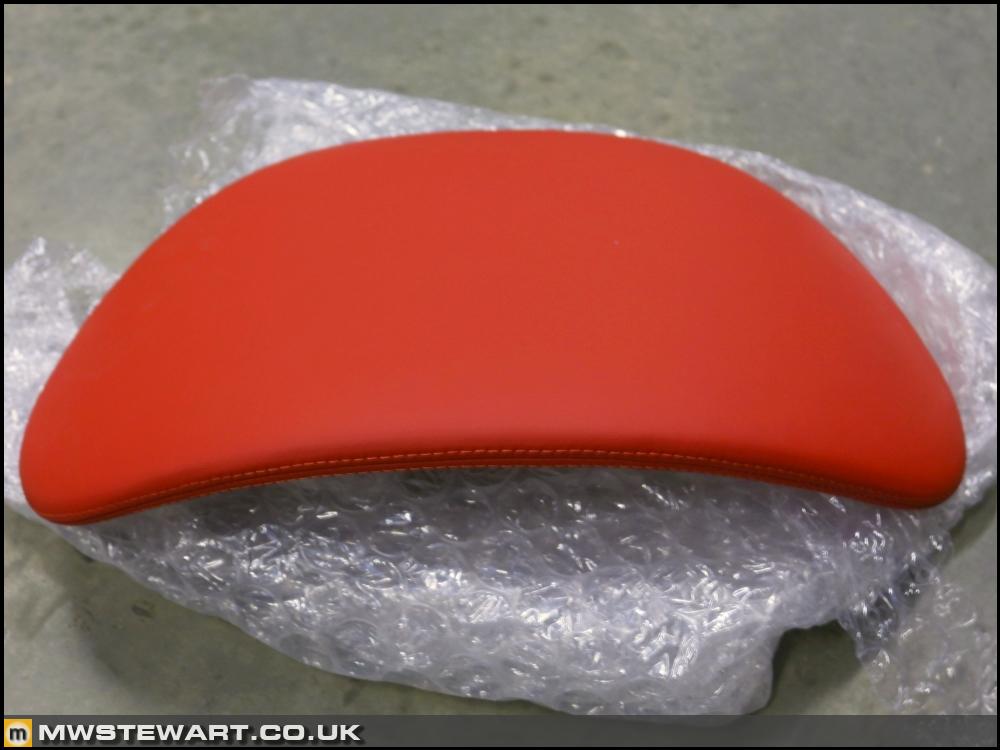
My spare instrument cluster binnacle has been trimmed in the same red leather as my steering wheel etc.
Work on the rear bulkhead trims should be completed over Easter which leaves a few parts for the front to come later.
Thank yous
I would like to thank some other owners and enthusiasts:
Richard from Brisbane, Australia, donated an OEM Ferrari charging plug to make a non-Ferrari CTEK unit a plug-and-play charger.
Angelo from Italy has been providing some hard-to-find information, and again Carlo for assisting with parts and other knowledge.
More on the car soon.
Weight saving
Sprung weight saved: 88.174 kg
Unsprung weight saved: 24.97 kg
Total weight saved: 113.144 kg
Carbon fibre hood tray
Ed has fitted my carbon hood tray. It was interesting to compare the weight to the original part - the carbon part is considerably lighter.
Here are a few photos of the car with the roof cassette removed. Quite a sight.
N.B. my paintwork hasn't faded: the car is covered in dust from standing in my workshop for over a year.
The new tray is made from unidirectional carbon fibre, but I asked for the rear external side to be finished in plain weave as it is faces into the engine bay where most other parts are also plain weave. I think this adds a very nice and completely unique finishing touch.
Trimming update
My spare instrument cluster binnacle has been trimmed in the same red leather as my steering wheel etc.
Work on the rear bulkhead trims should be completed over Easter which leaves a few parts for the front to come later.
Thank yous
I would like to thank some other owners and enthusiasts:
Richard from Brisbane, Australia, donated an OEM Ferrari charging plug to make a non-Ferrari CTEK unit a plug-and-play charger.
Angelo from Italy has been providing some hard-to-find information, and again Carlo for assisting with parts and other knowledge.
More on the car soon.
Weight saving
| Original Part | Fitted Quantity | Original Part (kg) | Replacement Part (kg) | Sprung Saving (kg) | Unsprung Saving (kg) | Replacement Part |
|---|---|---|---|---|---|---|
| Pedals - brake | 1 | 0.987 | 0.627 | 0.36 | - | 16M/Scuderia |
| Pedals - brake and clutch height adjuster bracket | 1 | 0.086 | 0 | 0.086 | - | Removed - unused |
| Brakes - ABS/ESP - acceleration sensor | 1 | 0.091 | 0 | 0.091 | - | Removed - function provided by CAN yaw |
| Pedals - Pedals - accelerator assembly | 1 | 0.883 | 0.869 | 0.014 | - | 16M/Scuderia |
| Door hinges | 4 | 0.705 | 0.5005 | 0.818 | - | Machined to reduce weight |
| Dashboard plaque 'F430 Spider' - carbon version | 1 | 0.025 | 0.086 | -0.061 | - | '16M Scuderia Spider - Limited 499' |
| Interior - centre console, complete (carbon driving zone) | 1 | 2.253 | 1.341 | 0.912 | - | 16M (carbon) |
| Windscreen washer tank, pumps, and minimum fluid | 1 | 5.257 | 2.899 | 2.358 | - | 360 non-headlamp wash version adapted |
| Headlamps - standard | 2 | 0.3505 | 0.137 | 0.427 | - | 16M (carbon) |
| Wing mirrors | 1 | 2.11 | 1.431 | 0.679 | - | 16M/Scuderia (carbon) |
| Spider hood tray | 1 | 8.45 | 1.555 | 6.895 | - | Bespoke carbon version |
Sprung weight saved: 88.174 kg
Unsprung weight saved: 24.97 kg
Total weight saved: 113.144 kg

gobuddygo said:
Digitalize said:
Pictures aren't loading for me.
Lots of people having problems with pictures since Pistonheads forced us to use one skin, If you are on a pc/laptop right click and open in new tab.  k sake, PistonHeads, sort it out, this is one of my favorite threads!
Spumfry said:
gobuddygo said:
Digitalize said:
Pictures aren't loading for me.
Lots of people having problems with pictures since Pistonheads forced us to use one skin, If you are on a pc/laptop right click and open in new tab. k sake, PistonHeads, sort it out, this is one of my favorite threads!markiii said:
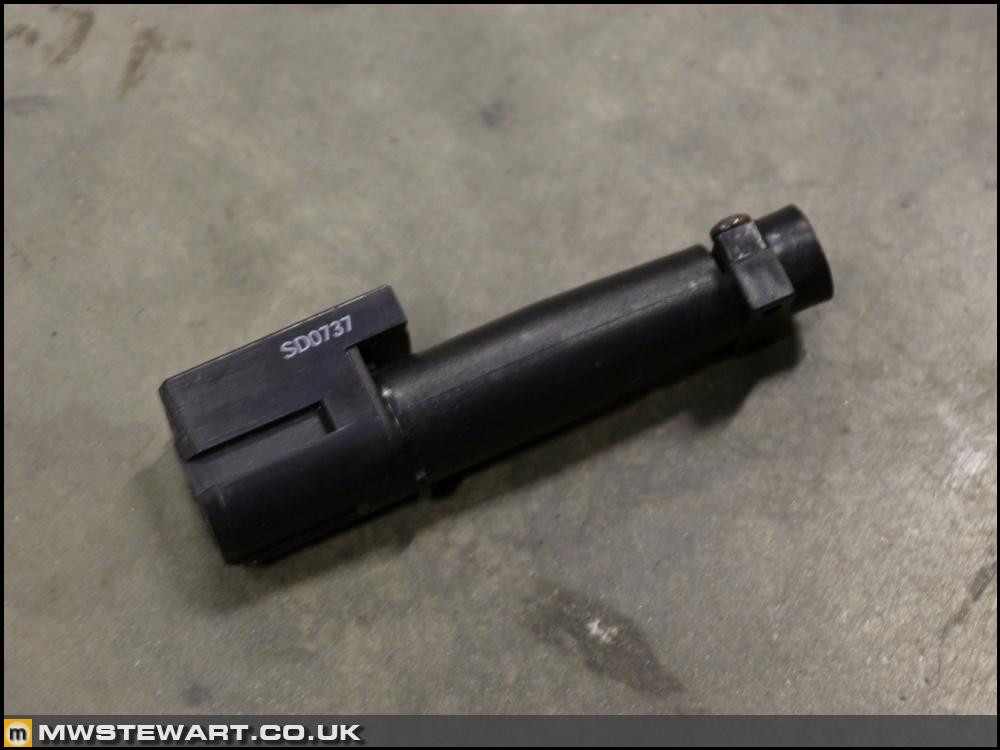
looking at those flamblocs, do the bushed just press over the dogbones, or are the dog bones a 2 part affair?
The bushes press into a thin metal sleeve and it is the outer of the metal sleeve that is an interference fit in the wishbone. The dog bone part slides into the bush assembly and is a semi-interference fit.The dog bone itself is a single piece with one limit stop/locating shoulder built in. The other side is a disc that slides over the end and is secured by a circlip - this is the end which allows the bush assembly to be slid off over the shaft of the dog bone.
The flamblocs are generally installed as an assembled unit.

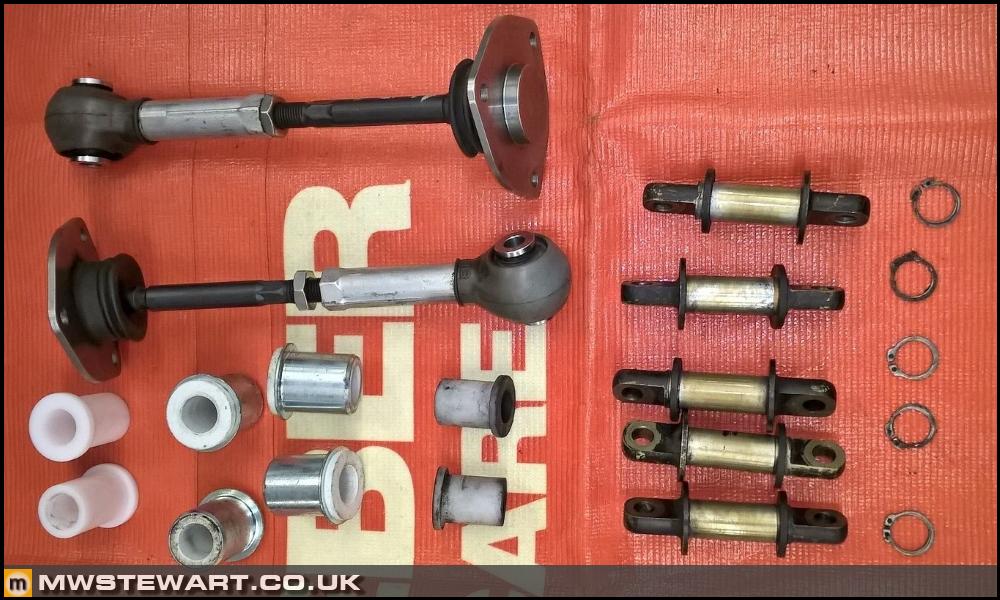
The complete assembly is a rotational joint with very low deflection. There are two grades of rubber available for the road cars (standard F430 and Scuderia) - see first photo, and Derlin for the Challenge, GT2, and GT3 cars - second photo.
Trimming update. To recap all of these pieces in my car were plain black carpet.
The photos aren't great quality so the colours aren't quite representative; they are from my trimmers phone camera as he works with me in real-time over WhatsApp to ensure I am happy with progress and the finer details of his work. He always keeps me up-to-date and is great to work with, so normally I would share his details because I like to recognise people who do a good job - but he's too busy so doesn't want me to post his details.
Rear bulkhead - upper panel
I've gone for a 3mm backing foam under the Alcantara.
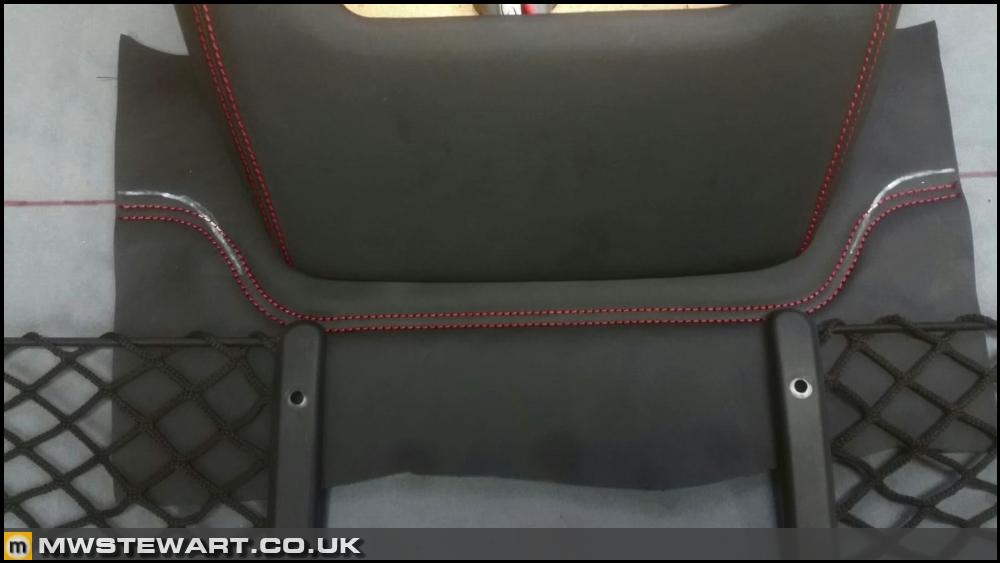
The trimmer always does a mock up in leather to ensure I'm happy with the stitching detail. I wanted a slight tweak to this one.
I had the nets stripped down and the frames re-trimmed in black leather, then reassembled with the nets re-tensioned.
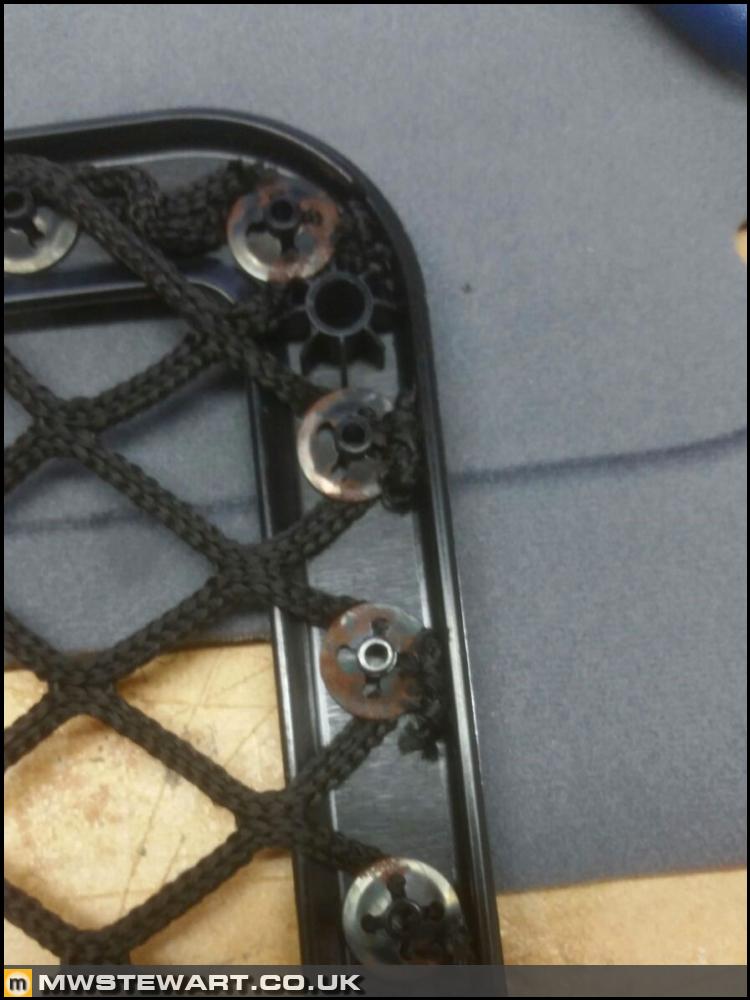
Bulkhead and nets complete. Unlike the Ferrari trimming which is simply cut level with the edge of the panel, my trimmer actually folds over and glues to the rear for a better fit.
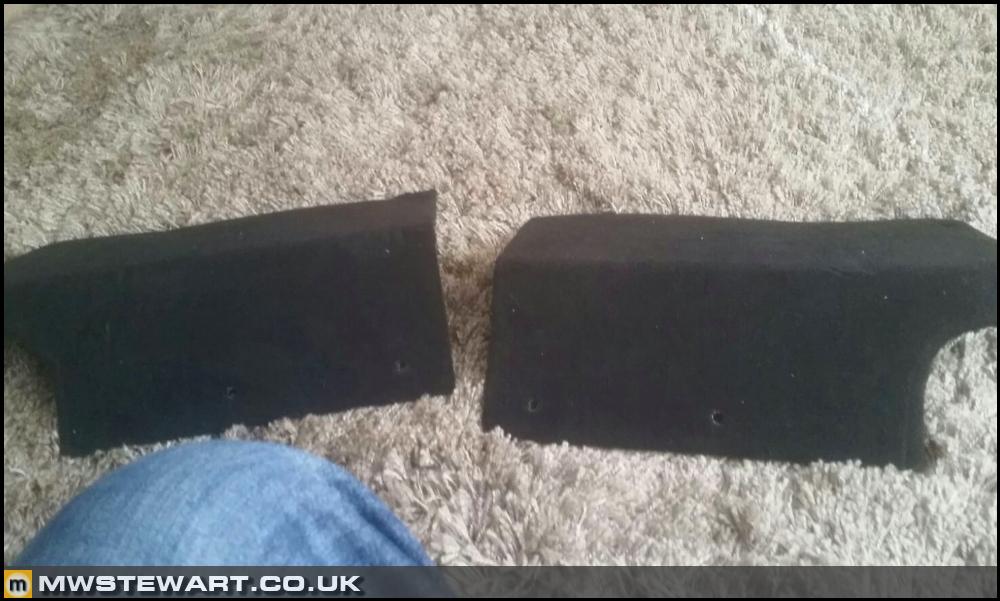
Rear bulkhead - lower side panels
Original carpet panels.
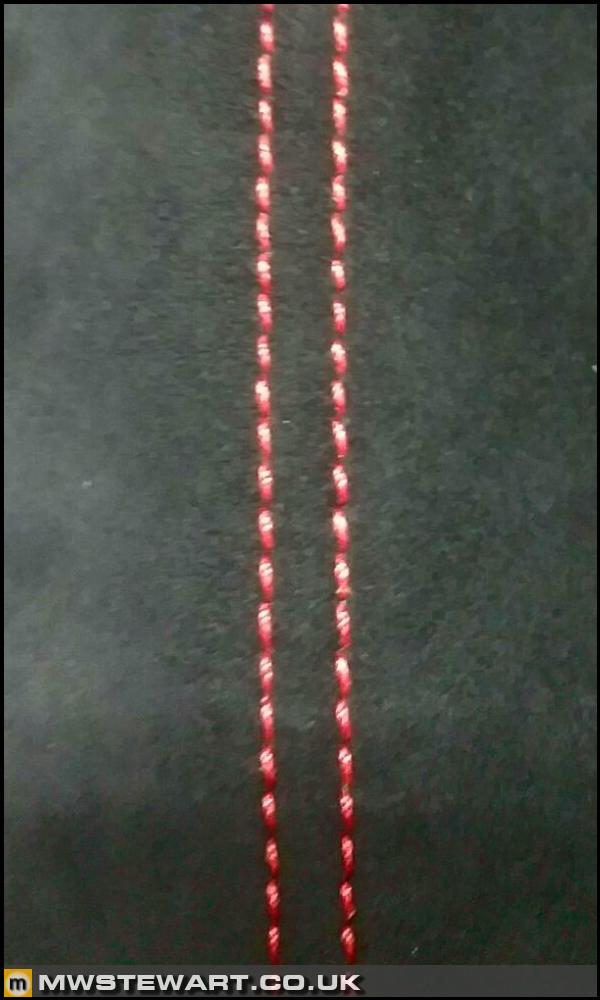
I'd sent one of the leather trimmed parts - which will remain - so that the trimmer could match the OEM stitching length, spacing, and colour.
One panel complete. Again, these have 3mm backing foam.
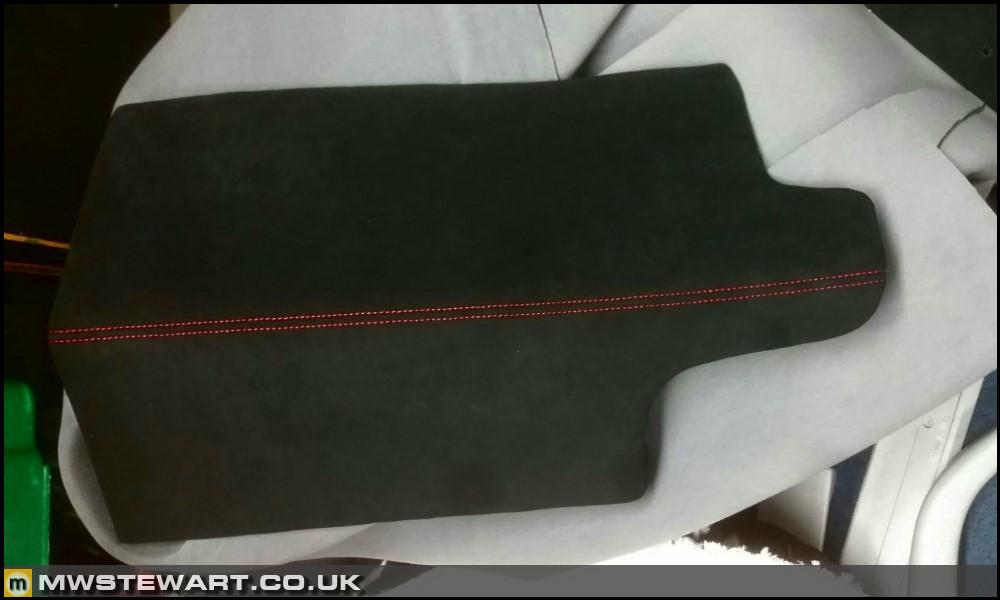
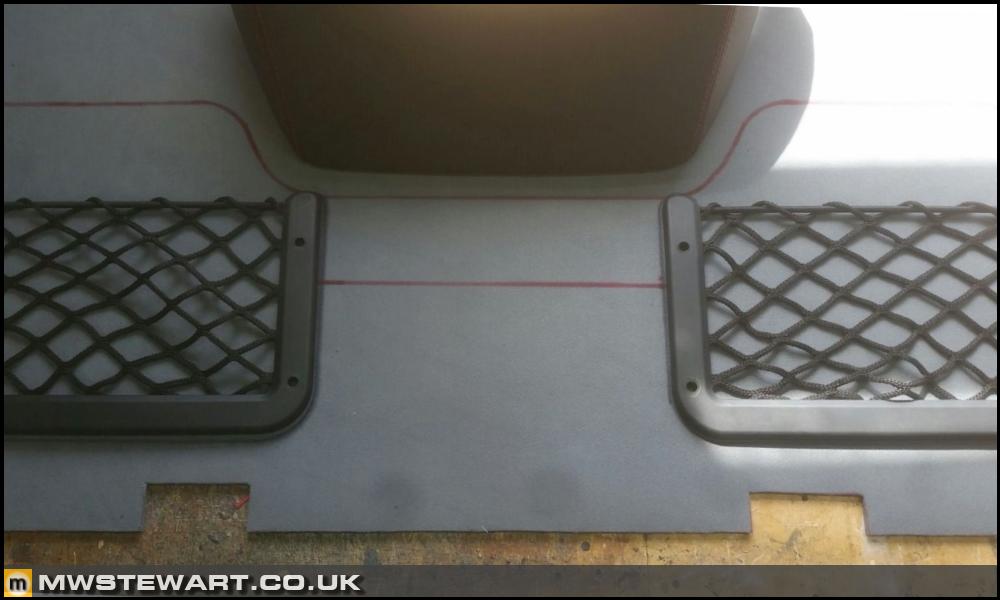
Rear bulkhead - lower central panel
Original carpet panel.

Before the carpet was stripped off we figured out a line for the stitching; the front edge ties into the existing stitching on the leather centre console.
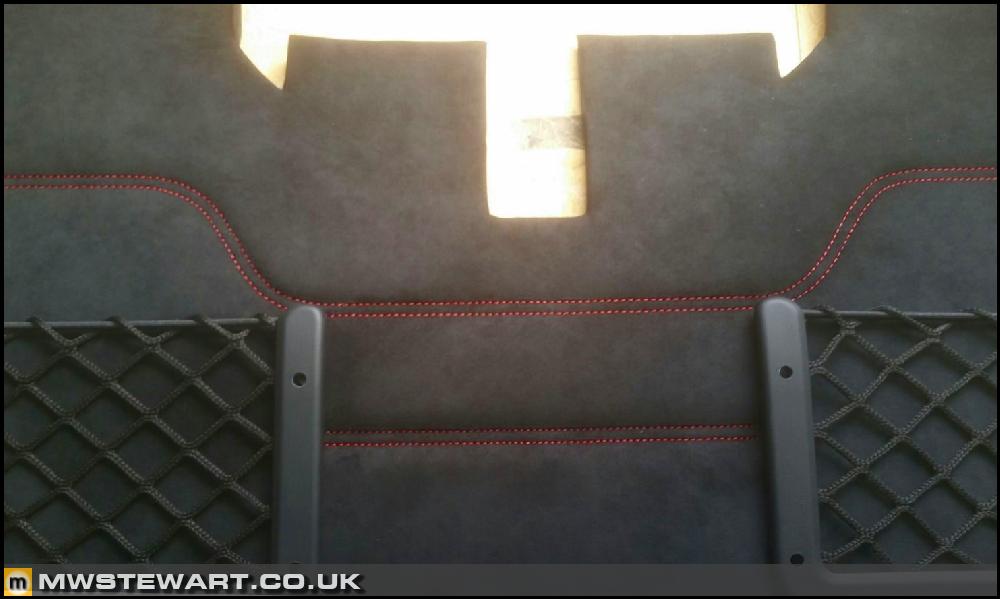
Complete.
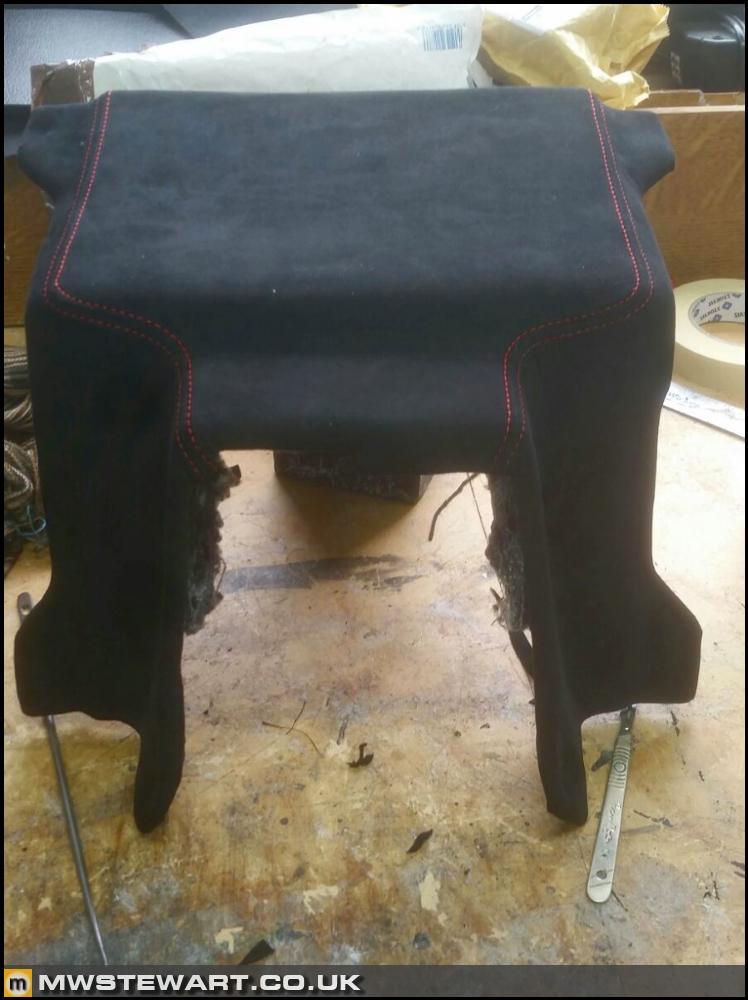
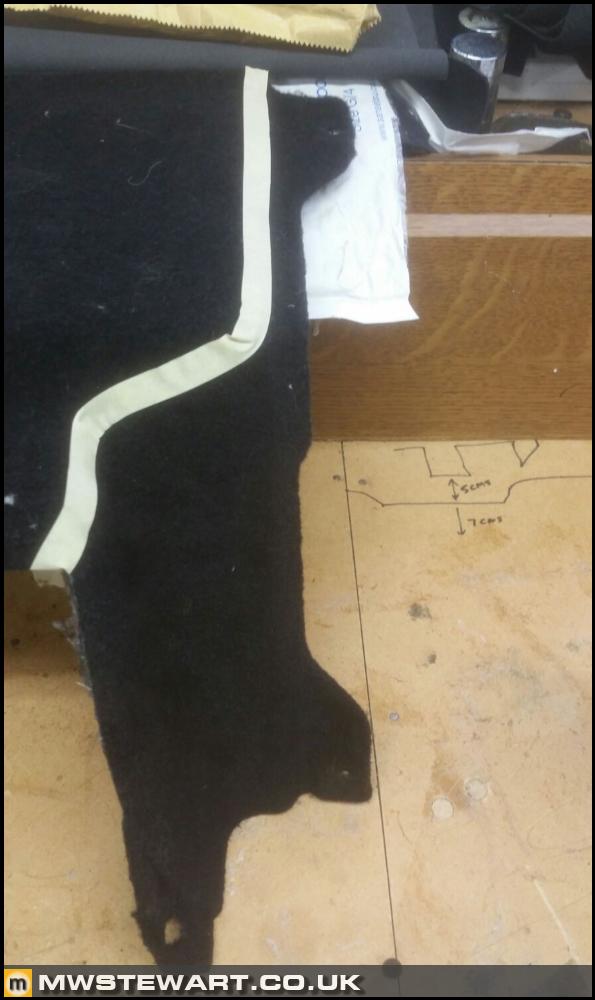
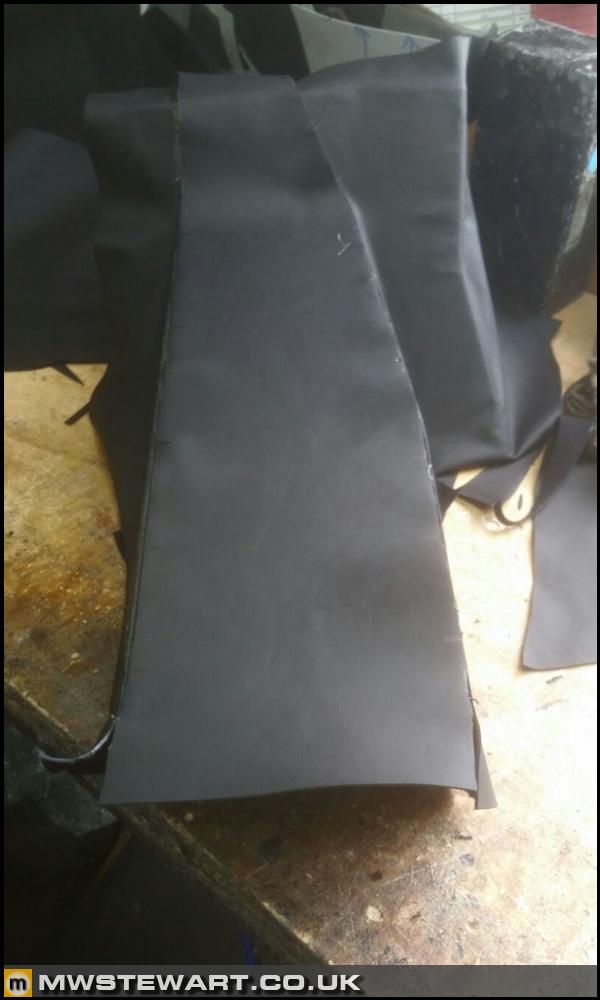
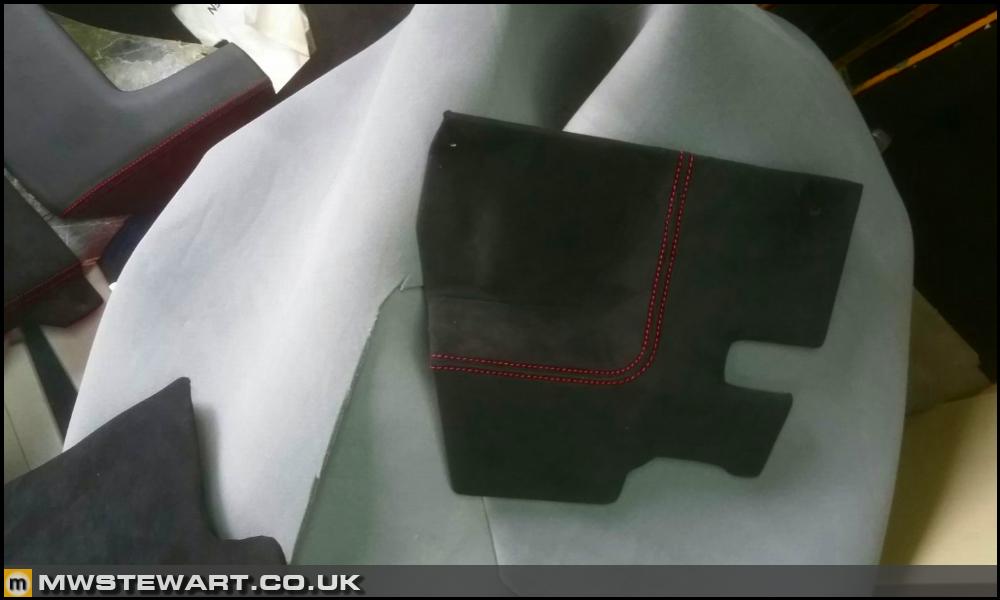
Front tunnel panel
I wanted contrasting stitching along the ridge of the panel, but the front section took a little figuring out. If the stitching was to run parallel with the rest of the panel it would be hidden underneath the drivers' footrest.
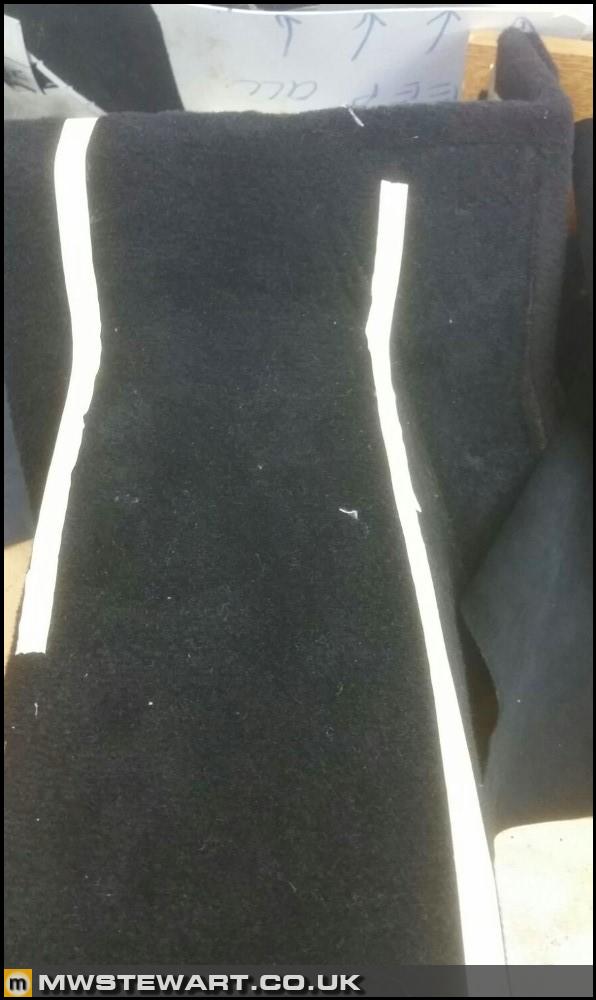
We decided it should curve up and inwards to follow the edge of the footrest (an alloy part not attached here).
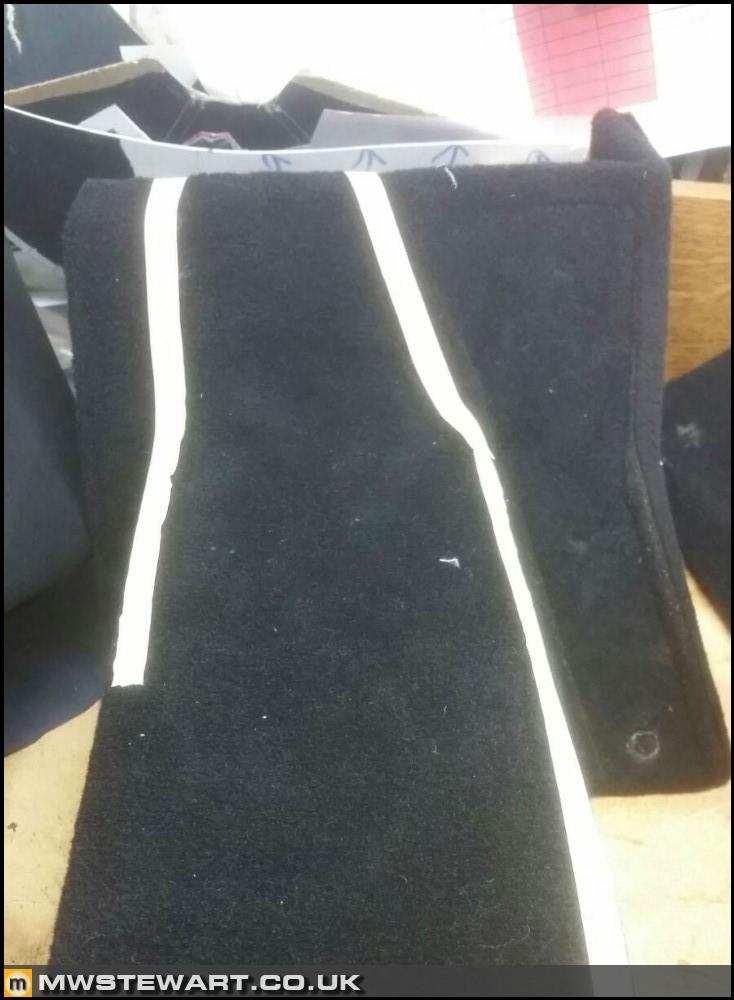
Carpet stripped.
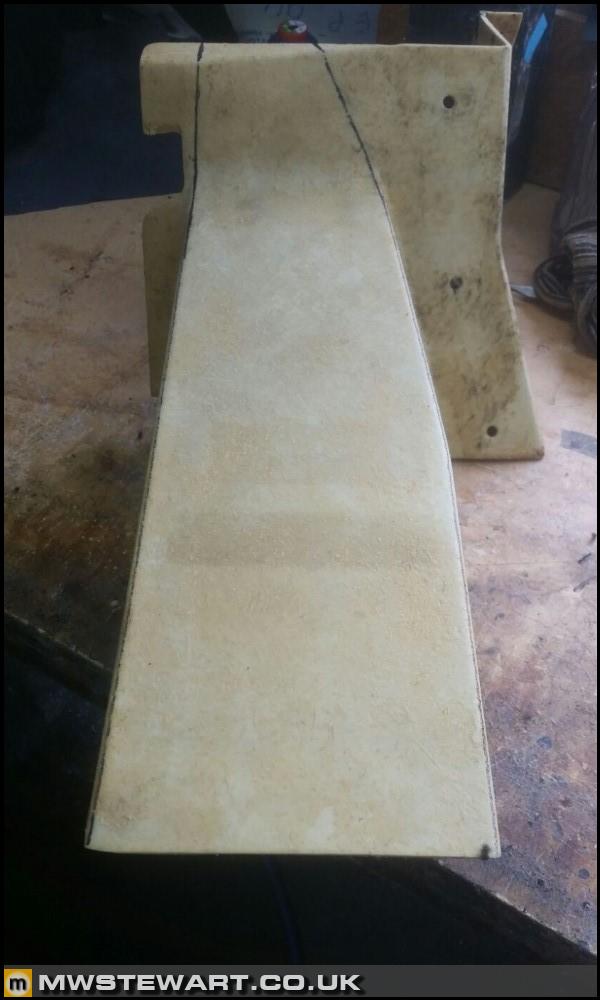
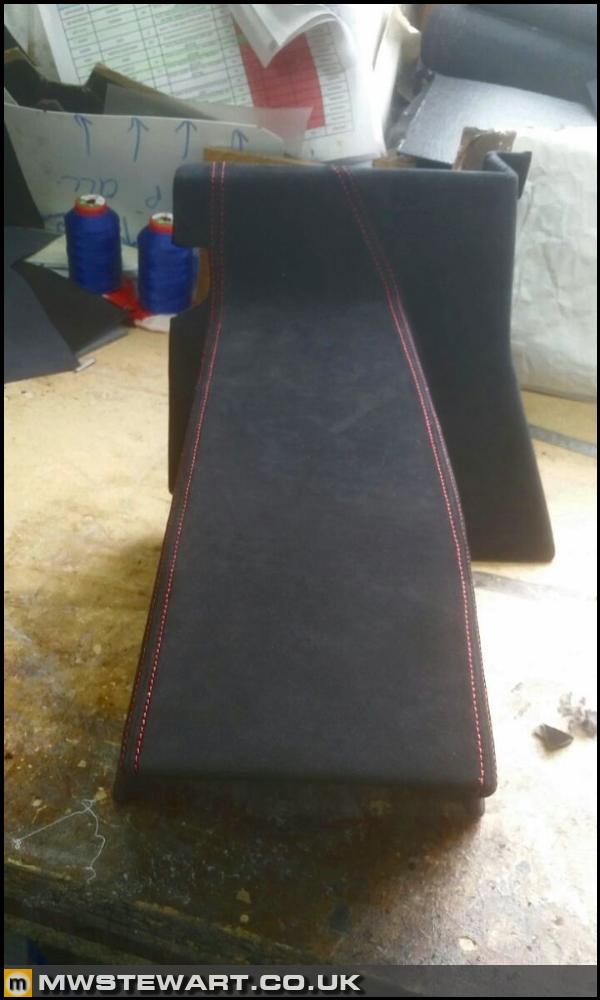
Leather mock up to ensure a good fit.
Completed panel. No wrinkles or risk of them because of the use of multiple sections - the contrast stitching is a join between parts as per the OEM centre console.
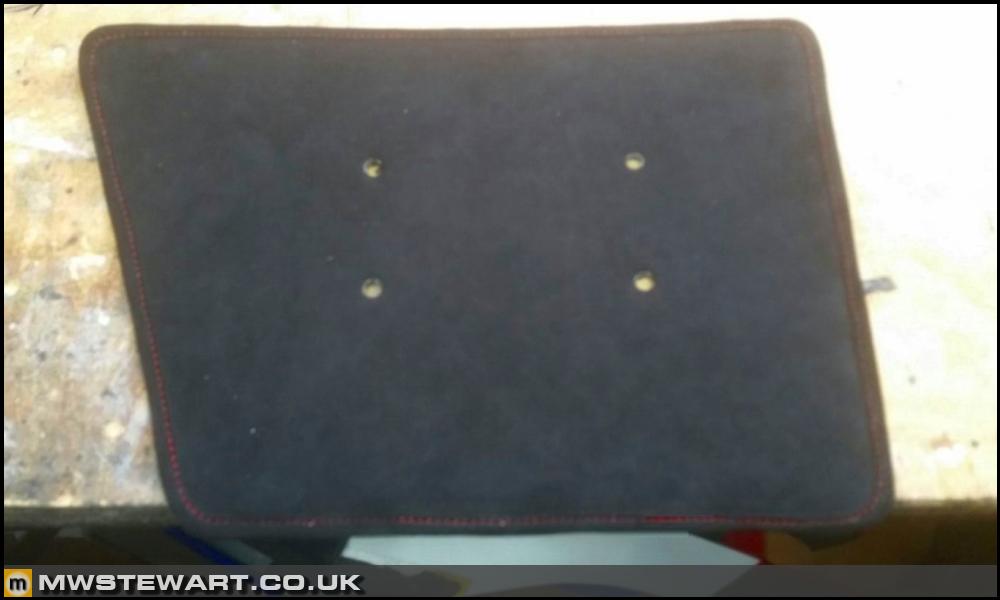
Front bulkhead - passenger/footrest
The passenger front trim backing had cracked where it had been bent forward to access the footrest mounting screws, so I've had the entire thing re-made.

The trimmer made a miniature mock-up to see if I was happy with the edge detail. I wanted a folded over edge trim sewn on but he wasn't sure if his machine would sew through it and the backing material, but thankfully it did. I think it looks a lot better than the basic folded edge and single sewing line.
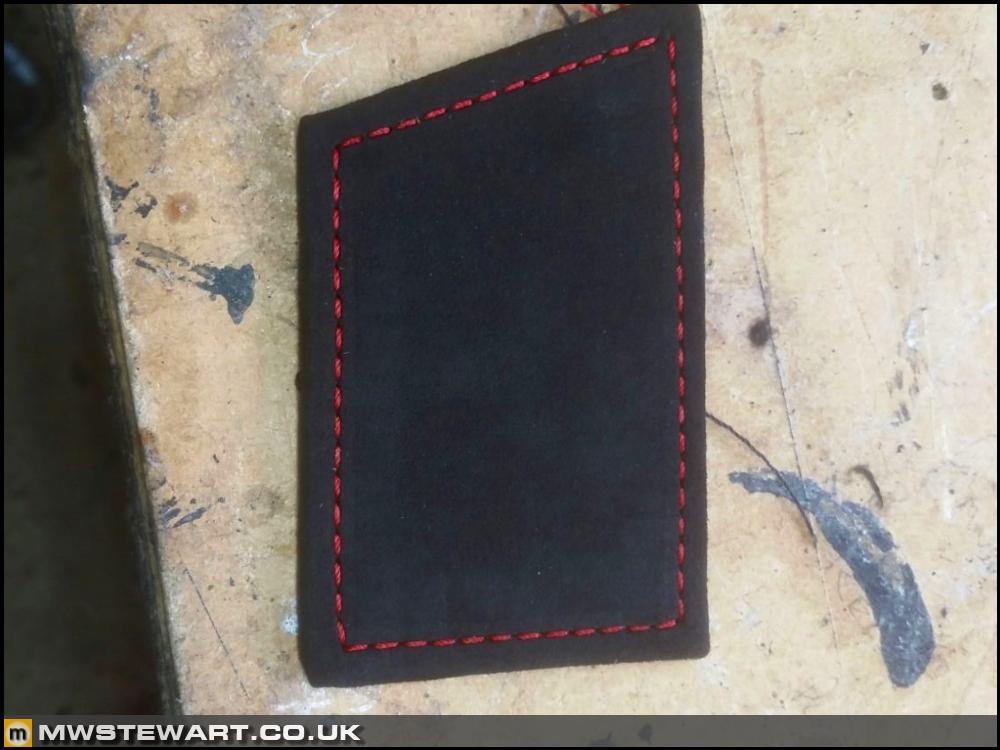
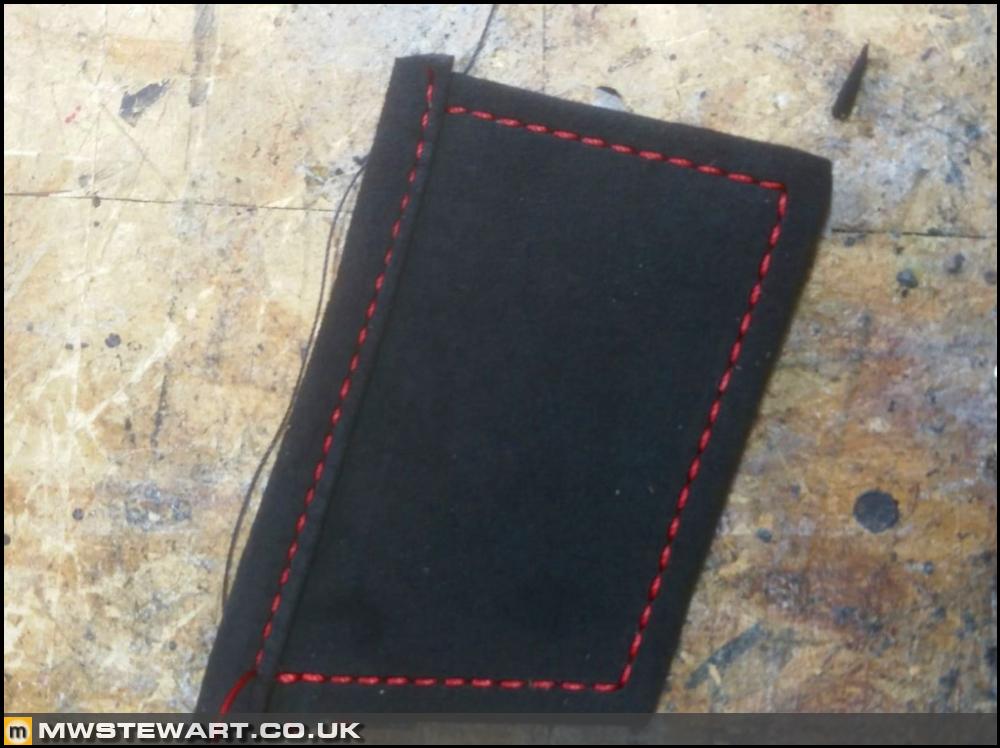
Complete.
Front bulkhead - driver
This small part doesn't feature any contrast stitching on Ferrari's trimming, but I thought it deserved some. The following photo shows where my trimmer had to join several pieces of Alcantara to ensure the finished part did not contain any wrinkles once stuck to the panel.
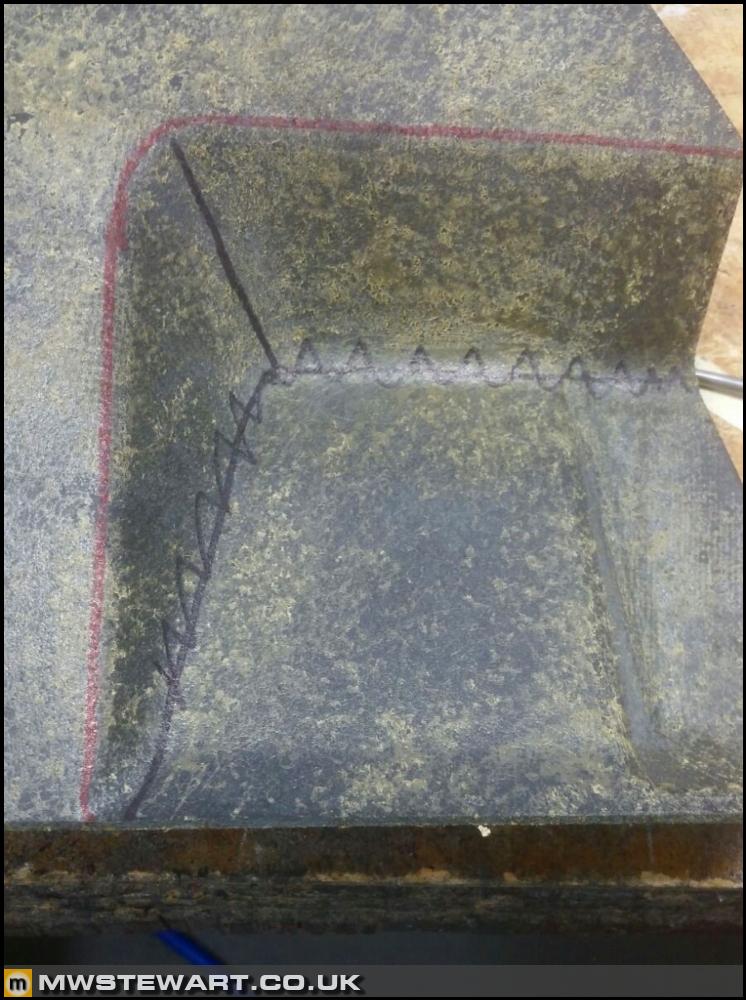
Complete. The joins I didn't want to be picked out in red stitching are concealed very well.
The photos aren't great quality so the colours aren't quite representative; they are from my trimmers phone camera as he works with me in real-time over WhatsApp to ensure I am happy with progress and the finer details of his work. He always keeps me up-to-date and is great to work with, so normally I would share his details because I like to recognise people who do a good job - but he's too busy so doesn't want me to post his details.
Rear bulkhead - upper panel
I've gone for a 3mm backing foam under the Alcantara.
The trimmer always does a mock up in leather to ensure I'm happy with the stitching detail. I wanted a slight tweak to this one.
I had the nets stripped down and the frames re-trimmed in black leather, then reassembled with the nets re-tensioned.
Bulkhead and nets complete. Unlike the Ferrari trimming which is simply cut level with the edge of the panel, my trimmer actually folds over and glues to the rear for a better fit.
Rear bulkhead - lower side panels
Original carpet panels.
I'd sent one of the leather trimmed parts - which will remain - so that the trimmer could match the OEM stitching length, spacing, and colour.
One panel complete. Again, these have 3mm backing foam.
Rear bulkhead - lower central panel
Original carpet panel.
Before the carpet was stripped off we figured out a line for the stitching; the front edge ties into the existing stitching on the leather centre console.
Complete.
Front tunnel panel
I wanted contrasting stitching along the ridge of the panel, but the front section took a little figuring out. If the stitching was to run parallel with the rest of the panel it would be hidden underneath the drivers' footrest.
We decided it should curve up and inwards to follow the edge of the footrest (an alloy part not attached here).
Carpet stripped.
Leather mock up to ensure a good fit.
Completed panel. No wrinkles or risk of them because of the use of multiple sections - the contrast stitching is a join between parts as per the OEM centre console.
Front bulkhead - passenger/footrest
The passenger front trim backing had cracked where it had been bent forward to access the footrest mounting screws, so I've had the entire thing re-made.
The trimmer made a miniature mock-up to see if I was happy with the edge detail. I wanted a folded over edge trim sewn on but he wasn't sure if his machine would sew through it and the backing material, but thankfully it did. I think it looks a lot better than the basic folded edge and single sewing line.
Complete.
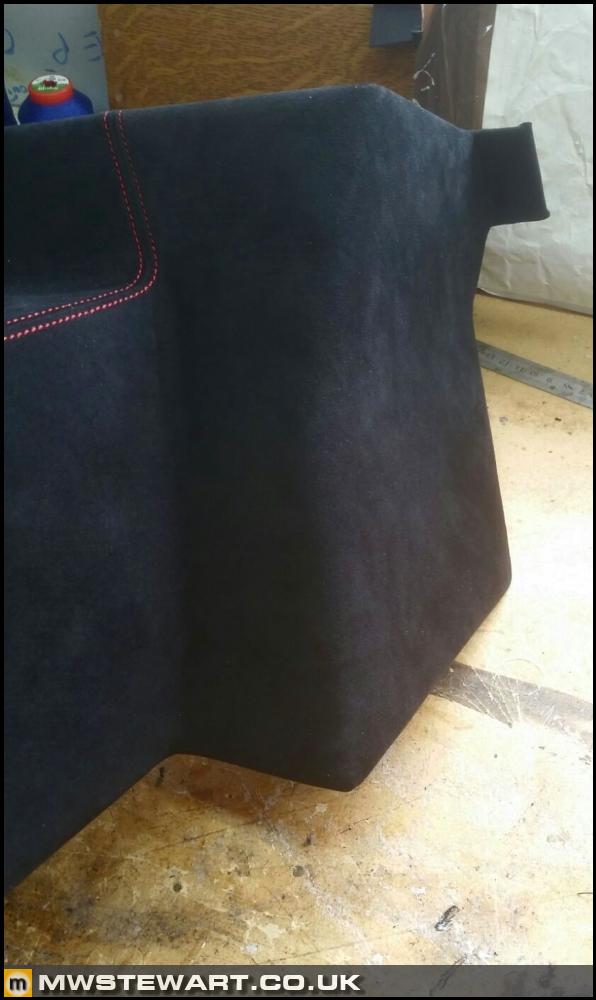
Front bulkhead - driver
This small part doesn't feature any contrast stitching on Ferrari's trimming, but I thought it deserved some. The following photo shows where my trimmer had to join several pieces of Alcantara to ensure the finished part did not contain any wrinkles once stuck to the panel.
Complete. The joins I didn't want to be picked out in red stitching are concealed very well.
Gassing Station | Readers' Cars | Top of Page | What's New | My Stuff