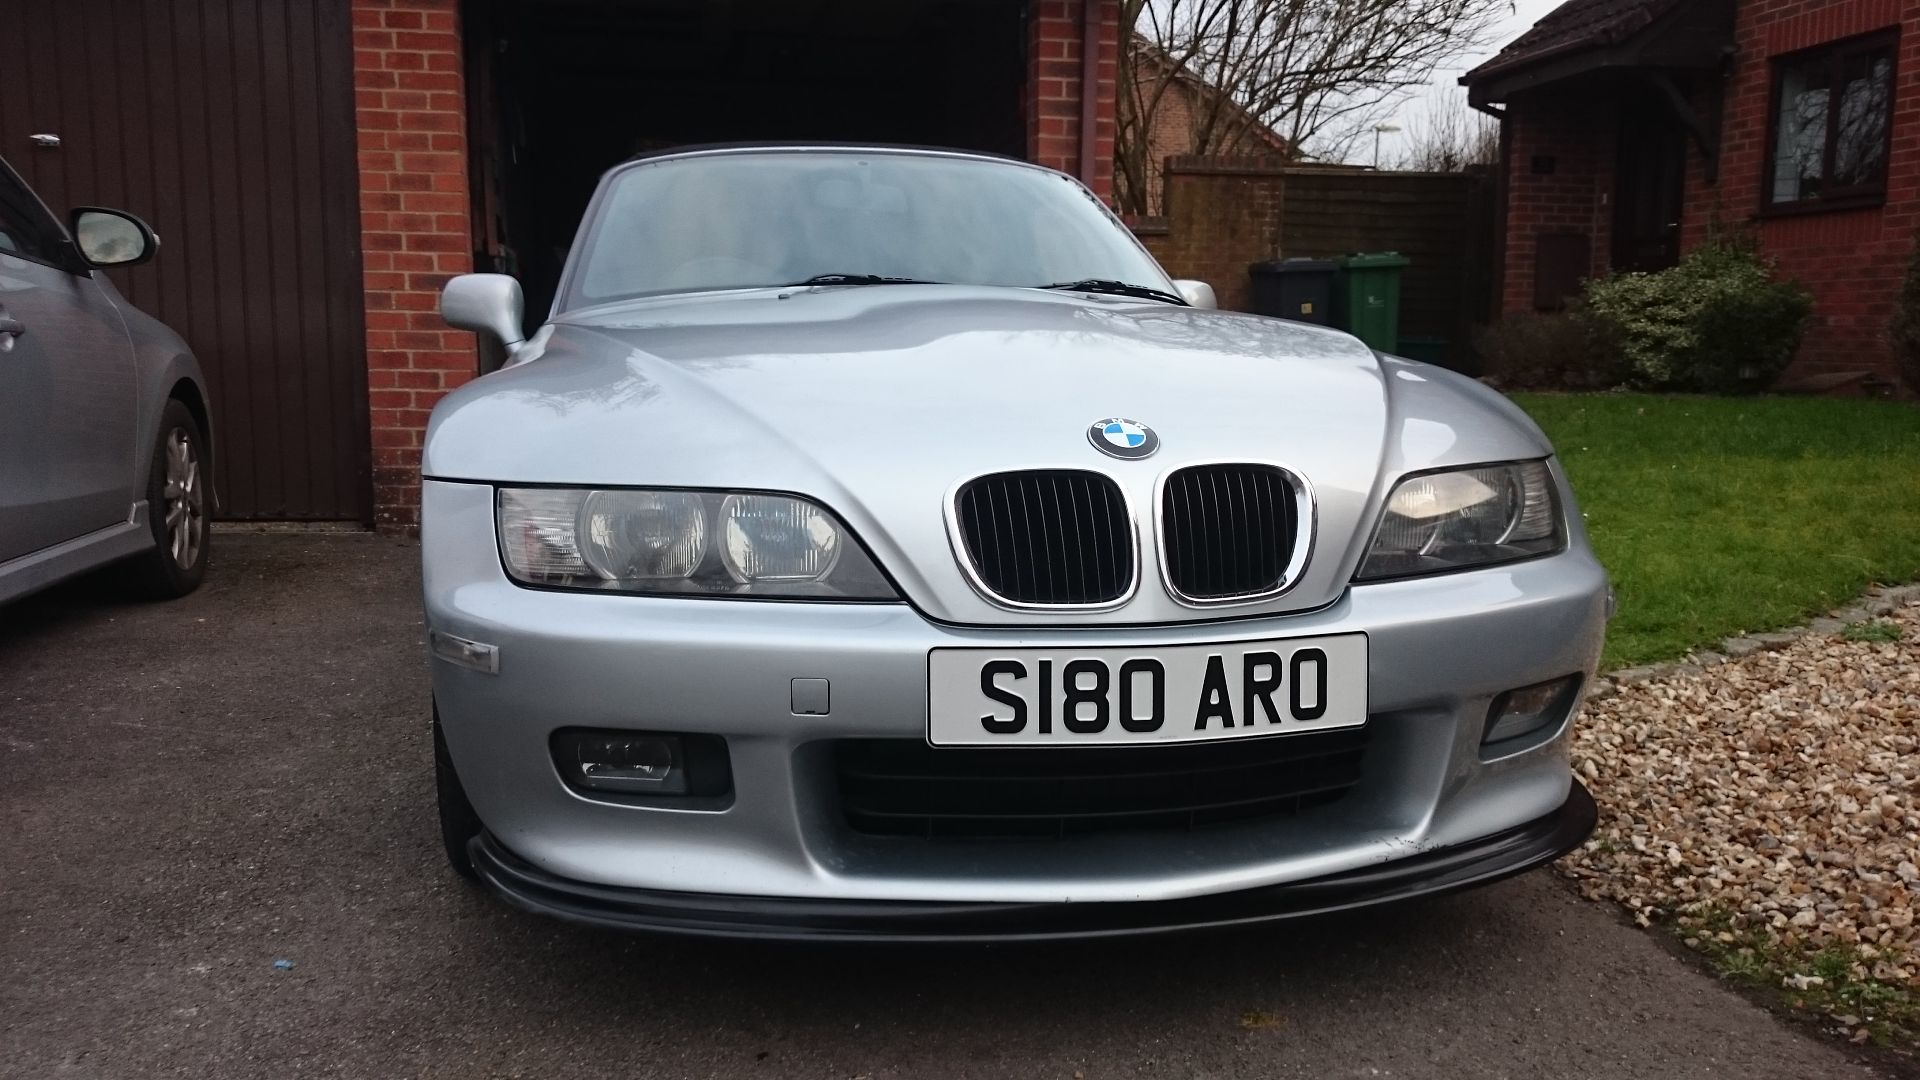
BMW Z3 2.8 - OEM+ long term project
Discussion


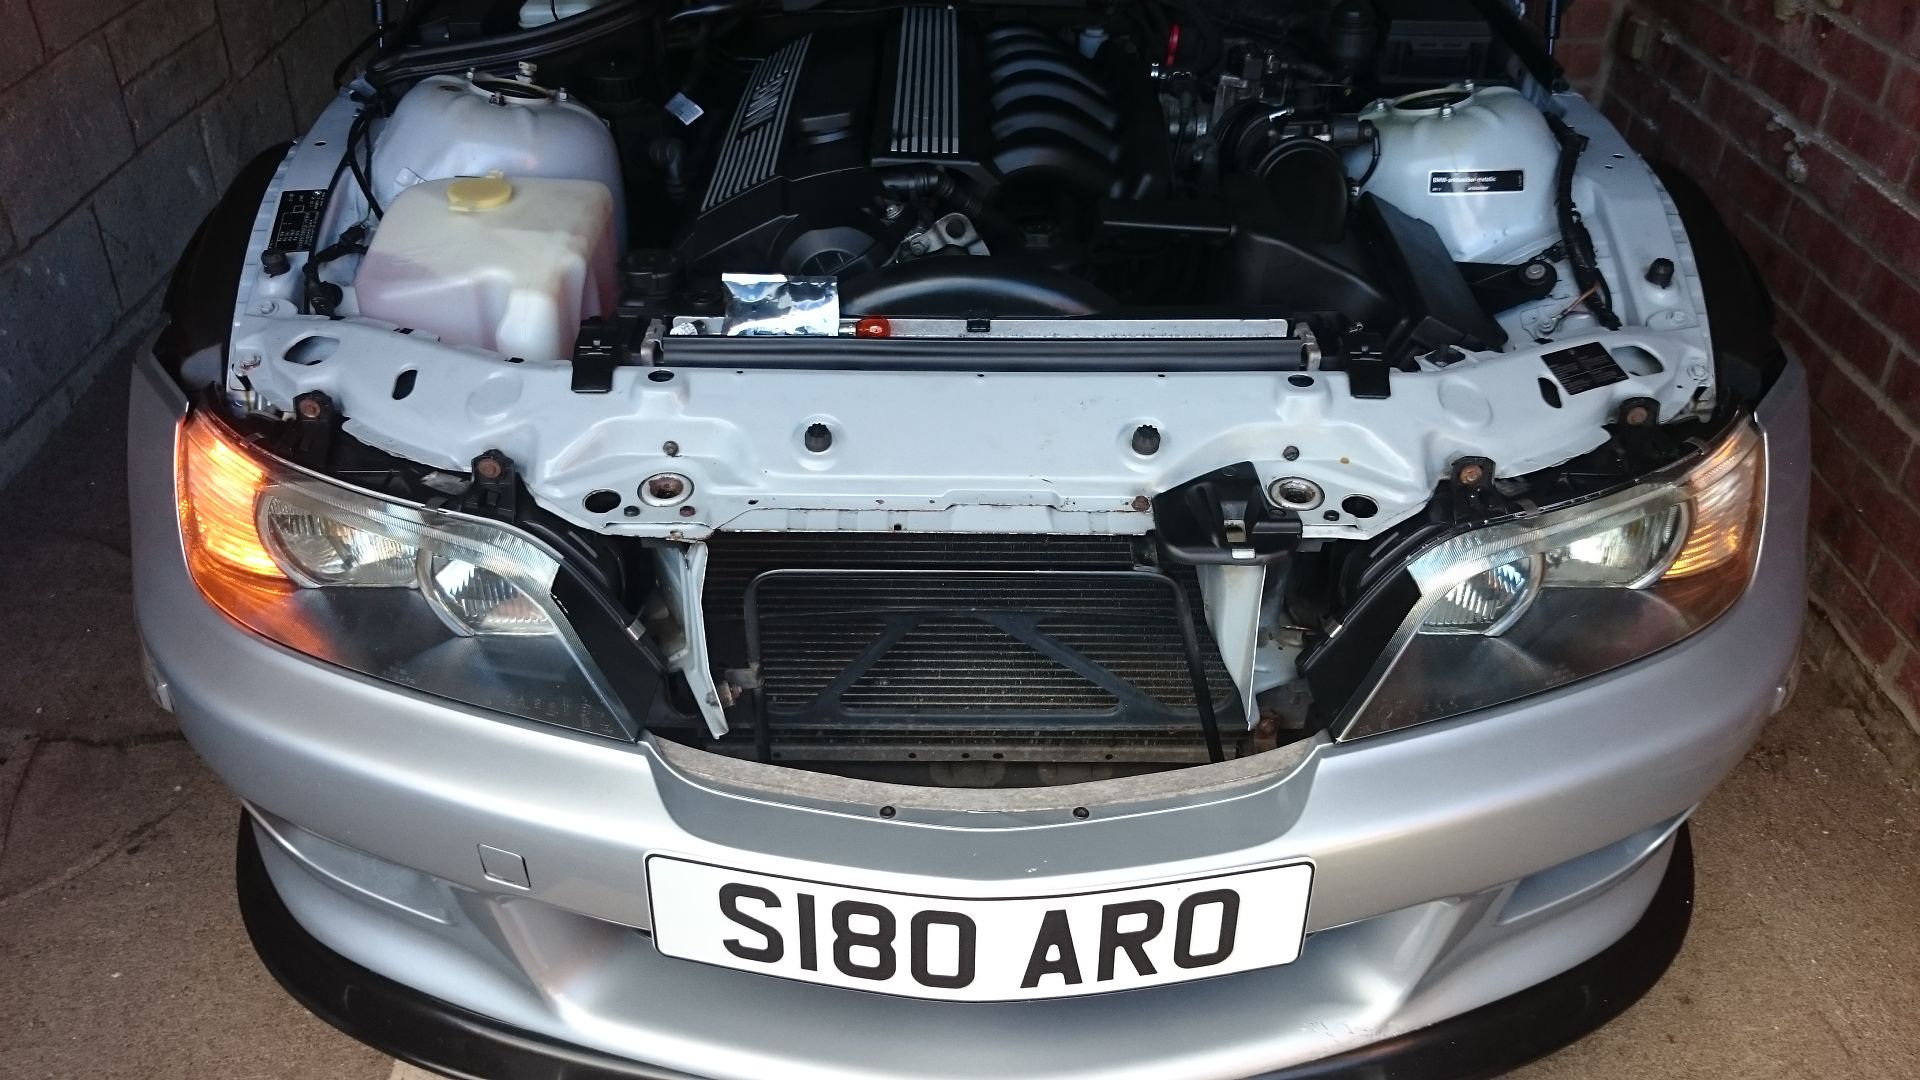
Busy weekend this weekend but still managed a few hours on the car.
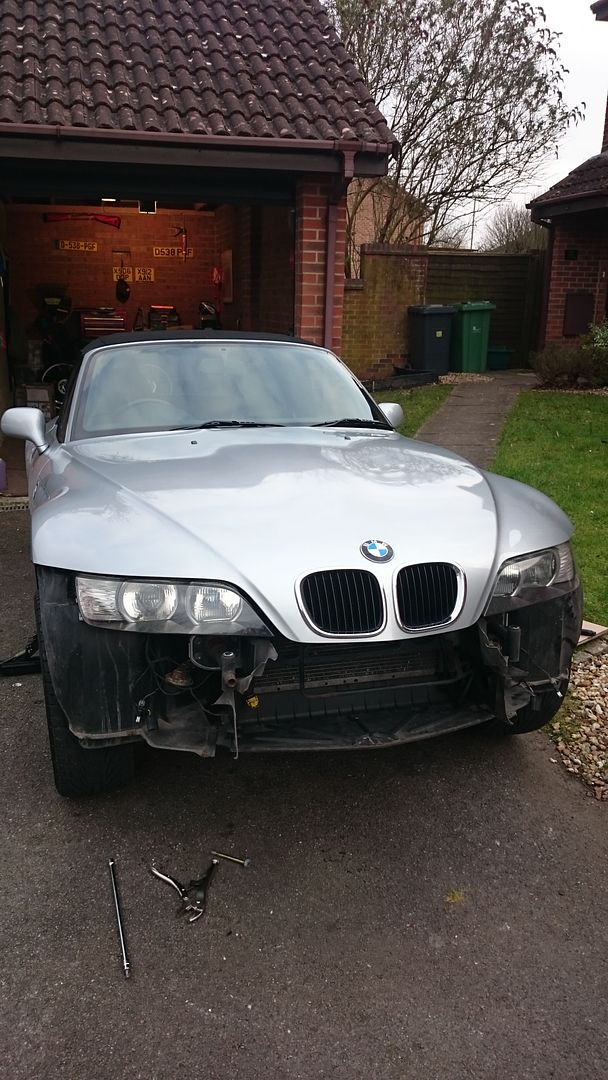
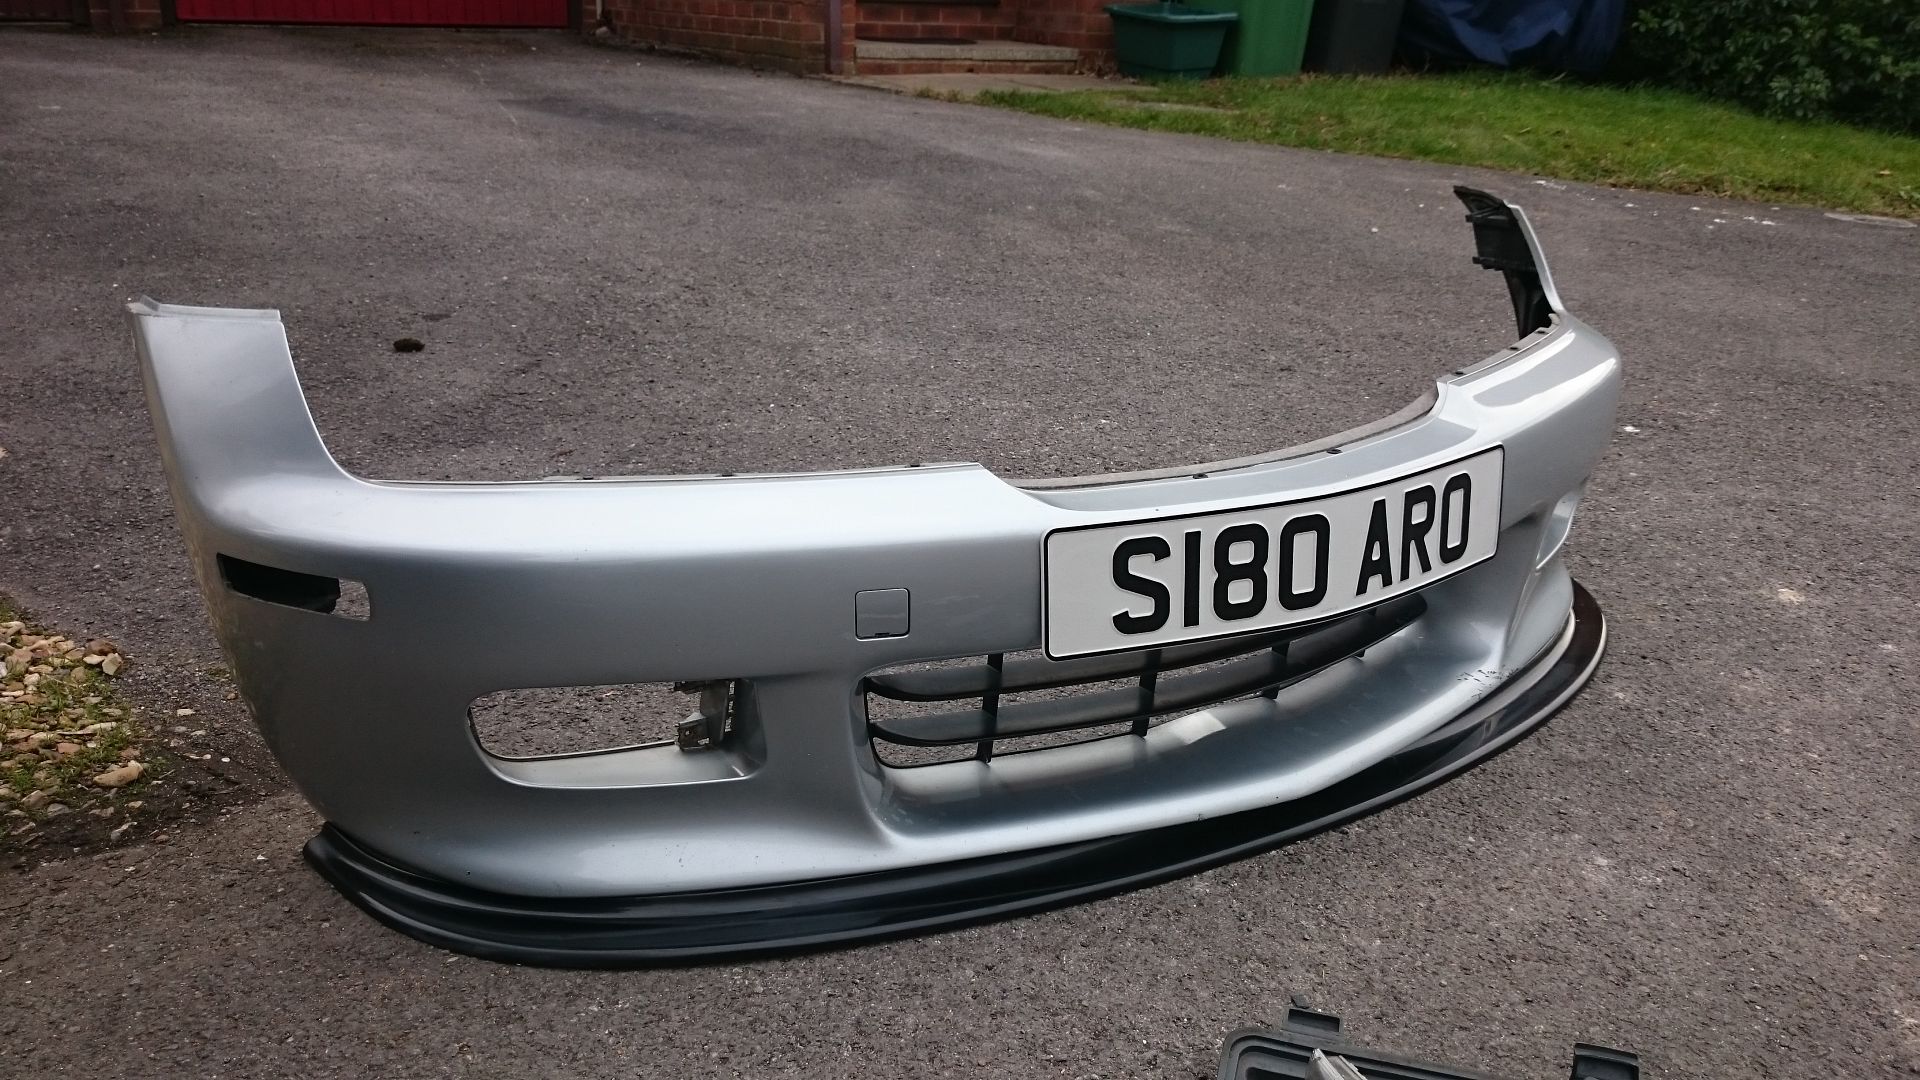
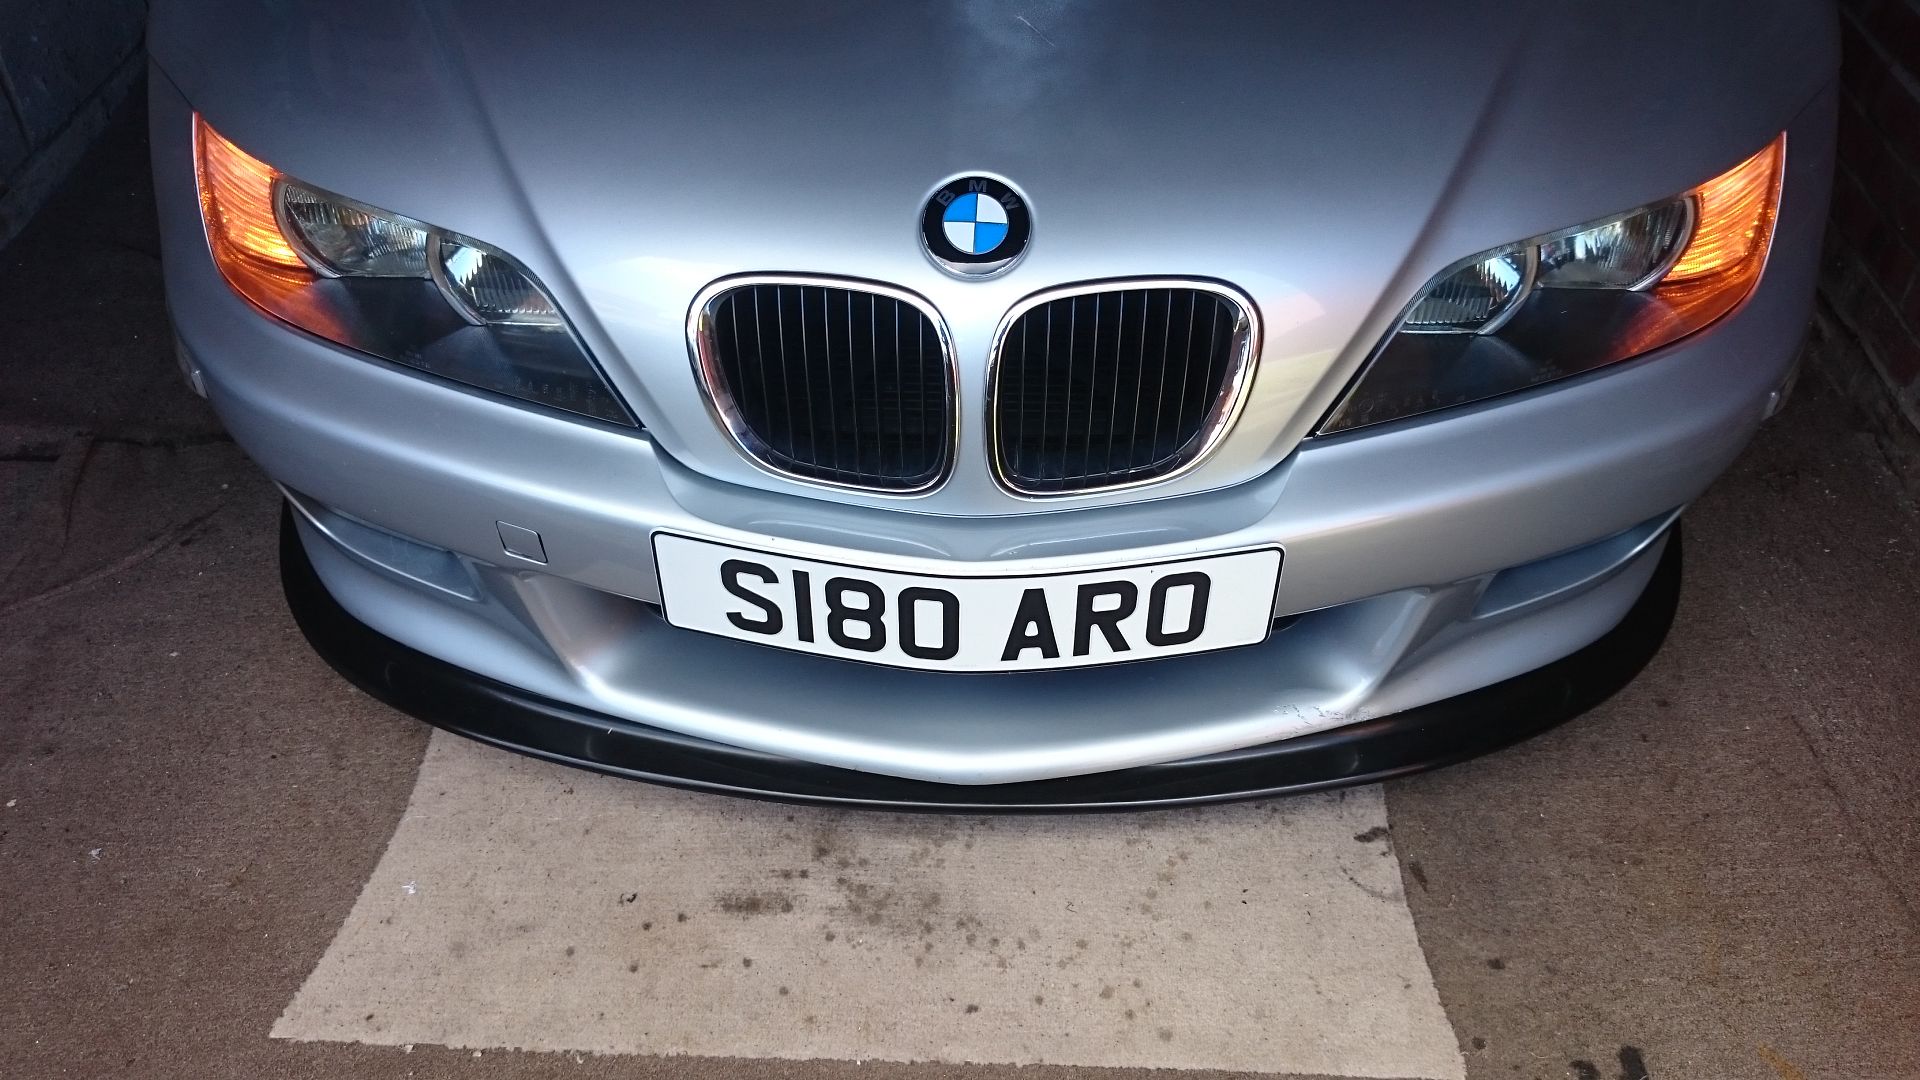
First was to fit my new Splitter from unique Customs.
Really easy to do: 4 x 8mm screws underneath the bumper, 2 x T50 bolts holding the bumper to the shock bars. Yank off!
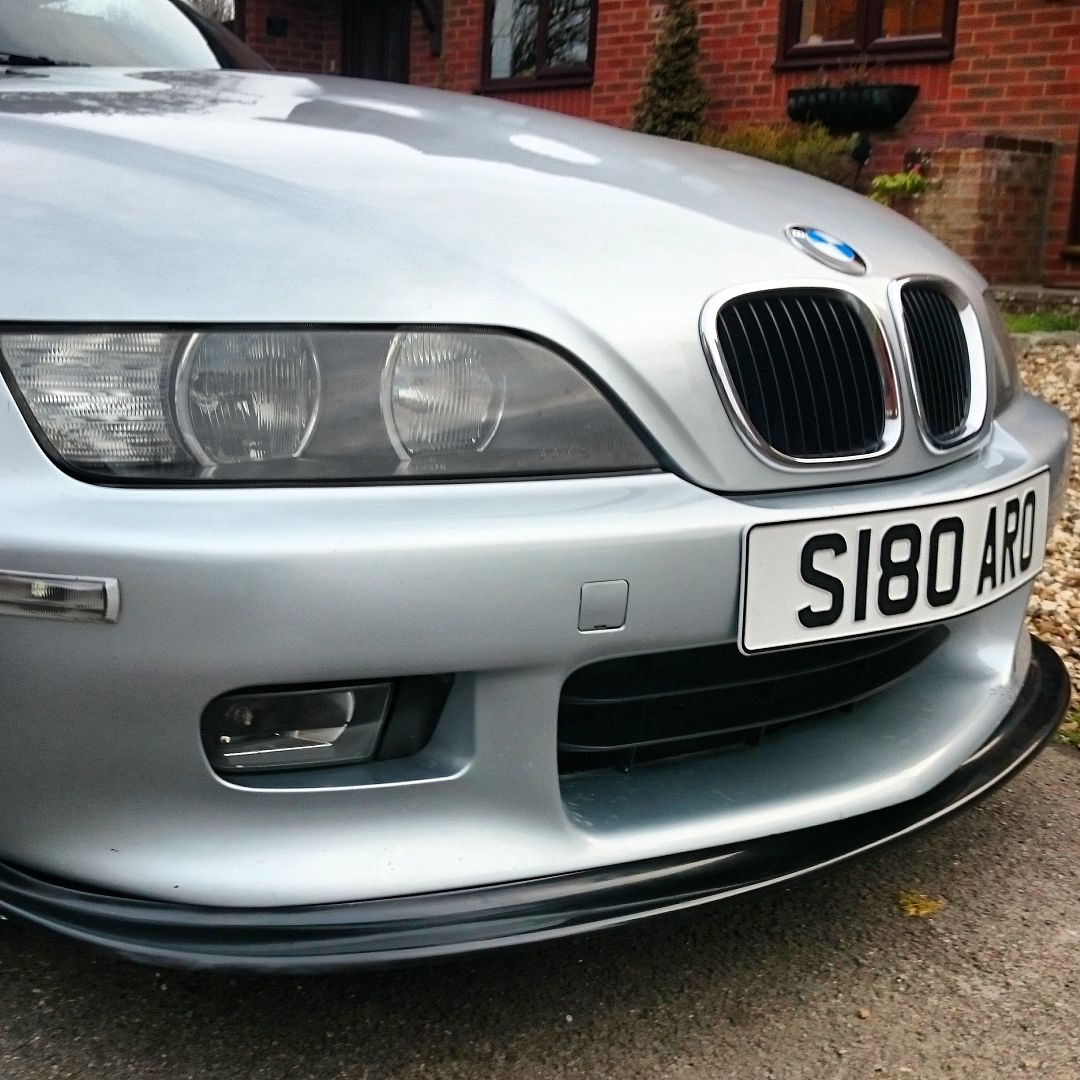
Flip, measure, measure, measure, screw down with self tappers, take off, use tape, rescrew.
all done.
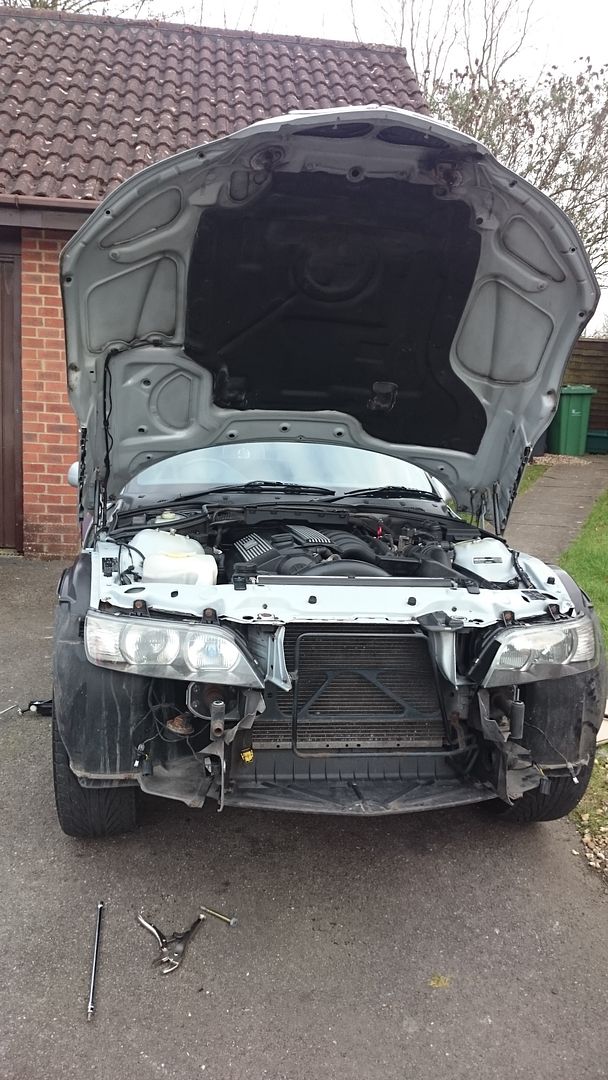

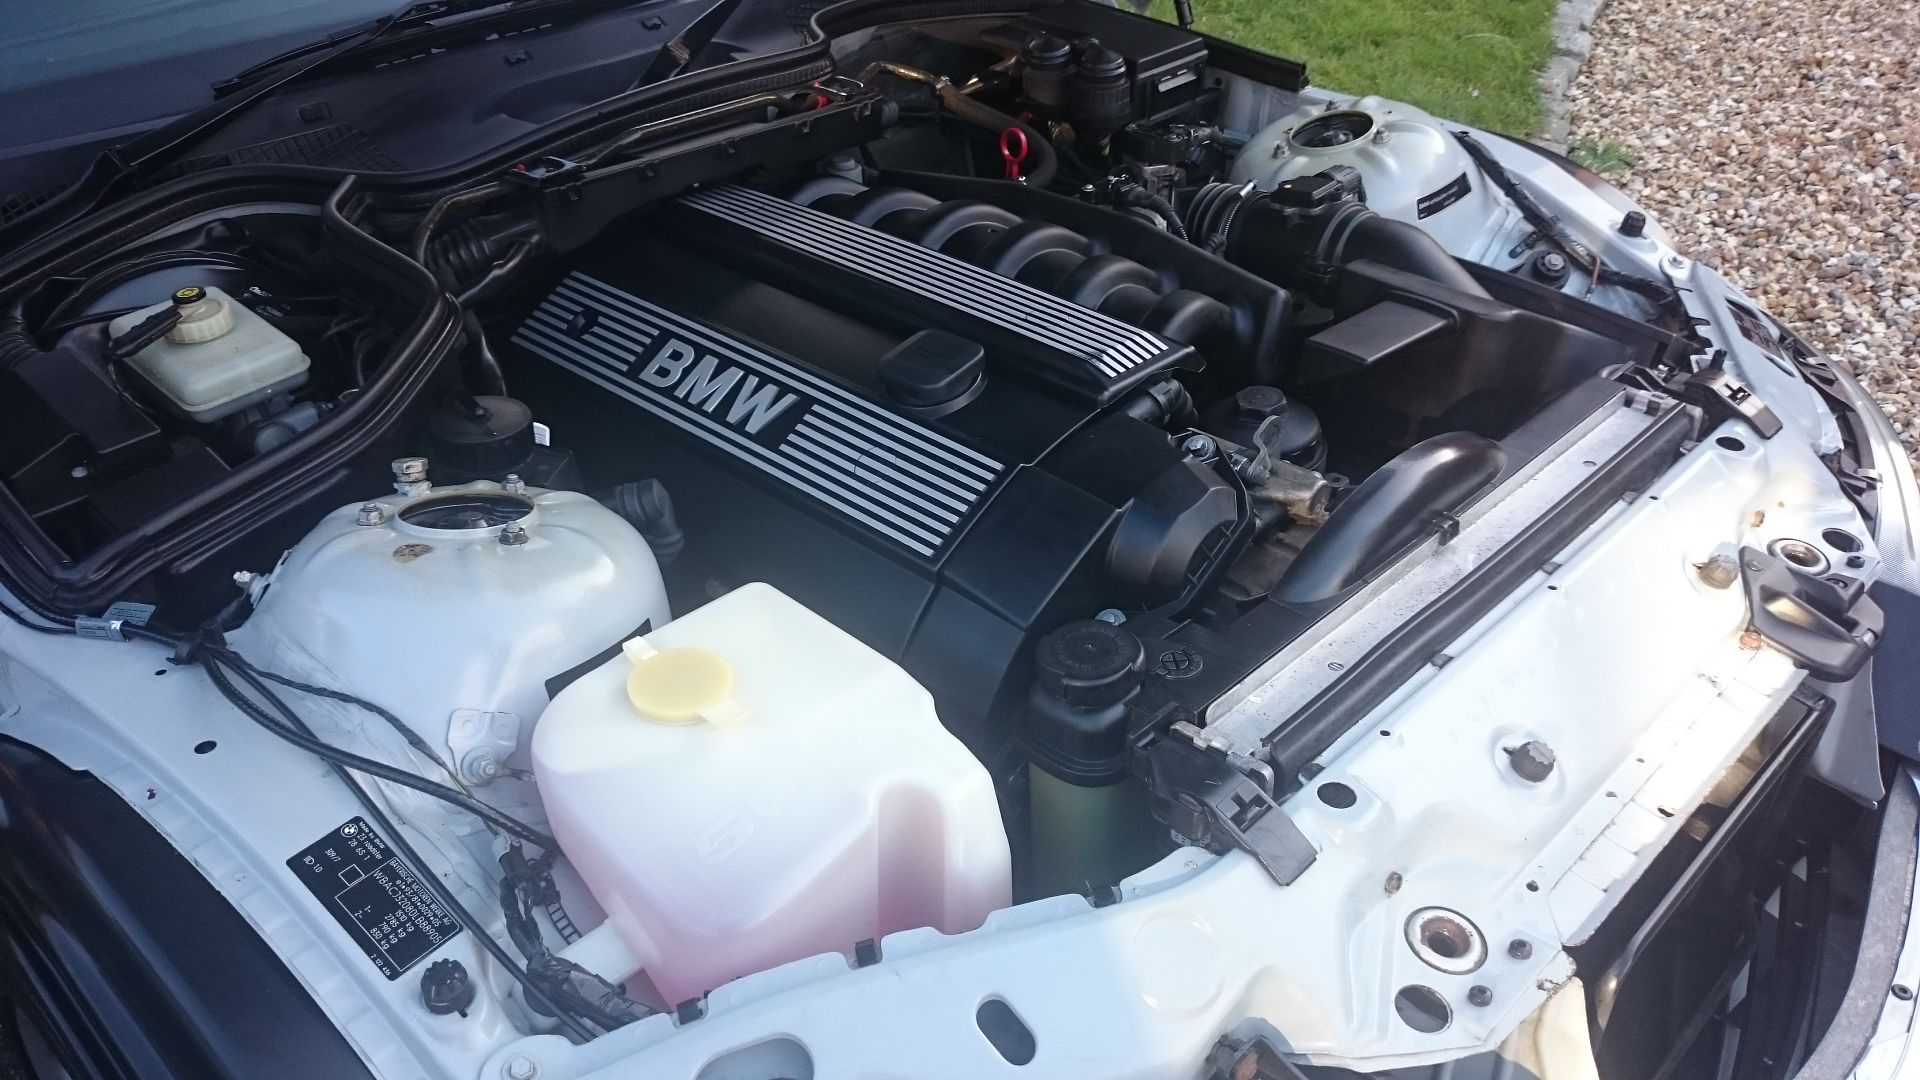
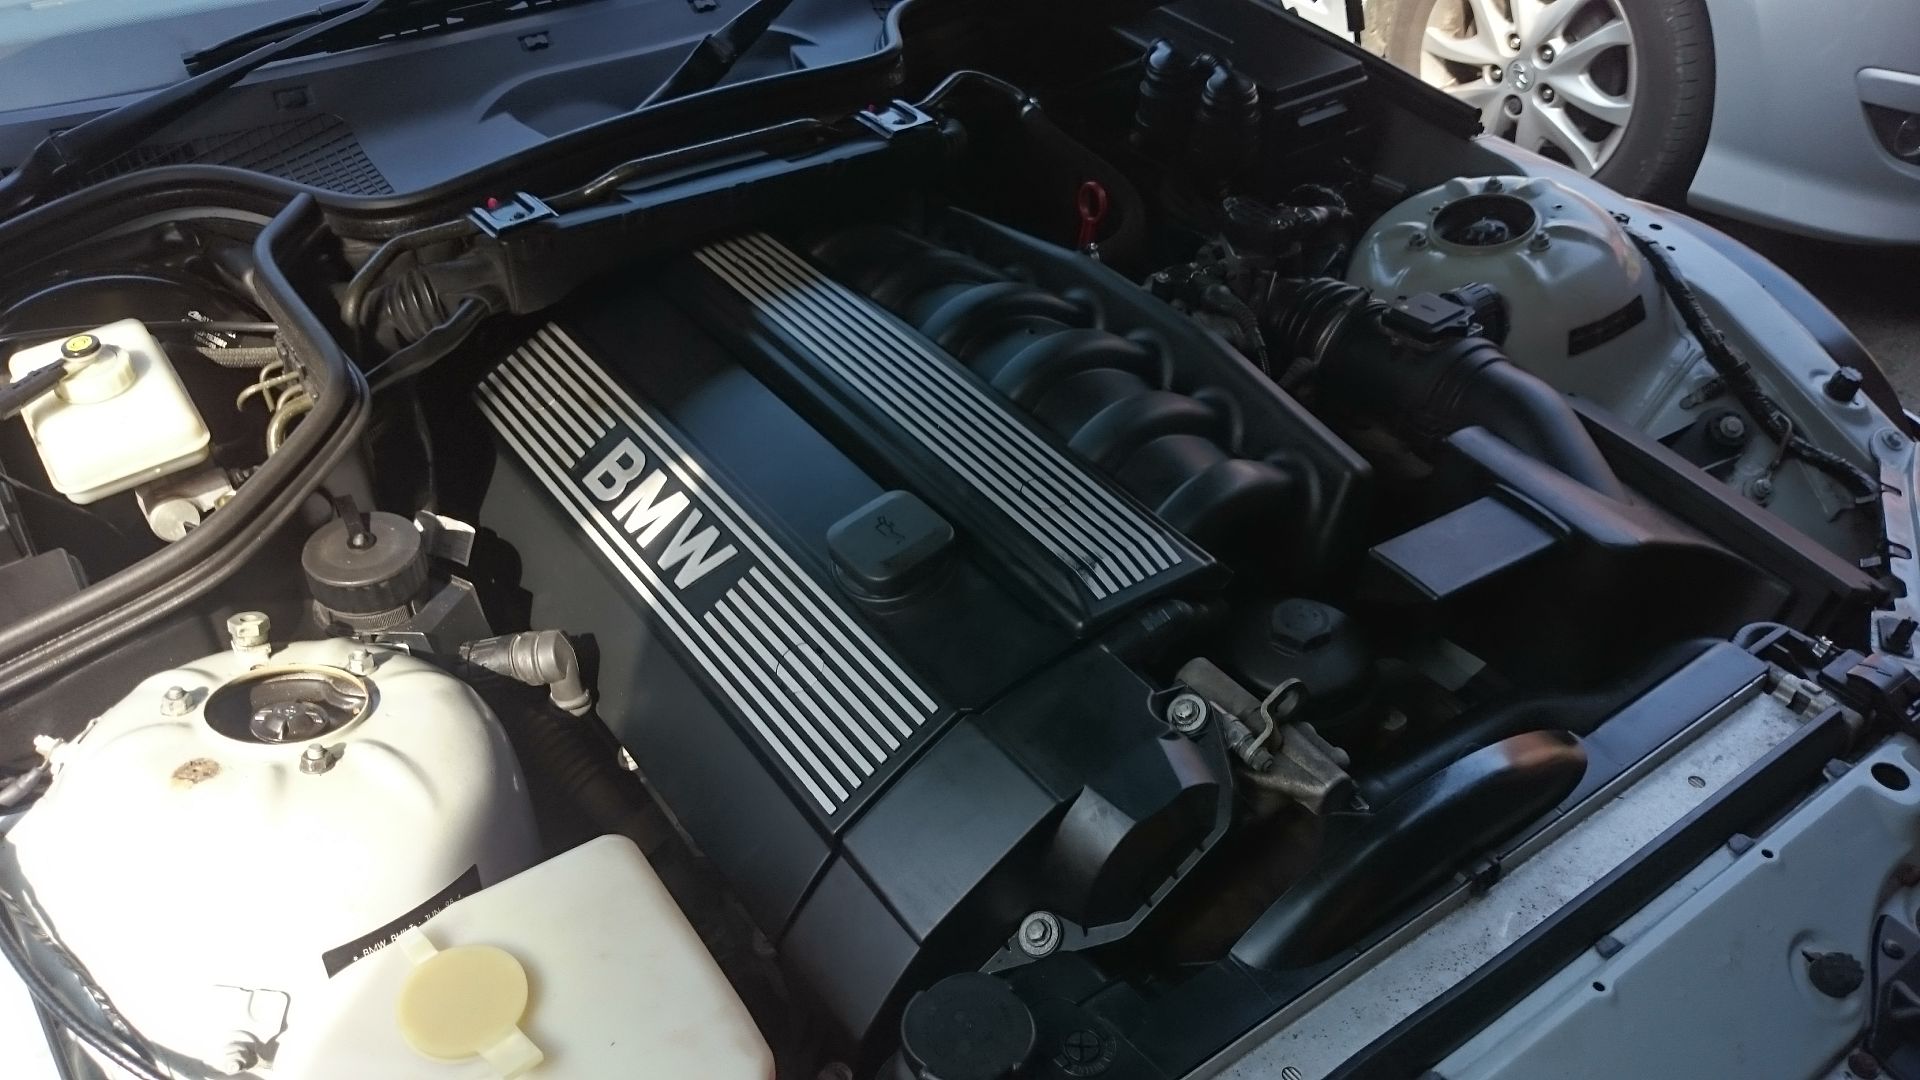
next jobs was to clean the engine bay as its a bit grubby. Took out the airbox and washer bottle to properly clean it using Autoglym engine degreaser.
Washer bottle went in the dishwasher (wife was out), top tip, put a bit of degreaser in it after with some dry rice and shake, gets all the crap out.
refitted and everything was treated with 303 aerospace protectant.
also got my poweflex diff bush and my revshift gearbox mounts to do but it was way to cold to be rolling around under the car
First was to fit my new Splitter from unique Customs.
Really easy to do: 4 x 8mm screws underneath the bumper, 2 x T50 bolts holding the bumper to the shock bars. Yank off!
Flip, measure, measure, measure, screw down with self tappers, take off, use tape, rescrew.
all done.


next jobs was to clean the engine bay as its a bit grubby. Took out the airbox and washer bottle to properly clean it using Autoglym engine degreaser.
Washer bottle went in the dishwasher (wife was out), top tip, put a bit of degreaser in it after with some dry rice and shake, gets all the crap out.
refitted and everything was treated with 303 aerospace protectant.

also got my poweflex diff bush and my revshift gearbox mounts to do but it was way to cold to be rolling around under the car
5harp3y said:
ive been thinking the same, they need a refurb so might get them done with a sightly darker but more metallic silver.
I like them, do you know what size and model/ style they are? i've got a 3.0 which someone has put aftermarket 18 inchers with 40 profile tyres and on the roads around here it tramlines and bumpsteers like a good'un (plus they look a pain in the arse to clean!) so I was wondering about getting a set of standard wheels to see whether that helps.n3il123 said:
I like them, do you know what size and model/ style they are? i've got a 3.0 which someone has put aftermarket 18 inchers with 40 profile tyres and on the roads around here it tramlines and bumpsteers like a good'un (plus they look a pain in the arse to clean!) so I was wondering about getting a set of standard wheels to see whether that helps.
Style 1817 x 7.5 ET41
17 x 8.5 ET41
all bmw wheels here
http://felgenkatalog.auto-treff.com/
Simple things make all the difference.
£5 for this to finish off the boot.

Busy weekend for me on the zed as the wife was away on a training course.
After a nice drive on saturday morning i cracked on with a job i've been meaning to do for a while.
i had noticed that i had a small oil weep
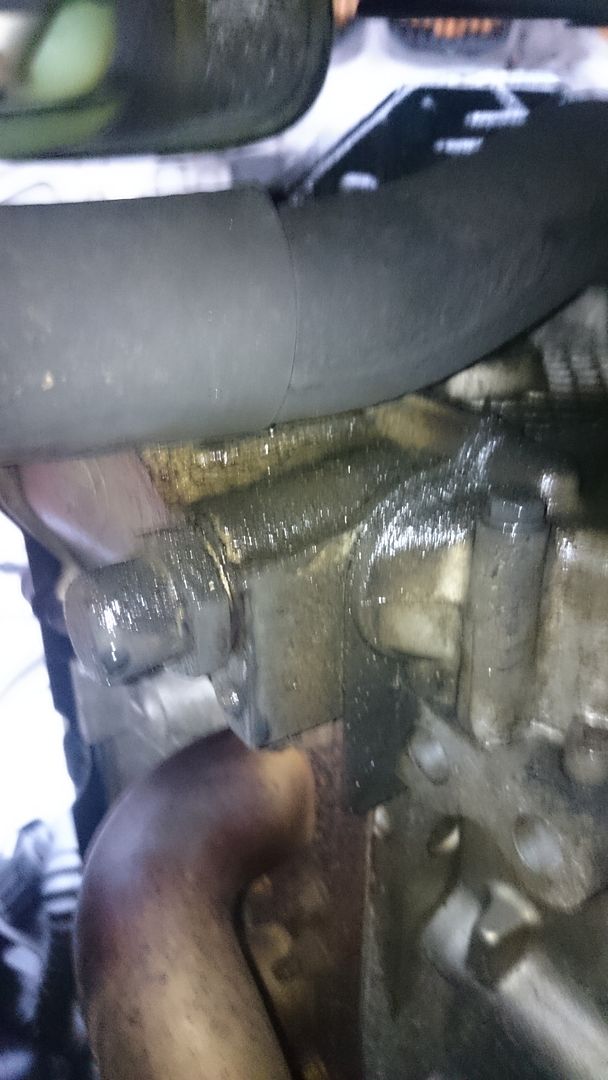
and it was the cam cover gasket that was playing up.
So a quick order to Sopers Lincoln and we had all the bits.
The process is so easy but takes about 2 hours:
all you need is
10mm socket
8mm socket
flat blade screwdriver
torque wrench it you are being fussy (i am)
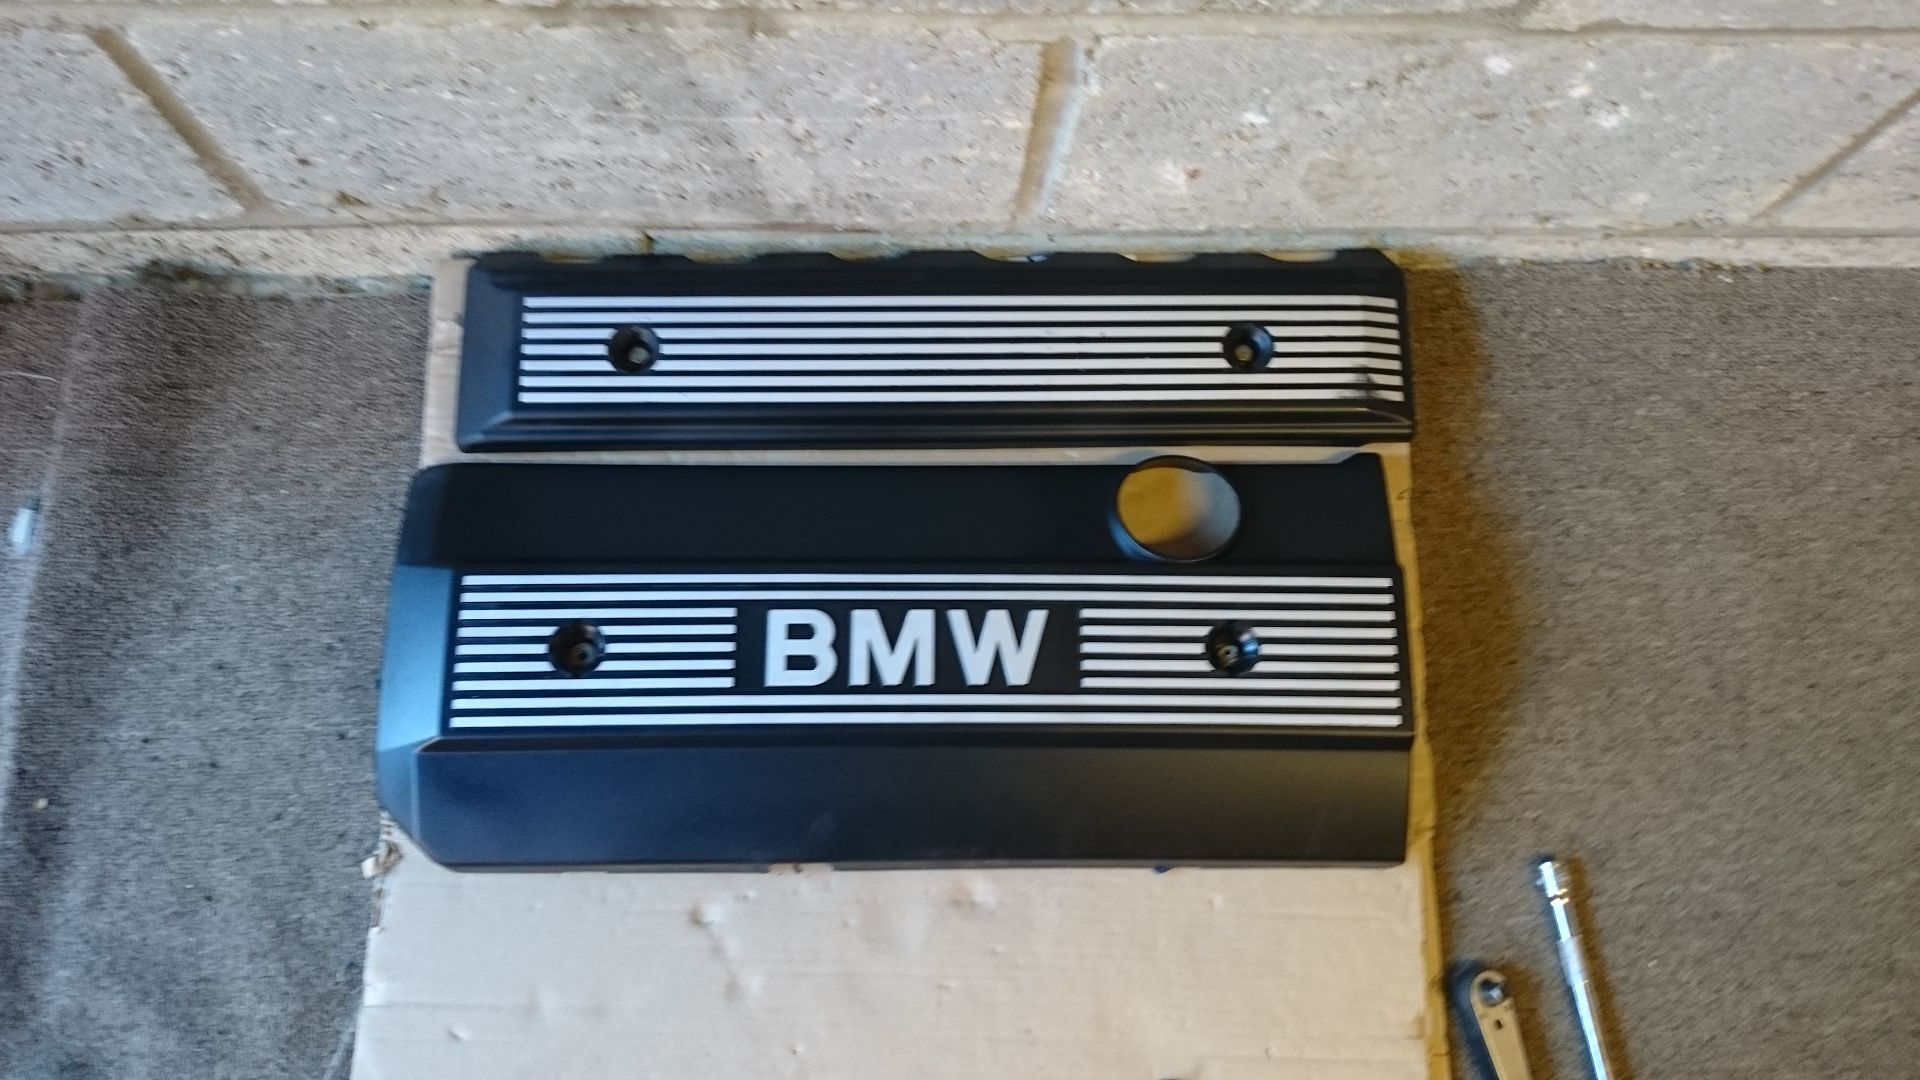
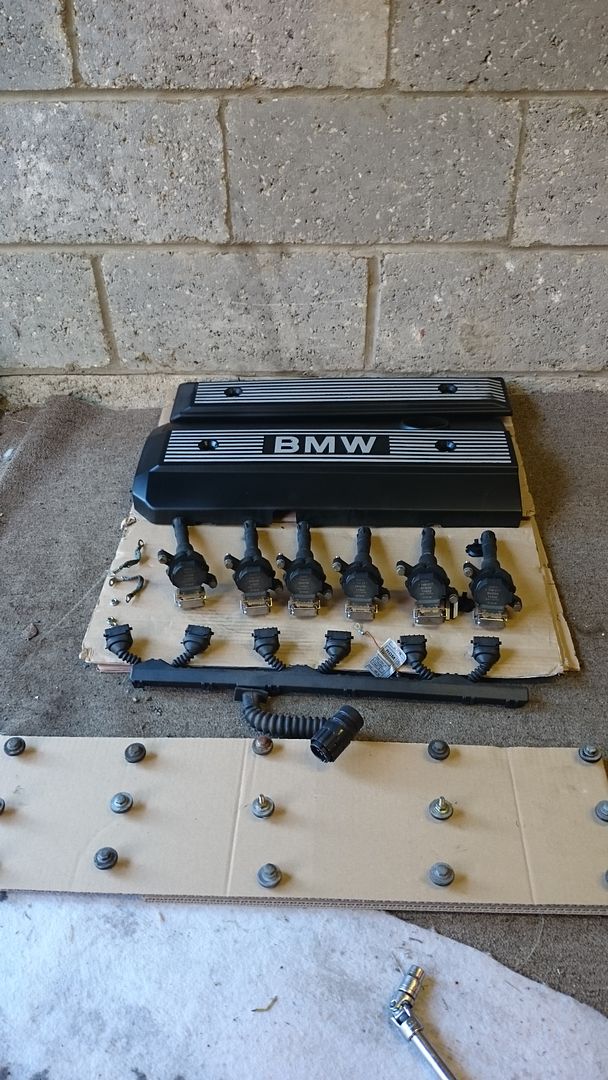
engine cover off, screwdriver to remove the four blanks and then 10mm nut x 2 and 10mm bolt x2
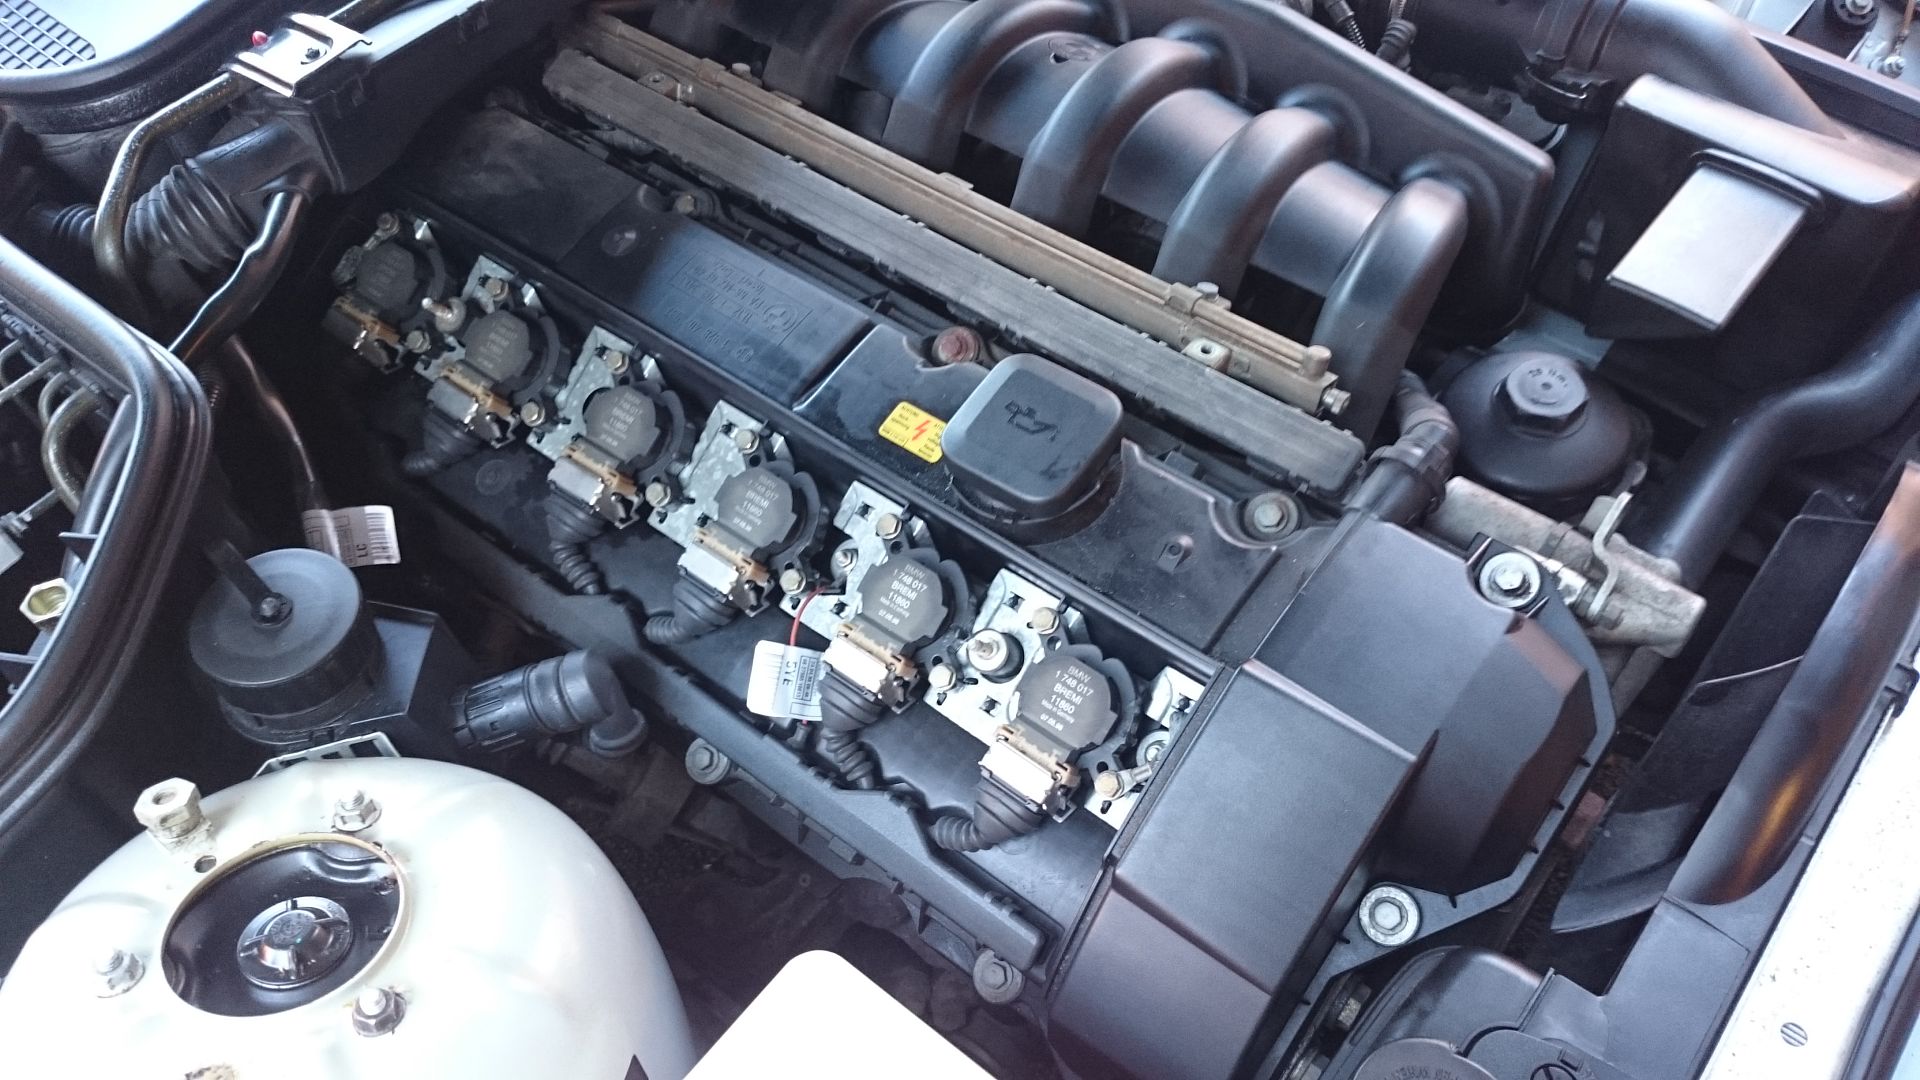
leaves you with access to the coils
each held on by 2 x 10mm bolts and a clip for the connector, clip slides up and then out, whole wiring assembly can be removed for access very easily (circular connector and some plastic clips)
there are 3 x 8mm earth straps too
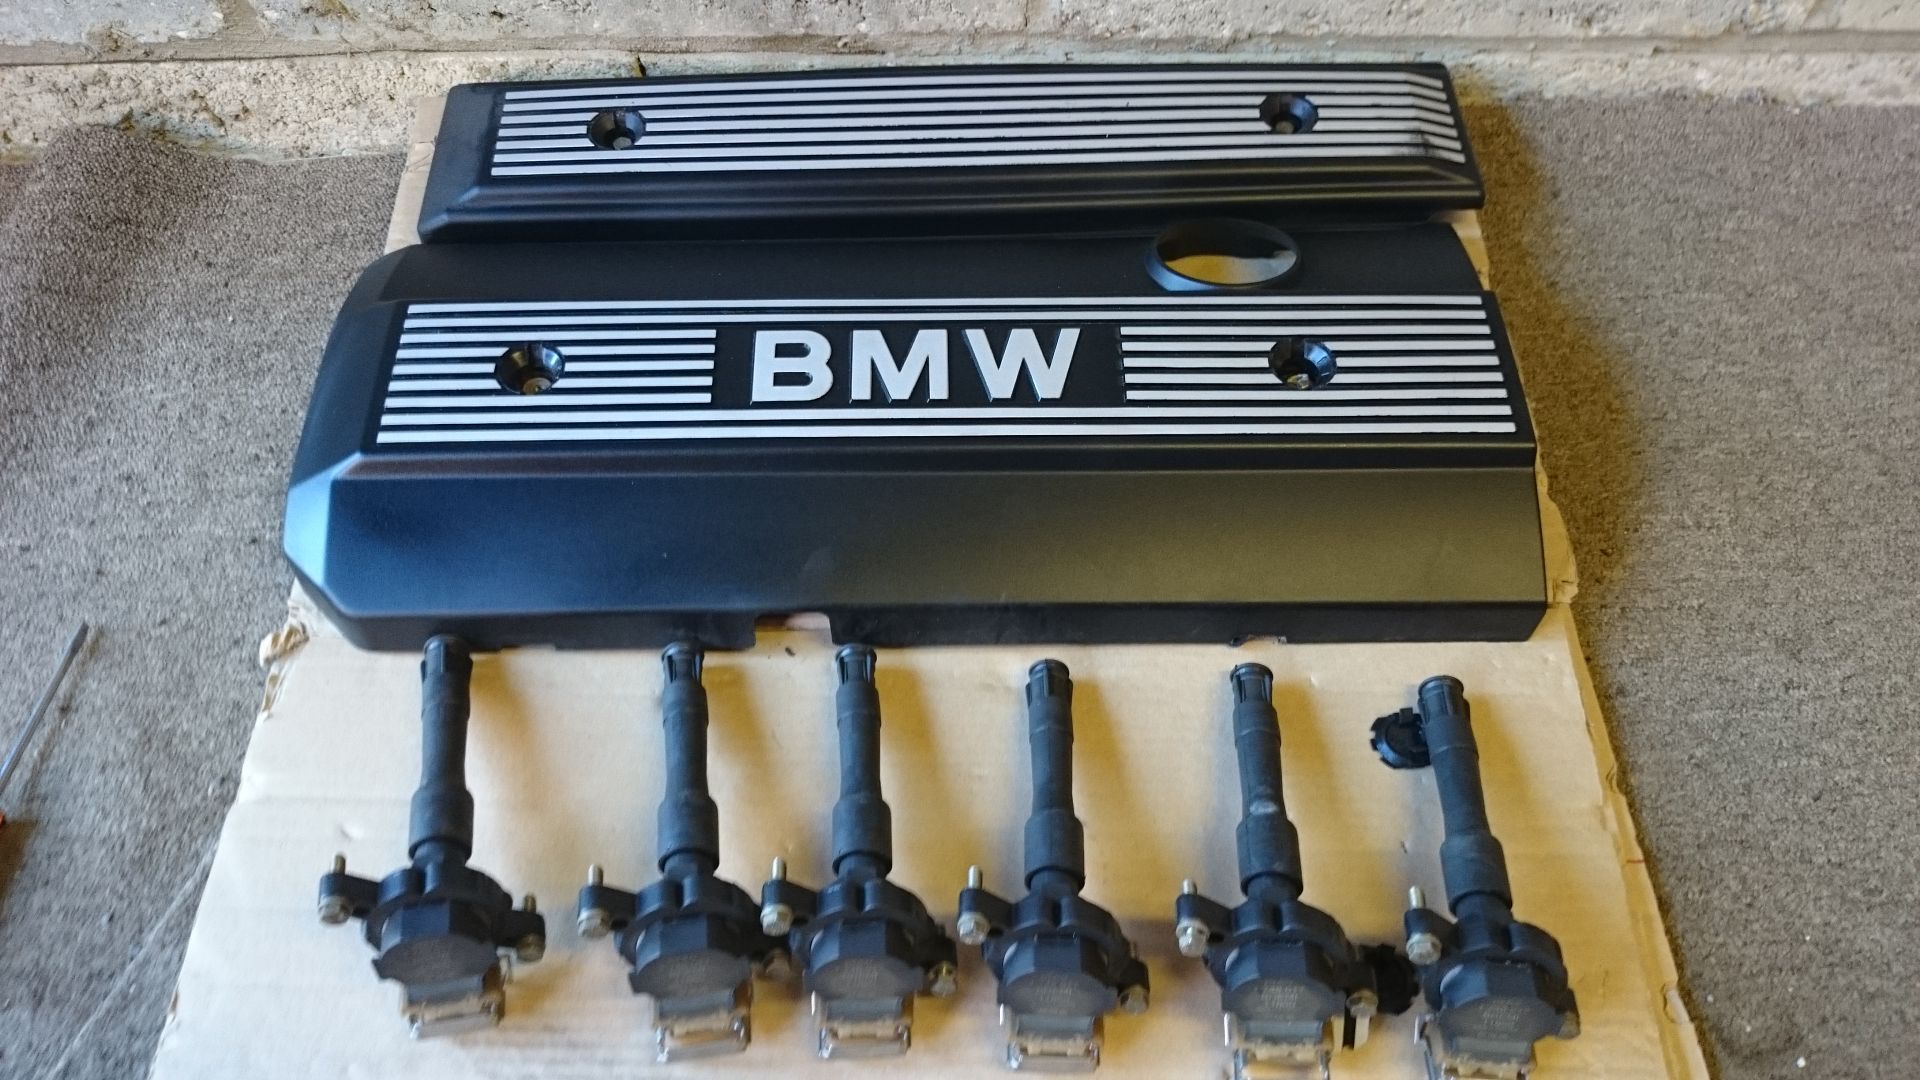
notice im lining everything up as it came out, as everything was working before i dont want to swap the coils etc
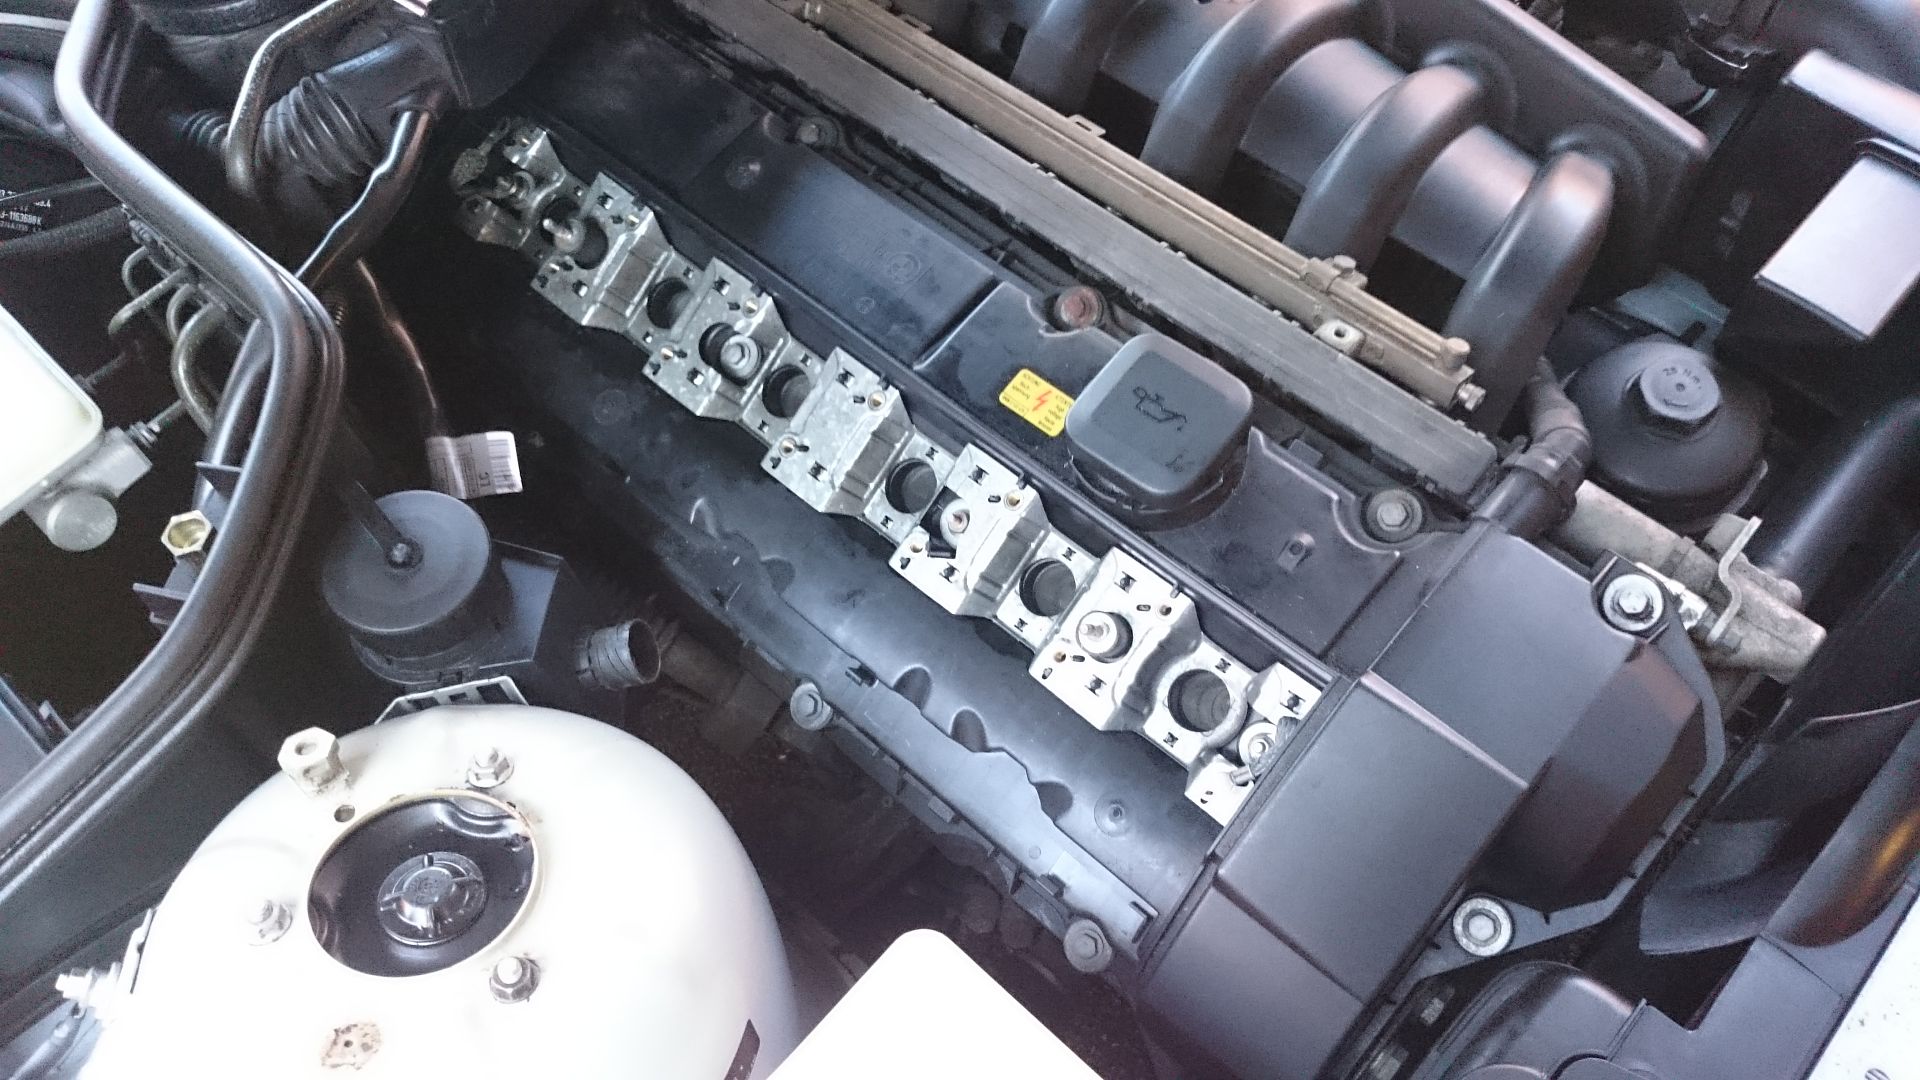
leaves you with this, they you crack on with the 15 x 10mm nuts that hold the cover on. They all have a metal wsher and a rubber bung attached to them. be careful not to drop any. the rears are harder to get at but a little wobbly extension on the socket is all you need.
small rubber mallet taps to the cover and some wiggling and it'll come off, it will be tight as the old gaskets would have bonded to the head a little.
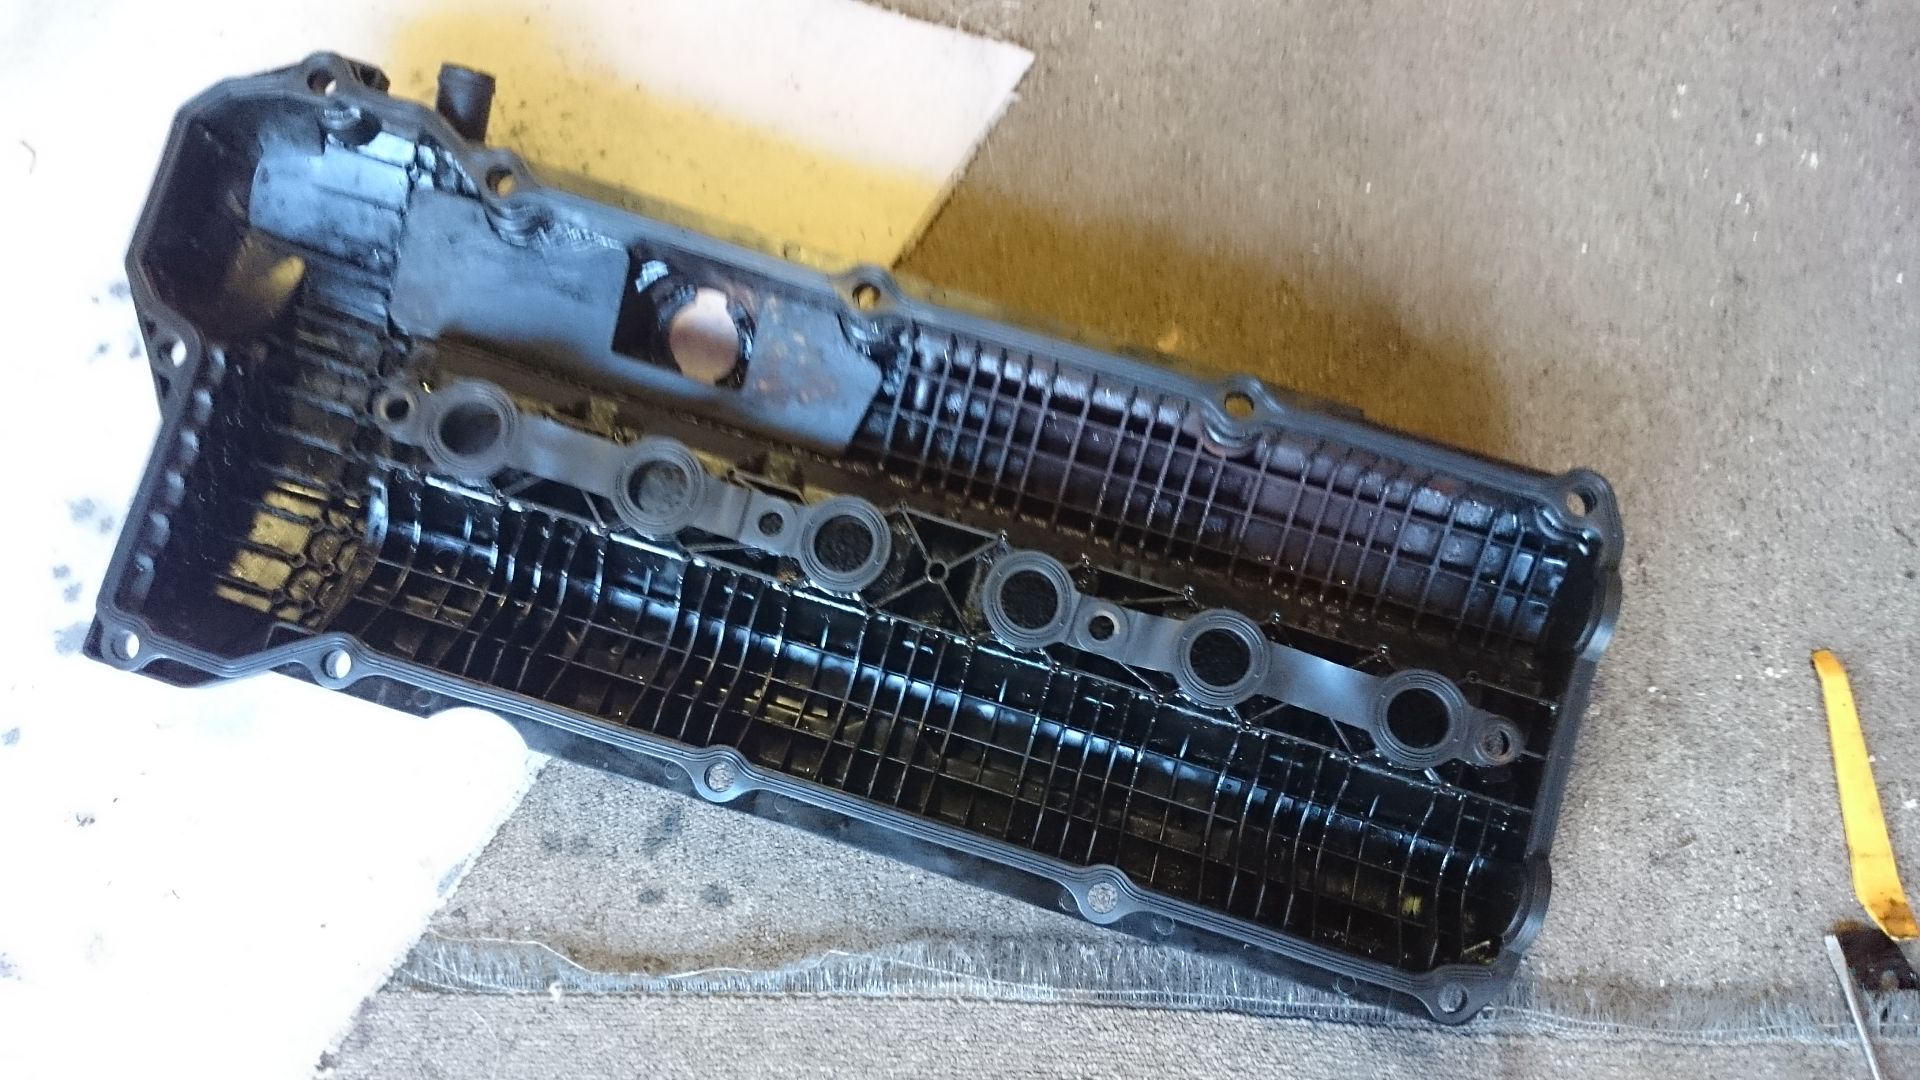
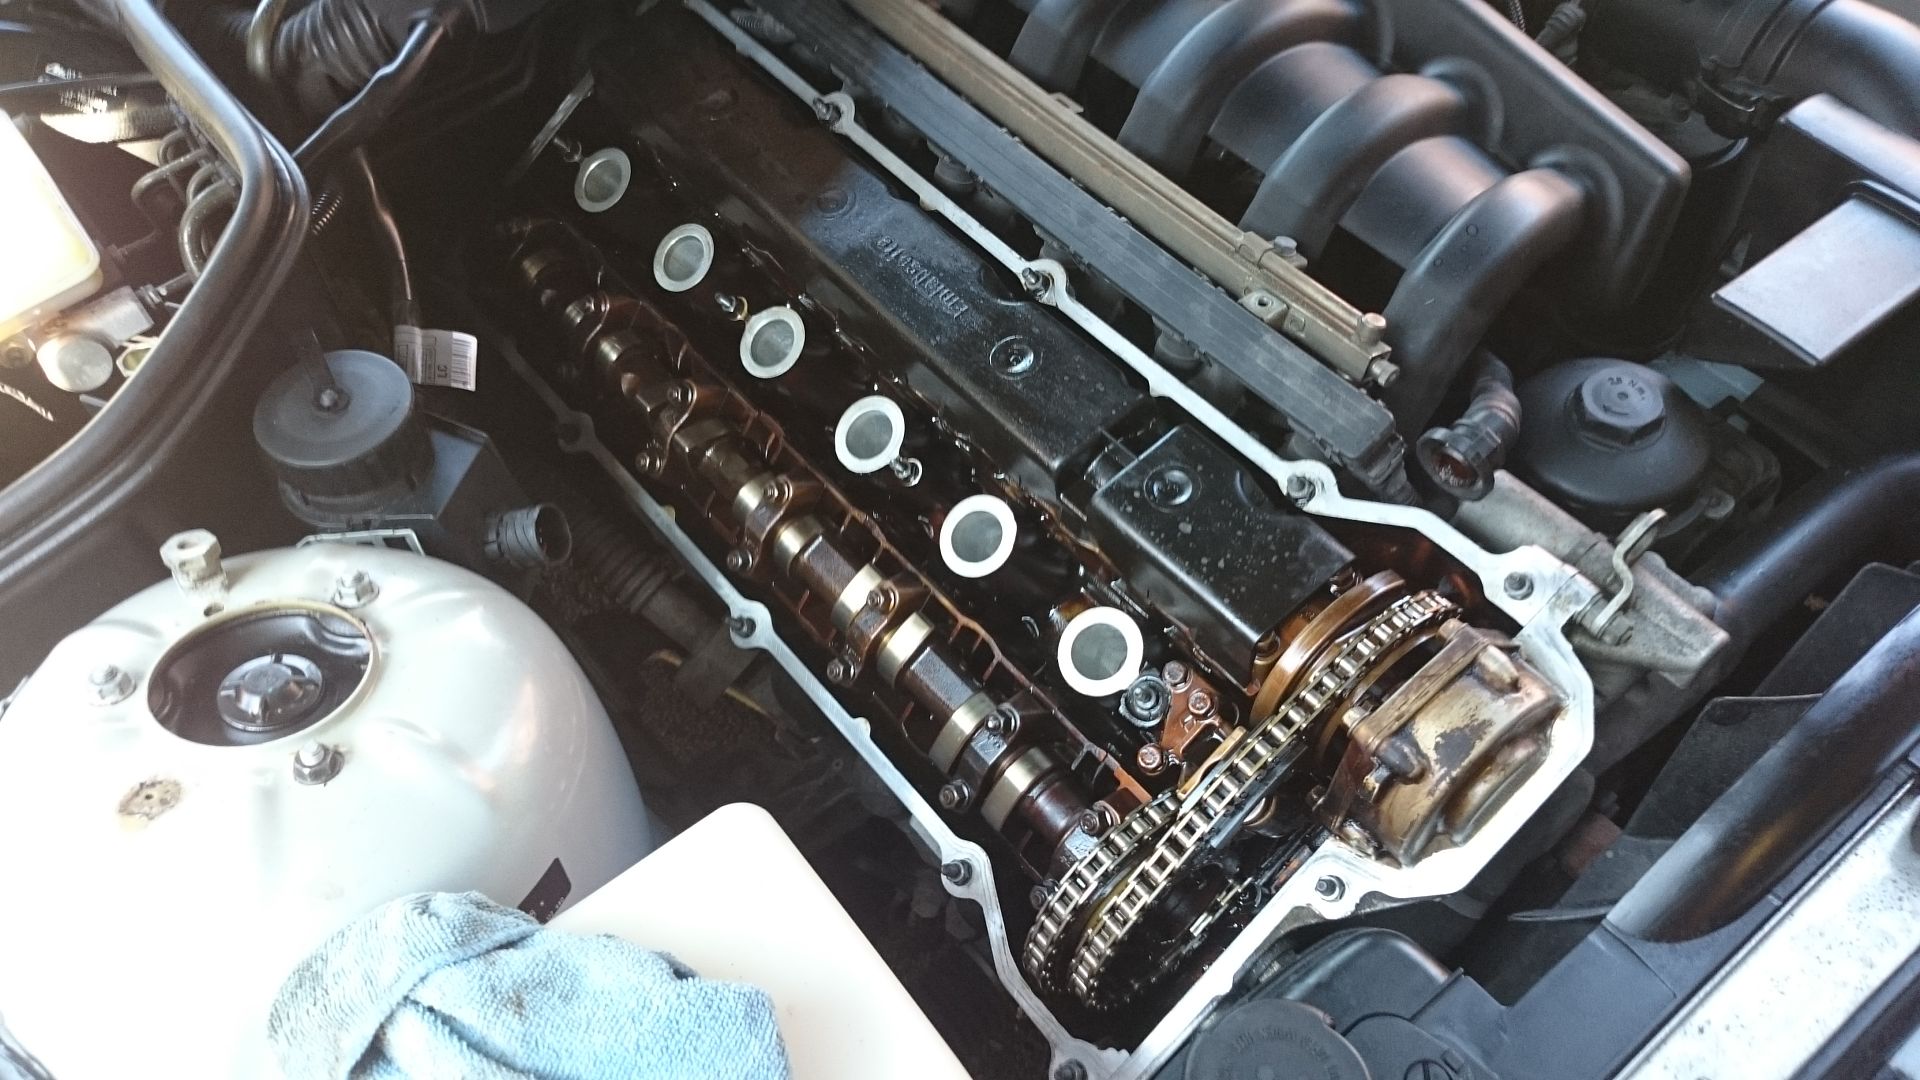
shiny bits.
as per any gasket installation, clean up the mounting surface and scrub an sections that look rough.
BMW advise that you run some sealent at the front in both corners and the half moons at the back.
refit as per above
then i went on to dye the leather seats as they were in a poor condition when i bought the car
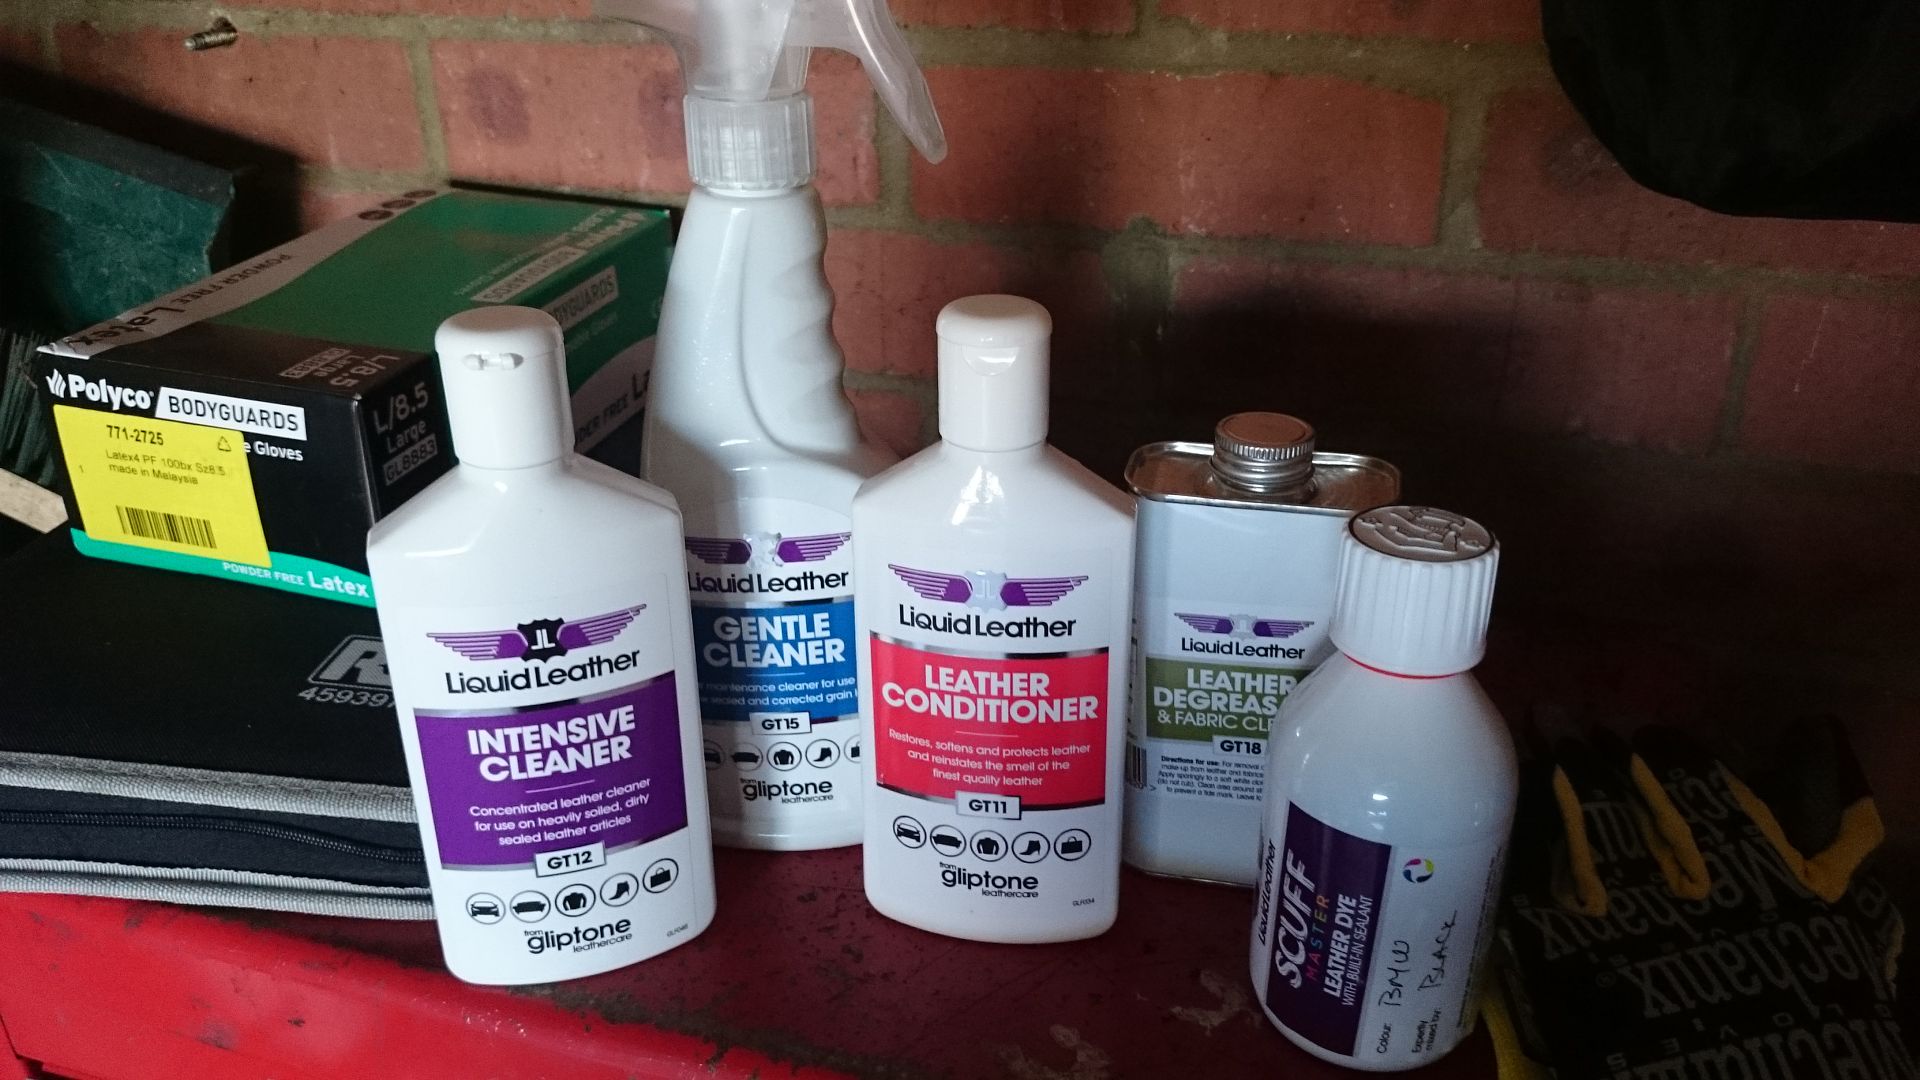
used this kit
process is:
degrease
intensive clean
gentle clean
condition
gentle clean
degrease
dye
dye
dye
dye
dye
some before shots
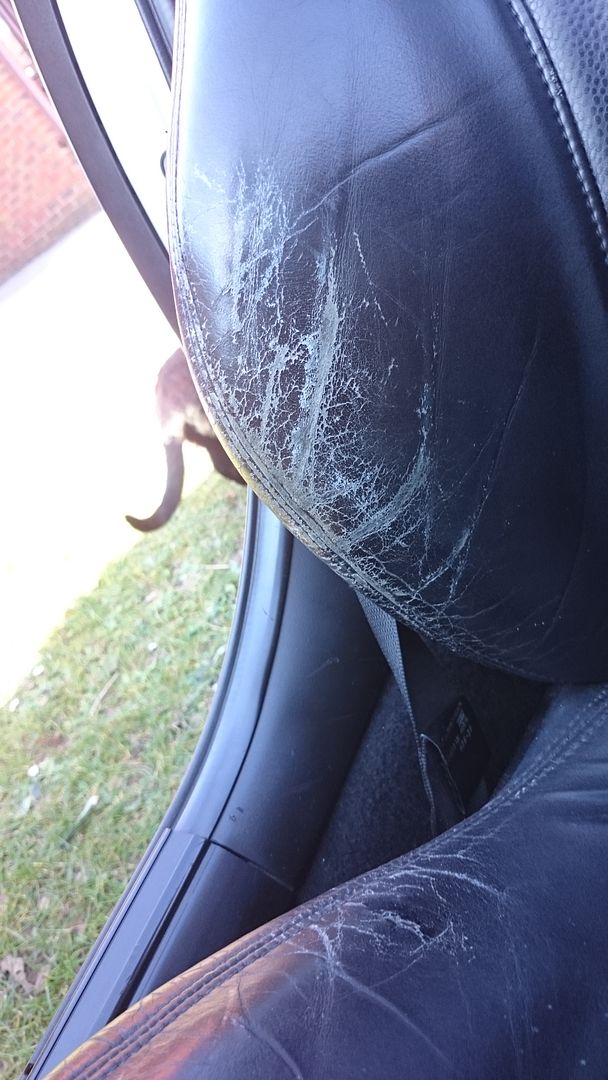
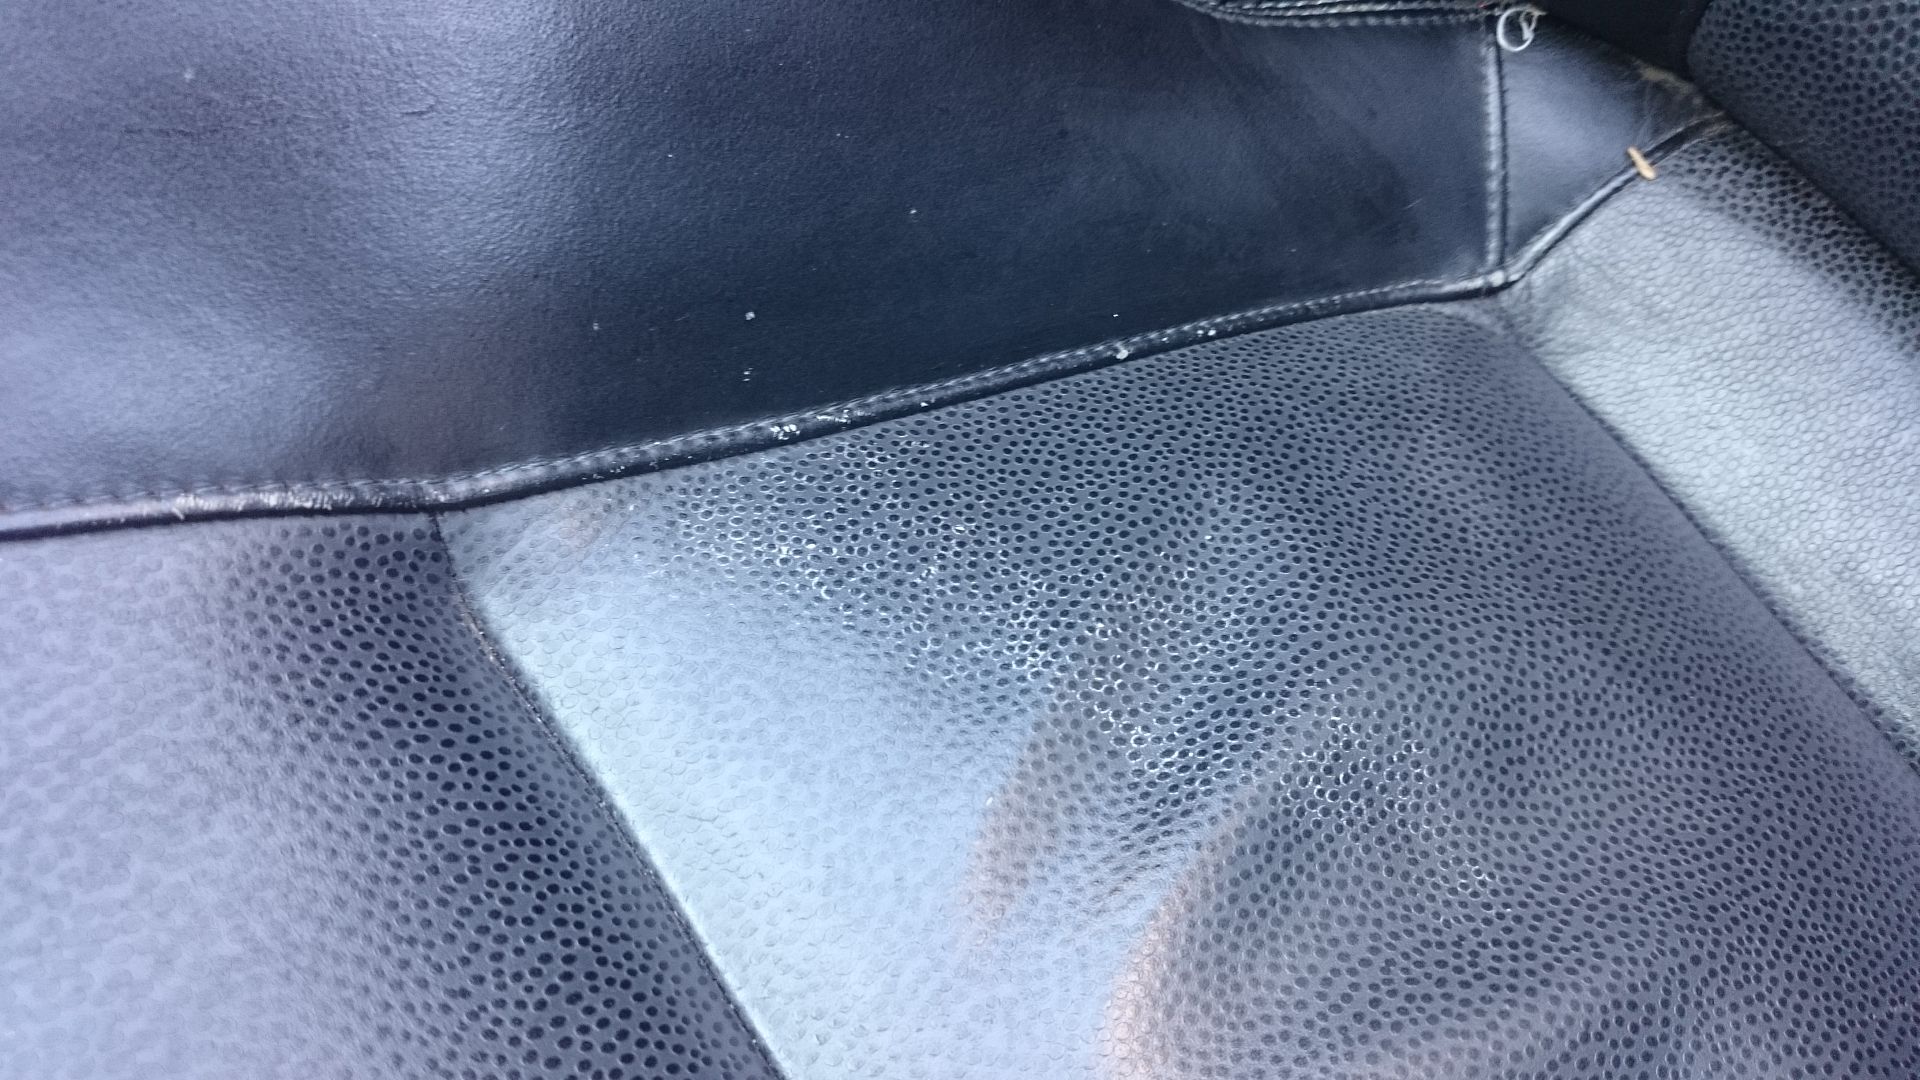
used a small sponge to cover the leather, let it dry and then go again, did about 5 coats.
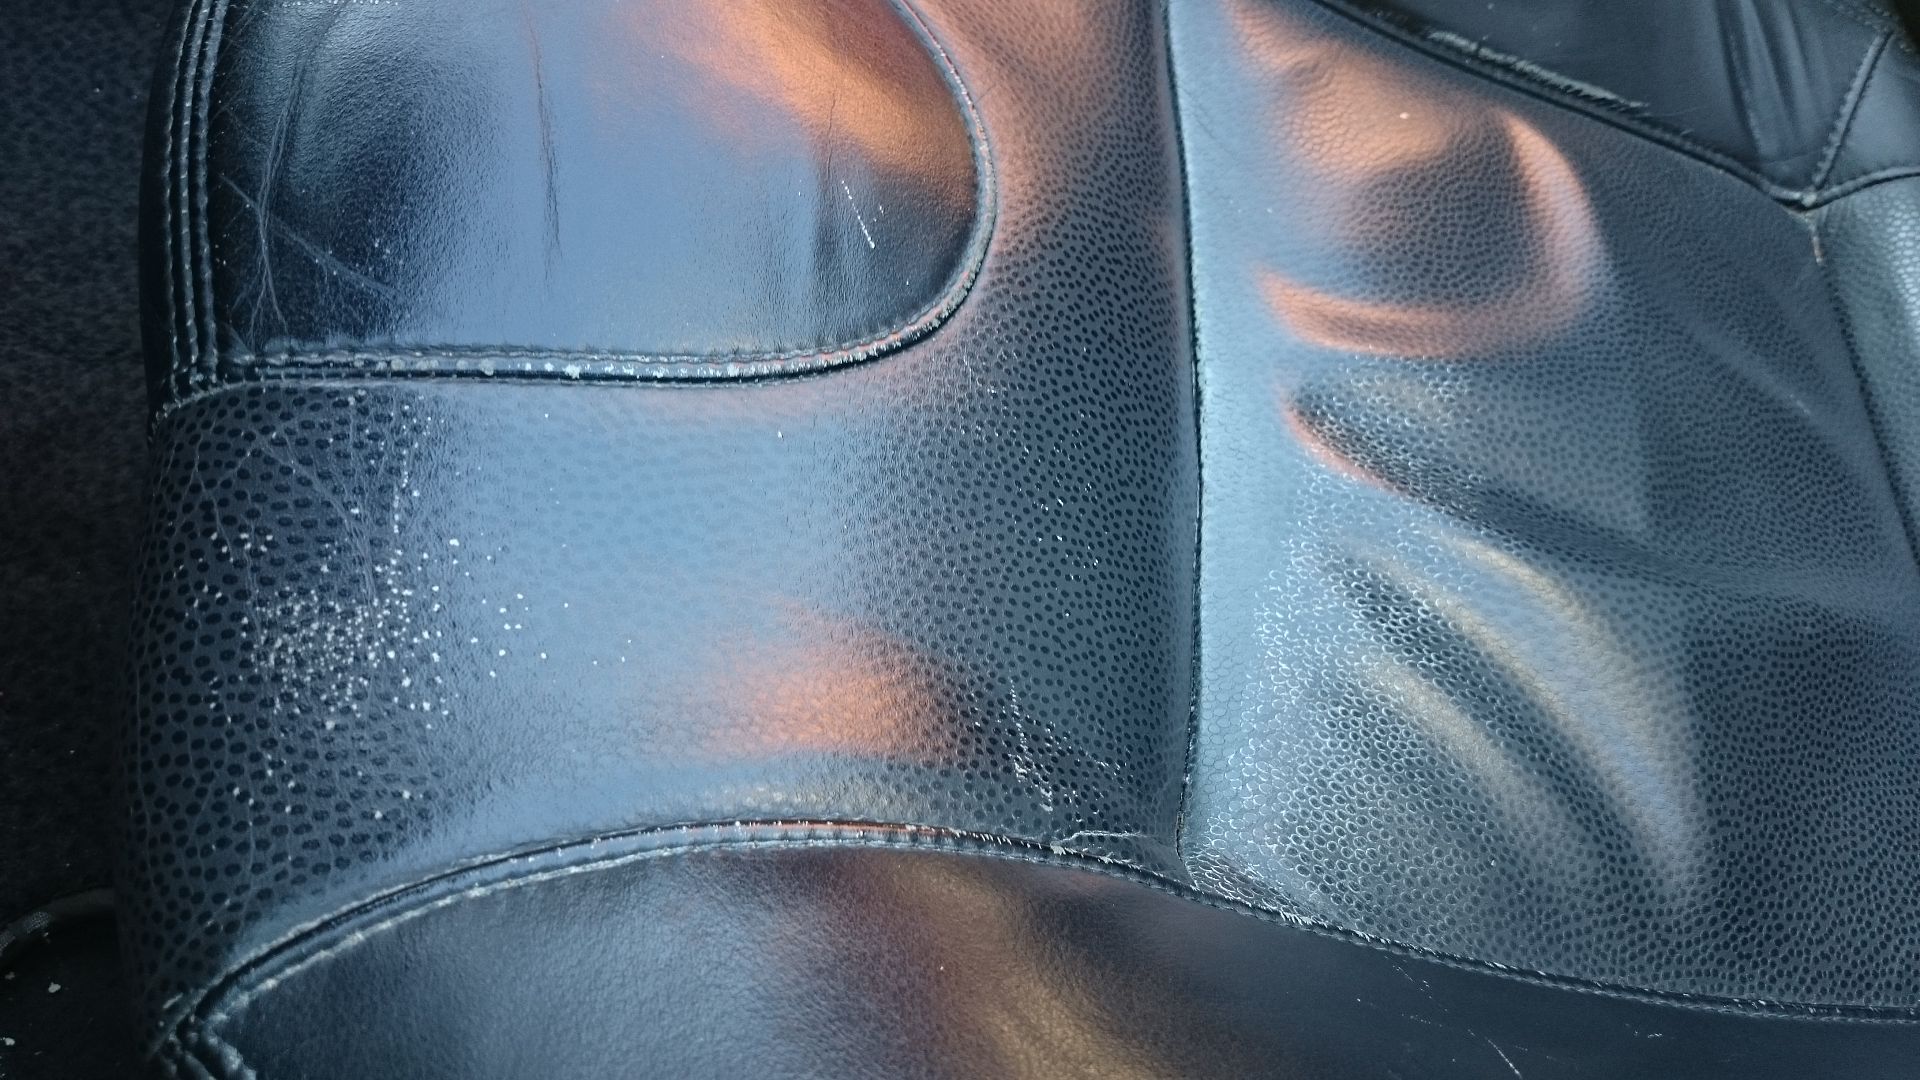
after
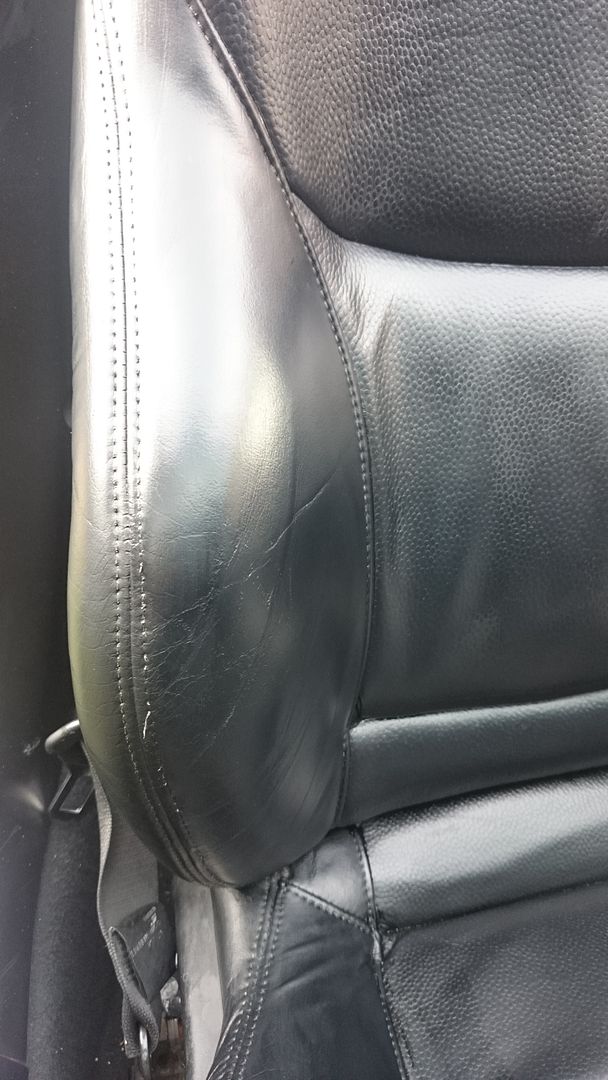

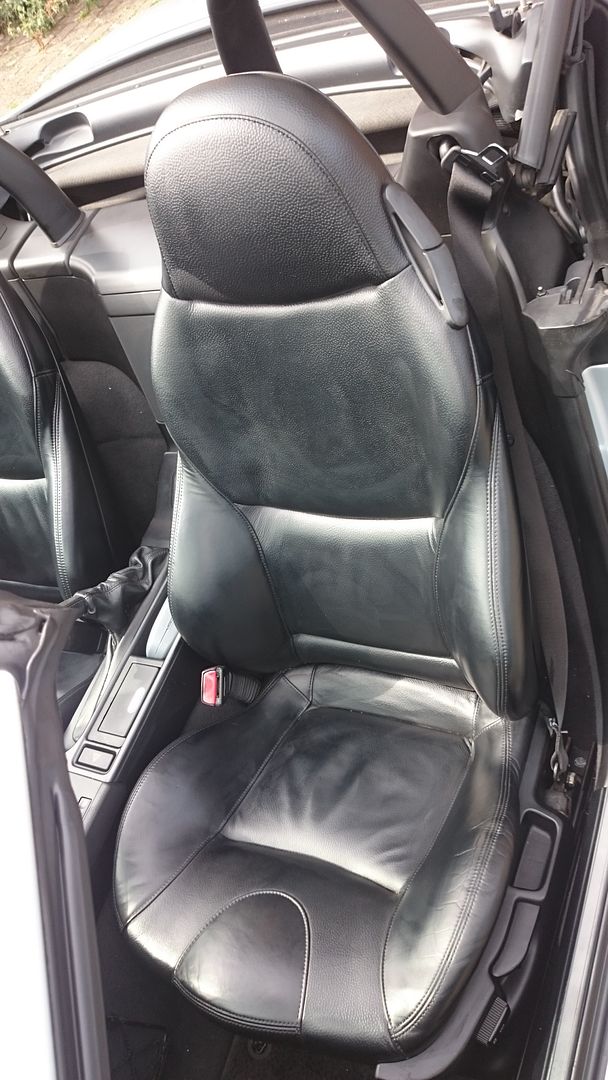
its a little patchy still so i might do another two coats
£5 for this to finish off the boot.


Busy weekend for me on the zed as the wife was away on a training course.
After a nice drive on saturday morning i cracked on with a job i've been meaning to do for a while.
i had noticed that i had a small oil weep

and it was the cam cover gasket that was playing up.
So a quick order to Sopers Lincoln and we had all the bits.
The process is so easy but takes about 2 hours:
all you need is
10mm socket
8mm socket
flat blade screwdriver
torque wrench it you are being fussy (i am)

engine cover off, screwdriver to remove the four blanks and then 10mm nut x 2 and 10mm bolt x2

leaves you with access to the coils

each held on by 2 x 10mm bolts and a clip for the connector, clip slides up and then out, whole wiring assembly can be removed for access very easily (circular connector and some plastic clips)
there are 3 x 8mm earth straps too
notice im lining everything up as it came out, as everything was working before i dont want to swap the coils etc

leaves you with this, they you crack on with the 15 x 10mm nuts that hold the cover on. They all have a metal wsher and a rubber bung attached to them. be careful not to drop any. the rears are harder to get at but a little wobbly extension on the socket is all you need.

small rubber mallet taps to the cover and some wiggling and it'll come off, it will be tight as the old gaskets would have bonded to the head a little.


shiny bits.
as per any gasket installation, clean up the mounting surface and scrub an sections that look rough.
BMW advise that you run some sealent at the front in both corners and the half moons at the back.
refit as per above

then i went on to dye the leather seats as they were in a poor condition when i bought the car

used this kit
process is:
degrease
intensive clean
gentle clean
condition
gentle clean
degrease
dye
dye
dye
dye
dye
some before shots


used a small sponge to cover the leather, let it dry and then go again, did about 5 coats.
after


its a little patchy still so i might do another two coats
sunday came about and i decided to paint my calipers and discs as they we're disgustingly rusted.
the front discs and pads will need changing at some point this year but will upgrade to either e46 fronts or porsche brembos.
before
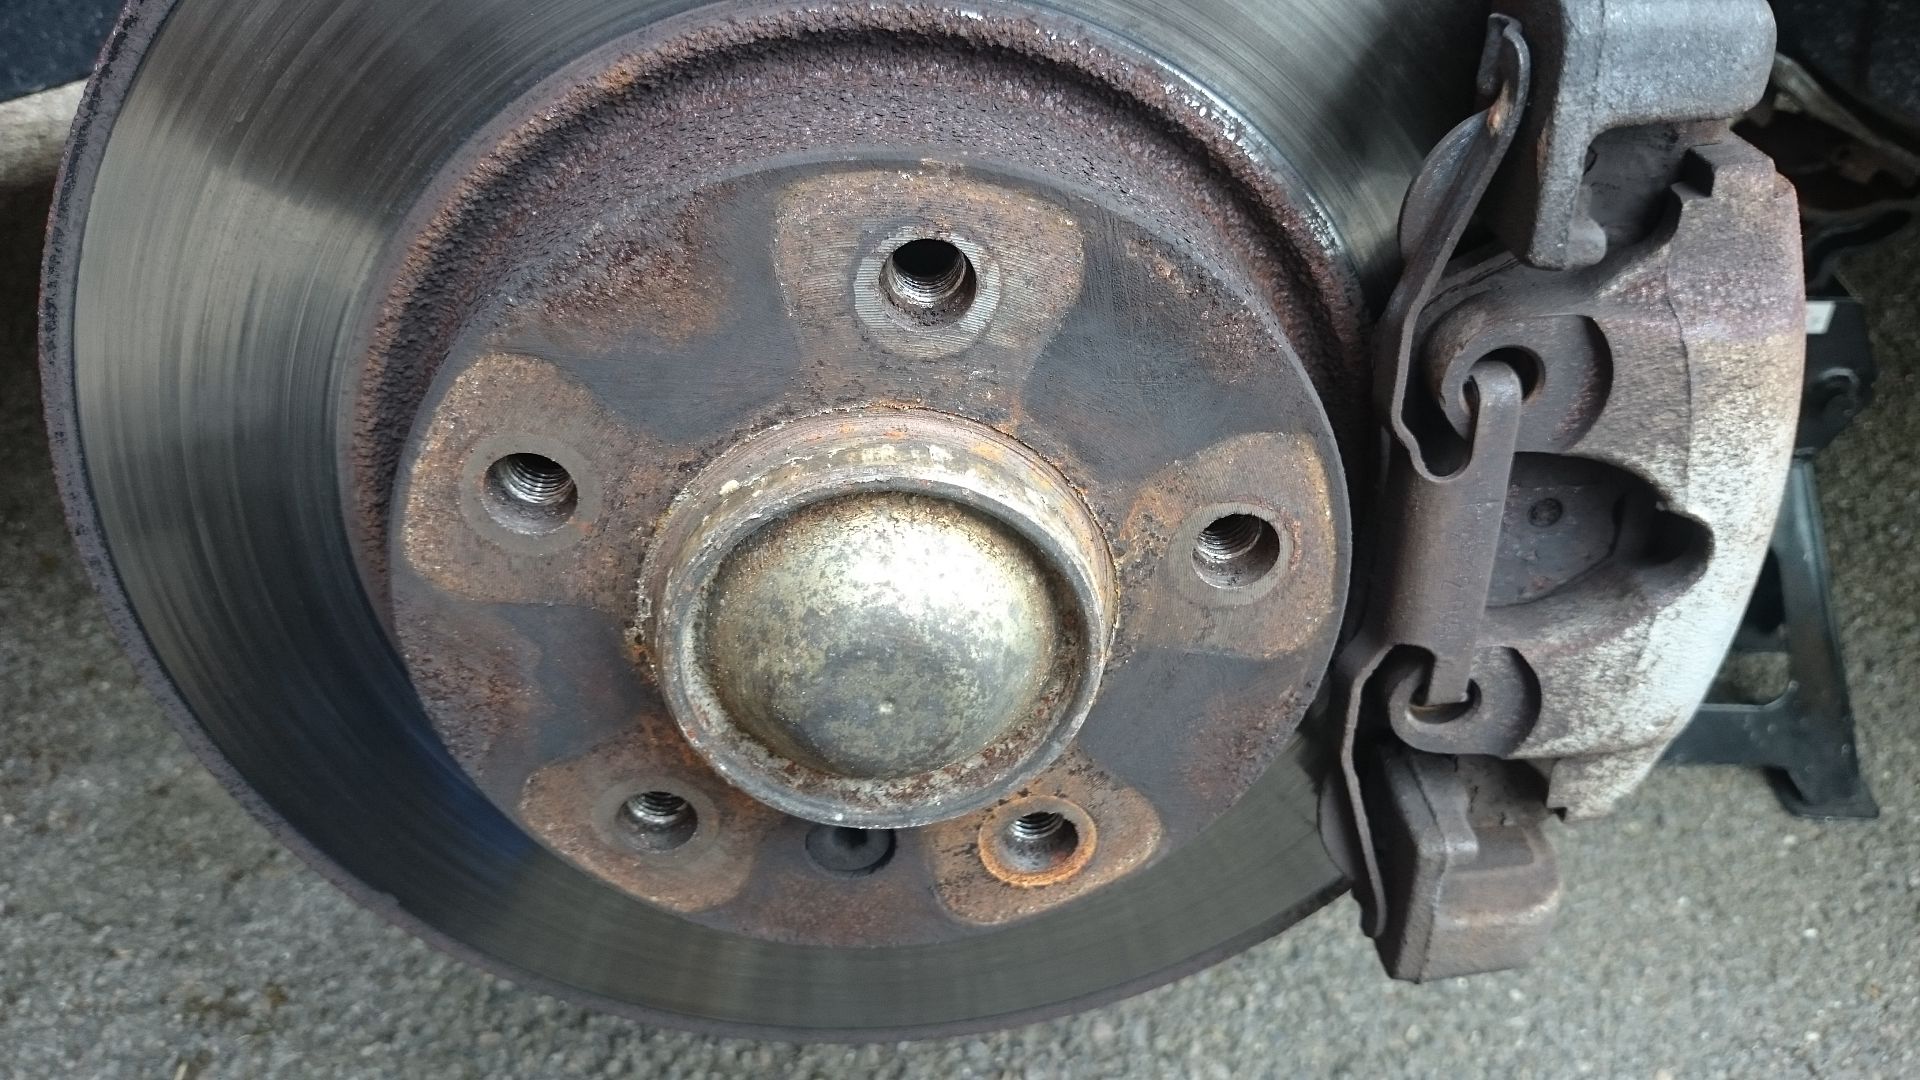
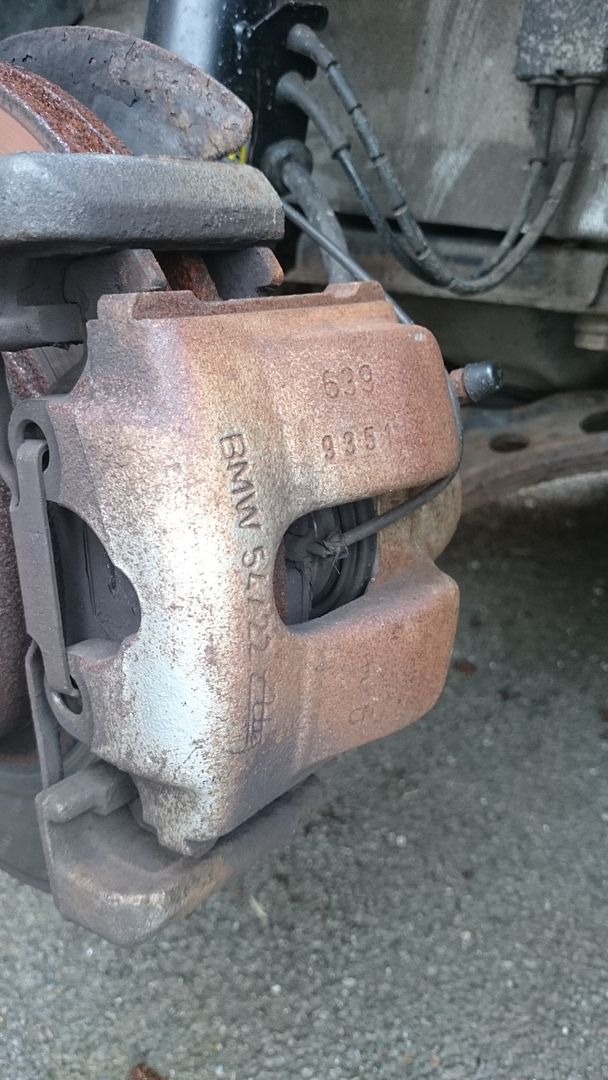
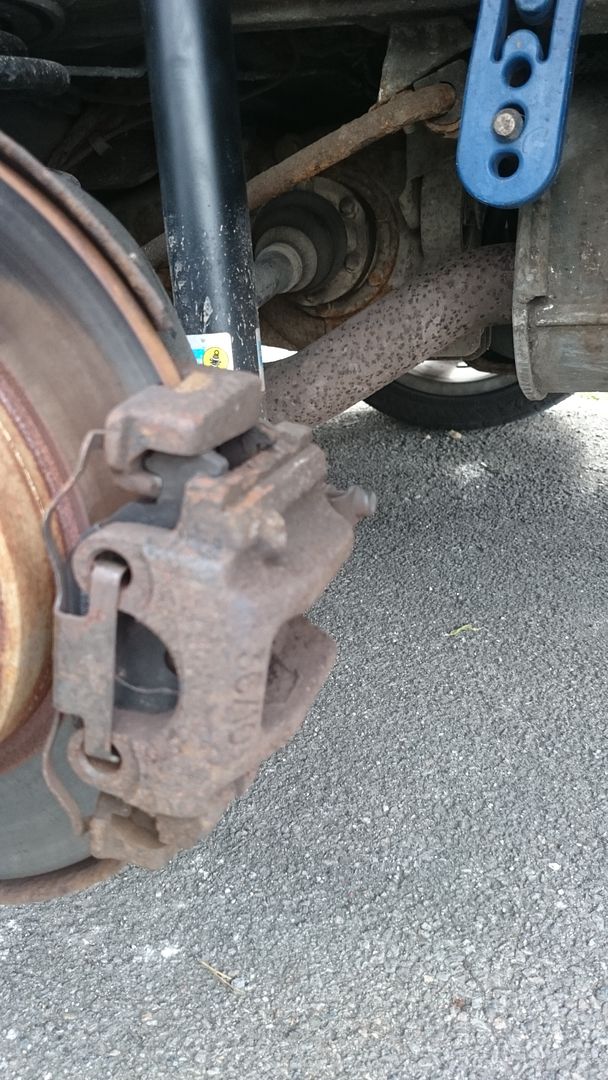
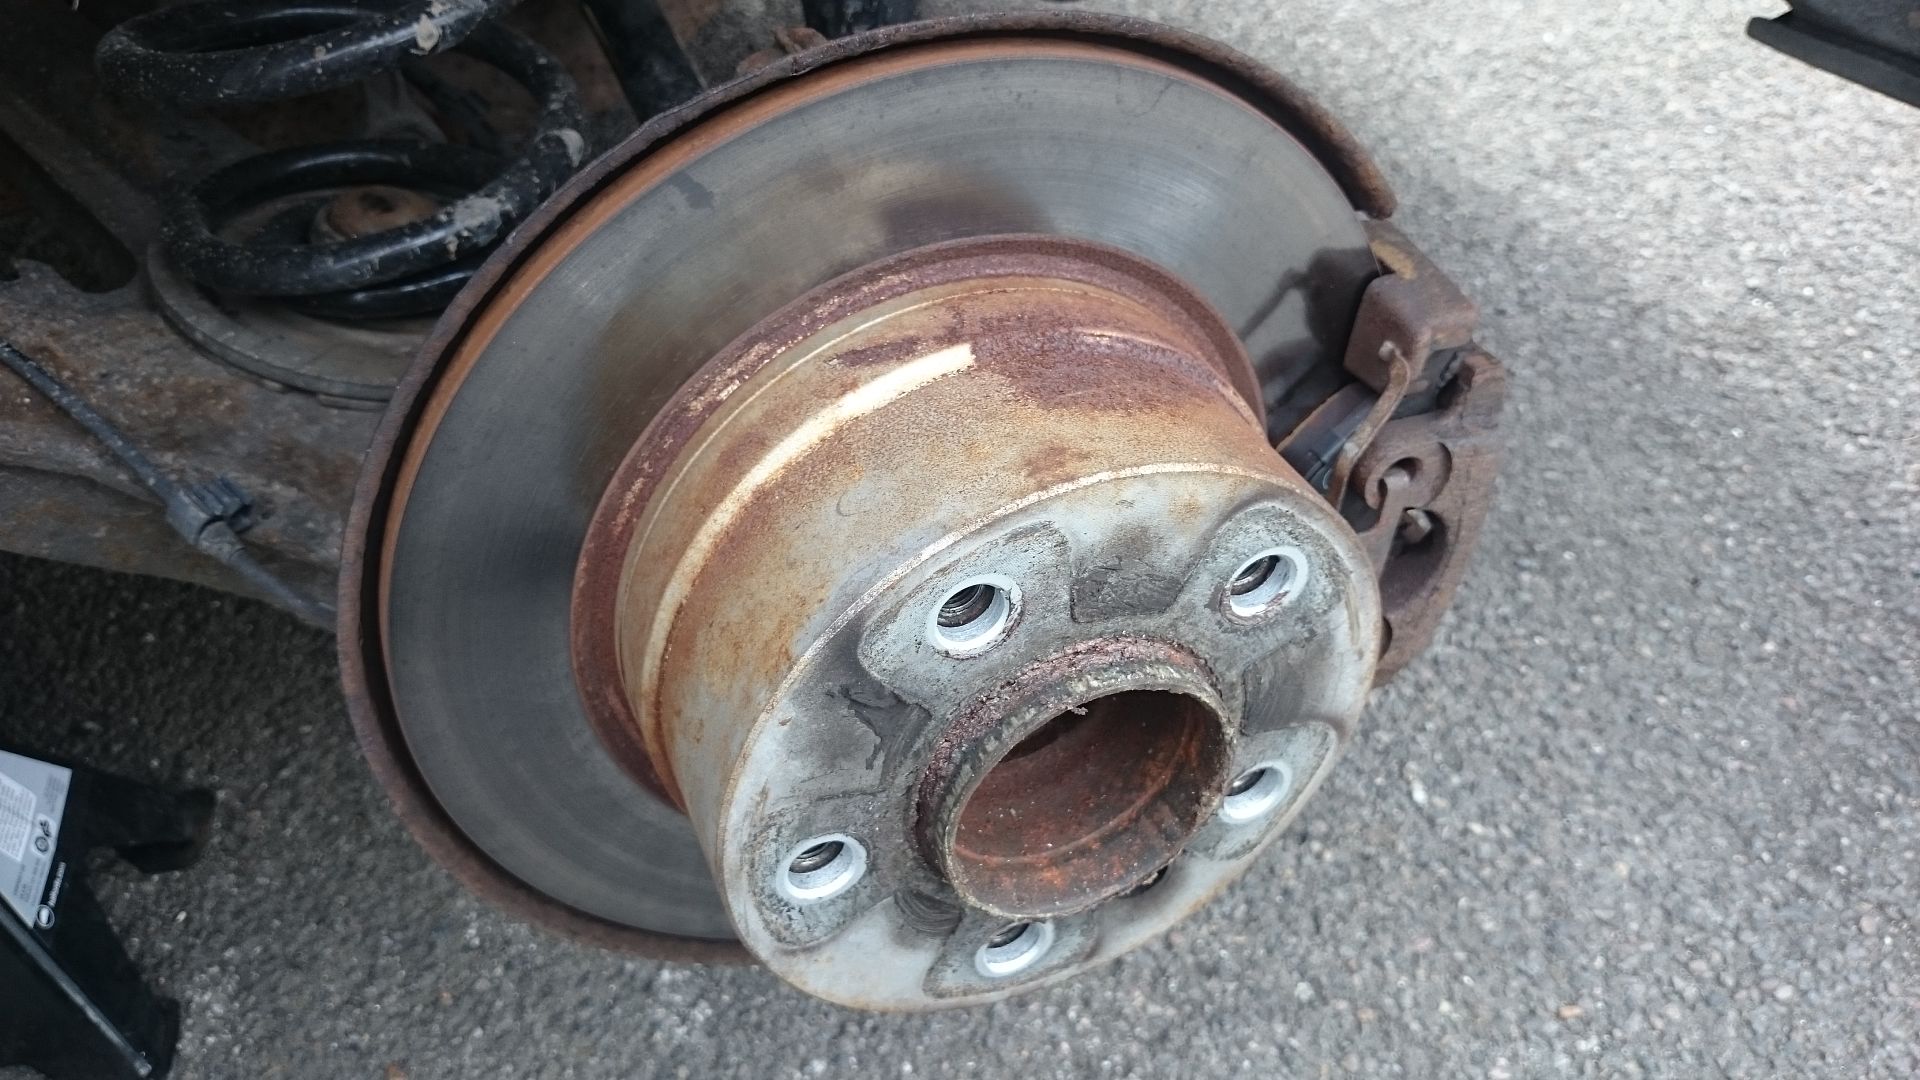
wire bruch on a drill (be careful of the abs wires and brake sensors) i only did the face of everything so it only looks good from the wheel side, which is all im bothered with at the moment.
i used a small brush and halfords 300 degree c engine enamel (matt black)
after
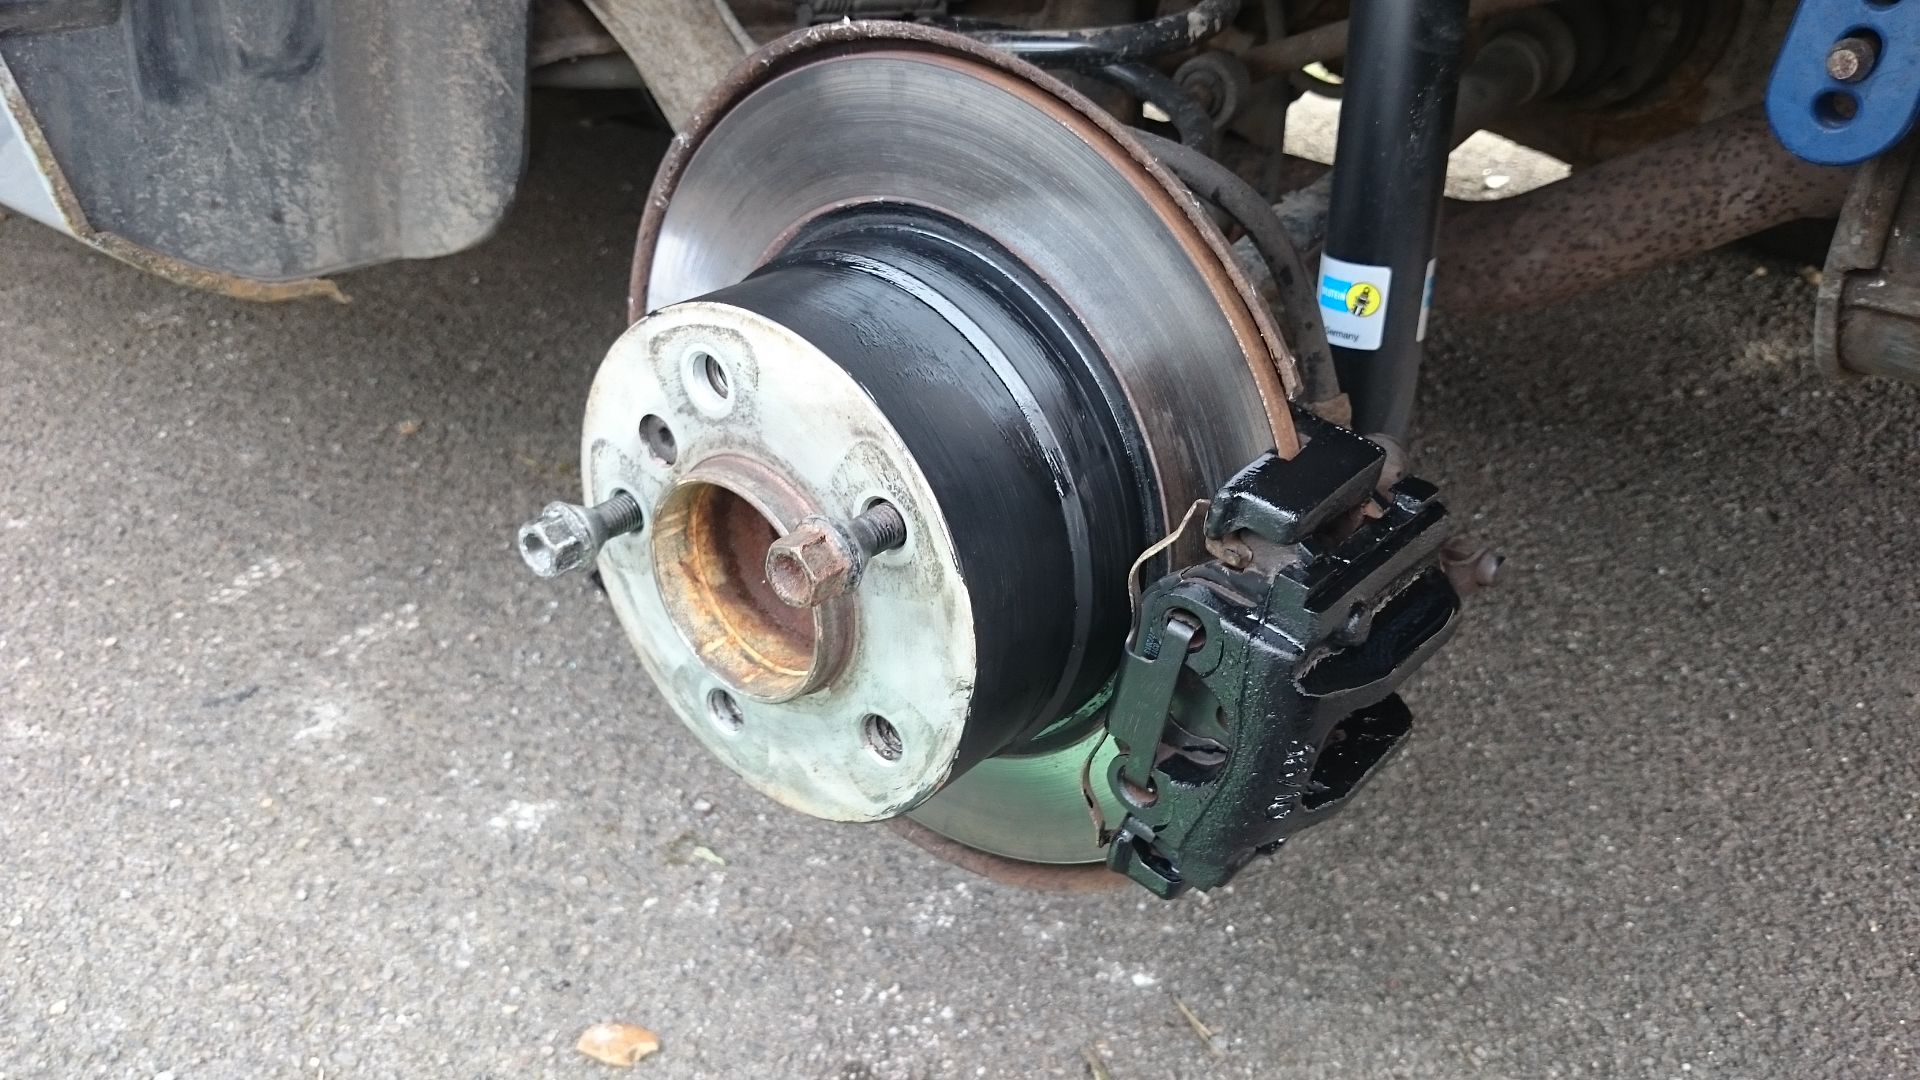
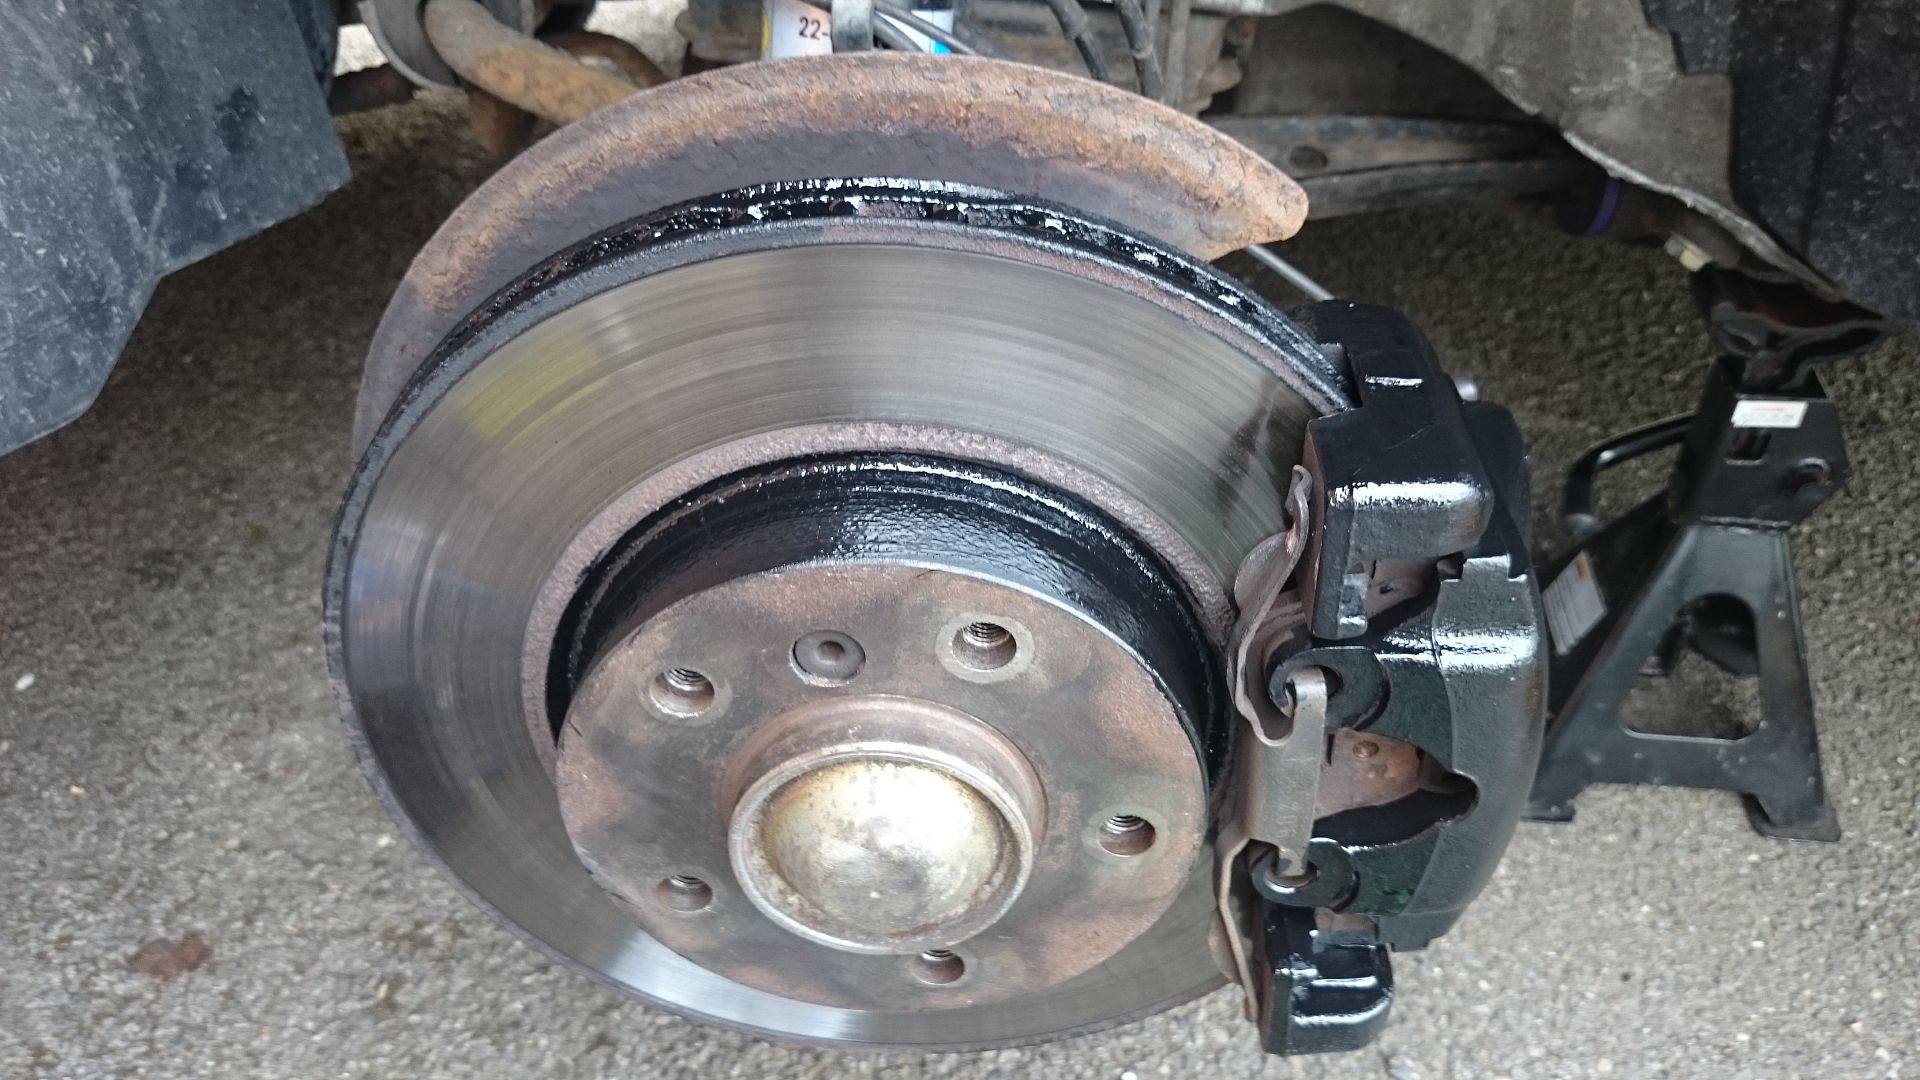
small job but massive change cosmetically, especially as the rear hubs are so big and really visible through the wheels.
Whilst down there i noticed that:
The rear brake pad sensor is in a teriible state (it actually crumbled in my hands)
The front anti rolls bar bushes are fooked
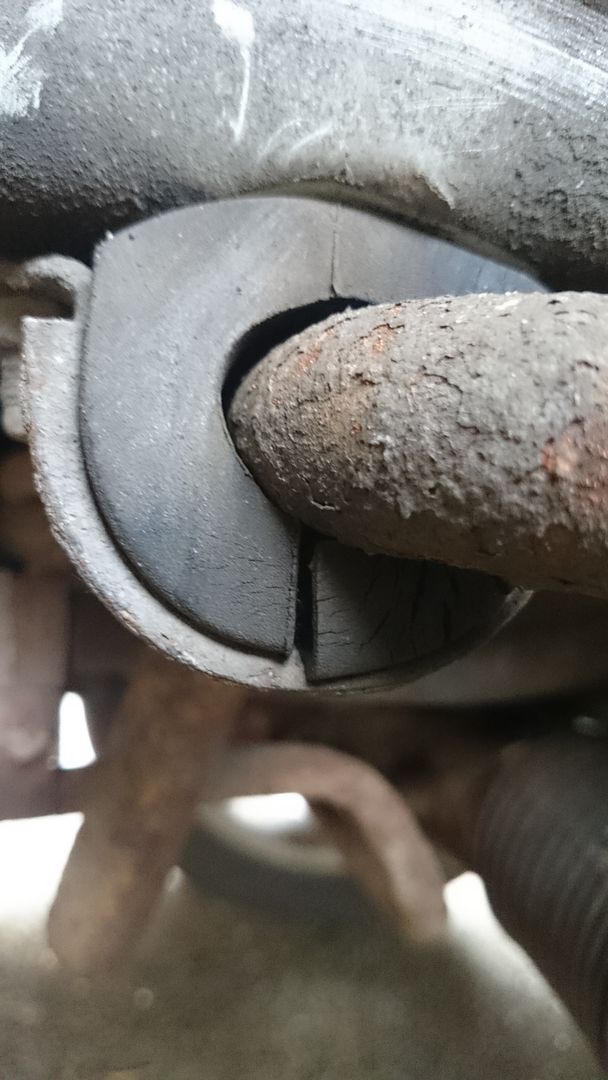
the rear anti roll bar bracket on the nearside has snapped off!
so a quick phone to sopers this morning and i have, all new front and rear hardware soming for the anti roll bars
the front discs and pads will need changing at some point this year but will upgrade to either e46 fronts or porsche brembos.
before


wire bruch on a drill (be careful of the abs wires and brake sensors) i only did the face of everything so it only looks good from the wheel side, which is all im bothered with at the moment.
i used a small brush and halfords 300 degree c engine enamel (matt black)
after


small job but massive change cosmetically, especially as the rear hubs are so big and really visible through the wheels.
Whilst down there i noticed that:
The rear brake pad sensor is in a teriible state (it actually crumbled in my hands)
The front anti rolls bar bushes are fooked
the rear anti roll bar bracket on the nearside has snapped off!

so a quick phone to sopers this morning and i have, all new front and rear hardware soming for the anti roll bars
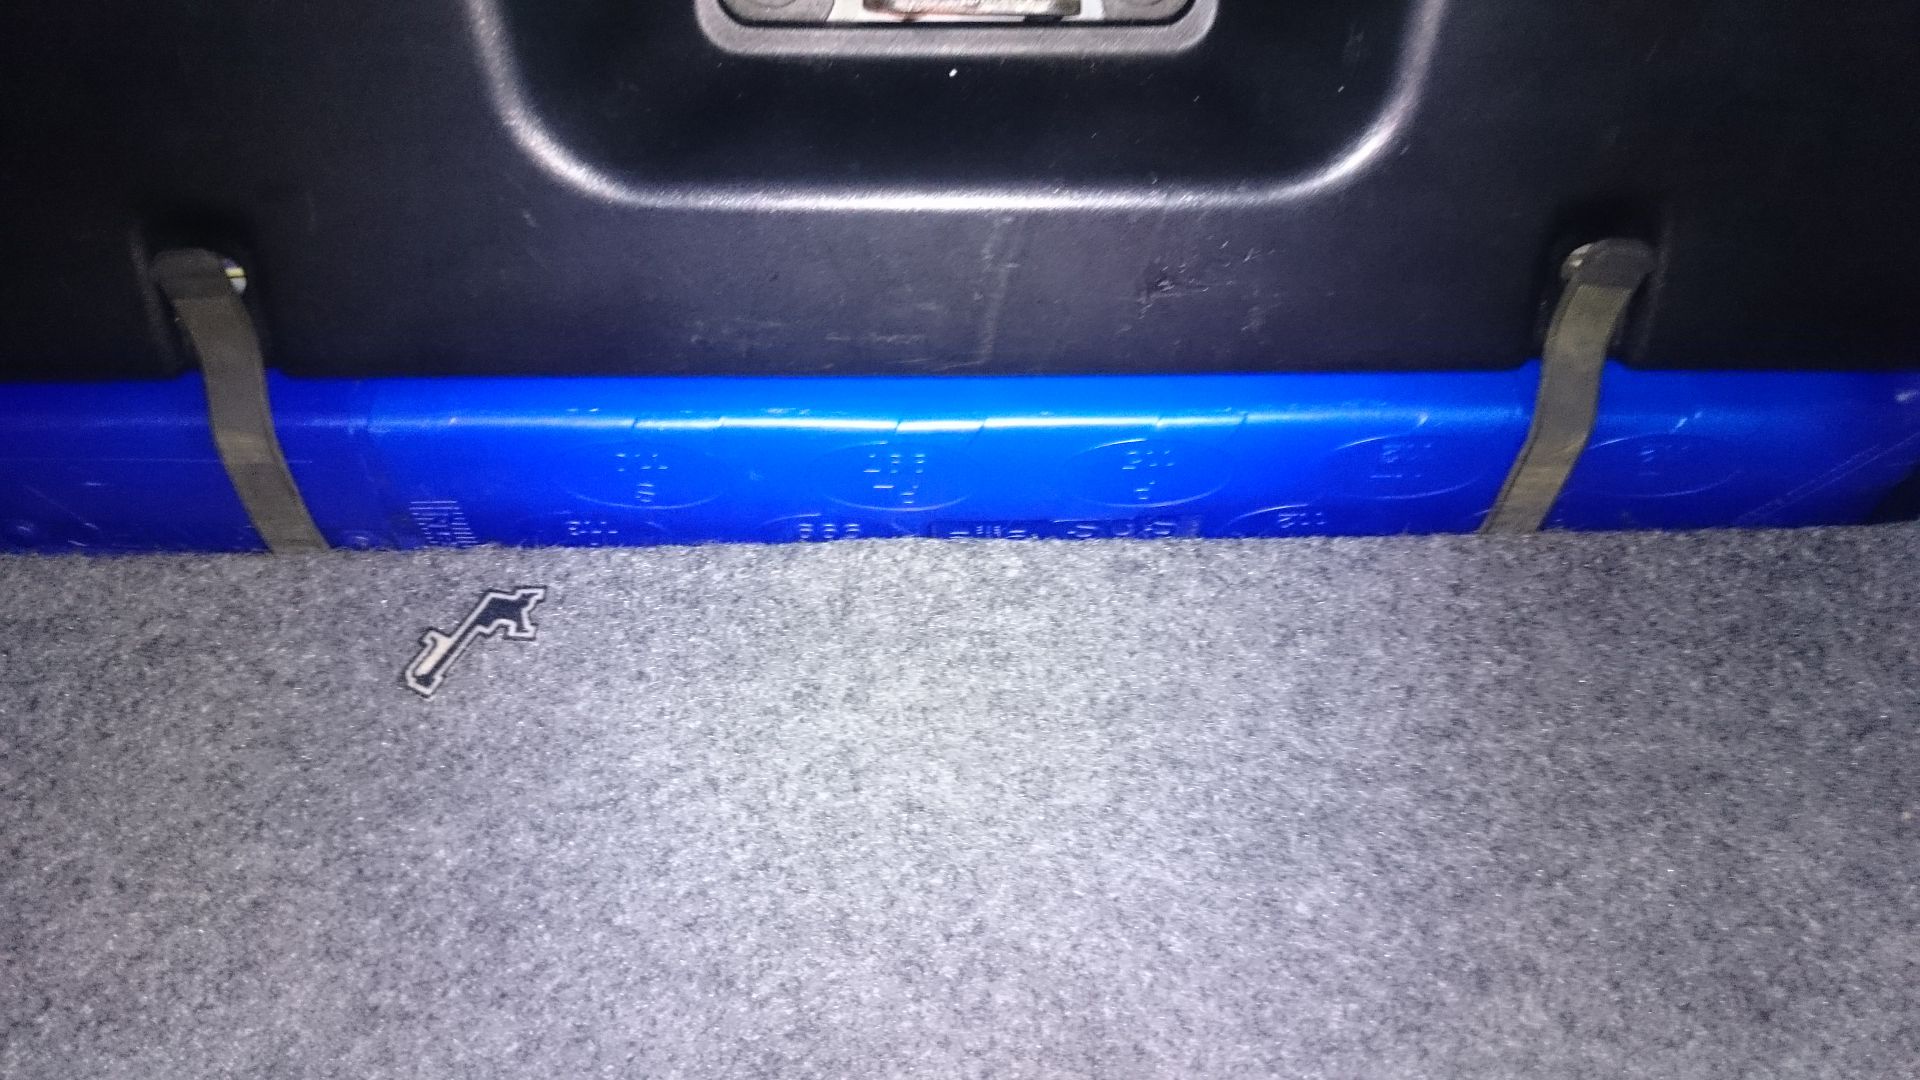
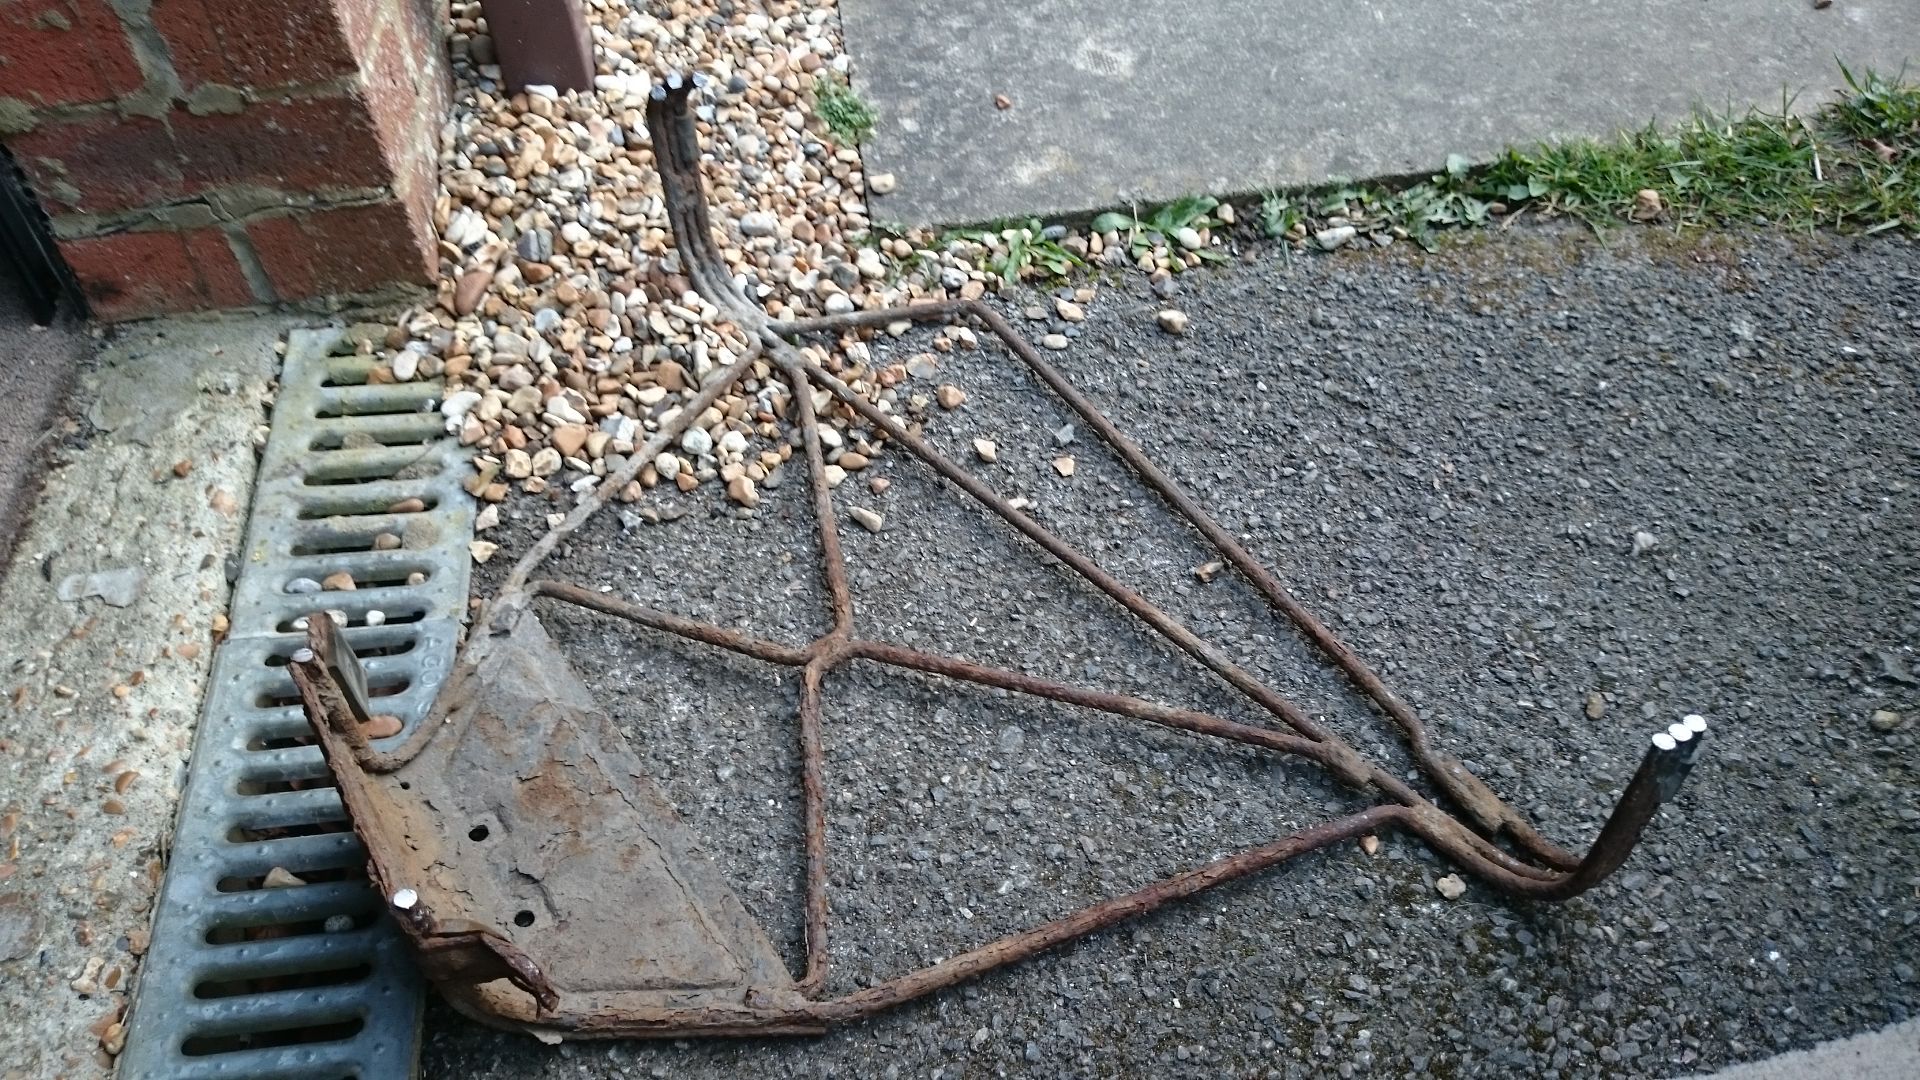
Got bored the other night after work and decided to bin off some dead weight from the car.
This might not be to everyone's taste but i personally would rather pay for and be recovered by the AA than drive on the crusted, decreped, awkward skinny piece of junk that is hidden under our cars.
so i removed (permanantly) the spare wheel and carrier.
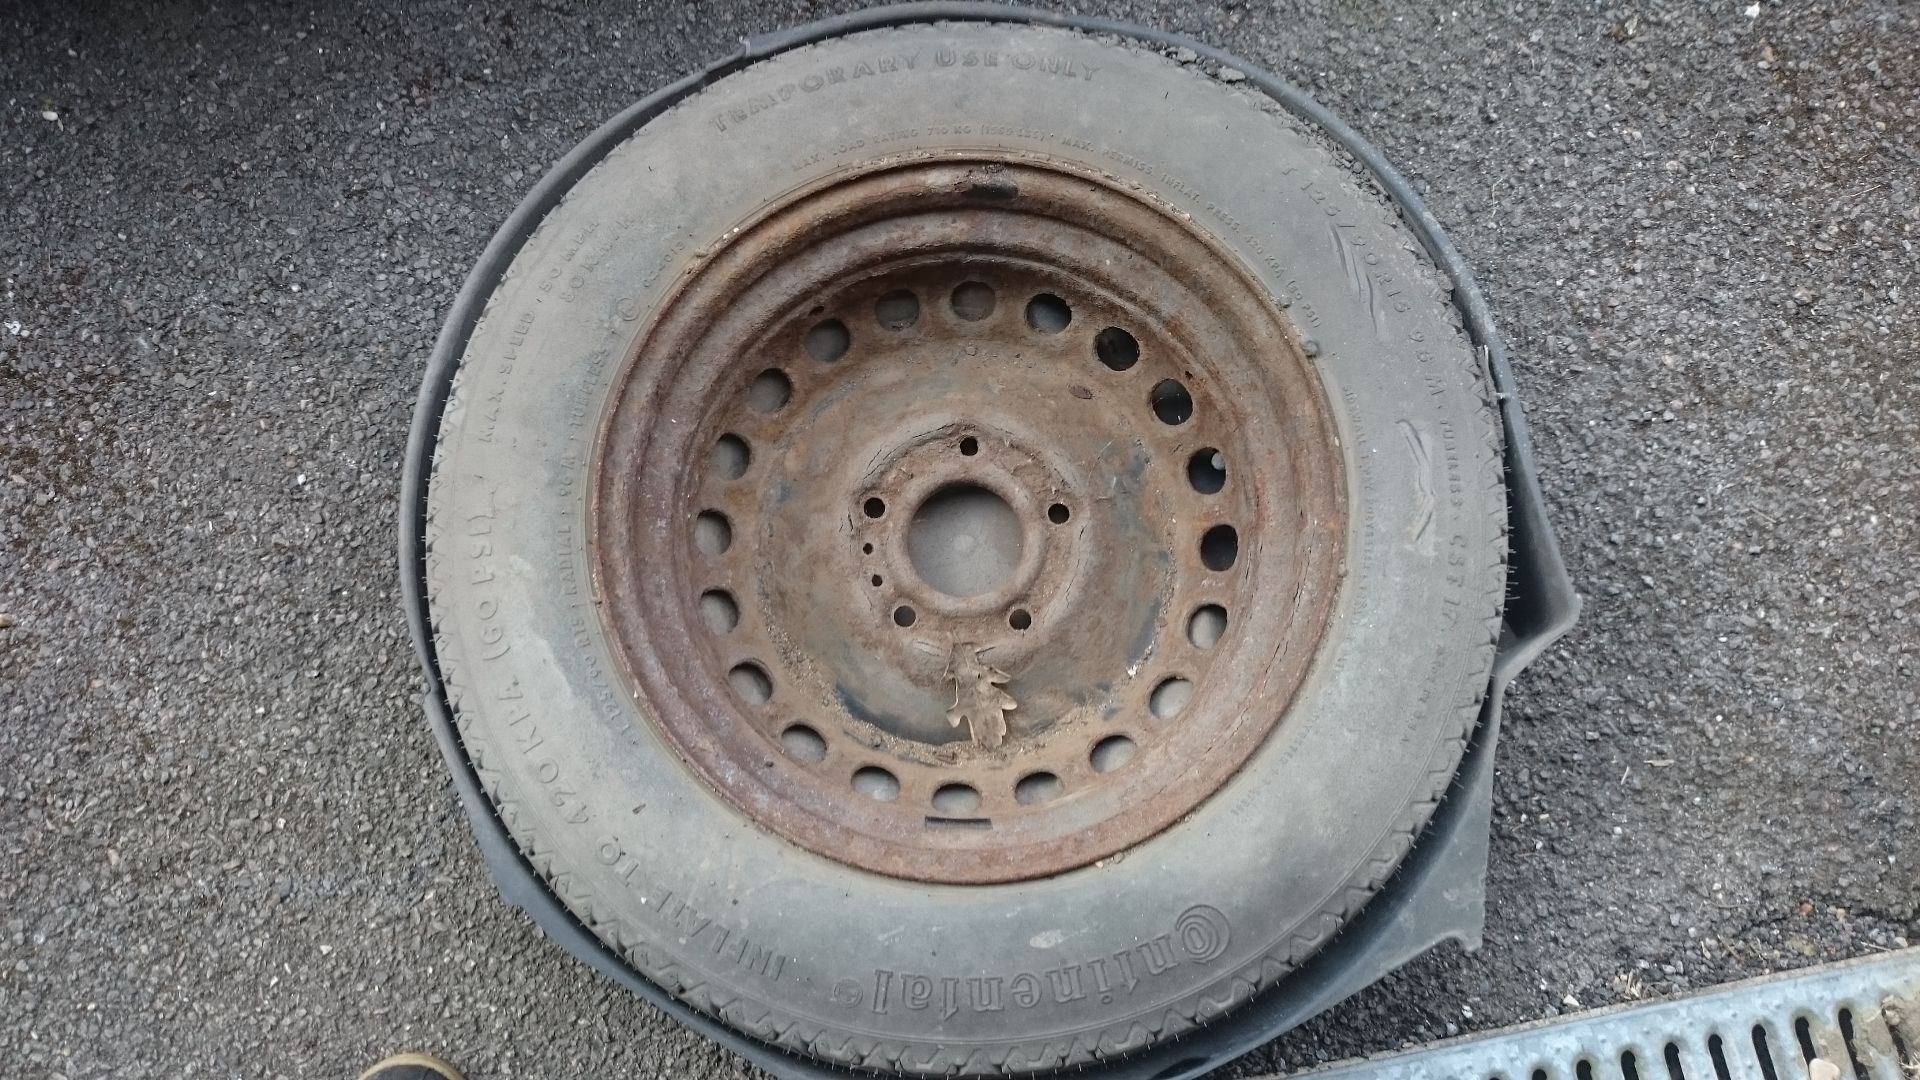
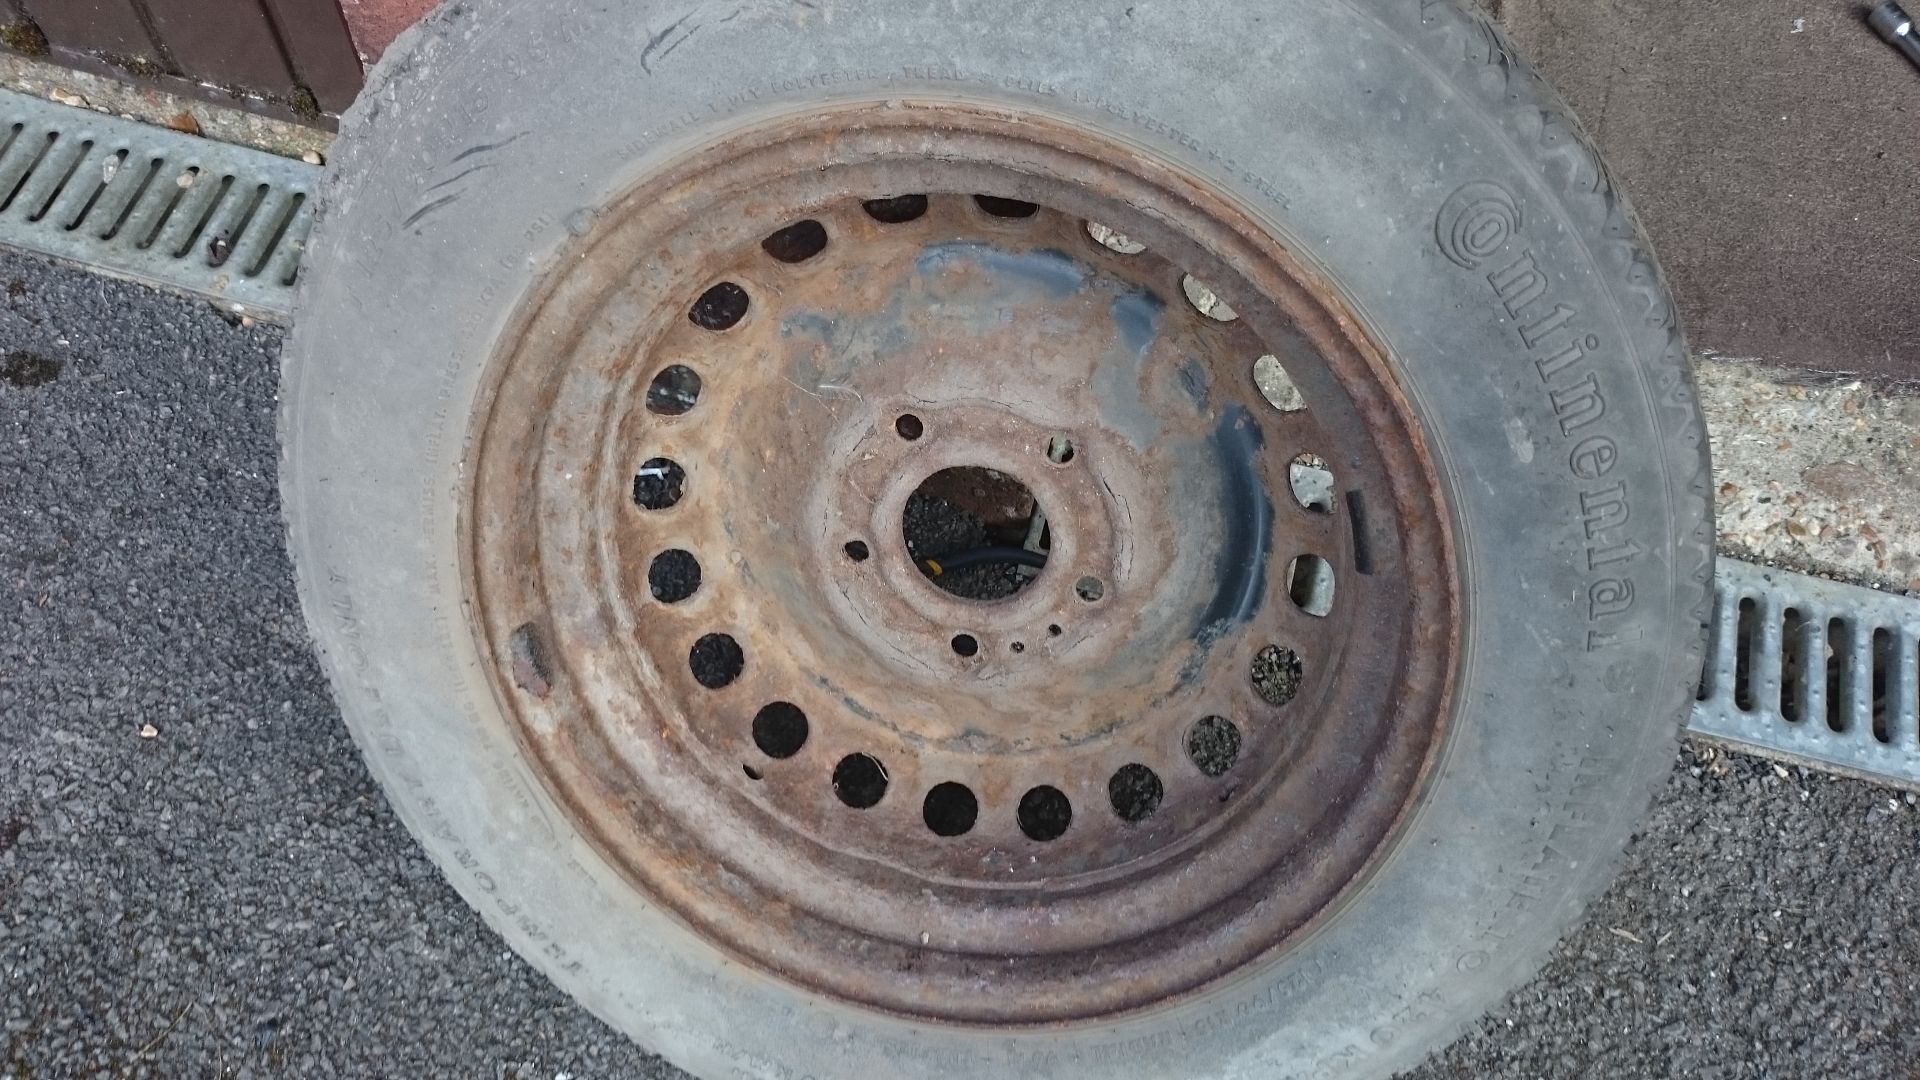
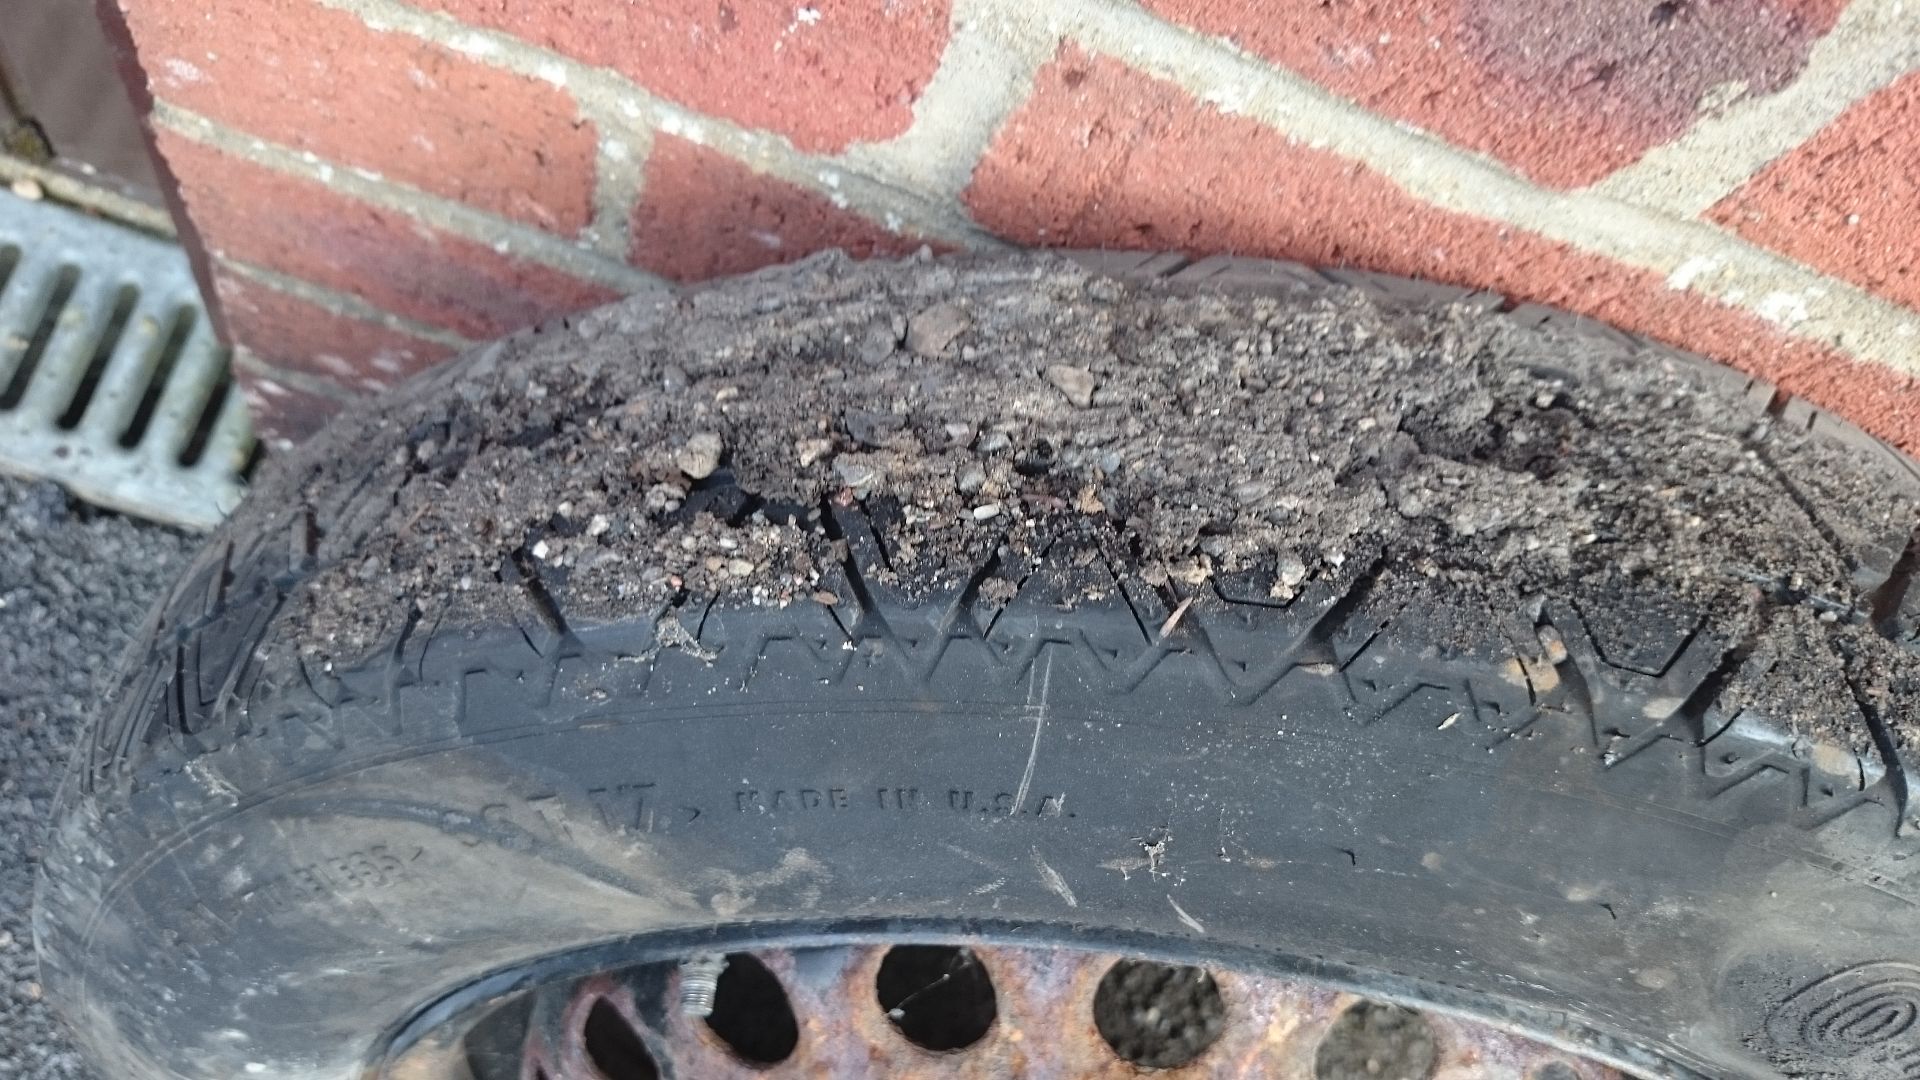
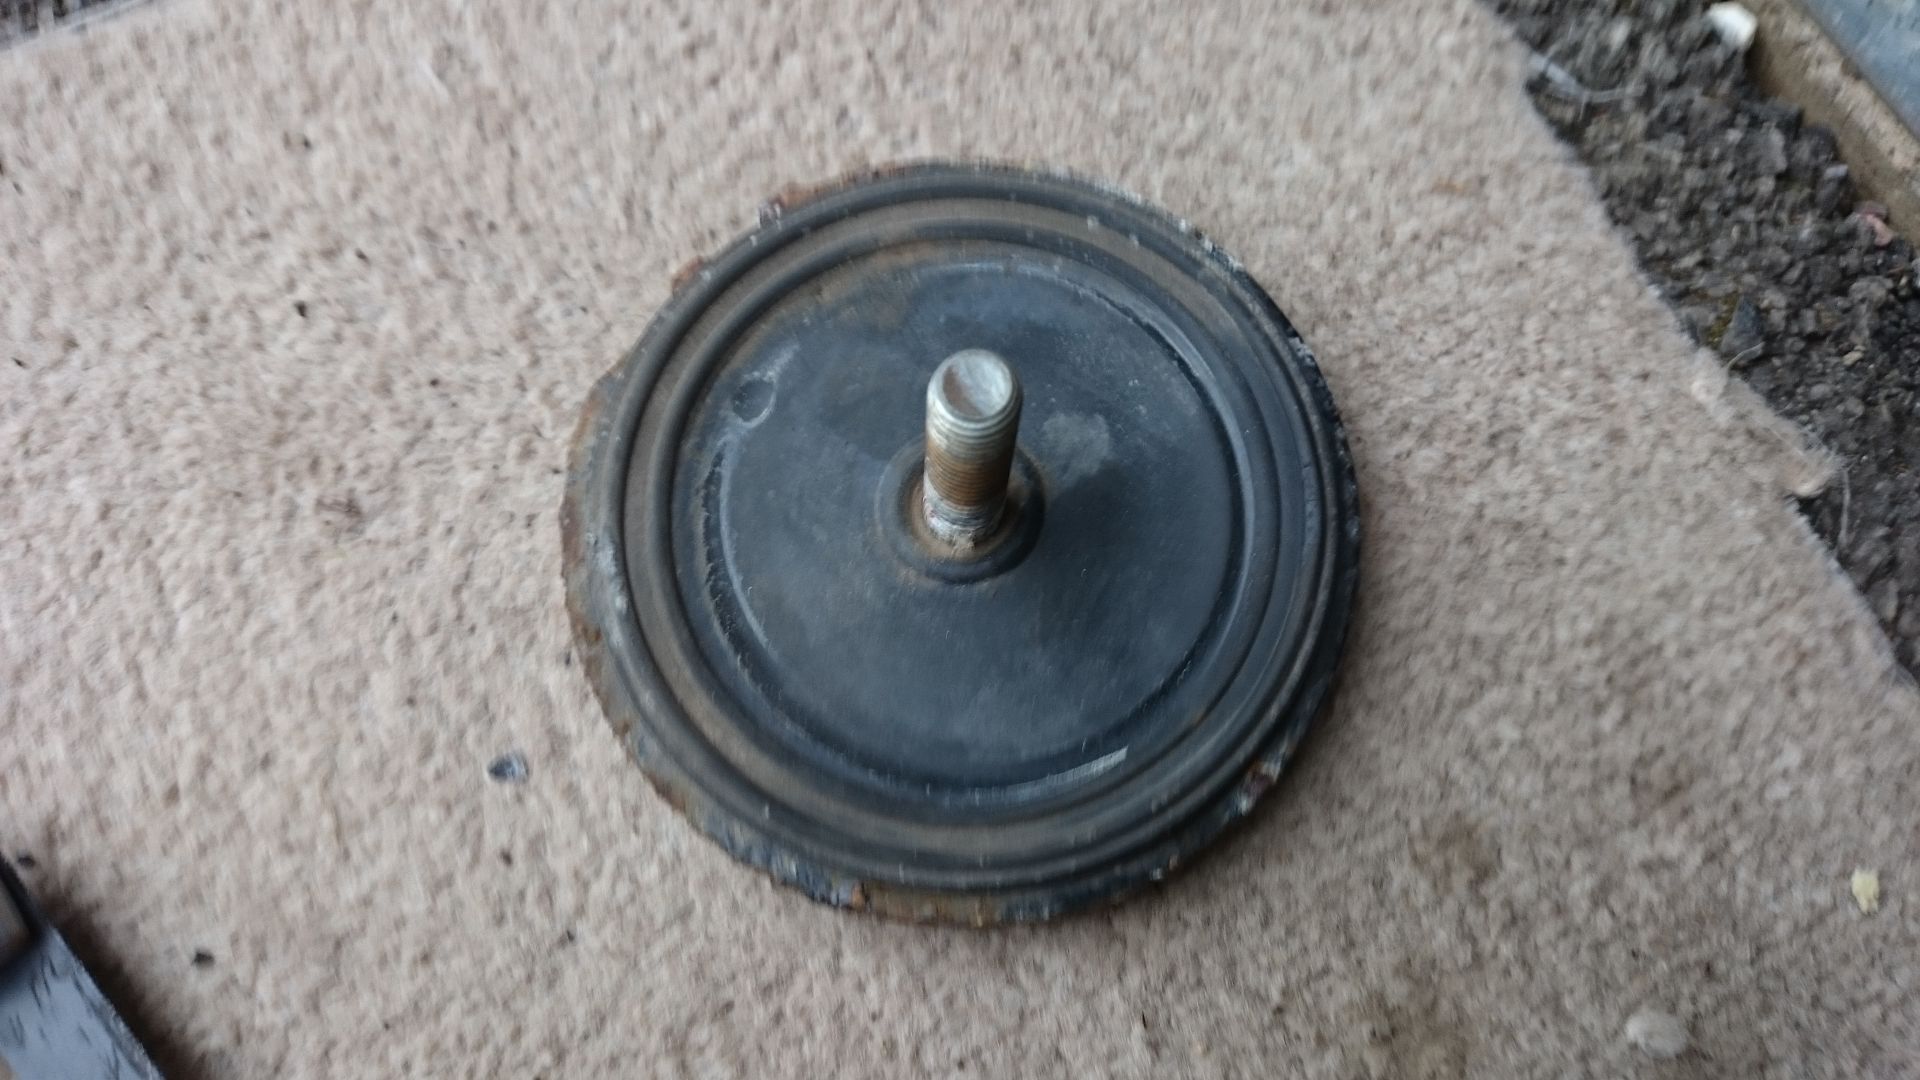
the old top up valve was welded onto the wheel with rust so even if i was at the side of the road it would have never been able to be fitted.
i then went to remove the carrier, it would come off as the bolts were rusted to oblivion
so i hacksawed it off, cut the grommets off and stuck them back on
So I've been experimenting with led bulbs with this car as it's something I'm interested in and I wanted to remove all traces of orange from the car.
It would have been very simple to use the chrome coated bulbs but they still reflect orange when you look closely.
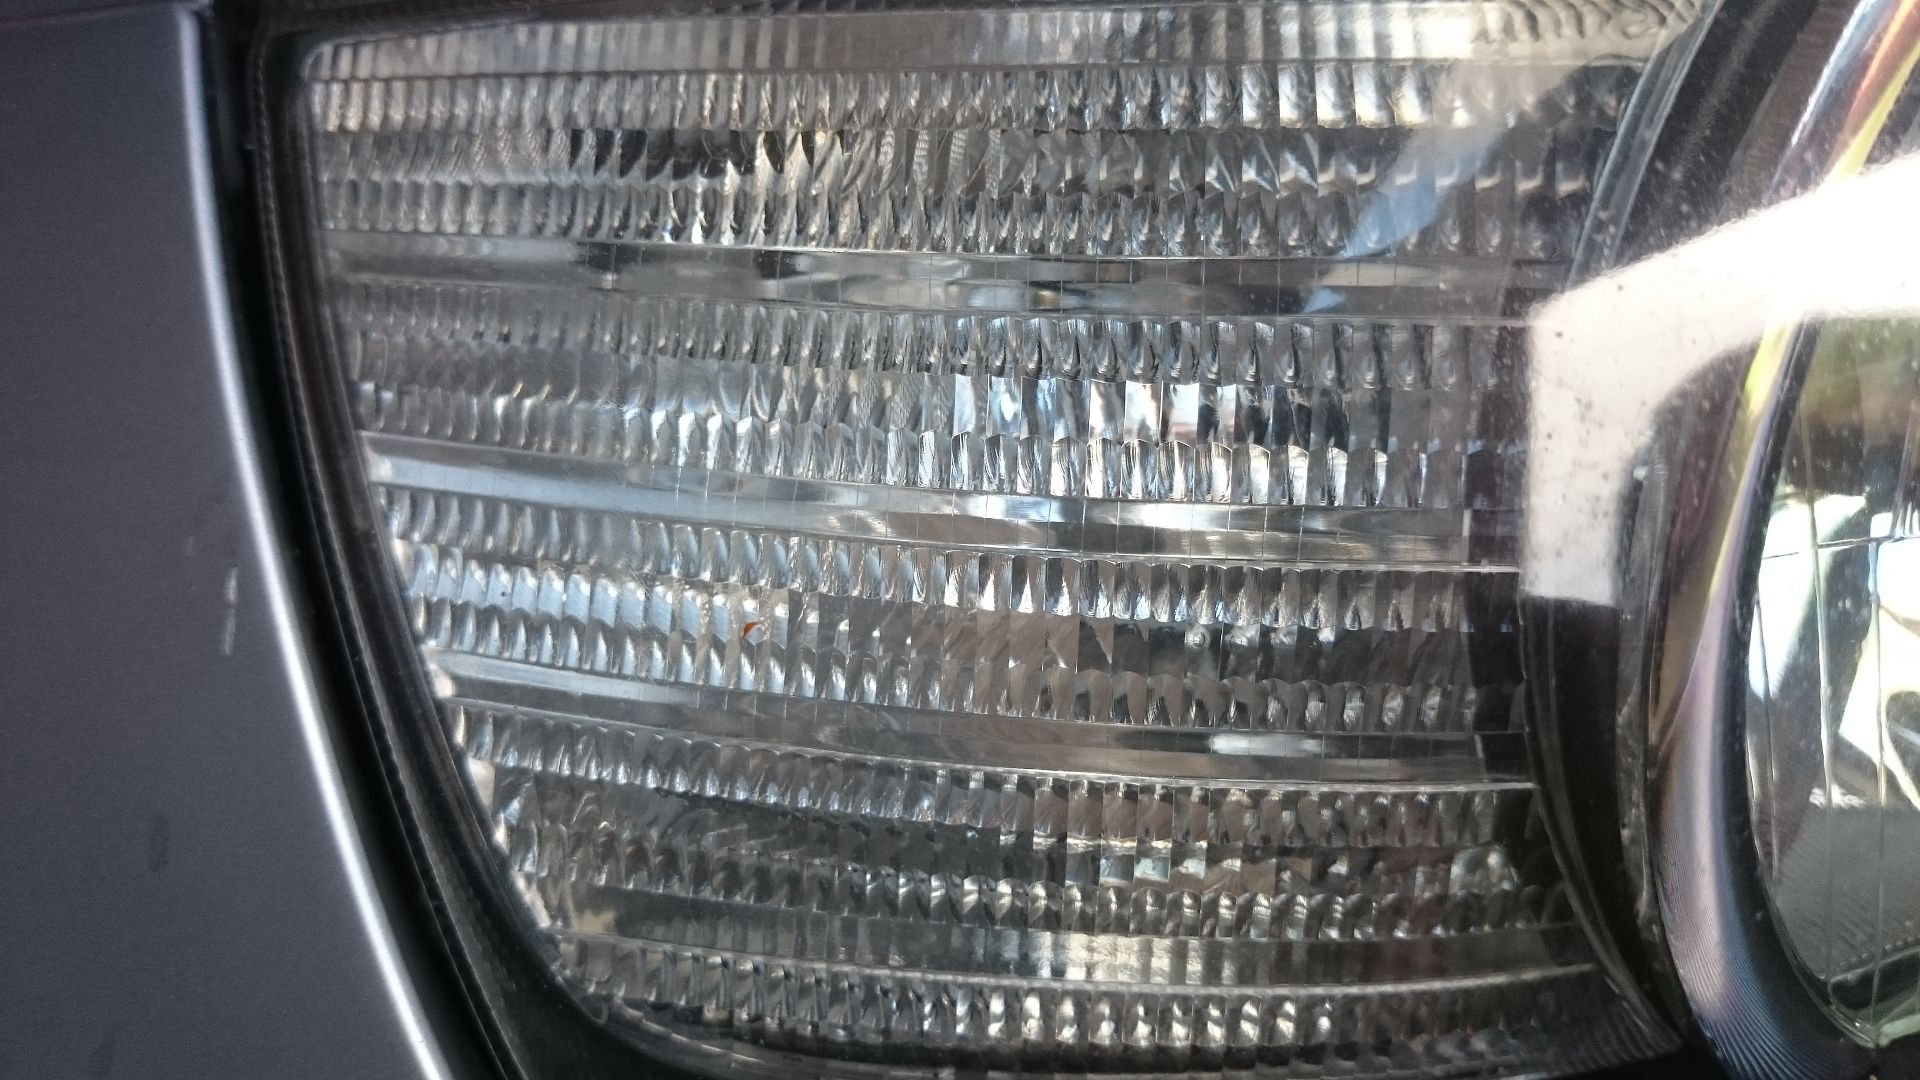
Standard cheap led replacements are fine on the rear and the side but due to the design of the reflectors and diffuser in the headlights they don't provide enough light and are not safely visible.
Here is a comparison of a standard halogen bulb (left) and a cheap led unit (right)
As you can see, the halogen is much brighter. In direct sunlight you can barely see the led.
I then swapped in some super 40w led bulbs. They are pricey but I think they look amazing.
Top = new led
Middle = halogen
Bottom = cheap led
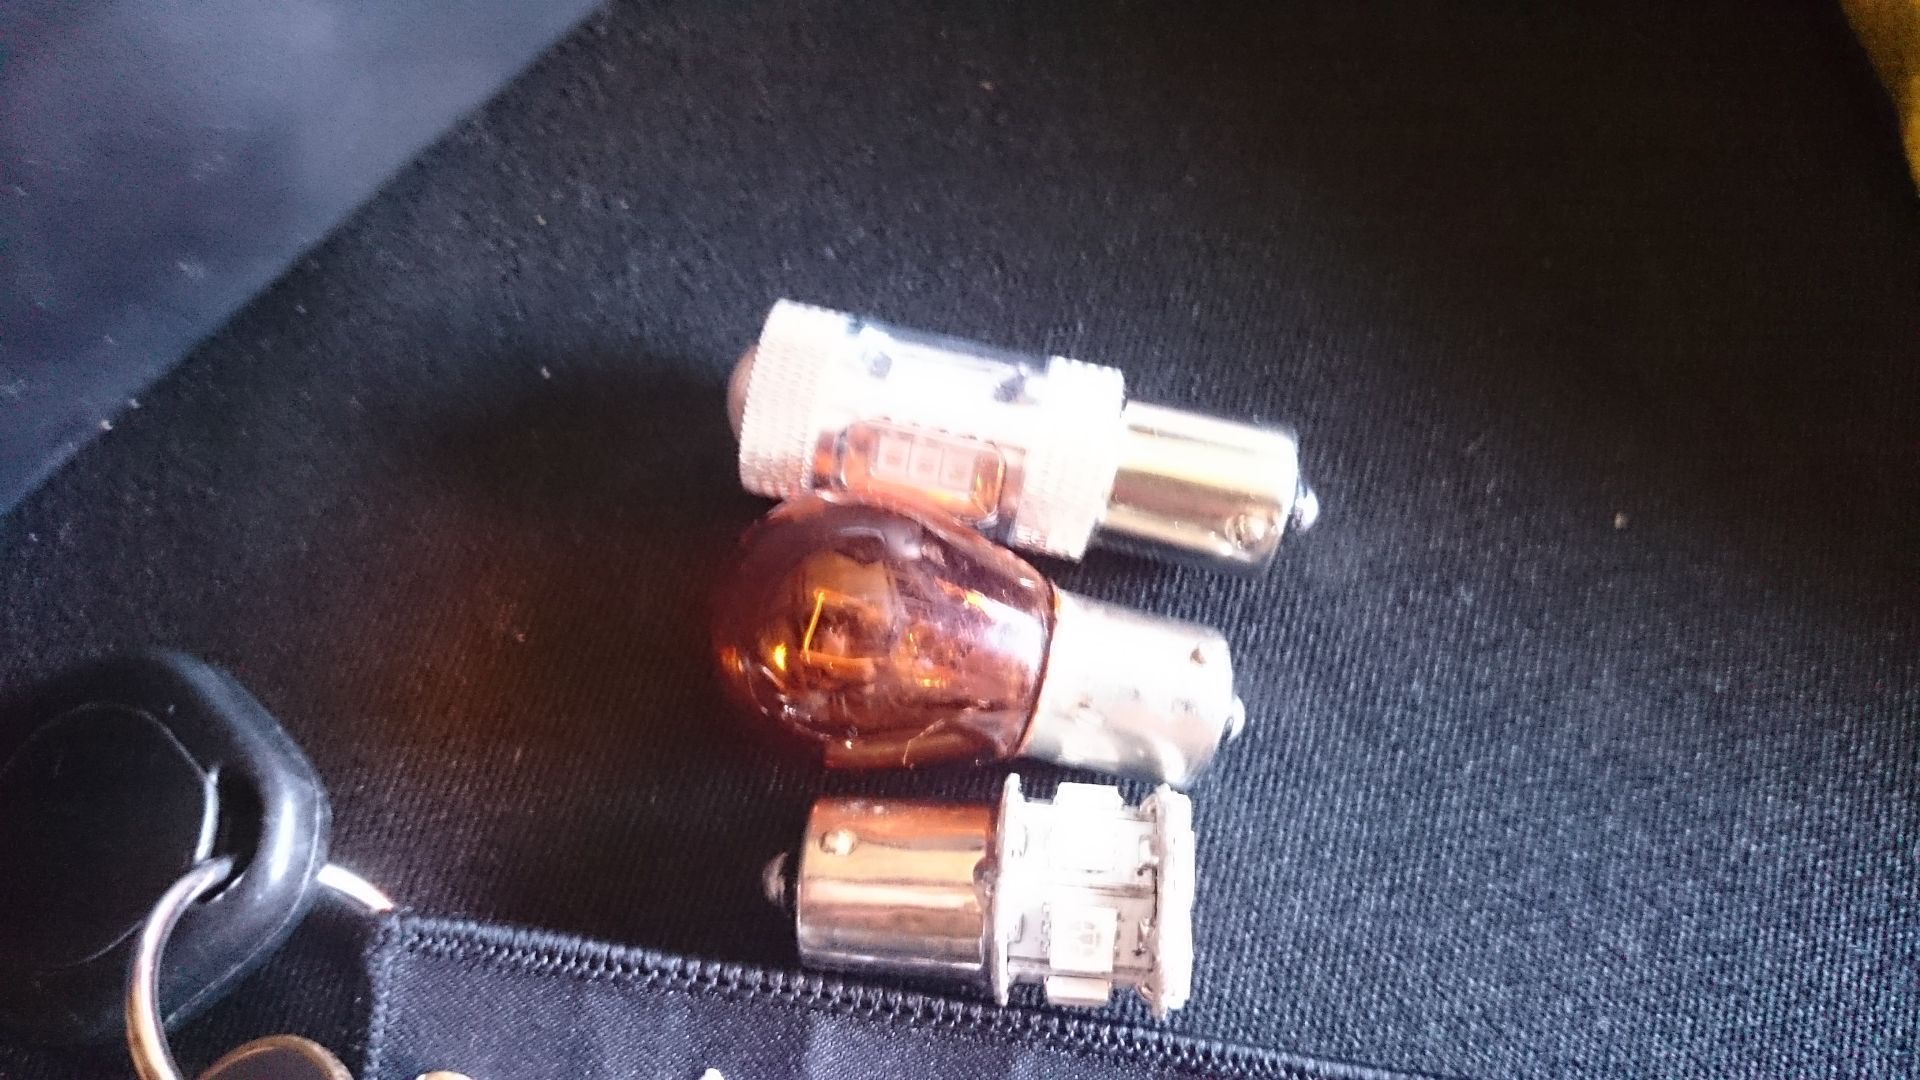
And the result. Much deeper and brighter than the halogen. Less heat, less energy needed and they don't reflect any orange at all
This might not be to everyone's taste but i personally would rather pay for and be recovered by the AA than drive on the crusted, decreped, awkward skinny piece of junk that is hidden under our cars.
so i removed (permanantly) the spare wheel and carrier.


the old top up valve was welded onto the wheel with rust so even if i was at the side of the road it would have never been able to be fitted.
i then went to remove the carrier, it would come off as the bolts were rusted to oblivion
so i hacksawed it off, cut the grommets off and stuck them back on


So I've been experimenting with led bulbs with this car as it's something I'm interested in and I wanted to remove all traces of orange from the car.
It would have been very simple to use the chrome coated bulbs but they still reflect orange when you look closely.
Standard cheap led replacements are fine on the rear and the side but due to the design of the reflectors and diffuser in the headlights they don't provide enough light and are not safely visible.
Here is a comparison of a standard halogen bulb (left) and a cheap led unit (right)

As you can see, the halogen is much brighter. In direct sunlight you can barely see the led.
I then swapped in some super 40w led bulbs. They are pricey but I think they look amazing.
Top = new led
Middle = halogen
Bottom = cheap led
And the result. Much deeper and brighter than the halogen. Less heat, less energy needed and they don't reflect any orange at all
I'm liking the Orange LEDs, got a link where you got those from?
Also the leather die kit details would be good
I'm looking at upgrading the brakes on the 330i, (I know the callipers can be sold on to negate some costs against the upgrade) and found that there's a particular Brembo from Porsche that's on the front of the 3.2 Boxter or the rear of a 996 911 turbo which has similar piston area to the 57mm single that the 330i uses.
Sf_Manta said:
I'm liking the Orange LEDs, got a link where you got those from?
Also the leather die kit details would be good
I'm looking at upgrading the brakes on the 330i, (I know the callipers can be sold on to negate some costs against the upgrade) and found that there's a particular Brembo from Porsche that's on the front of the 3.2 Boxter or the rear of a 996 911 turbo which has similar piston area to the 57mm single that the 330i uses.
http://pages.ebay.com/link/?nav=item.view&id=361448567508&alt=web Also the leather die kit details would be good
I'm looking at upgrading the brakes on the 330i, (I know the callipers can be sold on to negate some costs against the upgrade) and found that there's a particular Brembo from Porsche that's on the front of the 3.2 Boxter or the rear of a 996 911 turbo which has similar piston area to the 57mm single that the 330i uses.
You will need to either run extra resistors or mod your indicator relay or you will get hyperflashing
Leather was from liquid leather
Yeah you can fit brembos but you need m3 discs so the wheel thing can end up costing £500+
Im looking at 330 calipers and carriers for mine.
Gassing Station | Readers' Cars | Top of Page | What's New | My Stuff