Porsche Boxster 986 - engine swap project
Discussion


EJH said:
Looks like that plate caused a failure at the last MOT and it was refitted after it was replaced for it to pass.
What meaning is "B13DD W" supposed to have? It makes no sense...Or is it one of those that only means something to the owner?
ETA: added reg number for clarity of which vehicle I was referring to.
Edited by TonyRPH on Friday 26th May 09:40


Thanks for the positive comments.
I removed the exhaust manifolds to add EGT sensors, I originally had one in the runner for number 1 cylinder but it's not the ideal location, it was placed there as I did it before I put the engine in the car and knew it wouldn't foul anything. I've since got standalone management and it has inputs for dual EGT's. Removing the manifolds on an Audi would be a 13 hour engine out job.
EGT's added. I welded the boss in rather than tap the threads.

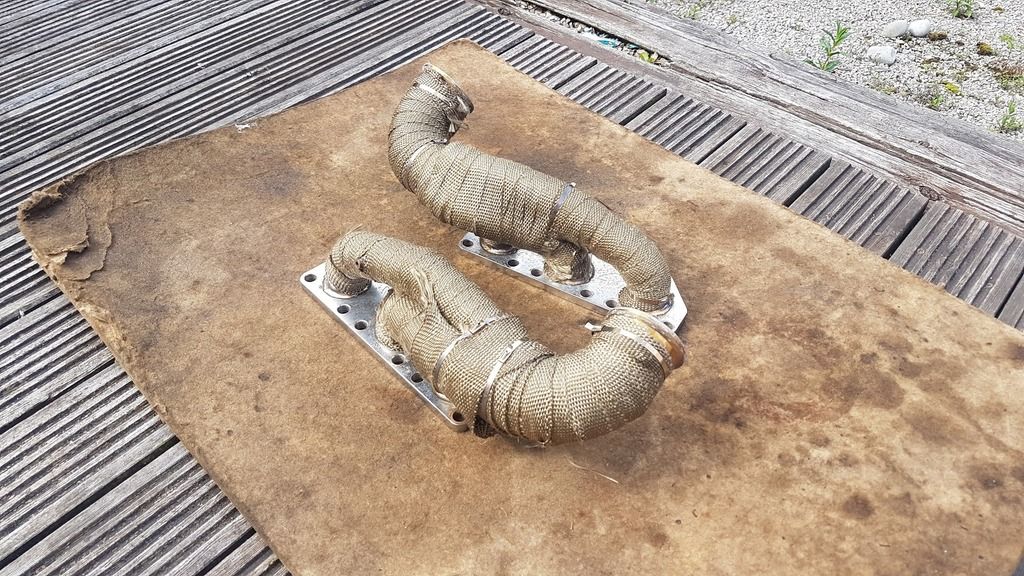
I re-fitted them and one of the manifolds was blowing where it bolted to the head. I took it off and it had a big warp in it. I chopped through the flange between the runners, there was tension between them, was a noticeable step between each sections. I've bolted it back up and it's ok now, no blowing. I won't be surprised it if cracks in the future, something i'll keep an eye on. You'd have to be brave to run them on an Audi, doubt there are many takers when it's a 13 hour job to get them back off. All of this has now thrown the fitment on the mid-section of the exhaust off so that needs to be cut and rewelded, i'm going to add a flexi to avoid this problem happening again. All a bit frustrating.

I removed the exhaust manifolds to add EGT sensors, I originally had one in the runner for number 1 cylinder but it's not the ideal location, it was placed there as I did it before I put the engine in the car and knew it wouldn't foul anything. I've since got standalone management and it has inputs for dual EGT's. Removing the manifolds on an Audi would be a 13 hour engine out job.

EGT's added. I welded the boss in rather than tap the threads.

I re-fitted them and one of the manifolds was blowing where it bolted to the head. I took it off and it had a big warp in it. I chopped through the flange between the runners, there was tension between them, was a noticeable step between each sections. I've bolted it back up and it's ok now, no blowing. I won't be surprised it if cracks in the future, something i'll keep an eye on. You'd have to be brave to run them on an Audi, doubt there are many takers when it's a 13 hour job to get them back off. All of this has now thrown the fitment on the mid-section of the exhaust off so that needs to be cut and rewelded, i'm going to add a flexi to avoid this problem happening again. All a bit frustrating.

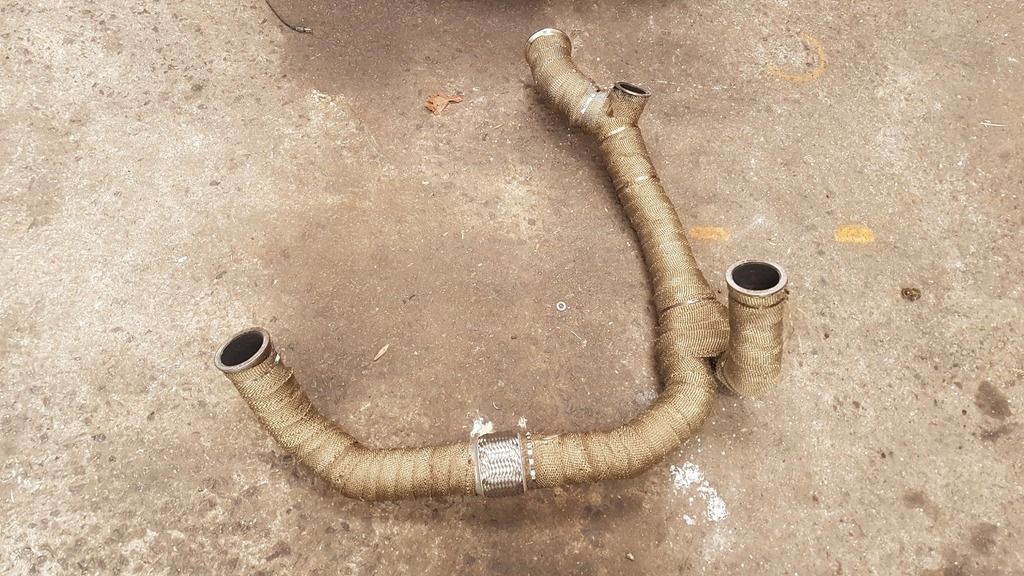
I bought a flexi to add into the mid section of the exhaust
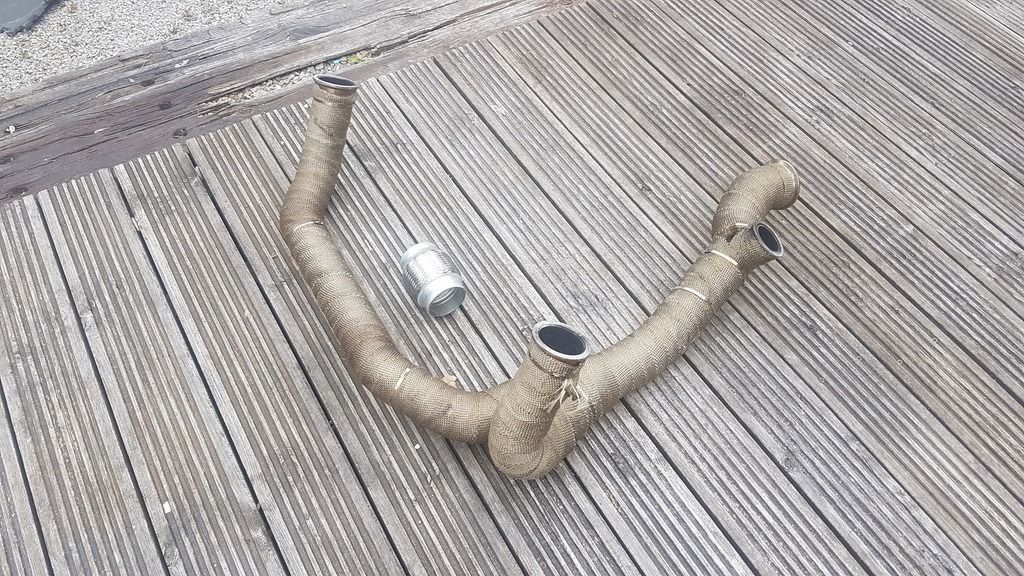
It looks straightforward to add but I ended up having to cut the exhaust into 4 sections to get a nice passive fit. I also had to modify the screamer pipe as the wastegate had moved slightly. All in all a right pain in the arse considering I was just adding some EGT sensors.
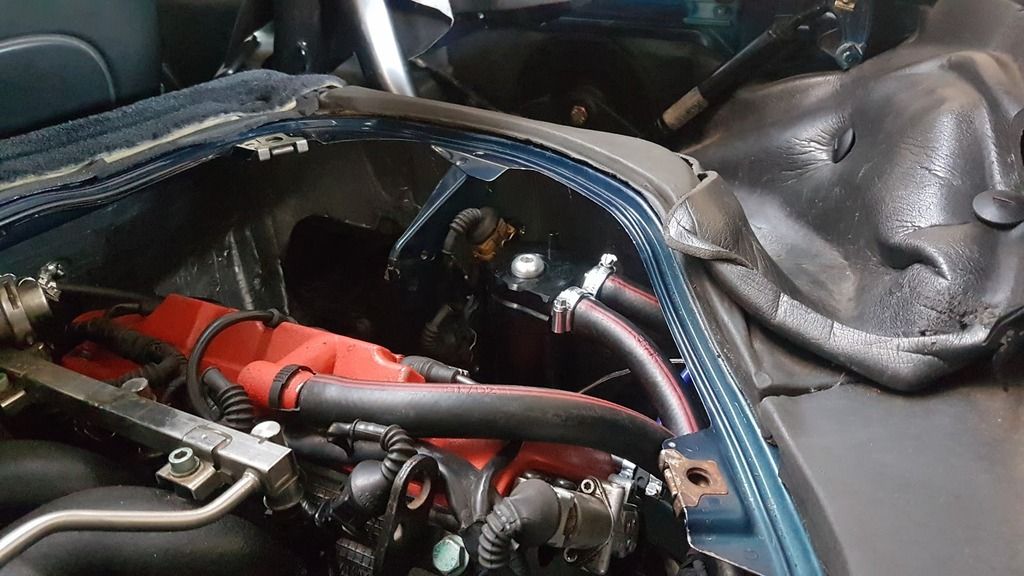
I had the engine breathers running into a catch can which vented to atmosphere. It was a bit of a temporary set-up and i've decided to change it, all the crankcase vapours are being trapped under the engine cover, there isn't much airflow so it could potentially be a fire hazard. This is how it was.

I've run new pipes and removed the filter on the top of the catch can.
I'm trying something interesting (to me at least), crankcase evacuation via the exhaust. It's something I only discovered recently so thought i'll give it a try. The theory is you fit a pipe at 45 degrees in the exhaust, the gasses passing by will create a vacuum in the pipe and suck away the crankcase vapours, the benefit of having a vacuum is it'll help seal the piston rings which will reduce blowby which can increase power, I don't think these create that much vacuum but some is better than none.
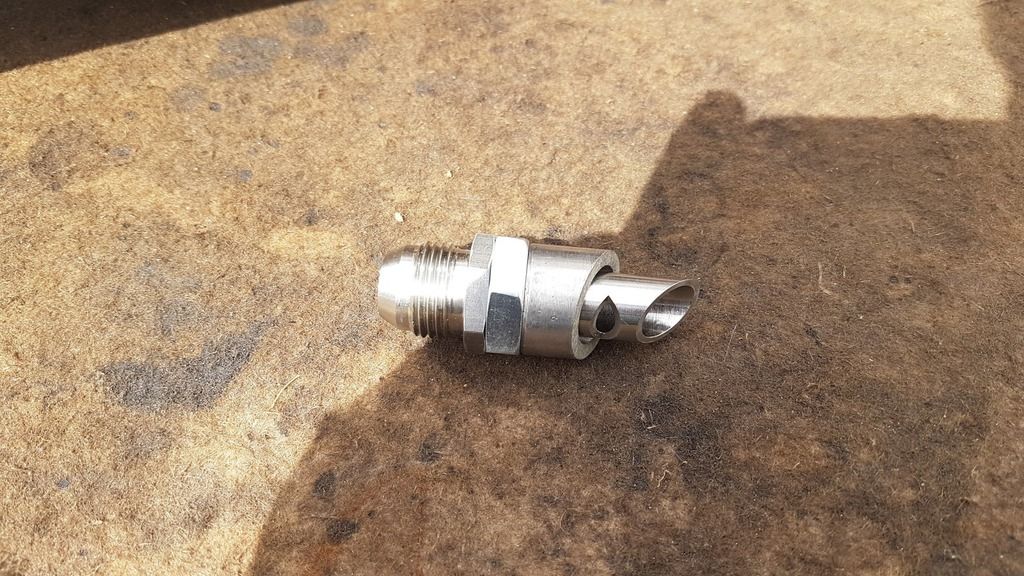
These systems are typically used on drag cars in the US that run open headers. I did a bit of research, they don't work well on cars with silencers, the reason being silencers increase back pressure in the exhaust, if the back pressure is too high the exhaust gas will want to go up the pipe. You need to run a one way valve in this system so that means you wouldn't be venting the crankcase, the result is typically the dipstick shooting out and creating a mess. As my car is mid engine I can put my exhaust fitting after the silencer and still keep the pipe to it reasonably short. I don't think back pressure will be an issue anyway, i've got a 3.5" exhuast and the wastegate vents to atmosphere rather than being fed back into the exhaust which essentially makes the system bigger anyway.

I don't have a vacuum gauge to connect to see how effective it is but I have run a pipe into a bucket of water, it drew the water up the pipe about 5cm at idle and more when rev'd so I know it works, it also shot water all over my car parked behind it.
I'm now pretty much ready for mapping, just got to wire up some switches for launch control, anti-lag, etc and set-up a couple of sensors on the ECU.

It looks straightforward to add but I ended up having to cut the exhaust into 4 sections to get a nice passive fit. I also had to modify the screamer pipe as the wastegate had moved slightly. All in all a right pain in the arse considering I was just adding some EGT sensors.

I had the engine breathers running into a catch can which vented to atmosphere. It was a bit of a temporary set-up and i've decided to change it, all the crankcase vapours are being trapped under the engine cover, there isn't much airflow so it could potentially be a fire hazard. This is how it was.

I've run new pipes and removed the filter on the top of the catch can.

I'm trying something interesting (to me at least), crankcase evacuation via the exhaust. It's something I only discovered recently so thought i'll give it a try. The theory is you fit a pipe at 45 degrees in the exhaust, the gasses passing by will create a vacuum in the pipe and suck away the crankcase vapours, the benefit of having a vacuum is it'll help seal the piston rings which will reduce blowby which can increase power, I don't think these create that much vacuum but some is better than none.

These systems are typically used on drag cars in the US that run open headers. I did a bit of research, they don't work well on cars with silencers, the reason being silencers increase back pressure in the exhaust, if the back pressure is too high the exhaust gas will want to go up the pipe. You need to run a one way valve in this system so that means you wouldn't be venting the crankcase, the result is typically the dipstick shooting out and creating a mess. As my car is mid engine I can put my exhaust fitting after the silencer and still keep the pipe to it reasonably short. I don't think back pressure will be an issue anyway, i've got a 3.5" exhuast and the wastegate vents to atmosphere rather than being fed back into the exhaust which essentially makes the system bigger anyway.

I don't have a vacuum gauge to connect to see how effective it is but I have run a pipe into a bucket of water, it drew the water up the pipe about 5cm at idle and more when rev'd so I know it works, it also shot water all over my car parked behind it.
I'm now pretty much ready for mapping, just got to wire up some switches for launch control, anti-lag, etc and set-up a couple of sensors on the ECU.

The engineering that has gone into this is exceptional, well done sir. The fix on the manifold plates is inspired I'm going to remember that!
I was just reading about crank case evacuation yesterday and assumed it helped reduce pumping losses but you mention piston ring sealing better what's the theory on that?
I was just reading about crank case evacuation yesterday and assumed it helped reduce pumping losses but you mention piston ring sealing better what's the theory on that?
I've stolen this from another site
"All engines generate “blow-by” or leakage past the rings, creating positive pressure in the crankcase. Blow-by consists of compressed air-and-fuel mixture from the compression stroke and combustion leakage past the rings with associated by-products from the power stroke. It may include fuel, exhaust gasses, carbon and other contaminants. Crankcase pressure hurts power by upsetting ring seal, and it opposes piston motion by creating drag and windage. It also introduces harmful contaminants to the lubrication system and poisons the incoming mixture in the combustion chamber."
I'm not really expecting a high vacuum from this so the associated benefits probably won't be great but anything is better than nothing. My main motivation was to avoid the potential buildup of gasses that could contain fuel vapour in an enclosed space, this seems like a neat solution.
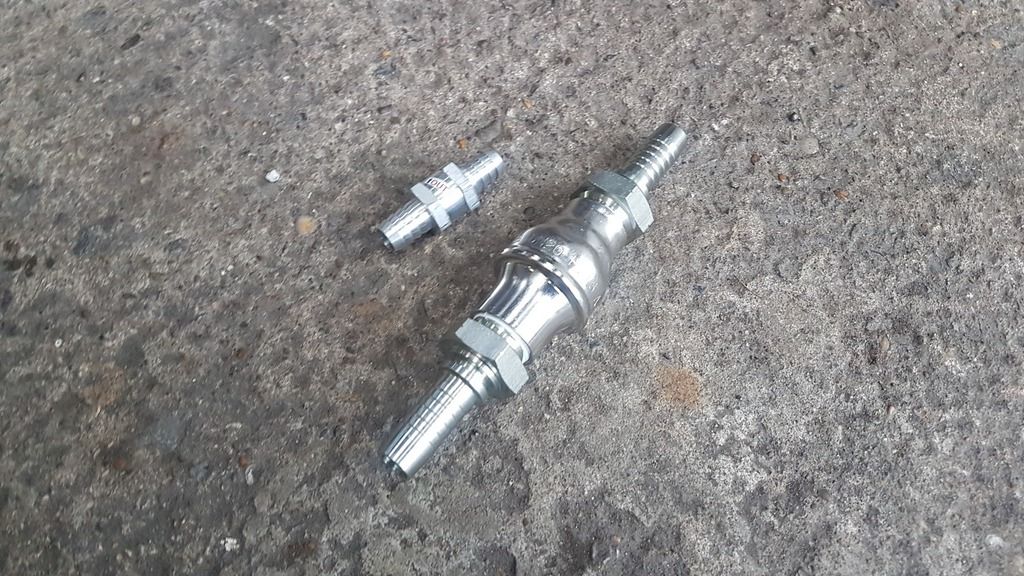
The one way valve I had in the previous picture wasn't suitable for this application so I replaced it with decent one, thought i'd get a big one so the flow isn't restricted. It's stainless steel, Viton seal, good for 150c and has a low cracking pressure.

Fingers crossed, I think i'm all done on the mechanical side of it now. I've booked it in for mapping at RRR Engineering on Tuesday the 13th, i'm buzzing with excitement but also nervous that something might go wrong. I just need to do a couple of small wiring jobs this weekend and try and get some decent miles under it's belt.
"All engines generate “blow-by” or leakage past the rings, creating positive pressure in the crankcase. Blow-by consists of compressed air-and-fuel mixture from the compression stroke and combustion leakage past the rings with associated by-products from the power stroke. It may include fuel, exhaust gasses, carbon and other contaminants. Crankcase pressure hurts power by upsetting ring seal, and it opposes piston motion by creating drag and windage. It also introduces harmful contaminants to the lubrication system and poisons the incoming mixture in the combustion chamber."
I'm not really expecting a high vacuum from this so the associated benefits probably won't be great but anything is better than nothing. My main motivation was to avoid the potential buildup of gasses that could contain fuel vapour in an enclosed space, this seems like a neat solution.
The one way valve I had in the previous picture wasn't suitable for this application so I replaced it with decent one, thought i'd get a big one so the flow isn't restricted. It's stainless steel, Viton seal, good for 150c and has a low cracking pressure.


Fingers crossed, I think i'm all done on the mechanical side of it now. I've booked it in for mapping at RRR Engineering on Tuesday the 13th, i'm buzzing with excitement but also nervous that something might go wrong. I just need to do a couple of small wiring jobs this weekend and try and get some decent miles under it's belt.
On my '67 Volvo 1800 S the crankcase ventilation was linked to the air filters. When I switched to some nice K&N filters years ago, I didn't want those fumes to contaminate my intake system. So I routed the tubes towards the bulkhead. They now exit simply at the underbody, next to the exhaust.
I know, not the proper way to do so, but it passed several MOT over the year without anything. Also I have not noted any smell, or dropping oily residue.
Your idea leading them into the exhaust system and therefore creating a slight vacuum that sucks them out is ingenious!!
Bravo, sir!!!
I know, not the proper way to do so, but it passed several MOT over the year without anything. Also I have not noted any smell, or dropping oily residue.
Your idea leading them into the exhaust system and therefore creating a slight vacuum that sucks them out is ingenious!!
Bravo, sir!!!
Gassing Station | Readers' Cars | Top of Page | What's New | My Stuff