Victoria - Pembleton SuperSport
Discussion


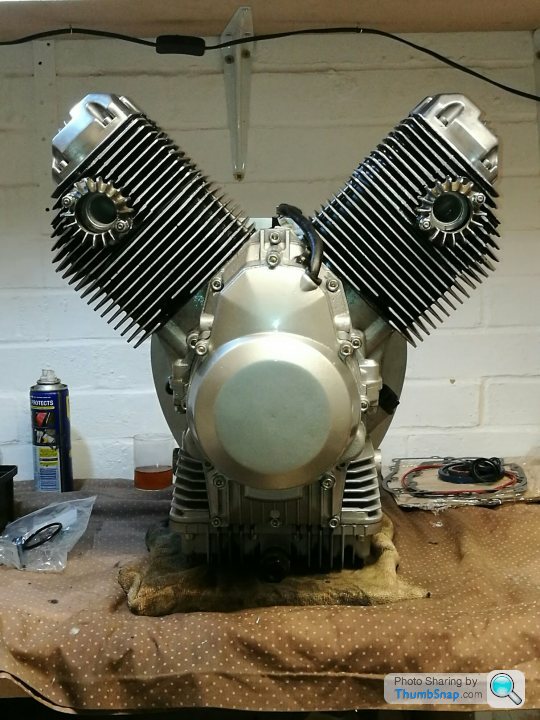
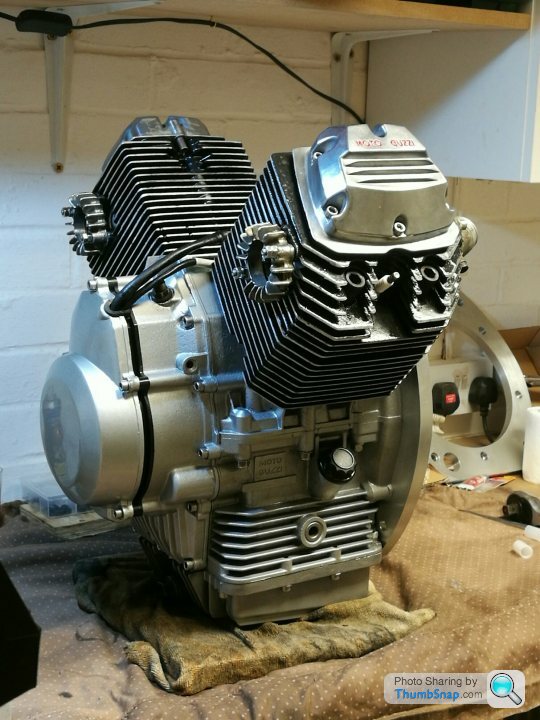
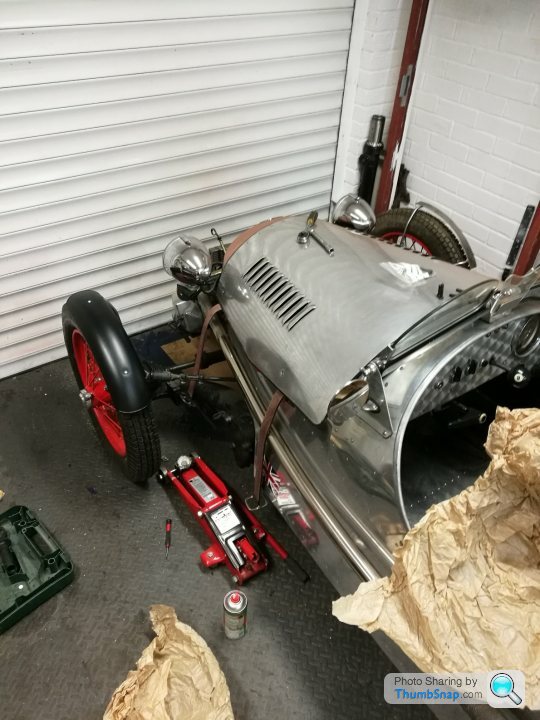
Engine finished! It was actually finished before christmas, but, ya know, life....
I haven't done anything with it though as the pembleton needs an MOT with its current engine first.

In other news I have finished painting the garage, boxing in the meters and fusebox, putting up lighting and laying flooring. So its now a clean, bright and dust free (ish) environment to strip the bike and build a car
I haven't done anything with it though as the pembleton needs an MOT with its current engine first.
In other news I have finished painting the garage, boxing in the meters and fusebox, putting up lighting and laying flooring. So its now a clean, bright and dust free (ish) environment to strip the bike and build a car
I was looking at wheel options for the new build. There aren't that many options in reality.
You can stick with the 2cv wheels and go for various wheel trims, buy Pembletons own custom light weight wire wheels (at a premium), got for some bugatti style wheels from a dutch company, or fit MGA wire wheels and knock on adaptors.
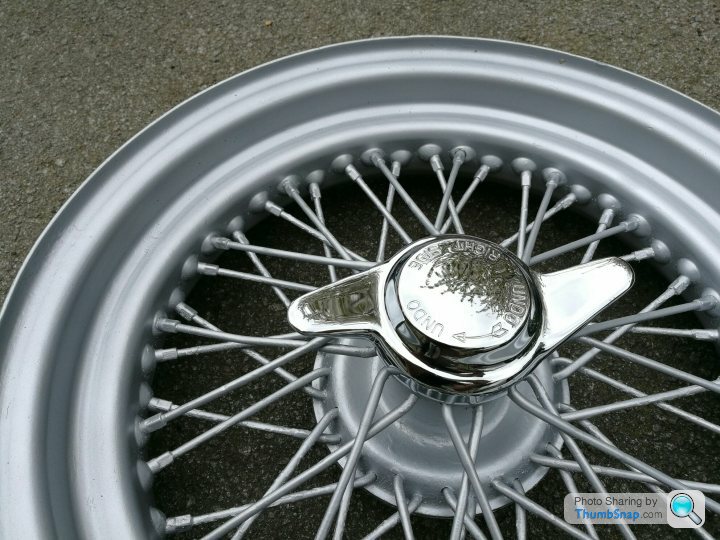
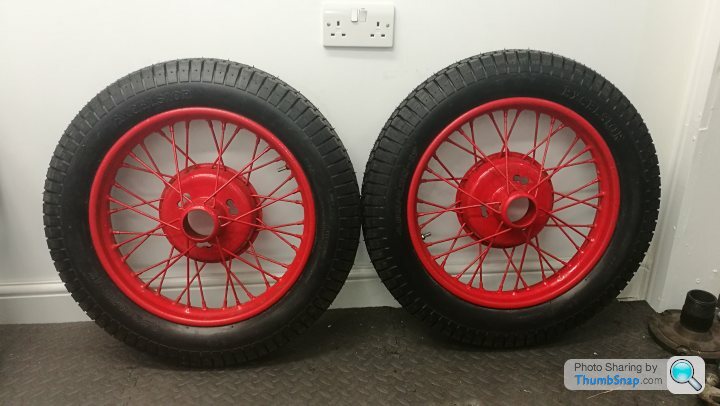
I wanted wire wheels. I did buy a pair of 16" wire wheels and a single adaptor. I made these look like new, but I really struggled to get tyres for them and they were VERY heavy. I bailed out of this idea.
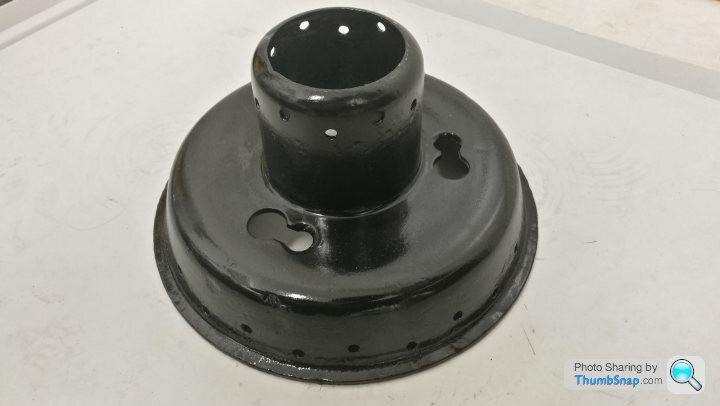
I did a bit more research and found that Austin7 wheels had the right look. They were tall, skinny, readily available, reasonably inexpensive, and bolt ons. I bought a wheel centre from a chap selling knackered wheels on Ebay. He was happy to cut the centre out of the worst one and post it to me. After a tickle with a wire wheel and a lick of paint, I could use it to measure and design my own wheel adaptor.
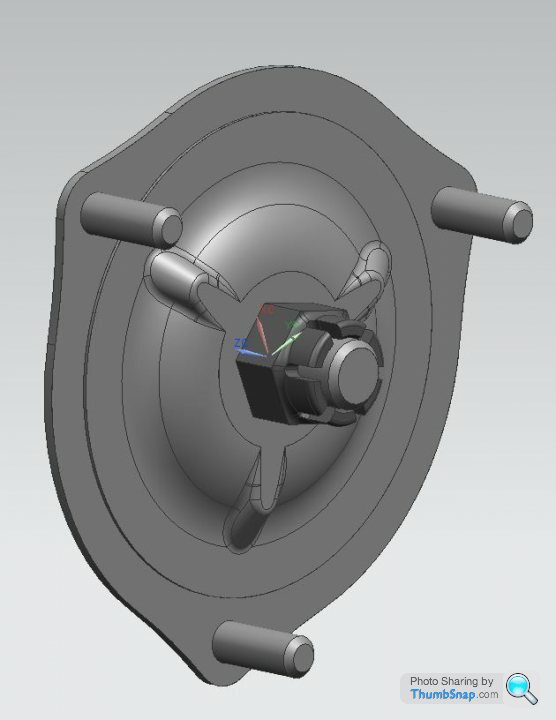
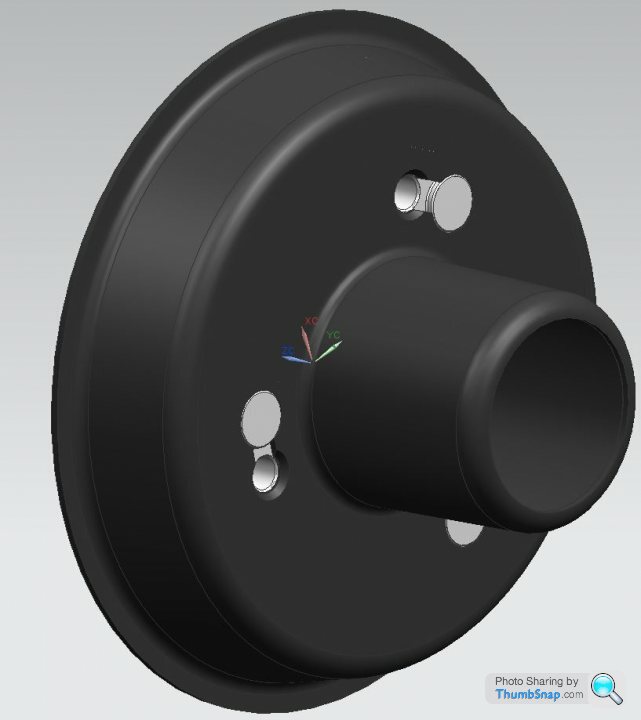
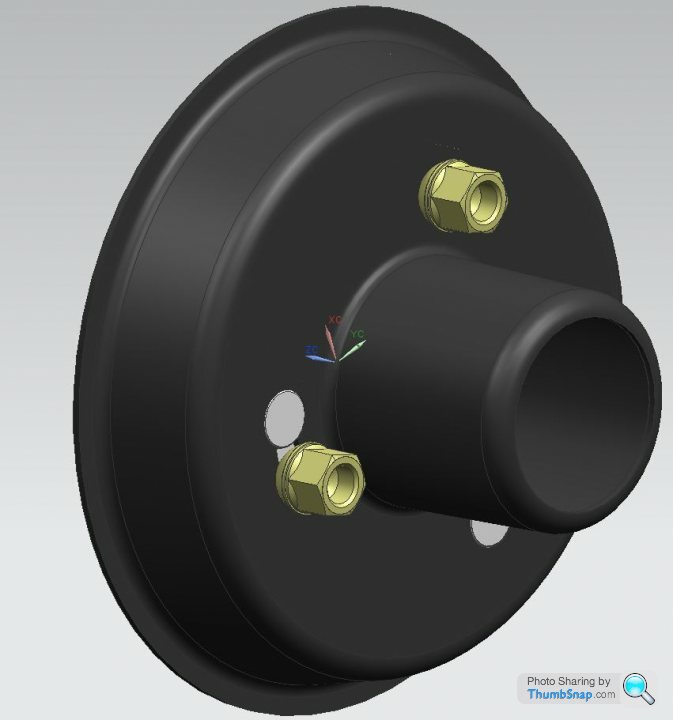
There were a few issue regarding PCD, locating bosses etc, but I got there in the end. The Austin brake drums have raised bosses pressed into them to locate the wheels and stop them rotating. The 2cv stub axle has a domed, raised centre with the castellated nut atop.
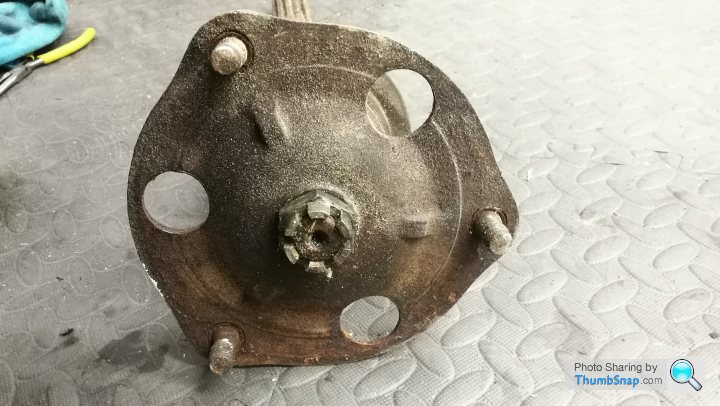
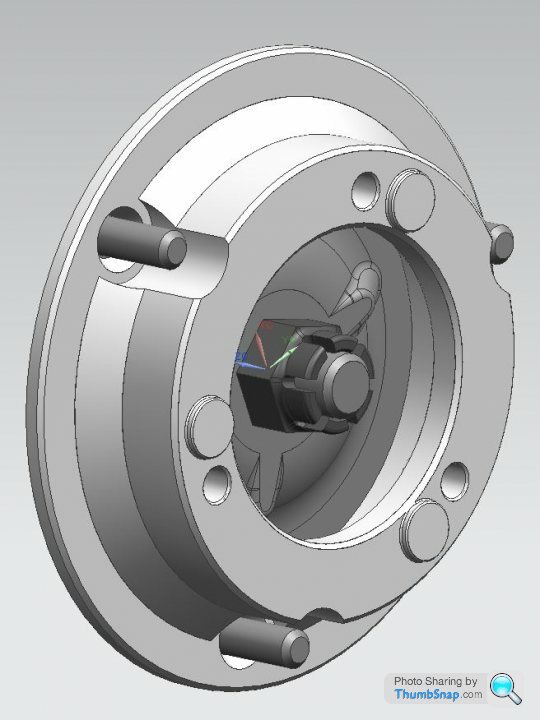
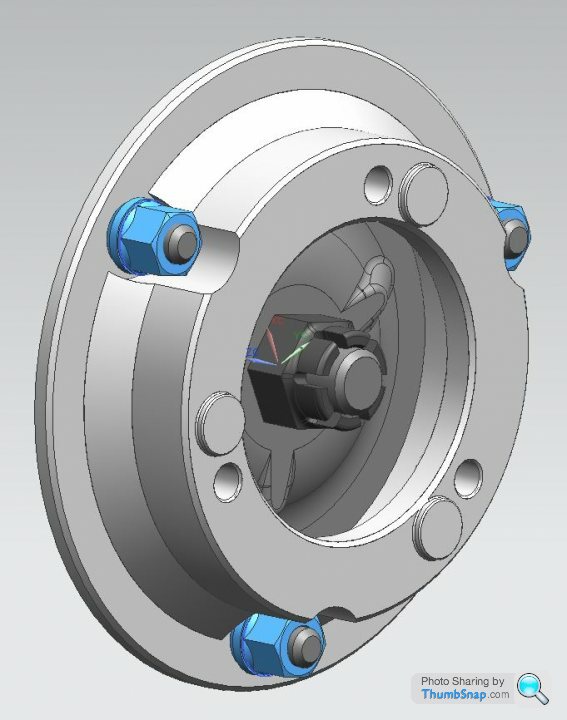
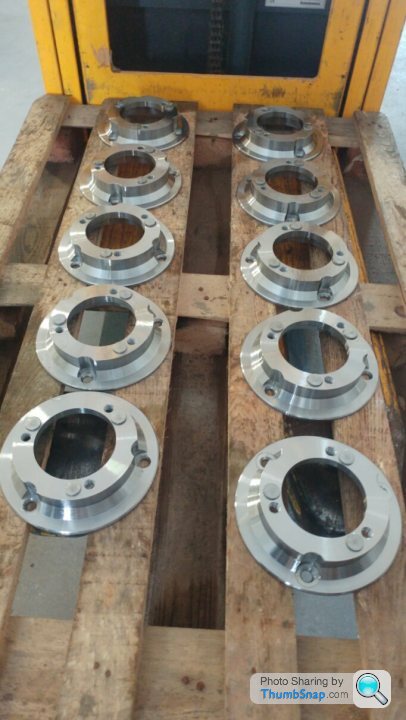
I recreated the 2 parts in CAD and designed the adaptor...
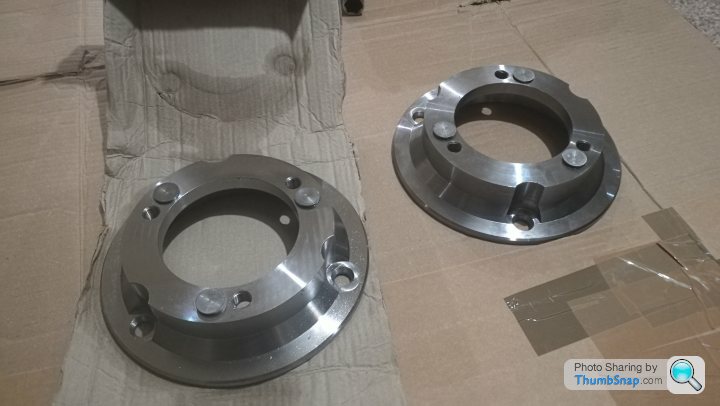
A fellow pembleton owner/builder in france was also keen for a set of 4, so I got a batch of ten machined up in eastern europe and shipped over.
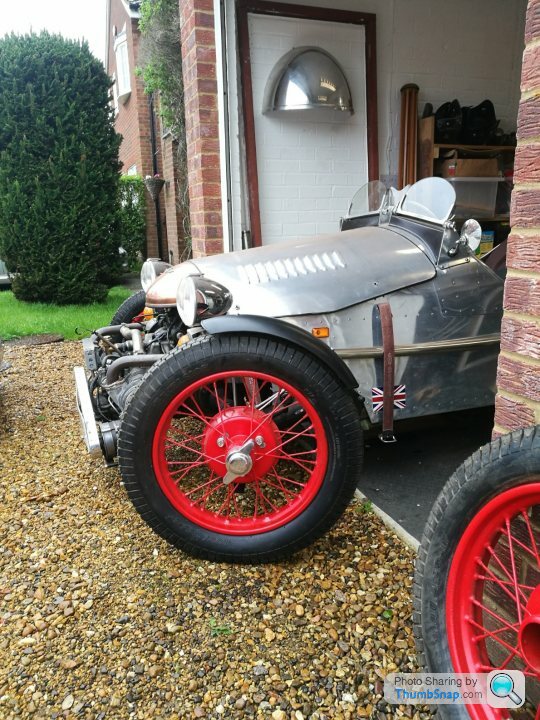
Whilst I was waiting for them to turn up I kept a beady eye on Ebay. As luck would have it, there was a chapbselling a set of 5x Austin 7 17" wheels in good condition, 4 had brand new tyres. Ideal. A deal was struck and I picked them up...
Within a few weeks of picking up the wheels, my adaptors arrived from Lithuania.
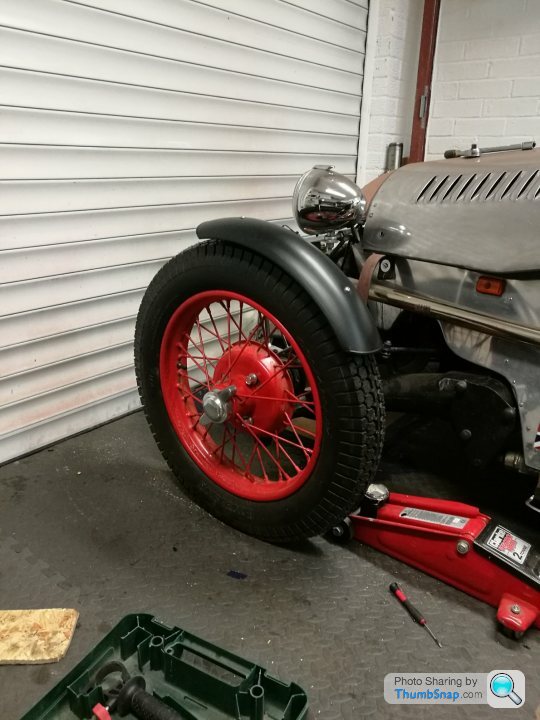
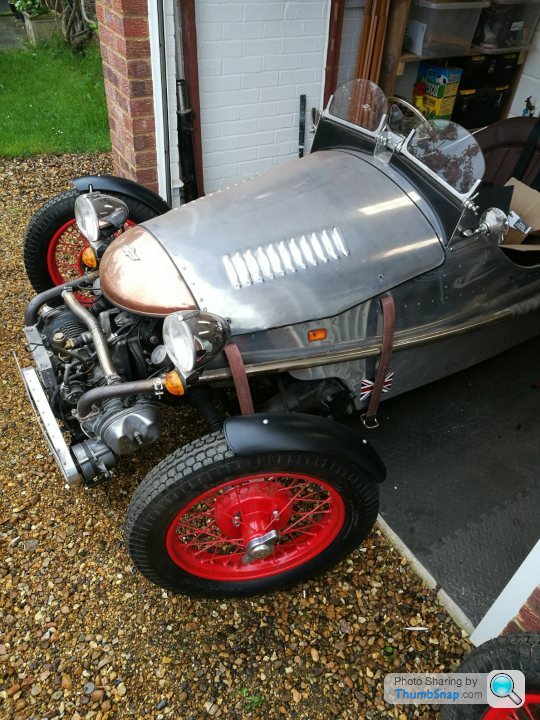
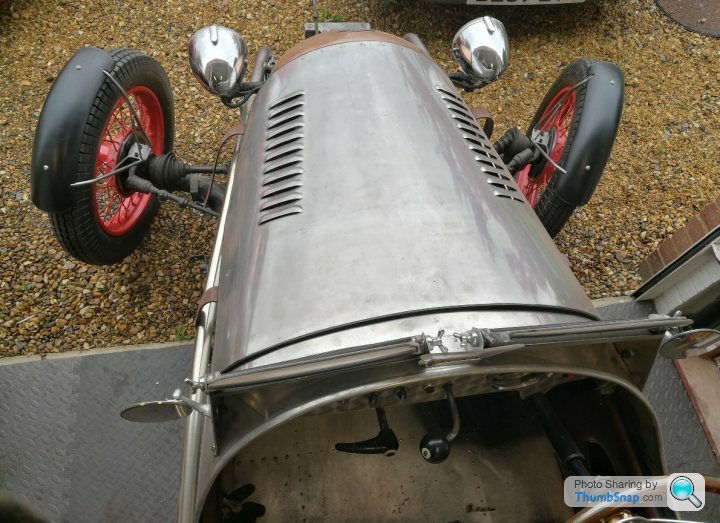
And fitted to the car with wheels...
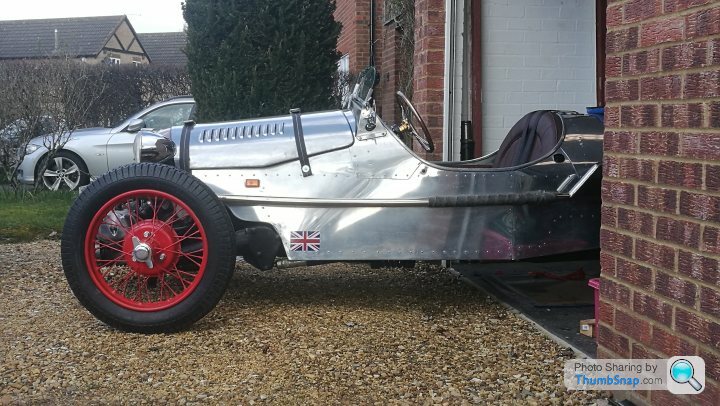
With the larger wheels and offset, my mudguards now dont fit, so that's the next job!
Ive managed to source some 19" wheels for the new build, but the 17s look fine on the current car!
You can stick with the 2cv wheels and go for various wheel trims, buy Pembletons own custom light weight wire wheels (at a premium), got for some bugatti style wheels from a dutch company, or fit MGA wire wheels and knock on adaptors.
I wanted wire wheels. I did buy a pair of 16" wire wheels and a single adaptor. I made these look like new, but I really struggled to get tyres for them and they were VERY heavy. I bailed out of this idea.
I did a bit more research and found that Austin7 wheels had the right look. They were tall, skinny, readily available, reasonably inexpensive, and bolt ons. I bought a wheel centre from a chap selling knackered wheels on Ebay. He was happy to cut the centre out of the worst one and post it to me. After a tickle with a wire wheel and a lick of paint, I could use it to measure and design my own wheel adaptor.
There were a few issue regarding PCD, locating bosses etc, but I got there in the end. The Austin brake drums have raised bosses pressed into them to locate the wheels and stop them rotating. The 2cv stub axle has a domed, raised centre with the castellated nut atop.
I recreated the 2 parts in CAD and designed the adaptor...
A fellow pembleton owner/builder in france was also keen for a set of 4, so I got a batch of ten machined up in eastern europe and shipped over.
Whilst I was waiting for them to turn up I kept a beady eye on Ebay. As luck would have it, there was a chapbselling a set of 5x Austin 7 17" wheels in good condition, 4 had brand new tyres. Ideal. A deal was struck and I picked them up...
Within a few weeks of picking up the wheels, my adaptors arrived from Lithuania.
And fitted to the car with wheels...
With the larger wheels and offset, my mudguards now dont fit, so that's the next job!
Ive managed to source some 19" wheels for the new build, but the 17s look fine on the current car!
Edited by Ambleton on Sunday 1st April 08:35
TooMany2cvs said:
1997... Dynamo... I guess bikes don't have a lot of electrics...
It's an alternator, and it needs a voltage regulator/rectifier. With a few exceptions (one being Moto Guzzi until about 1972  ), most bikes haven't used dynamos since the early 1960s. The earliest I can think of is the Triumph Speed Twin in 1953.
Edited by gareth_r on Sunday 1st April 11:50
Huntsman said:
Just read this thread start to finish. top work!
What's happening with the new build?
Thanks! See my other thread entitled Pembleton mkII - Tin Tub here....What's happening with the new build?
https://www.pistonheads.com/gassing/topic.asp?h=0&...
rolando said:
Ambleton said:
I was looking at wheel options for the new build. There aren't that many options in reality.
And fitted to the car with wheels...
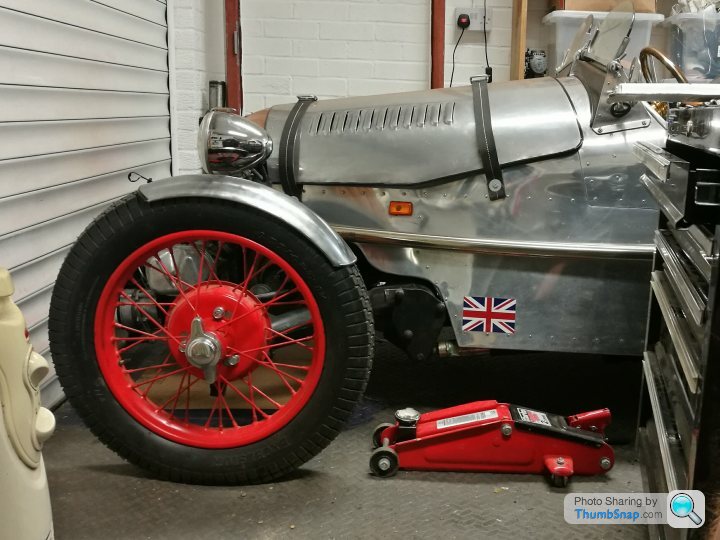
Those wheels look spot on. Do you really need mudguards, apart from making it legal? And fitted to the car with wheels...

They will be offset the wheels a bit obviously once fitted...
simon9a98 said:
Hello lovely wings where did you get them from?
Simon
They're from a classic bike parts seller, designed to be mounted on the front of something like a BSA or a Norton.Simon
https://www.classicbikeshop.co.uk
Not particularly expensive and lots of choice with quick delivery too.


The wheel choice is a stroke of genius - spot-on; and nice work with the adaptors!
Casually drilling stainless is a b h because it work hardens so fast (the chrome content...). Lots of tool pressure and an aggressive cut is the way to go - whizzing away with HSS bits won't do it, they'll gall and yes, snap. But cheap masonry bits (for the carbide tip) touched-up on a grinder, and a lot of pressure at slow speed, really can - surprisingly ( a tip from the cheap seats!)
Casually drilling stainless is a b
h because it work hardens so fast (the chrome content...). Lots of tool pressure and an aggressive cut is the way to go - whizzing away with HSS bits won't do it, they'll gall and yes, snap. But cheap masonry bits (for the carbide tip) touched-up on a grinder, and a lot of pressure at slow speed, really can - surprisingly ( a tip from the cheap seats!)Huff said:
Casually drilling stainless is a bh because it work hardens so fast (the chrome content...). Lots of tool pressure and an aggressive cut is the way to go - whizzing away with HSS bits won't do it, they'll gall and yes, snap. But cheap masonry bits (for the carbide tip) touched-up on a grinder, and a lot of pressure at slow speed, really can - surprisingly ( a tip from the cheap seats!)
Thanks Huff!h because it work hardens so fast (the chrome content...). Lots of tool pressure and an aggressive cut is the way to go - whizzing away with HSS bits won't do it, they'll gall and yes, snap. But cheap masonry bits (for the carbide tip) touched-up on a grinder, and a lot of pressure at slow speed, really can - surprisingly ( a tip from the cheap seats!)Also, thats a great tip! I'll give it a go! I have quite a few masonry bits knocking around so I'll do the other side tomorrow or saturday.
Whilst removing and refitting the wheels yesterday I noticed that my front left wheel bearing has absolutely st itself, resulting in around 10mm lateral movement at the perimeter.
Wheel bearings are horrible to replace, thankfully I'm now well practiced in this. Ill check the others too, but at least one needs doing....
t itself, resulting in around 10mm lateral movement at the perimeter. Wheel bearings are horrible to replace, thankfully I'm now well practiced in this. Ill check the others too, but at least one needs doing....
Ambleton said:
The RHS bracket needed some minor mods as the offset seemed a little different, nothing an angry grinder and a file couldn't fix.
Ambleton said:
Whilst removing and refitting the wheels yesterday I noticed that my front left wheel bearing has absolutely st itself, resulting in around 10mm lateral movement at the perimeter.
I suspect these might not be unrelated.t itself, resulting in around 10mm lateral movement at the perimeter. Right, so Victoria passed her first MOT today with flying colours. The wheel bearings threw up a few delightful surprises. The LHS bearing was worse than the RHS in terms of wear, but it came out okay and the new one went in okay too. The LHS lockring wouldn't go back in and started galling. I found a small area of thread about the size of a small pea that was damaged once this was drilled out and dressed the new lockring went in perfectly. Theres a fair amount of thread engagement so I'm not worried about the tiny amount of missing thread in that area.
Oh boy was the RHS a different story. The lockring came out okay, but there the simplicity ended. I managed to get the inboard half of the inner race shifted about 15mm on the stub axle. This released half of the ball bearings, allowing me to get the dremel on it and cut it off. The outer race was stead fast in the upright and the inner race jammed solid on the stub axle, with the other ball bearings holding it together. No amount of bashing or levering would release it, and heat didn't seem to help either.
In the end I managed to release the plastic ball bearing carrier and lever the stub axle, giving me a little more room and jamming one ball bearing in place. I then heated this one ball up with a torch until it was cherry red, then got a screw driver on it and bashed it from behind, pinging it off across the garage! Horray! One ball free! I had to do this another three times before the rest fell apart, allowing seperation. I could then cut off the rest of the inner race and heat up and remove the outher race.
It all went back together surprisingly easily. Although I did need to fit new CV gaiters as I spotted that 2 of those were split too! Typical!
Ambleton said:
Oh boy was the RHS a different story. The lockring came out okay, but there the simplicity ended. I managed to get the inboard half of the inner race shifted about 15mm on the stub axle. This released half of the ball bearings, allowing me to get the dremel on it and cut it off. The outer race was stead fast in the upright and the inner race jammed solid on the stub axle, with the other ball bearings holding it together. No amount of bashing or levering would release it, and heat didn't seem to help either.
The stub axle? You mean the driveshaft?Wow.
Never, EVER heard of a wheelbearing sticking to a driveshaft before. Think I'd be rummaging for a different upright...
Gassing Station | Readers' Cars | Top of Page | What's New | My Stuff