New Owner - C2 996
Discussion


BrotherMouzone said:
mmcd87 said:
Drivers side was indeed set up for wrong wheel drive, but you literally have to reverse the wiper centre clip 180deg and all is well. Just pops out with your thumb.
frankie5 said:

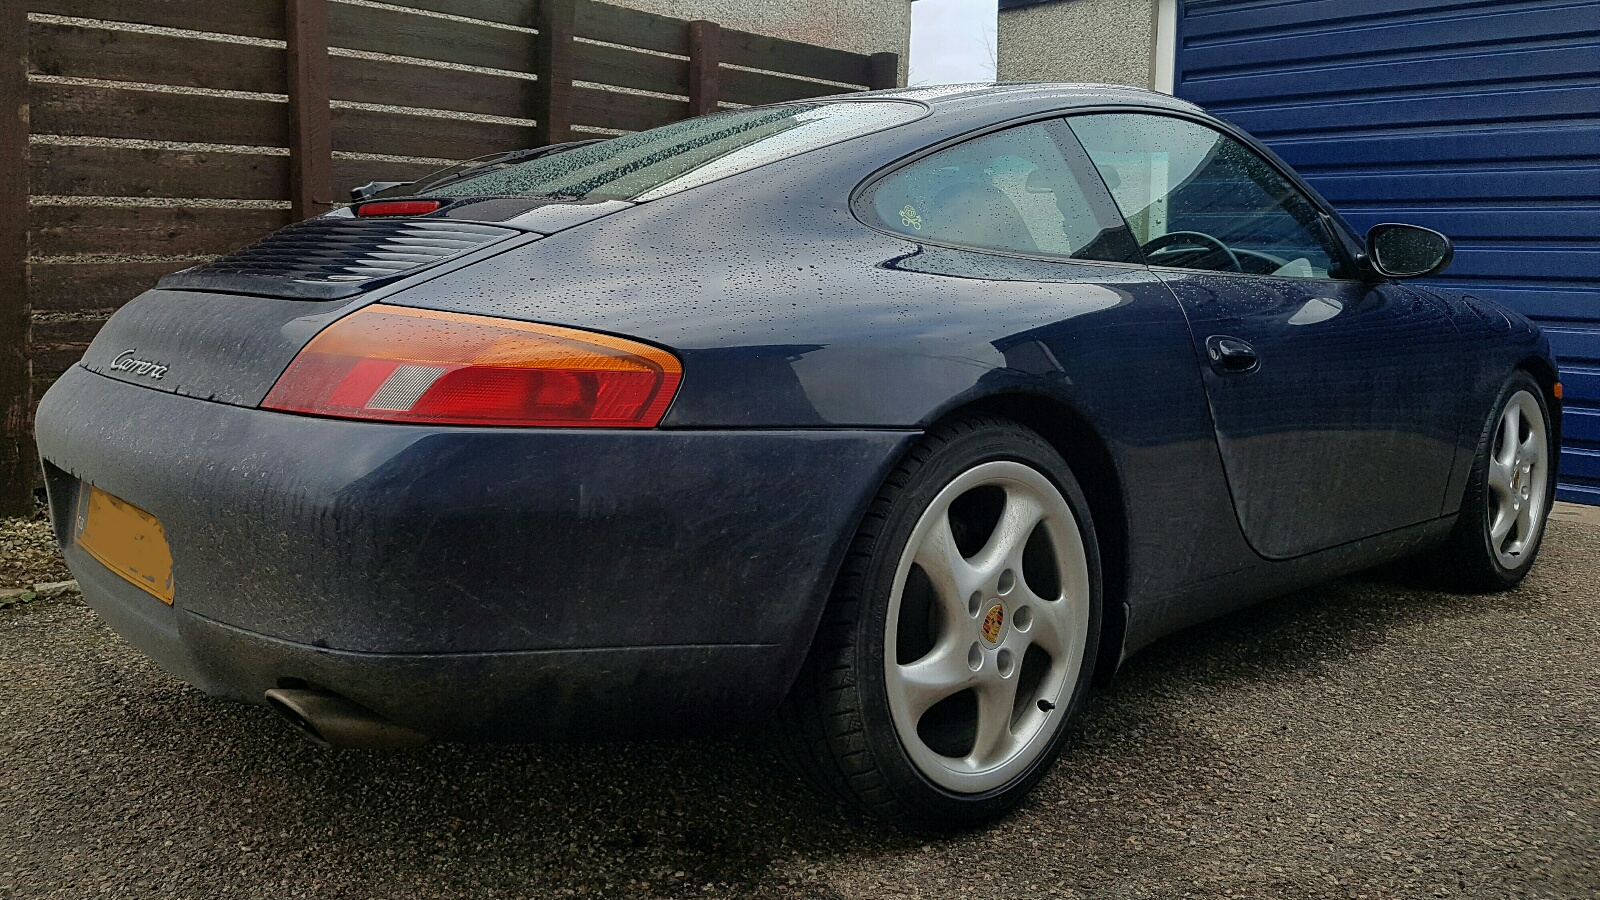
Here's my 1999 Carrera 2. It's manual with cable throttle and factory LSD. I have had the 'Gundo' 1.5 inch exhaust bypass mod performed and deleted the centre console. Future plans are a suspension refresh and lowering.
bgunn said:
Today, I mostly spent my time doing a suspension overhaul on my '98 C2:
Renewing rear toe links:
Cutting the seized bolt for the lower arm:
And then cleaning out years of road grime ready to put everything back in:

Put everything back tomorrow, then move to the front. Then Geo in a couple of weeks at Centre Gravity.
Can you give more details on what suspension work you've done. What products did you use to get the wheel arches like that?!Renewing rear toe links:
Cutting the seized bolt for the lower arm:
And then cleaning out years of road grime ready to put everything back in:
Put everything back tomorrow, then move to the front. Then Geo in a couple of weeks at Centre Gravity.

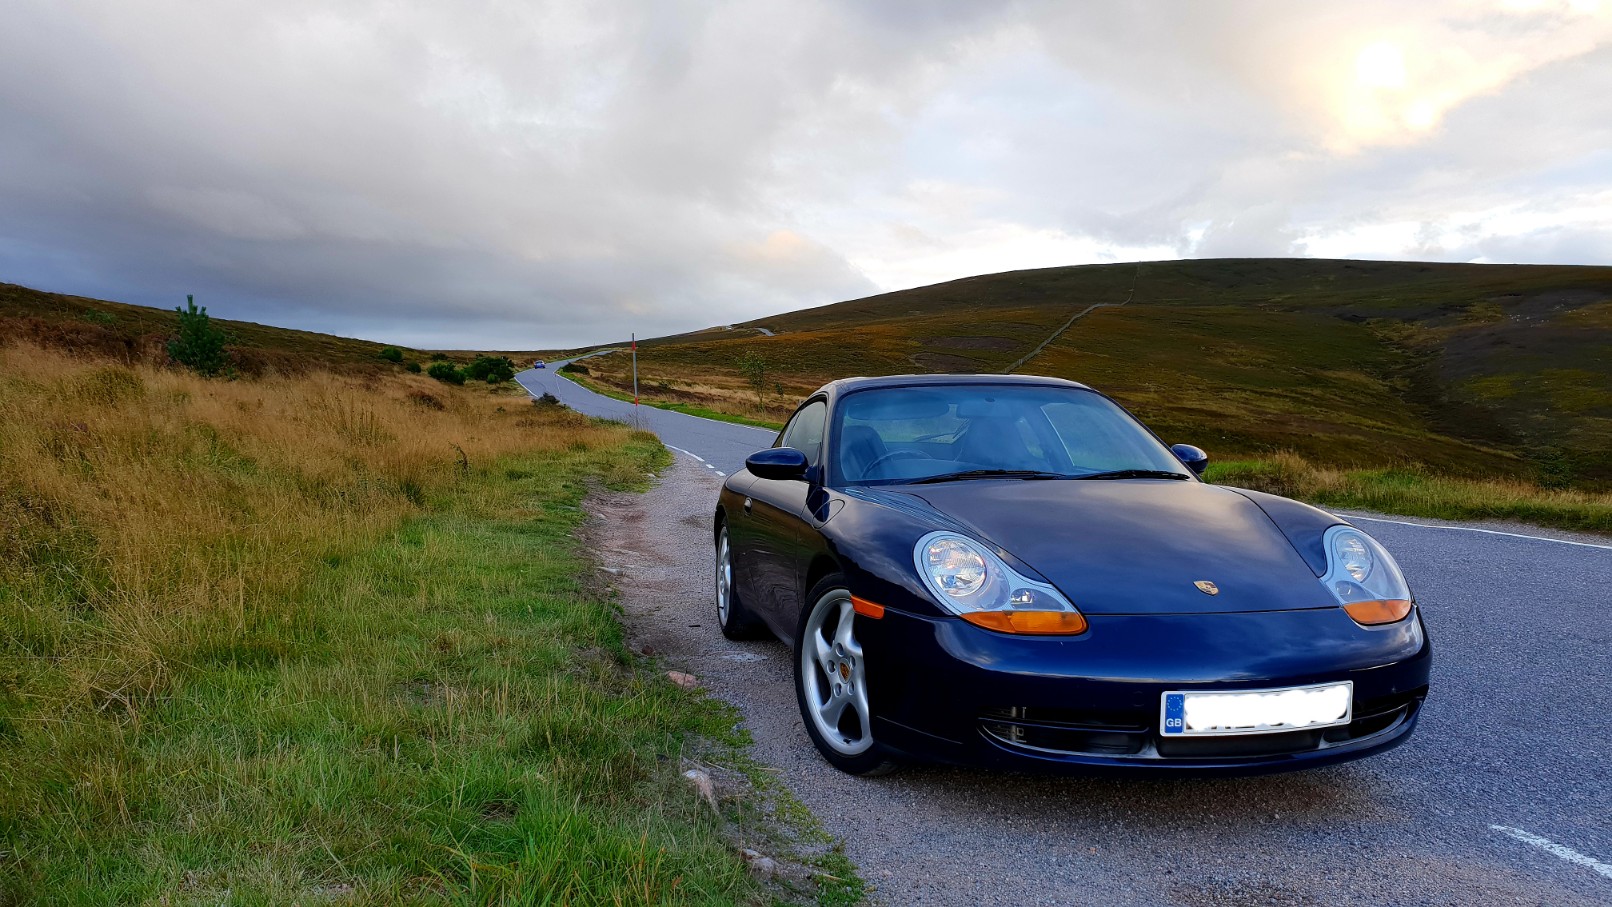
I took the car to Skye as part of a new year break. It proved quite practical with the front boot and space behind the front seats, though I admit I did wish it had a Targa style hatch at one point! 600+ miles over 4-5 days and it never missed a beat...
Great combination of scenery / roads.


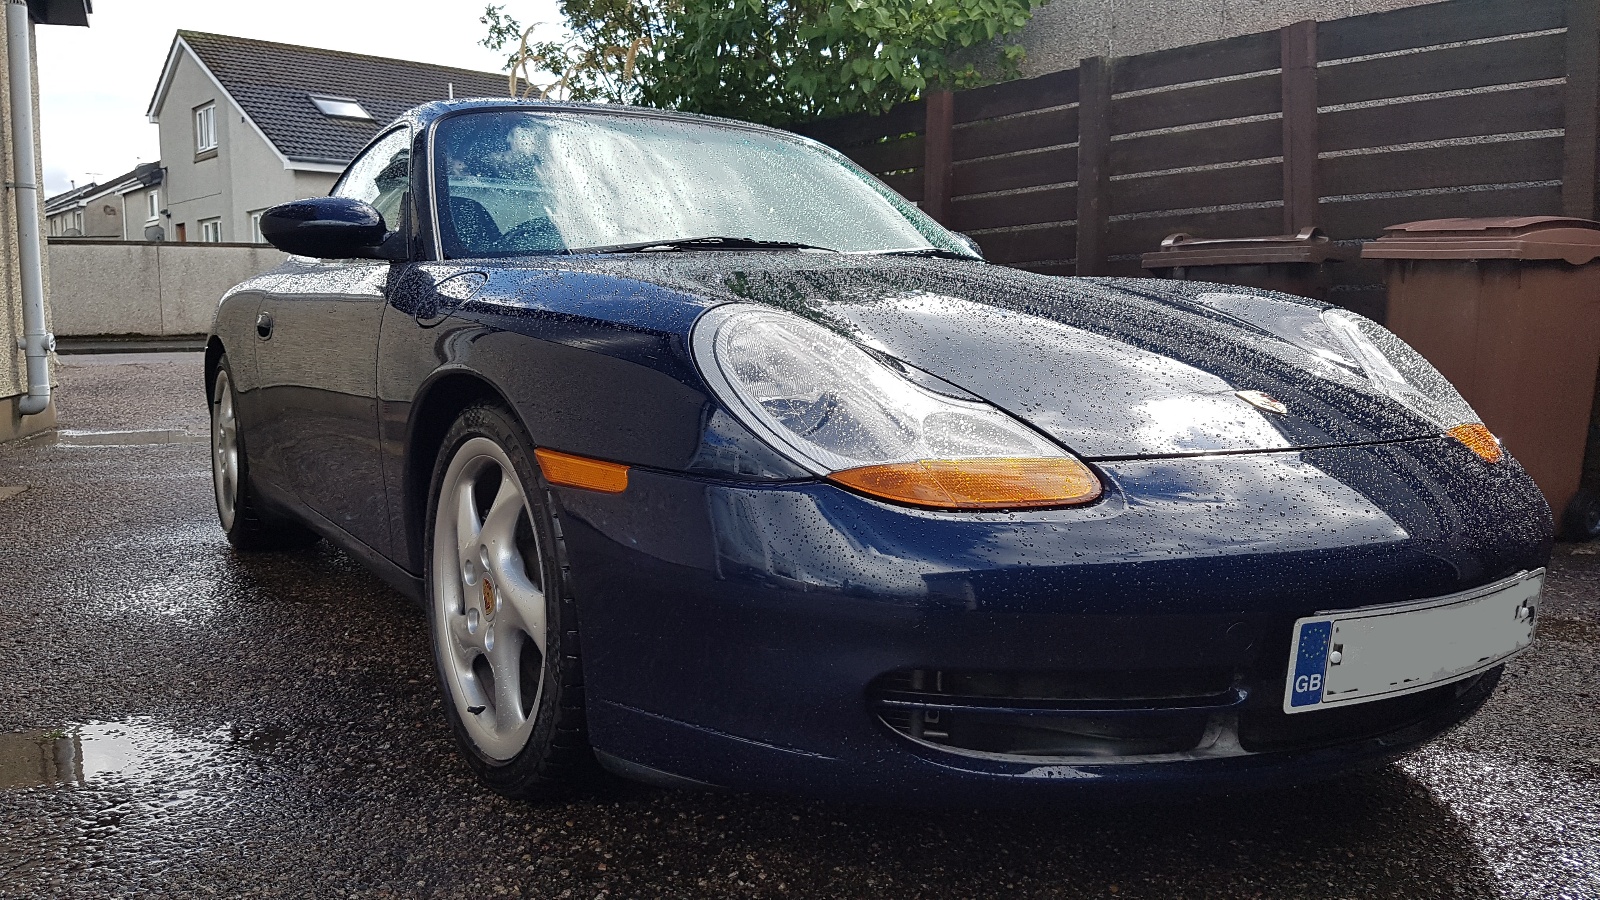
Home and needing a wash, though I do prefer the 'used' look!
Great combination of scenery / roads.
Home and needing a wash, though I do prefer the 'used' look!


A small update. The car was due an upgrade to the tyres that came fitted by the previous owner. The whole Porsche 'N' rating system made the decision a lot harder, and I wanted something that offered good value but gave the performance and security the car deserved. I wasn't bothered about an 'N' rated tyre, but was aware that the car can be fussy about what tyres it has fitted, particularly due to the rear engined layout. Reading a copy of Modern Classics magazine, they mentioned a new tyre by Kumho.

I fitted Kumho Ecsta KU39 tyres to my Mazda Mx5, so was familiar with the brand. The PS91 was one of the few tyres in this price range that seem to be recommended by the tyre manufacture as suitable for 911 - it is one of the 'sample vehicles' they mention for it. They are marketed as a rival to Michelin Pilot Super Sport, etc, to give an idea of the target audience. Reviews and feedback online so far are also positive: -
https://www.tirerack.com/tires/tests/testDisplay.j...
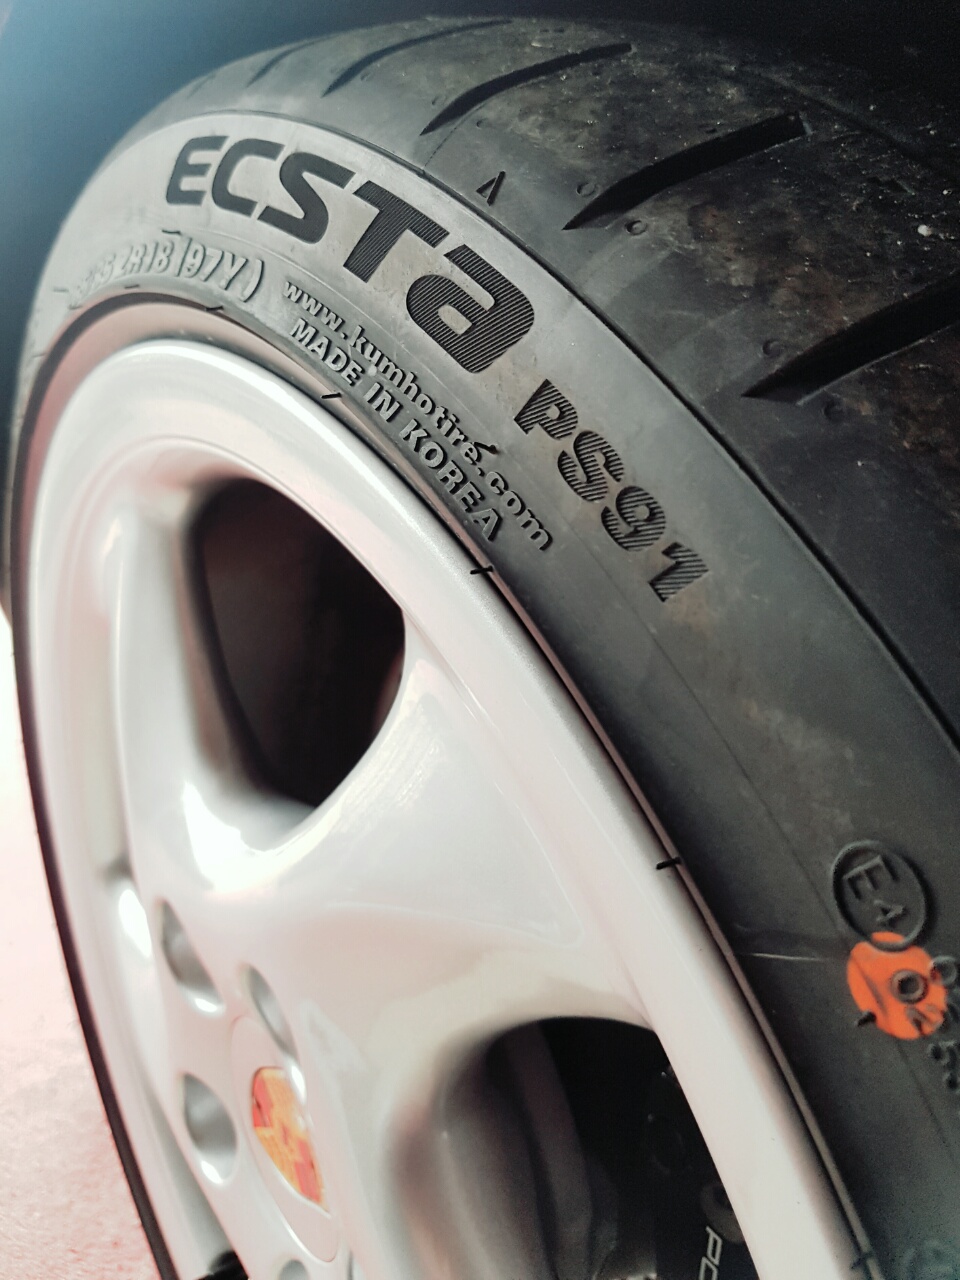
It is early days but the feel through the steering is much improved, and grip in the wet is also more than adequate even without them being scrubbed in (I haven't had a dry day yet to try them out). I doubt you would get a better tyre for the price - little over £420 fitted for all 4 from Black Circles. Food for thought if you are looking for something similar.
I fitted Kumho Ecsta KU39 tyres to my Mazda Mx5, so was familiar with the brand. The PS91 was one of the few tyres in this price range that seem to be recommended by the tyre manufacture as suitable for 911 - it is one of the 'sample vehicles' they mention for it. They are marketed as a rival to Michelin Pilot Super Sport, etc, to give an idea of the target audience. Reviews and feedback online so far are also positive: -
https://www.tirerack.com/tires/tests/testDisplay.j...
It is early days but the feel through the steering is much improved, and grip in the wet is also more than adequate even without them being scrubbed in (I haven't had a dry day yet to try them out). I doubt you would get a better tyre for the price - little over £420 fitted for all 4 from Black Circles. Food for thought if you are looking for something similar.
Edited by mmcd87 on Saturday 11th March 21:04

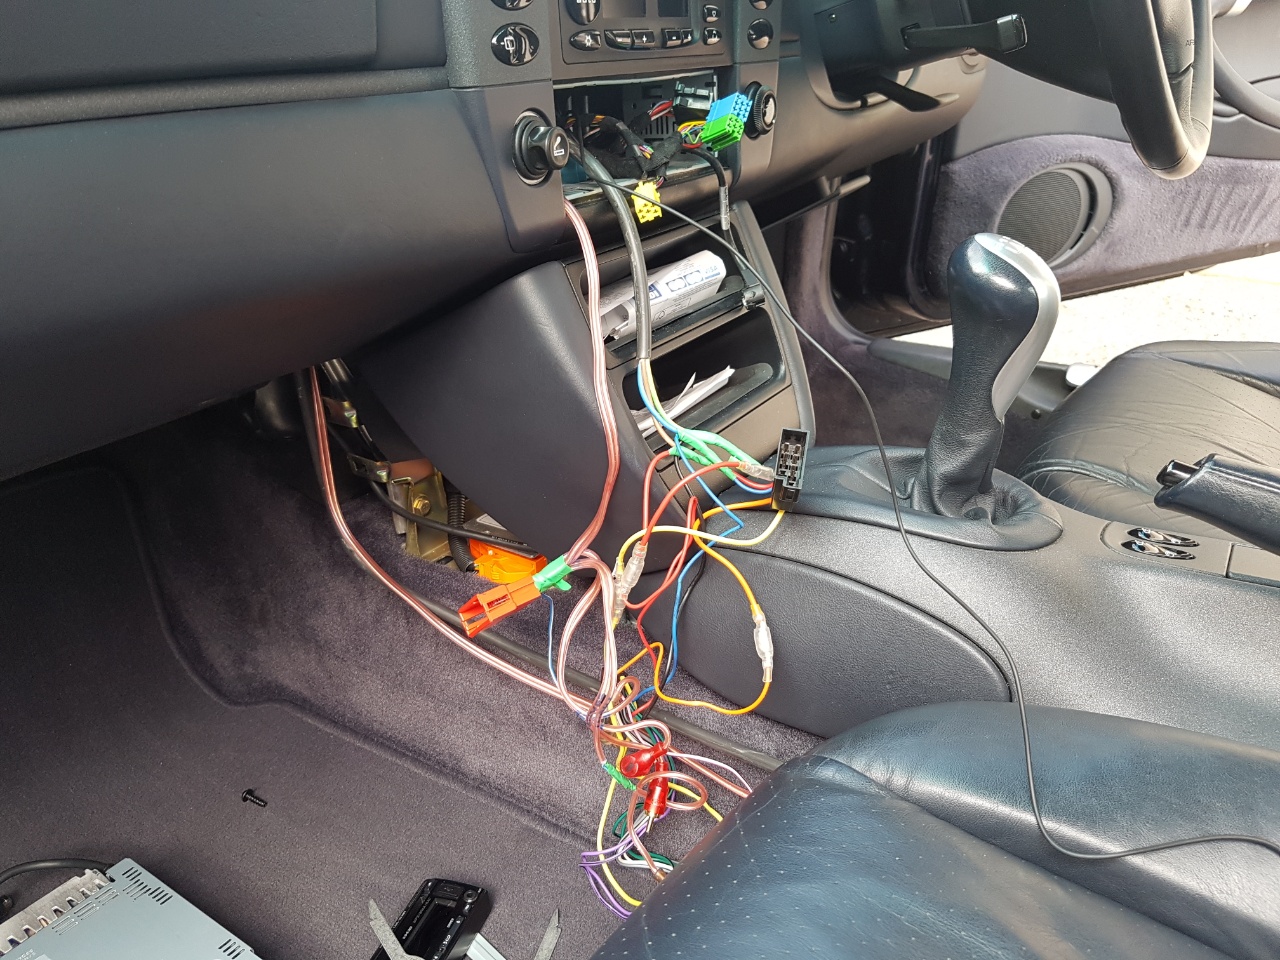
I want to change the aftermarket Alpine headunit fitted to the car, so made a start at tackling the audio install that had been fitted to the car in the past. I found a cluster of wires behind the dashboard, and more wires running through the lower centre console, where I suspect a subwoofer or similar had been in the rear of the car somewhere. The factory loom appears untouched however.
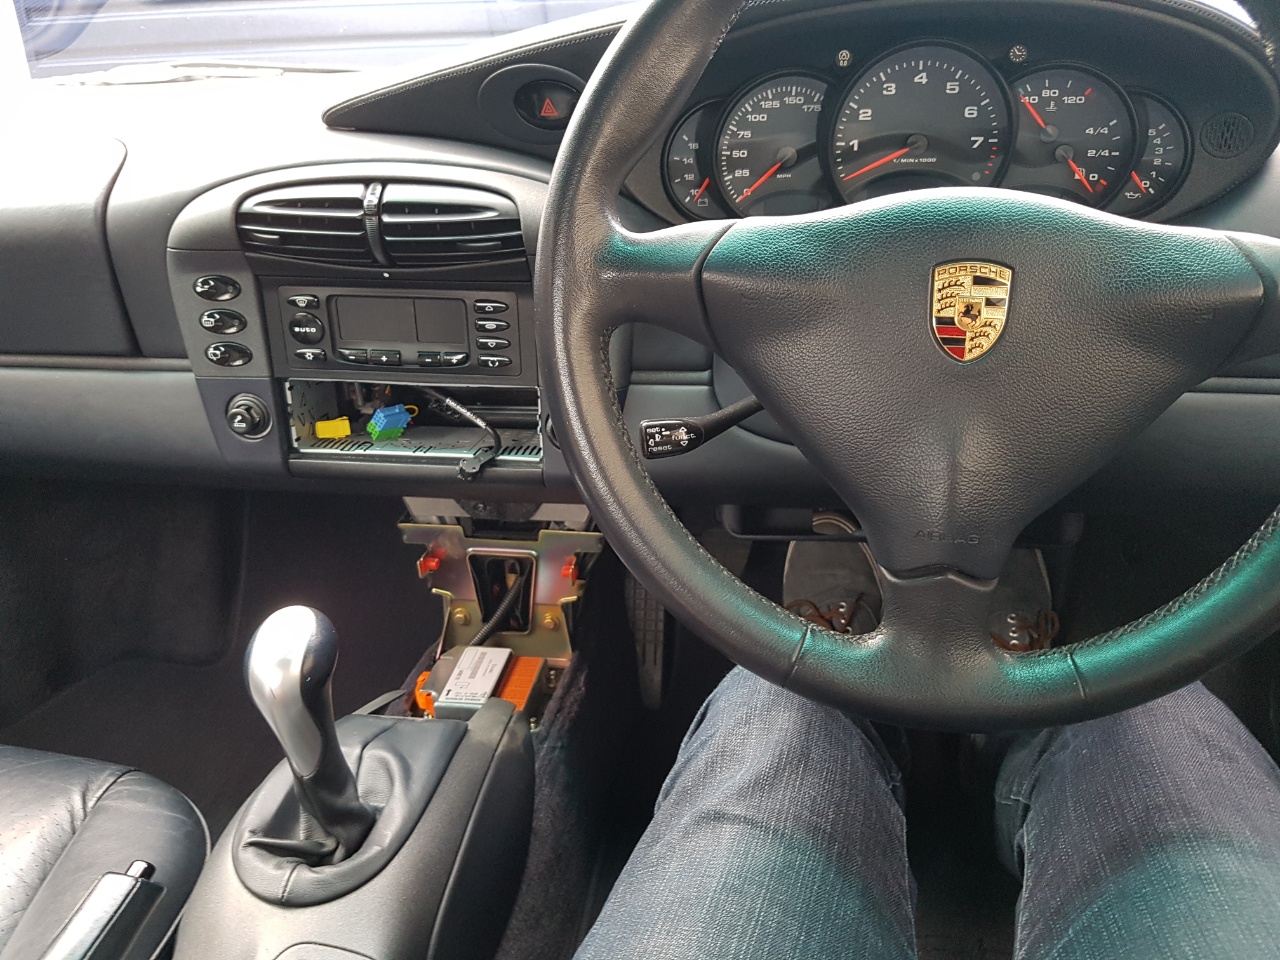
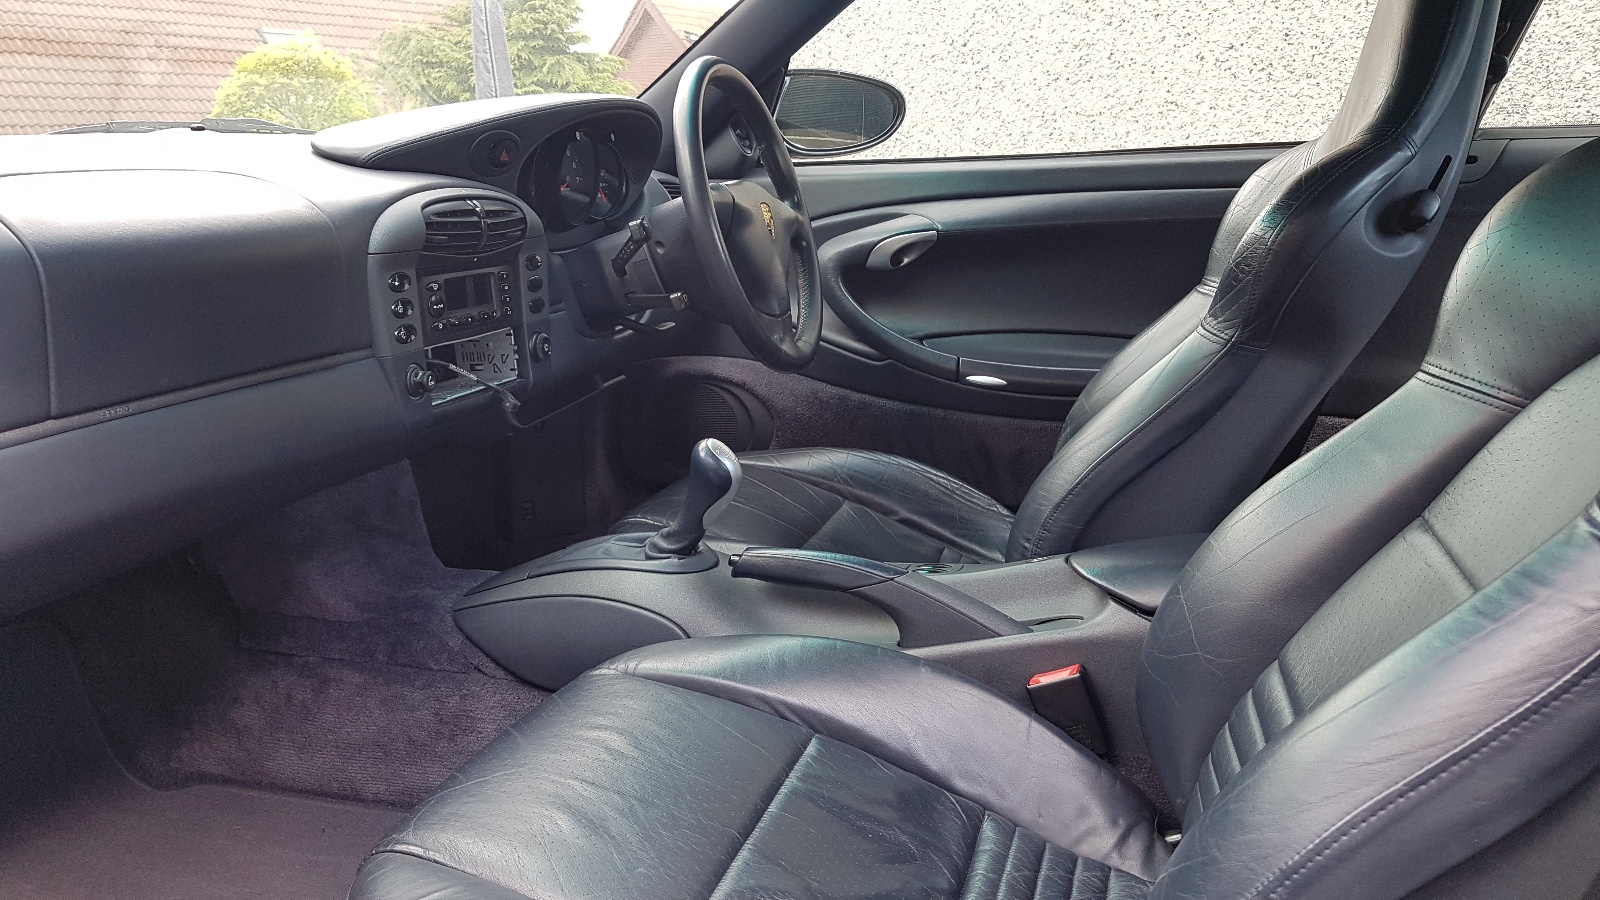
The dashboard in it's current state. I removed the lower dashboard centre console to see what a GT3 delete kit would be like. I think I am going to go with it.
Messing with the interior lead me into the boot, where the ancient factory CD changer and Nokia amplifier looked like unnecessary weight to be driving about. The headunit I am looking at has a built in amplifier, which will make packaging much neater.
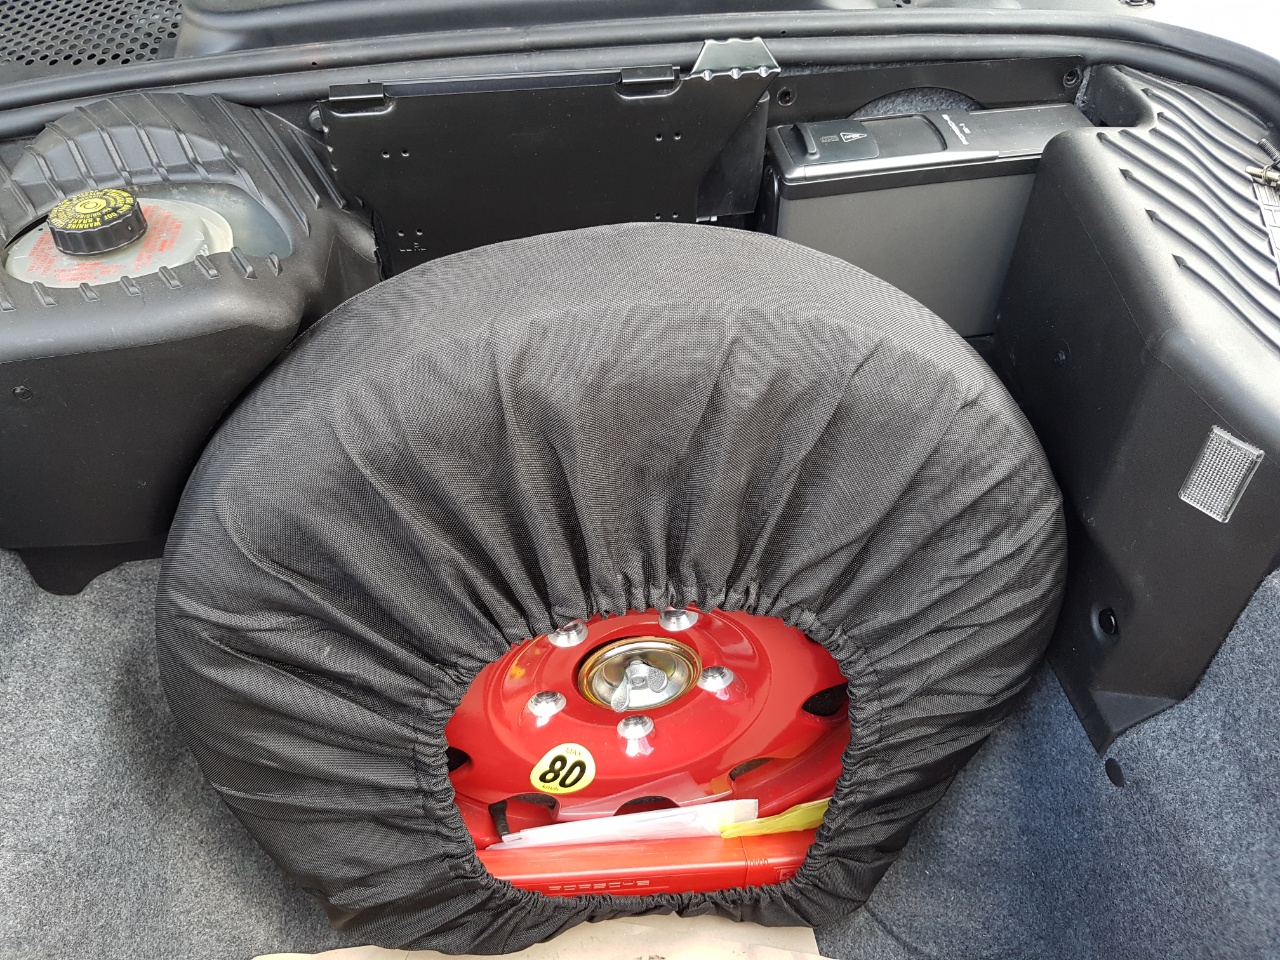
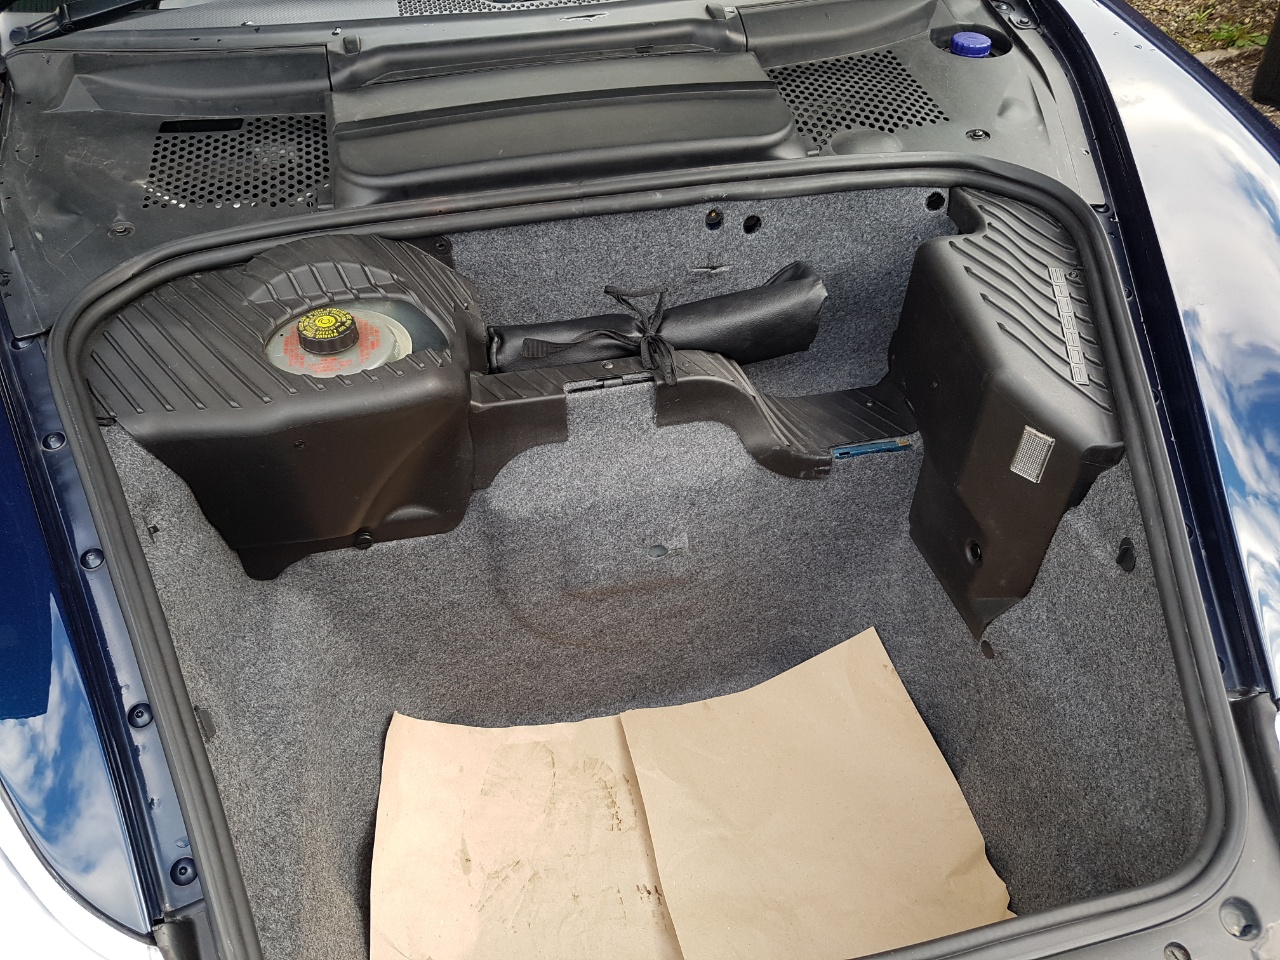
Might as well remove the spare wheel while I'm at it. To be replaced with a can of Holts Tyre Weld. CD / amp connectors tucked behind the carpet.
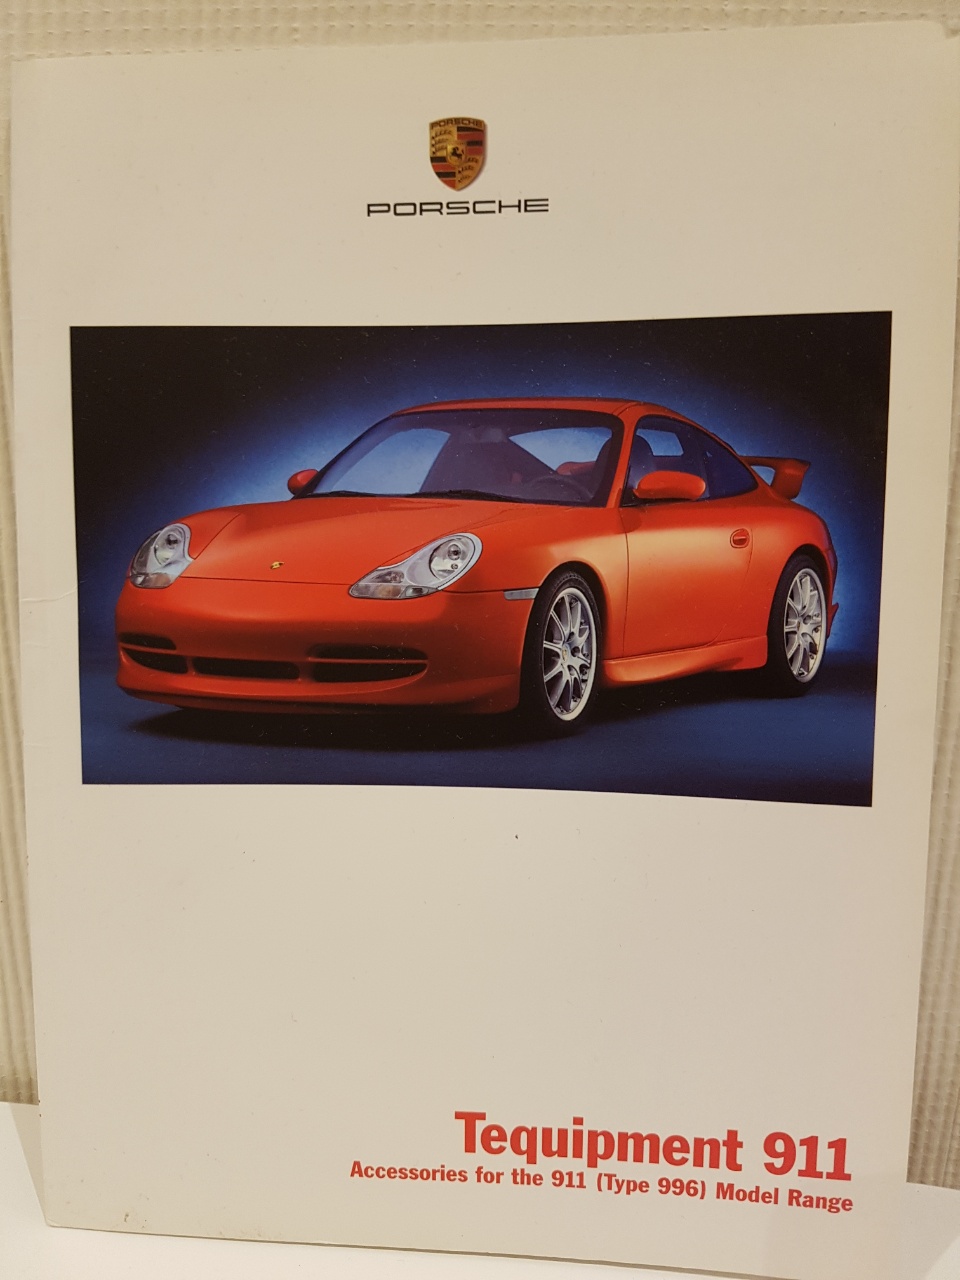
I picked up a Tequipment brochure off eBay which is a fascinating read.
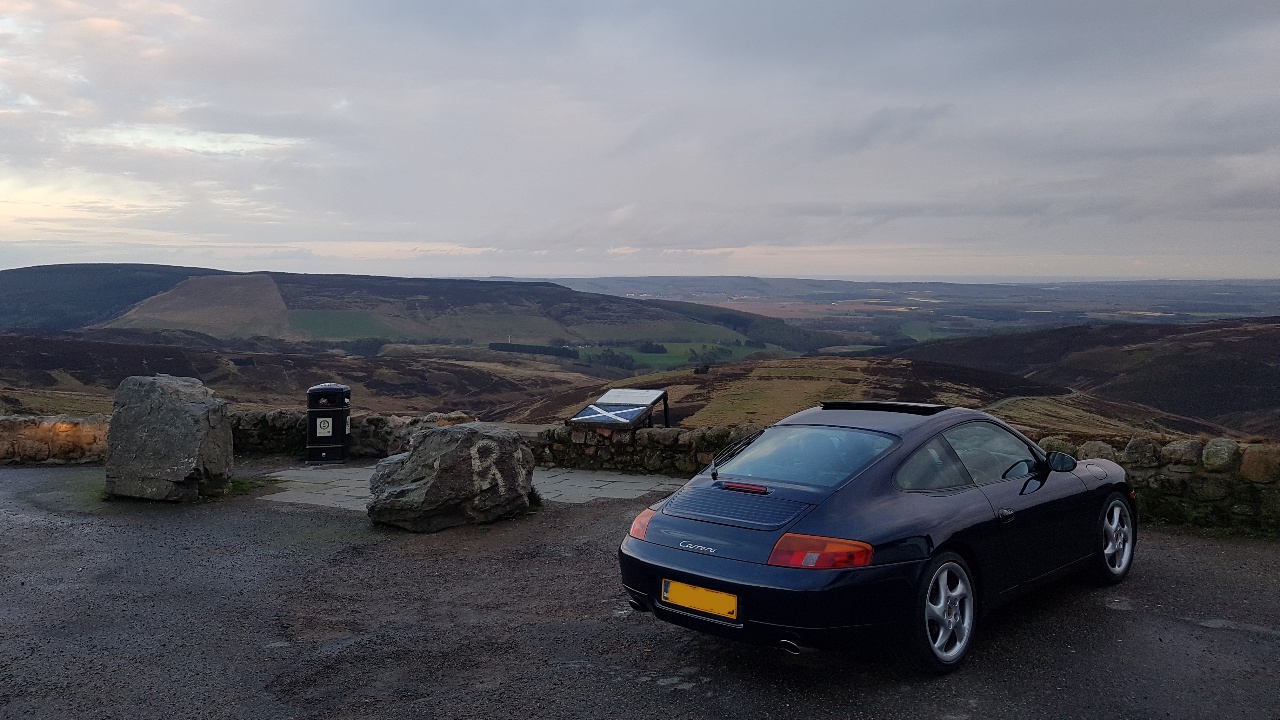
Starting to use the car more with the daylight saving time kicking in. A favourite spot of mine.

The dashboard in it's current state. I removed the lower dashboard centre console to see what a GT3 delete kit would be like. I think I am going to go with it.
Messing with the interior lead me into the boot, where the ancient factory CD changer and Nokia amplifier looked like unnecessary weight to be driving about. The headunit I am looking at has a built in amplifier, which will make packaging much neater.
Might as well remove the spare wheel while I'm at it. To be replaced with a can of Holts Tyre Weld. CD / amp connectors tucked behind the carpet.
I picked up a Tequipment brochure off eBay which is a fascinating read.
Starting to use the car more with the daylight saving time kicking in. A favourite spot of mine.
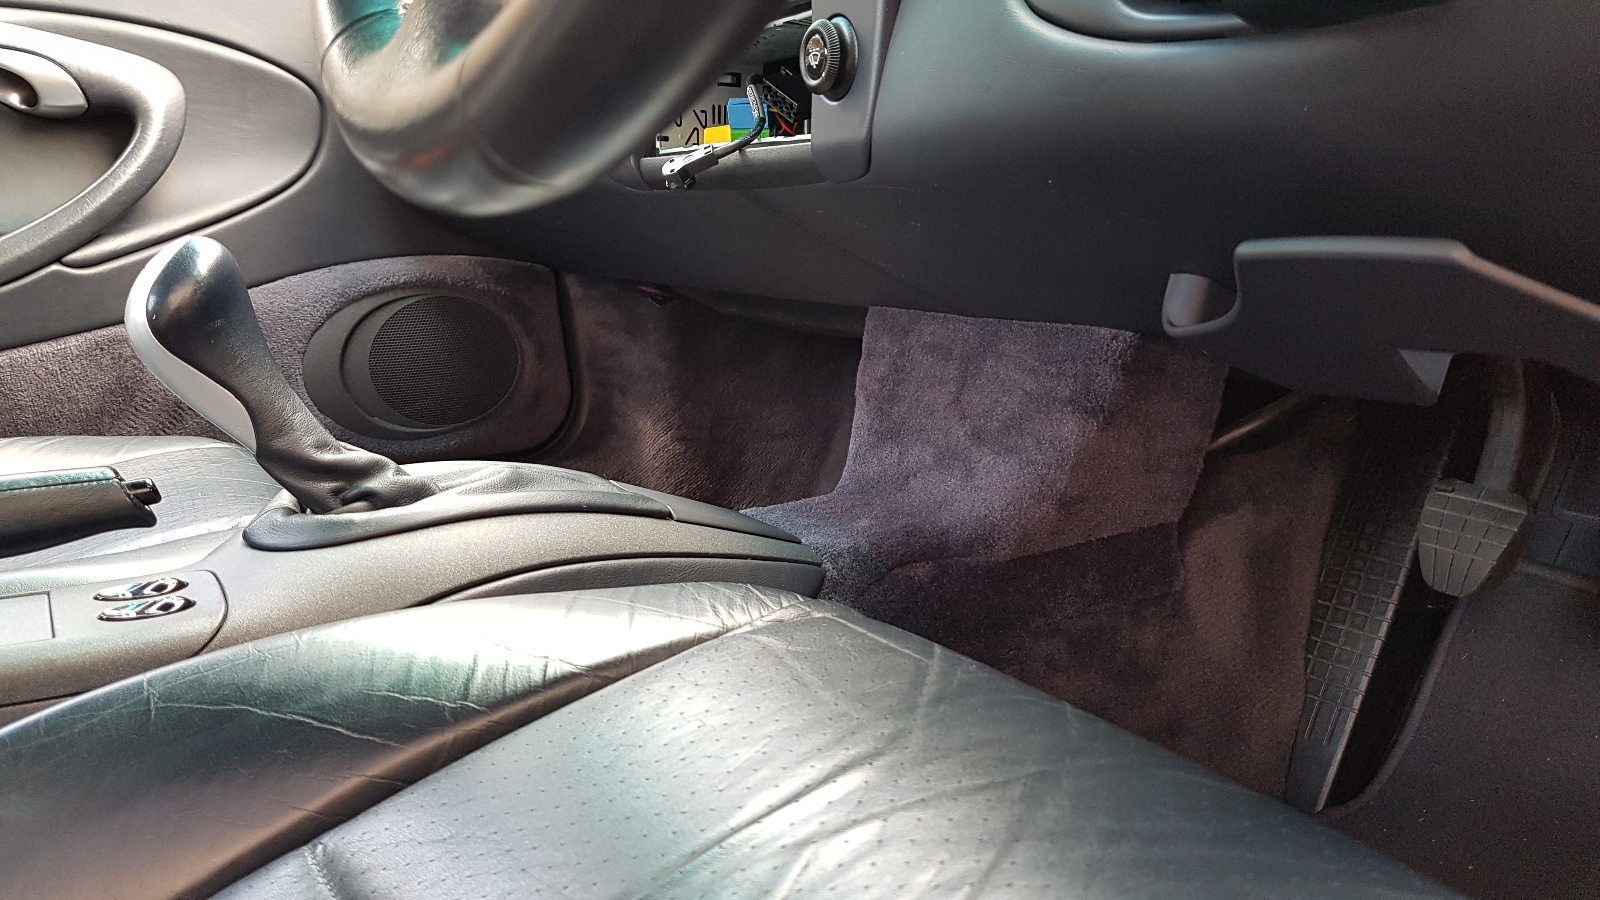
GT3 centre console delete installed. Not sure it is worth the money but I do like the outcome: -
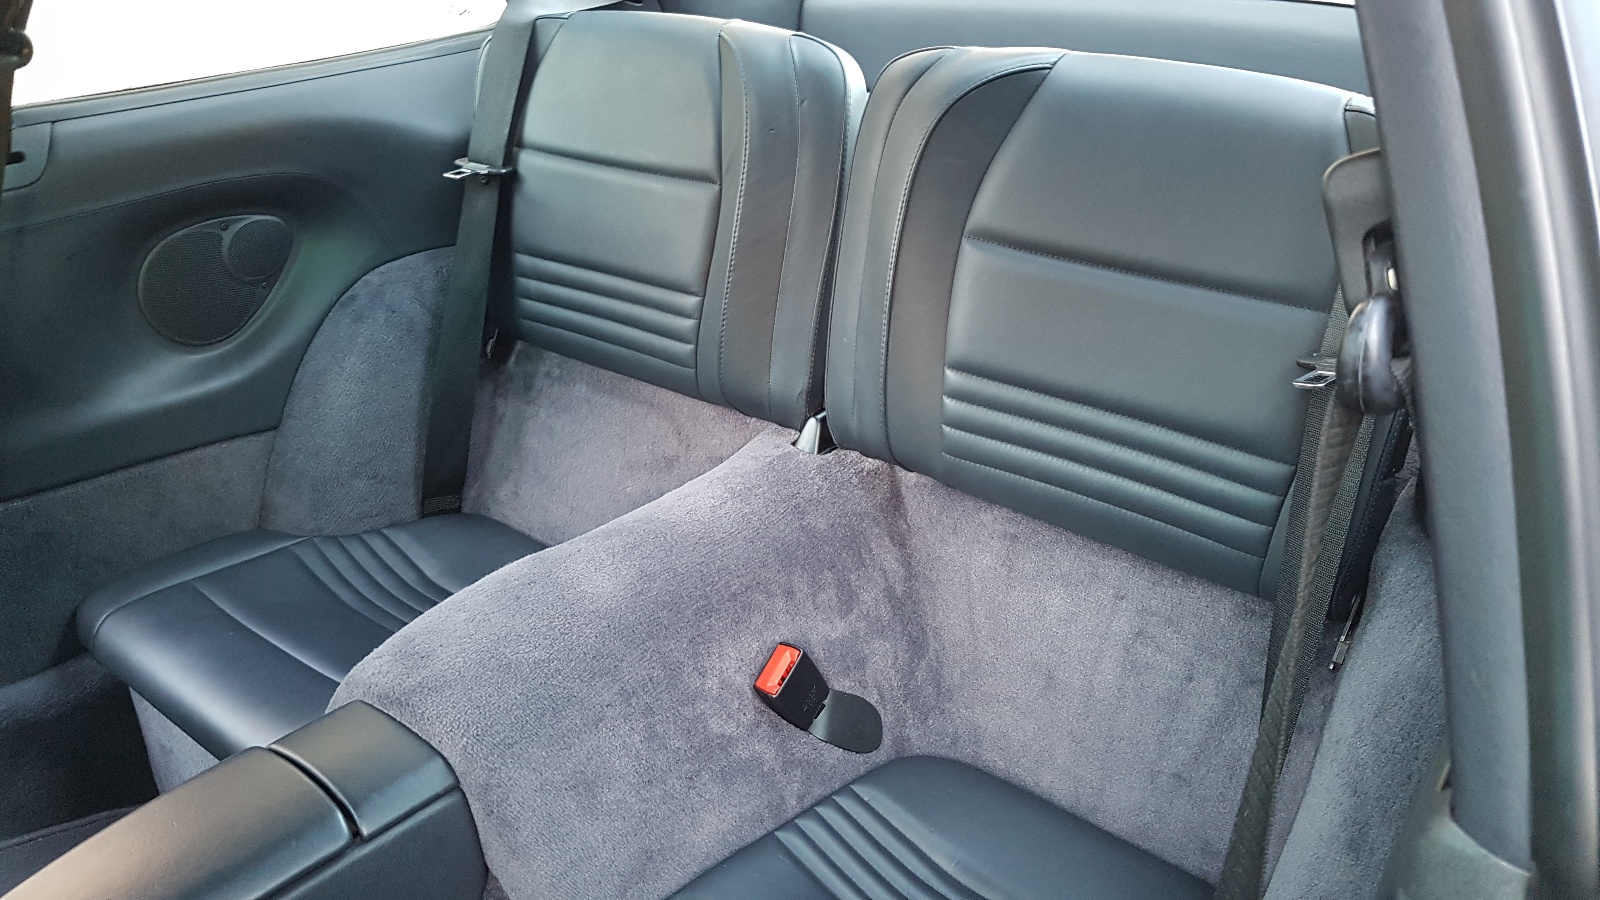
I also decided to remove the rear seats from the car. 3 bolts and they are out: -
From
To
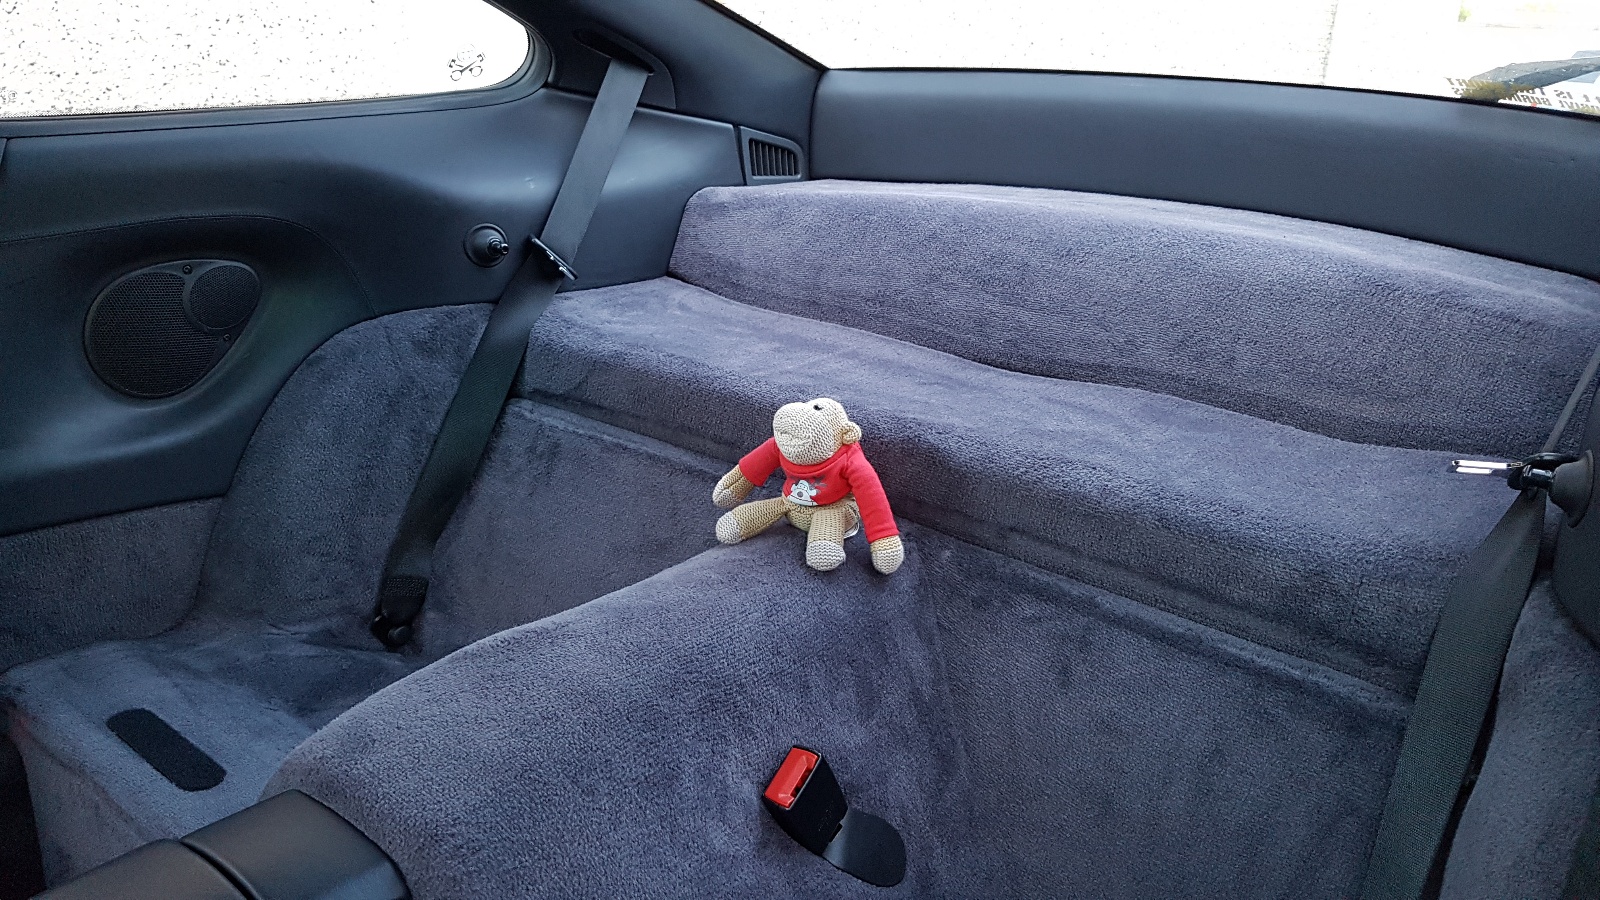
With the spare wheel, jack, cd changer, amplifier, GT3 centre console, rear seats and the Dansk backboxes, I must be getting close to 40kg removed from the car. That should be the end of the weight saving though, as I don't want to take the car too far from OEM.
I also decided to remove the rear seats from the car. 3 bolts and they are out: -
From
To
With the spare wheel, jack, cd changer, amplifier, GT3 centre console, rear seats and the Dansk backboxes, I must be getting close to 40kg removed from the car. That should be the end of the weight saving though, as I don't want to take the car too far from OEM.
The Curn said:
The centre console delete looks good. Would you mind telling me where you bought the kit from?
Thanks.
Hi,Thanks.
I bought the parts from my local Porsche dealer. You only need 2 bits - the carpet section and a small plastic cover to go over the front of the centre console.
Page 300, part 1 (lining carpet - pick correct colour code) and part 5 (cover - B12). Note the parts are from the Boxster parts catalogue: -
http://www.porsche.com/all/media/pdf/originalparts...
Install instructions are here: -
http://www.pelicanparts.com/techarticles/Porsche-9...
You need to drill the holes in the carpet section slightly bigger for it to fit over the existing centre console studs - this will be obvious during fitment.
My invoice sheet reads (Metropole Blue): -
P986.552.113.02 G1 N/STOCK Lining Metro
P986.552.241.02 A0 N/STOCK Cover Black
Edited by mmcd87 on Tuesday 16th May 23:01
The 996 parts catalogue is also very useful when getting parts from your Dealer.
http://www.porsche.com/all/media/pdf/originalparts...
http://www.porsche.com/all/media/pdf/originalparts...
With summer here I'm trying to use the car as much as possible, the latest highlight being a long weekend away with some mates. It's always interesting since we have different cars, though the preference seems to be between 2 manufacturers at the minute...

Convertible envy ...
...


Prior to the trip I'd been considering changing the engine mounts in the car, since there was no evidence they had ever been replaced and there was light signs of them being tired. After another decent drive I decided to bite the bullet, and look for some semi-solid ones as a mild upgrade.

There are plenty different opinions, brands, etc on these on all the usual forums, and arguably they all do the same job. What was initially putting me off the semi-solid type mounts was the talk of vibration in the cabin, particularly around 3k rpm. I was willing to sacrifice a bit of NVH, especially with this style of mount, but having rattles appearing all inside the car did not appeal. I was after something fast road rather than track.
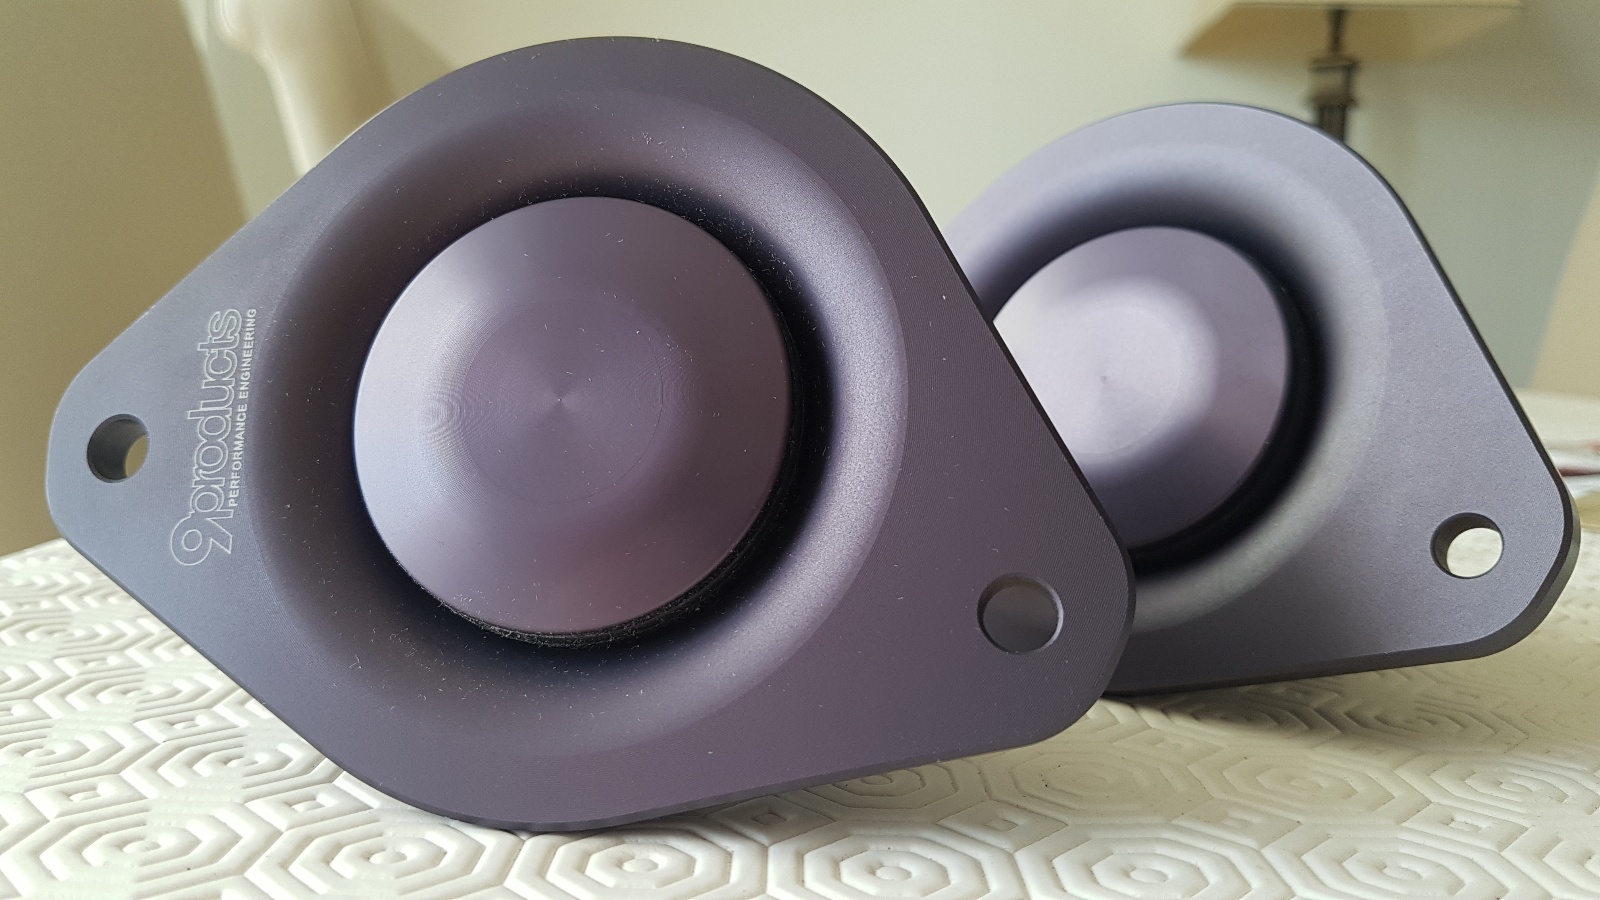
There was little information online about the 9products mounts, but what appealed to me was they offer a softer 65grade bushing rather than the 75grade+ offered by the rest. I was hoping this would make them more acceptable on the road whilst still offering the benefits this type of mount offers over the fluid filled OEM type. I placed the order direct from their website and waited for the parcel to arrive...
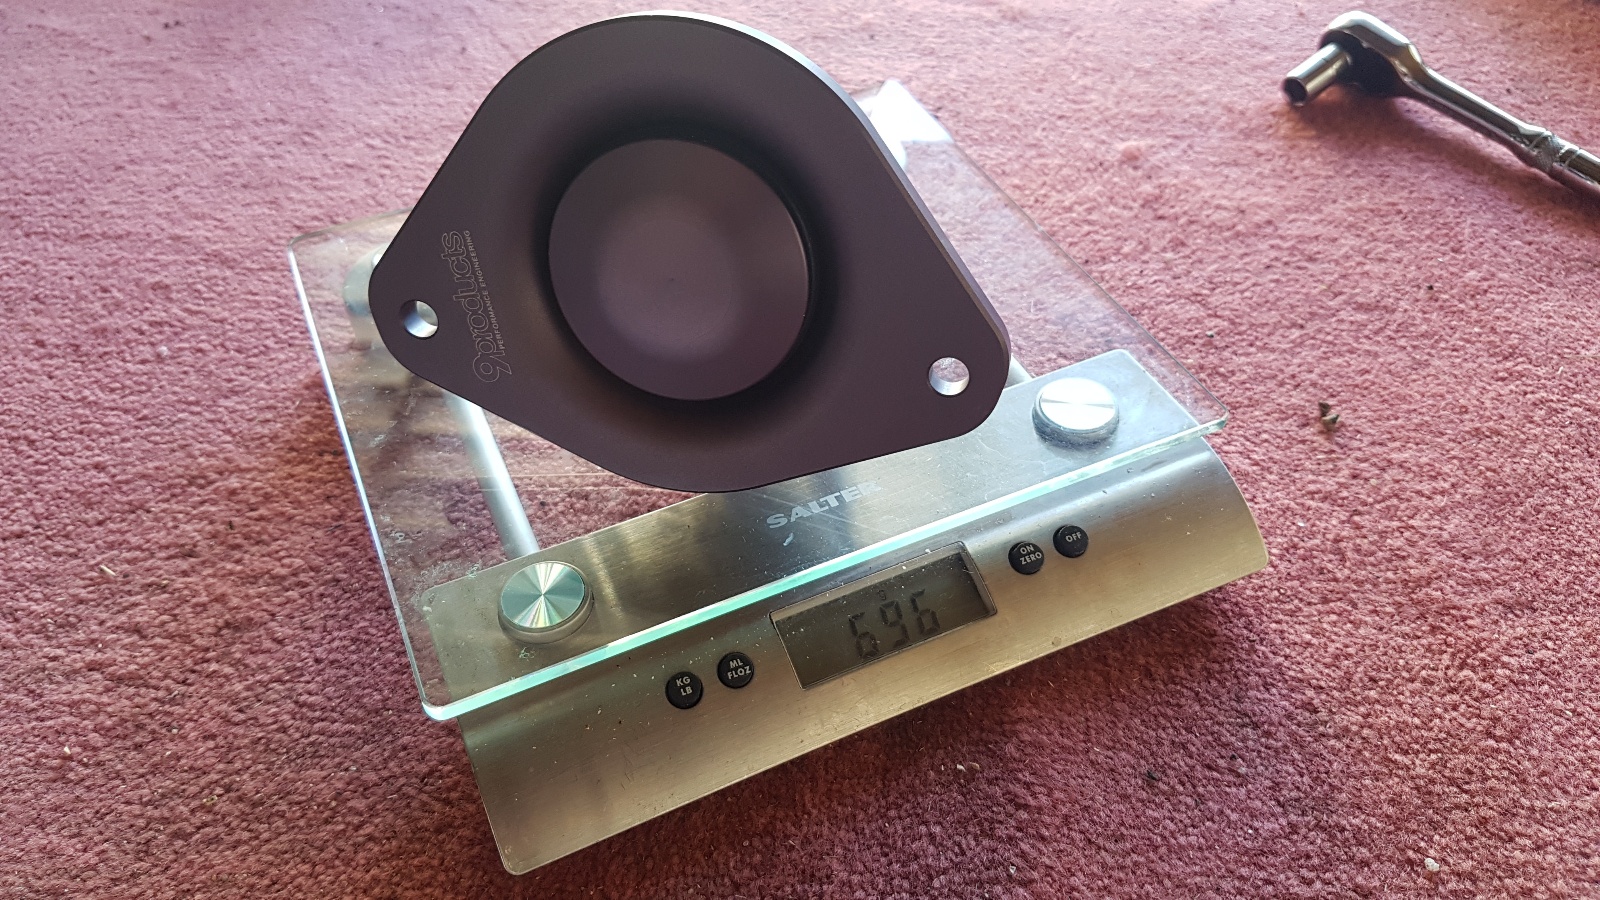
As a start, a slight weight reduction over the old mounts...
Convertible envy
...Prior to the trip I'd been considering changing the engine mounts in the car, since there was no evidence they had ever been replaced and there was light signs of them being tired. After another decent drive I decided to bite the bullet, and look for some semi-solid ones as a mild upgrade.
There are plenty different opinions, brands, etc on these on all the usual forums, and arguably they all do the same job. What was initially putting me off the semi-solid type mounts was the talk of vibration in the cabin, particularly around 3k rpm. I was willing to sacrifice a bit of NVH, especially with this style of mount, but having rattles appearing all inside the car did not appeal. I was after something fast road rather than track.
There was little information online about the 9products mounts, but what appealed to me was they offer a softer 65grade bushing rather than the 75grade+ offered by the rest. I was hoping this would make them more acceptable on the road whilst still offering the benefits this type of mount offers over the fluid filled OEM type. I placed the order direct from their website and waited for the parcel to arrive...
As a start, a slight weight reduction over the old mounts...
A few lessons learned from installation that may help others: -
1) You need an 18mm DEEP hex socket - your standard toolkit is probably lacking this, and Halfords couldn't help me! I bought a Draper one. Ideally get a 6 point but I used a 12 and all was ok.
2) When you support the engine with the jack, it helps to support it more to the side of the mount that is being removed - setting the jack in the middle for the 2 mounts makes it more difficult.
3) Have some wipes, etc to clean the spot where the old mount was sitting / new mount will be installed in the engine bay.
4) Some guides mention an emissions pump to remove on the left side of the engine bay. My car did not have this.
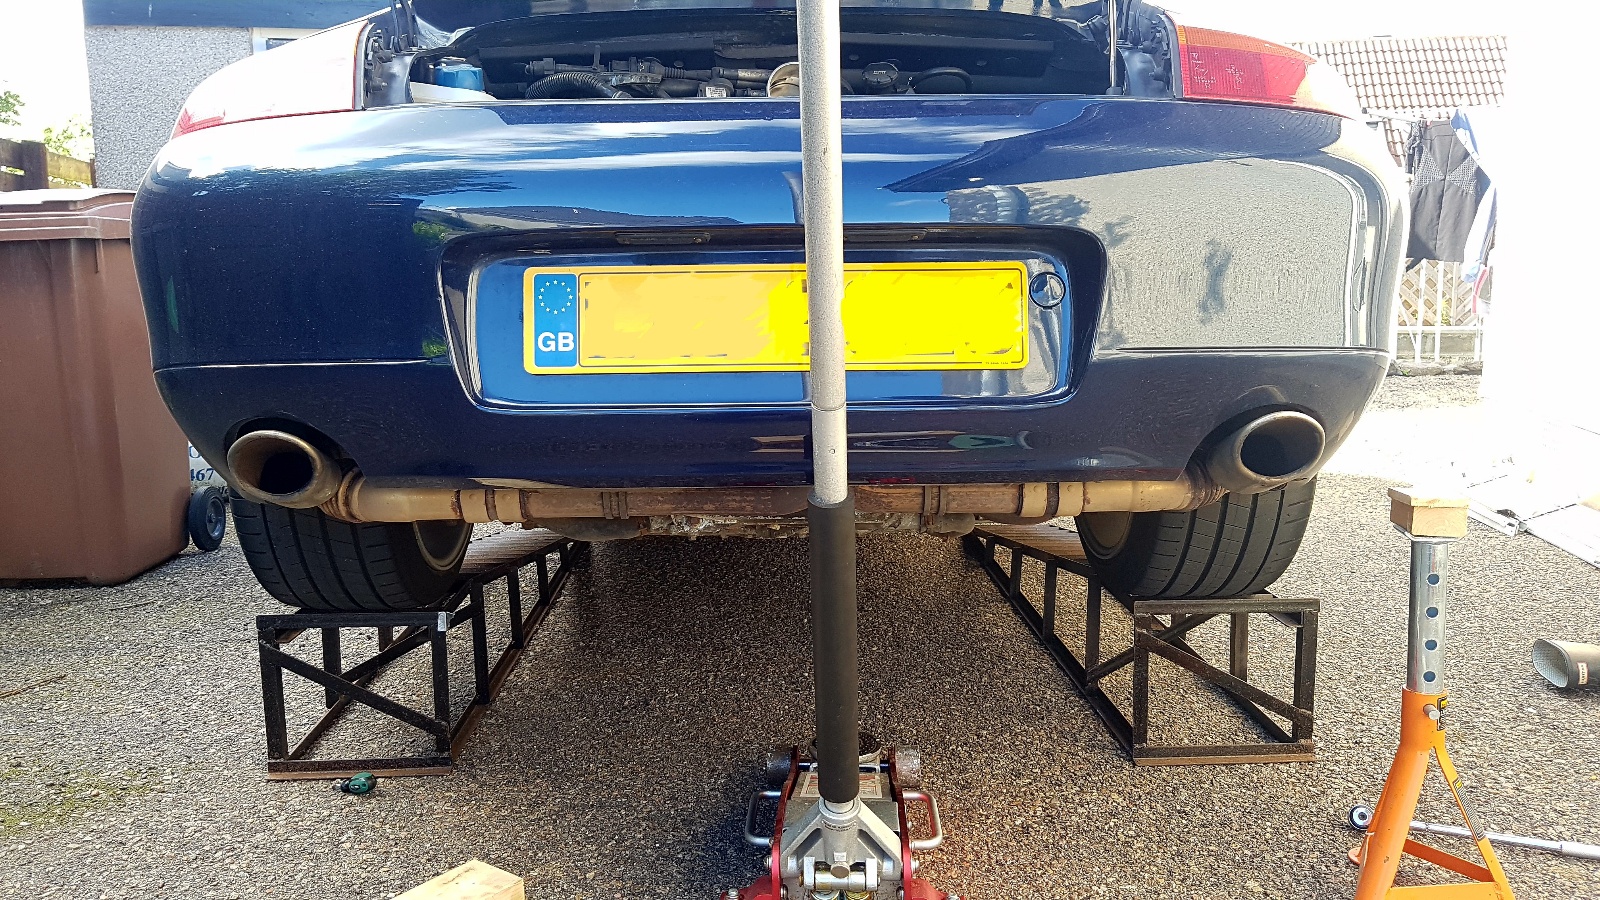
Installation is not hard if you are used to basic spannering. To install, I decided to reverse the car on ramps to get decent access. This amount of clearance is not really necessary, but definitely helps if the old mounts are hard to remove! I used a decent offcut of timber between the jack and engine to spread the load.
It is important to note that the engine hangs off the old engine mounts - it does not sit on them. When removing the old mounts, you must remove the lower 18mm hex bolt first (the one under the car).
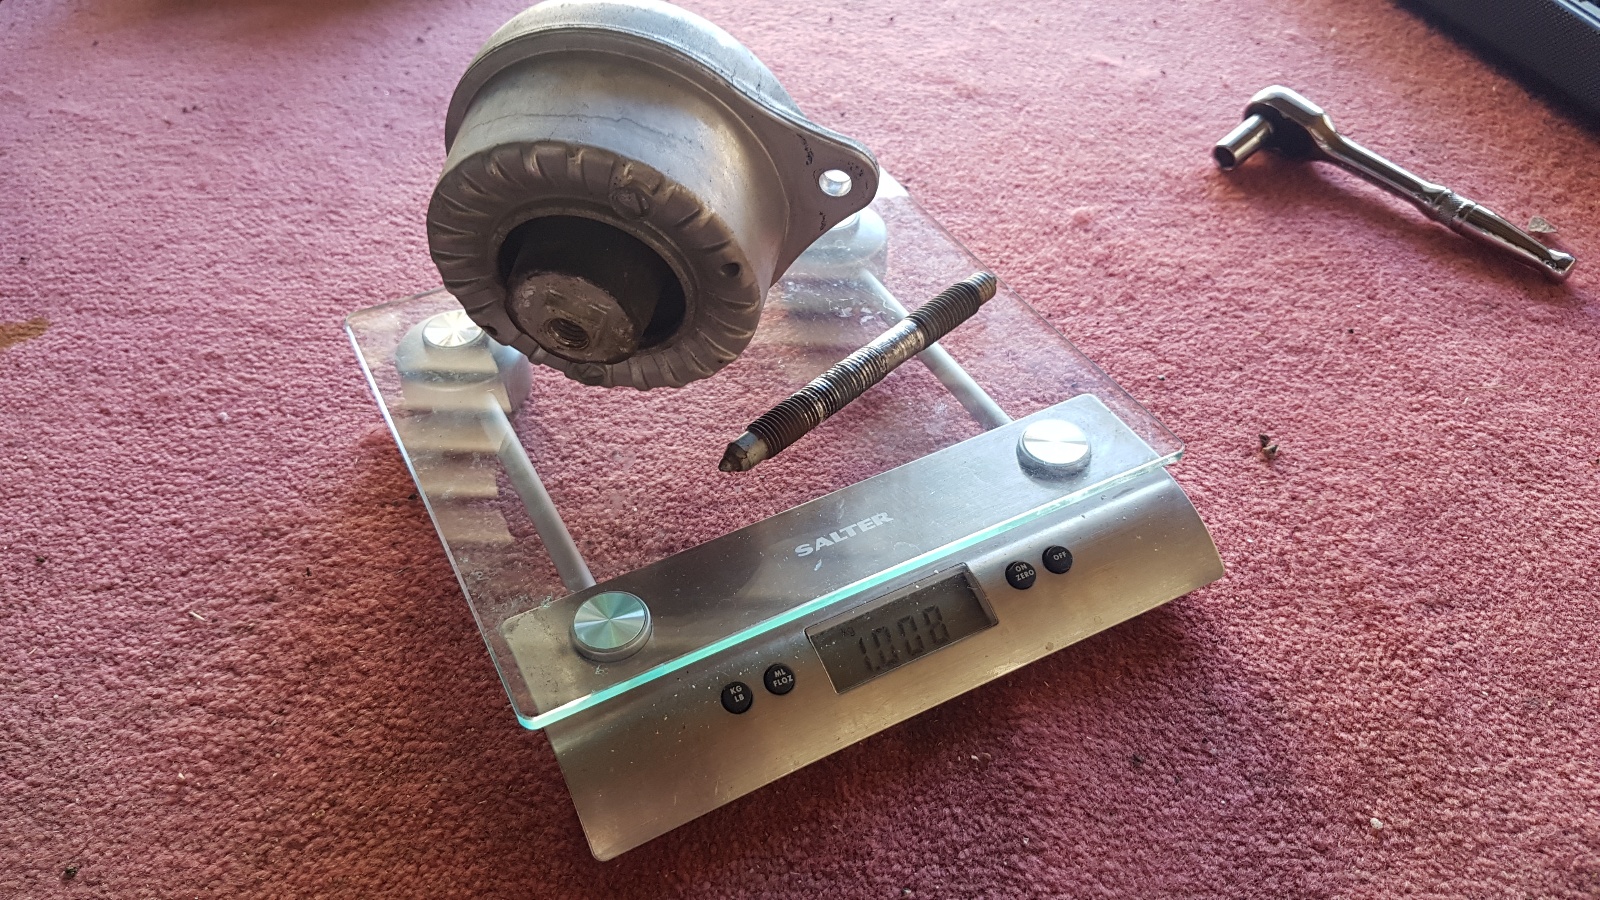
The old mounts were not too bad to remove, but both of mine broke in such a way that I do not think they would be reusable. When I used a wrench on the 18mm nut, there were a few shrieks from the mount and after a load of turns on the wrench, the stud had completely unscrewed from the mount (and broken off from inside the housing)!
The old mount (original part I believe)

The 2 parts I was left with after removal
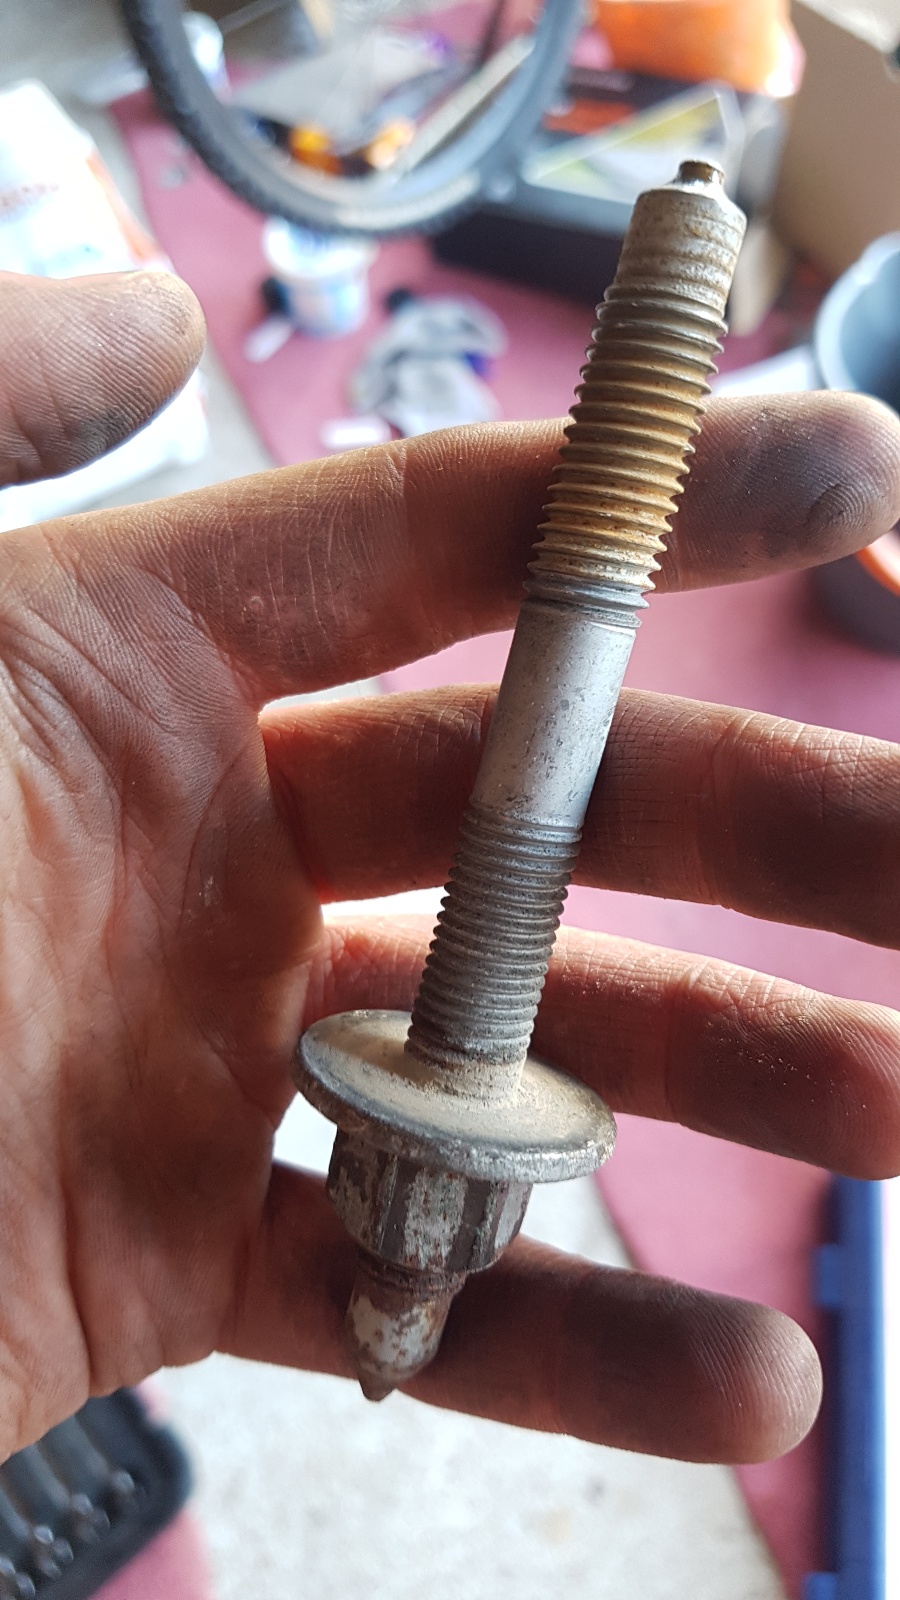
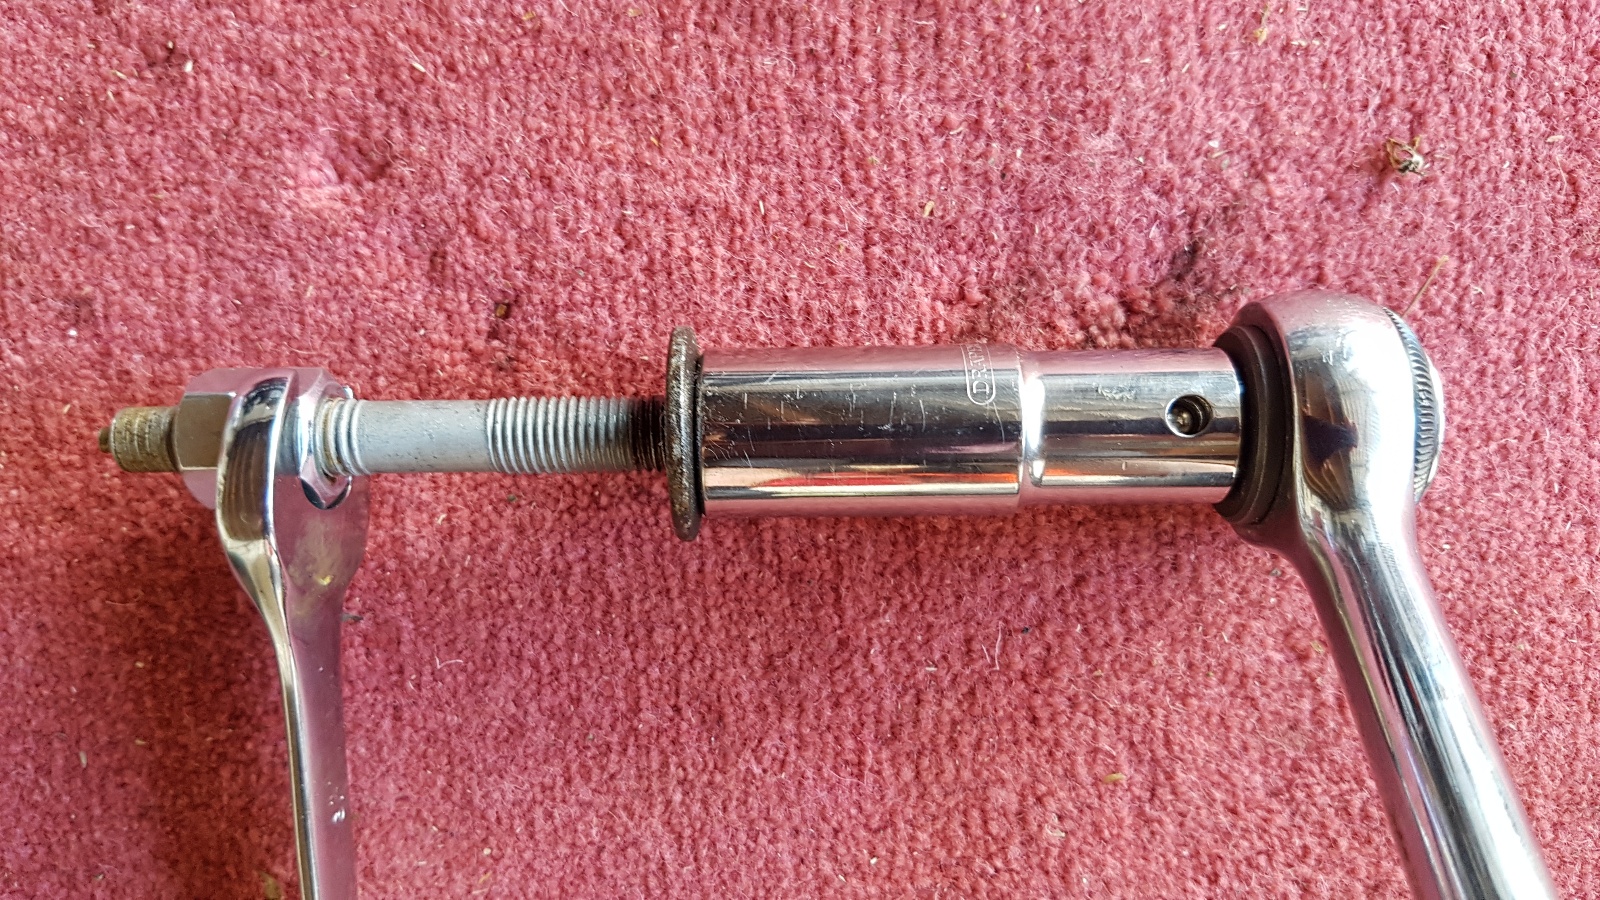
This actually worked out better for me, as it allowed me to screw 2 x M12 nuts on the other end of the stud to help get the OEM nut off to reuse (with help of some WD40).
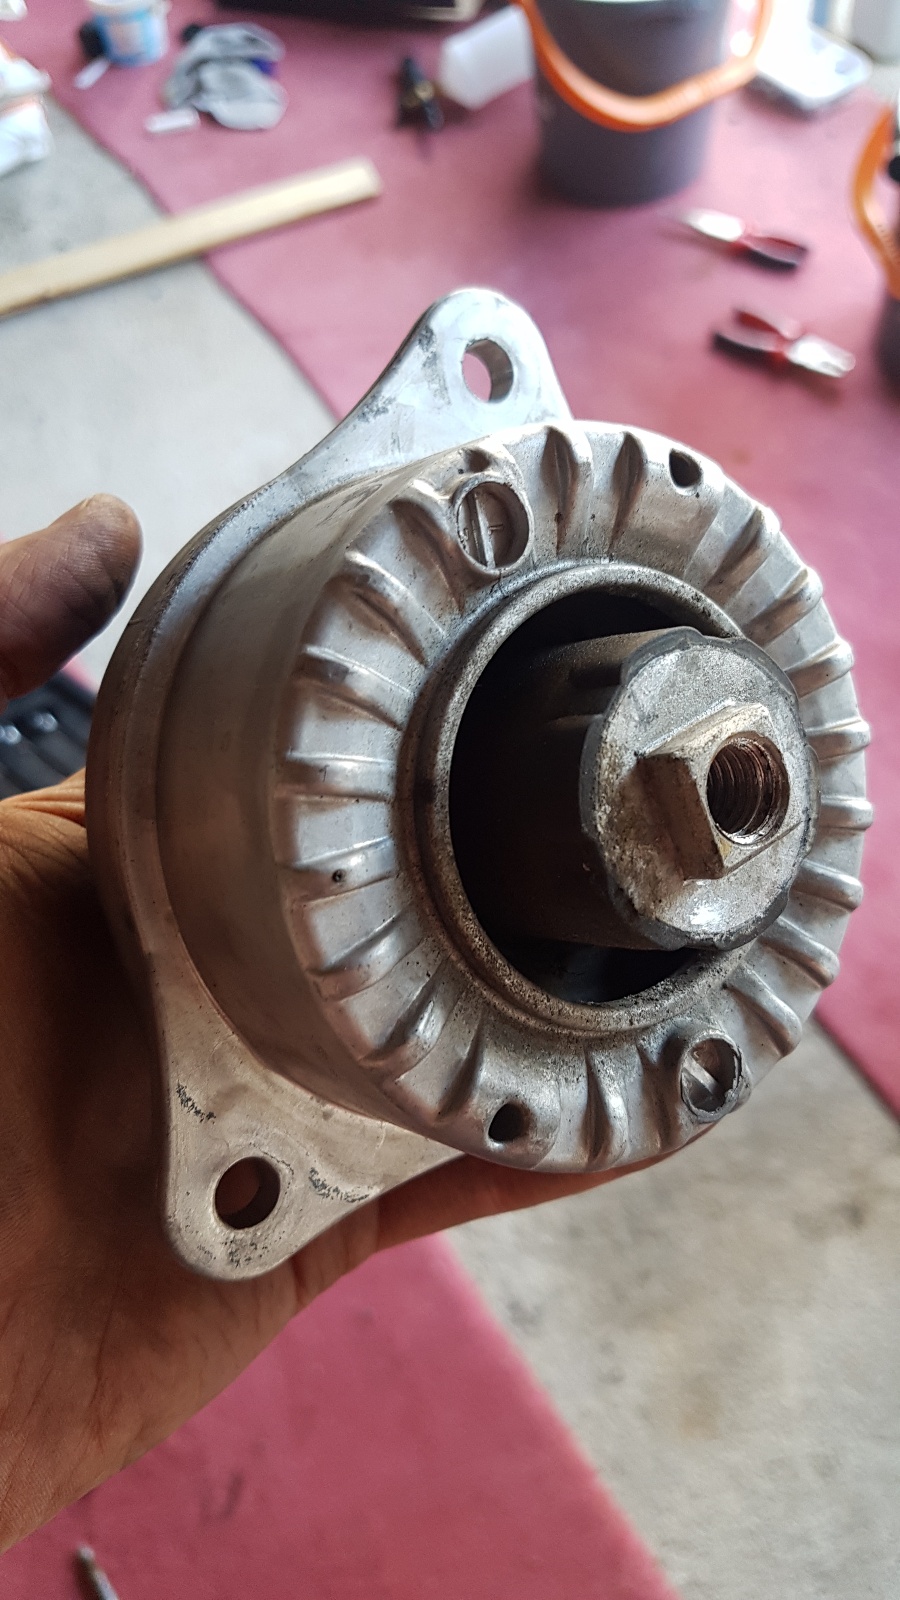
What you are presented with in the engine bay when the old mount is removed. Note the square 'keyway' that is referenced during most removal / install instructions. Top bolts are 13mm hex to get the mount out / reinstall.

The end result

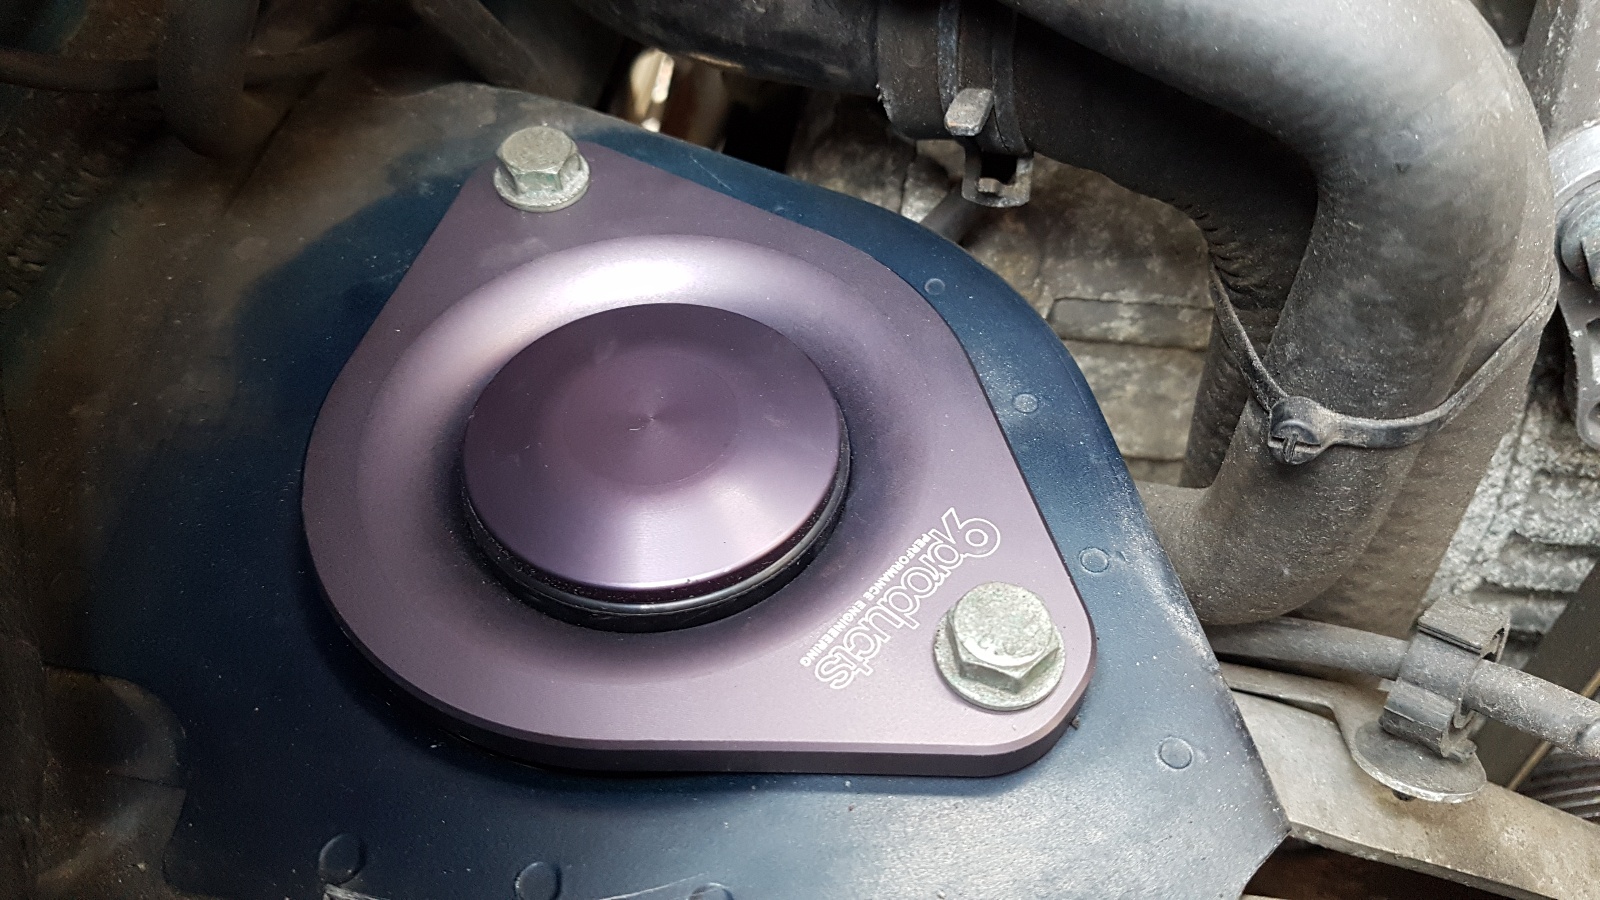
Initial results are very positive. Only a 'slight' change in NVH across the entire rev range (as you would expect since the engine is now more directly bolted to the car) - this is more a slight change in engine note than anything else. There appears to be no additional vibration or rattles at any engine RPM range or load. No new buzzing noises! There is less slack in the drivetrain when coming on / off throttle, making the car feel more responsive. Gearchange is definitely better, one of the biggest improvements with the change feeling much tighter and easier overall.
I'll update after a few more decent drives, but for now the 9products 65grade mounts feel like an excellent compromise for a road car if you want an upgrade from OEM to give a more responsive drive, but without some of the more extreme disadvantages of the harder bushed mounts.
1) You need an 18mm DEEP hex socket - your standard toolkit is probably lacking this, and Halfords couldn't help me! I bought a Draper one. Ideally get a 6 point but I used a 12 and all was ok.
2) When you support the engine with the jack, it helps to support it more to the side of the mount that is being removed - setting the jack in the middle for the 2 mounts makes it more difficult.
3) Have some wipes, etc to clean the spot where the old mount was sitting / new mount will be installed in the engine bay.
4) Some guides mention an emissions pump to remove on the left side of the engine bay. My car did not have this.
Installation is not hard if you are used to basic spannering. To install, I decided to reverse the car on ramps to get decent access. This amount of clearance is not really necessary, but definitely helps if the old mounts are hard to remove! I used a decent offcut of timber between the jack and engine to spread the load.
It is important to note that the engine hangs off the old engine mounts - it does not sit on them. When removing the old mounts, you must remove the lower 18mm hex bolt first (the one under the car).
The old mounts were not too bad to remove, but both of mine broke in such a way that I do not think they would be reusable. When I used a wrench on the 18mm nut, there were a few shrieks from the mount and after a load of turns on the wrench, the stud had completely unscrewed from the mount (and broken off from inside the housing)!
The old mount (original part I believe)
The 2 parts I was left with after removal
This actually worked out better for me, as it allowed me to screw 2 x M12 nuts on the other end of the stud to help get the OEM nut off to reuse (with help of some WD40).
What you are presented with in the engine bay when the old mount is removed. Note the square 'keyway' that is referenced during most removal / install instructions. Top bolts are 13mm hex to get the mount out / reinstall.
The end result
Initial results are very positive. Only a 'slight' change in NVH across the entire rev range (as you would expect since the engine is now more directly bolted to the car) - this is more a slight change in engine note than anything else. There appears to be no additional vibration or rattles at any engine RPM range or load. No new buzzing noises! There is less slack in the drivetrain when coming on / off throttle, making the car feel more responsive. Gearchange is definitely better, one of the biggest improvements with the change feeling much tighter and easier overall.
I'll update after a few more decent drives, but for now the 9products 65grade mounts feel like an excellent compromise for a road car if you want an upgrade from OEM to give a more responsive drive, but without some of the more extreme disadvantages of the harder bushed mounts.
Edited by mmcd87 on Wednesday 28th June 10:57
Engine mounts are still in the car and I think anyone would struggle to tell they are not stock apart from the tighter gearshift. Money well spent I think!
I had a 'small' issue with one of my wheel locking nuts that it broke the key trying to remove it! I went to my local OPC and after they went away with the key for quite a while, I was told that they could not find a match for it in their set... New locking key and 4 studs would have been £60, plus labour...
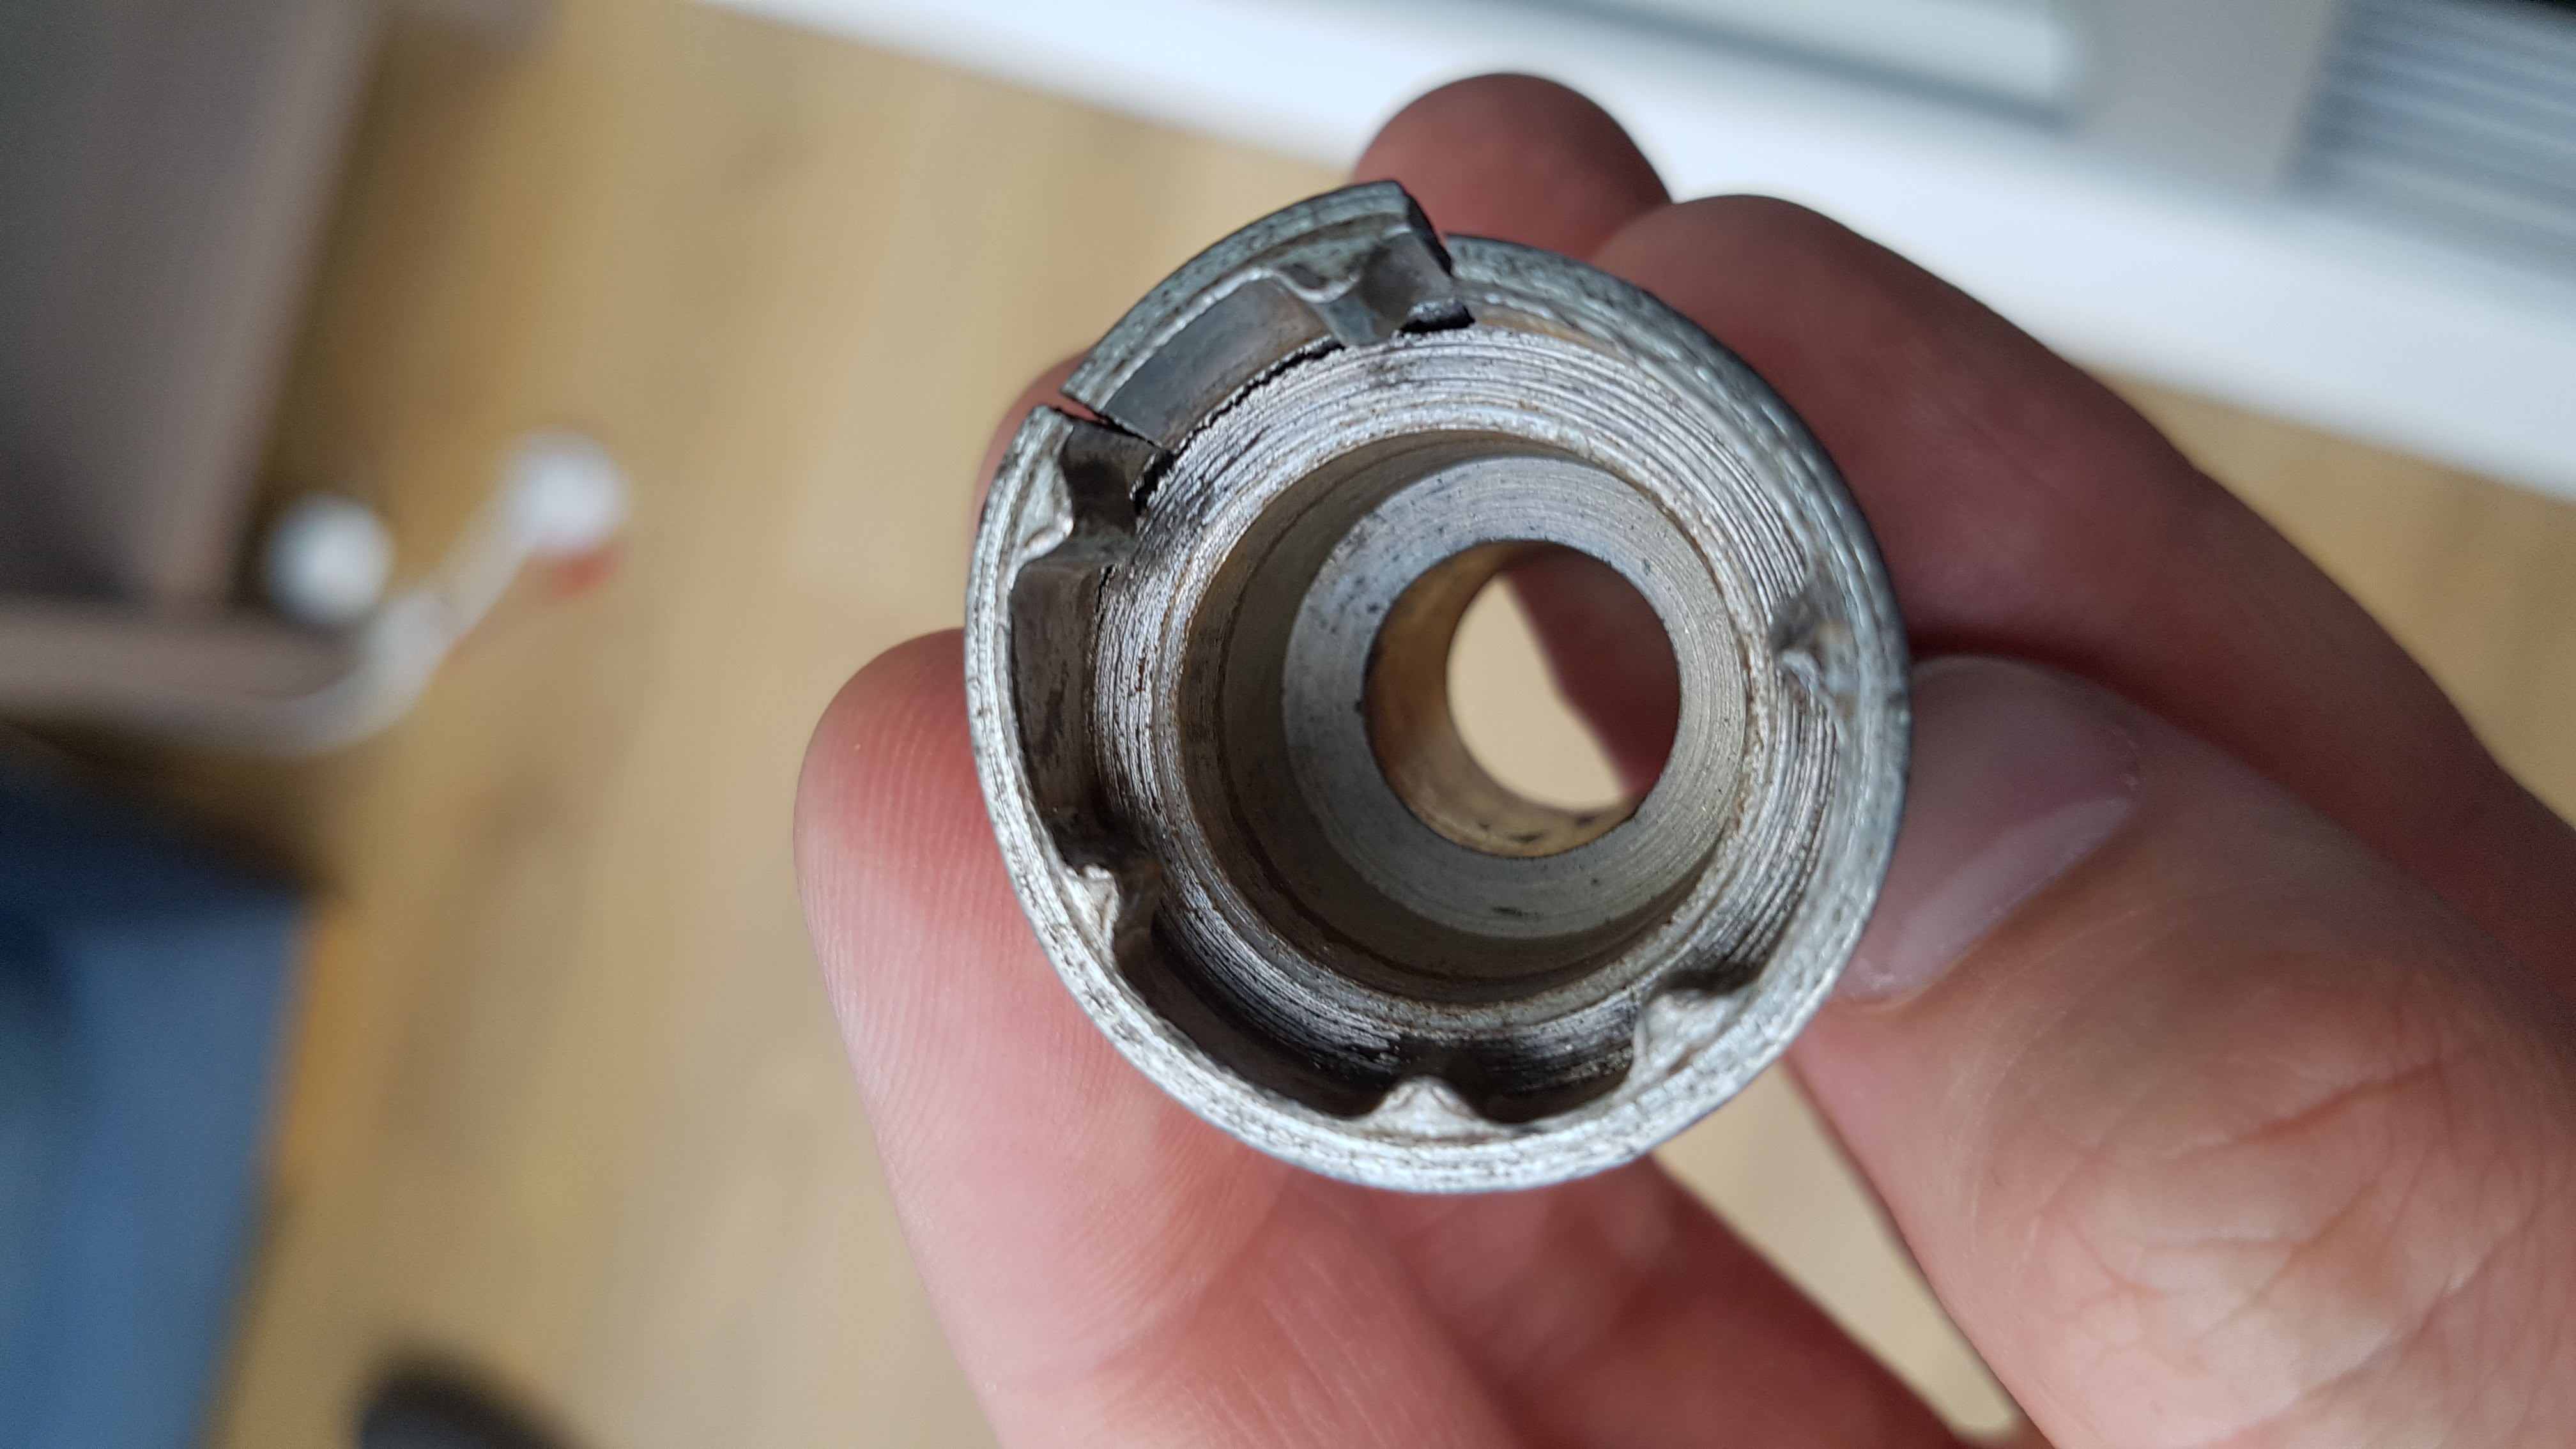
I went on eBay and got 4 standard non-locking studs from a breakers yard for £10 delivered.
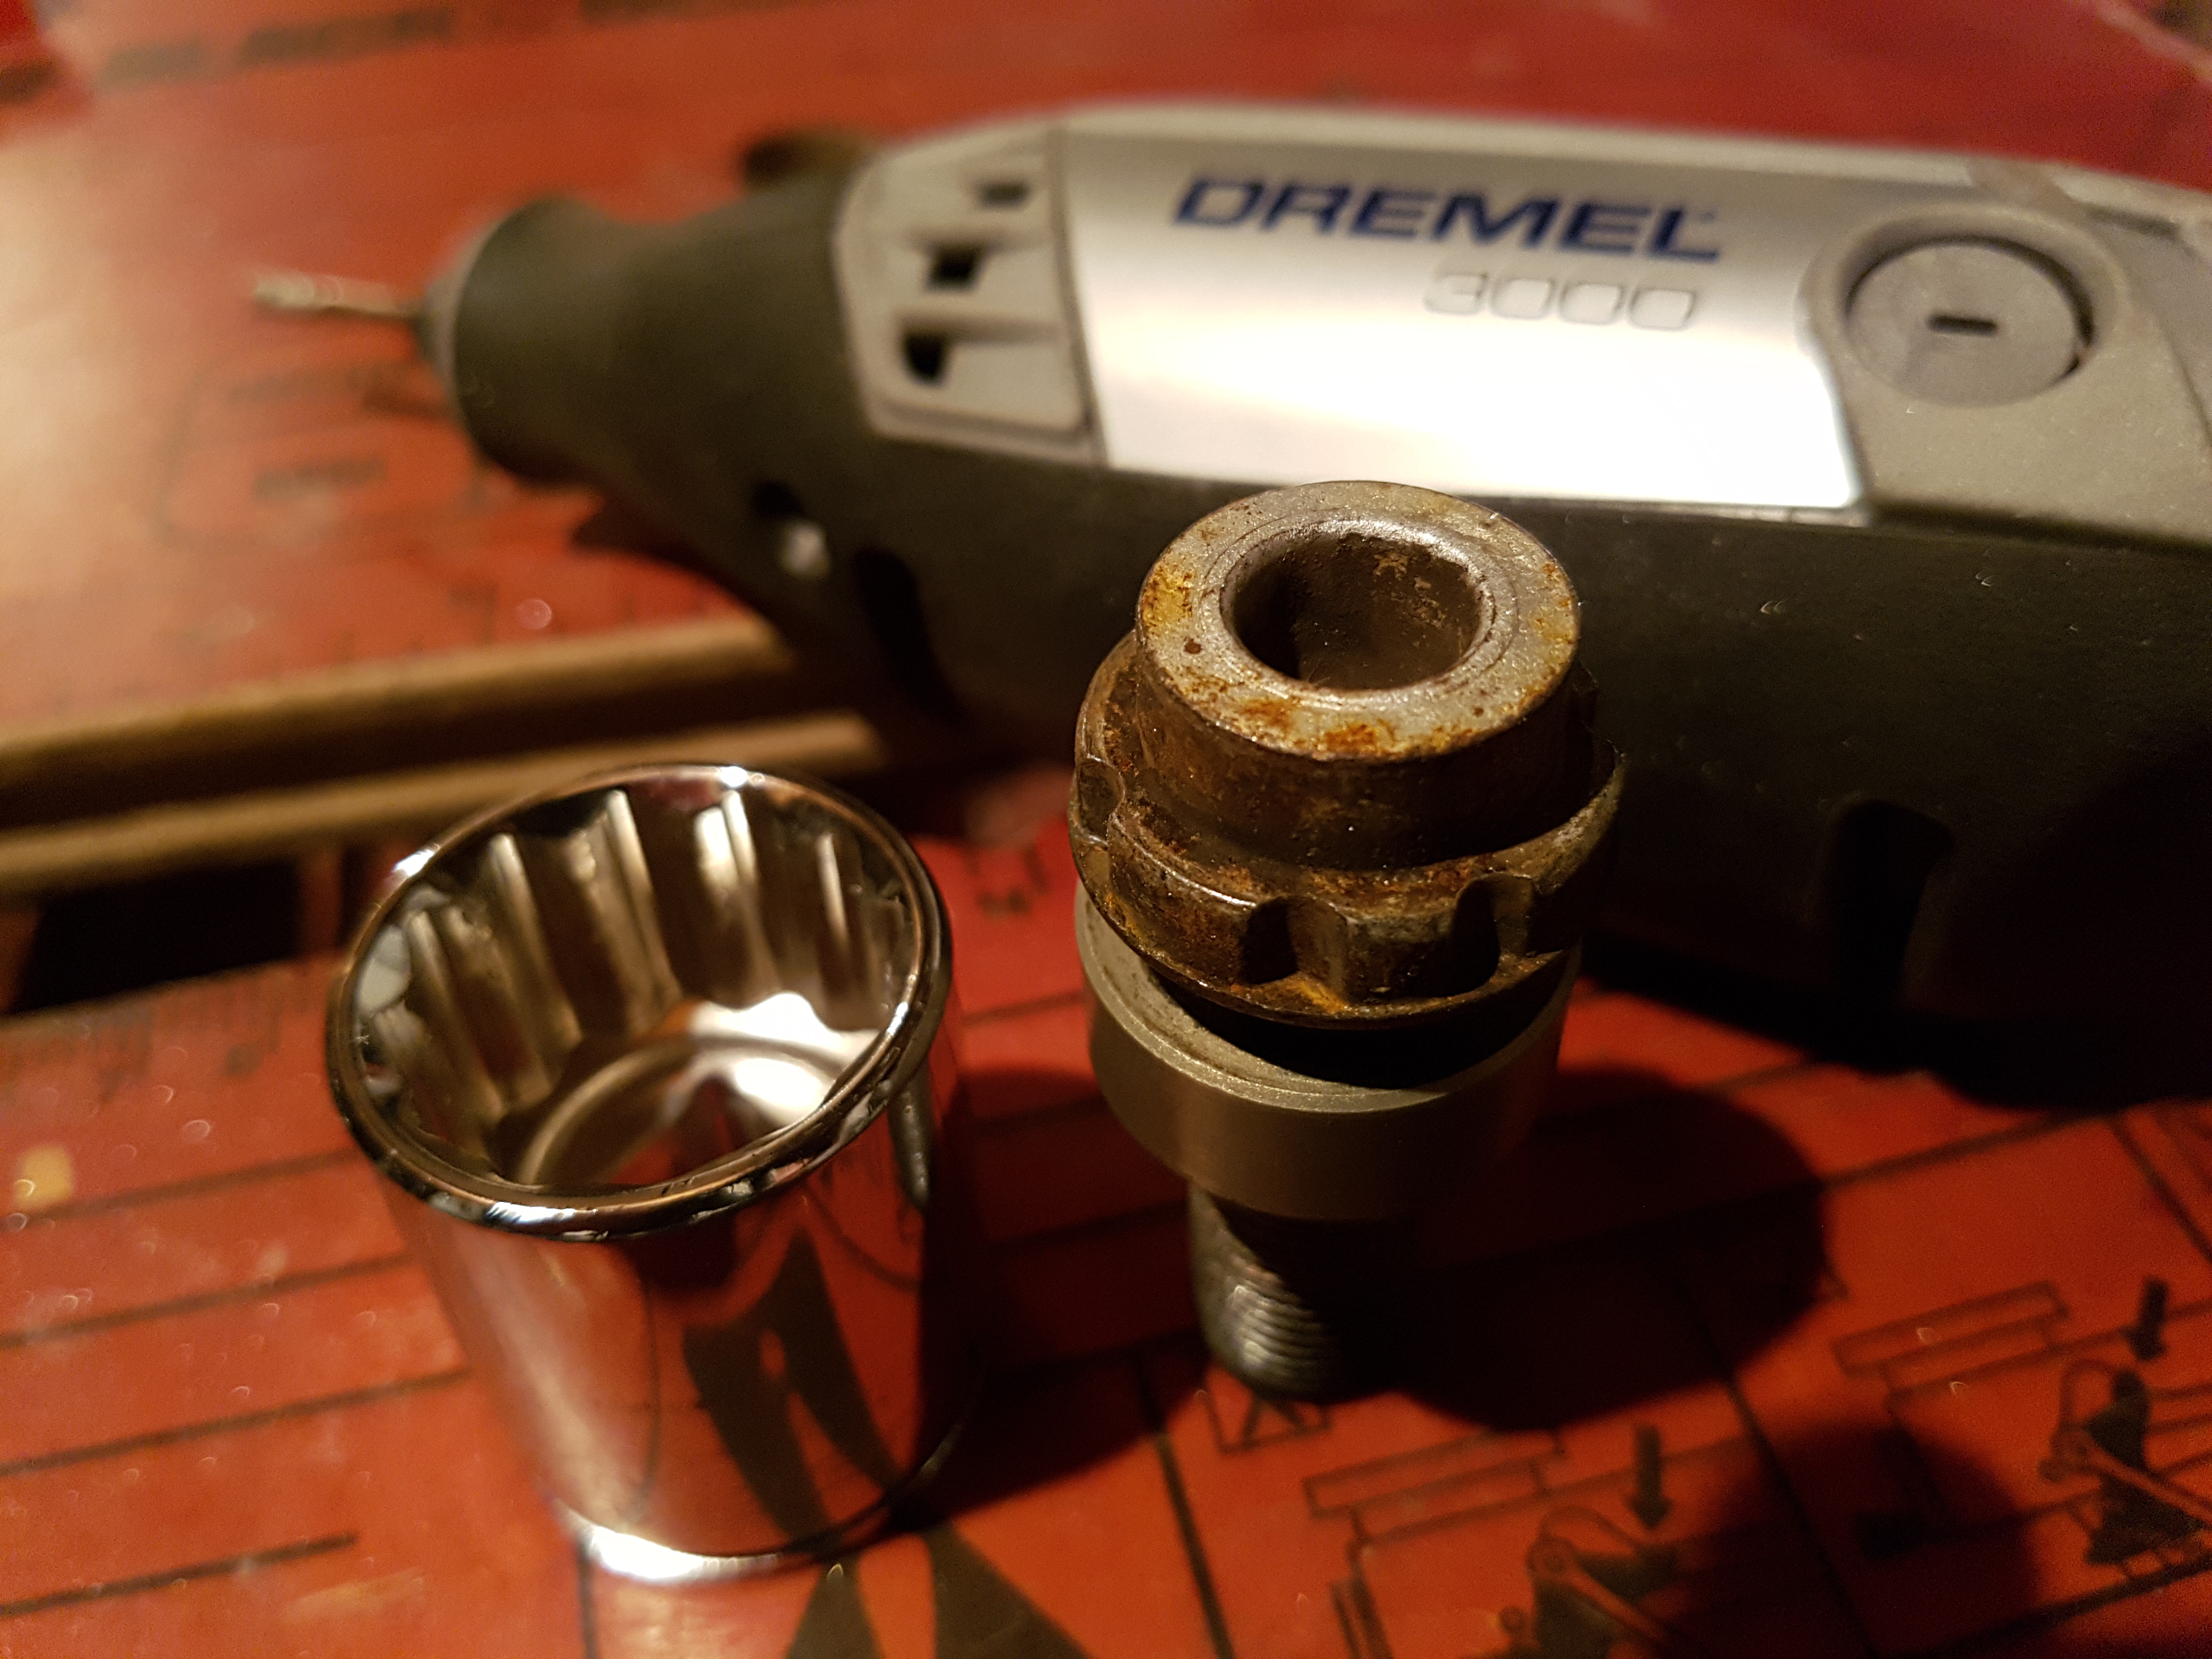
A bit of creativity with a 22mm socket, a dremel and a big hammer and the offending item was off, and the wheel untouched.
Whilst at OPC I had a good look around a new 991.2, and a 993 C4. Interesting that both these cars were listed at £90k+. The 993 is definitely the best looking of the 911's in my opinion, but I couldn't believe how badly offset the pedals and steering wheel were to the centre of the car! How a 993 is worth so much, and a 996 a few years newer so little, is quite baffling. You can see how the 996 is the older version of the 991 car, it feels very similar to sit in, same DNA. Made me feel quite smug sitting in my car after I left. I wouldn't say no to a 993 Turbo though if I could afford it

I had a 'small' issue with one of my wheel locking nuts that it broke the key trying to remove it! I went to my local OPC and after they went away with the key for quite a while, I was told that they could not find a match for it in their set... New locking key and 4 studs would have been £60, plus labour...
I went on eBay and got 4 standard non-locking studs from a breakers yard for £10 delivered.
A bit of creativity with a 22mm socket, a dremel and a big hammer and the offending item was off, and the wheel untouched.
Whilst at OPC I had a good look around a new 991.2, and a 993 C4. Interesting that both these cars were listed at £90k+. The 993 is definitely the best looking of the 911's in my opinion, but I couldn't believe how badly offset the pedals and steering wheel were to the centre of the car! How a 993 is worth so much, and a 996 a few years newer so little, is quite baffling. You can see how the 996 is the older version of the 991 car, it feels very similar to sit in, same DNA. Made me feel quite smug sitting in my car after I left. I wouldn't say no to a 993 Turbo though if I could afford it
Filibuster said:
@mmcd87 thanks for a great thread!
Especially for the part on the engine mounts, as I was contemplating the 9Products ones for myself. You pretty much sold me the 65 Soft ones, thanks.
That said, how are you feeling about them 6 months on?
Thanks, I spend a lot of time on here so it's nice to give something back people read. I'm planning a suspension refresh soon - just doing my research.Especially for the part on the engine mounts, as I was contemplating the 9Products ones for myself. You pretty much sold me the 65 Soft ones, thanks.
That said, how are you feeling about them 6 months on?
I can't fault the engine mounts, they tightened everything up as promised with no drawbacks at all as far as I can tell. They are a bit expensive, but seem well made and the rubber grade they use seems perfect for a road car when you just want a touch more focus than OEM. I'm tempted by a Powerflex gearbox insert now to complement them but still undecided if it would be a step too far. I believe Powerflex changed their design a bit and they are now much less harsh.

I think I will fit the Powerflex inserts as part of the suspension refresh I am hoping to do. Sorry that does not help you now! I am expecting a small amount of NVH but whether it will be more than 'fast road' in noise and feel I do not know. The mount is cheap enough to try it out.
I actually emailed Powerflex today to ask them the polyutherene hardness rating of their yellow insert. It is 70A rated. I asked if they would consider making the inserts in their softer 'red' grade polyutherene (around 60A I believe) but they said they would not at this moment in time as they have just revised the design slightly already to improve NVH.
I actually emailed Powerflex today to ask them the polyutherene hardness rating of their yellow insert. It is 70A rated. I asked if they would consider making the inserts in their softer 'red' grade polyutherene (around 60A I believe) but they said they would not at this moment in time as they have just revised the design slightly already to improve NVH.
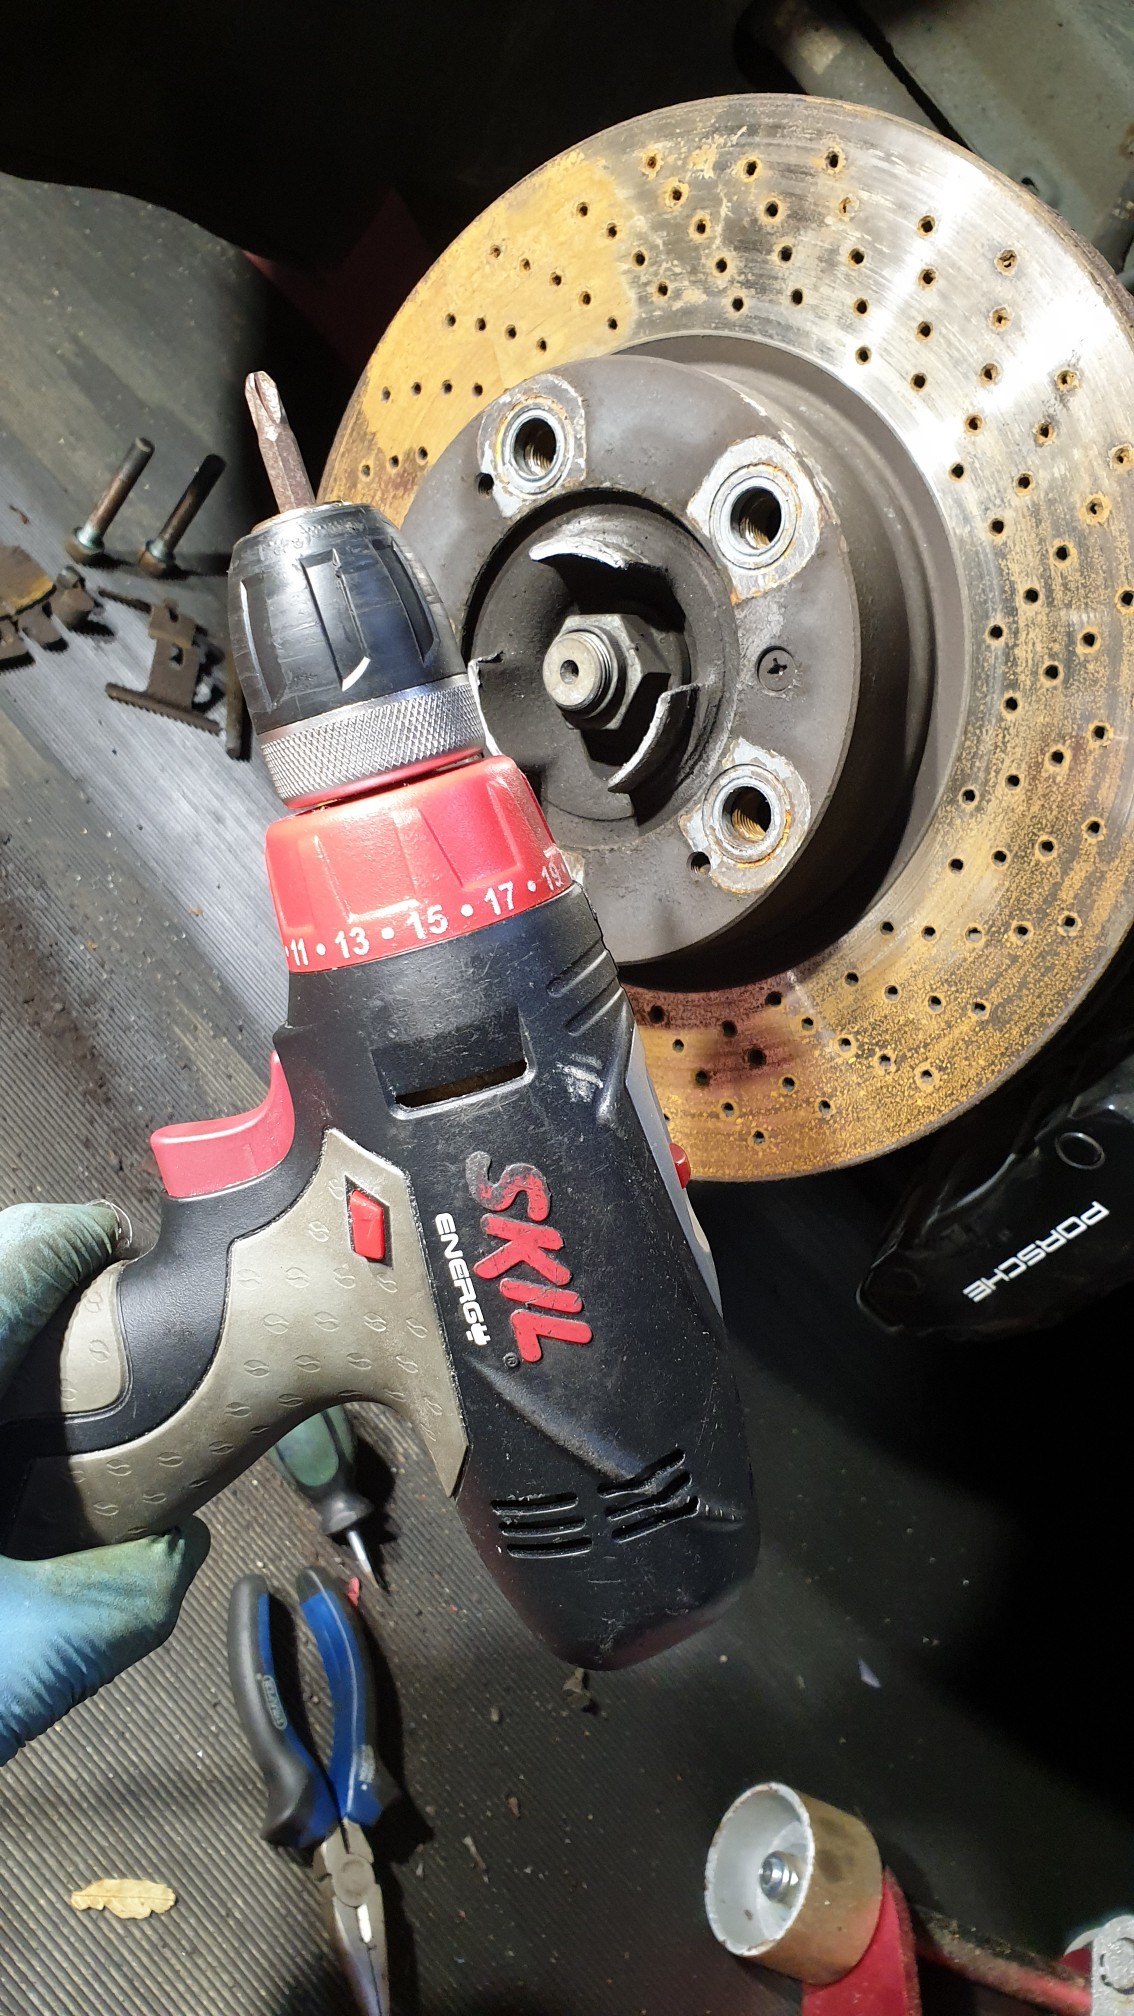
Some minor work on the 996 for it's upcoming MOT.
Late last year the brake warning light had come on on the dashboard. I took the wheel off and had a proper look at the brakes, which appeared fine, until I checked inboard of the discs and the associated pads...
New front discs and pads ordered, with new wear sensors. £170 delivered. I went for Pagid and it all fitted perfectly. Also worth noting that the discs are primed on the centres and edges to hopefully keep them looking reasonably rust free over time.
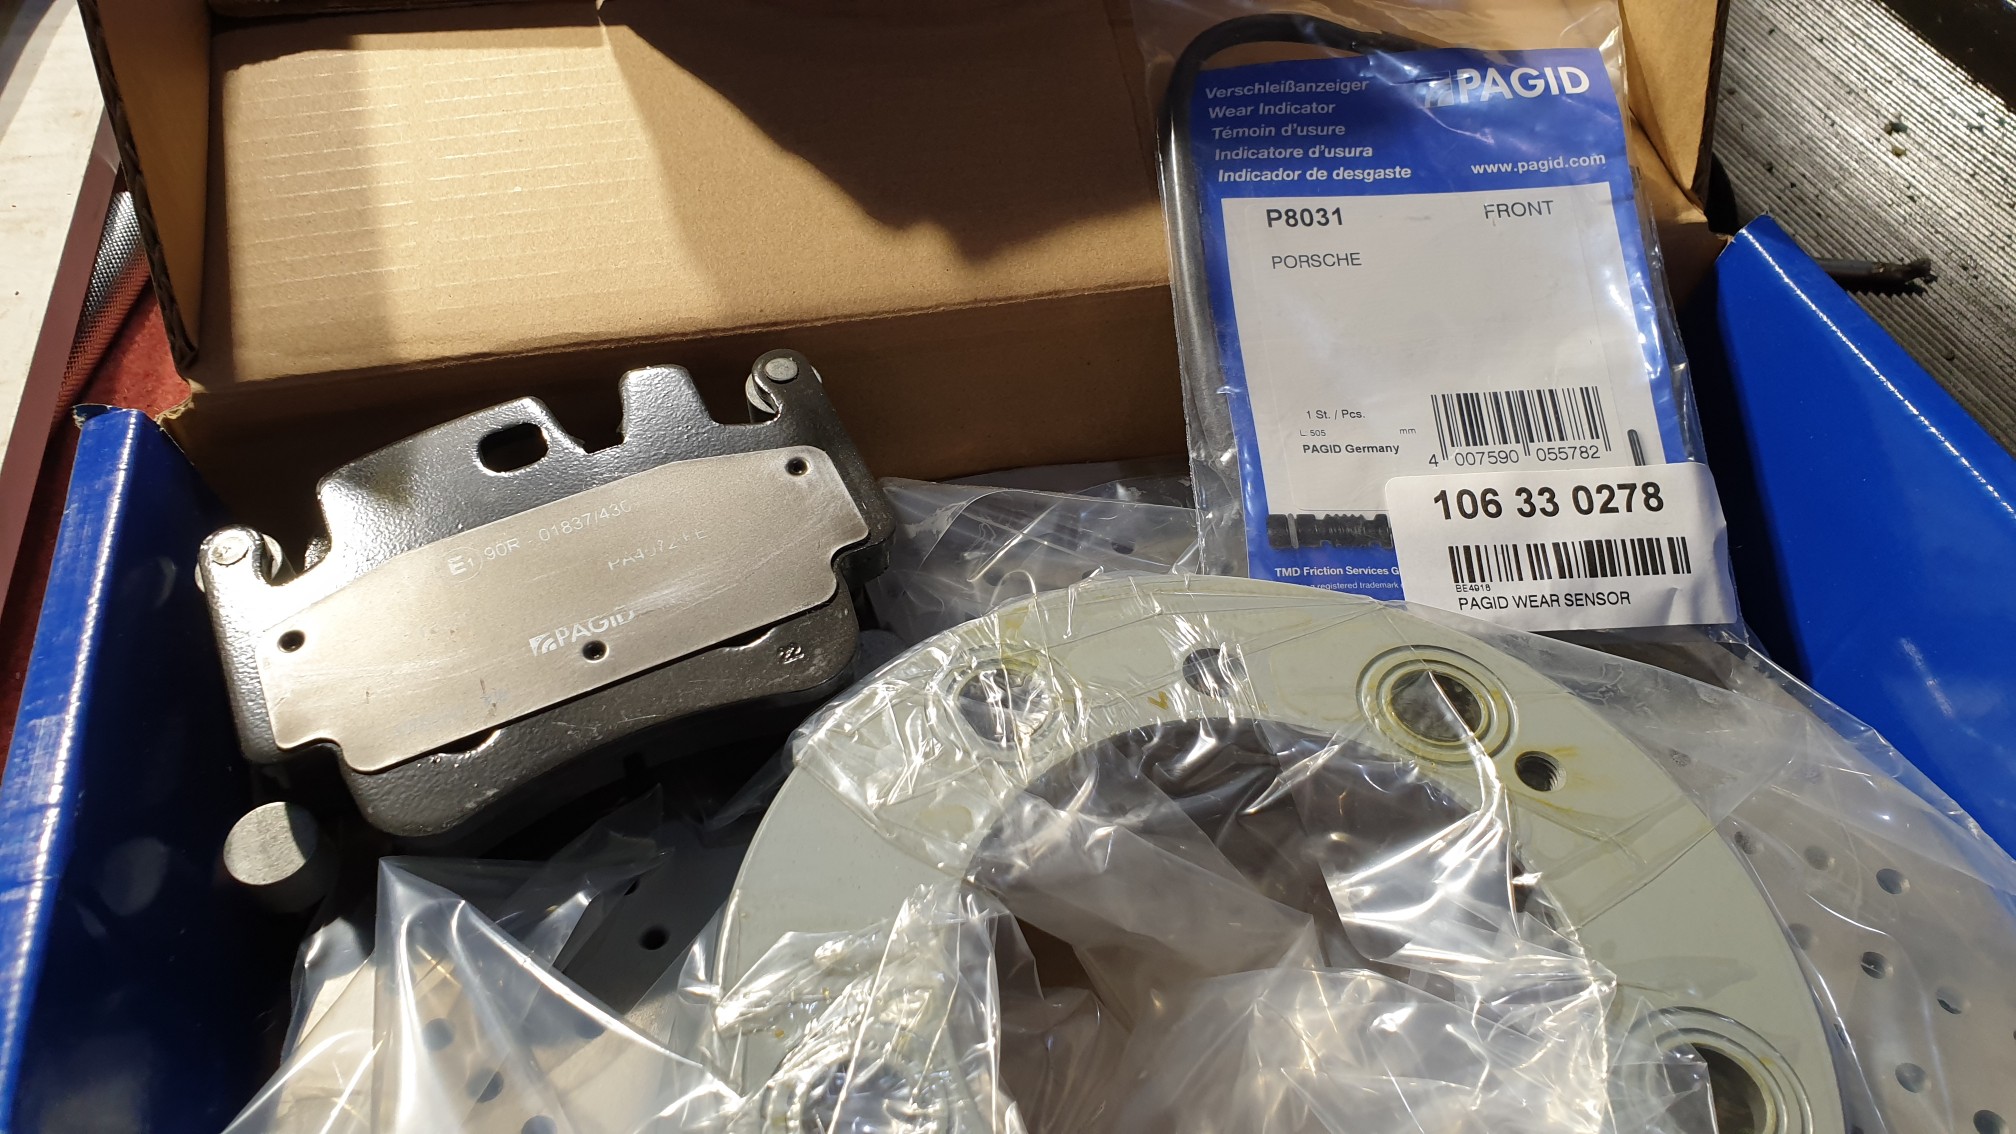
A few random images: -
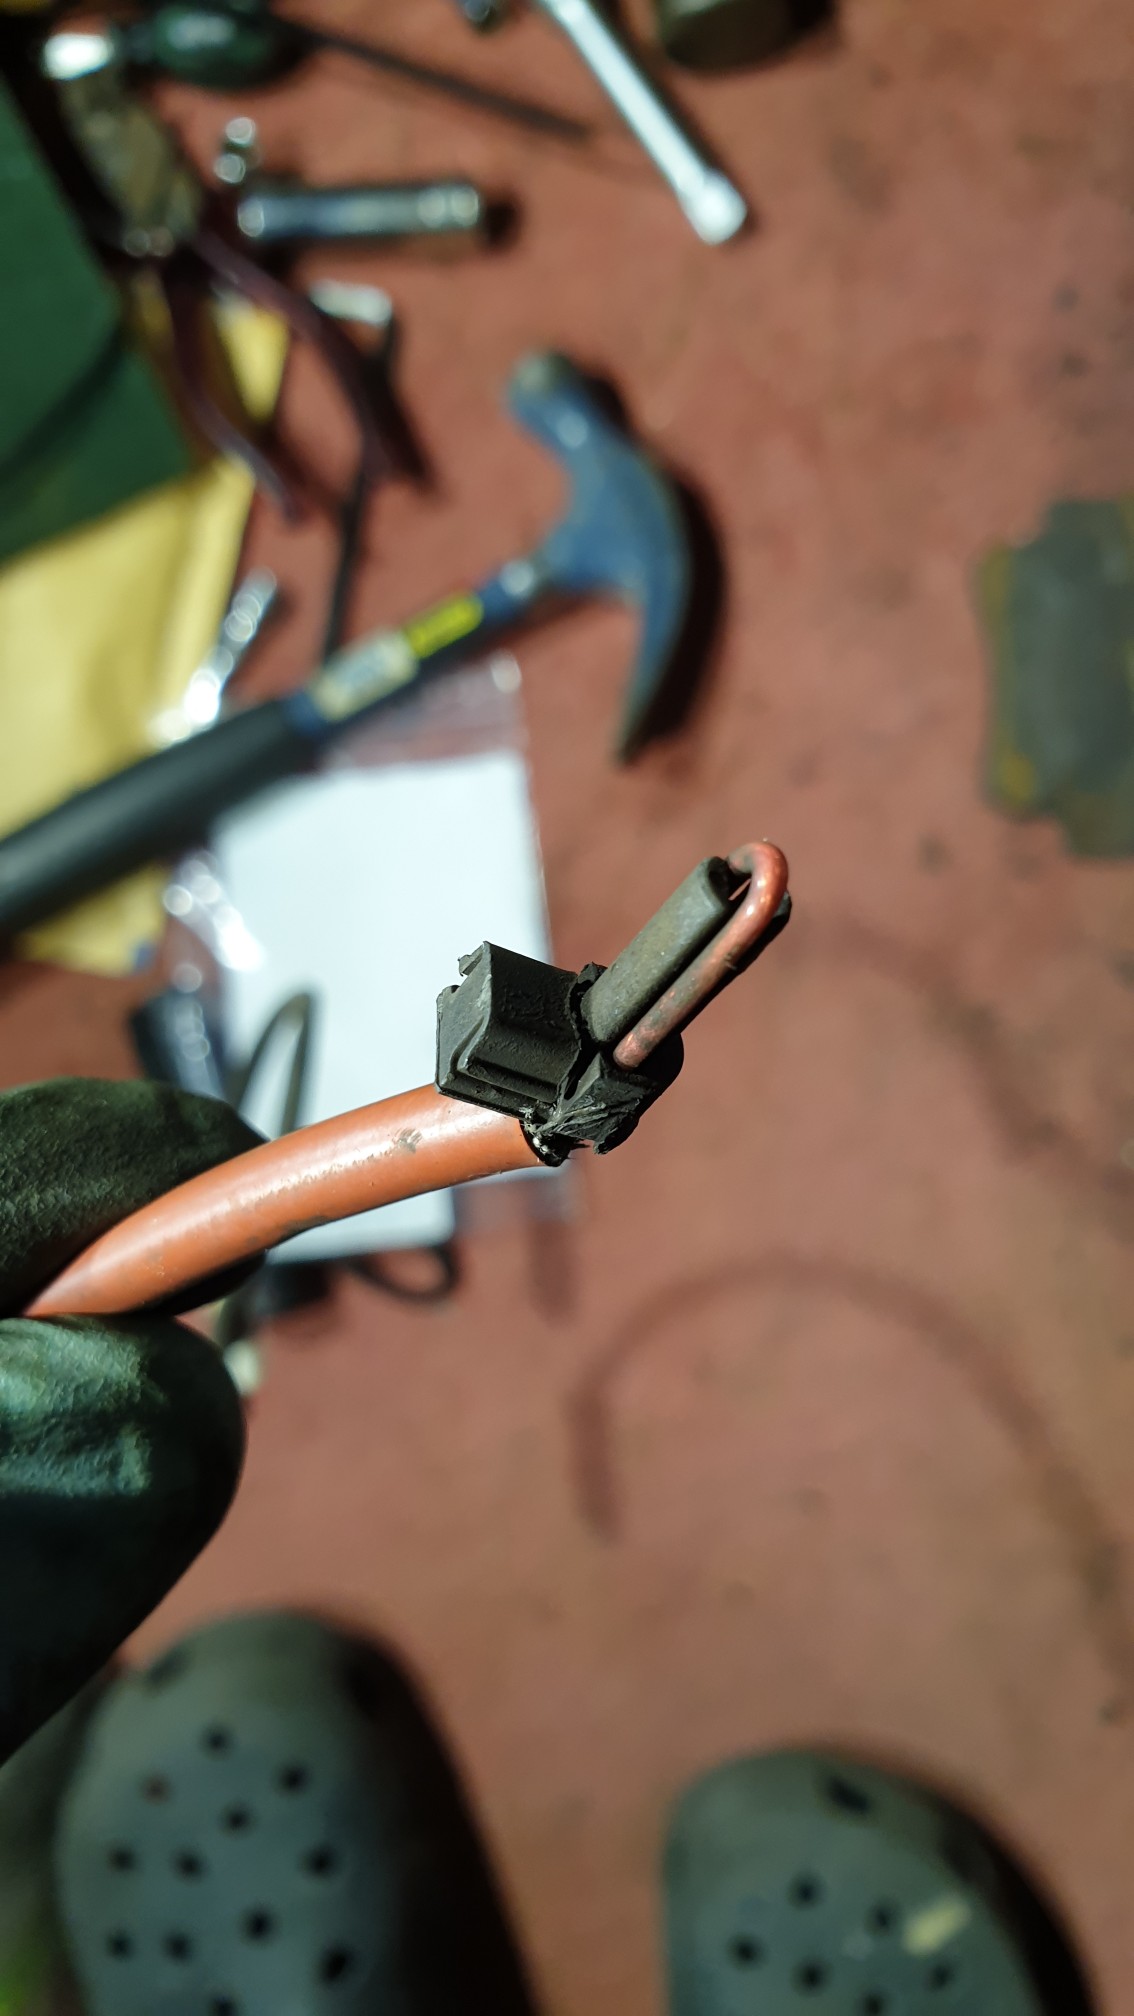
Detail of wear sensors - I had not come across these before but they are very easy on these cars - plug and play!
This is the end that goes into the brake pad
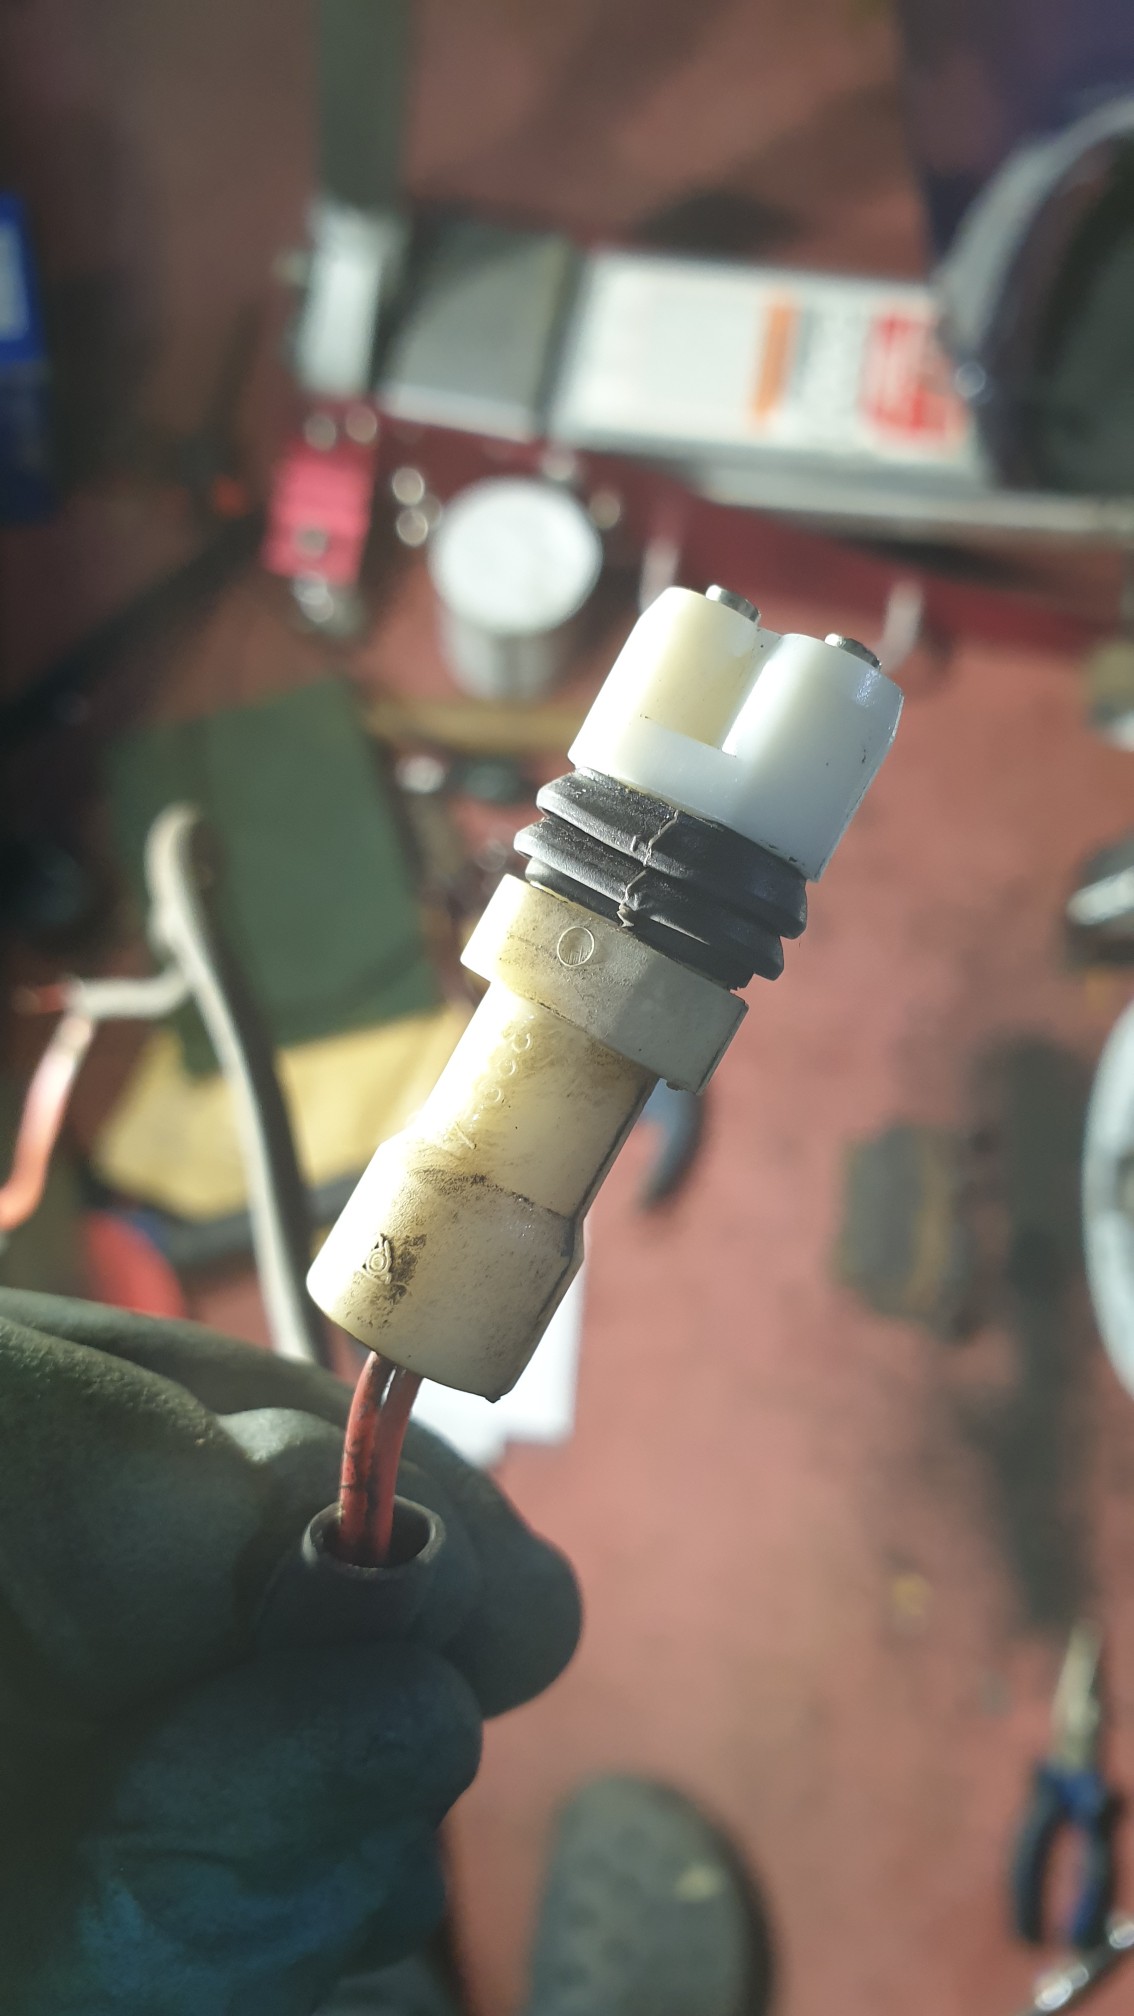
This end plugs into the car wiring harness on the hub
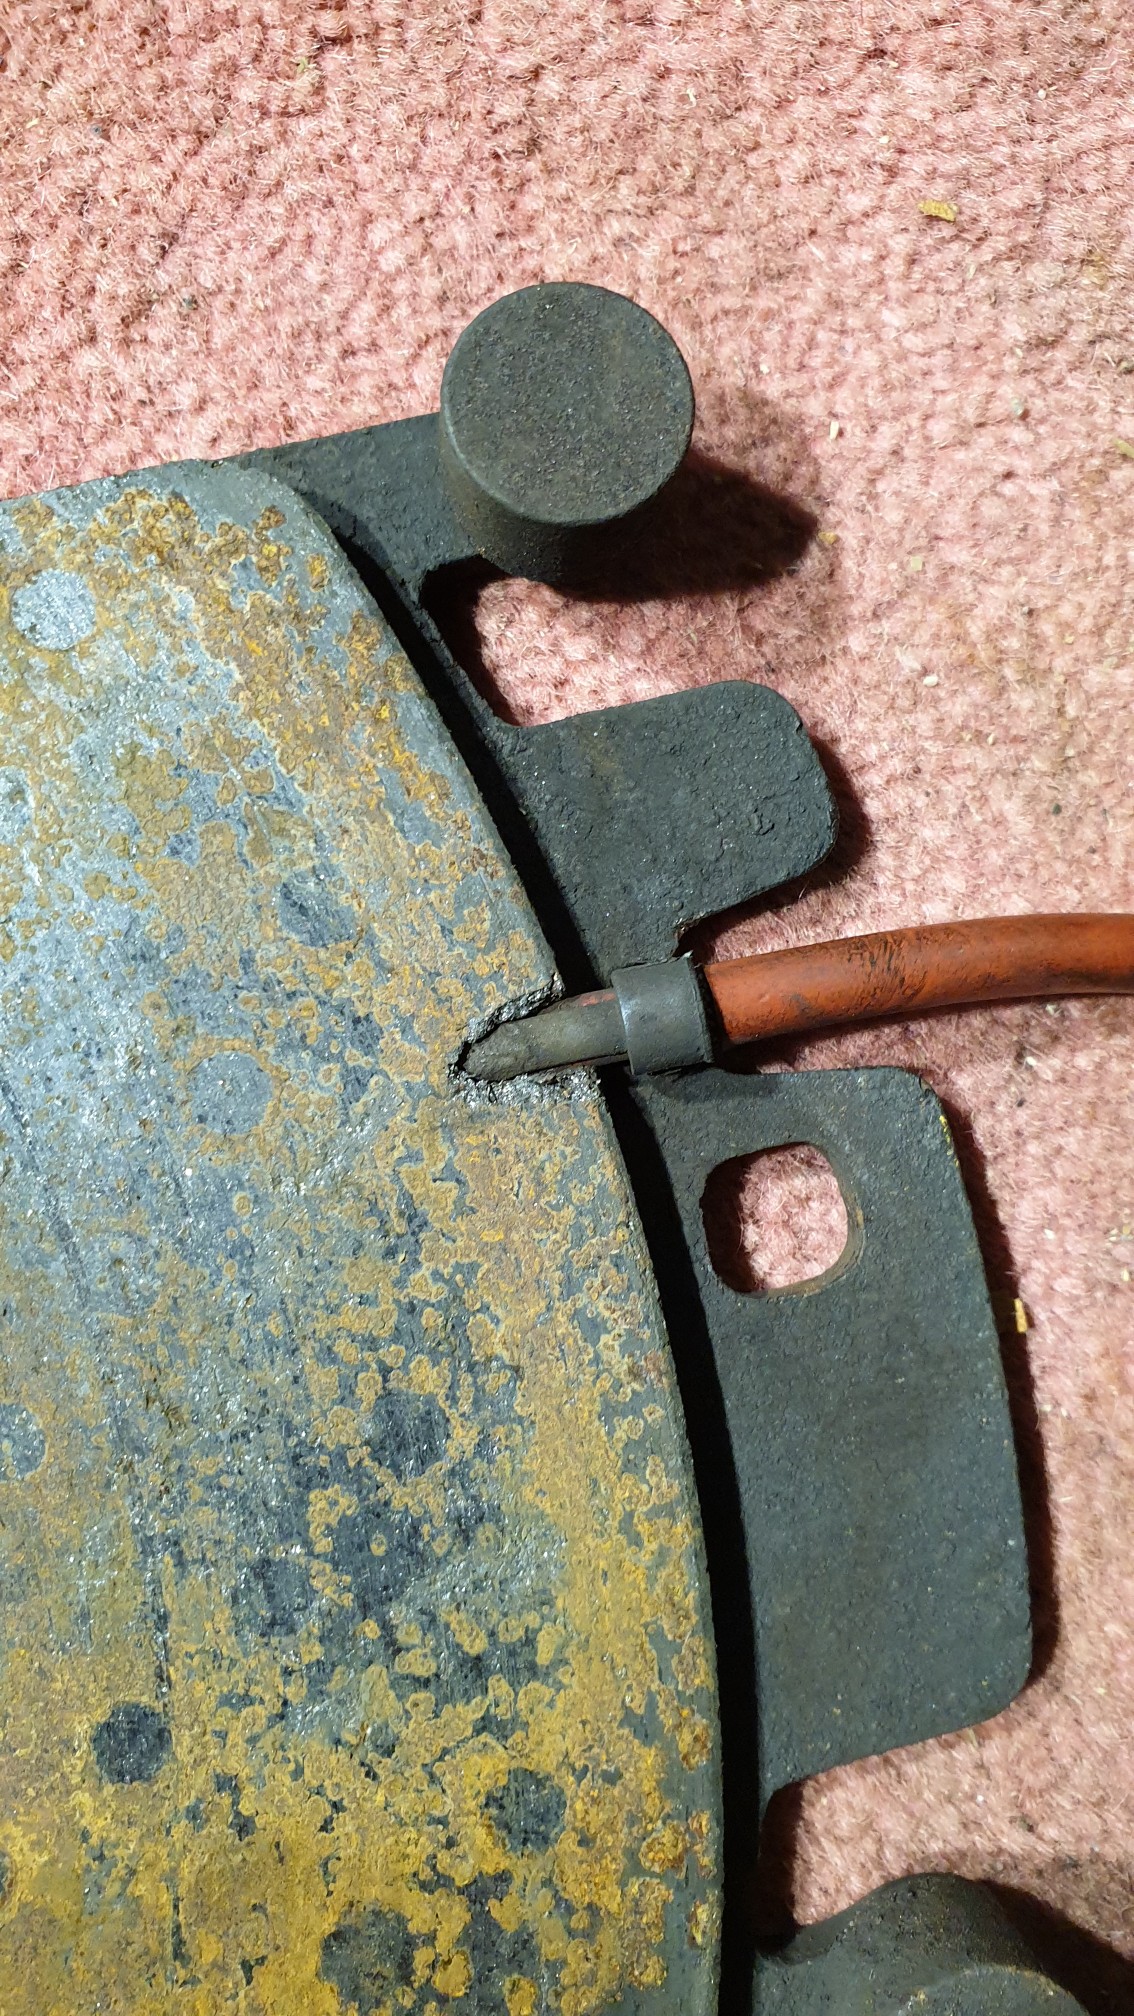
How it sits in the pads - both pads front and rear of caliper are plugged in
The hardest part of this job for me was getting the caliper pins out that hold the pads in place - make sure you use plenty brake cleaner and have good punches of adequate length to go through the caliper. The brake disc retaining screws are also worth consideration - I used a drill driver and PH3 drill bit (big cross head). Don't use a number 2 sized screwdriver or bit as you will strip the heads!
Secondly was something I was unsure about - Powerflex gearbox insert!
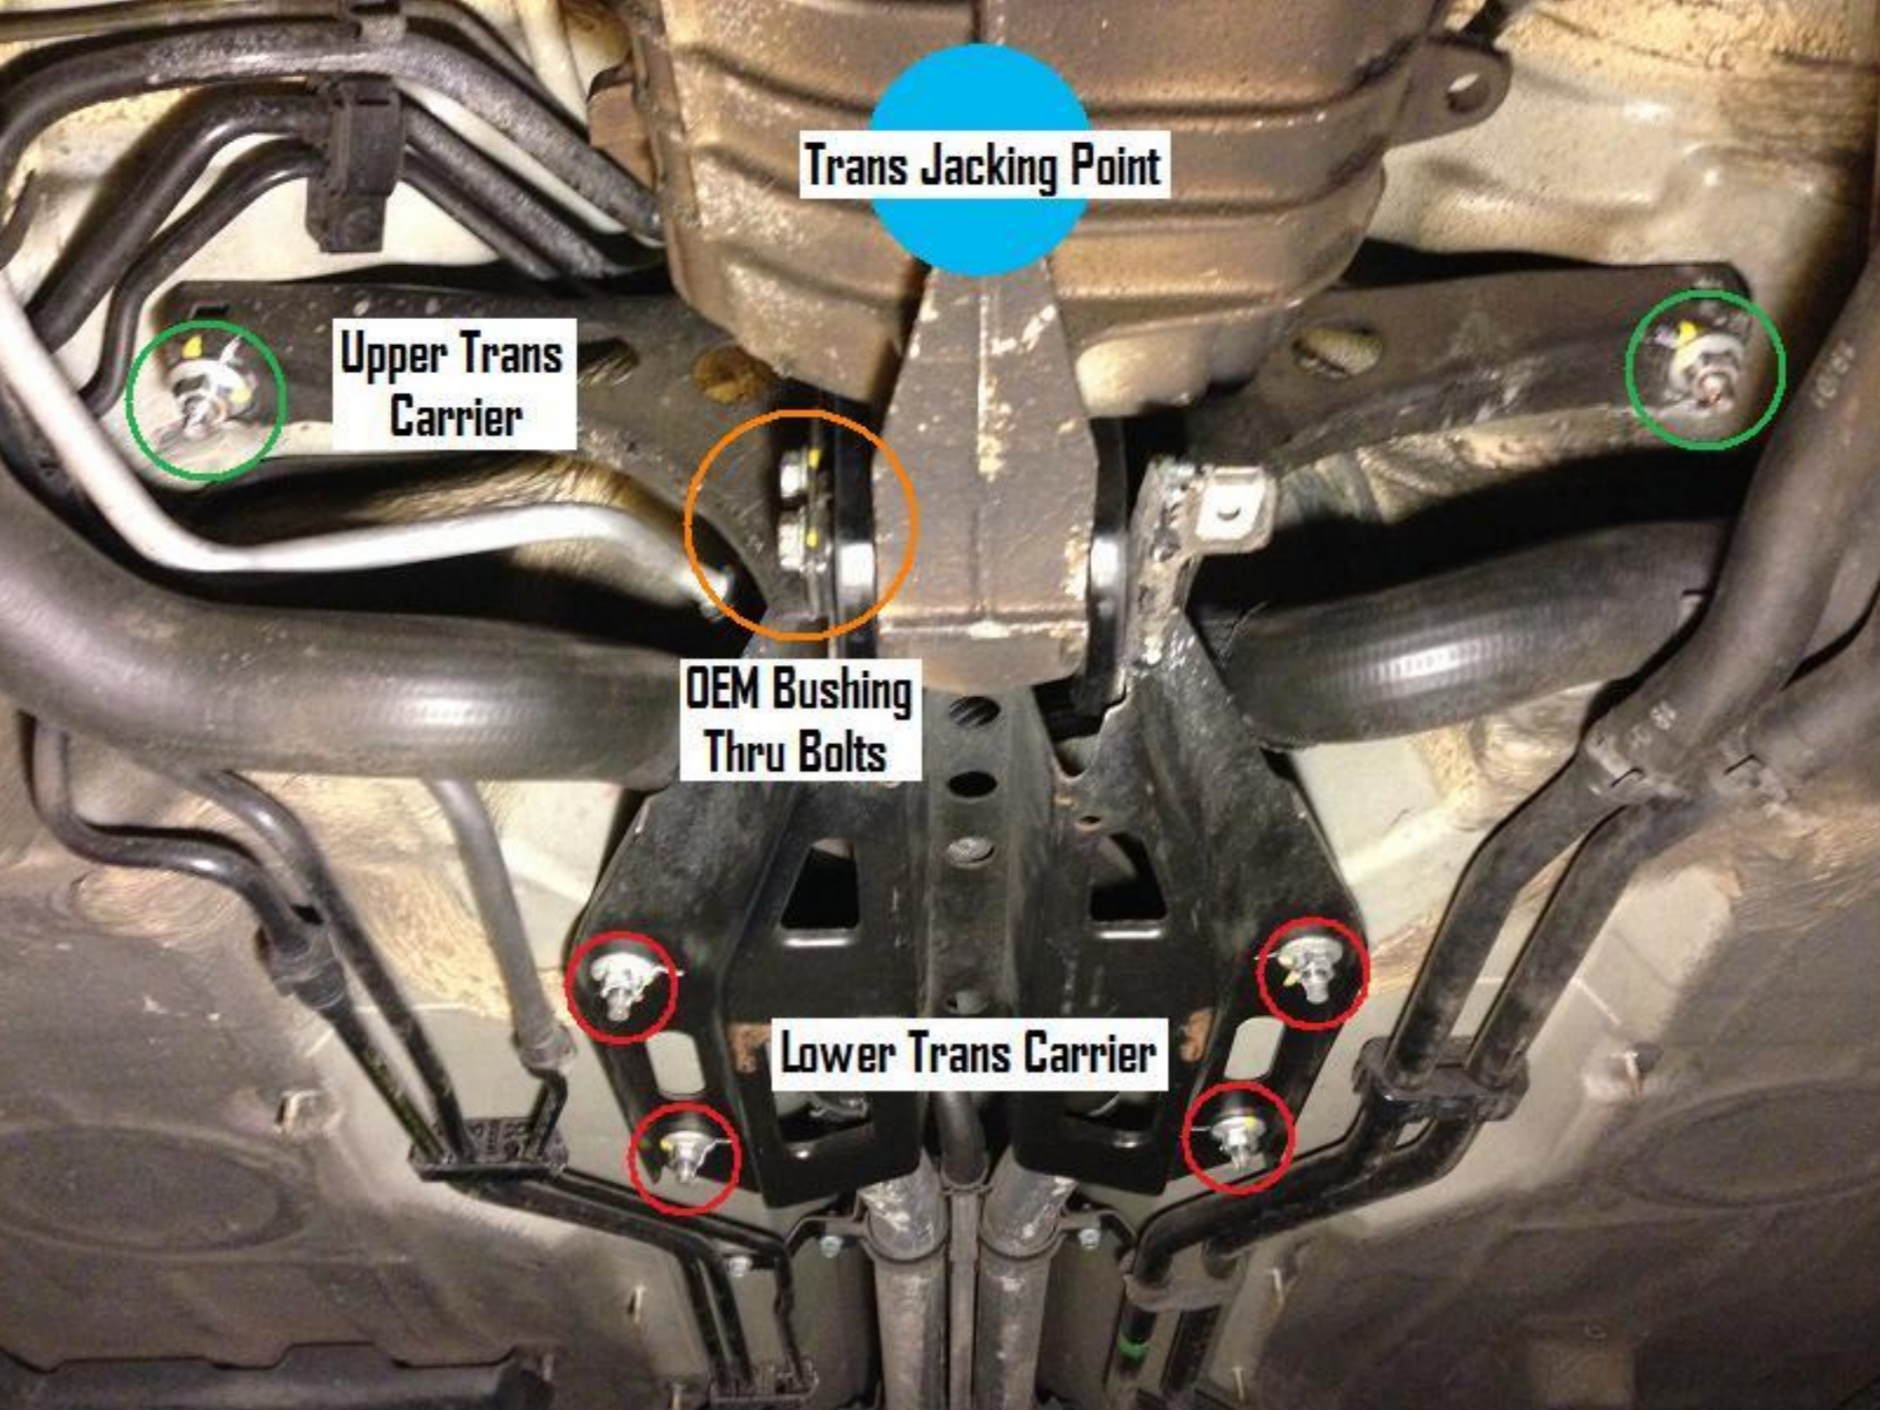
This is not too difficult a DIY - I would say the hardest part is getting the undertray off the car for access. You need to remove the rear undertray, and 3/4 of the fasteners for the centre tray. If you are working from the rear of the car on ramps like I was, it gets tight for space as you move nearer the front of the car - consider having the car lifted on 4 axle stands.
This is the overview of the setup you are presented with after the undertray is off. The lower transmission carrier and upper transmission carrier end up being completely removed from the car. You need a standard trolley jack to support the gearbox whilst you unbolt everything.
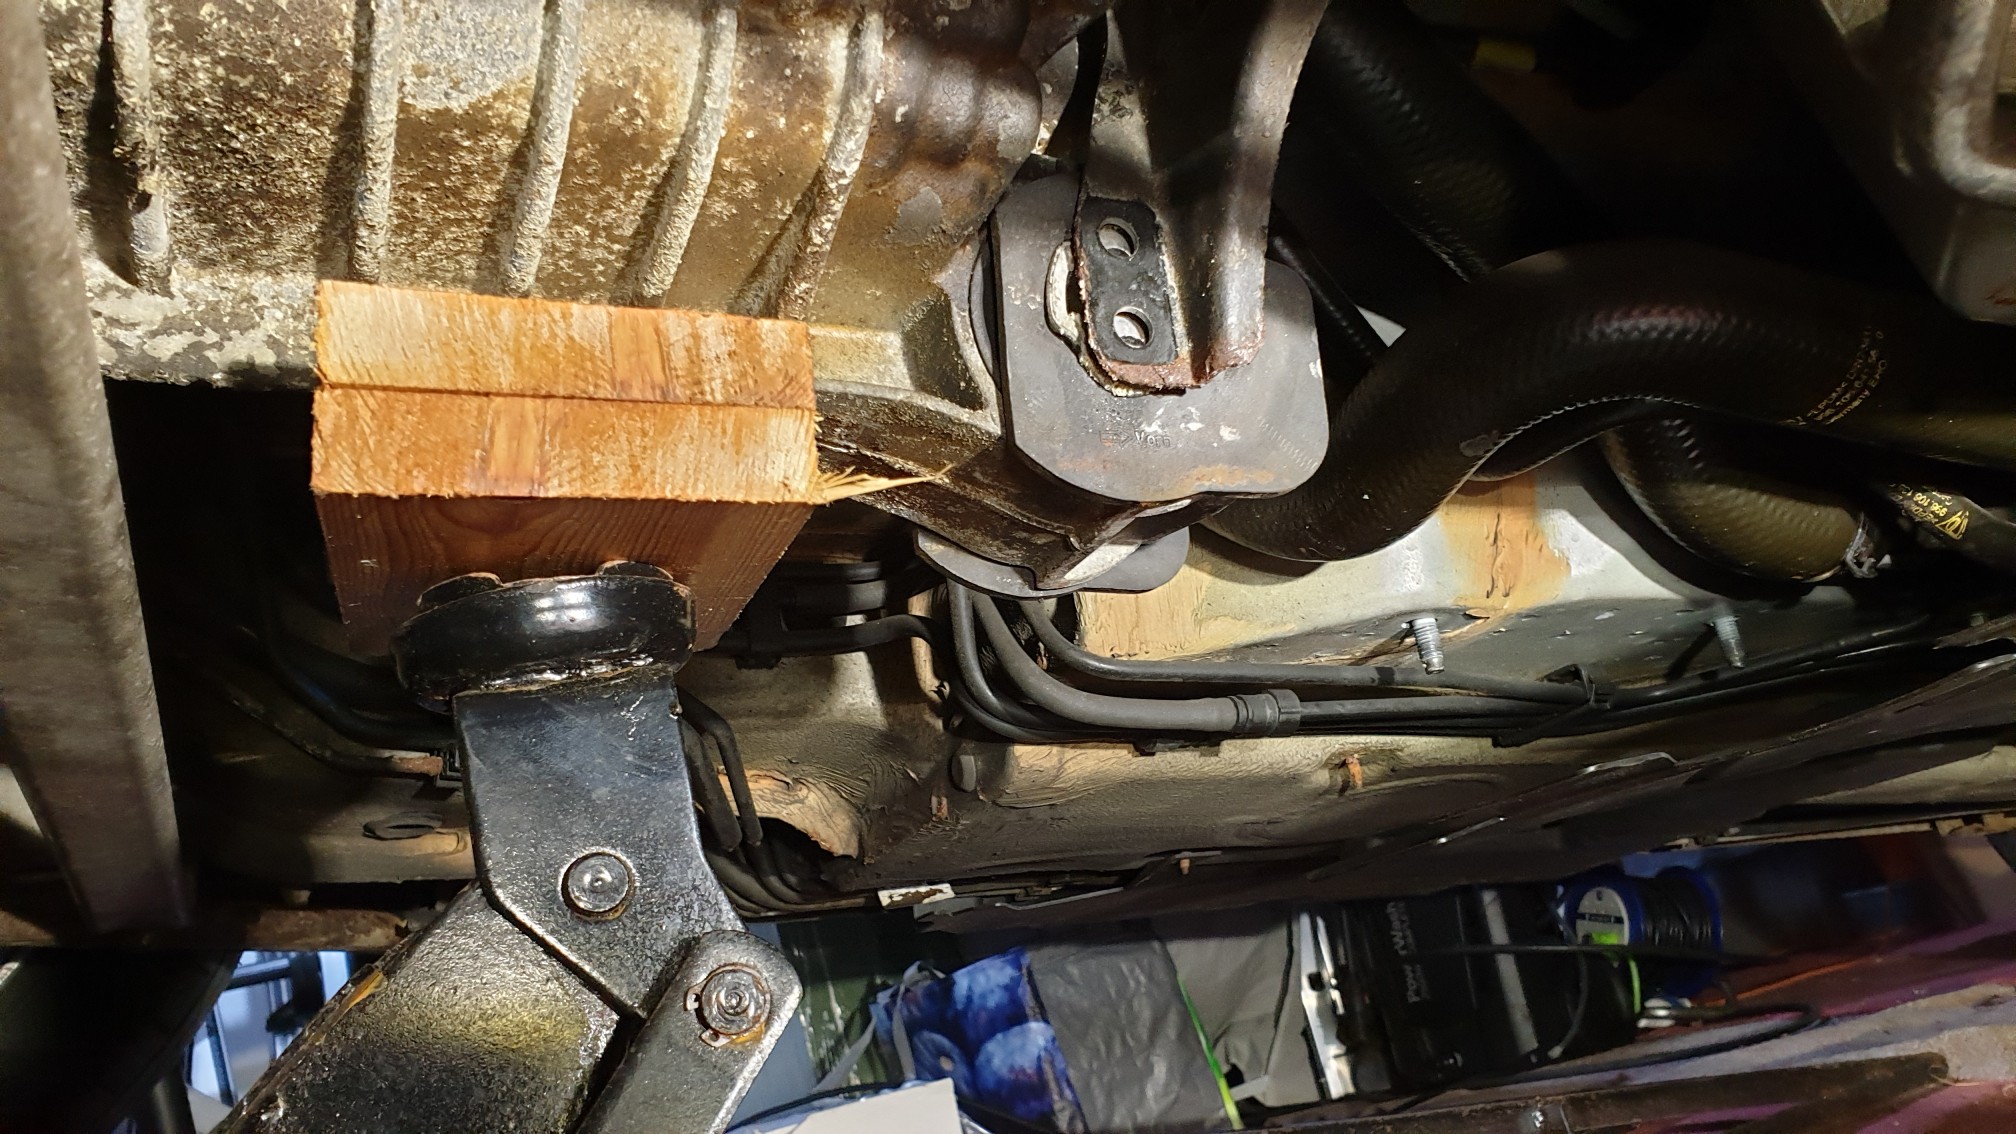
You can see where you are meant to support the gearbox. Upper transmission carrier still in place, lower one removed.
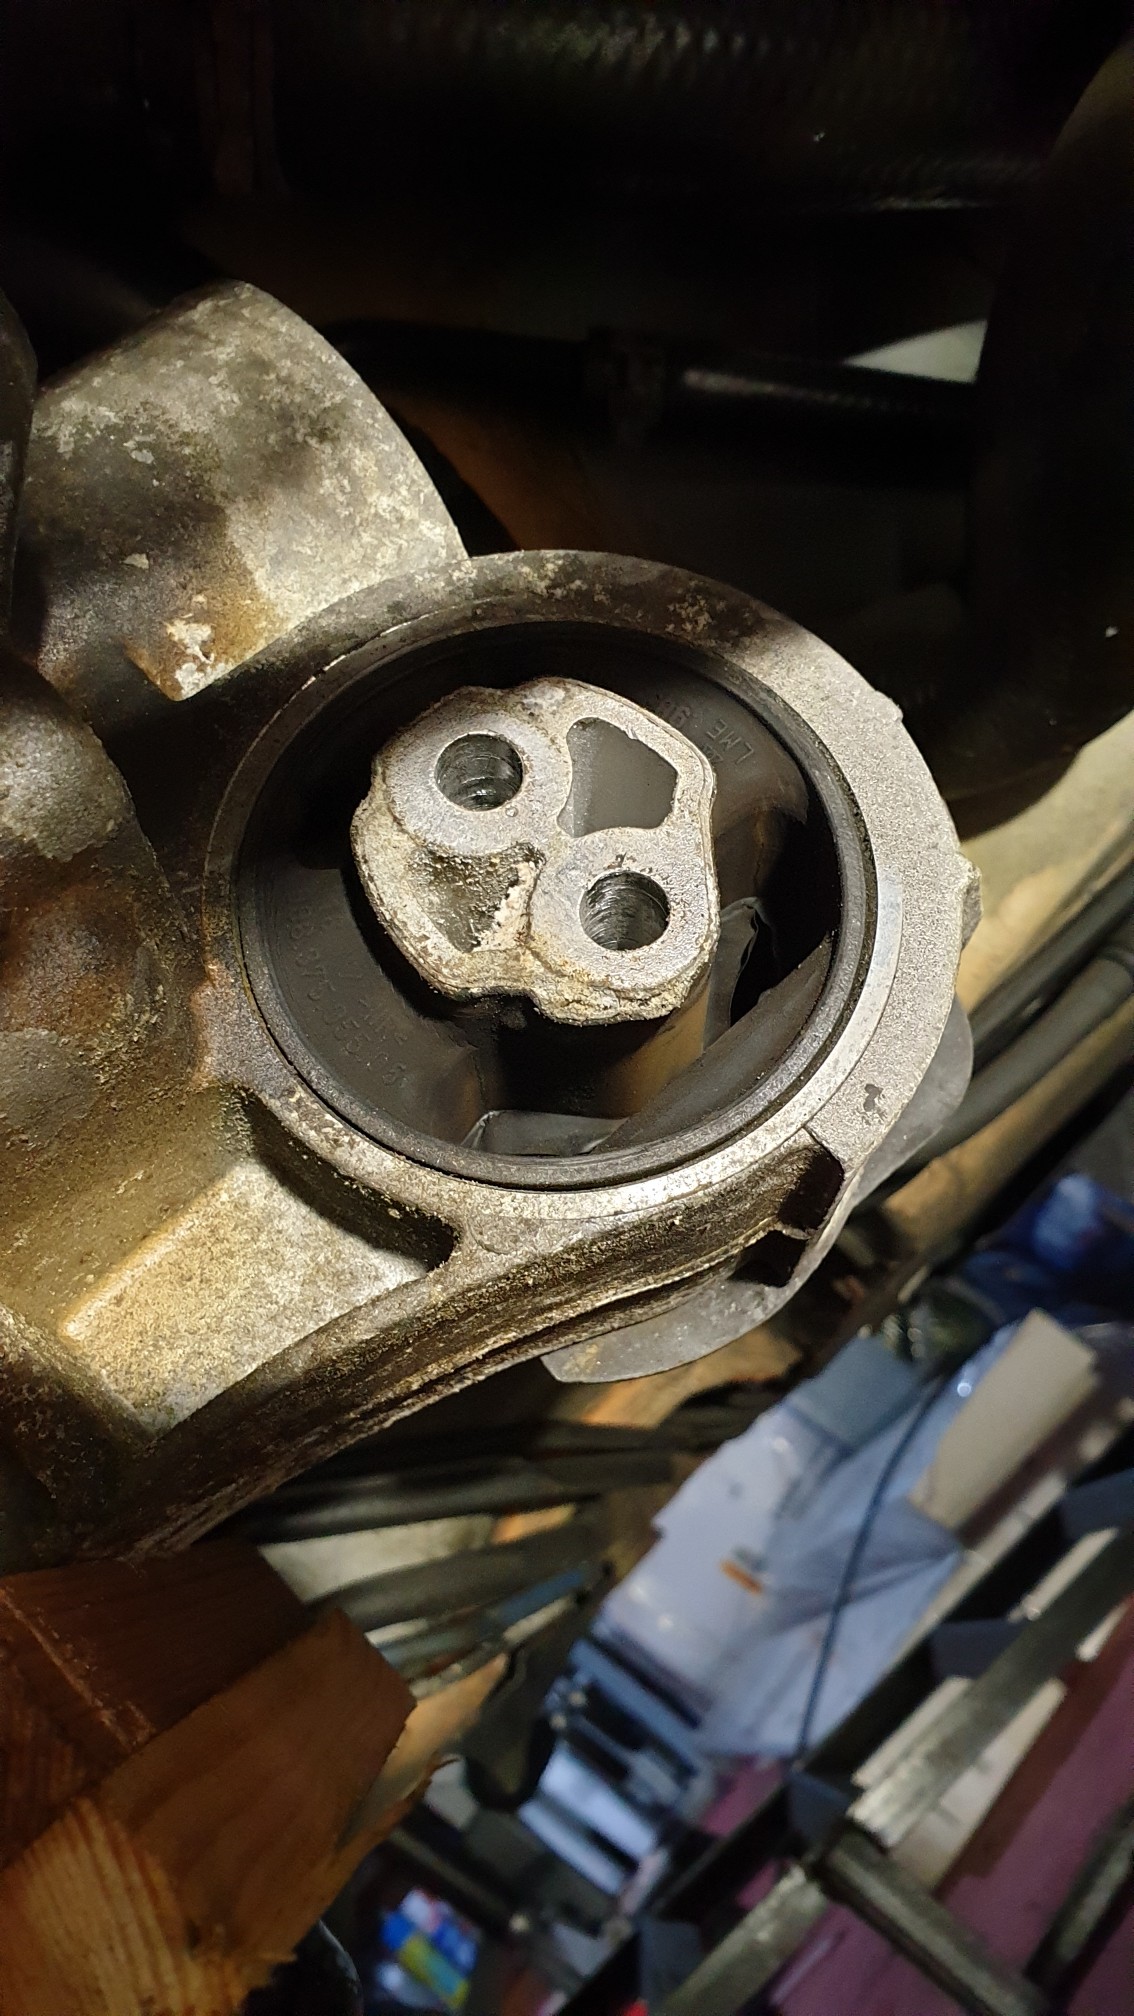
Standard setup with the outer rubber 'ear' removed. You can see what the Powerflex mounts are trying to replicate now, as the black 'ears' become redundant.
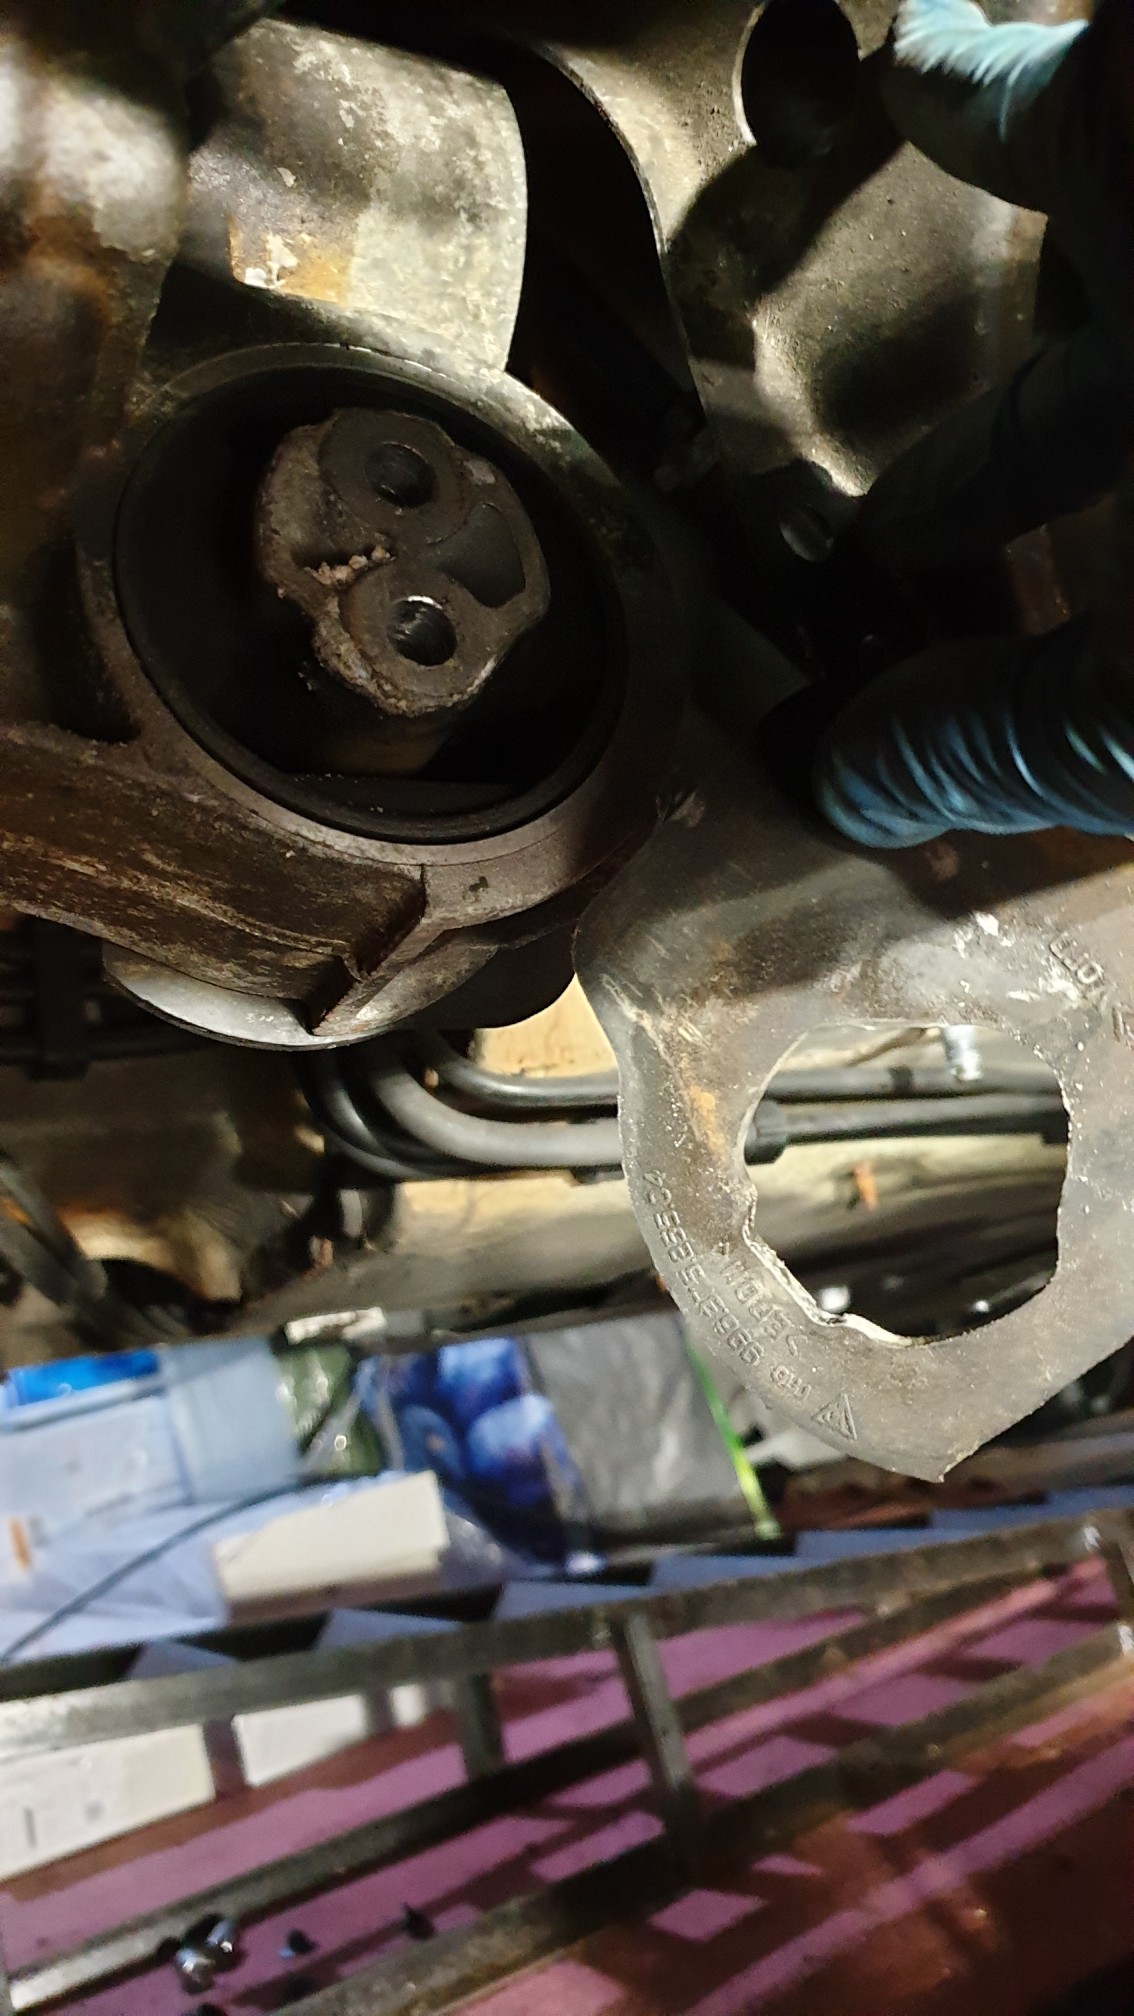
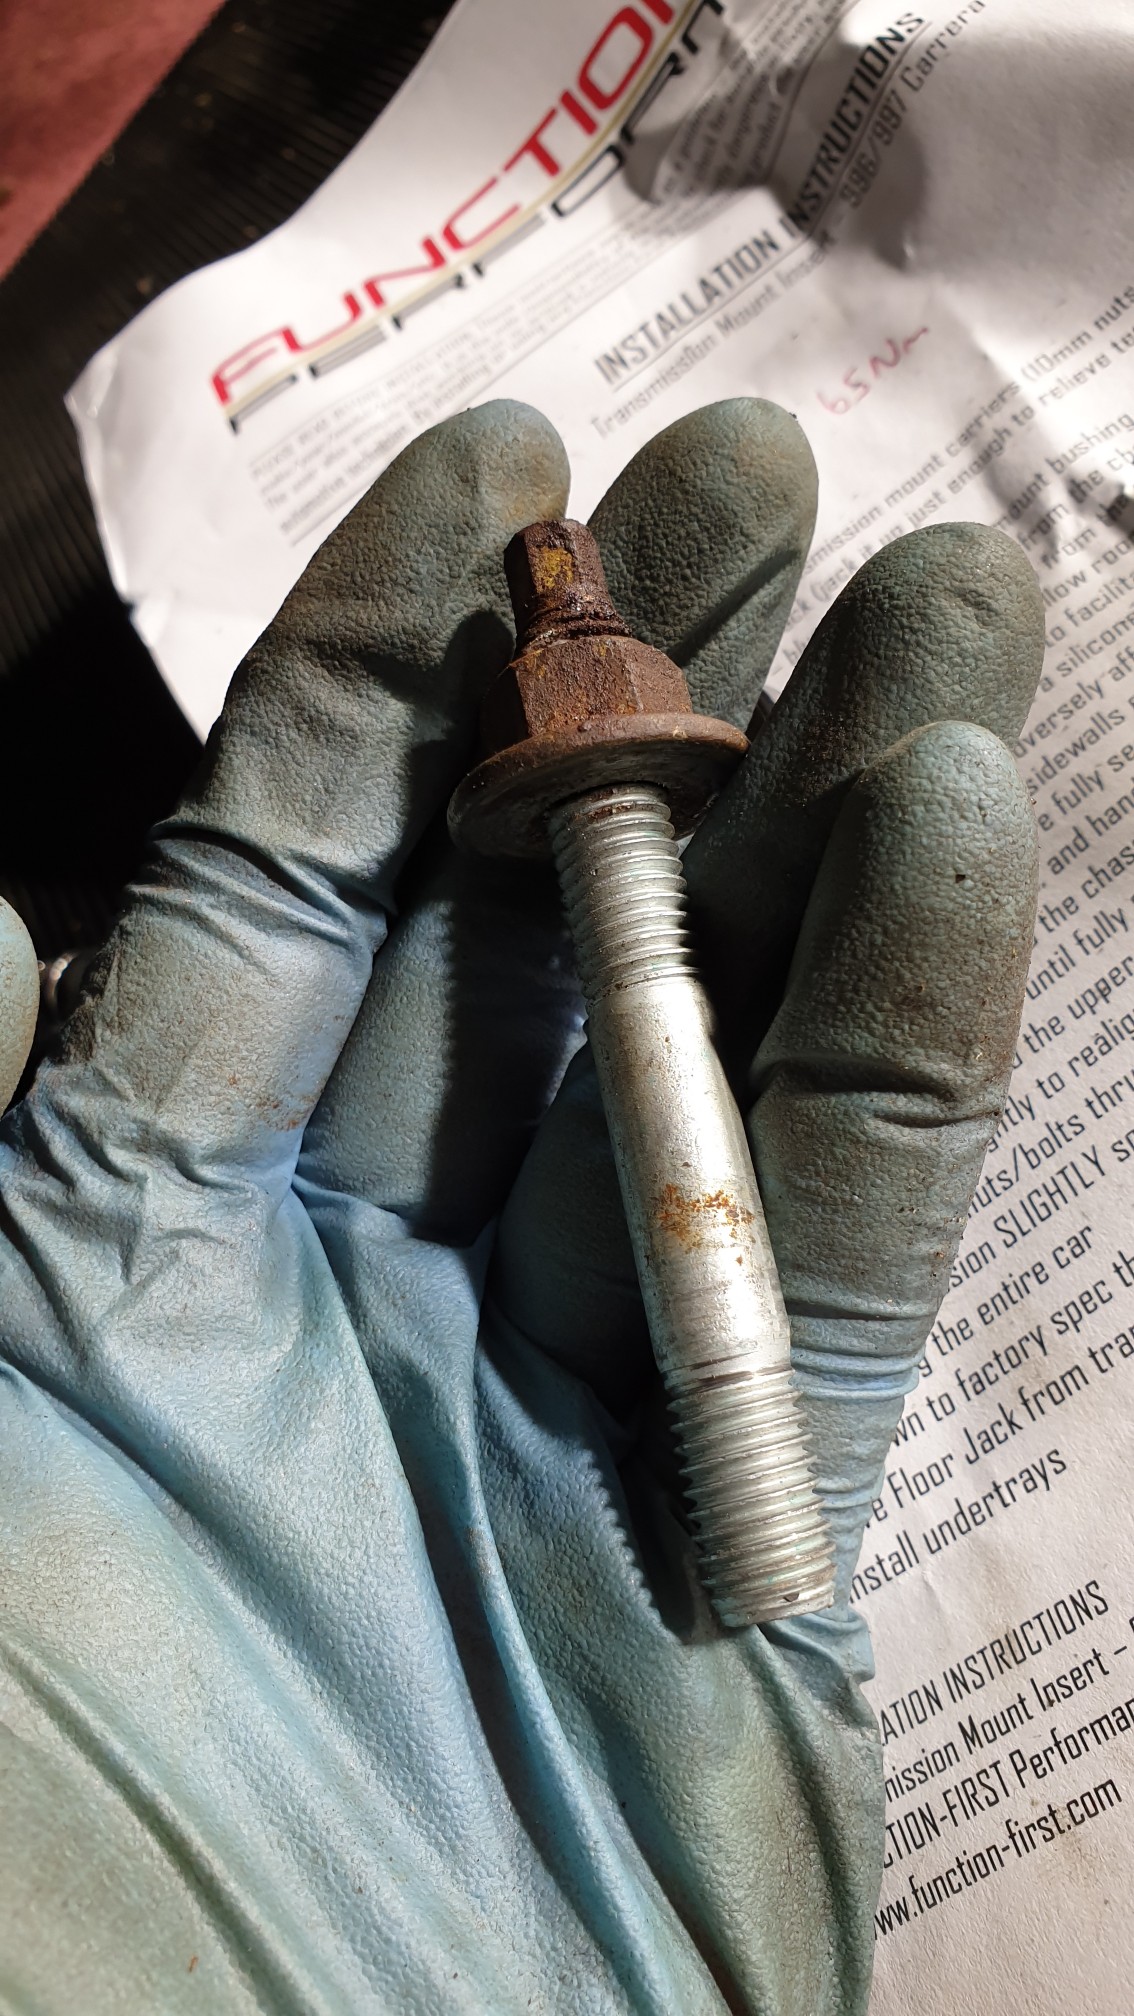
When I removed the upper transmission mount, the whole stud came away from the car, rather than just the nut.
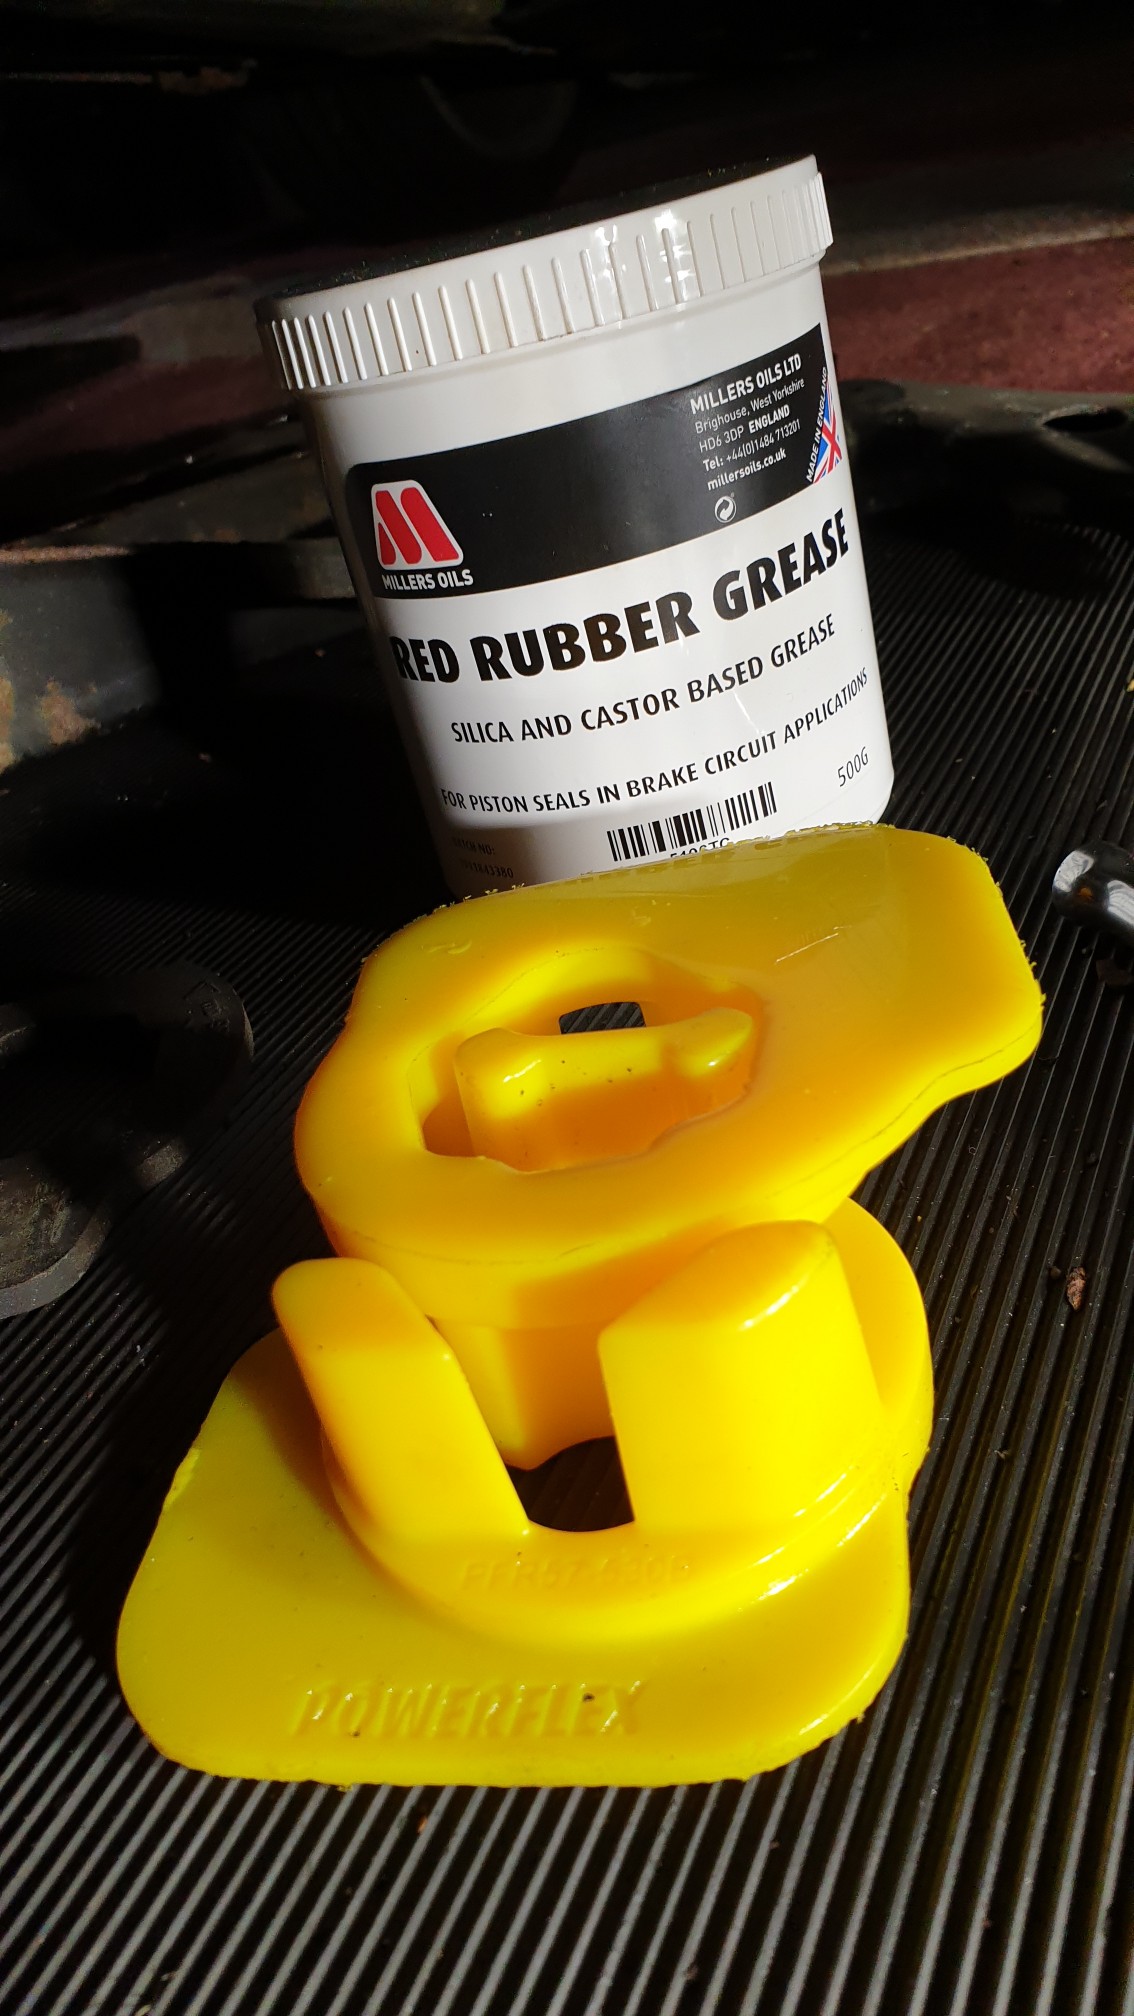
The bush on my car appeared in good condition - no tears, etc.
I packed the old bush and coated the Powerflex insert with red rubber grease
I've had it out for a brief drive. First impressions are that there seems to be little to no difference when the car is started and idling, which is good. Gearshift has improved - definitely slots into all gears more cleanly. There is slight transmission noise over certain RPM, but I will let everything bed in for a few miles and report back.
Late last year the brake warning light had come on on the dashboard. I took the wheel off and had a proper look at the brakes, which appeared fine, until I checked inboard of the discs and the associated pads...
New front discs and pads ordered, with new wear sensors. £170 delivered. I went for Pagid and it all fitted perfectly. Also worth noting that the discs are primed on the centres and edges to hopefully keep them looking reasonably rust free over time.
A few random images: -
Detail of wear sensors - I had not come across these before but they are very easy on these cars - plug and play!
This is the end that goes into the brake pad
This end plugs into the car wiring harness on the hub
How it sits in the pads - both pads front and rear of caliper are plugged in
The hardest part of this job for me was getting the caliper pins out that hold the pads in place - make sure you use plenty brake cleaner and have good punches of adequate length to go through the caliper. The brake disc retaining screws are also worth consideration - I used a drill driver and PH3 drill bit (big cross head). Don't use a number 2 sized screwdriver or bit as you will strip the heads!
Secondly was something I was unsure about - Powerflex gearbox insert!
This is not too difficult a DIY - I would say the hardest part is getting the undertray off the car for access. You need to remove the rear undertray, and 3/4 of the fasteners for the centre tray. If you are working from the rear of the car on ramps like I was, it gets tight for space as you move nearer the front of the car - consider having the car lifted on 4 axle stands.
This is the overview of the setup you are presented with after the undertray is off. The lower transmission carrier and upper transmission carrier end up being completely removed from the car. You need a standard trolley jack to support the gearbox whilst you unbolt everything.
You can see where you are meant to support the gearbox. Upper transmission carrier still in place, lower one removed.
Standard setup with the outer rubber 'ear' removed. You can see what the Powerflex mounts are trying to replicate now, as the black 'ears' become redundant.
When I removed the upper transmission mount, the whole stud came away from the car, rather than just the nut.
The bush on my car appeared in good condition - no tears, etc.
I packed the old bush and coated the Powerflex insert with red rubber grease
I've had it out for a brief drive. First impressions are that there seems to be little to no difference when the car is started and idling, which is good. Gearshift has improved - definitely slots into all gears more cleanly. There is slight transmission noise over certain RPM, but I will let everything bed in for a few miles and report back.
Gassing Station | Readers' Cars | Top of Page | What's New | My Stuff