Attempting to build the fastest road legal Elan in the world
Discussion


Turn7 said:
When its done will you be racing proper or just RWYB ?
RWYB are too full of FWD wannabies :-) First runs will be on an old WW2 airfield in Essex so we can iron out the wrinkles and I can learn how to drive it in private :-)
Next stage will be to get some track time at Test and Tune days at the Pod. Worth the extra money as you can get as many runs as you want. At RWYBs you might get 4 runs if you are prepared to sit in a queue for the whole day.
I am looking into Time Attack and will be discussing the possibility with Steve from TA at the NEC next week.
Also plan a few sprints.
stevebroad said:
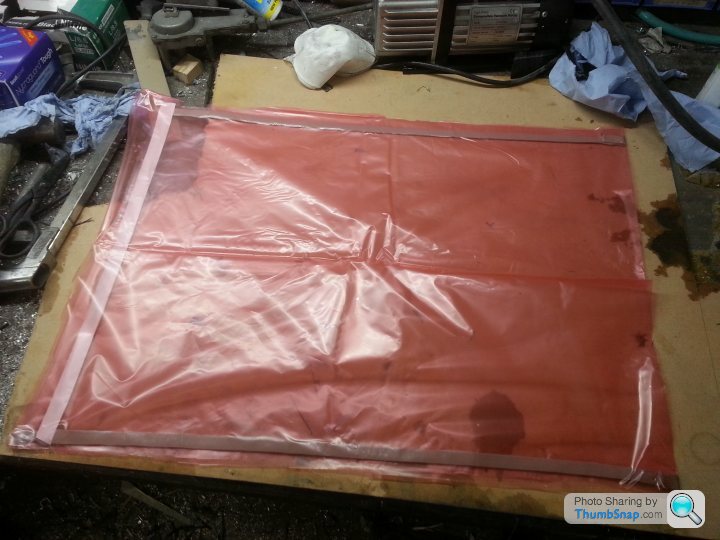
Just come up against one of those little challenges that you expect on a unique build. Started to sort out the centre console whilst the glue cures on the firewall. Cut the hole for the handbrake which worked out fine. However, a problem I had in the back of my hand reared its ugly head. I can't remove the console over the lever as it can't be moved forward in order to slide the lever through the hole. The console can only be fitted and removed vertically due to dash and roll cage.
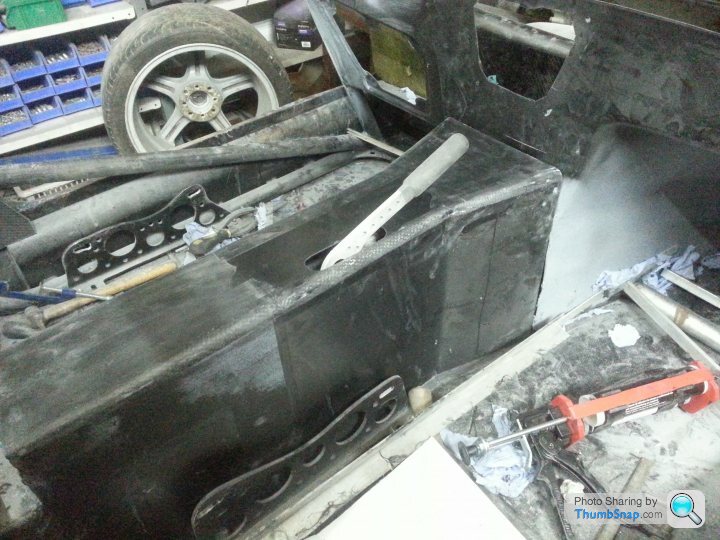
Two solutons come to mind. The easiest but messiest is to simply lengthen the slot and cover with a removable plate. Quickest and easiest, but I don't tend to do quick and easy :-)
My other thought is to modify the lever so it is detatchable.
Any thoughts?
Two carbon fiber tubes, larger tube slides over with a set screw holding it in place,,,Two solutons come to mind. The easiest but messiest is to simply lengthen the slot and cover with a removable plate. Quickest and easiest, but I don't tend to do quick and easy :-)
My other thought is to modify the lever so it is detatchable.
Any thoughts?
the ronin said:
Two carbon fiber tubes, larger tube slides over with a set screw holding it in place,,,
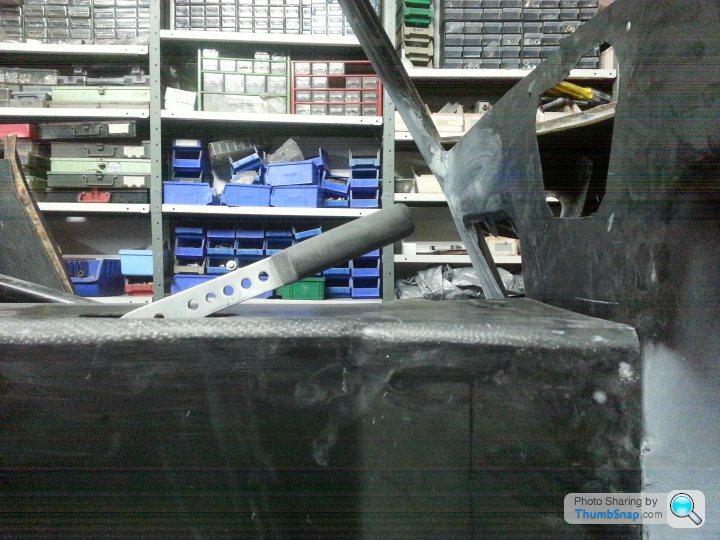
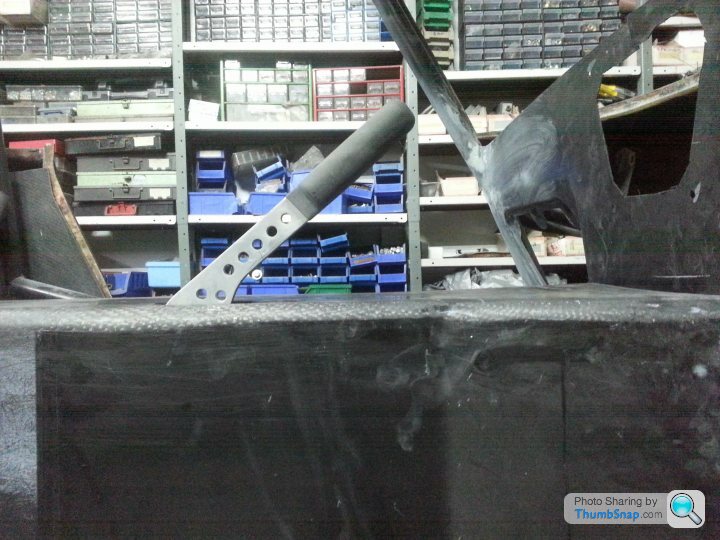
Hmmmmm.....That's a thought. I will look into that. Only issue I can initially see is connecting the tube to the remaining part of the handle connected to the fulcrum and master cylinder.An alternative would be an aluminium tube welded to the remaining part but a carbon fibre tube slid over this.
Thanks

Needed some more angle so decided to make some using prepreg offcuts.
This is how I do it, warts and all :-)
Sorted out some angle of varying sizes and cut prepreg to suit.

Prepreg was then pressed into the angle using a little heat to soften the carbon.
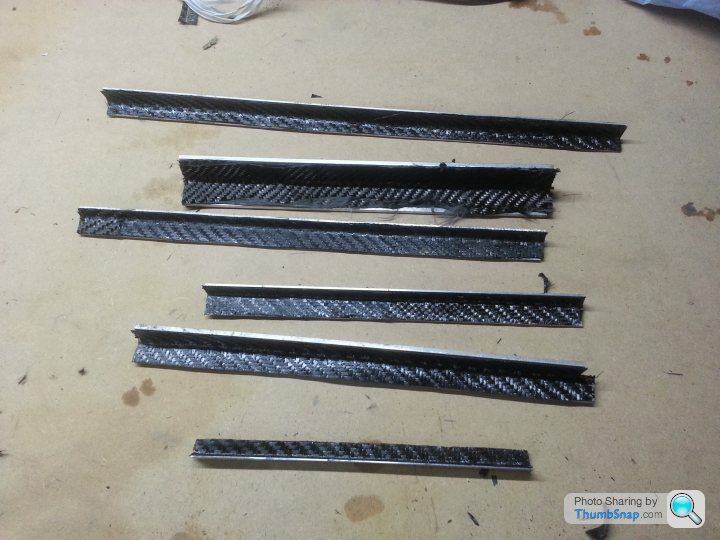
I then covered them with peel ply (stops the breather cloth from sticking to it)

Put these to one side whilst I made the vacuum bag.
Placed a layer of breather cloth in the bag and laid out the angles on it.

I then covered everything with another layer of breather cloth and attached the vacuum pipe.
https://youtu.be/Bdqt2PQEplE
Placed in oven at 100 deg C for 8 hours.

When I unwrap I will post results :-)
This is how I do it, warts and all :-)
Sorted out some angle of varying sizes and cut prepreg to suit.
Prepreg was then pressed into the angle using a little heat to soften the carbon.
I then covered them with peel ply (stops the breather cloth from sticking to it)
Put these to one side whilst I made the vacuum bag.
Placed a layer of breather cloth in the bag and laid out the angles on it.
I then covered everything with another layer of breather cloth and attached the vacuum pipe.
https://youtu.be/Bdqt2PQEplE
Placed in oven at 100 deg C for 8 hours.
When I unwrap I will post results :-)
Edited by stevebroad on Monday 9th January 15:51
After 8 hours cooking in the oven (one in the workshop, not kitchen!) I removed angle and removed them from bag, cloth and peel ply. I then struggled to remove the carbon from the aluminium. I had used release agent but, obviously, not enough. Must do better.
However, they came out OK and fit for purpose. If they had been shiny I would have had to sand them so there was a good key for glue :-) Total weight 42grams.

However, they came out OK and fit for purpose. If they had been shiny I would have had to sand them so there was a good key for glue :-) Total weight 42grams.
Edited by stevebroad on Monday 9th January 22:51

larrylamb11 said:
Re: handbrake, can you adjust handbrake mechanism (or make linkage detachable) so that handle can be pulled to vertical, allowing centre console to be lifted vertically over it?
The linkage is detatchable, but I would have to remove the console in order to do this :-)I had a little 'issue' with the centre console. I cut a hole for the habdbrake lever to fit through and then realised (although it had crossed my mind during the console build) that, as the console can only be removed vertically the lever is in the way! A longer slot would work but that would look like a bodge, which it would be. After a little thought the solution was to make the lever removable, or at least enough of it to allow the removal of the console.
A few design iterations resulted in a solution. Just need to get it welded (my TIG skills are still minimal) and tidied up.
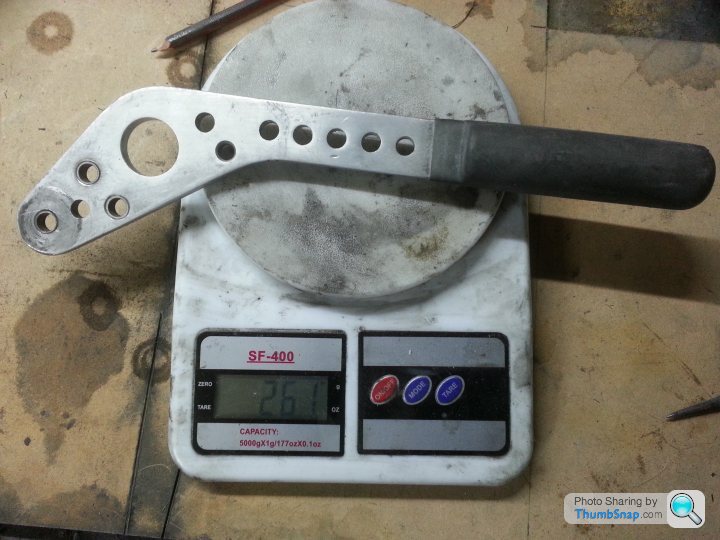
A key mantra of mine is that any mods should make the new/replacement part lighter than the original, whenever possible. In this case a 115g, or 44%, reduction is pretty good. Once the carbon in sanded and painted you will not realise what it is :-)

A small grub screw will secure the handle to the base.


A few design iterations resulted in a solution. Just need to get it welded (my TIG skills are still minimal) and tidied up.
A key mantra of mine is that any mods should make the new/replacement part lighter than the original, whenever possible. In this case a 115g, or 44%, reduction is pretty good. Once the carbon in sanded and painted you will not realise what it is :-)
A small grub screw will secure the handle to the base.
Gassing Station | Readers' Cars | Top of Page | What's New | My Stuff