Attempting to build the fastest road legal Elan in the world
Discussion


stevebroad said:
As an aside for those familiar with my concerns about our underpowered motorhome being able to cope, the fuel mod that Alex did made towing easy (ish). For those who know the Maldon Bypass hill, from a standing start I got up to 55mph!
Yes, not far from me, good effort 
Can't wait to see this flying through Danbury.
Eddieslofart said:
Yes, not far from me, good effort
Can't wait to see this flying through Danbury.
Considering I was pulling the box trailer and Elan I was quite pleased, should be able to cope with the hills on the way to the Pod.Can't wait to see this flying through Danbury.
There won't be a lot of flying through Danbury, or anywhere else for that matter, as there won't be anything to prove and not much around that is fast enough to make it worth my while :-)
Edited by stevebroad on Sunday 17th September 23:07
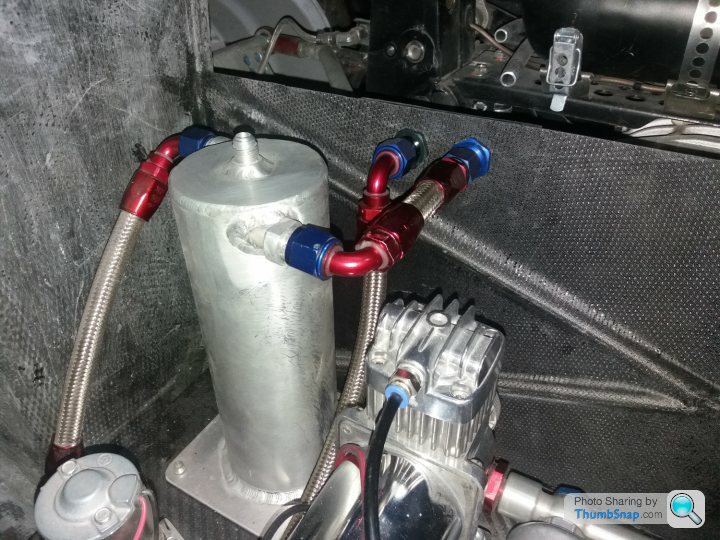
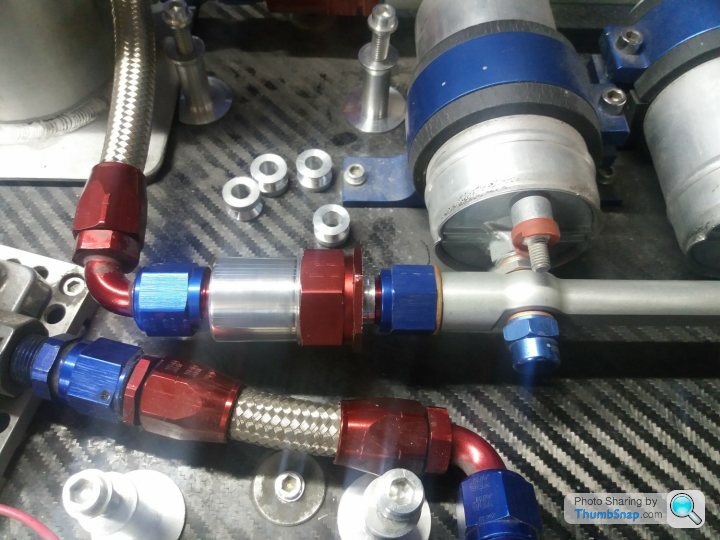
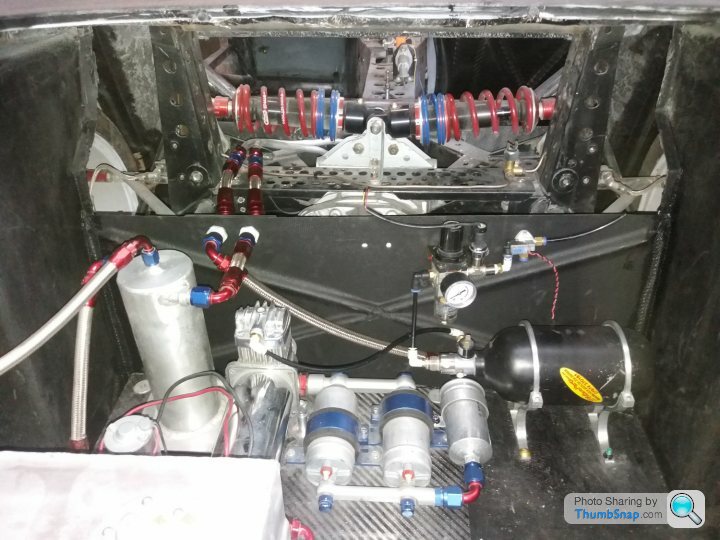
Getting on with fuel lines. Got them through new bulkhead but need a couple of 30 deg fittings so that the aluminium fuel lines are lifted slightly so they clear the air reservoir and brake pipe. They should arrive on Tuesday.
Took a few grams out of the inline fuel filter and air compressor support posts. I am guessing that the fuel enters the filter and the rubber seal end?
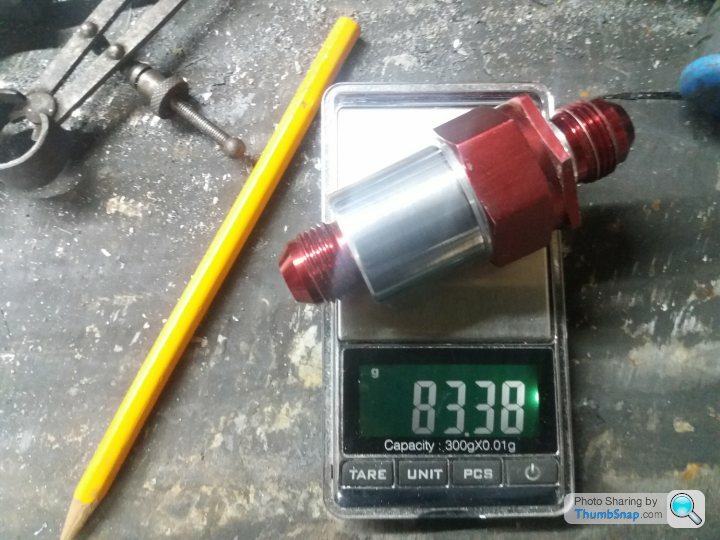
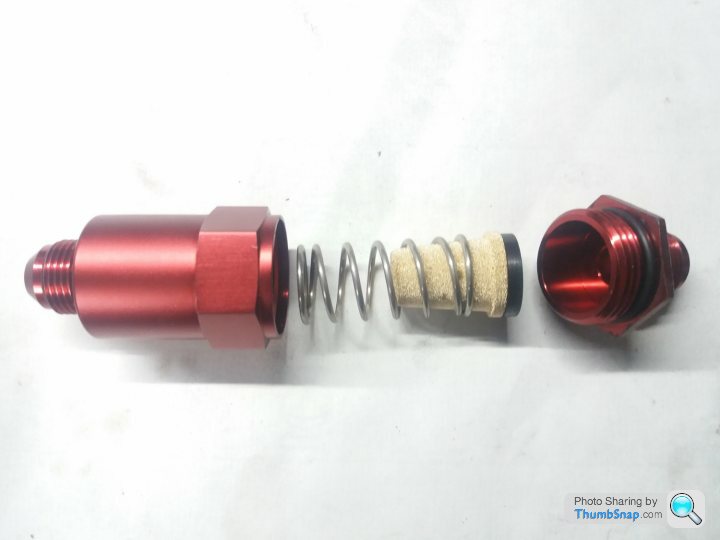
Took a few grams out of the inline fuel filter and air compressor support posts. I am guessing that the fuel enters the filter and the rubber seal end?
Edited by stevebroad on Sunday 17th September 23:05
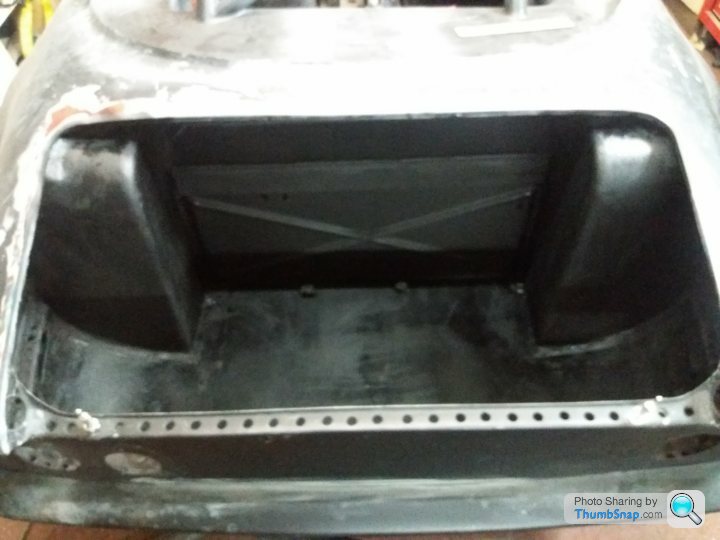
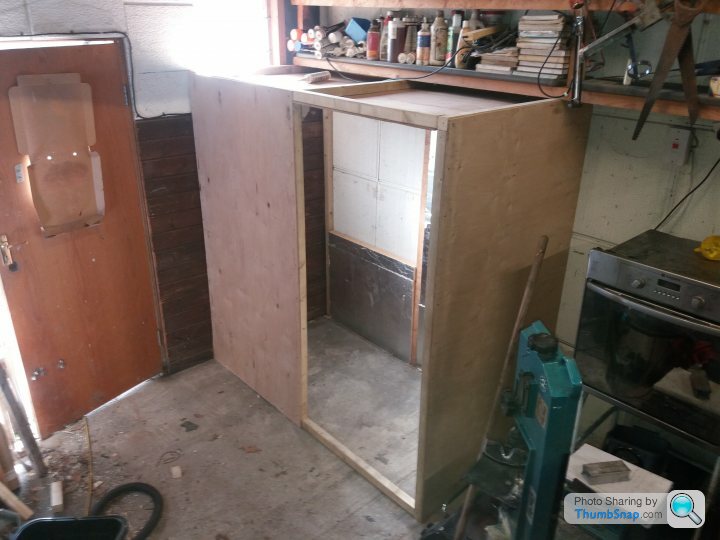
Finished removable part of rear bulkhead. Gave the boot a quick coat of 20 foot black matt.
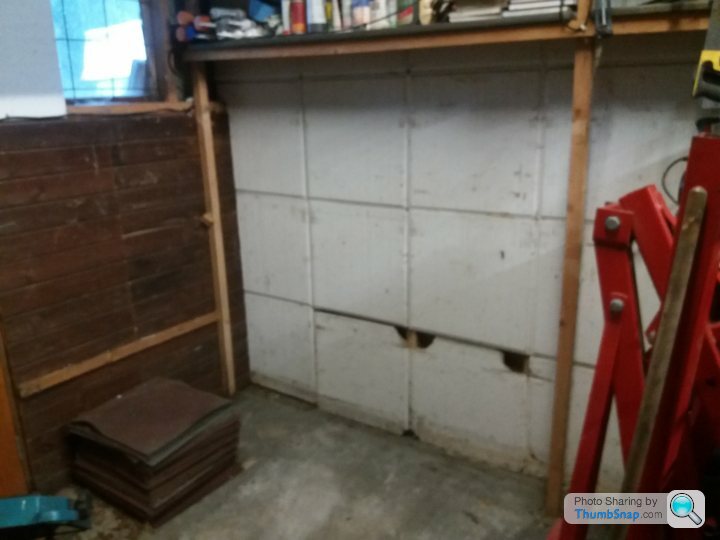
Cleared the area in the workshop where I plan to build my new, improved and much larger prepreg carbon/aramid curing oven. I have the heaters and controls, just need a few sheets of insulation board and I am good to go.
Whilst clearing the area I collected my G-clamps together, 57 of them! No, your eyes aren't going funny, photos are out of focus, again.
andygtt said:
looking good 
Cheers. What I didn't follow up on when I was over were the details on how you heat and control your oven. The heaters and controls I have aren't man enough for the size of my new and improved version :-)Edited by stevebroad on Wednesday 20th September 10:33
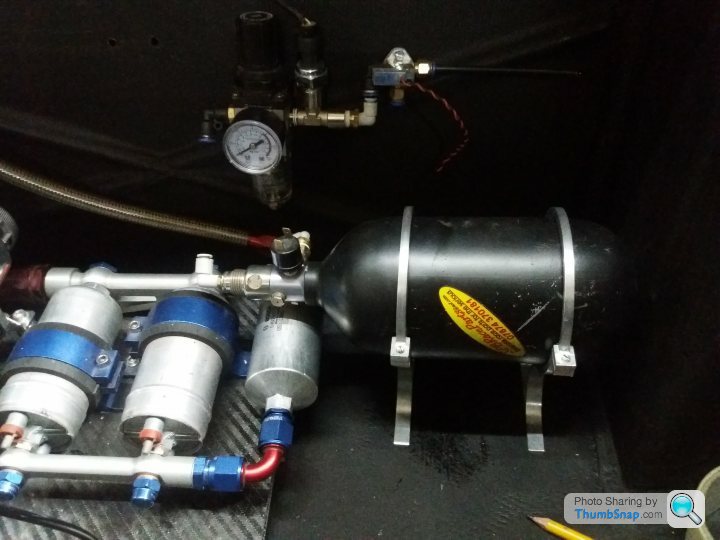
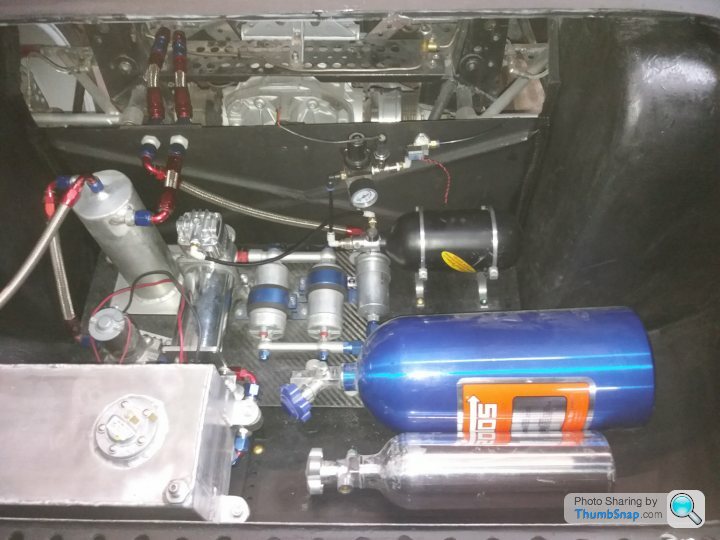
Fuel pipes finally finished, apart from tidying up the odd damaged union and the colour clash of the bulkhead fittings :-)
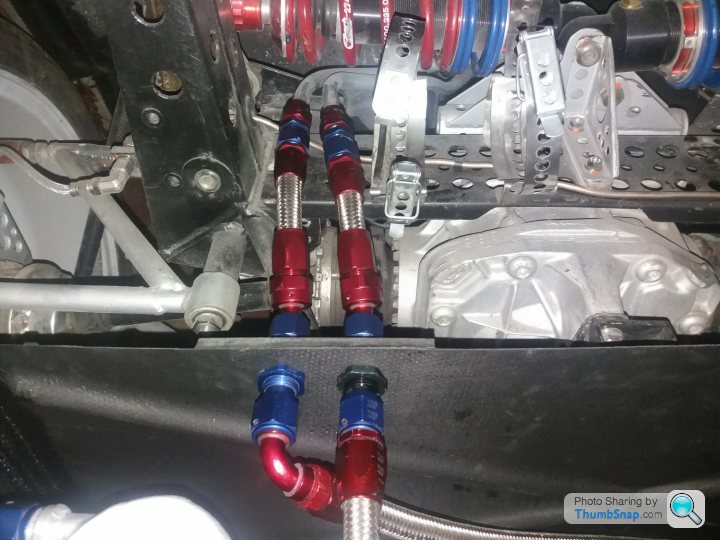
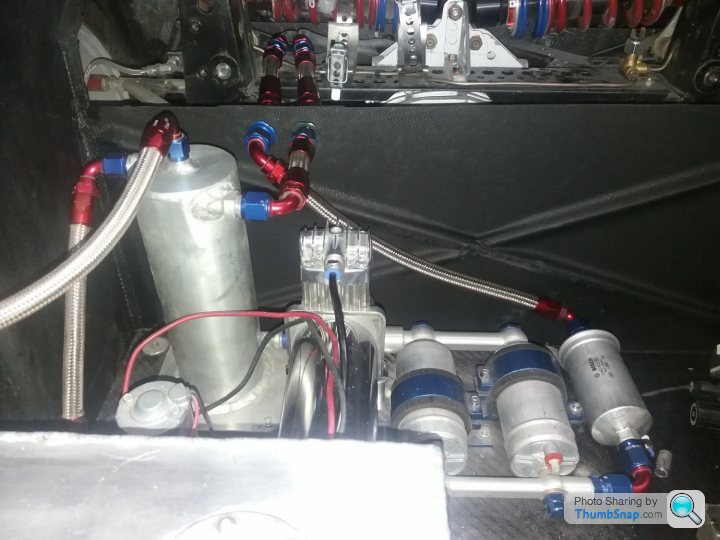
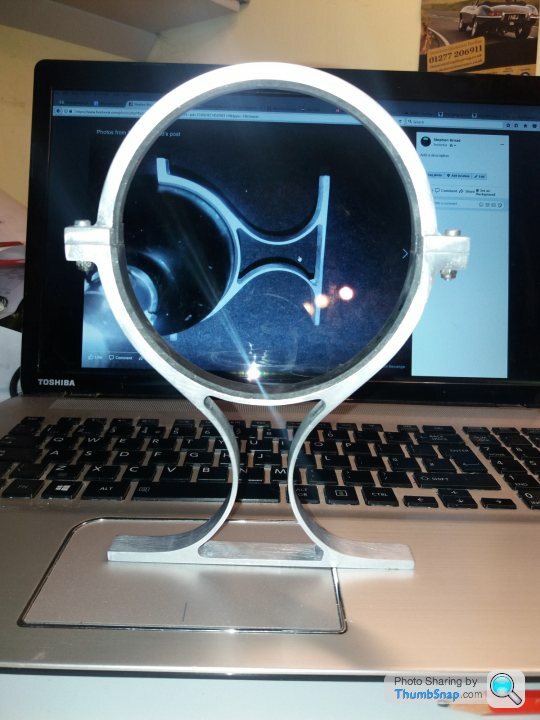
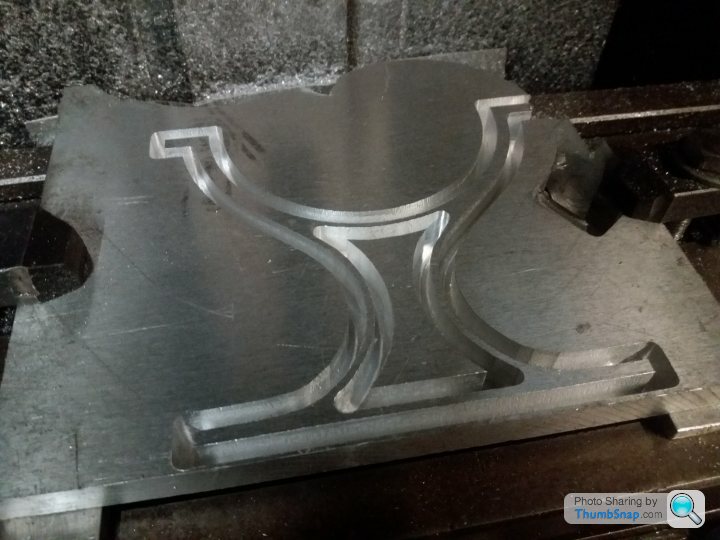
Resiting of air reservoir from over fuel pumps to the side necessitsted the making of new brackets. I could probably have used the existing brackets, but any excuse to play with the CNC Mill :-)
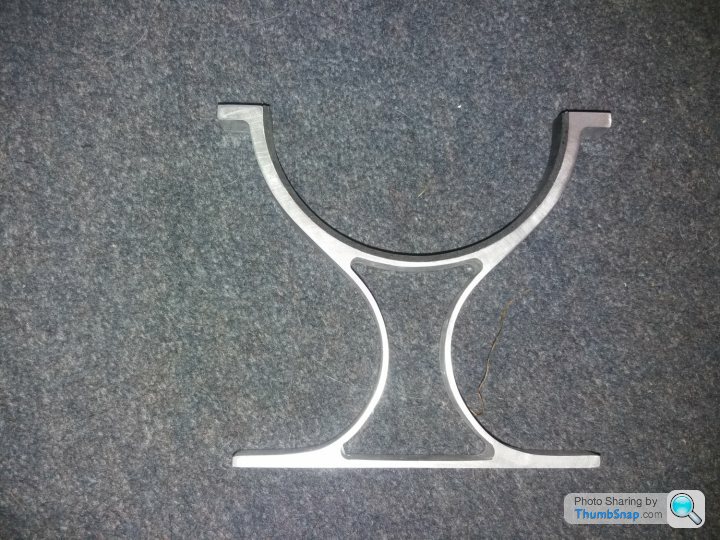
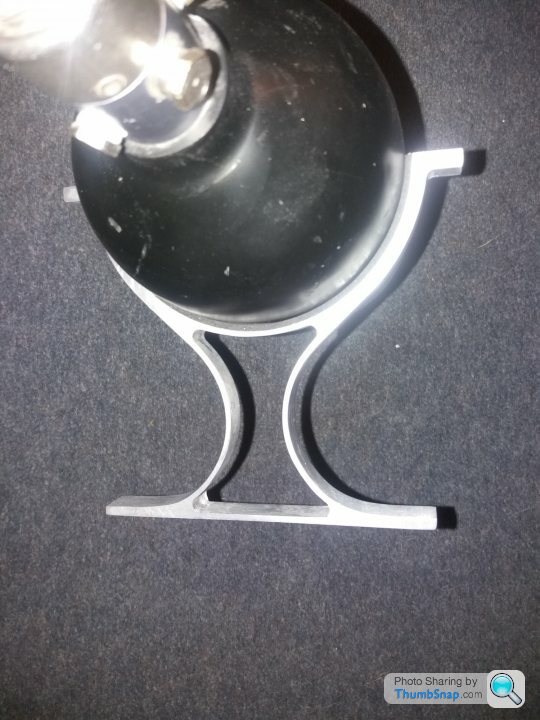
Resiting of air reservoir from over fuel pumps to the side necessitsted the making of new brackets. I could probably have used the existing brackets, but any excuse to play with the CNC Mill :-)
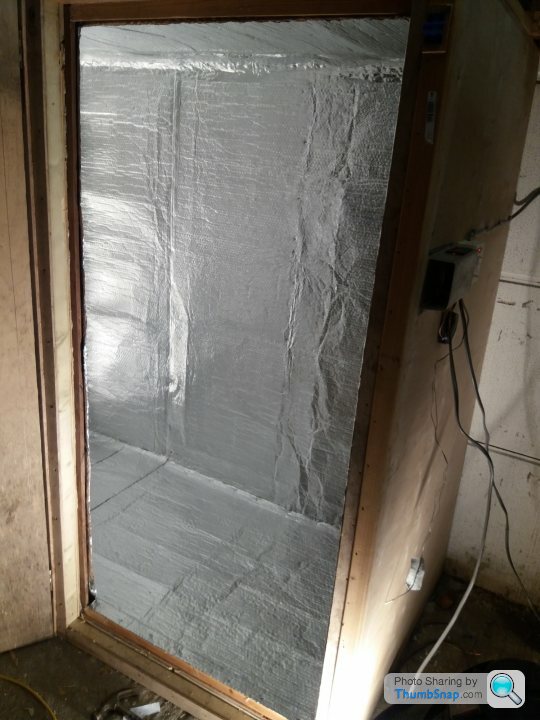
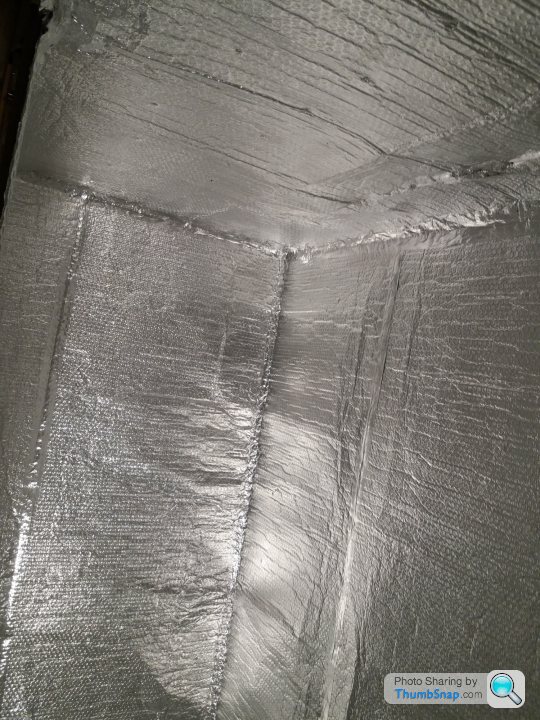
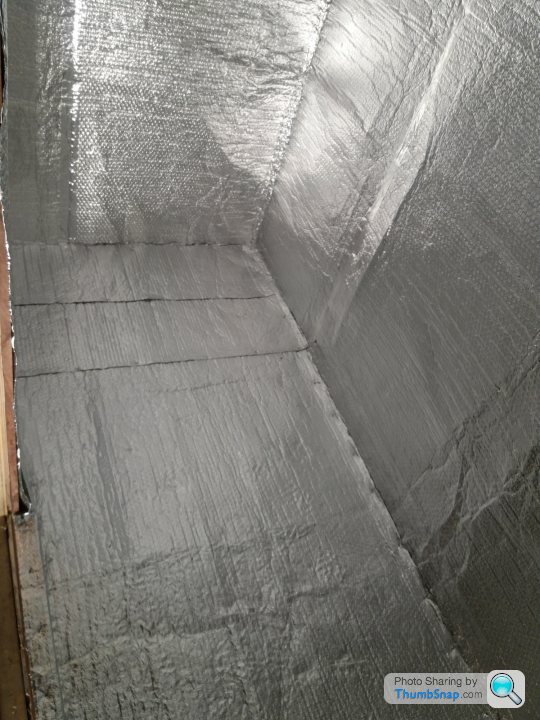
The carbon curing oven is working.
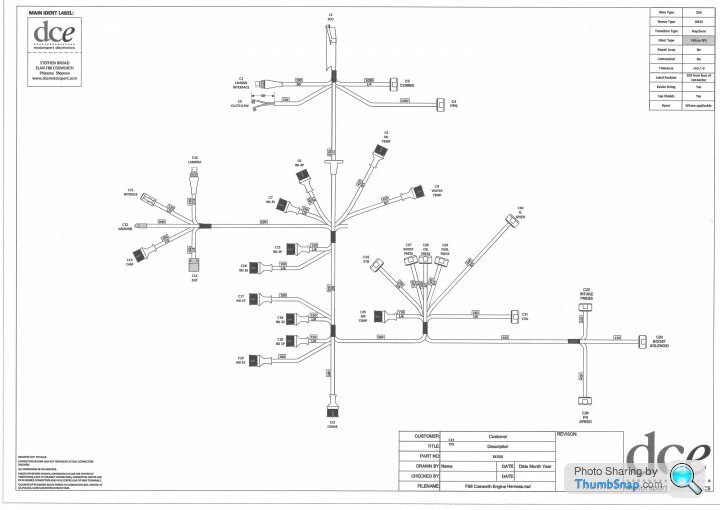
The car came back from the wiring place (DC Electronics) on Monday. The design is almost done but I lost my building slot. They have an LMP (Le Mans Prototype) car coming in for a 5 week build so I have been put back until that (far more important) job has been completed.
Disappointing, but we have made quite a few changes and working out how to accommodate the plethora of sensors along with the nitrous strategy has taken time.

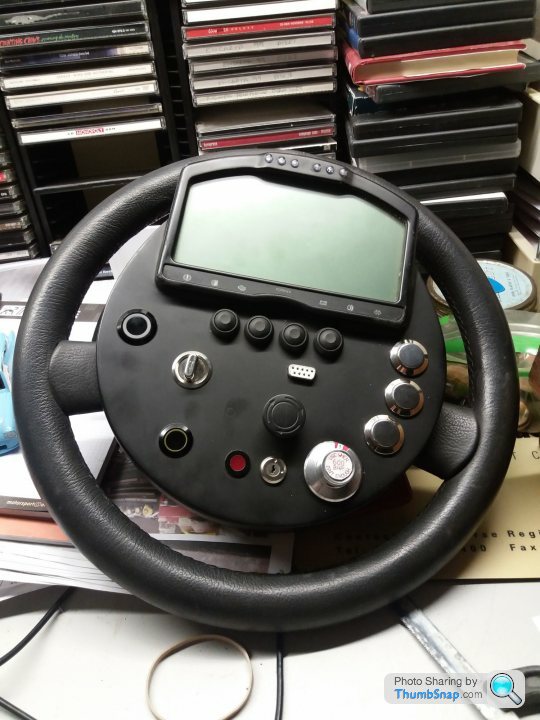
Not all is lost, however. I am working on adding the nitrous strategy switch to the steering wheel so the wiring for this section can be built ready for when the car returns (hopefully in early December). Also, I can get on with the bodywork.
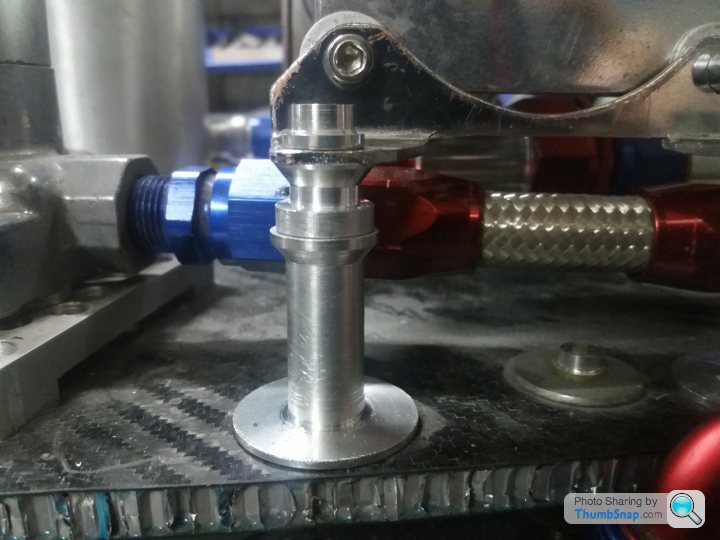
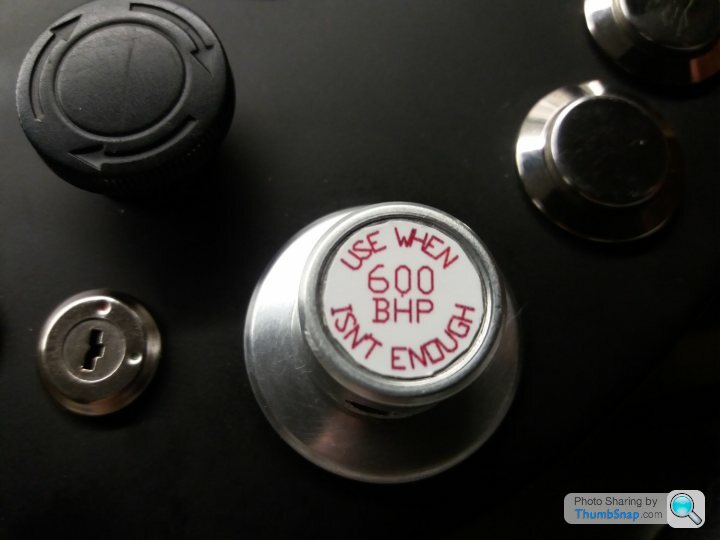
Re the nitrous switch, David gave me a 6 position switch but no knob, so I have just knocked one up on the lathe and mill. It looks rather large in the photo but that is due to perspective The labels will be made properly in vinyl.
The car came back from the wiring place (DC Electronics) on Monday. The design is almost done but I lost my building slot. They have an LMP (Le Mans Prototype) car coming in for a 5 week build so I have been put back until that (far more important) job has been completed.
Disappointing, but we have made quite a few changes and working out how to accommodate the plethora of sensors along with the nitrous strategy has taken time.
Not all is lost, however. I am working on adding the nitrous strategy switch to the steering wheel so the wiring for this section can be built ready for when the car returns (hopefully in early December). Also, I can get on with the bodywork.
Re the nitrous switch, David gave me a 6 position switch but no knob, so I have just knocked one up on the lathe and mill. It looks rather large in the photo but that is due to perspective The labels will be made properly in vinyl.
Edited by stevebroad on Wednesday 8th November 22:23
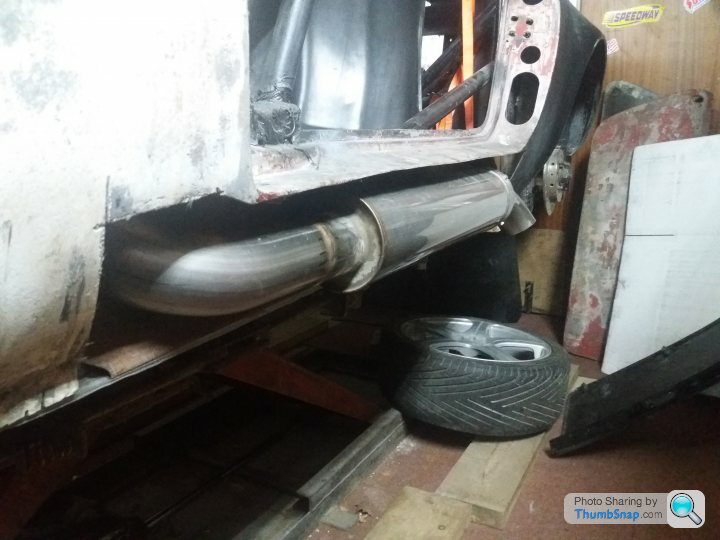
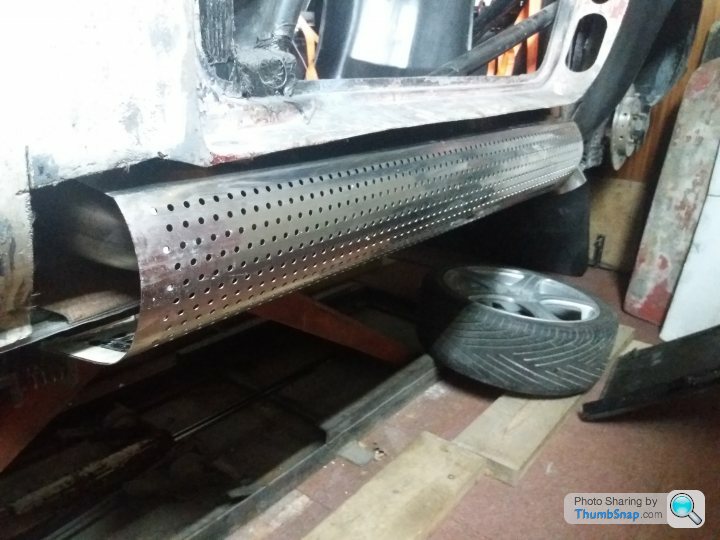
Started on the task of fitting the exhaust box and shield. First fit to confirm that it will actually fit. Need to elongate the hole in a bracket so I can pull the exhaust pipe over a tad but, apart from that, it seems to fit.
Next job is to drill holes through the sill in order to secure the box. Then I have to work out how to attach the shield in a way that it is removable and tidy up the front end. Do I leave the front end of the shield open to improve air flow or blend it into the body?
Next job is to drill holes through the sill in order to secure the box. Then I have to work out how to attach the shield in a way that it is removable and tidy up the front end. Do I leave the front end of the shield open to improve air flow or blend it into the body?
Edited by stevebroad on Thursday 16th November 11:29

stevo6667 said:
The Elan shape is so simple but just right, my vote would be to blend with bodywork. The other option with heat shield is for me too cheap looking if you know what I mean, just my opinion, Carry on, such an inspiring build!
I know what you mean, but what alternative would you suggest? There is no room under the car which is why I opted for this solution. The shield will be painted to match the body, thereby disguising it somewhat.By leaving it open, I am referring to the front end of the shield. By blending in I mean moulding the bodywork to line up with the front end of the shield.
Edited by stevebroad on Thursday 16th November 10:10
Edited by stevebroad on Thursday 16th November 14:49
Mark Benson said:
Could you come up with a halfway house?
A duct of some sort, or style the bodywork around an opening to let air flow? I do agree that left open it may have an 'unfinished' look about it.
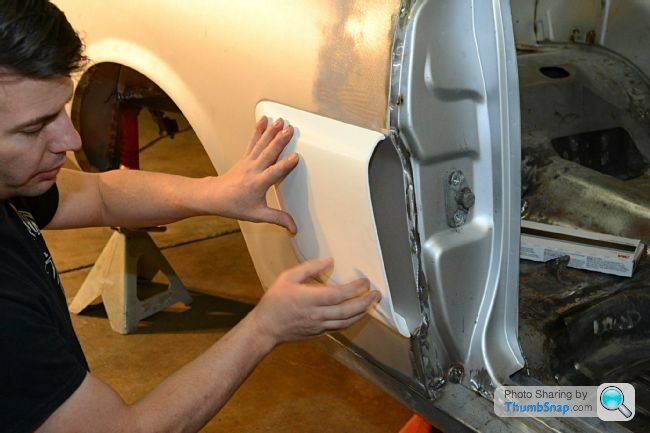
I'm thinking about maybe a sort of brake duct. Make it look like a duct. Not a perfect example but sort of like this?A duct of some sort, or style the bodywork around an opening to let air flow? I do agree that left open it may have an 'unfinished' look about it.
trails said:
What about some sort of wide mouth carbon intake: sit it inside the heat shield with the side nearest the car moulded flush...more form than function but it retains the air flow but shows it’s been thought about and is finished. Maybe
It will be made in carbon (then painted :-) ) Some airflow will help cool the exhaust and therefore the interior so it will have function. Whether it sits inside or outside will be decided once the shield is mounted and I can start to visualise it properly (as the shield needs to be removable inside is favourite at the moment). Gassing Station | Readers' Cars | Top of Page | What's New | My Stuff