2004 Nissan 350z
Discussion


So I took a look at the notorious boot catch actuator this morning since it sh*t itself on me last week and wouldn't let me open the boot. Luckily the 350z has a manual cable which can be accessed from under the rear strut brace, but, unfortunately I had to go digging for mine since it had worked its way off the mounting point and into the strut brace itself. With the boot open I removed the actuator and had a look inside, hoping to find the reason for failure (broken gear teeth, worn parts, broken spring etc.). I can't seem to find the reason for failure since all of the teeth on the gears look OK, even on the part that usually causes the failure. I'll include pictures below just in case someone can see something that I can't.

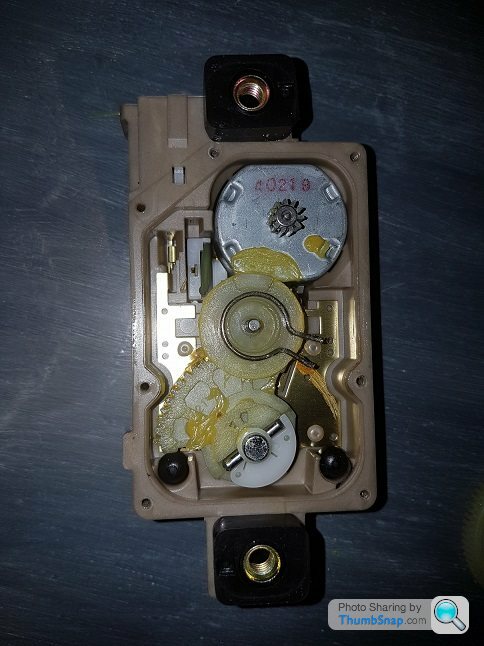
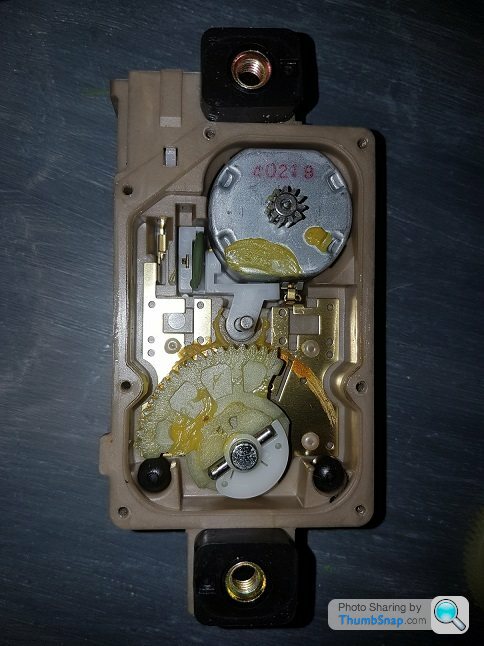
After putting it back together and reinstalling it, it worked on the 3rd push of the button, but then wouldn't work again after that.. So it looks like i'm going to have to get a new one.. And they aren't cheap
After putting it back together and reinstalling it, it worked on the 3rd push of the button, but then wouldn't work again after that.. So it looks like i'm going to have to get a new one.. And they aren't cheap
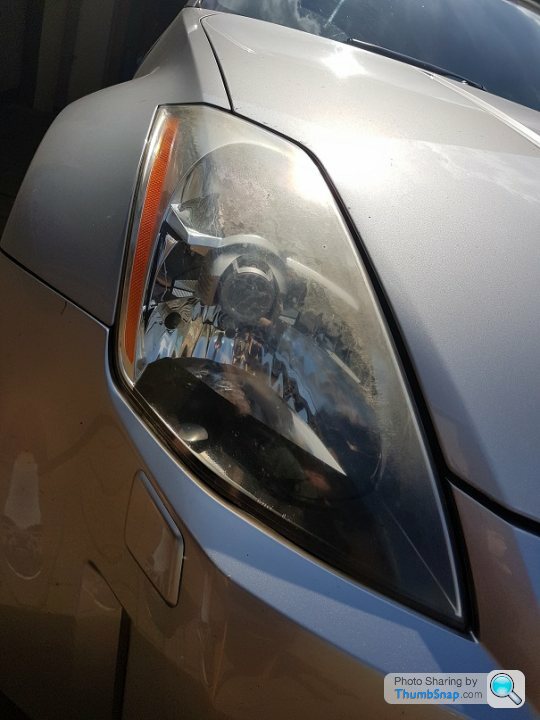
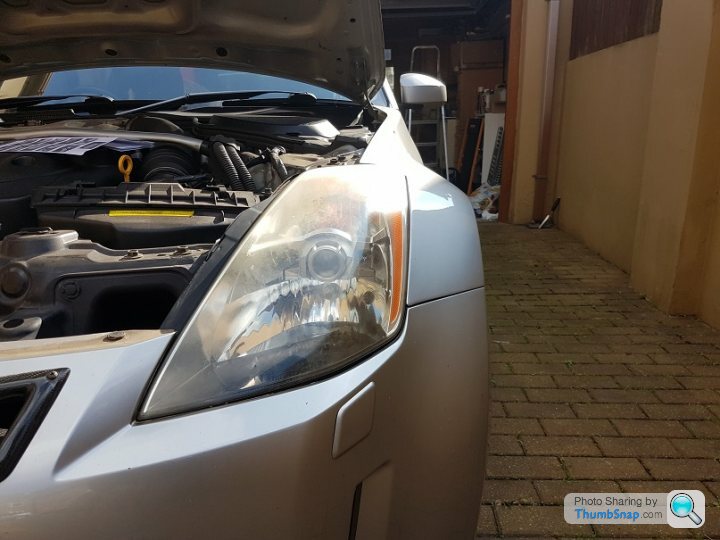
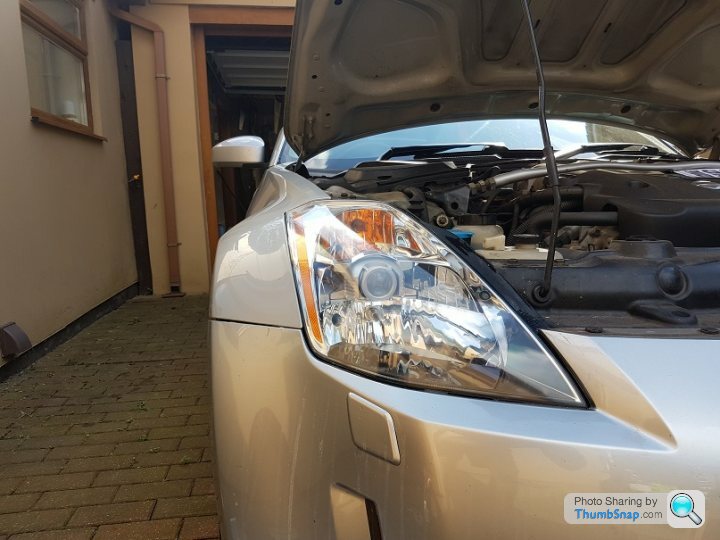
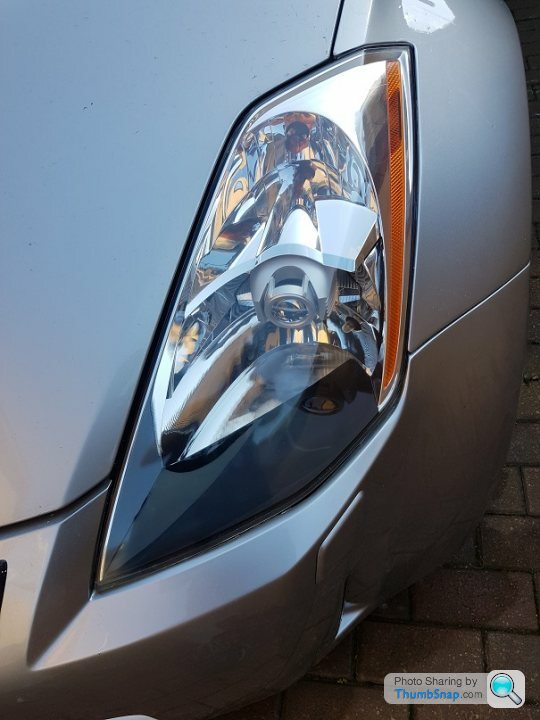
Had a go at restoring the headlights tonight since the were looking tired and made the car look ancient. I used the autoglym headlight restoration kit (which I would definitely recommend). I'm well happy with the result!
Before
[url]
 |https://thumbsnap.com/iyvxbh1v[/url]
After
 |https://thumbsnap.com/ilRYnswL[/url][url][url]
 |https://thumbsnap.com/UQAVpQbO[/url][url]
 |https://thumbsnap.com/eydKhtwy[/url]
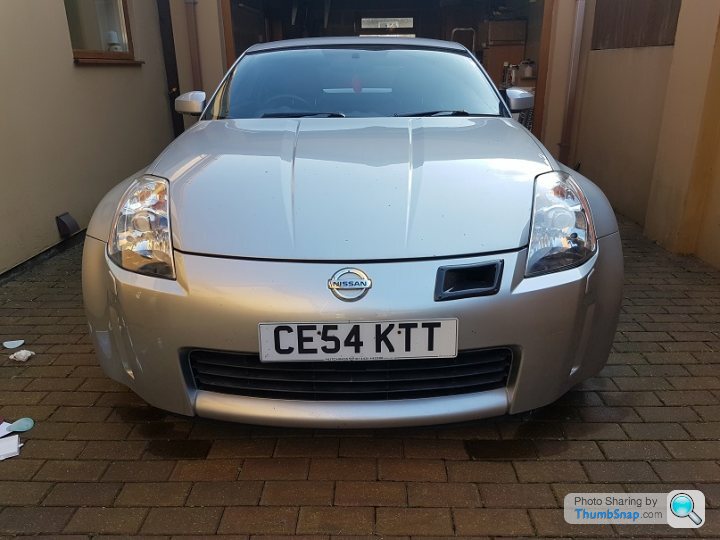
Now I need new plates and a lip to knock a couple of years off her.
Before
[url]
|https://thumbsnap.com/iyvxbh1v[/url]After
|https://thumbsnap.com/ilRYnswL[/url][url][url]|https://thumbsnap.com/UQAVpQbO[/url][url]|https://thumbsnap.com/eydKhtwy[/url]Now I need new plates and a lip to knock a couple of years off her.
Alias218 said:
Top work. Headlights look like new! Was this done by hand or machine? I'm also looking to scrub up my headlights and am looking for a decent kit.
Also, I think a number plate mount would tidy up your front end a lot. Looks like it's just self-tapped into the bumper at the mo.
Keep up with the good work, and keep the updates coming.
Thanks mate! Also, I think a number plate mount would tidy up your front end a lot. Looks like it's just self-tapped into the bumper at the mo.
Keep up with the good work, and keep the updates coming.
I used the autoglym headlight restoration kit which uses a piece that goes into a drill and then the sandpaper and polishing pad attaches to the bit (all included in the kit) so all you need is a drill and the kit and you''ll be sorted, just make sure that the drill battery is fully charged as it does take some time.
I'm considering the number plate mount, I was hoping to find a flexible license plate that's road legal, but it looks like that's a myth since I cant find one anywhere


So it's been a while and I've been meaning to post an update for some time, but I just haven't got round to it.
So since I last posted I haven't done a great deal to the Z, I've mainly been focusing on getting her through her next MOT, which thankfully... it passed! With the only 2 advisories being for the tread depth on the 2 front tyres.
 |https://thumbsnap.com/DpPRmXOw[/url]
I first changed the drop links on both front and back, which as you would expect on a 14 year old jap car, turned out to be way harder than it should have due to some rusted nuts and some very poor access (especially the rears!). I also had to adjust the handbrake since when I changed the shoes last year I forgot to adjust them on the brakes themselves and only adjusted it on the handbrake adjuster inside the cabin and the handbrakes on these cars are notoriously useless so it took some time to get it right.
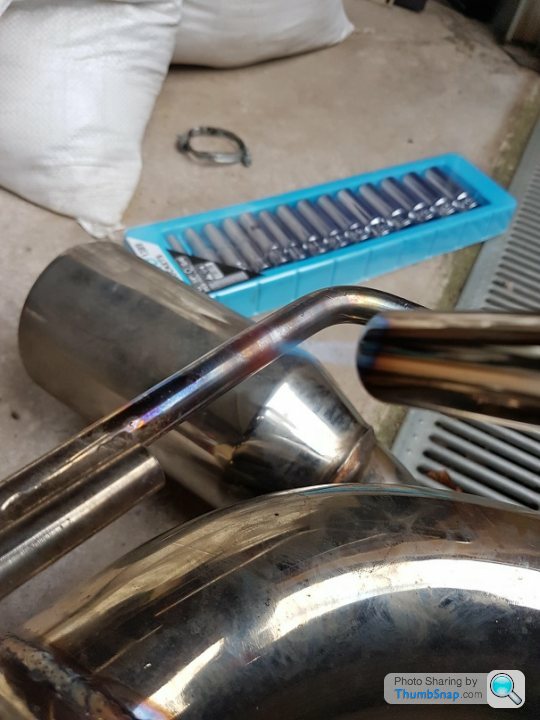
The exhaust was also a tad wonky, so I attacked the hangers with a blow torch and a bit of brute force to get it sitting somewhat level, its still not perfect, but it will do for now. There was also a really annoying rattle on acceleration which was coming from the exhaust hitting against the ultra racing W brace, so I tightened a jubilee clip around the rubber hanger on the midpipe to give it an extra couple of mm of clearance, which worked a treat.
The only cosmetic "mods" that I've done to the Z is some new front and rear plates and I plastidipped a portion of the front bumper. Here's how it's looking now (excuse the filth)
 [url]
[url]
So since I last posted I haven't done a great deal to the Z, I've mainly been focusing on getting her through her next MOT, which thankfully... it passed! With the only 2 advisories being for the tread depth on the 2 front tyres.
|https://thumbsnap.com/DpPRmXOw[/url]I first changed the drop links on both front and back, which as you would expect on a 14 year old jap car, turned out to be way harder than it should have due to some rusted nuts and some very poor access (especially the rears!). I also had to adjust the handbrake since when I changed the shoes last year I forgot to adjust them on the brakes themselves and only adjusted it on the handbrake adjuster inside the cabin and the handbrakes on these cars are notoriously useless so it took some time to get it right.
The exhaust was also a tad wonky, so I attacked the hangers with a blow torch and a bit of brute force to get it sitting somewhat level, its still not perfect, but it will do for now. There was also a really annoying rattle on acceleration which was coming from the exhaust hitting against the ultra racing W brace, so I tightened a jubilee clip around the rubber hanger on the midpipe to give it an extra couple of mm of clearance, which worked a treat.
The only cosmetic "mods" that I've done to the Z is some new front and rear plates and I plastidipped a portion of the front bumper. Here's how it's looking now (excuse the filth)
[url]Small (not very exciting) update. The Drivers seat bolster was looking a little worse for wear and well past the point of being able to be stitched back together.
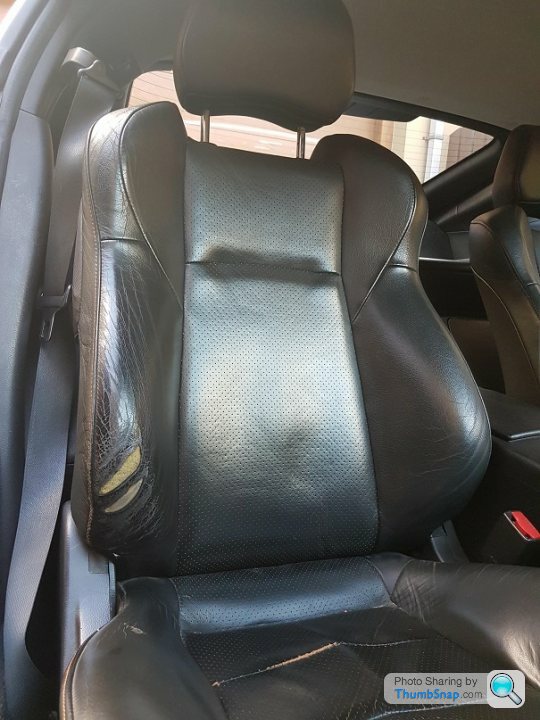
So I thought I'd give the "Mastaplasta" a go after coming across it whilst looking for methods of leather seat repair. At £15 for a decently sized piece (28x20cm), I thought it was worth a try.
The outcome
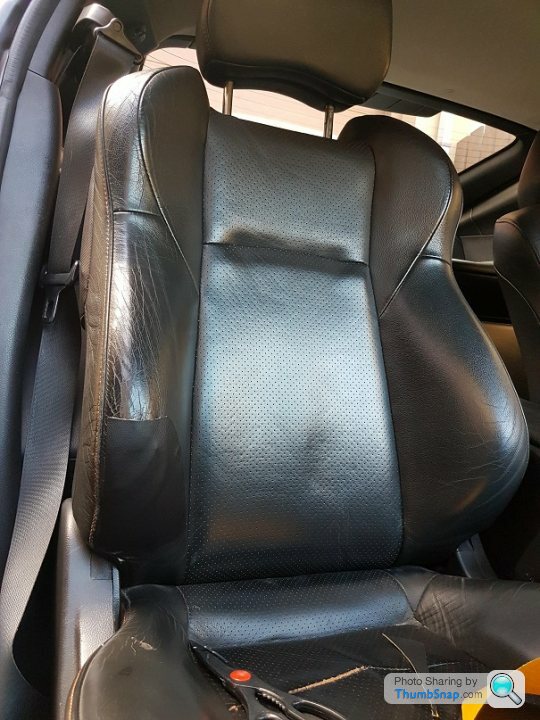
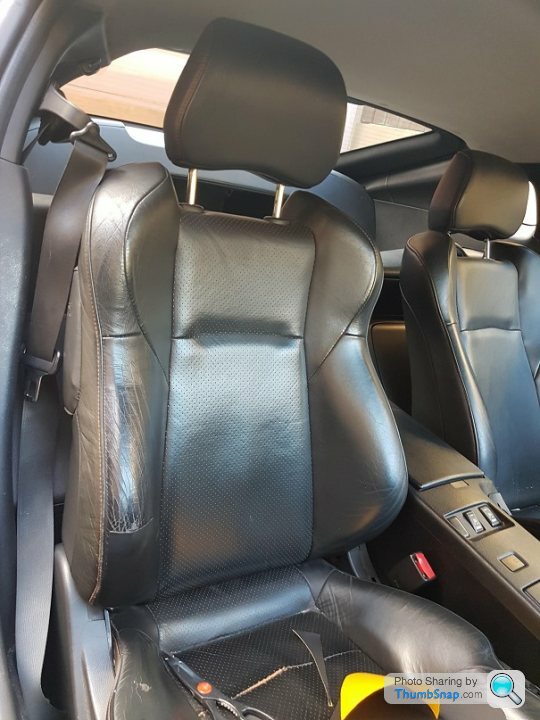
I wouldn't say that it's an amazing result, although, it does look a lot better and reduces the eyesore on opening the door. For those thinking of using it, I would say that it would be great in certain applications such as flat surfaces and small patches. But in my case with the damage being on an awkward contour, I don't think it looks particularly great. The main factor is that the material is pretty thick and leaves an obvious step in the transition and being a bit awkward to work it around the contour without getting wrinkles in it. In hindsight it may have been easier if I had heated the material before applying and I will try that in future. The white canvas material also shows through on the edges,which contrasts against the black, but I have since coloured these in with a sharpie so that they aren't too obvious anymore. Overall a decent temp fix before I find a replacement seat or upgrade to a bucket.
So I thought I'd give the "Mastaplasta" a go after coming across it whilst looking for methods of leather seat repair. At £15 for a decently sized piece (28x20cm), I thought it was worth a try.
The outcome
I wouldn't say that it's an amazing result, although, it does look a lot better and reduces the eyesore on opening the door. For those thinking of using it, I would say that it would be great in certain applications such as flat surfaces and small patches. But in my case with the damage being on an awkward contour, I don't think it looks particularly great. The main factor is that the material is pretty thick and leaves an obvious step in the transition and being a bit awkward to work it around the contour without getting wrinkles in it. In hindsight it may have been easier if I had heated the material before applying and I will try that in future. The white canvas material also shows through on the edges,which contrasts against the black, but I have since coloured these in with a sharpie so that they aren't too obvious anymore. Overall a decent temp fix before I find a replacement seat or upgrade to a bucket.
Gassing Station | Readers' Cars | Top of Page | What's New | My Stuff