Mx5 Rocketeer V6 Conversion Project
Discussion


A very small update - early Christmas presents...
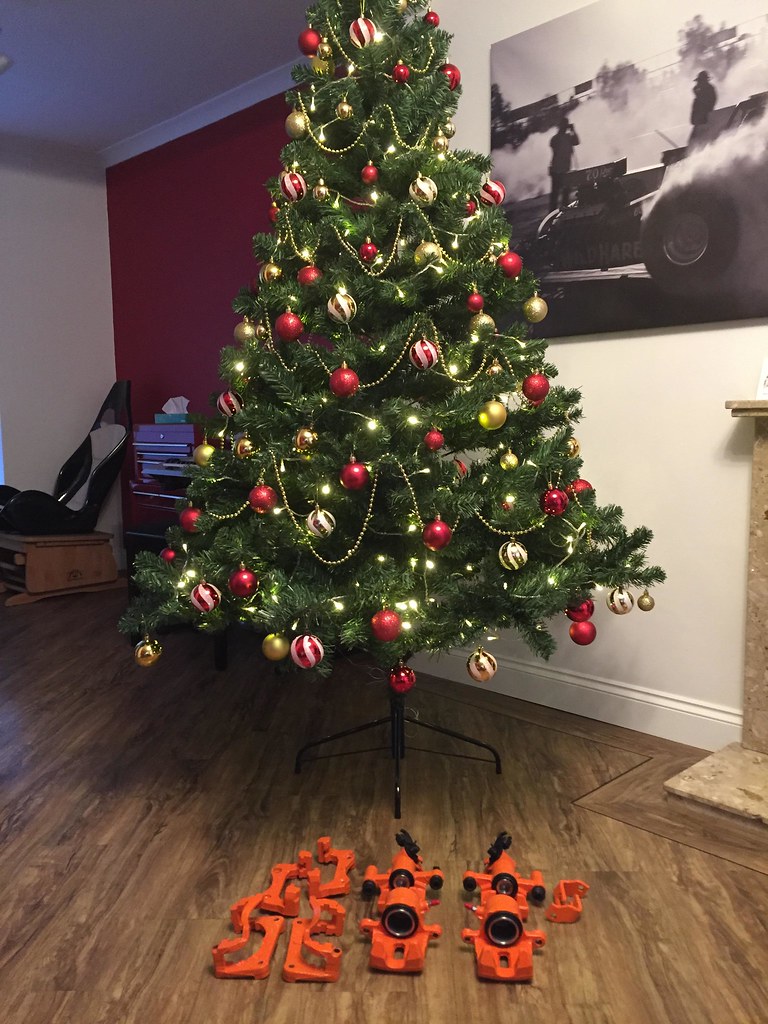 Image.png by Jon Fellows, on Flickr
They are boldly coloured!
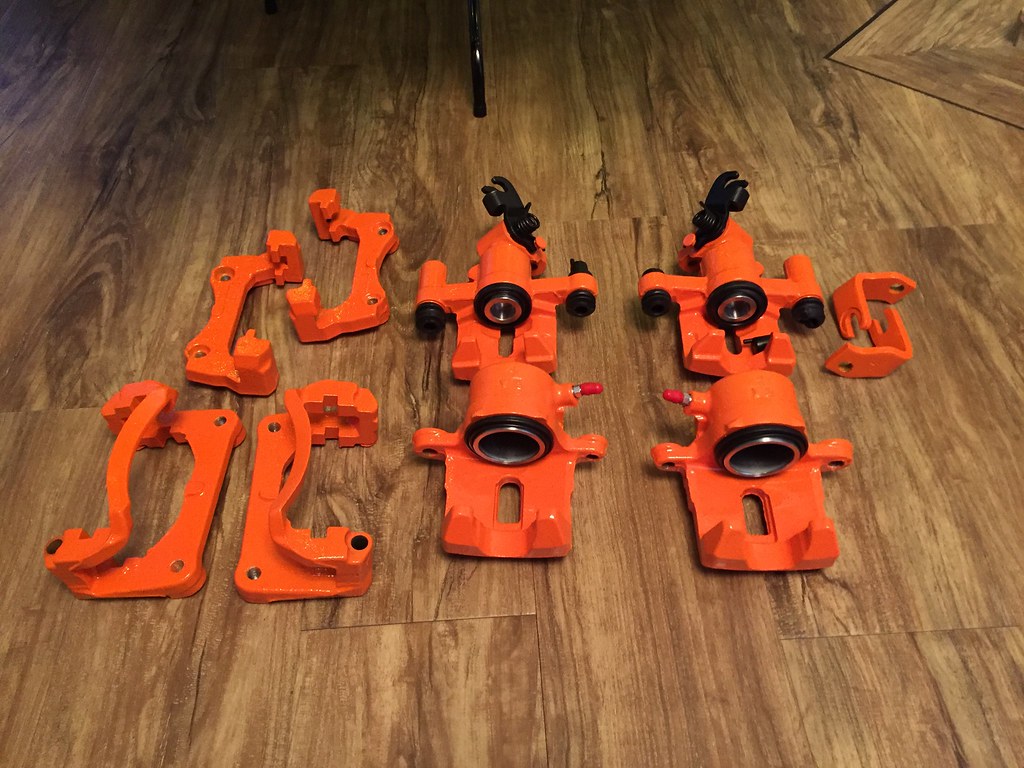 Image-1.png by Jon Fellows, on Flickr
Image.png by Jon Fellows, on FlickrThey are boldly coloured!
Image-1.png by Jon Fellows, on Flickraka_kerrly said:
My kind of pad, gaming seat , tool chest and car related artwork - nicely done.
Also watching this thread with intrigue and like where it is going.
That's kind of you to say.Also watching this thread with intrigue and like where it is going.
The gaming chair is actually a magnificent creation of my own invention - I call it the Brocket Cheat and it combines a fibreglass bucket seat with a rocking chair. Very comfy it is too!
Another update, though recently I've not managed to get as much done as I would have liked - this due to waiting for a few parts, but mainly just hiding from the weather like a coward...!
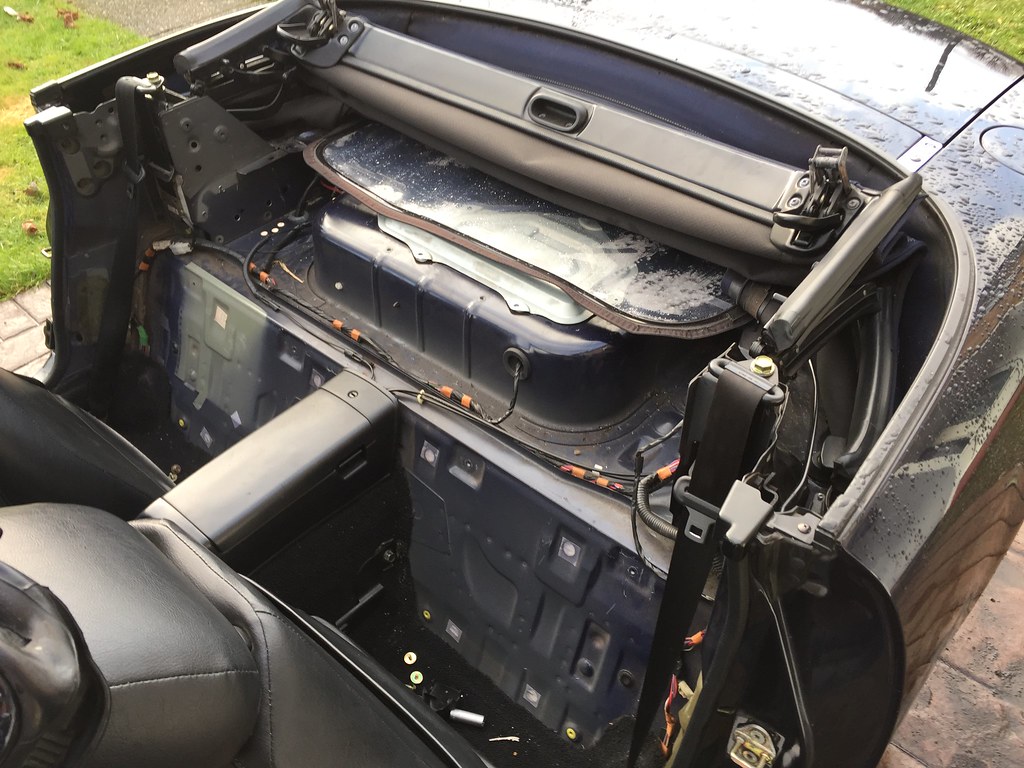
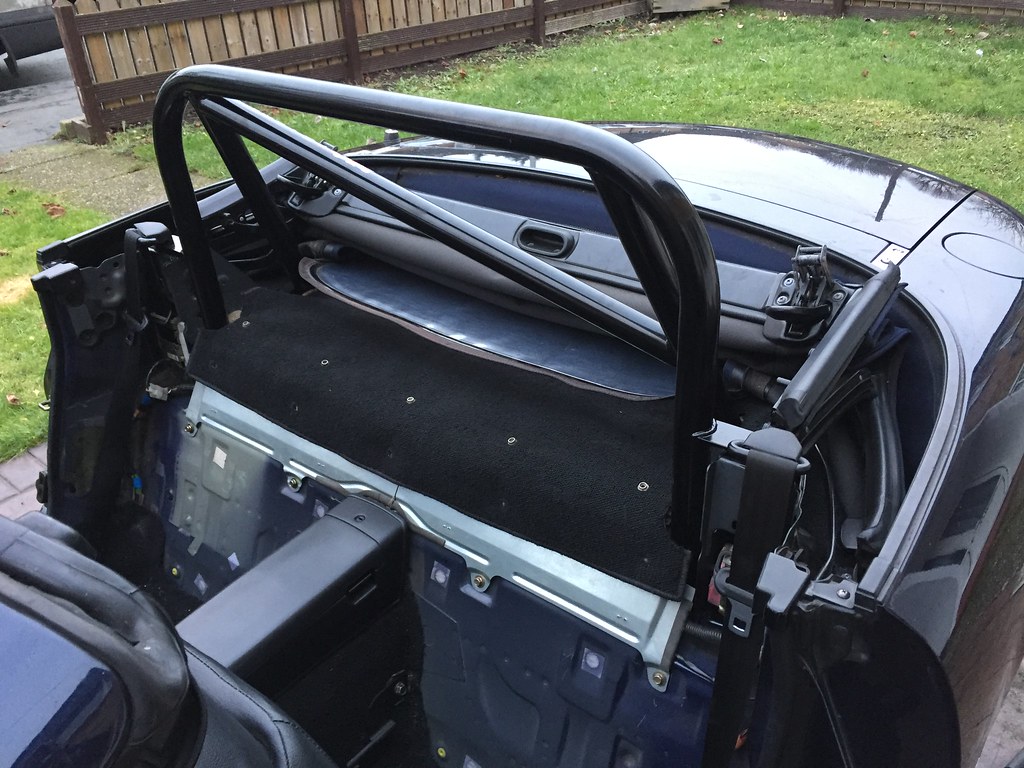
Still, my TR Lane roll bar arrived so I thought I'd fit that. My car previously had one of unknown origin and I hoped it might have been a TR Lane, as then it would have just dropped straight in. No such luck of course... So the rear interior had to come out, which is actually no big project on one of these.
 IMG_2650 by Jon Fellows, on Flickr
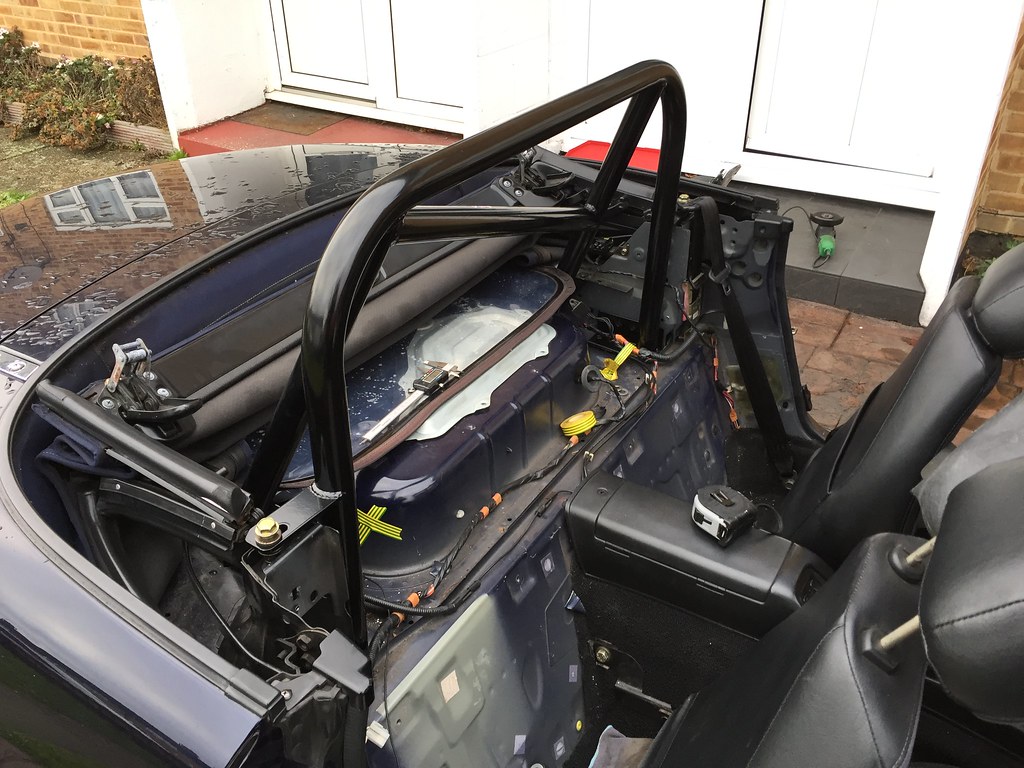
The roll bar was then mocked up and located on the seatbelt tower mounts. Then all the various holes marked out and the step drill brought out to brutalise the car floor.
 IMG_2651 by Jon Fellows, on Flickr
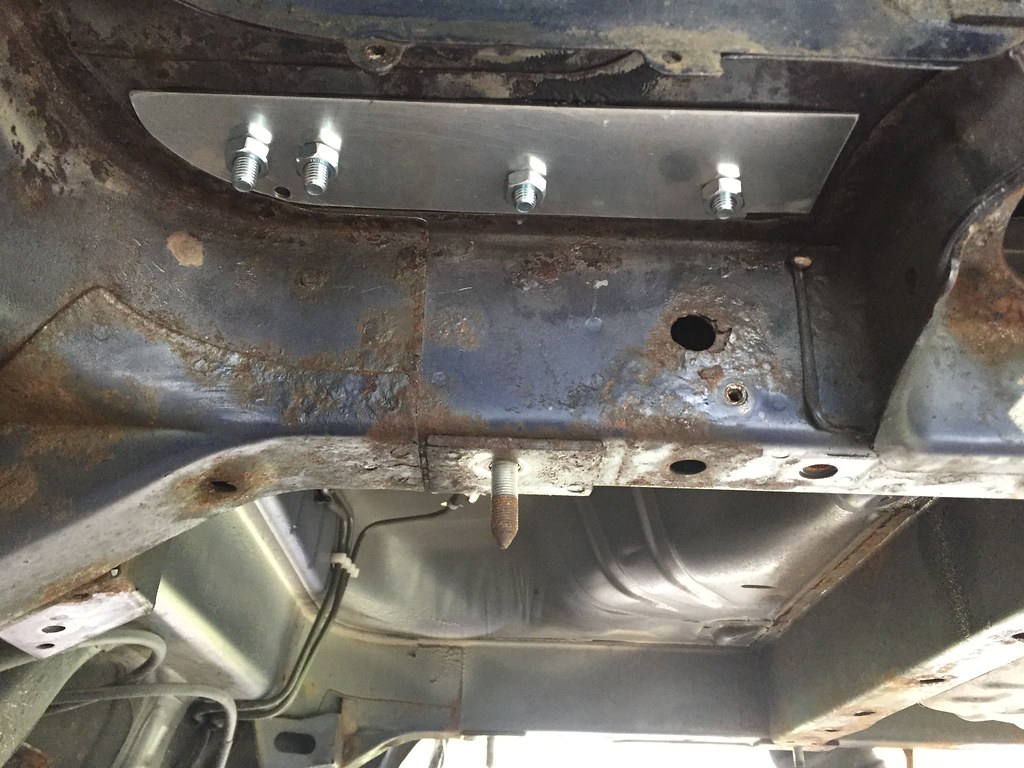
On a couple of holes, I had to just open out a previous effort and so I thought I would make some spreader plates for the underside of the mounts. Unneccessay actually I think, as its all plenty strong enough but it neatened in up a bit. The whole lot will be undersealed over later anyway, so probably a total waste of time but it made me happy! The metal under the speaders was all wire brushed back and Dinitrol rust treated before installing too.
Passenger side:
 IMG_2652 by Jon Fellows, on Flickr
And then all put back together:
 IMG_2654 by Jon Fellows, on Flickr
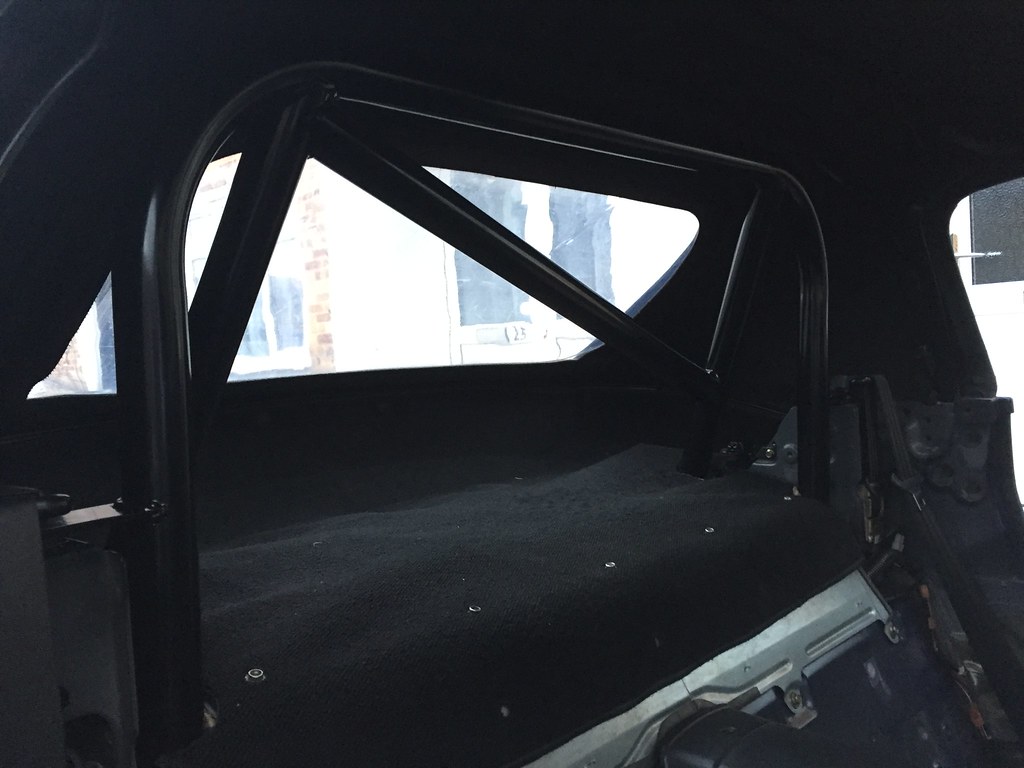
The carpet over the parcel shelf was pretty badly hacked up from the last roll bar install, so I was at no great pains to make a neat job cutting around the hoops - ultimately I want to get the interior retrimmed (although this is way off into the future), at which point it can be made to look beautiful.
Final picture for this update:
 IMG_2656 by Jon Fellows, on Flickr
Still, my TR Lane roll bar arrived so I thought I'd fit that. My car previously had one of unknown origin and I hoped it might have been a TR Lane, as then it would have just dropped straight in. No such luck of course... So the rear interior had to come out, which is actually no big project on one of these.
IMG_2650 by Jon Fellows, on FlickrThe roll bar was then mocked up and located on the seatbelt tower mounts. Then all the various holes marked out and the step drill brought out to brutalise the car floor.
IMG_2651 by Jon Fellows, on FlickrOn a couple of holes, I had to just open out a previous effort and so I thought I would make some spreader plates for the underside of the mounts. Unneccessay actually I think, as its all plenty strong enough but it neatened in up a bit. The whole lot will be undersealed over later anyway, so probably a total waste of time but it made me happy! The metal under the speaders was all wire brushed back and Dinitrol rust treated before installing too.
Passenger side:
IMG_2652 by Jon Fellows, on FlickrAnd then all put back together:
IMG_2654 by Jon Fellows, on FlickrThe carpet over the parcel shelf was pretty badly hacked up from the last roll bar install, so I was at no great pains to make a neat job cutting around the hoops - ultimately I want to get the interior retrimmed (although this is way off into the future), at which point it can be made to look beautiful.
Final picture for this update:
IMG_2656 by Jon Fellows, on FlickrJust to clear up a couple of points, mainly because of me using the wrong words to be fair...!
The ‘spreader plates’ are actually more to beautify the underside a touch. Not to actually add strength. The roll bar itself has large feet for this purpose. Also, spring washers were added after the picture was taken and all the bolts torqued up.
In terms of rust, the area under the plates was wire brushed and rust converted. The whole underside will be done over the coming weeks and under sealed.
Richyvrlimited said:
Is there a thick plate under your shiny bit of metal? If not there needs to be or the roll bar is pointless. As strong as you think that shelf is, in a roll over the bolts will just be ripped through.
I hadn’t realised the necessity. I may have a word the manufacturer, but I would have assumed that a decent sized plate was only required on the interior side, as in the event of a roll all the force would be acting from the top of the car?I just spoke to TR Lane, who very generously answered the phone on boxing day to some random nutter...
There is a spreader plate (of appropriate thickness) with the kit, which I managed to lose in the packaging. Located now, and loosely installed until I can get a second pair of hands to help me get the bolts to a suitable torque.
So cheers for the wise words from observers - very useful.
There is a spreader plate (of appropriate thickness) with the kit, which I managed to lose in the packaging. Located now, and loosely installed until I can get a second pair of hands to help me get the bolts to a suitable torque.
So cheers for the wise words from observers - very useful.

So, a small festive update. I've been out, as the weather and yuletide jollity has permitted, wire brushing the underside of the car.
Sadly, this does not make for good or interesting pictures, so this update is mainly of a few dull photos! Sorry...
In preparation for undersealing, any loose surface rust/anything else needs to be removed. So with both a hand brush and drill attachments this was done over the course of several days. I like to think this is a testament to my thoroughness, rather than slowness...
 IMG_2682 by Jon Fellows, on Flickr
As promised, a boring photo of the rear wheel arch.
I also removed the front wings, to give better access so here is a mid-wire brushing shot.
 IMG_2684 by Jon Fellows, on Flickr
And one of under the rear of the car:
 IMG_2683 by Jon Fellows, on Flickr
Not the most thrilling alas, but very neccessary. This has now begun to be rust converted, however I've now run out so had to order more. I already had double the amount that normally comes in the kit so I must be very heavy handed. Though I am also rust converting the cavities, which is not mentioned in the kit instructions.
I was slightly nervous about what I might find when I started brushing back the car, but I have only found one very small hole which I'll be welding up when my new gas tanks arrives. The only negative really has been closer inspection of the sill 'repairs' that have previously been done. Suffice to say, I have now budgeted in for them to be done again properly in the next few years!
In other news, the roll bar is in and torqued up at last, so another job off the list.
Not action packed this update, by any means, but work is still getting done slowly...!
Sadly, this does not make for good or interesting pictures, so this update is mainly of a few dull photos! Sorry...
In preparation for undersealing, any loose surface rust/anything else needs to be removed. So with both a hand brush and drill attachments this was done over the course of several days. I like to think this is a testament to my thoroughness, rather than slowness...
IMG_2682 by Jon Fellows, on FlickrAs promised, a boring photo of the rear wheel arch.
I also removed the front wings, to give better access so here is a mid-wire brushing shot.
IMG_2684 by Jon Fellows, on FlickrAnd one of under the rear of the car:
IMG_2683 by Jon Fellows, on FlickrNot the most thrilling alas, but very neccessary. This has now begun to be rust converted, however I've now run out so had to order more. I already had double the amount that normally comes in the kit so I must be very heavy handed. Though I am also rust converting the cavities, which is not mentioned in the kit instructions.
I was slightly nervous about what I might find when I started brushing back the car, but I have only found one very small hole which I'll be welding up when my new gas tanks arrives. The only negative really has been closer inspection of the sill 'repairs' that have previously been done. Suffice to say, I have now budgeted in for them to be done again properly in the next few years!
In other news, the roll bar is in and torqued up at last, so another job off the list.
Not action packed this update, by any means, but work is still getting done slowly...!
Another update - yesterday I managed to finish undersealing the car. I meant to take many photos of the process, but due to time constraints and the filthy state of me about 15 minutes into the job I didn't dare touch my phone to take any!
I had previously wire brushed everything, and the day before I rust converted everything and let that dry. I have used the Dinitrol underseal system, and I've been pretty impressed so far. Of course, how long it lasts will determine how good it really is, but first impressions are good.
After rust converter (in the cavities too), I used the cavity wax in all the chassis rails etc. Theres a very helpful guide n the MX5 forum section so you don't miss anywhere. Then the whole car is lightly sprayed with the wax, then the underseal can be applied.
Disgusting though the job is, its very satisfying to have a uniform black underbody. So much neater...!
As said, only have pictures from after I finished. So no mid-undseal action alas.
 IMG_2710 by Jon Fellows, on Flickr
 IMG_2711 by Jon Fellows, on Flickr
 IMG_2712 by Jon Fellows, on Flickr
Very pleased to have got that done. And I should hopefully have all the bits back from the powder coaters this week so I can start to add bits back onto the car soon, as opposed to keep removing them!
Though I have found another issue. During heavy rain, I found the hood leaked from around the rear screen. So I got my Beloved to hose the roof down while I was in the car to see if I could see the leak. Turns out I could; easily! As it poured through where there should have been stitching, but was none, I was mainly wondering how the whole car didn't fill up completely with all the rain we've enjoyed of late.
I have therefore effected a subtle water-proofing while I decide whether to try to repair or just replace the whole roof:
 ETRM9539 by Jon Fellows, on Flickr
I had previously wire brushed everything, and the day before I rust converted everything and let that dry. I have used the Dinitrol underseal system, and I've been pretty impressed so far. Of course, how long it lasts will determine how good it really is, but first impressions are good.
After rust converter (in the cavities too), I used the cavity wax in all the chassis rails etc. Theres a very helpful guide n the MX5 forum section so you don't miss anywhere. Then the whole car is lightly sprayed with the wax, then the underseal can be applied.
Disgusting though the job is, its very satisfying to have a uniform black underbody. So much neater...!
As said, only have pictures from after I finished. So no mid-undseal action alas.
IMG_2710 by Jon Fellows, on FlickrIMG_2711 by Jon Fellows, on FlickrIMG_2712 by Jon Fellows, on FlickrVery pleased to have got that done. And I should hopefully have all the bits back from the powder coaters this week so I can start to add bits back onto the car soon, as opposed to keep removing them!
Though I have found another issue. During heavy rain, I found the hood leaked from around the rear screen. So I got my Beloved to hose the roof down while I was in the car to see if I could see the leak. Turns out I could; easily! As it poured through where there should have been stitching, but was none, I was mainly wondering how the whole car didn't fill up completely with all the rain we've enjoyed of late.
I have therefore effected a subtle water-proofing while I decide whether to try to repair or just replace the whole roof:
ETRM9539 by Jon Fellows, on FlickrEddieslofart said:
Fair play op for having a go. You’ll have something unique to you at the end, and it will make you smile every time you start it up, you can’t put a value on that. Best of luck with it. 
Cheers, that's the idea. It may take a while (longer than I first thought), but I hope eventually to have a super clean car that will be just how I want it.To be fair, I think I've been watching too many youtube shows where they just throw lovely new bits of kit on rotten cars and treble its value just in suspension parts!
More progress to report...!
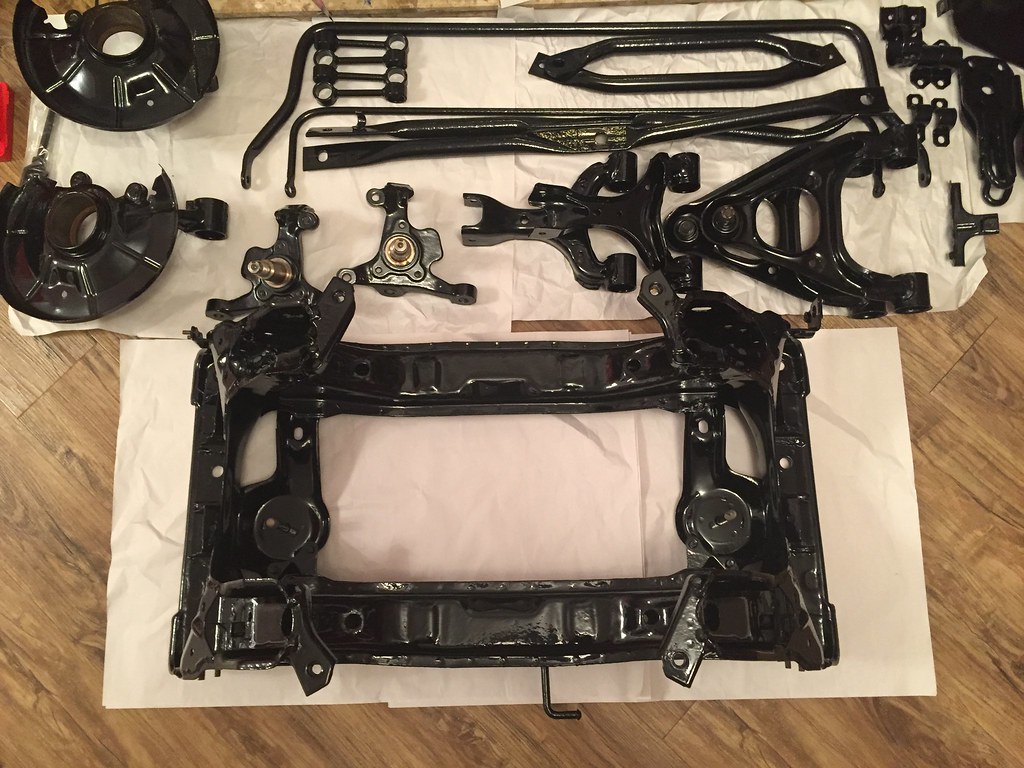
I have got all of the bits and pieces back from the powder coaters. It's been very nice working with clean parts for a change.
 IMG_2725 by Jon Fellows, on Flickr
I spent a while as soon as all the bits were back, cleaning threads and bores etc and generally making sure nothing would catch me out on reassembly (some hope, but that was the aim anyway).
I then, as the weather has been a bit rubbish and I have started working a day shift for the first time in about 10 years, found I had no time where there was natural light to work on the car in the week. So I took the only action possible, and moved the press into the kitchen to get bearings and bushes installed! Very comfortable...
Rear bearing going in:
 IMG_2734 by Jon Fellows, on Flickr
Rather messy kitchen:
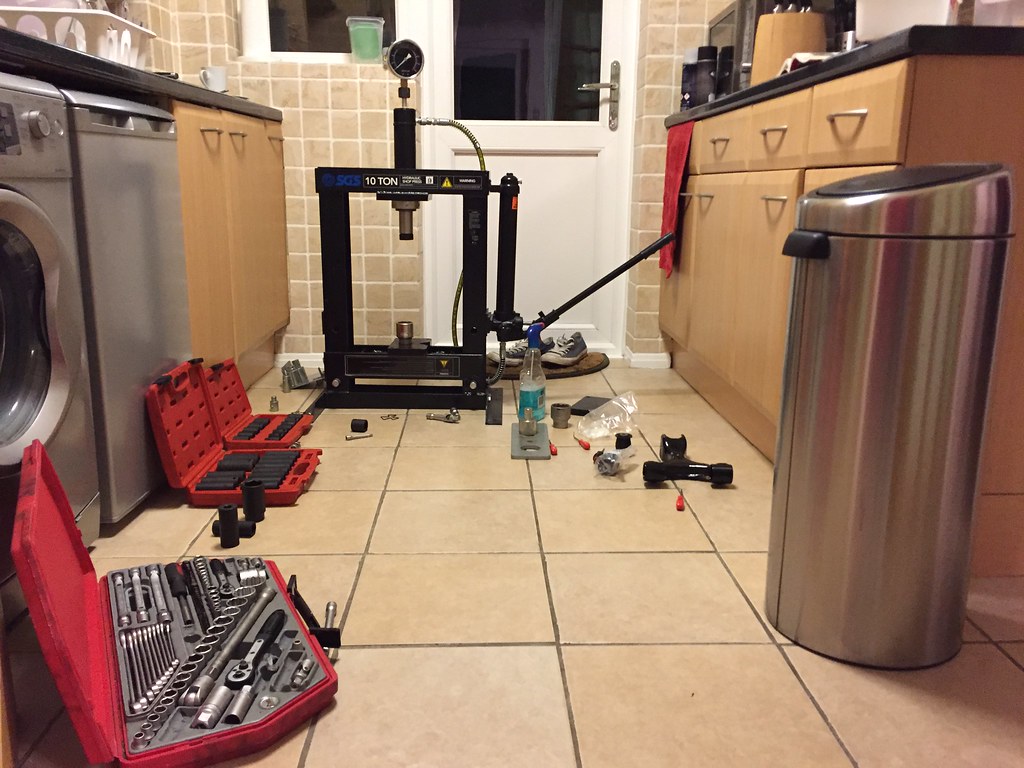 IMG_2736 by Jon Fellows, on Flickr
I've now installed all of the bushes aside from the droplinks, and installed the rear bearings. Also the front ball joints are in and torqued up. This is not a very photogenic process, though did take a while - hence not may pictures of different bushes being pressed in.
I have managed to get the rear subframe installed too, which again, doesn't make for exciting photos but has freed up some space in the living room!
 IMG_2739 by Jon Fellows, on Flickr
Next is the roof replacement, which all being well should be in the next couple of days. So progress is slowly being made...
I have got all of the bits and pieces back from the powder coaters. It's been very nice working with clean parts for a change.
IMG_2725 by Jon Fellows, on FlickrI spent a while as soon as all the bits were back, cleaning threads and bores etc and generally making sure nothing would catch me out on reassembly (some hope, but that was the aim anyway).
I then, as the weather has been a bit rubbish and I have started working a day shift for the first time in about 10 years, found I had no time where there was natural light to work on the car in the week. So I took the only action possible, and moved the press into the kitchen to get bearings and bushes installed! Very comfortable...
Rear bearing going in:
IMG_2734 by Jon Fellows, on FlickrRather messy kitchen:
IMG_2736 by Jon Fellows, on FlickrI've now installed all of the bushes aside from the droplinks, and installed the rear bearings. Also the front ball joints are in and torqued up. This is not a very photogenic process, though did take a while - hence not may pictures of different bushes being pressed in.
I have managed to get the rear subframe installed too, which again, doesn't make for exciting photos but has freed up some space in the living room!
IMG_2739 by Jon Fellows, on FlickrNext is the roof replacement, which all being well should be in the next couple of days. So progress is slowly being made...


Another small update to upload and fascinate you all with!
I've had a new roof fitted, due to torrents of water pouring into the car. The roof was a little bit worn aside from this issue anyway, so a new roof it was. Plus, as time goes on, I've got used to spending sums of money that would have given me pause earlier!
Mid roof change:
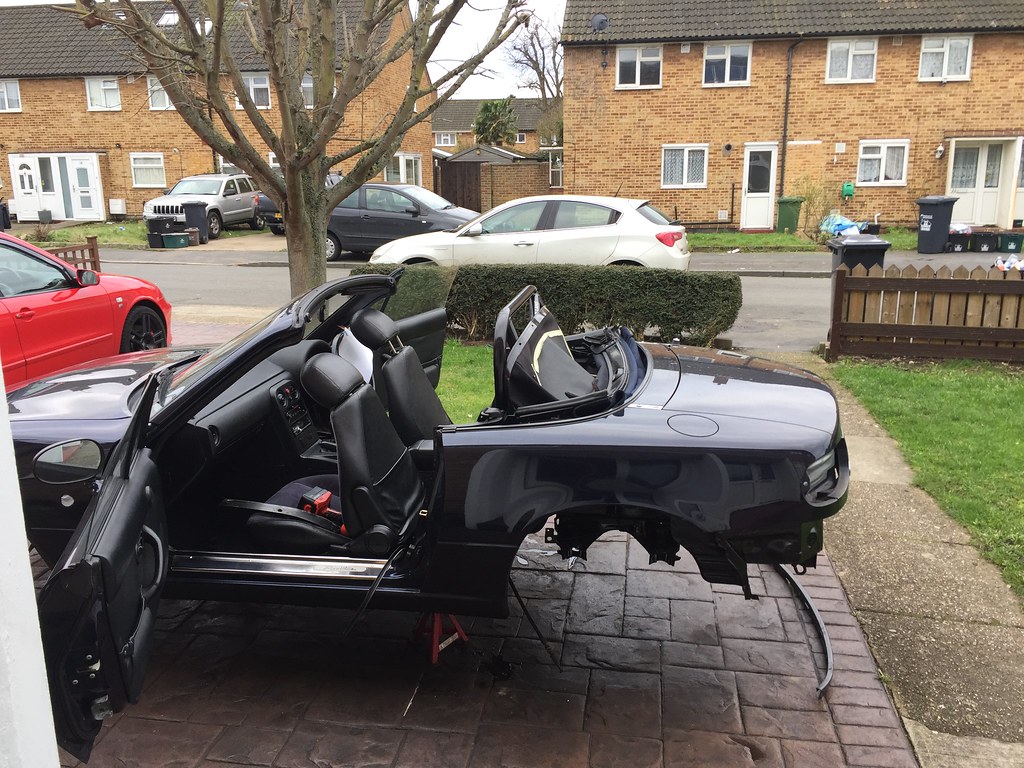 IMG_2740 by Jon Fellows, on Flickr
And fitted - It does look nice, and I'm pretty pleased with it.
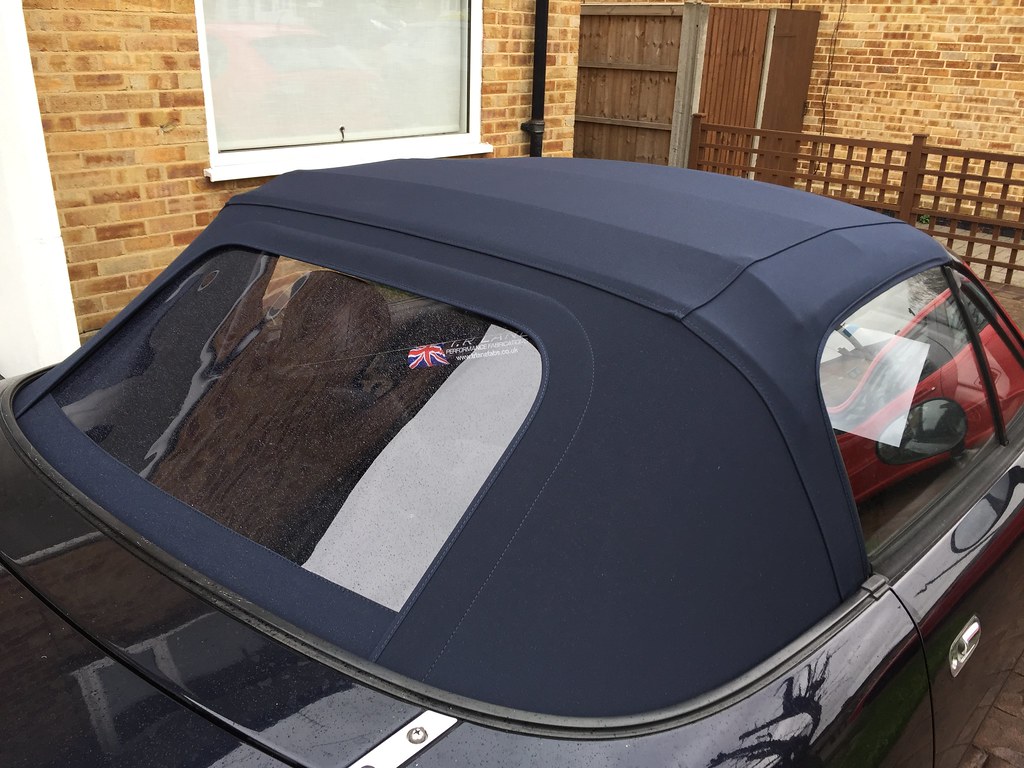 IMG_2741 by Jon Fellows, on Flickr
I also spent a few hours today getting my new diff ready to be fitted. Although my car does come with a Torsen LSD, it had much backlash in it. Plus, I wanted a lower ratio final drive to lower cruising revs. This shouldn't adversely effect performance once the V6 goes in, so it made sense to do the swap now. So here is my new 3.6:1 Torsen LSD having a few bits swapped over:
 IMG_2744 by Jon Fellows, on Flickr
And lastly, another picture of wishbones I took and forgot to post last update...!
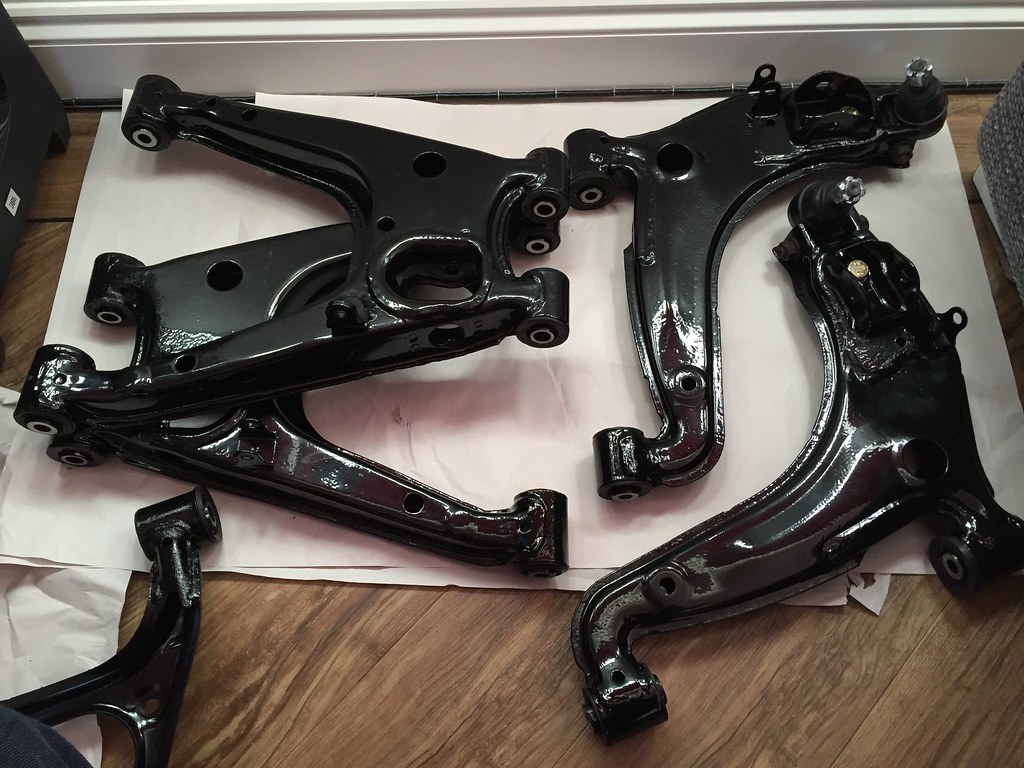 IMG_2742 by Jon Fellows, on Flickr
I've had a new roof fitted, due to torrents of water pouring into the car. The roof was a little bit worn aside from this issue anyway, so a new roof it was. Plus, as time goes on, I've got used to spending sums of money that would have given me pause earlier!
Mid roof change:
IMG_2740 by Jon Fellows, on FlickrAnd fitted - It does look nice, and I'm pretty pleased with it.
IMG_2741 by Jon Fellows, on FlickrI also spent a few hours today getting my new diff ready to be fitted. Although my car does come with a Torsen LSD, it had much backlash in it. Plus, I wanted a lower ratio final drive to lower cruising revs. This shouldn't adversely effect performance once the V6 goes in, so it made sense to do the swap now. So here is my new 3.6:1 Torsen LSD having a few bits swapped over:
IMG_2744 by Jon Fellows, on FlickrAnd lastly, another picture of wishbones I took and forgot to post last update...!
IMG_2742 by Jon Fellows, on FlickrEdited by Lewis's Friend on Thursday 1st February 21:33
MX6 said:
Nice project, enjoying the thread so far. Is there anything more satisfying than seeing grungy rust turned to shiny black? How much did it rush you for all the powder coating if you don't mind be asking? I'm in the process of restoring and tackling rust on my '6 and am interested in getting some parts done but am on a tight budget...
Great effort for doing this all on the driveway too, I've been there before but found it harder to be motivated when it's all open to the elements...
Worked my on the drive certainly adds a layer of discomfort and frustration when the weather is inclement...!Great effort for doing this all on the driveway too, I've been there before but found it harder to be motivated when it's all open to the elements...
Happily at the moment, if it’s wet I can carry on inside pressing bits and bobs in.
In terms of powder coating costs, the whole lot was £500. No idea if that’s exorbitant or not really. That’s blasted, zinced and powder coated.
Another minor update. Progress has slowed a little, due to work, cold and my central heating packing up (not happy with that last particularly)...!
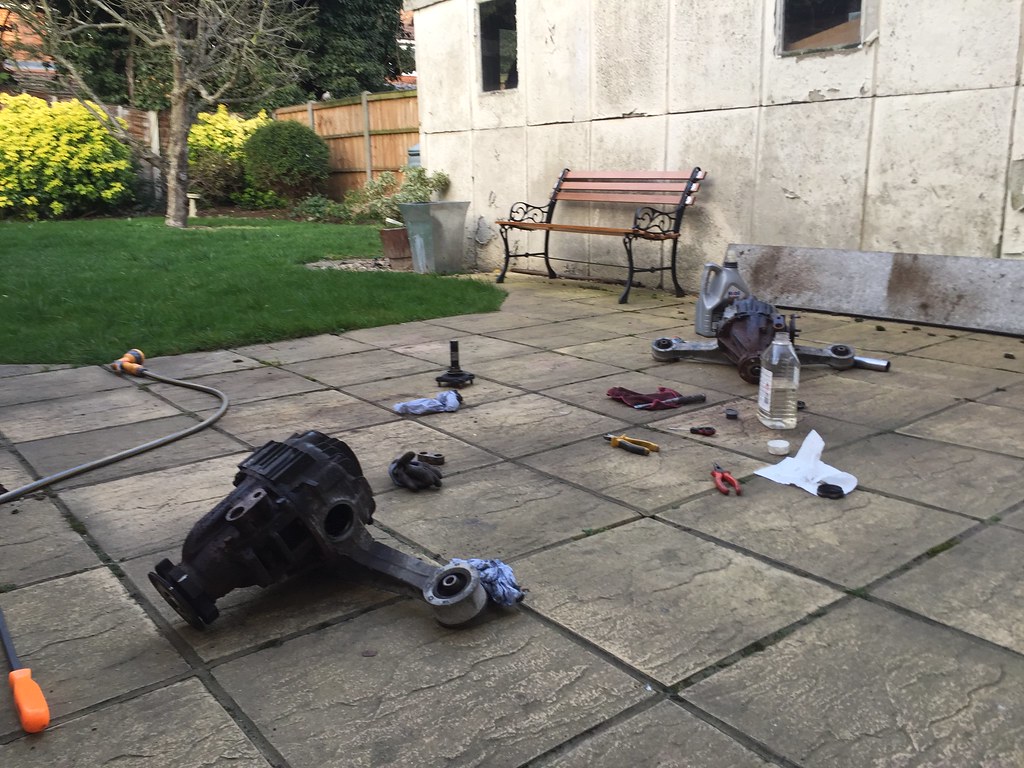
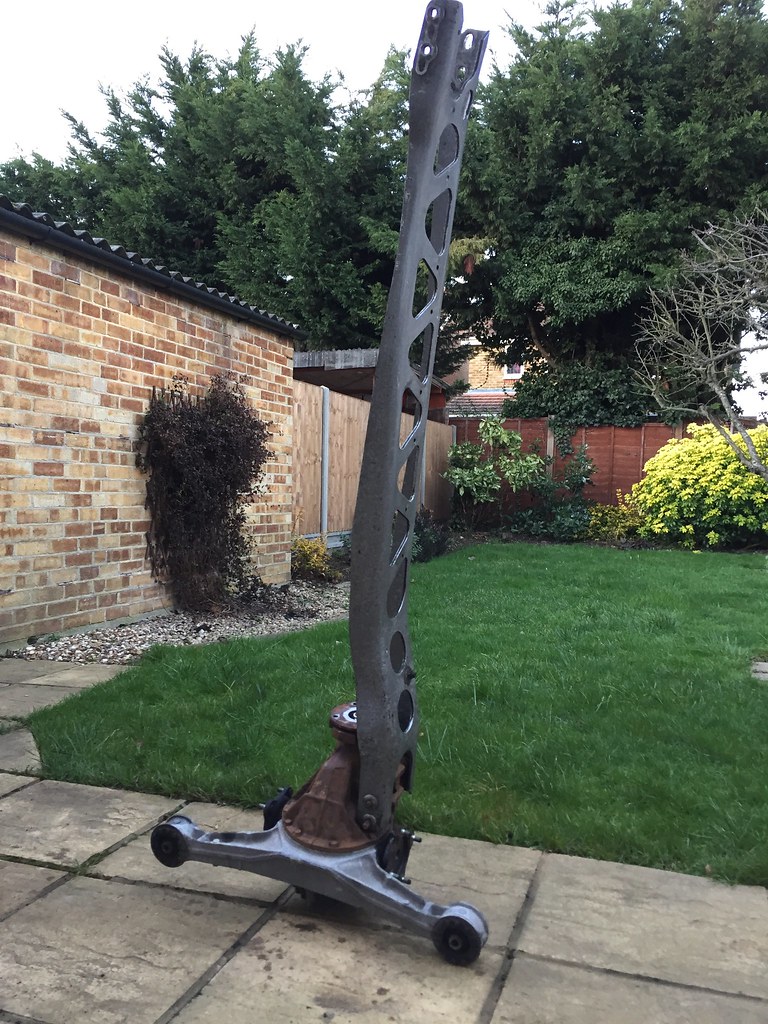
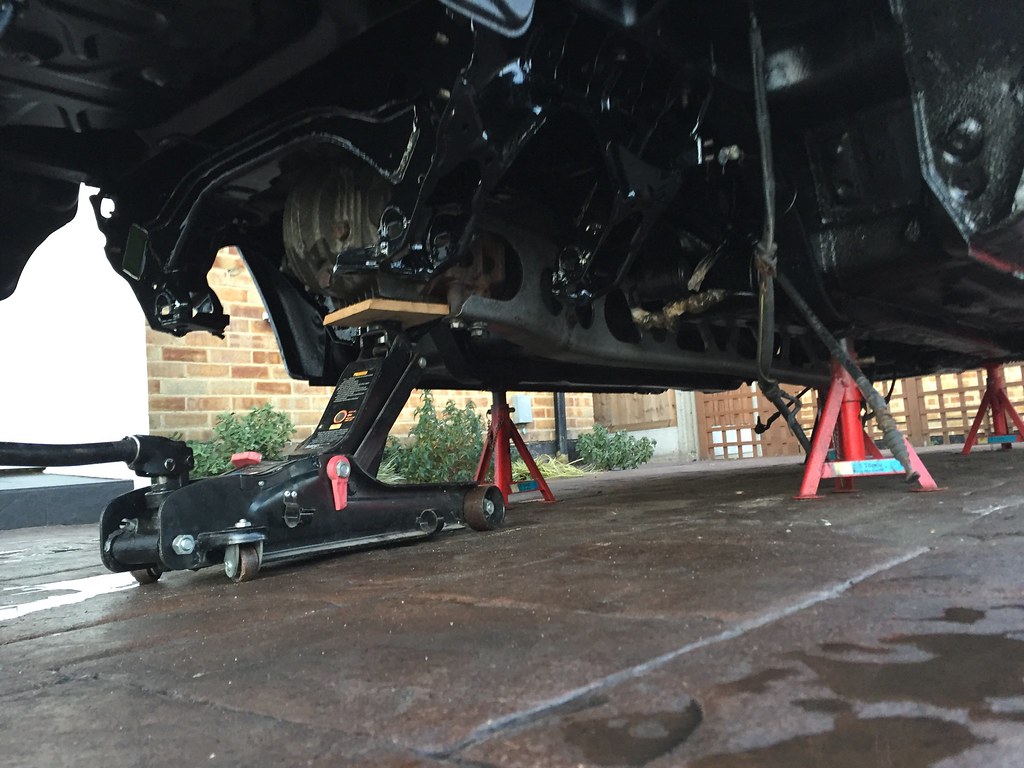
But, having swapped bits over on my diffs, it was time to fit it. On MX5's there is a PPF (power plant frame) that ties the gearbox and diff together. This can be taken off before removing the diff, but I couldn't see a way of putting it back on when the diff was installed (not in the Haynes 'installation is the reverse of removal' tradition). So I fitted it in the back garden to the diff, which made a very meaningful monument - it was a shame it couldn't stay really...!
 Diff by Jon Fellows, on Flickr
But it couldn't stay, so I fitted it.. It was a bit of a faff doing it by myself, but by no means impossible. I just had to make sure it was balanced on the jack nice and centrally and up it went.
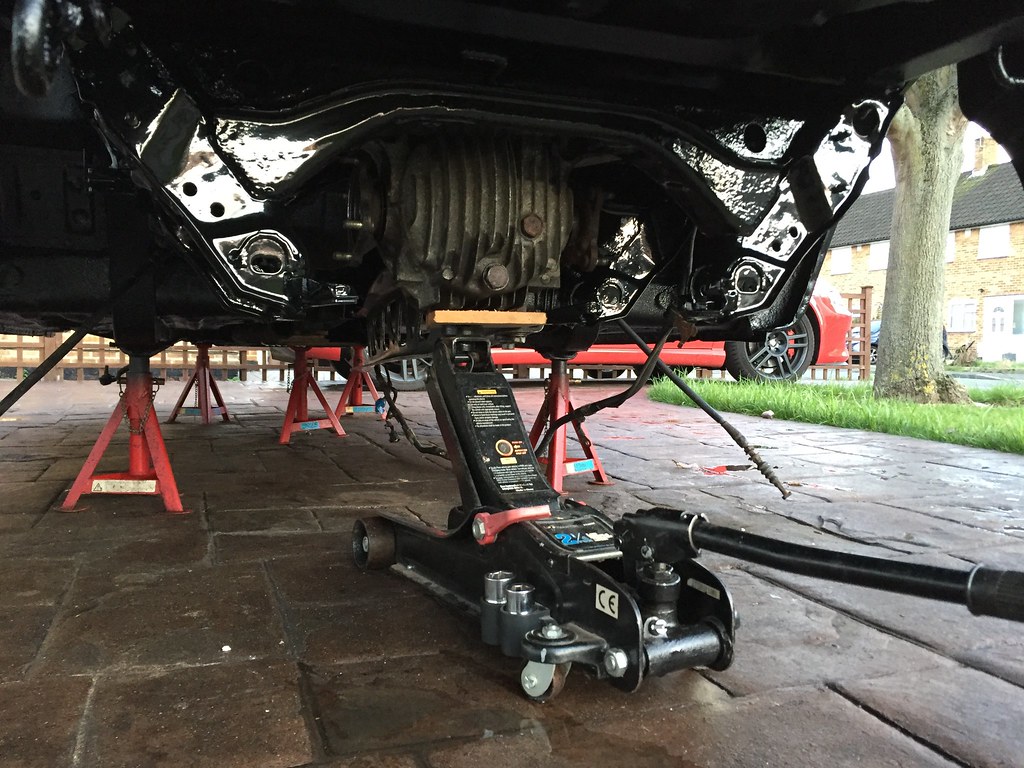 Diff2 by Jon Fellows, on Flickr
 Diff3 by Jon Fellows, on Flickr
I then had to align the PPF, which basically just involves setting the gearbox tail height in relation to the chassis rails before torquing up the PPF bolts. All done and in spec, so next step is to fit the suspension bits and build up the brakes.
But, having swapped bits over on my diffs, it was time to fit it. On MX5's there is a PPF (power plant frame) that ties the gearbox and diff together. This can be taken off before removing the diff, but I couldn't see a way of putting it back on when the diff was installed (not in the Haynes 'installation is the reverse of removal' tradition). So I fitted it in the back garden to the diff, which made a very meaningful monument - it was a shame it couldn't stay really...!
Diff by Jon Fellows, on FlickrBut it couldn't stay, so I fitted it.. It was a bit of a faff doing it by myself, but by no means impossible. I just had to make sure it was balanced on the jack nice and centrally and up it went.
Diff2 by Jon Fellows, on FlickrDiff3 by Jon Fellows, on FlickrI then had to align the PPF, which basically just involves setting the gearbox tail height in relation to the chassis rails before torquing up the PPF bolts. All done and in spec, so next step is to fit the suspension bits and build up the brakes.
Some more work now going on. Vexingly, I only really have time to work outside on the car on Saturdays, and it has rained without fail every Saturday...! But some progress has been made regardless.
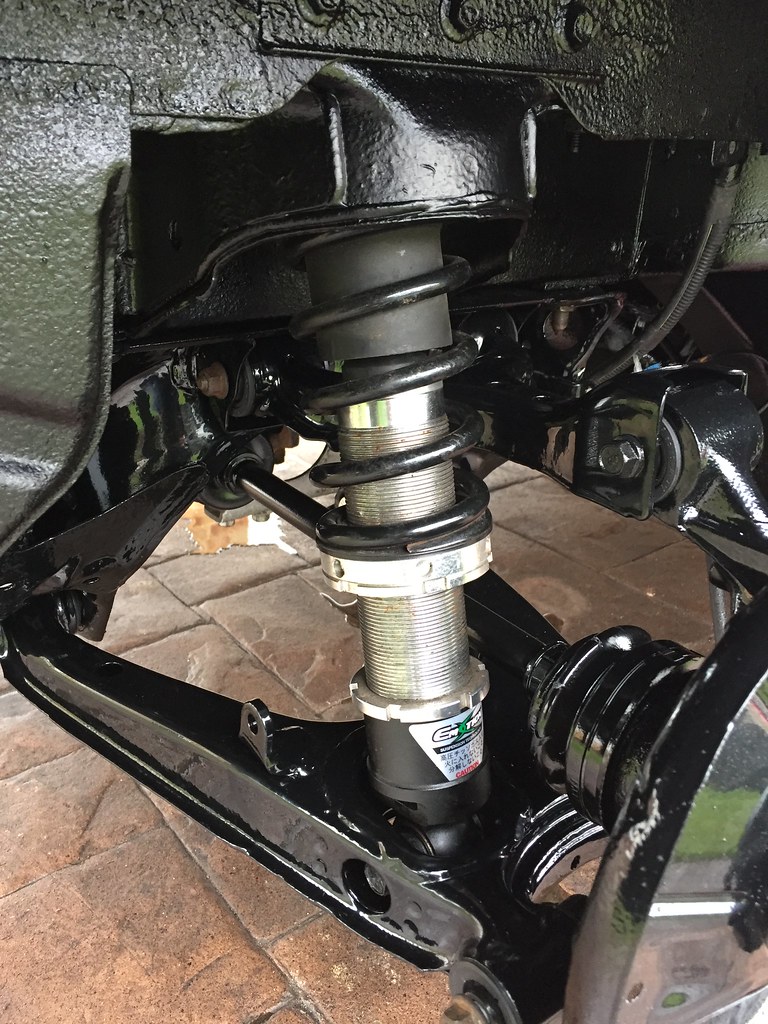
I'm getting to the slightly more photogenic point of the refresh, where bits are getting bolted back on and it looks like progress is being made.
So after fitting the diff etc, I have started putting the rear suspension back together.
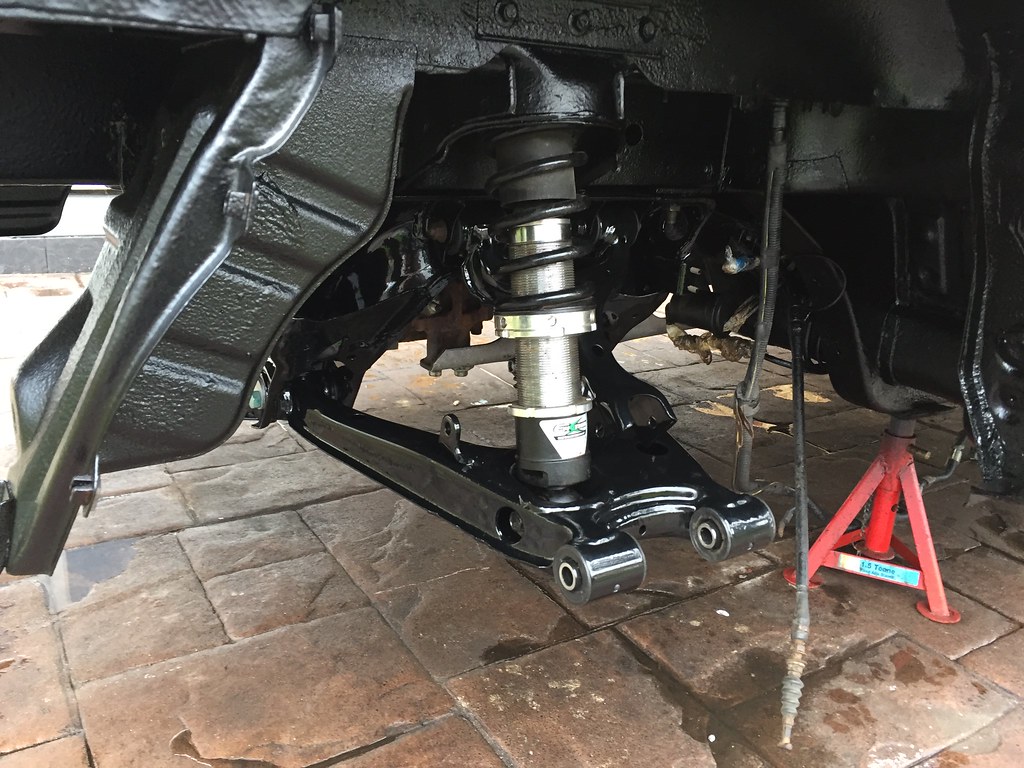 IMG_2756 by Jon Fellows, on Flickr
 IMG_2757 by Jon Fellows, on Flickr
I must admit it is very nice working with clean parts and new/refreshed bolts etc. It all goes together much more easily.
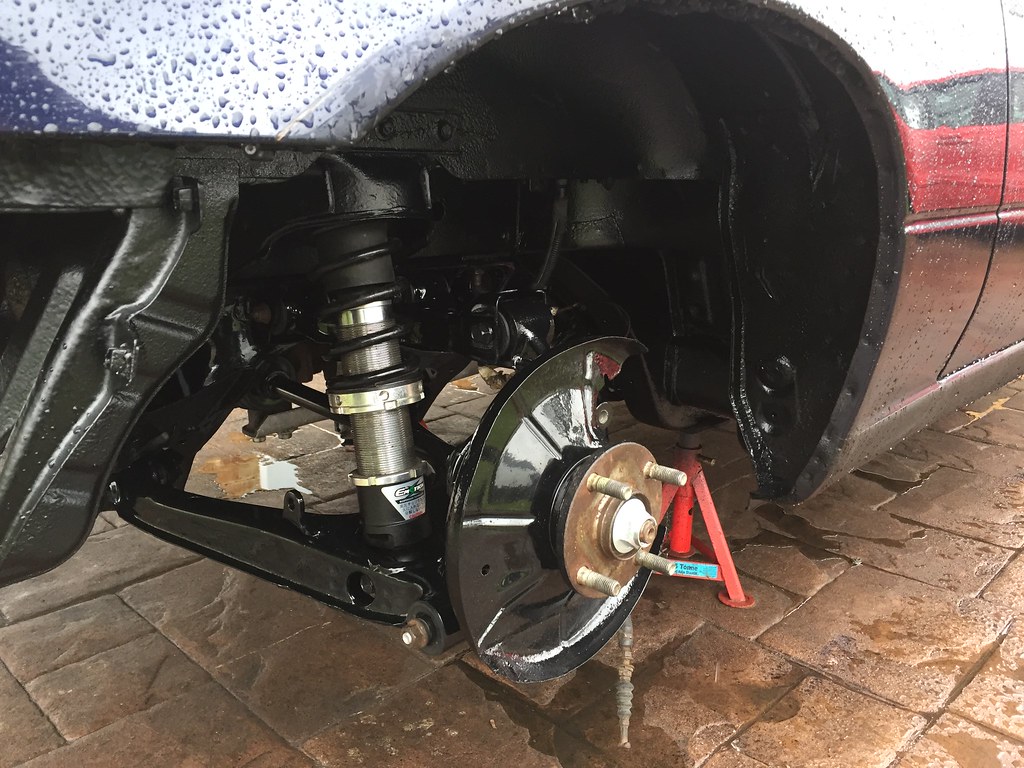 IMG_2759 by Jon Fellows, on Flickr
 IMG_2760 by Jon Fellows, on Flickr
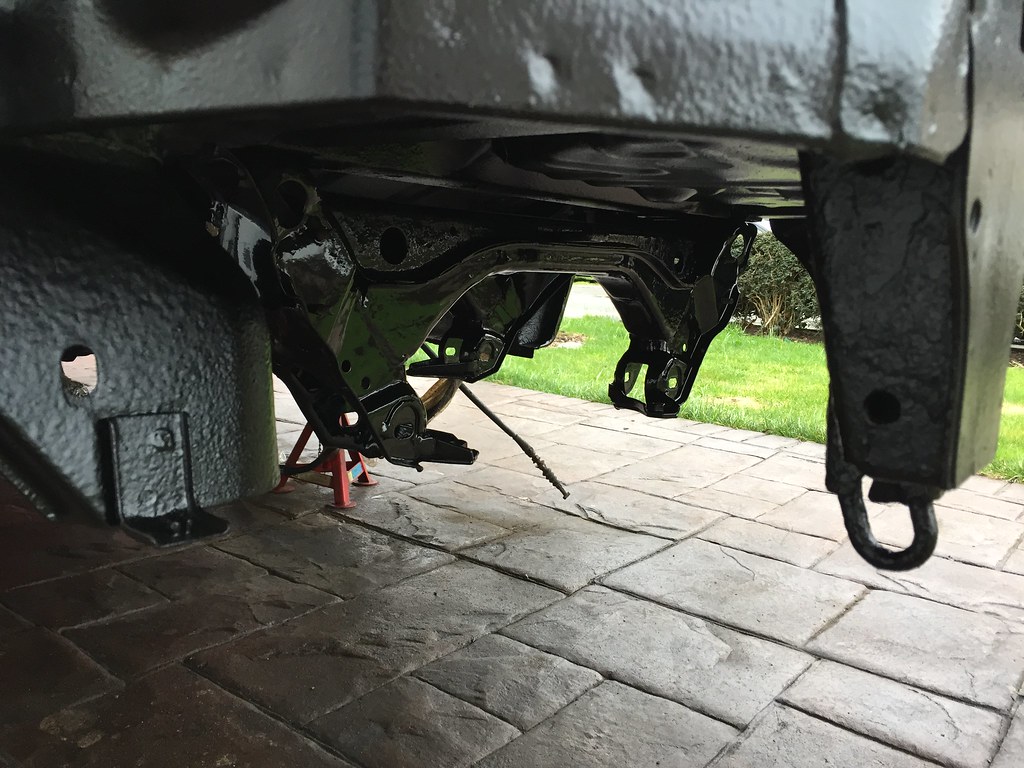
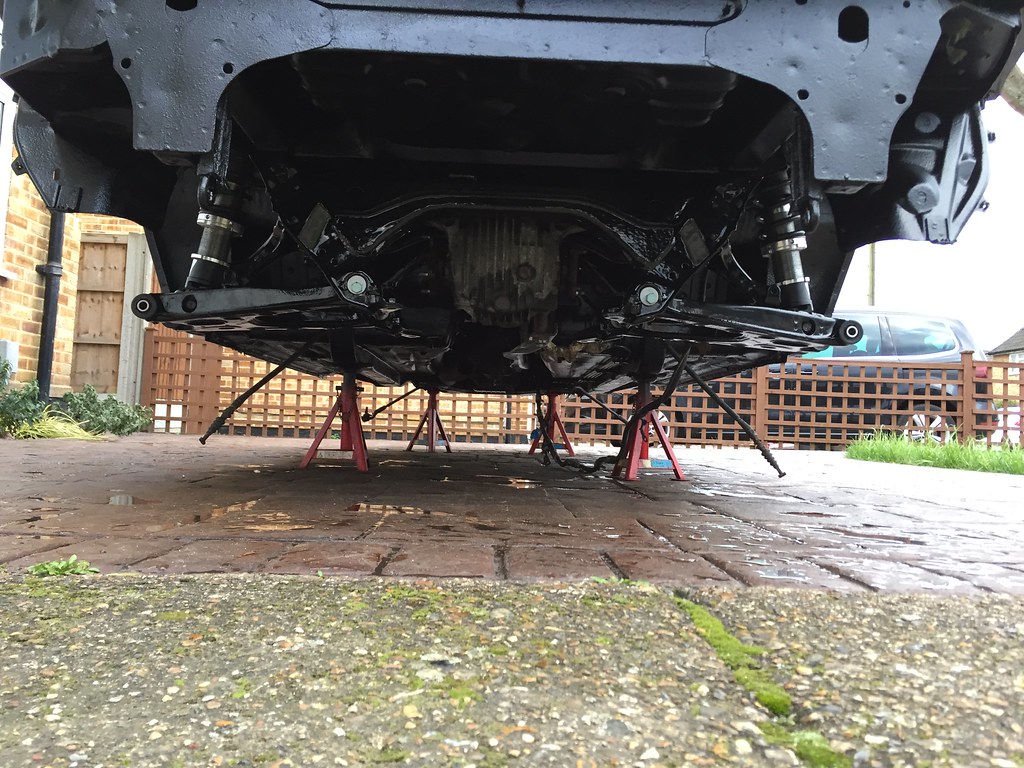
I also fitted the prop shaft and mid-heatshield with new bolts etc. In an extremely nerdy way, it was really nice to see all new bits on against the fresh underseal and the cleaned up PPF. I tried to capture the look, but frankly, failed hard! Nevertheless, this is my best effort. I think photography will not be a fall-back career of mine...!
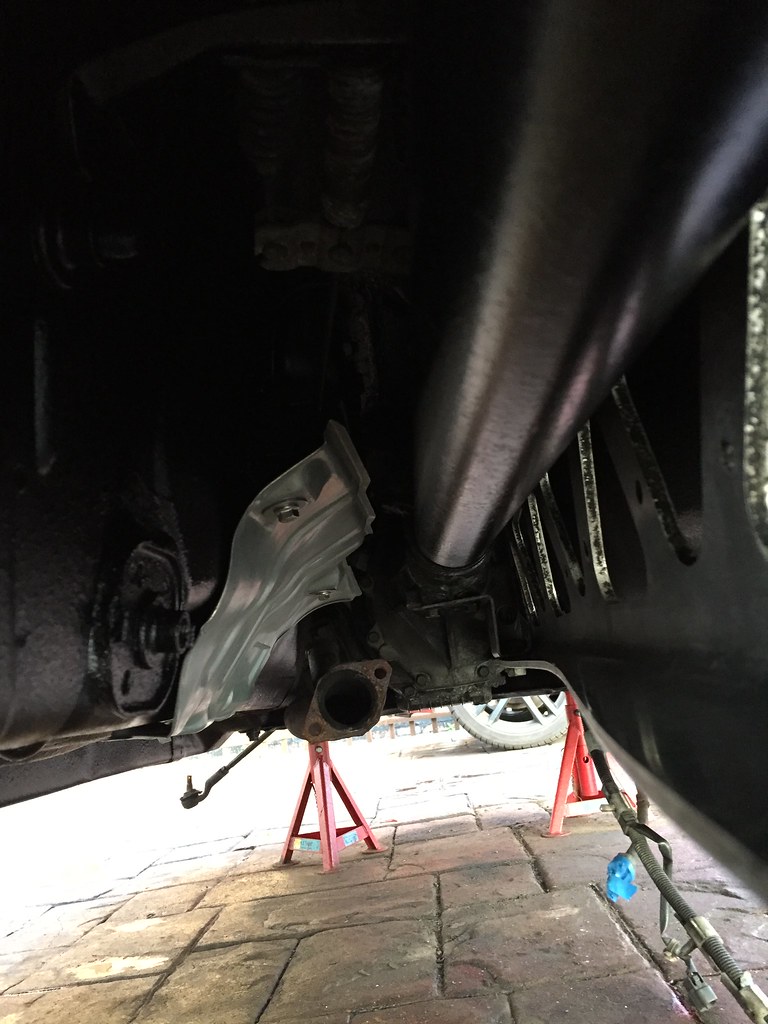 IMG_2758 by Jon Fellows, on Flickr
I'm getting to the slightly more photogenic point of the refresh, where bits are getting bolted back on and it looks like progress is being made.
So after fitting the diff etc, I have started putting the rear suspension back together.
IMG_2756 by Jon Fellows, on FlickrIMG_2757 by Jon Fellows, on FlickrI must admit it is very nice working with clean parts and new/refreshed bolts etc. It all goes together much more easily.
IMG_2759 by Jon Fellows, on FlickrIMG_2760 by Jon Fellows, on FlickrI also fitted the prop shaft and mid-heatshield with new bolts etc. In an extremely nerdy way, it was really nice to see all new bits on against the fresh underseal and the cleaned up PPF. I tried to capture the look, but frankly, failed hard! Nevertheless, this is my best effort. I think photography will not be a fall-back career of mine...!
IMG_2758 by Jon Fellows, on FlickrGassing Station | Readers' Cars | Top of Page | What's New | My Stuff