BMW E36 M3 - Reckless Restoration
Discussion


Hi all, thanks for the continued support and love for the project!
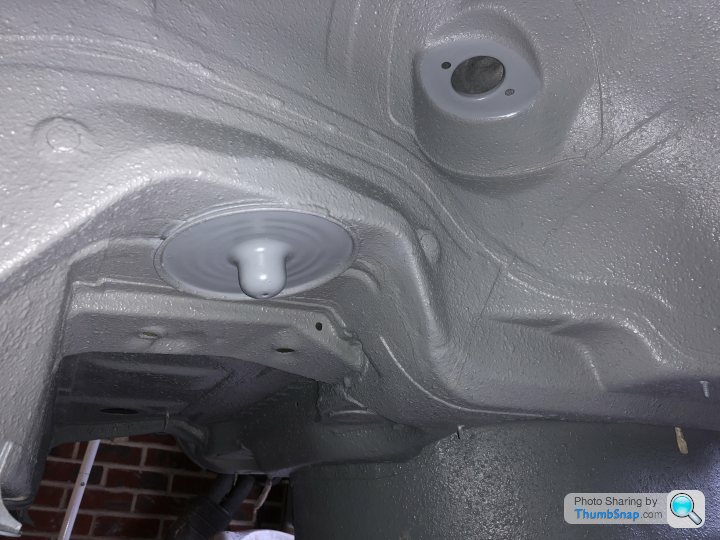
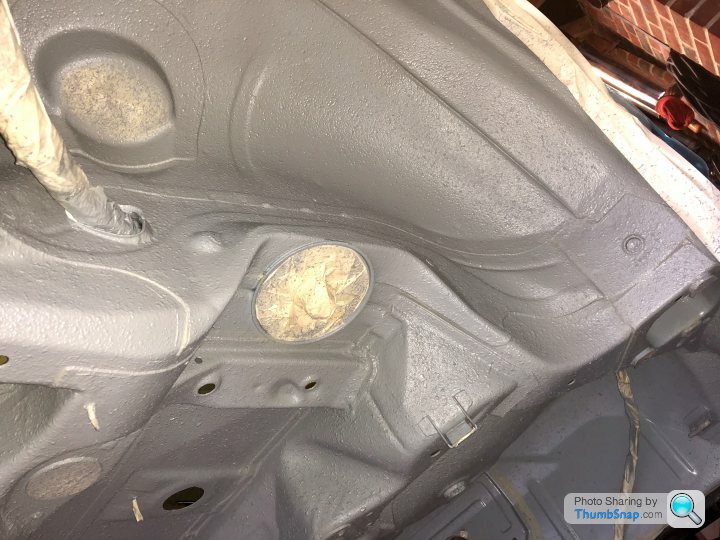
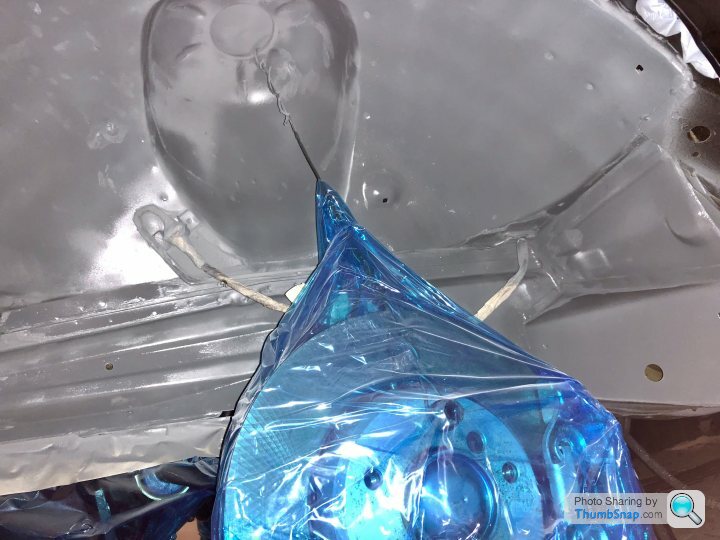
Now brace yourselves for another grey underbody photo; this time the final layer of stone chip. What a messy job! It’s my first go applying this stuff with a Schutz gun hooked up to an air compressor and after rebuilding the ancient, borrowed Schutz gun with new seals I got started.
I am so very pleased that I spend 2hrs masking everything up, pity I forgot to mask myself up! On a positive note; I am now stone proof....
As for the finished job, it’s not perfect and certainly more textured than the factory coating. Not pretty but hopefully effective in protecting the old girl.
Not wanting to climb any further under here are some (grey) photos of the rear.

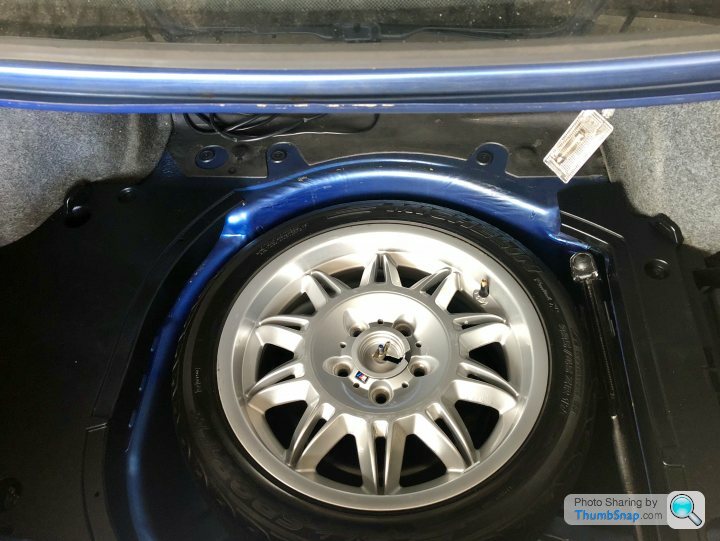
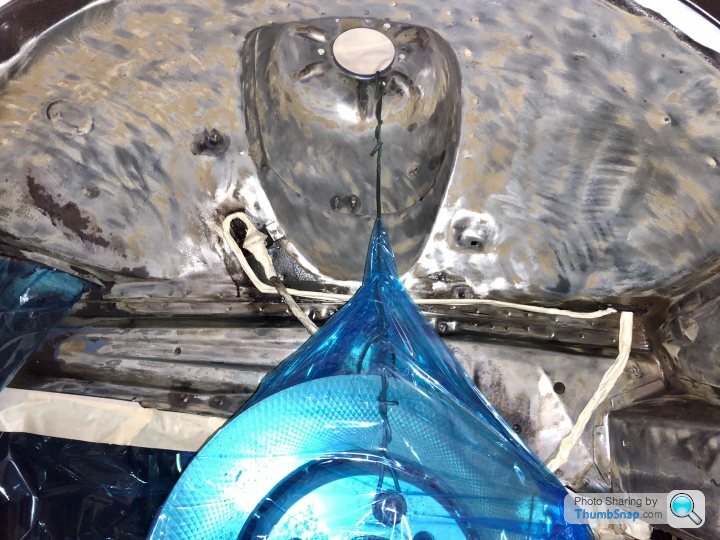
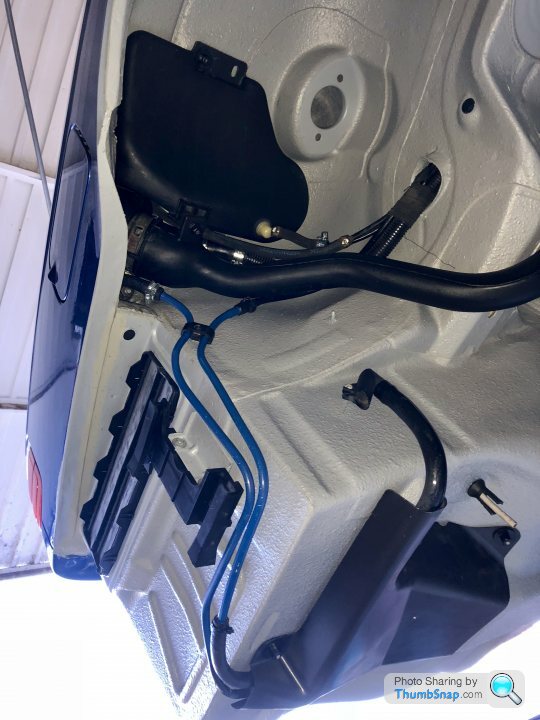
Decent weather and the wife and child going out for the day meant, joy of joys, I could start actually putting things back on the old girl. Basically spent most of the day cleaning and repairing the fuel tank vent system then fitting it into the boot and pipes routed I got the spare wheel cleaned (need to get a five spoke as it’s a sunflower). Little bit of surface rust encountered on a seam above the left tail light, now all treated.
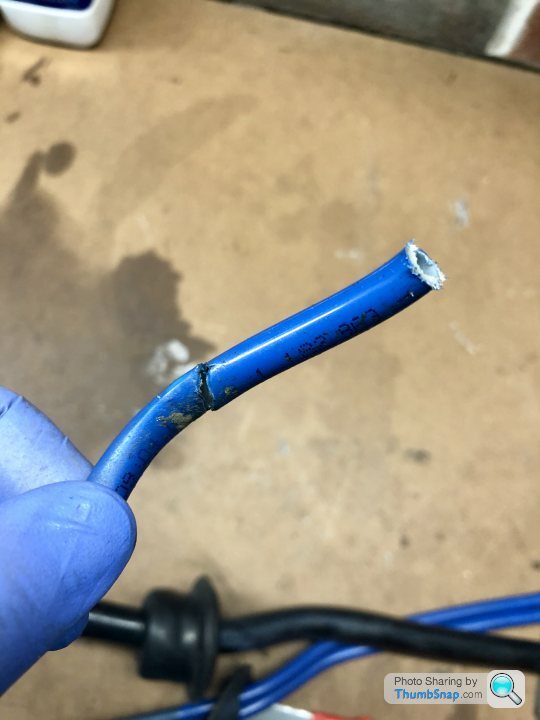
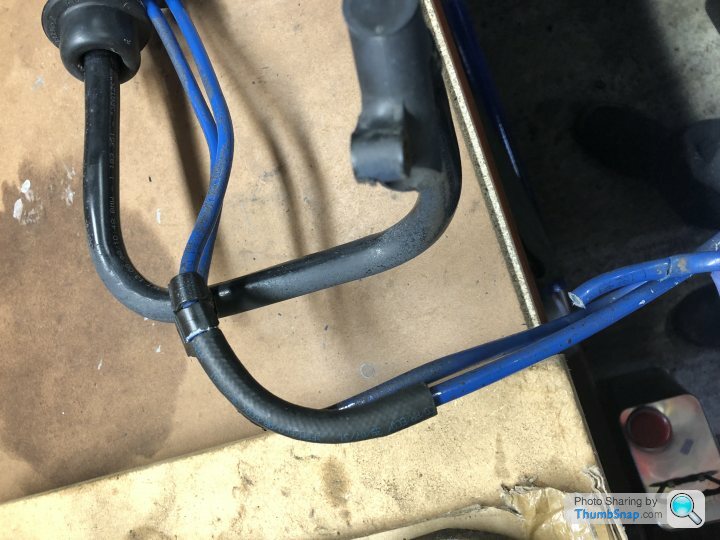
Tank vent hose split, so cut out and a piece of fuel pipe put in. I’ll secure it when all done.
Nice and clean
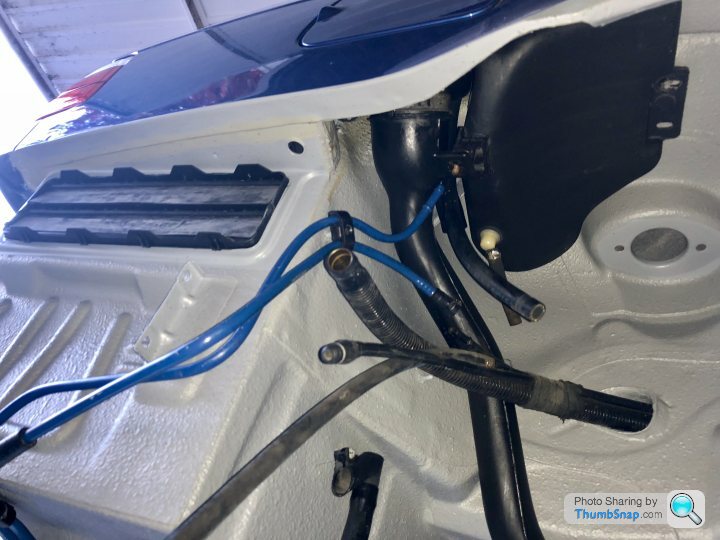
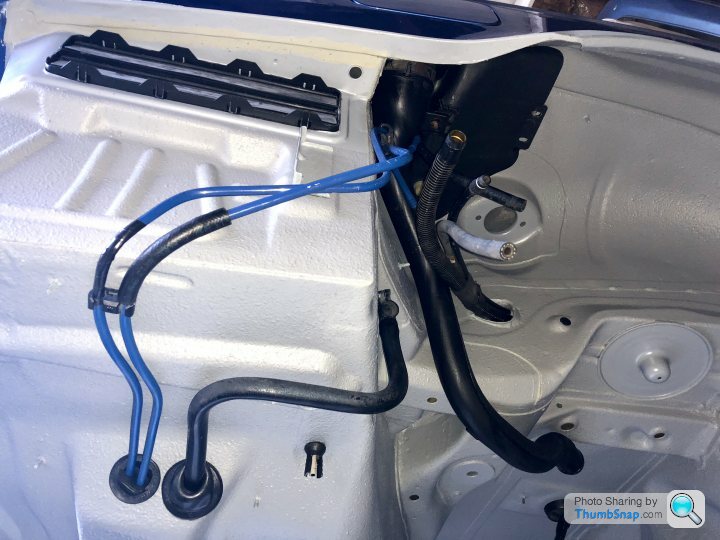
Tank vent system cleaned, refurbed and going back in
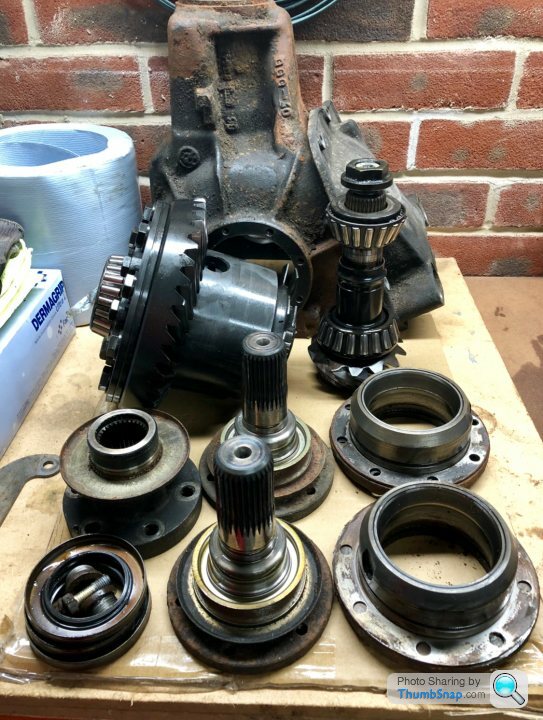
Last job of the day: stripped down the diff - just when you thought progress was being made!
Casing going off for powdercoatering this week meantime I’ll be cracking open the LSD unit to give it a once over and replace the clutch plates. All seals and bearings will also be replaced.
Tank vent hose split, so cut out and a piece of fuel pipe put in. I’ll secure it when all done.
Nice and clean
Tank vent system cleaned, refurbed and going back in
Last job of the day: stripped down the diff - just when you thought progress was being made!
Casing going off for powdercoatering this week meantime I’ll be cracking open the LSD unit to give it a once over and replace the clutch plates. All seals and bearings will also be replaced.
Superb work that adds so much value to a car like this.
I saw a couple of companies at Technoclassica in Essen who now specialise underbody and engine detailing. So much better than covering the floors in underseal, painting callipers (taaaacky!) and covering parts in gold paint.
OP..I salute you!
I saw a couple of companies at Technoclassica in Essen who now specialise underbody and engine detailing. So much better than covering the floors in underseal, painting callipers (taaaacky!) and covering parts in gold paint.
OP..I salute you!
H20DJY said:
Great work! Are you planning to have the car painted as well, or is it clean enough up top? Certainly didn't seem any worse underneath than my e46 really.
It’s pretty scruffy up top to be honest, not terrible but I can’t have the underside looking better than the top! Also the new front left wing will need need paint in any case.Thanks for all the motivational comments!
After so much bodywork it was good to get on with more mechanical work, not to mention the nice feeling that comes with putting this thing back together! I can almost remember where everything goes....
So pulled the ‘box out to replace the weeping rear main crank seal with a modified type. Whilst out it made sense to replace the pilot bearing, that is after the ordeal of pulling the bloody thing out of the end of the crank.
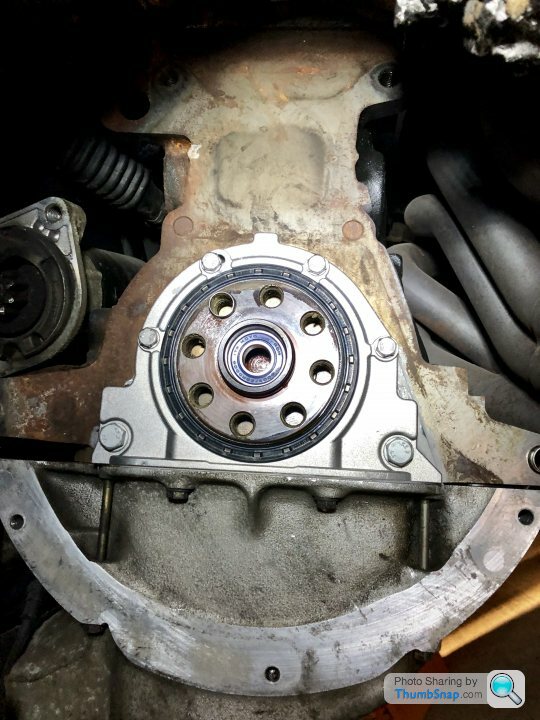
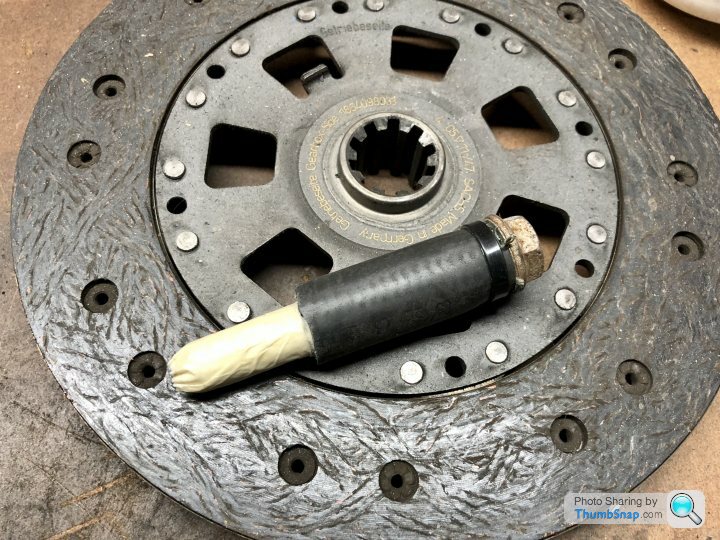
Then in with the new clutch. Realised I didn’t have a friction plate aligning tool and knowing the pain in the butt that comes with lifting a heavy gearbox in only to have the input shaft not fall in. So a large bolt, a piece of hose and some tape later; the finest bespoke tool!
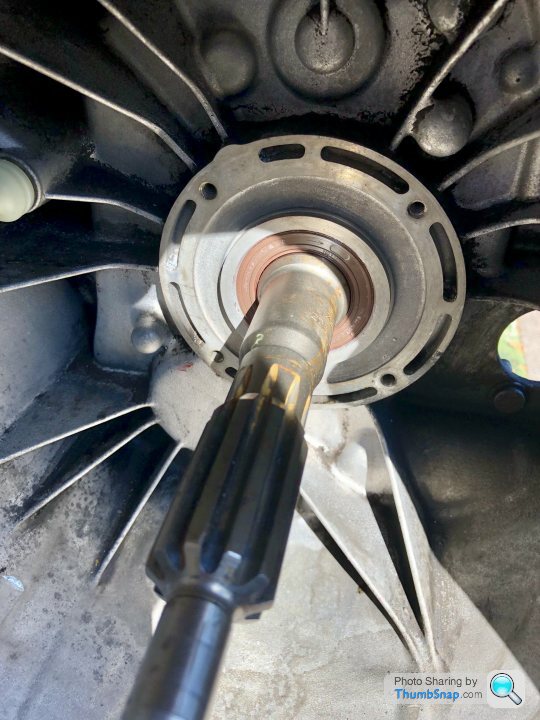
And then onto the gearbox itself. I changed the output and selector shaft seals a couple of years back, so for peace of mind I replaced the input shaft seal - besides it was weeping like an Italian widow.
Next up, replace the transmission tunnel insulation and heave the ‘box back in.
So pulled the ‘box out to replace the weeping rear main crank seal with a modified type. Whilst out it made sense to replace the pilot bearing, that is after the ordeal of pulling the bloody thing out of the end of the crank.
Then in with the new clutch. Realised I didn’t have a friction plate aligning tool and knowing the pain in the butt that comes with lifting a heavy gearbox in only to have the input shaft not fall in. So a large bolt, a piece of hose and some tape later; the finest bespoke tool!
And then onto the gearbox itself. I changed the output and selector shaft seals a couple of years back, so for peace of mind I replaced the input shaft seal - besides it was weeping like an Italian widow.
Next up, replace the transmission tunnel insulation and heave the ‘box back in.
I’ve had this niggling feeling every time I walked to the front of the car. Actually I mean stumble and climb over car parts rather than walk, but you get the idea. Anyway this niggling feeling has been creeping into my head and it’s down to the finish in the front wheel arches. When I did that end of the car about 18months back, i couldn’t get hold of the 3m grey stone chip that i wanted - the best match to the factory finish. So I used black........ rationale being that the arch liners cover most of it and I could at least crack on with the restoration. Would anyone ever notice, apart from the spiders?
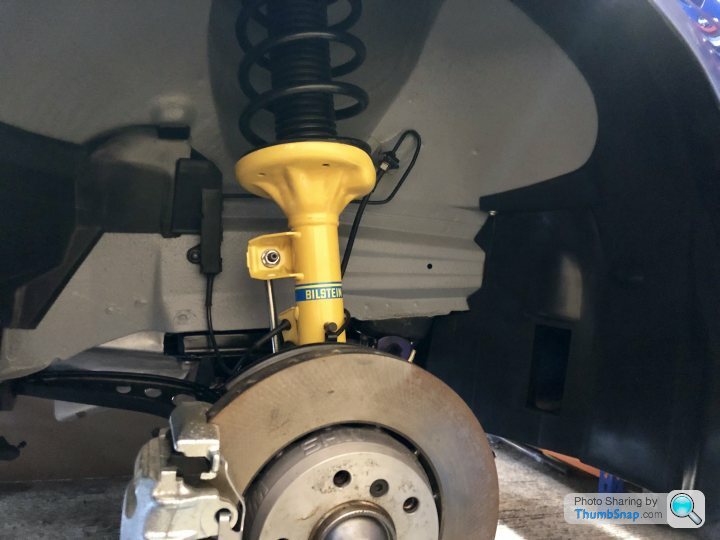
Fast forward to the present evening. This happened:
Lovingly rebuilt front suspension carefully removed, arches stripped back, primered and ready for the GREY stone chip.
I guess the “niggling” got too much. Or maybe it was the 8 eyed look of accusation for doing a half arsed job, that spider on the garage floor gave me?
I feel better now.
Edited by T-bagger on Wednesday 6th June 00:36
I've decided to get back on with mine OP. But it won't be done to this level so I'm going to go with my original plan of tracking it. Get it clean, get it protected, get some enjoyment out of it. I was on the cusp of giving up and selling it in all honesty but people milling around it showing interest has motivated me 
If you've got any close up pics of the spot welds in the front inner arch I'd appreciate more of those as I have to remove the front part of mine and replace it.
I am properly struggling to remove the rubbery underseal stuff above the rear axle and fuel tank, despite using a grinder and wire wheel. Also managed to put a hole in one of the tank vent pipes as I tried to work around them FFS
TroubledSoul said:
I've decided to get back on with mine OP. But it won't be done to this level so I'm going to go with my original plan of tracking it. Get it clean, get it protected, get some enjoyment out of it. I was on the cusp of giving up and selling it in all honesty but people milling around it showing interest has motivated me
If you've got any close up pics of the spot welds in the front inner arch I'd appreciate more of those as I have to remove the front part of mine and replace it.
I am properly struggling to remove the rubbery underseal stuff above the rear axle and fuel tank, despite using a grinder and wire wheel. Also managed to put a hole in one of the tank vent pipes as I tried to work around them FFS
Which part of the front arch? I’ll see what I have or can zoom in on and re upload.If you've got any close up pics of the spot welds in the front inner arch I'd appreciate more of those as I have to remove the front part of mine and replace it.
I am properly struggling to remove the rubbery underseal stuff above the rear axle and fuel tank, despite using a grinder and wire wheel. Also managed to put a hole in one of the tank vent pipes as I tried to work around them FFS
Removing the under seal is bloody hard work, I used the knitted wire wheels you can get from Screwfix, they’re about the best i’d found but still not a pleasant process.
Post Le Mans recovery day today, so after unloading the 5 series of all trip related paraphernalia I got a few hours on the M3. Interesting that this year was BMW’s return to the GTE Pro class and so the Friday car show at Saint Saturnin had a BMW theme. E21s, Z1s, M4s and even E30 M3s a plenty, didn’t see one E36 M3 all weekend. Outnumbered even by Lamborghinis - never have I wished i’d had the old girl up running and on the road more!
Anyway, a pretty productive day squeezed into the garage today:
Front suspension and arch liners refitted after redoing the under seal.

With the input shaft seal replaced, release fork pivot and clip replaced, new release bearing the ‘box is ready for re-mating to the engine.
Fuel tank venting system fully fitted with new stainless steel hose clamps, fixings and a new cover - the old one being cracked.
Next up, fabricating a replacement for the disintegrated transmission tunnel insulation. Glad people are enjoying the build.
Anyway, a pretty productive day squeezed into the garage today:
Front suspension and arch liners refitted after redoing the under seal.
With the input shaft seal replaced, release fork pivot and clip replaced, new release bearing the ‘box is ready for re-mating to the engine.
Fuel tank venting system fully fitted with new stainless steel hose clamps, fixings and a new cover - the old one being cracked.
Next up, fabricating a replacement for the disintegrated transmission tunnel insulation. Glad people are enjoying the build.
Gassing Station | Readers' Cars | Top of Page | What's New | My Stuff