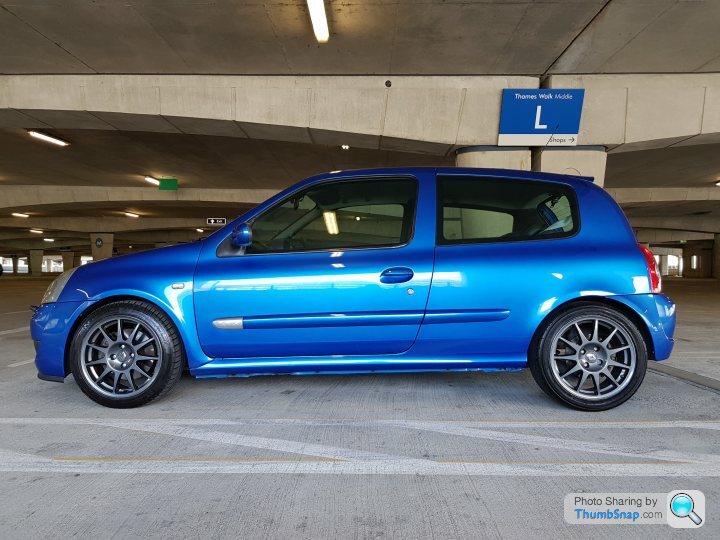
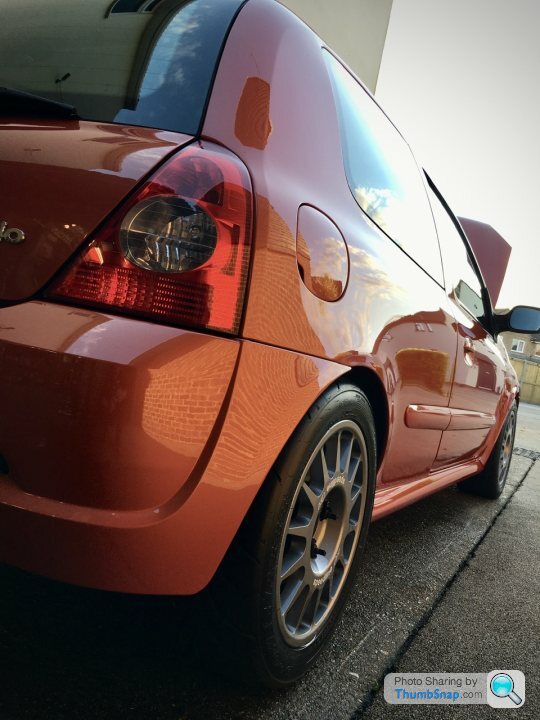
“It's just a daily” - Renaultsport Clio 182
Discussion


chrismc1977 said:
Under bonnet looking much fresher and very OEM-esque -they aren’t the best looking of engines from the factory but you’ve done a great job.
Still prefer the OEM anthracite alloys though. They just work visually
Thanks very much, trying to keep an OEM+ type theme here, I just want it to look clean and purposeful. Still prefer the OEM anthracite alloys though. They just work visually
I still have the original wheels for it, although they look okay, I’ve never really been a huge fan of them.
I still have my Turinis too but I’ve decided I’m done with the black finish on them. This car has worn black Turinis almost its whole life now and I’ll probably have them done anthracite. They’re my winter wheels now.
Bathroom_Security said:
Love the black inlet manifold. Remember back in the day when all the cool kids polished them to chrome.
Really awesome what you've done with the car now
Ha, yeah I never was a chrome fan, chrome brings on Harley Davidsons and vintage mesh wheels. I did toy with the idea of having it all soda blasted and back to OEM. But bare alloy will always fur up again, and even coating in ACF50 only offers marginal protection from what I’ve seen. Really awesome what you've done with the car now
I think the textured black offers a purposeful and pretty timeless look. Hopefully I’ll be able to keep it looking nice too.
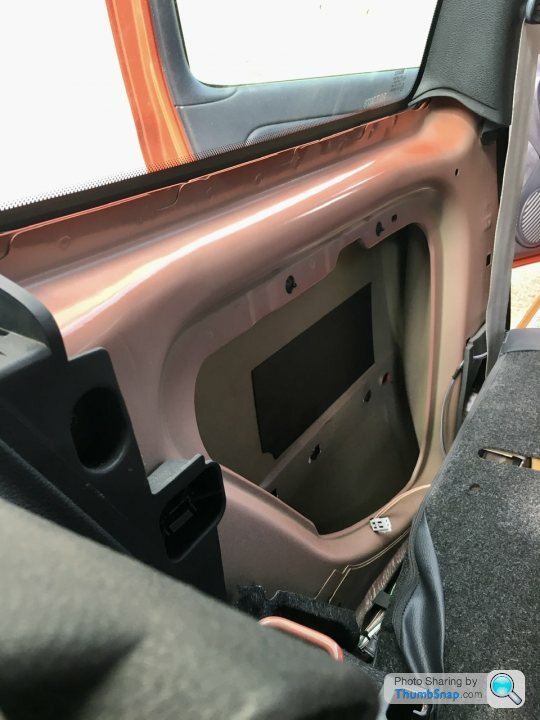
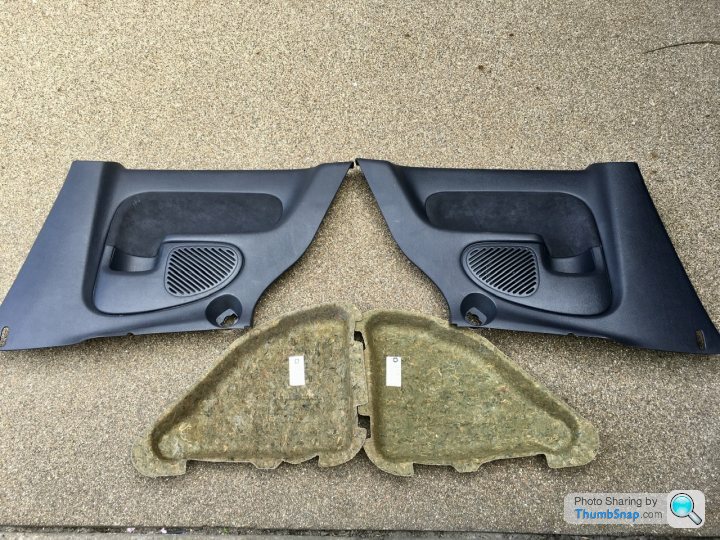
So when i first got the car back last June, i quickly popped off the rear door cards to have a look at the extent of any possible corrosion back there, and if i needed to act urgently on anything. Fortunately it all looked okay and i just dumped a load of Waxoyl on it and left it for another day.
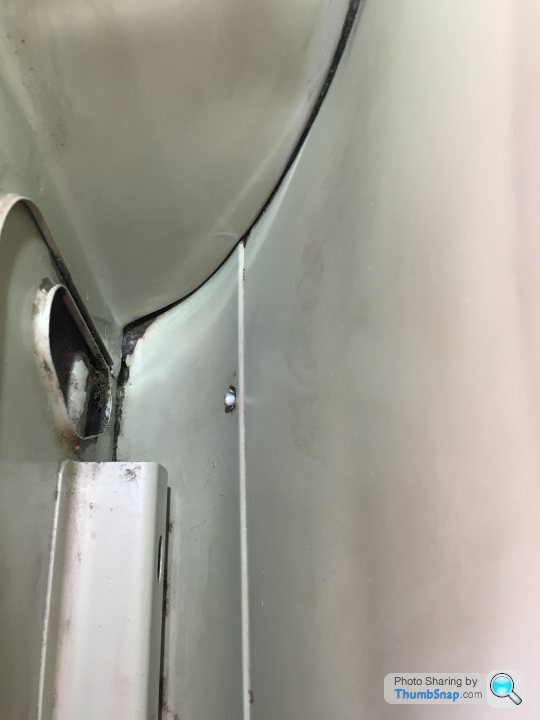
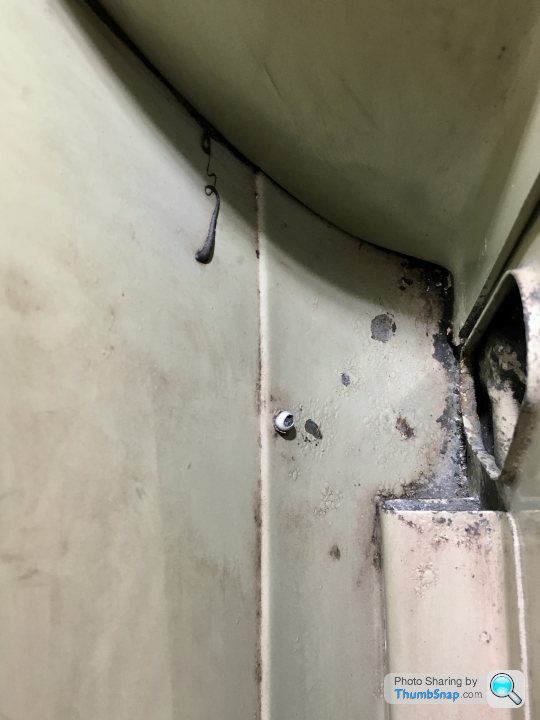
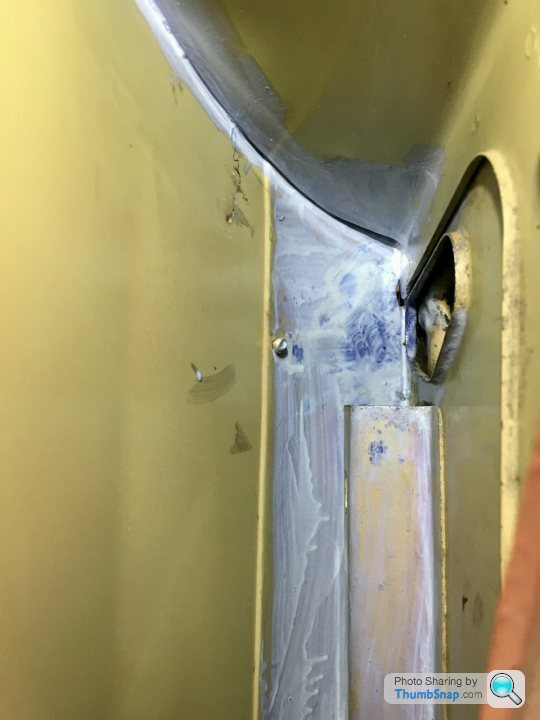
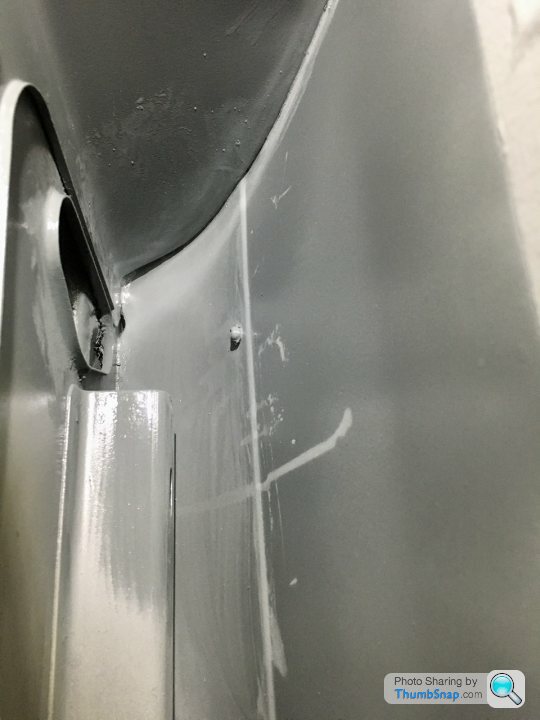
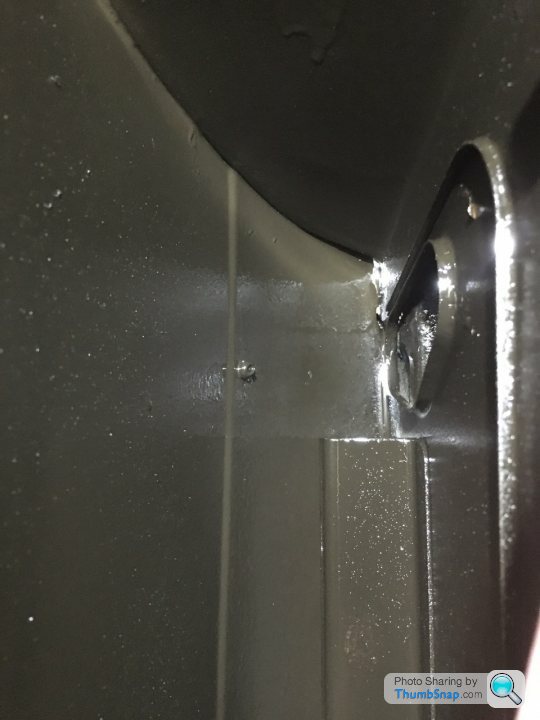
Well this morning i revisited the rear sills to have a proper look.
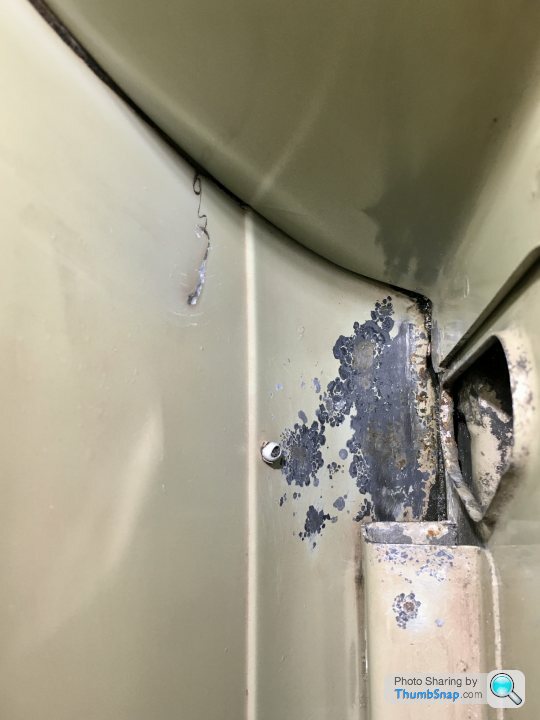
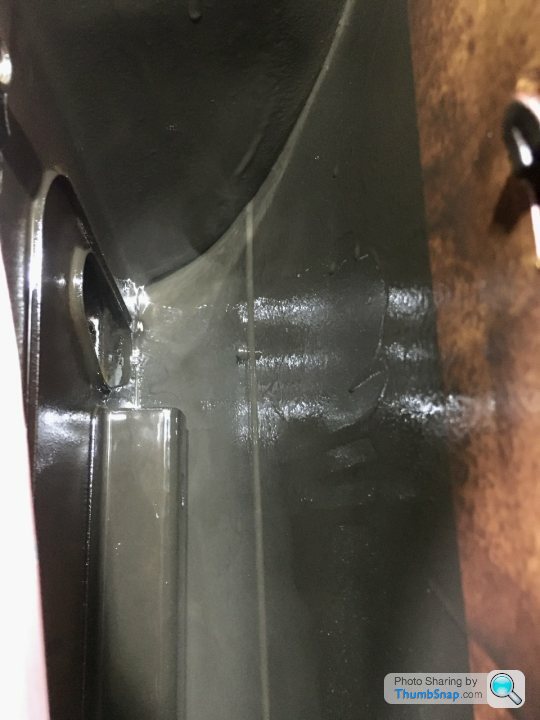
I cleaned down the Waxoil with some thinners and cloths and was very pleased to find the NS absolutely spotless with barely a blemish to remark upon. The OS had some very slight pitting of the paint layer.
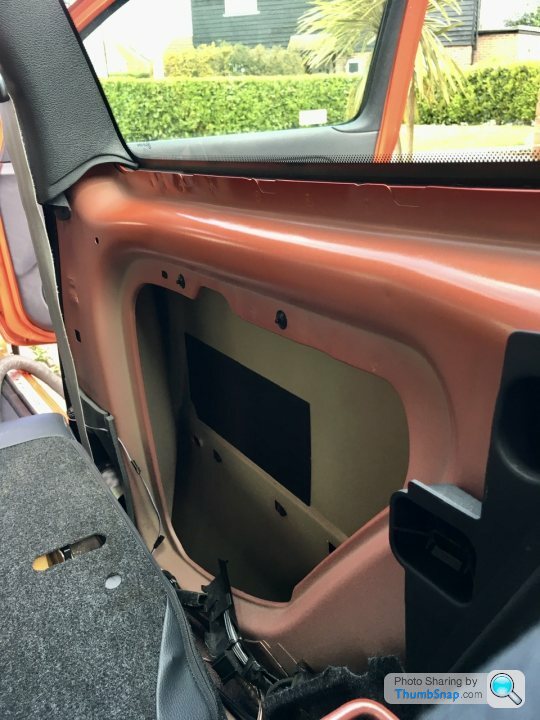
So i chose to clean this back with a small wire wheel which very quickly revealed bright silver metalwork with no signs of any rust.
I've coated both sides in Bilt Hamber Hydrate 80 for good measure, and will let this cure overnight. Tomorrow i'll paint with Bilt Hamber Electrox, then some satin black and will finish with a good coat of Bilt Hamber Dynax UB.
Nobody will hopefully ever see in these areas but its nice to know I've protected it as best i can.

Well this morning i revisited the rear sills to have a proper look.
I cleaned down the Waxoil with some thinners and cloths and was very pleased to find the NS absolutely spotless with barely a blemish to remark upon. The OS had some very slight pitting of the paint layer.
So i chose to clean this back with a small wire wheel which very quickly revealed bright silver metalwork with no signs of any rust.
I've coated both sides in Bilt Hamber Hydrate 80 for good measure, and will let this cure overnight. Tomorrow i'll paint with Bilt Hamber Electrox, then some satin black and will finish with a good coat of Bilt Hamber Dynax UB.
Nobody will hopefully ever see in these areas but its nice to know I've protected it as best i can.
Edited by frayz on Monday 27th April 22:45
Car’s looking really good, and just shows that when looked after properly they will stay looking good. I tend to sneak a peak at work if I see it. This thread has inspired me somewhat to tackle some of the minutiae of car upkeep, such as cleaning beneath the windscreen scuttle.
I used Hydrate 80, along with BH 2 pack epoxy-mastic, on my 350Zs arches last year and they are still looking solid. Great products from BH.
Keep up the good work.
I used Hydrate 80, along with BH 2 pack epoxy-mastic, on my 350Zs arches last year and they are still looking solid. Great products from BH.
Keep up the good work.
Alias218 said:
Car’s looking really good, and just shows that when looked after properly they will stay looking good. I tend to sneak a peak at work if I see it. This thread has inspired me somewhat to tackle some of the minutiae of car upkeep, such as cleaning beneath the windscreen scuttle.
I used Hydrate 80, along with BH 2 pack epoxy-mastic, on my 350Zs arches last year and they are still looking solid. Great products from BH.
Keep up the good work.
350Z.. hmmm im just trying to think if i can work out who this is. I used Hydrate 80, along with BH 2 pack epoxy-mastic, on my 350Zs arches last year and they are still looking solid. Great products from BH.
Keep up the good work.

Thanks for the kind comments, its currently parked at the front of the building getting rained on
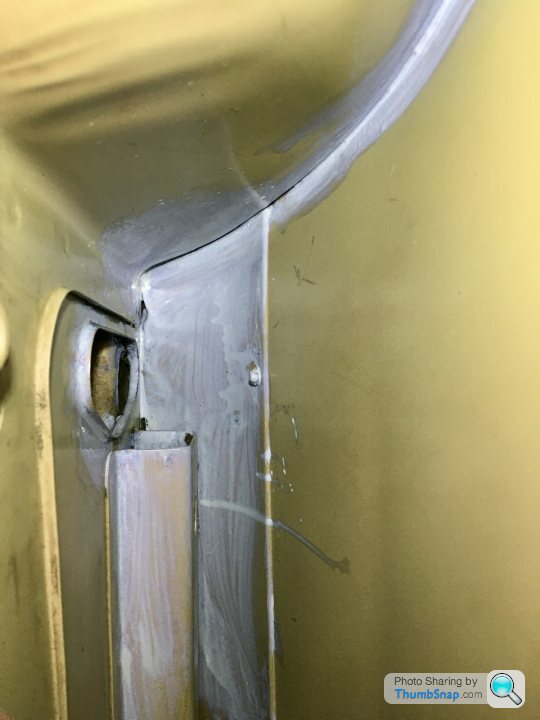
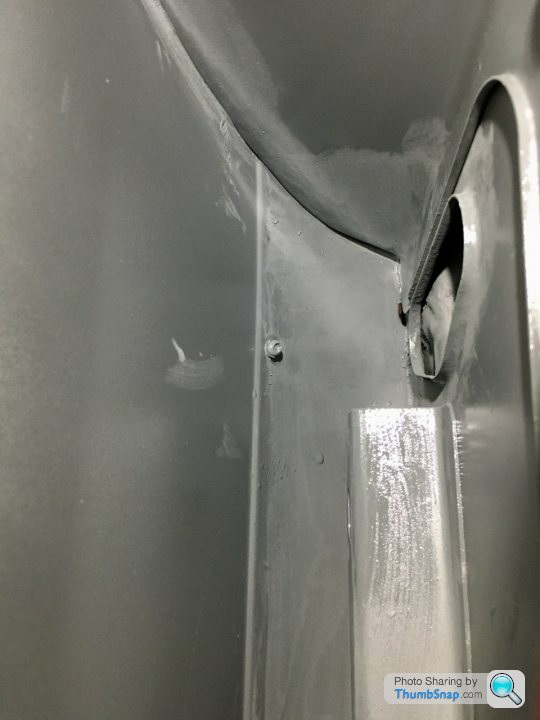
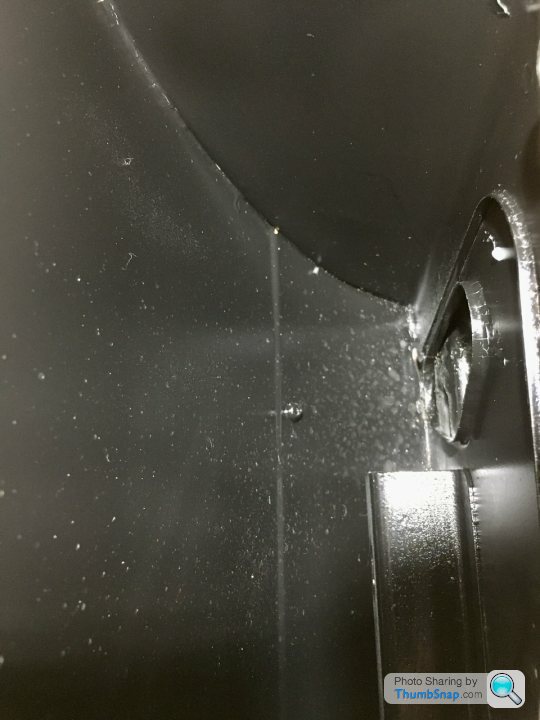
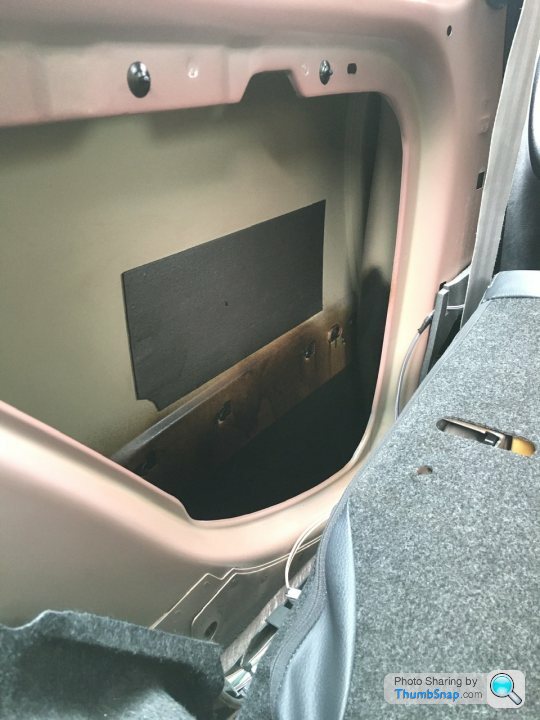
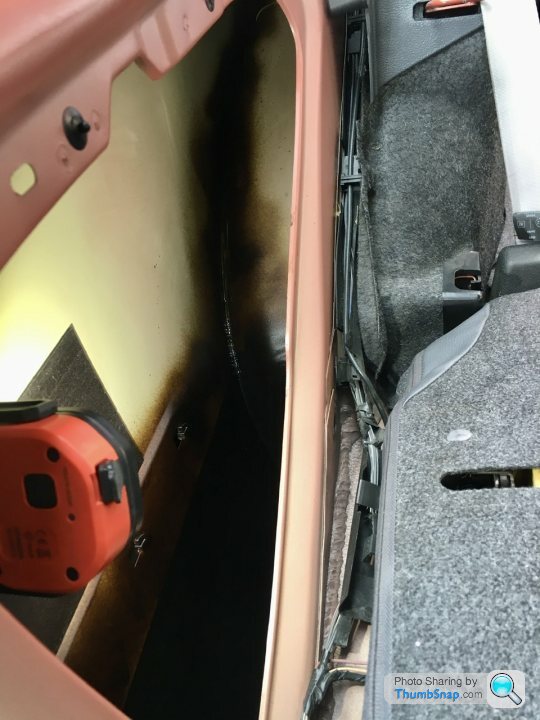
Got the inners sills in satin black and then lots and lots of Dynax UB.
These come with a longer tube nozzle which means you can get it right around the arches and hard to reach areas.
I also Dynax’d from the door moldings down, so if moisture does indeed come in those areas then it’s all protected.
These come with a longer tube nozzle which means you can get it right around the arches and hard to reach areas.
I also Dynax’d from the door moldings down, so if moisture does indeed come in those areas then it’s all protected.
Edited by frayz on Thursday 30th April 21:02
Great work, as always. I could do with doing some rust proofing on my 172, particularly on the rear beam. It's just a dirty, dirty job, especially on axle stands. Last car i did a lot of rust proofing on was an MG midget and i was picking flakes of rust out of my hair and ears for weeks.
Cambs_Stuart said:
Great work, as always. I could do with doing some rust proofing on my 172, particularly on the rear beam. It's just a dirty, dirty job, especially on axle stands. Last car i did a lot of rust proofing on was an MG midget and i was picking flakes of rust out of my hair and ears for weeks.
Depends how far you wanna go, you could drop it off and have it powdercoated. If you just want to smarten it up and protect it, get a drill and some wire wheel attachments to clean it back. Give it a sand and add some Hydrate 80, then paint with POR15 or similar and coat in Dynax.
Minds just cleaned and coated in Dynax and its fine.
So as of last Monday I’ve been removed from furlough and sent back to work. This means I could finally get some wheel time and enjoy driving the little Clio again.
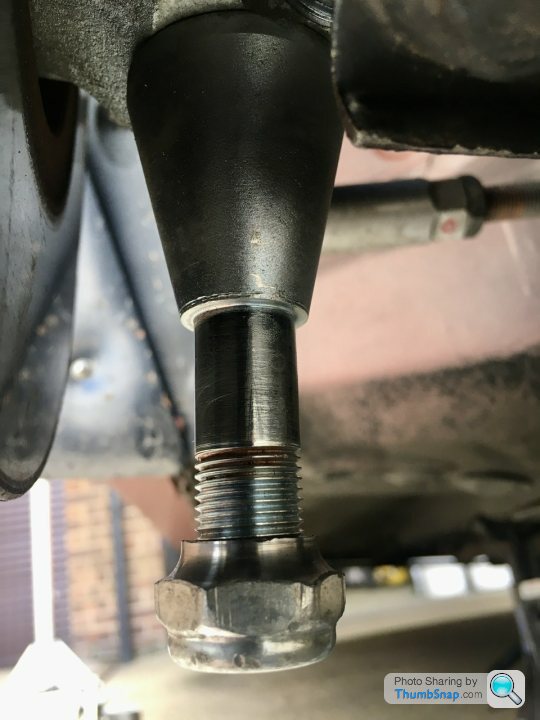
Thursday night as I pulled off the drive, and heard what I thought was a knock from the OS front. Bugger!!!
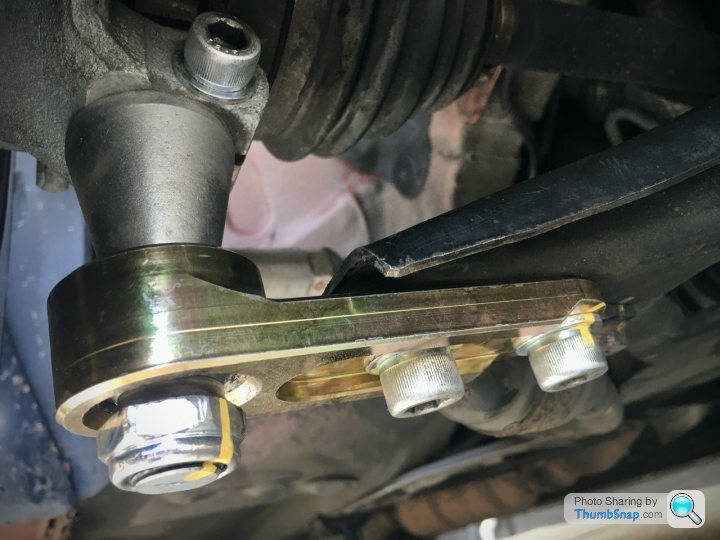
First look I could get at the car was Friday morning, and I found my issue at the first thing I suspected, the lower ball joint. Double bugger!
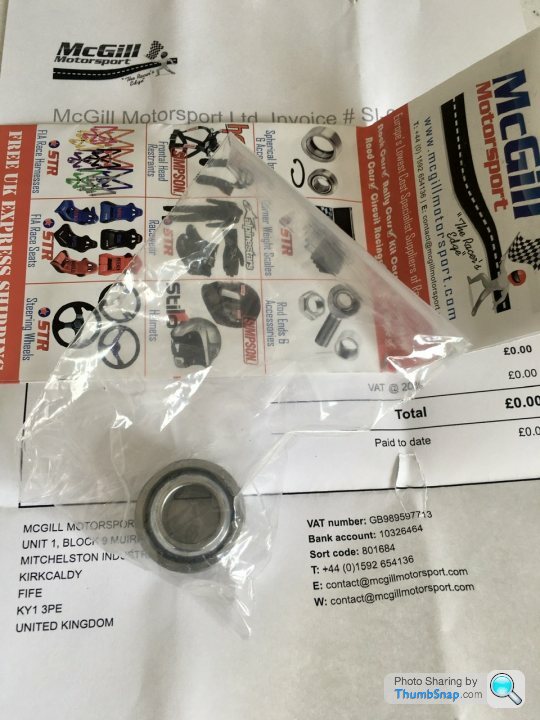
The bottom ball joint had a good 0.5 / 1mm of vertical play in it. These bearings were brand new from McGill Motorsport when I fitted the roll centre correction hubs only a few weeks back. Unable to get access to a press at work during the lockdown, they were pressed in by a local machine shop. Knowing they’re an interference fit i assumed, although unlikely, that the play was the ball in the outer race and had worn prematurely.
I sent McGill an email with a video and details of my issue of which they responded right away and got me a replacement bearing sent out FOC. Excellent.
They also asked me to return the faulty item which I was happy to once removed so they could inspect it and discuss with their supplier as to why it may have failed in less than 200 road miles.
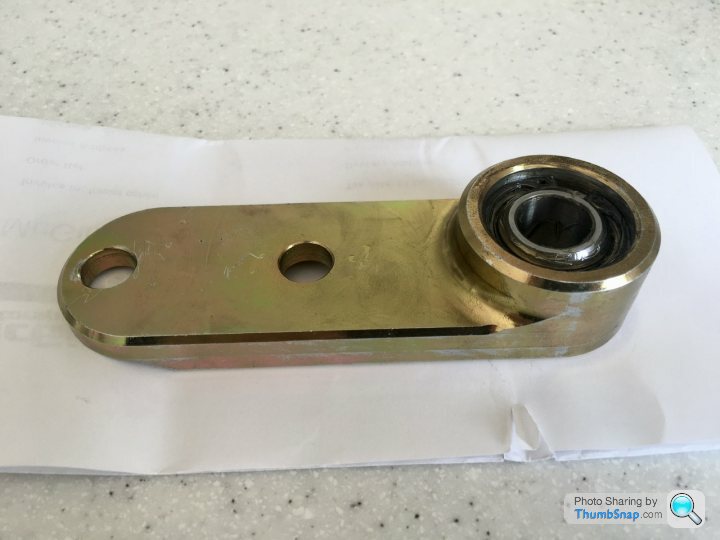
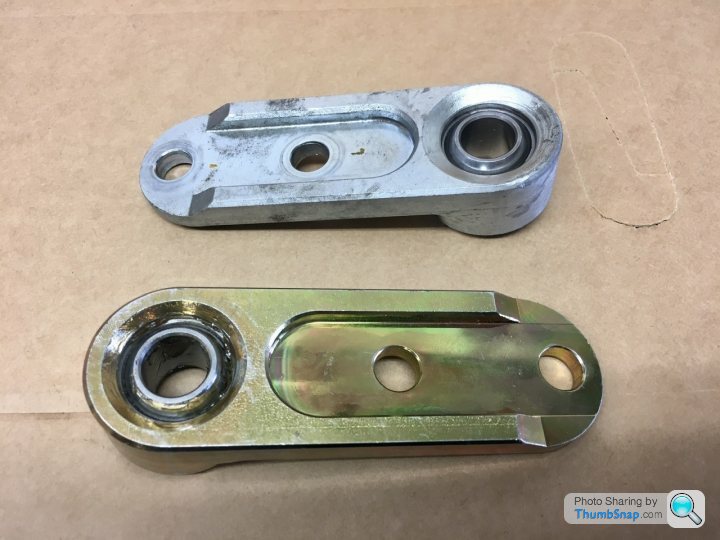
I also didn’t want to rule out the bearing carrier having a possible tolerance issue or being out of round. So called Alan at Bridgecraft Motorsport who machined the parts originally, and bought a new bearing and carrier. I asked him to send it on a next day delivery so I could be sure to get the car fixed today. Again, excellent customer service from them.
So this morning I removed the faulty bearing and carrier. The bearing bore is a slight interference fit on the hub extender so used a small two legged puller to remove it. Happy to see it came off without issue. No reason for it not to be, but also pleased to see the hub extender was mint with no material pick up from the bearing.
My OCD was having issues with the new bearing carrier being a yellow zinc finish and my other parts are a silver zinc, but i coped admirably and fitted you the new carrier, torqued up and am delighted to say the knocking as gone.
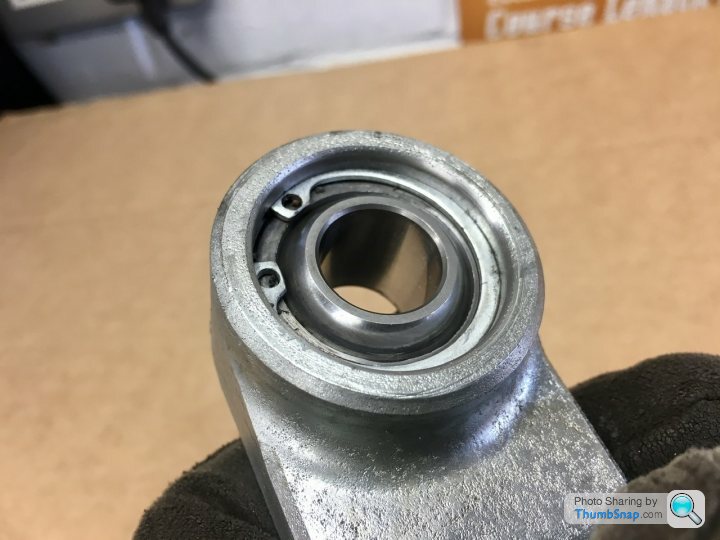
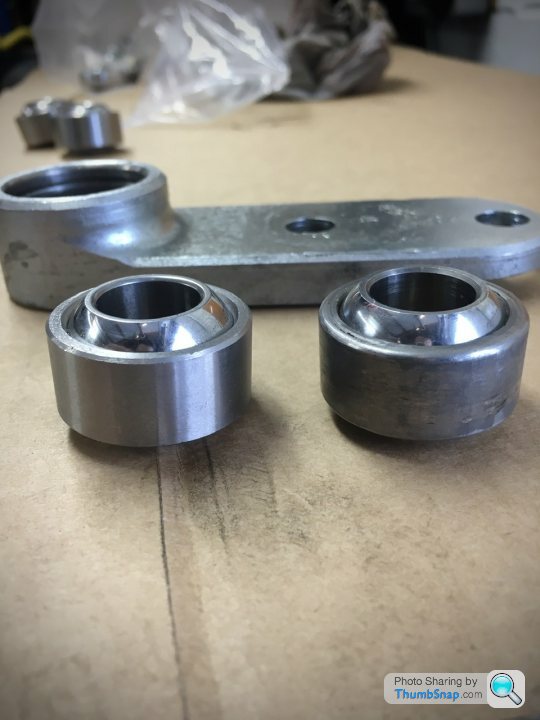
On inspection I couldn’t see any obvious issue with the previous bearing or carrier but removed the circlip in preparation to press the faulty bearing out on Monday.
To my amazement the bearing slid straight out with very little hand pressure. Then to my amazement and annoyance, I saw the old bearing had what appear to be sanding marks on the outside of the outer race. It would appear these have been linished down to fit in the housings rather than pressed in as they should have been. FFS!!
I haven’t gone back to the machine shop as frankly I can’t be bothered with the conversation over a bearing.
So, great that the knocking has gone, and pleased there is no play in the NS bearing. But I’ll be calling McGill first thing Monday morning to explain my embarrassment in what I found, and pay for the replacement item they sent me FOC. Clearly this is not a issue with their part.
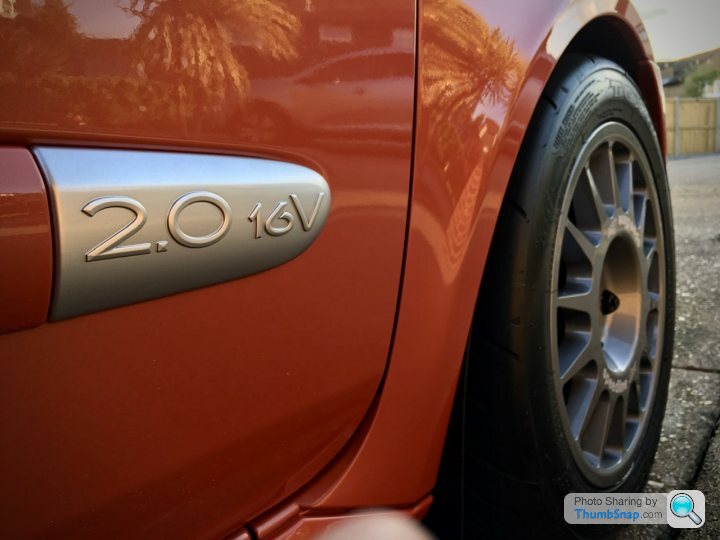
I had also rubbed down and painted my original door bullets in Moondust silver and clear coated. They’re okay considering I’m not a painter but I’m too fussy and wasn’t happy to refit them. I enquired about a new set from Renault but at £180 a pair, that wasn’t a route I was prepared to go down. So set about finding the mintest pair of original bullets I could. Now they’re fitted, the colour coded ones had grown on me and if they had been a good colour match, I may have kept them.
So with that done, I gave the old girl a wash as it’s been driven to work in the Essex rain all week and was filthy.
Thursday night as I pulled off the drive, and heard what I thought was a knock from the OS front. Bugger!!!
First look I could get at the car was Friday morning, and I found my issue at the first thing I suspected, the lower ball joint. Double bugger!
The bottom ball joint had a good 0.5 / 1mm of vertical play in it. These bearings were brand new from McGill Motorsport when I fitted the roll centre correction hubs only a few weeks back. Unable to get access to a press at work during the lockdown, they were pressed in by a local machine shop. Knowing they’re an interference fit i assumed, although unlikely, that the play was the ball in the outer race and had worn prematurely.
I sent McGill an email with a video and details of my issue of which they responded right away and got me a replacement bearing sent out FOC. Excellent.
They also asked me to return the faulty item which I was happy to once removed so they could inspect it and discuss with their supplier as to why it may have failed in less than 200 road miles.
I also didn’t want to rule out the bearing carrier having a possible tolerance issue or being out of round. So called Alan at Bridgecraft Motorsport who machined the parts originally, and bought a new bearing and carrier. I asked him to send it on a next day delivery so I could be sure to get the car fixed today. Again, excellent customer service from them.
So this morning I removed the faulty bearing and carrier. The bearing bore is a slight interference fit on the hub extender so used a small two legged puller to remove it. Happy to see it came off without issue. No reason for it not to be, but also pleased to see the hub extender was mint with no material pick up from the bearing.
My OCD was having issues with the new bearing carrier being a yellow zinc finish and my other parts are a silver zinc, but i coped admirably and fitted you the new carrier, torqued up and am delighted to say the knocking as gone.
On inspection I couldn’t see any obvious issue with the previous bearing or carrier but removed the circlip in preparation to press the faulty bearing out on Monday.
To my amazement the bearing slid straight out with very little hand pressure. Then to my amazement and annoyance, I saw the old bearing had what appear to be sanding marks on the outside of the outer race. It would appear these have been linished down to fit in the housings rather than pressed in as they should have been. FFS!!
I haven’t gone back to the machine shop as frankly I can’t be bothered with the conversation over a bearing.
So, great that the knocking has gone, and pleased there is no play in the NS bearing. But I’ll be calling McGill first thing Monday morning to explain my embarrassment in what I found, and pay for the replacement item they sent me FOC. Clearly this is not a issue with their part.
I had also rubbed down and painted my original door bullets in Moondust silver and clear coated. They’re okay considering I’m not a painter but I’m too fussy and wasn’t happy to refit them. I enquired about a new set from Renault but at £180 a pair, that wasn’t a route I was prepared to go down. So set about finding the mintest pair of original bullets I could. Now they’re fitted, the colour coded ones had grown on me and if they had been a good colour match, I may have kept them.
So with that done, I gave the old girl a wash as it’s been driven to work in the Essex rain all week and was filthy.
chrismc1977 said:
Pretty gash of the machine shop tbh- if the bearings were designed to be simply hand fitted & held with a circlip then why would you even require their services?
Exactly. Really annoying too. Just glad I found the issue easily, but needn’t have had the issue in the first place.
The other side has no movement at all so I won’t disturb it until/if it becomes an issue.
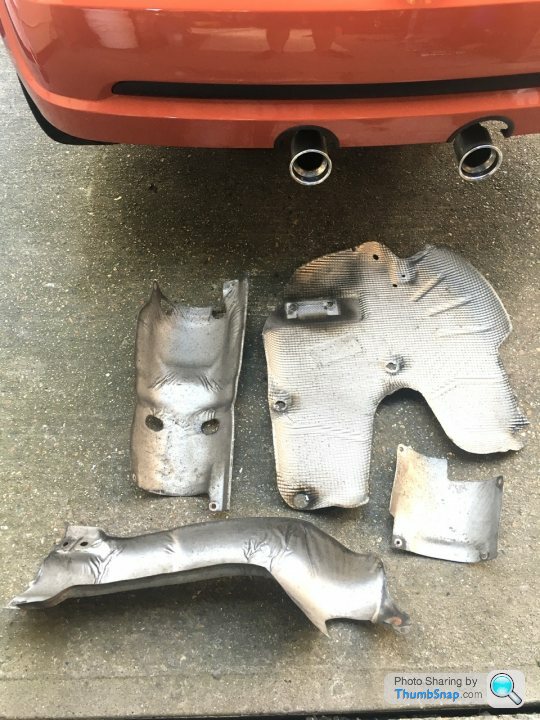
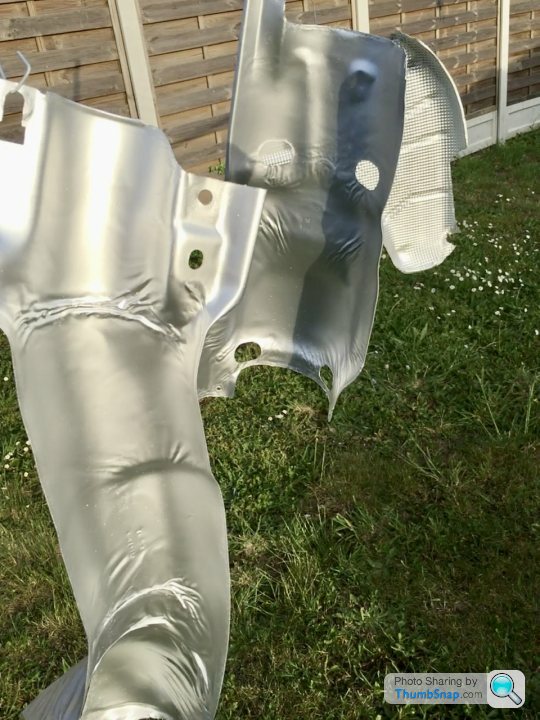
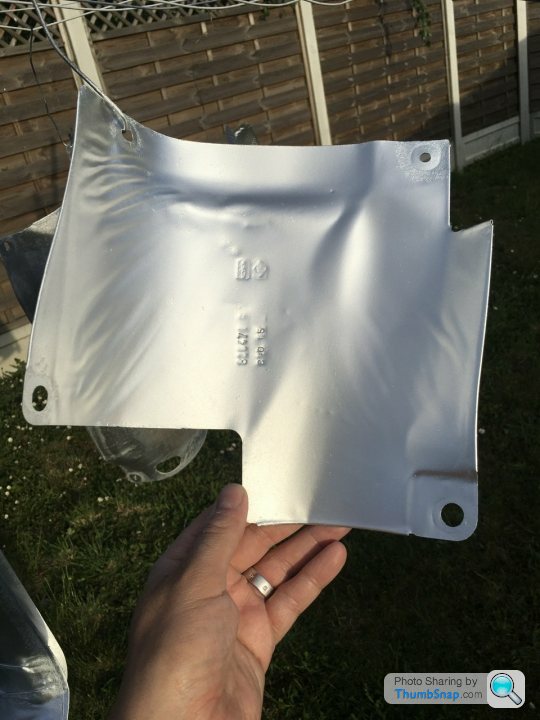
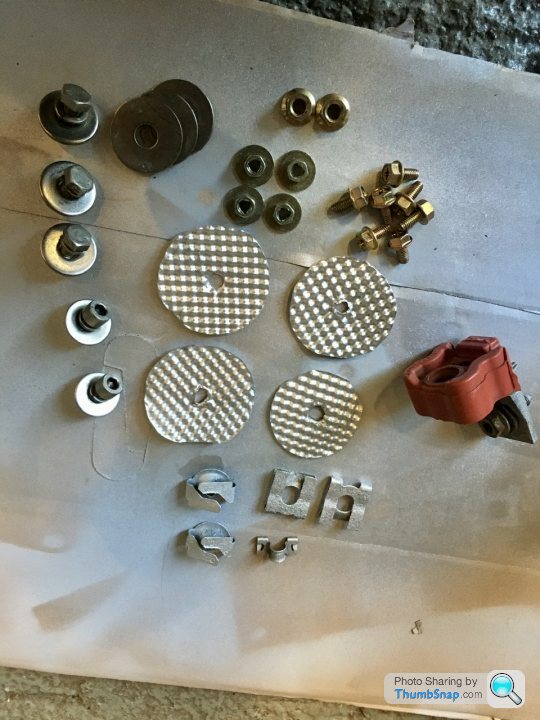
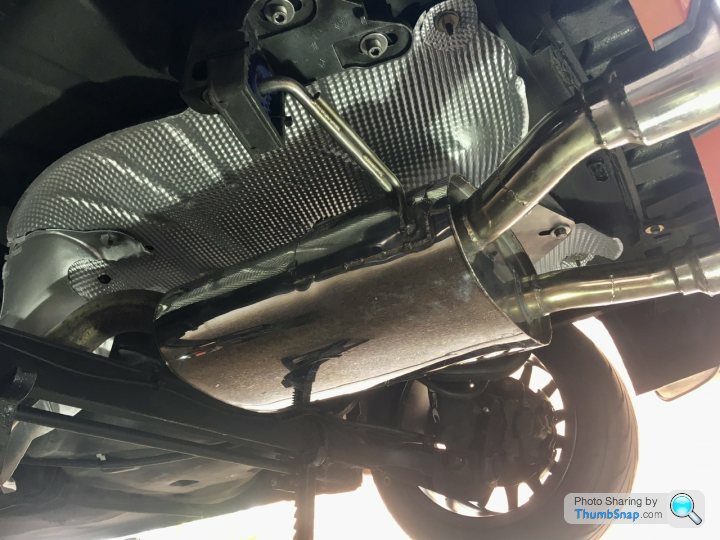
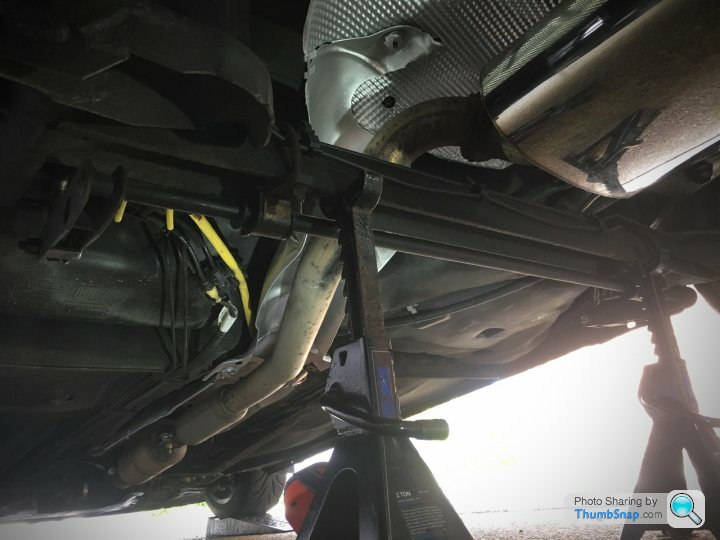
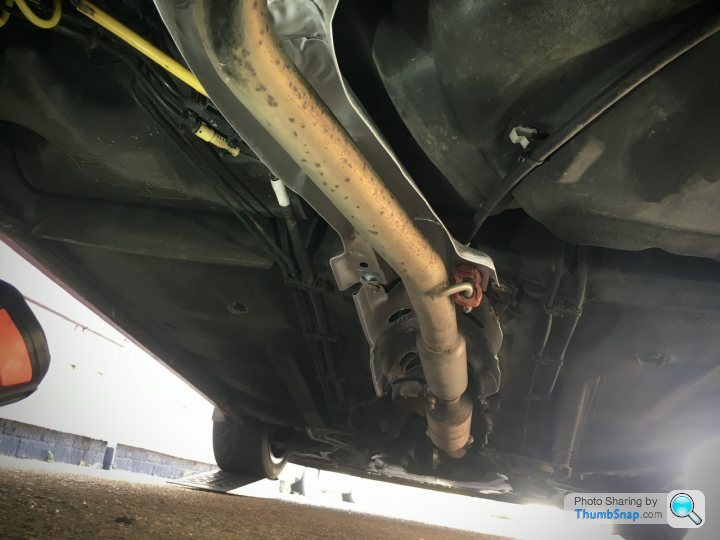
Latest tinker has been giving the heat shields a jolly up.
Nothing fancy, just removed, scrubbed with degreaser, 2 coats of Zinc primer and then 2 coats of VHT silver. I made up some large load spreaders with some spare Nimbus sheet and refitted with new hardware. Far from show standard but a bit fresher than it was.
Cleaned the 3rd exhaust bracket and painted that in gloss black too. Again refitted with new hardware
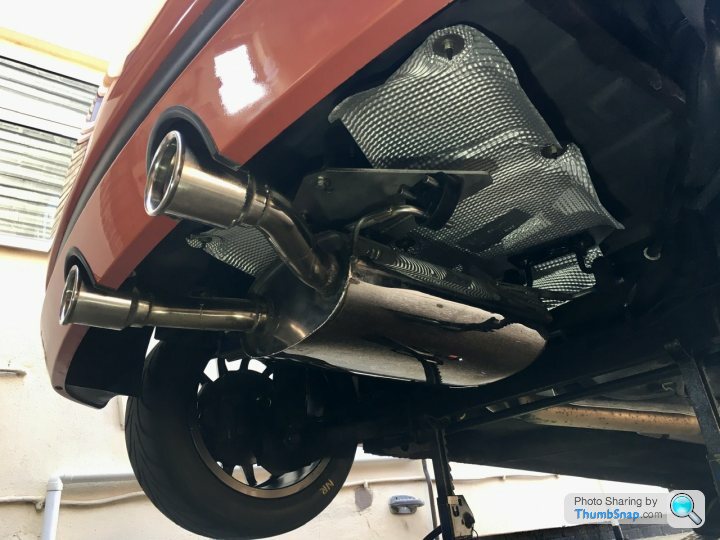
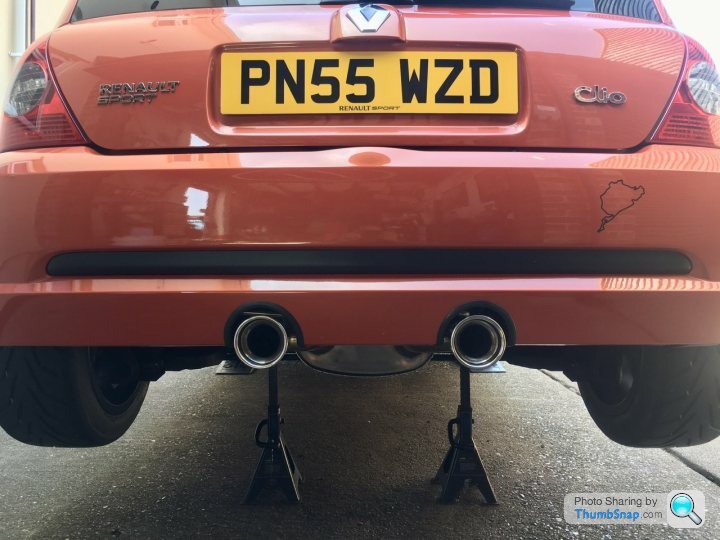
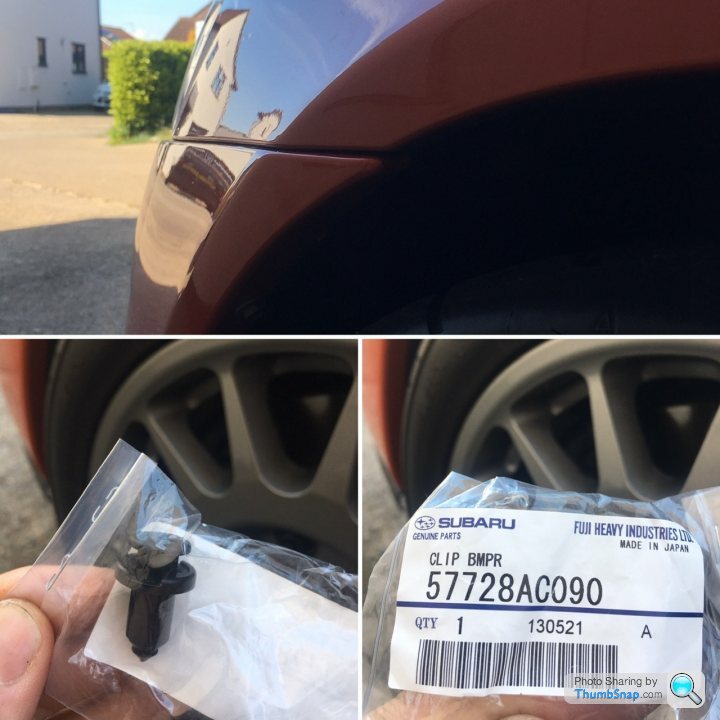
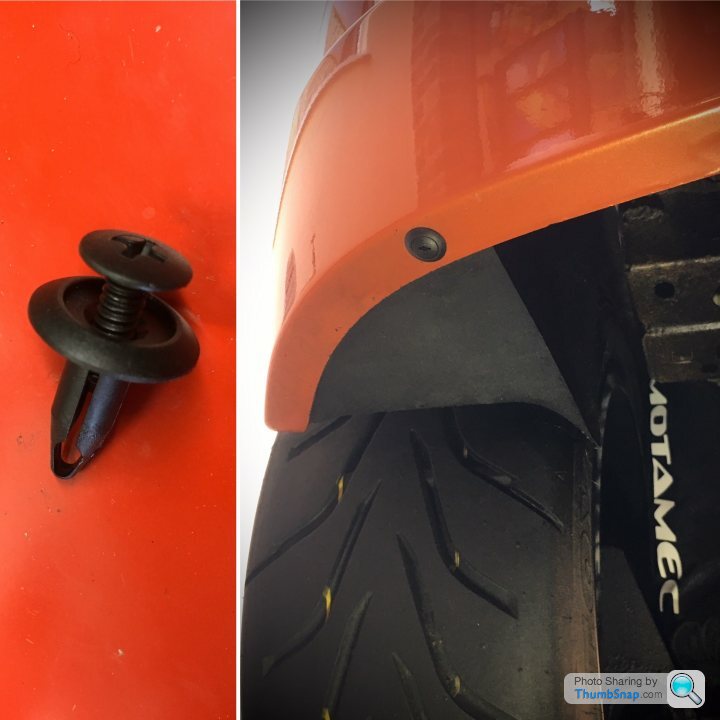
Also added some large trim clips to the bumper corners as I no longer use those mounts running R888s with the wider track and low tide height.
Then had the idea of adding some 6mm trim clips to the rear bumper/arch liners. It always annoyed me that they flapped about but now they provide so much more structure to the rear bumper and look totally OEM.
Subaru spares coming in good use.

Nothing fancy, just removed, scrubbed with degreaser, 2 coats of Zinc primer and then 2 coats of VHT silver. I made up some large load spreaders with some spare Nimbus sheet and refitted with new hardware. Far from show standard but a bit fresher than it was.
Cleaned the 3rd exhaust bracket and painted that in gloss black too. Again refitted with new hardware
Also added some large trim clips to the bumper corners as I no longer use those mounts running R888s with the wider track and low tide height.
Then had the idea of adding some 6mm trim clips to the rear bumper/arch liners. It always annoyed me that they flapped about but now they provide so much more structure to the rear bumper and look totally OEM.
Subaru spares coming in good use.
Small but satisfying job today.
When I originally owned the car I was always careful around the delicate and rather fragile fuse box clip.
These were fragile at the best of times, and sure enough, when I bought the car back, this had been broken off.
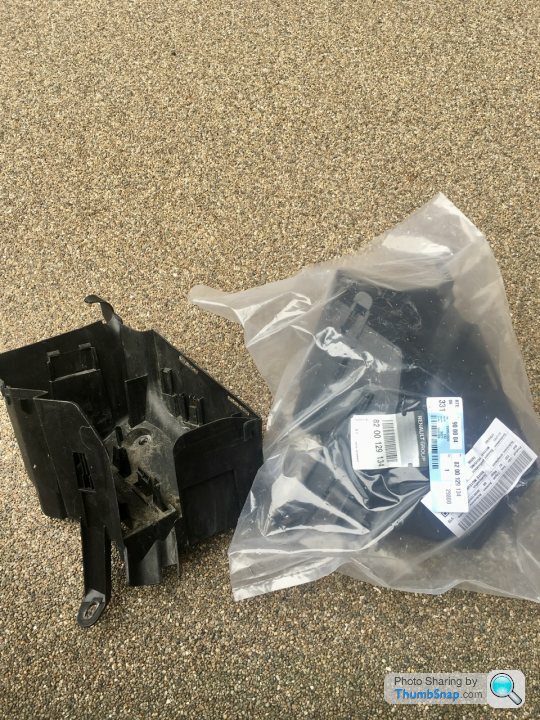
I’d been meaning to replace the fuse box for a while but for reasons even I don’t know, I hadn’t done it.
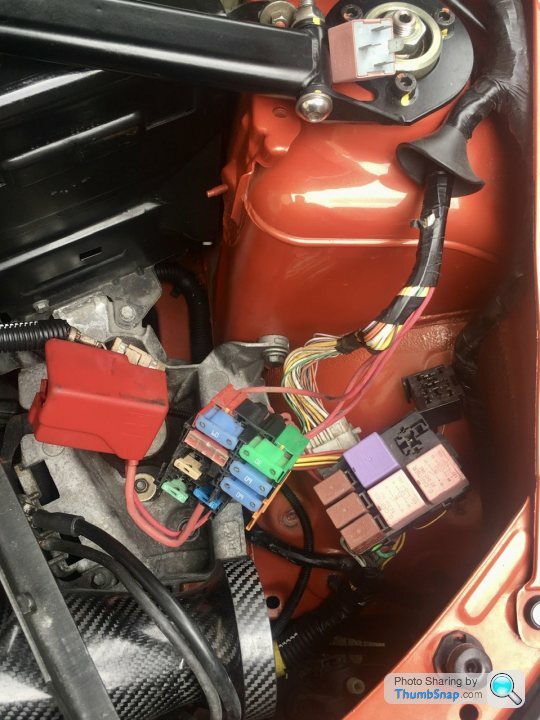
Happy to say these are available brand new from Renault for only £23.23. So today I set about changing this over. I took the opportunity to clean the bodywork behind the fusebox and fabric tape some of the harness where the protection had worn.
I also took apart all the plugs and relays to give the contacts a Fibreglass brush and Refit with contact grease to keep any moisture at bay.
As said, a silly small job but satisfying knowing it’s new and no longer broken.
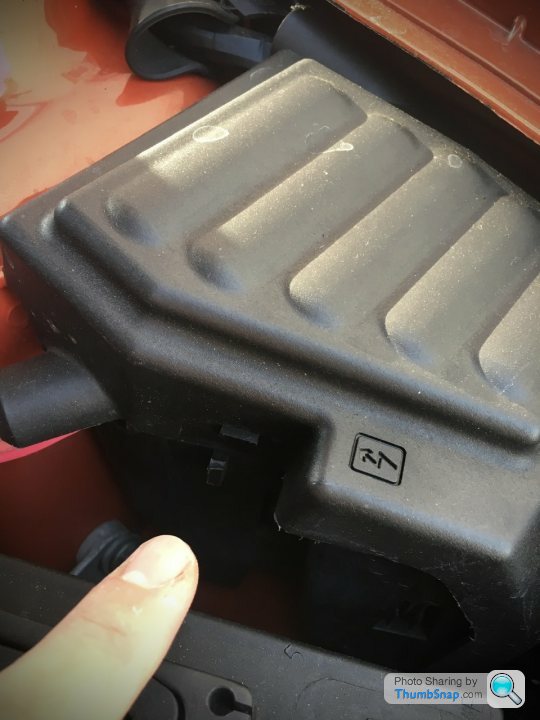


When I originally owned the car I was always careful around the delicate and rather fragile fuse box clip.
These were fragile at the best of times, and sure enough, when I bought the car back, this had been broken off.
I’d been meaning to replace the fuse box for a while but for reasons even I don’t know, I hadn’t done it.
Happy to say these are available brand new from Renault for only £23.23. So today I set about changing this over. I took the opportunity to clean the bodywork behind the fusebox and fabric tape some of the harness where the protection had worn.
I also took apart all the plugs and relays to give the contacts a Fibreglass brush and Refit with contact grease to keep any moisture at bay.
As said, a silly small job but satisfying knowing it’s new and no longer broken.
Gassing Station | Readers' Cars | Top of Page | What's New | My Stuff