Recommissioning a barn find Volvo P1800ES
Discussion


Just found this thread today - 2 for the price of one, thanks OP. 
The Mini Coooper came out well, but this Volvo is just something else!
Like BV I've always thought cars like this, Beta HPEs, Scimitars, etc, looked fantastic, but I've never had one - nearest I got was a MK3 Capri.
Given how rare they seem to be I'm also in the "keep it standard" camp, but getting original wheels banded might make it sit a bit better while still looking original. But then it's your car OP so it's your call.
Anyway it sounds like a really satisfying project so I wish you all the best with it.

Time for a small update as we’ve made some progress lately.
We are keen to take it for a drive now that it’s running. As it’s tax and MOT exempt we just needed to sort insurance.
I contacted Onecall who I am already insured with and they came back with an annual quote of just £55 fully comp, 3000 miles, breakdown cover and all the works. It should have been £95, but they offer £40 off a second policy, so I jumped on that. I’ve never known insurance to be so cheap!
Next tasks were to fit a thermostat, filled it with coolant and fitted a new rad cap for good measure.


Now that we have everything sorted under the hood and the car is running well, we plan to give the engine bay a proper detailing and restoration in the near future. More on that to come.
Here’s a quick pic of the oil pressure after warming up the car. Pretty good I say!

For some reason the previous owner dismantled parts of the car before laying it up and we were given buckets of parts and spares. All the chrome trim on the passenger side was missing, but after rummaging through the boxes we found everything, and the hardware needed to fit it all.
It was bugging me every time we went to the car that this was all missing and I was dreading having to source these as they so rare, so I’m pleased we found everything and got it all fitted correctly.


Whilst rummaging in the parts buckets we also found a brand-new genuine Volvo taillight to replace the cracked one on the car. I was close to buying a pattern part for £60, so that saved a few quid.

We then turned our attention to the interior.
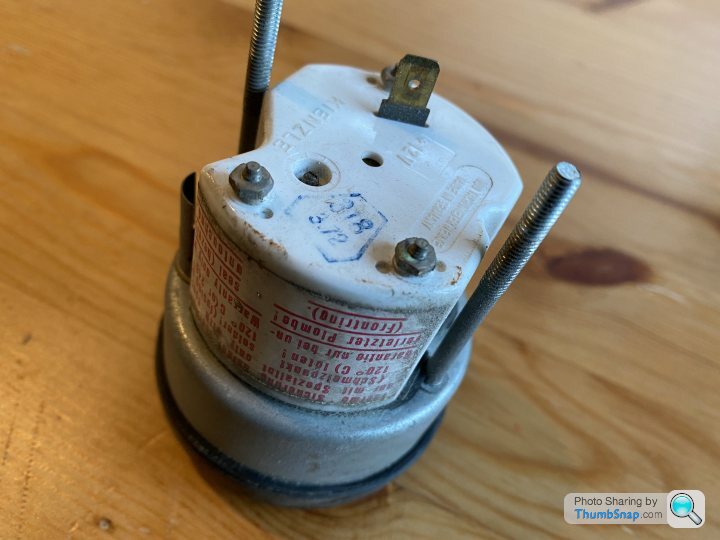
The clock was the only gauge on the dash that didn’t work, so I decided to investigate what was happening. The owners club wasn’t much help. It seems they all break and everyone just lives with it, but I was determined to figure it out so took it apart.
It’s a wonderfully archaic blend of a mechanical wind up mechanism with an overly complicated electronic solenoid winder that triggers every 2 minutes to keep it wound up.
I blasted some compressed air and lots of crud came out. I then gently lubed everything with silicone spray and wound it by hand. To my surprise it kicked back into life and when I added power to the solenoid it all worked, triggering the winder every 2 minutes.
I didn’t get many pics of this, but it keeps good time and it’s back in the car functioning well.

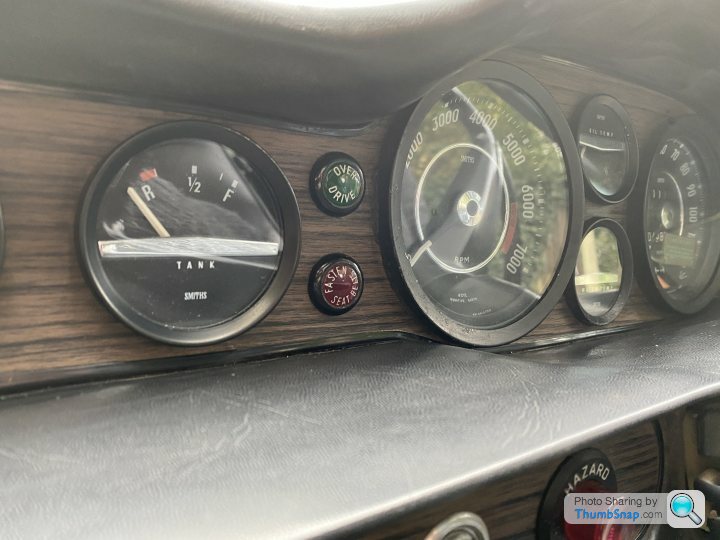
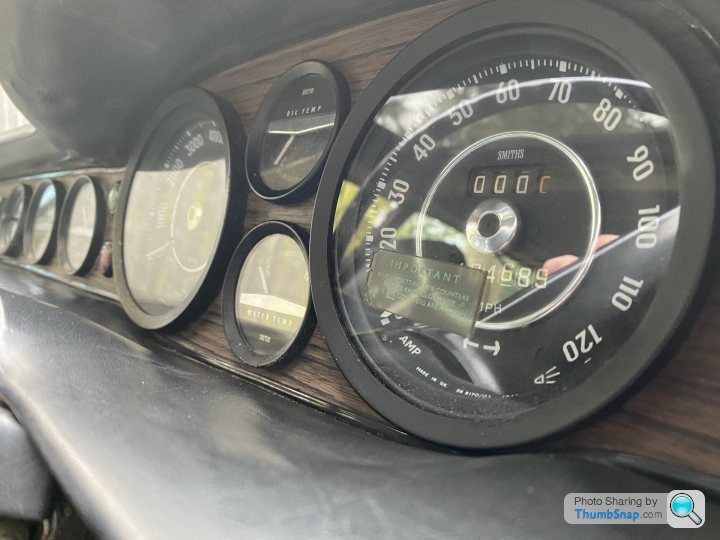
Next task was to clean the grime that had collected around all the gauges. I have no idea what this was, but it was another thing that bugged me every time I looked at them.
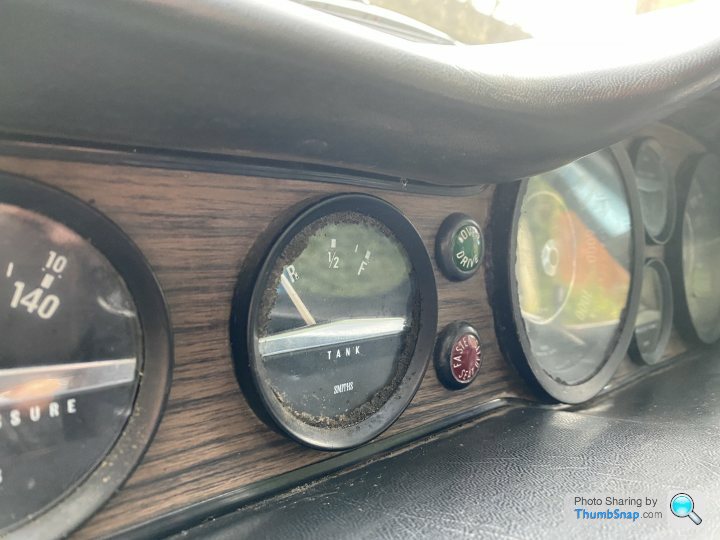

Whatever it was came off with a new Stanley blade and they’re much more pleasing to the eye. At some point I’ll address the pitted matt black gauge surrounds.
We are keen to take it for a drive now that it’s running. As it’s tax and MOT exempt we just needed to sort insurance.
I contacted Onecall who I am already insured with and they came back with an annual quote of just £55 fully comp, 3000 miles, breakdown cover and all the works. It should have been £95, but they offer £40 off a second policy, so I jumped on that. I’ve never known insurance to be so cheap!
Next tasks were to fit a thermostat, filled it with coolant and fitted a new rad cap for good measure.
Now that we have everything sorted under the hood and the car is running well, we plan to give the engine bay a proper detailing and restoration in the near future. More on that to come.
Here’s a quick pic of the oil pressure after warming up the car. Pretty good I say!
For some reason the previous owner dismantled parts of the car before laying it up and we were given buckets of parts and spares. All the chrome trim on the passenger side was missing, but after rummaging through the boxes we found everything, and the hardware needed to fit it all.
It was bugging me every time we went to the car that this was all missing and I was dreading having to source these as they so rare, so I’m pleased we found everything and got it all fitted correctly.
Whilst rummaging in the parts buckets we also found a brand-new genuine Volvo taillight to replace the cracked one on the car. I was close to buying a pattern part for £60, so that saved a few quid.
We then turned our attention to the interior.
The clock was the only gauge on the dash that didn’t work, so I decided to investigate what was happening. The owners club wasn’t much help. It seems they all break and everyone just lives with it, but I was determined to figure it out so took it apart.
It’s a wonderfully archaic blend of a mechanical wind up mechanism with an overly complicated electronic solenoid winder that triggers every 2 minutes to keep it wound up.
I blasted some compressed air and lots of crud came out. I then gently lubed everything with silicone spray and wound it by hand. To my surprise it kicked back into life and when I added power to the solenoid it all worked, triggering the winder every 2 minutes.
I didn’t get many pics of this, but it keeps good time and it’s back in the car functioning well.
Next task was to clean the grime that had collected around all the gauges. I have no idea what this was, but it was another thing that bugged me every time I looked at them.
Whatever it was came off with a new Stanley blade and they’re much more pleasing to the eye. At some point I’ll address the pitted matt black gauge surrounds.
Edited by croissant on Monday 1st February 17:15
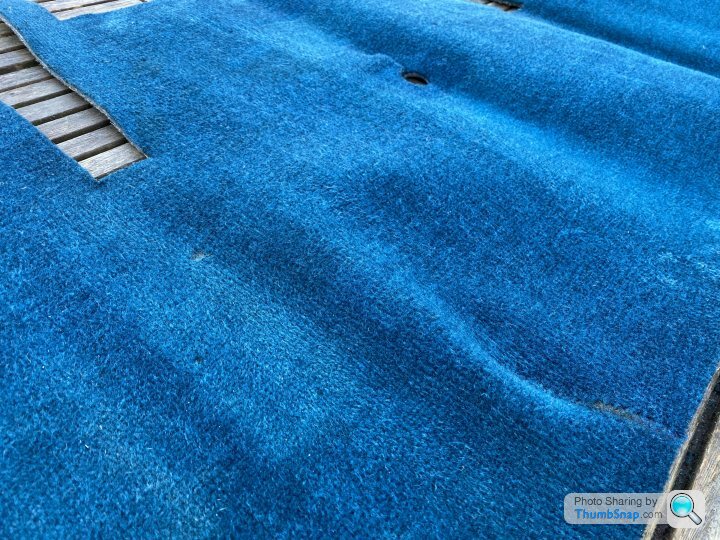
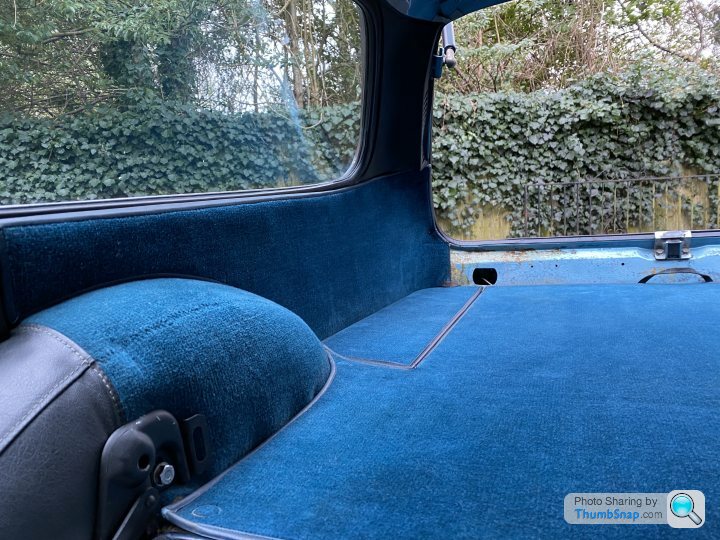
The carpets in the front had already been pulled out by the previous owner so we decided to pull all the carpets and give them a shampoo. Halfords own brand carpet cleaner is really good stuff combined with a drill brush attachment and they all came up looking great! There are some stains we couldn’t shift, but they are largely covered by the seats.
Here’s a couple of before shots.


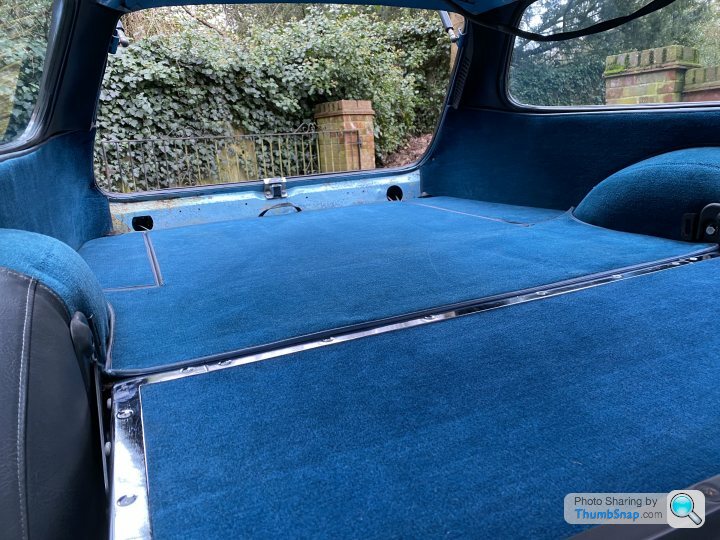
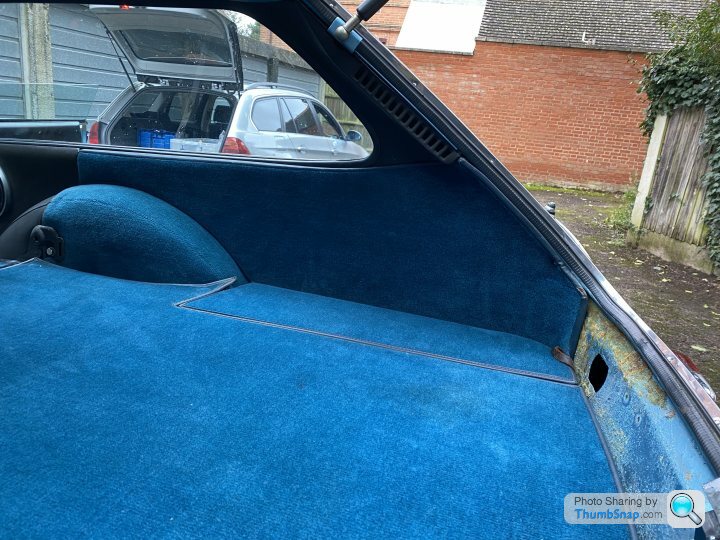
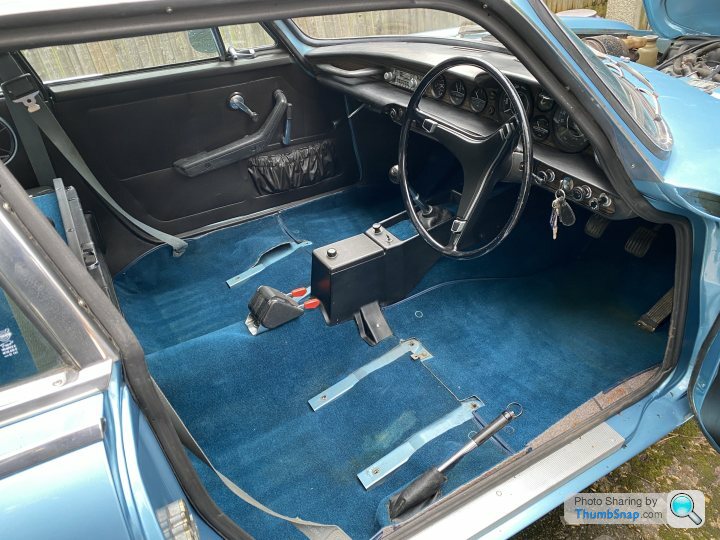
And a few shots of the cleaned carpets.


With all the carpets and trim stripped out we gave the interior a thorough hoovering and wipe down and we just can’t believe how solid this car is. They all rust away in the footwells, sills, the entire rear end, wheel tubs… but this car is solid and brilliant throughout.
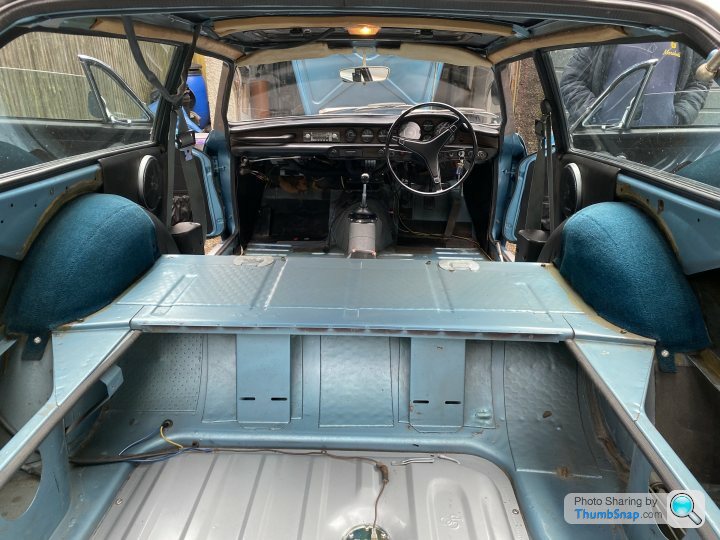

We then fitted all the carpet back into the car. I didn't have any contact adhesive, so we'll install the piece by the boot latch next time and also the door finishing strips before we put the seats back in.
For now though, this is how it sits. We just got to finish the interior install and fit the new wheels and tyres before we can take it on its maiden voyage!


Here’s a couple of before shots.
And a few shots of the cleaned carpets.
With all the carpets and trim stripped out we gave the interior a thorough hoovering and wipe down and we just can’t believe how solid this car is. They all rust away in the footwells, sills, the entire rear end, wheel tubs… but this car is solid and brilliant throughout.
We then fitted all the carpet back into the car. I didn't have any contact adhesive, so we'll install the piece by the boot latch next time and also the door finishing strips before we put the seats back in.
For now though, this is how it sits. We just got to finish the interior install and fit the new wheels and tyres before we can take it on its maiden voyage!
Paul S4 said:
Good to see the progress...!
Re the instrument dials...presumably they were OEM black surrounds ?
Either way, if it were my car I would put chrome bezels on.... it would not be too difficult as they seem to be Smiths dials...or you may prefer to keep them as they are !
I’m undecided what to do with them. They’re really not too bad, but there is some wear and pitting. I think chrome would be a bit much, so if I do anything I’ll be matt blacking them againRe the instrument dials...presumably they were OEM black surrounds ?
Either way, if it were my car I would put chrome bezels on.... it would not be too difficult as they seem to be Smiths dials...or you may prefer to keep them as they are !
V6 Pushfit said:
Lovely project what will you do with it when it’s finished?
Thank you. It's been a fun project to keep us entertained during the relentless lockdowns. We don't have any particular agenda other than having some fun, continuously restore and enjoy as a spring / summer weekend car.Running costs are next to nothing and it's garaged, so we can lock it away, forget about it and come back to it whenever we want a bit of fun.
As things stand we have no plans to sell and the long term we'll continue to improve it, get it reliable and performing well.
Gassing Station | Readers' Cars | Top of Page | What's New | My Stuff