2001 Boxster S
Discussion


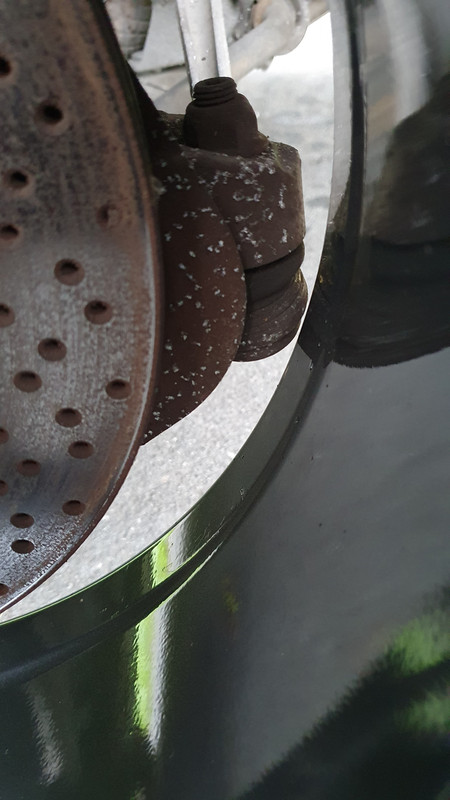
So with a combination of 30mm and 15mm I bolted the wheel on. I did up the bolts quite tight just to ensure the spacer wasn't slightly out of alignment. Obviously I couldn't spin the wheel. There is maybe 1mm of room between the toe arm ball joint and the rim. Tried to take a few pics to show the clearance or lack of. Also to show how far out the wheel is poking from the arch. It's difficult to judge without a tyre and with the car in the air but I think this would work without rubbing but its getting close.


nismo48 said:
ATM said:
ConnectionError said:
Why do you want 16" wheels to fit?
Smaller wheel means bigger softer tyre wallBasically the opposite of massive wheels and low profile tyres

Progress has been made
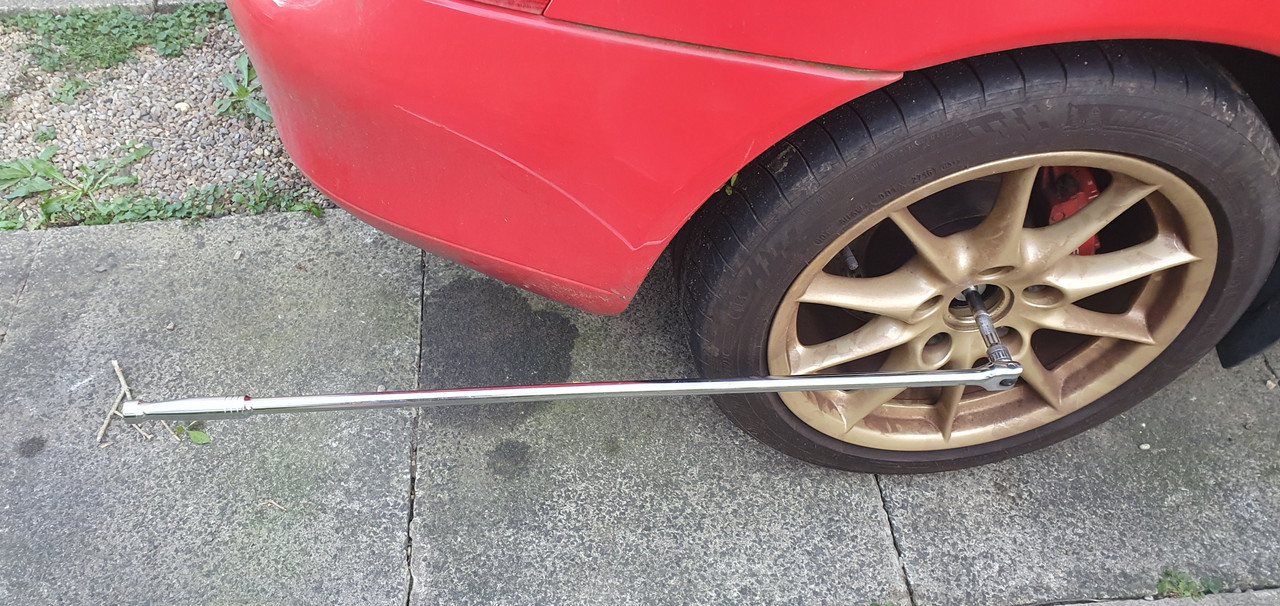
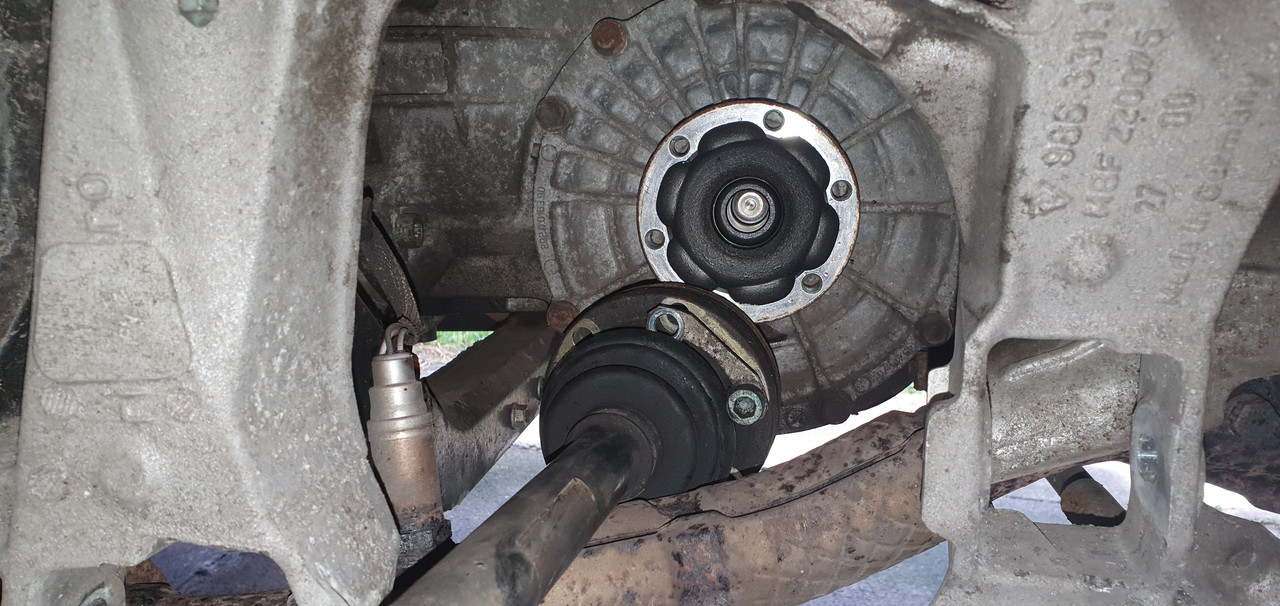
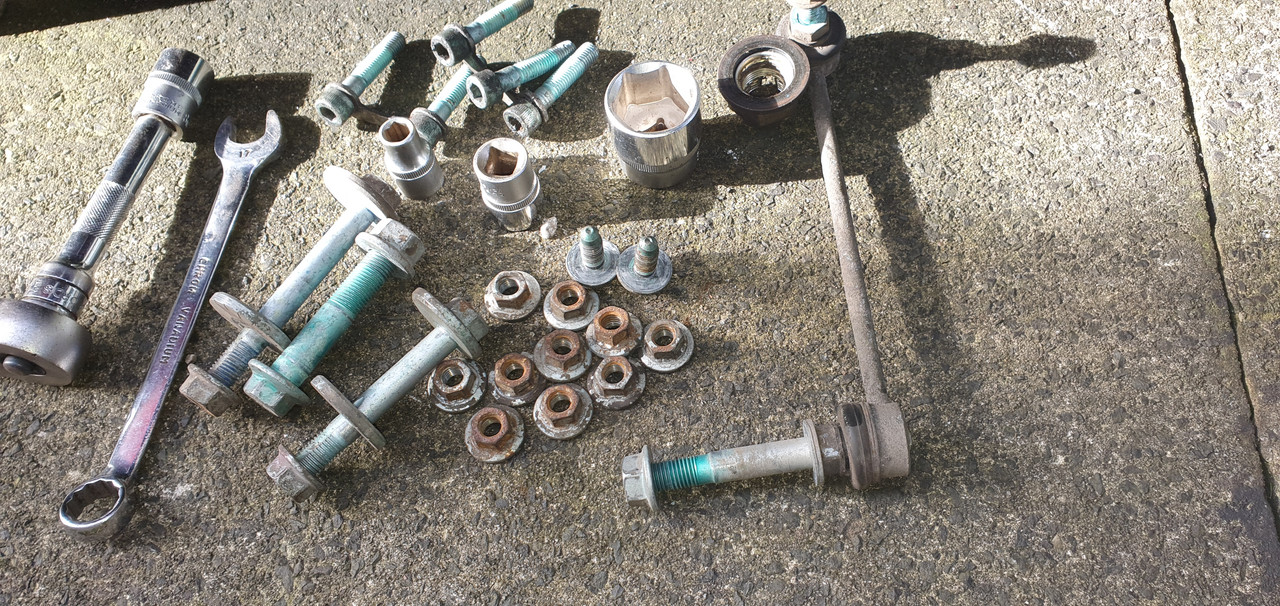
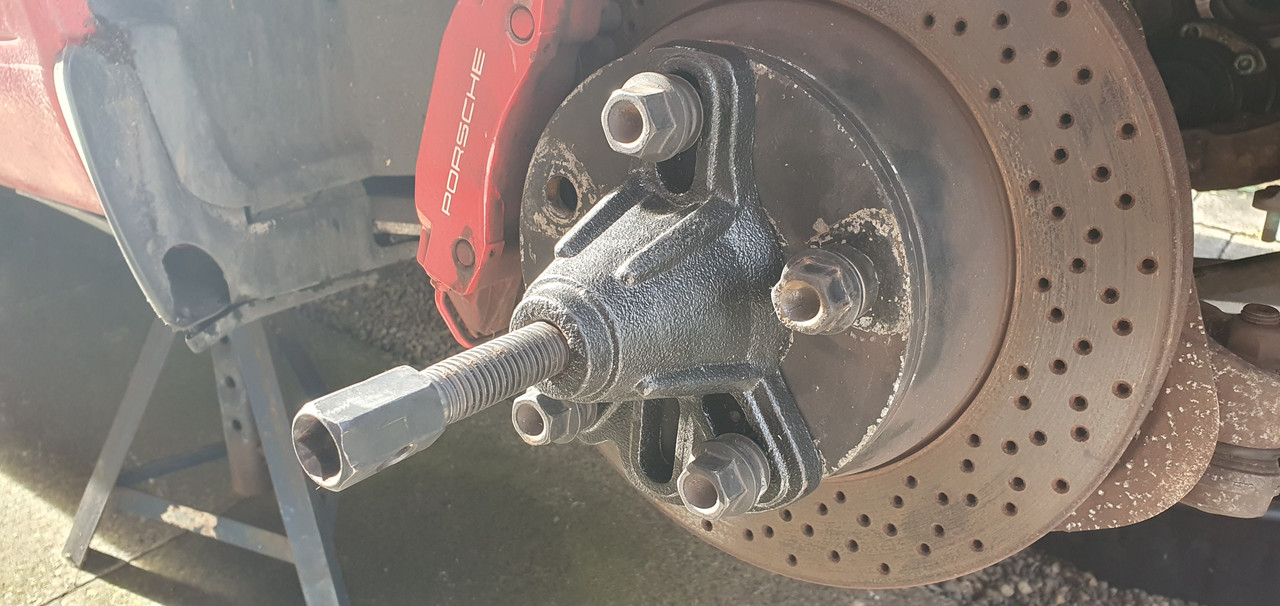
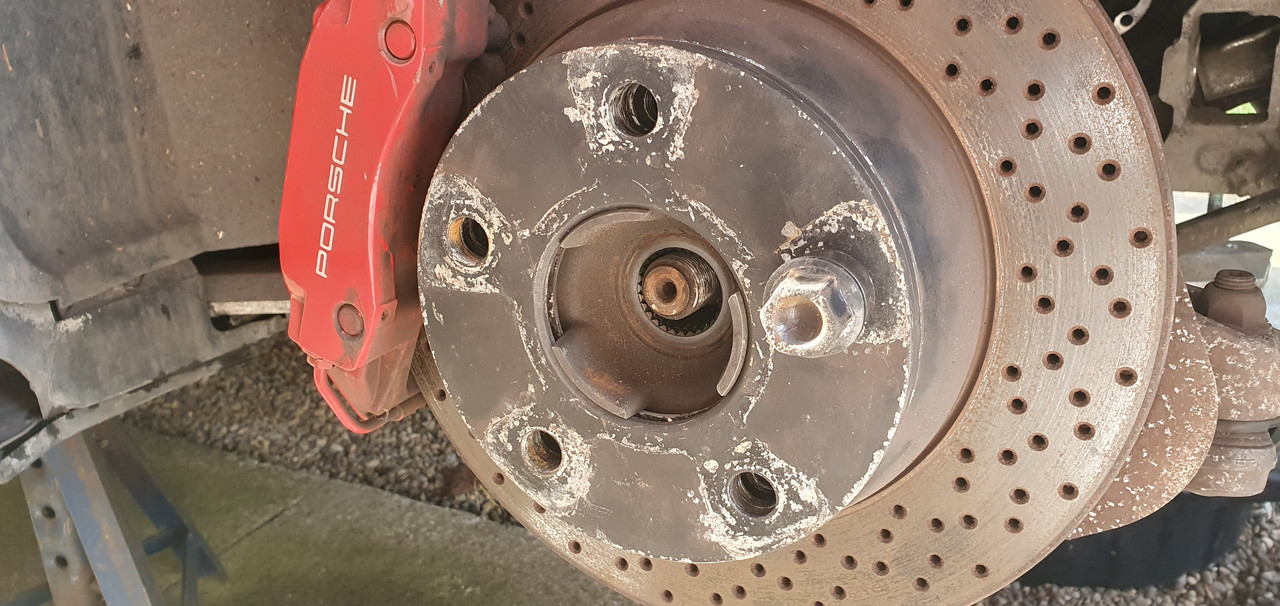
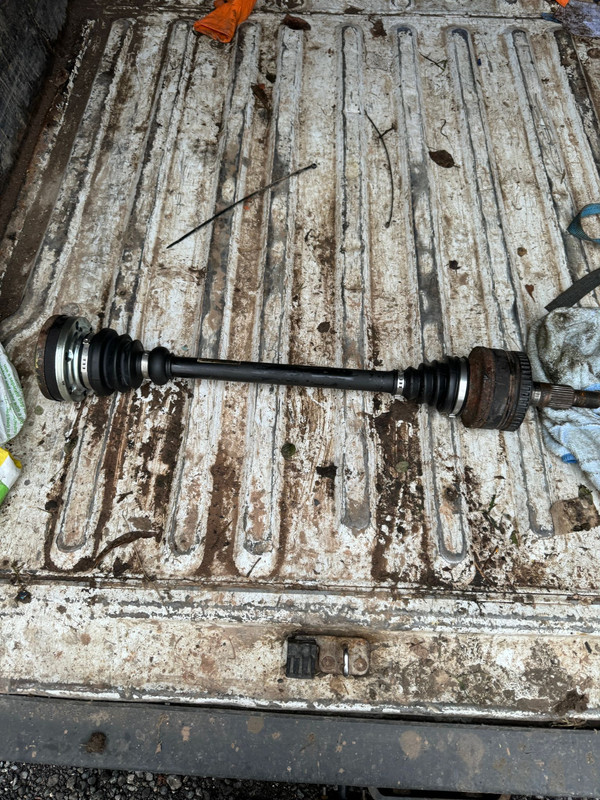
Loosened off the big drive shaft nuts
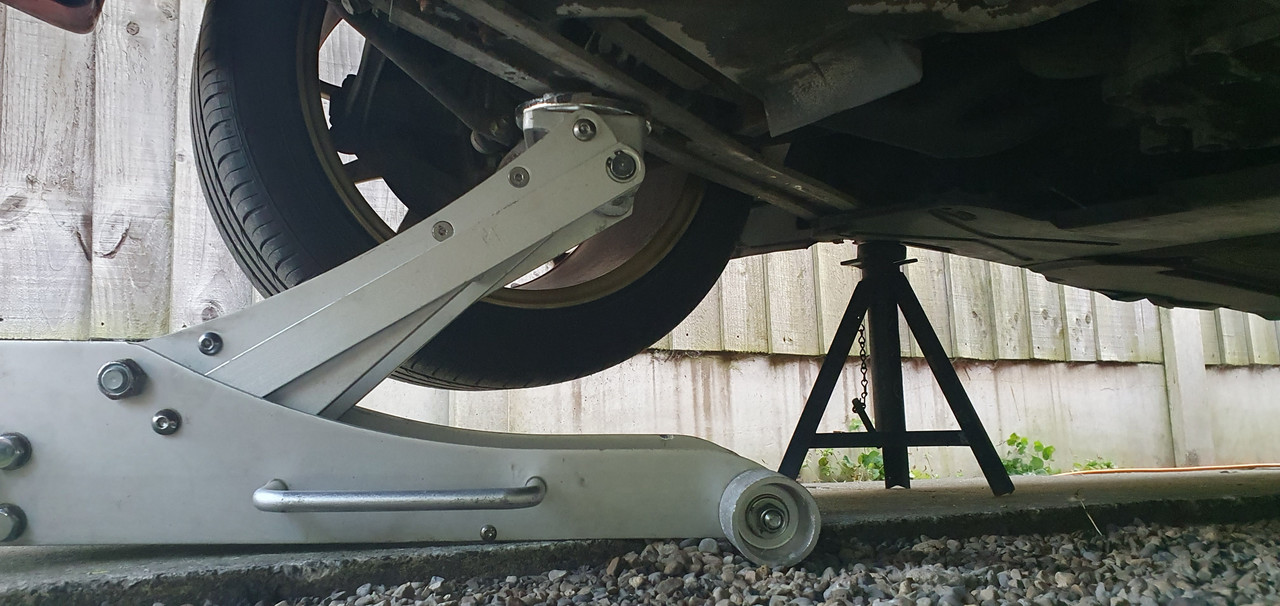
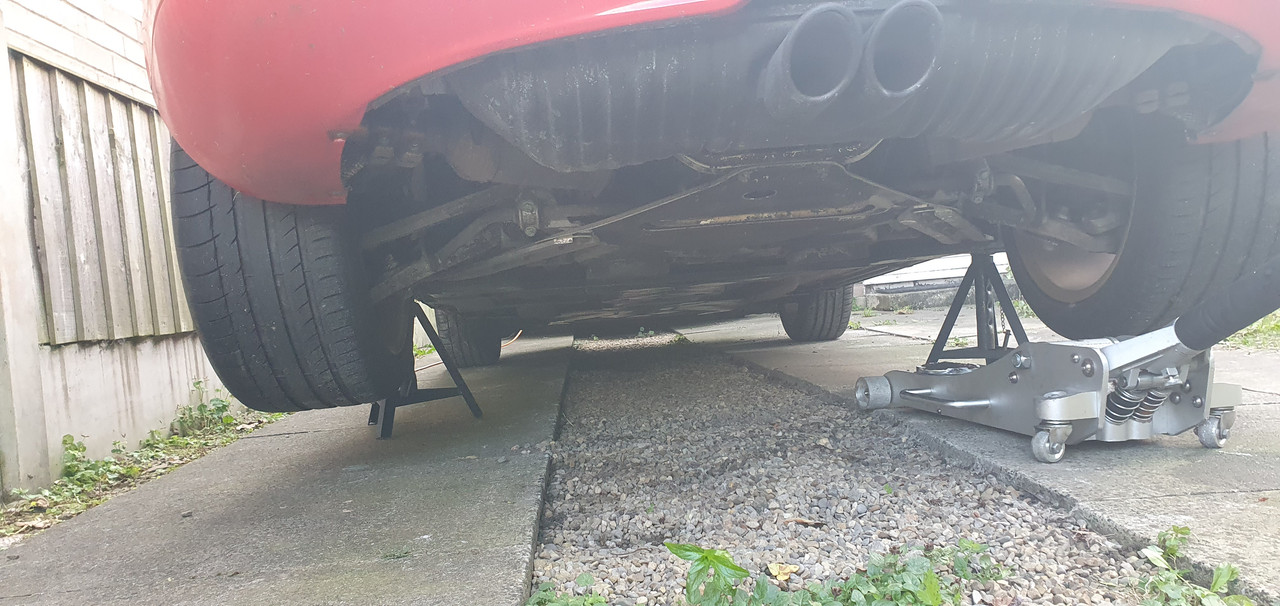
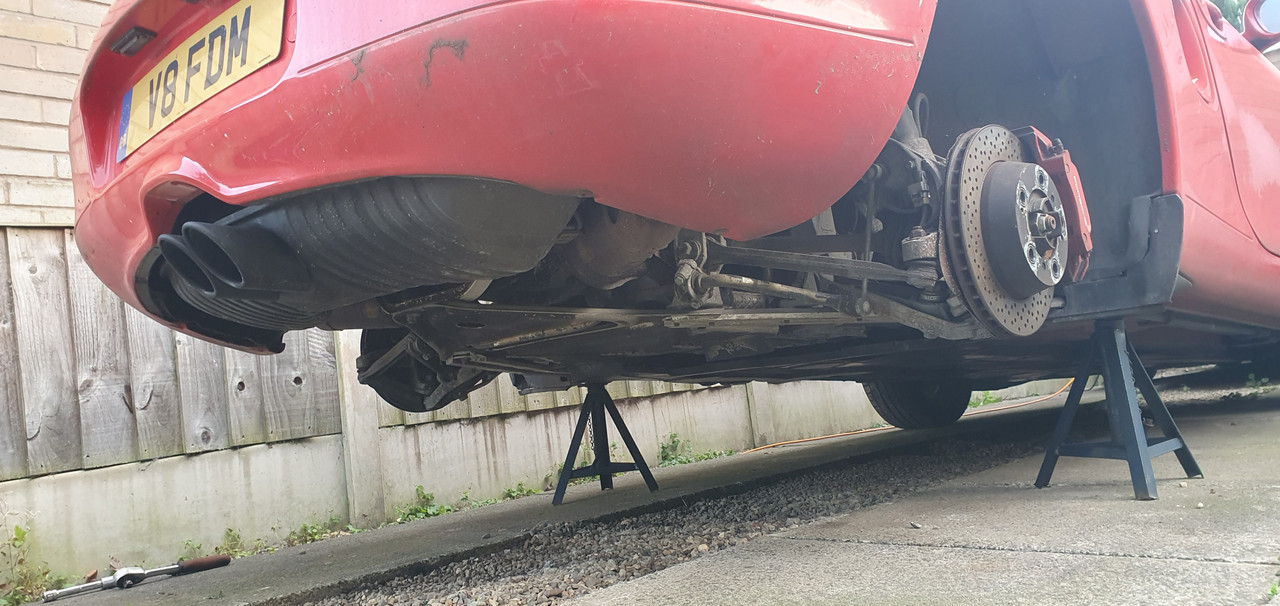
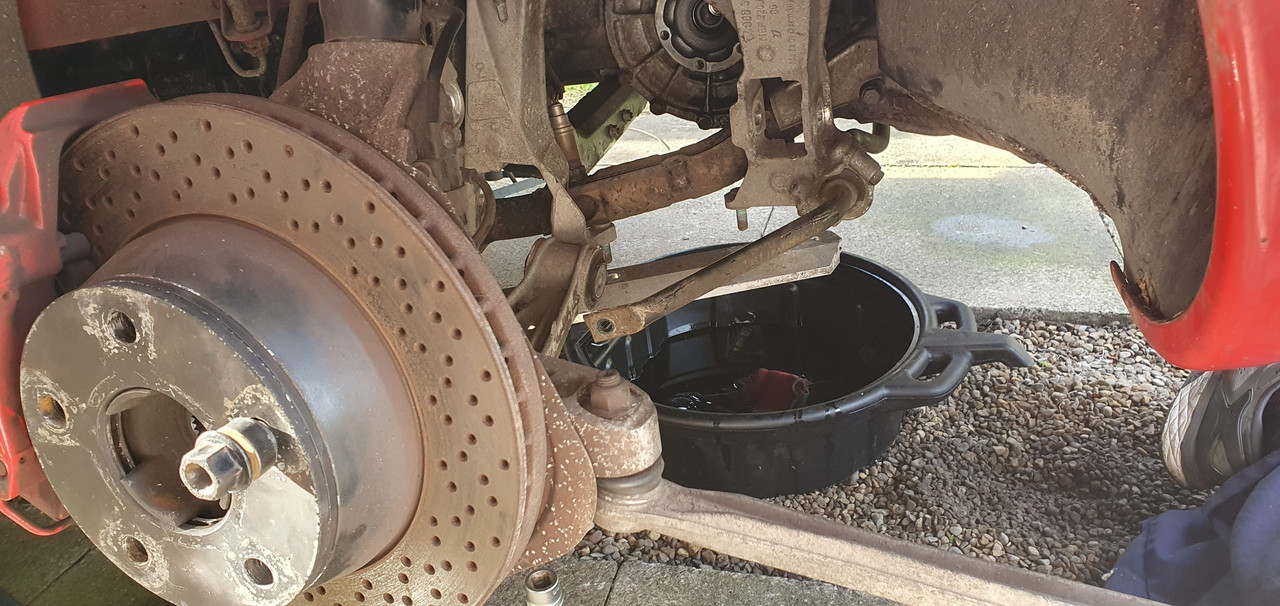
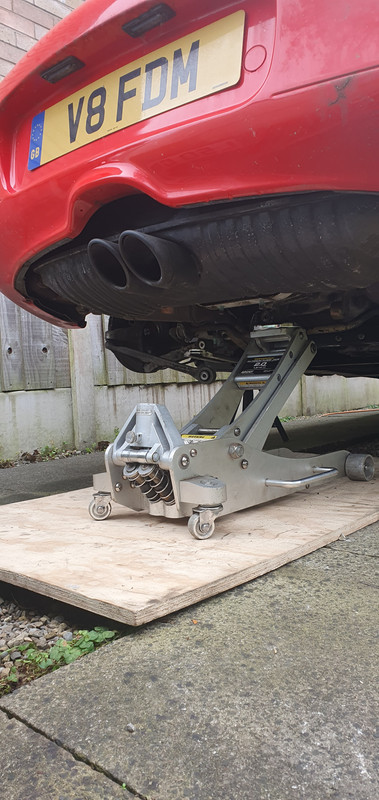
Got the car up and on axle stands using the rear jacking points
And got the wheels off and in the shed
Happy to leave the car like this now for a bit while I attack some of the jobs in to do
Mainly
Gearbox mounts
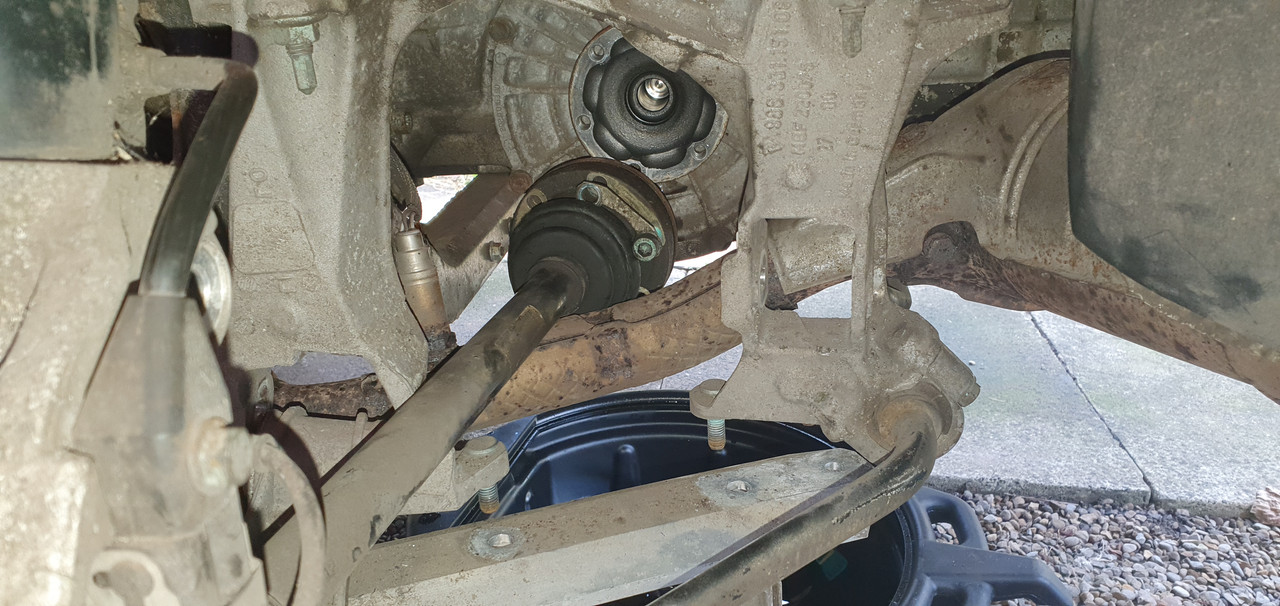
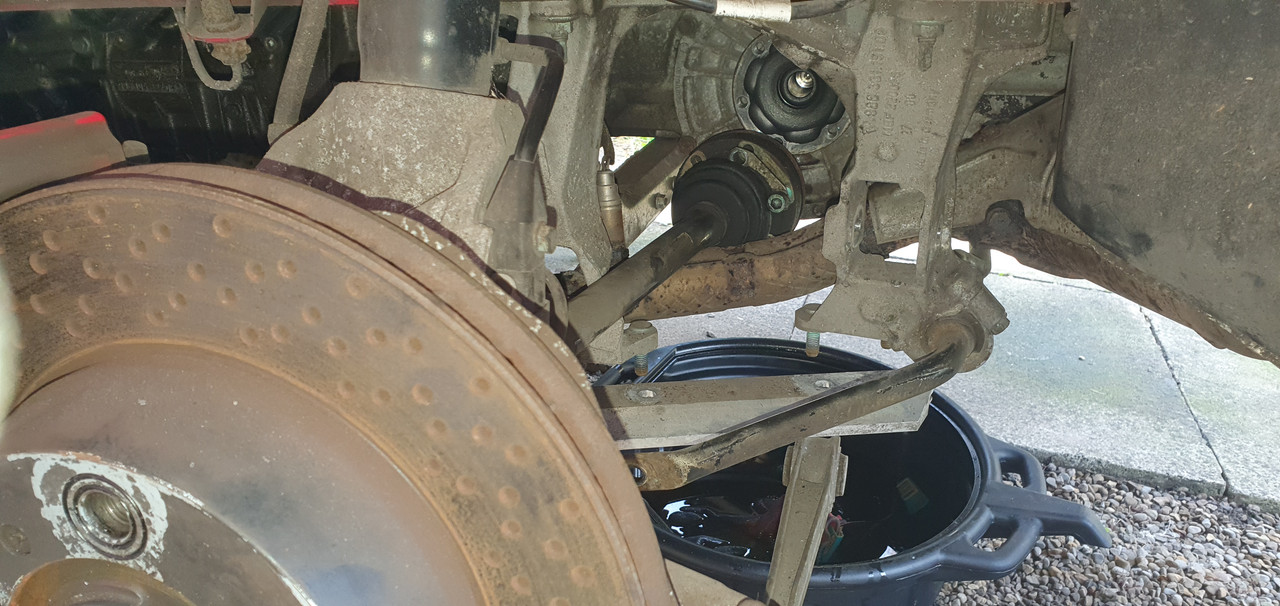
Drive shaft gaitors
I don't think there is anything else
Some of the exhaust brackets are missing so I could do these also
In case anyone is wandering, no there is no left hand thread on one of the drive shafts as both are standard thread
Loosened off the big drive shaft nuts
Got the car up and on axle stands using the rear jacking points
And got the wheels off and in the shed
Happy to leave the car like this now for a bit while I attack some of the jobs in to do
Mainly
Gearbox mounts
Drive shaft gaitors
I don't think there is anything else
Some of the exhaust brackets are missing so I could do these also
In case anyone is wandering, no there is no left hand thread on one of the drive shafts as both are standard thread
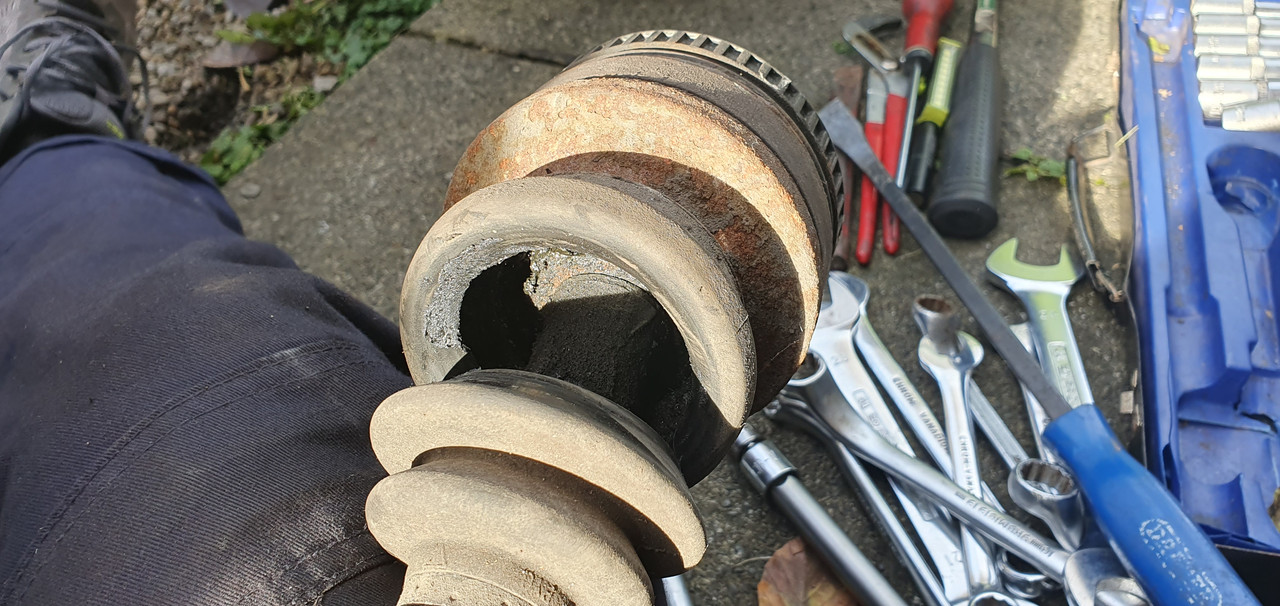
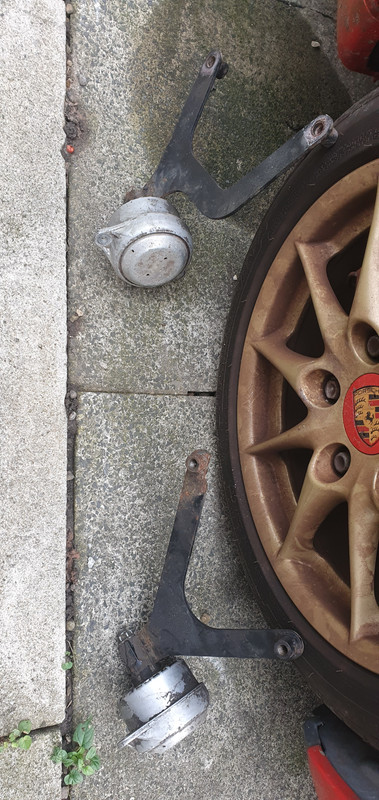
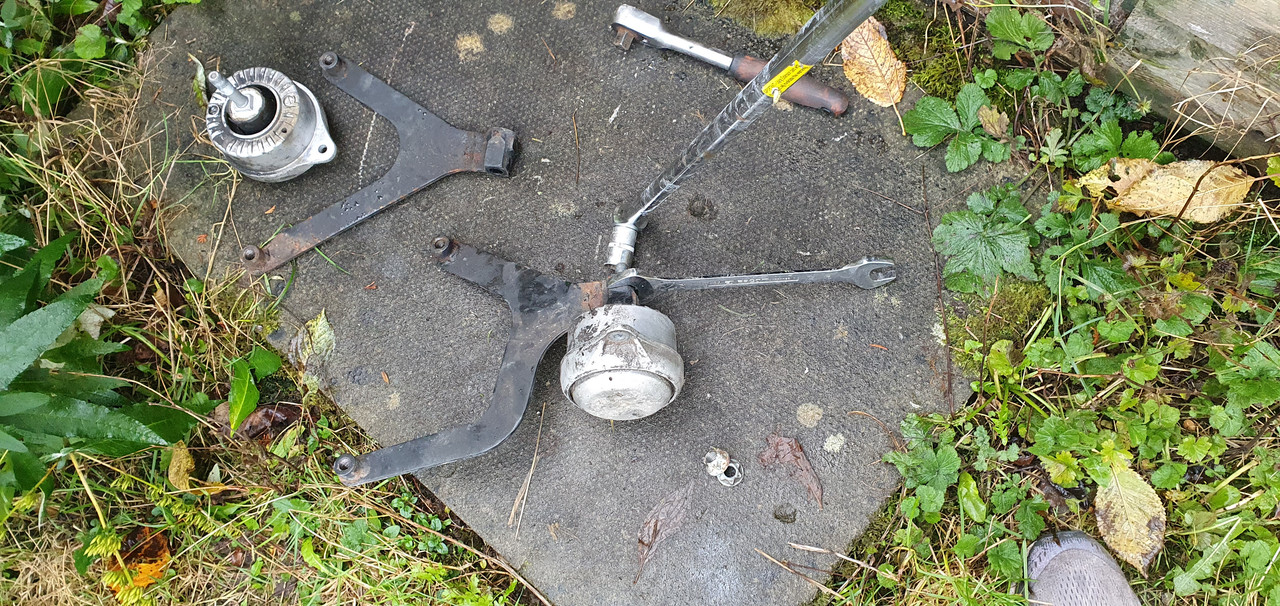
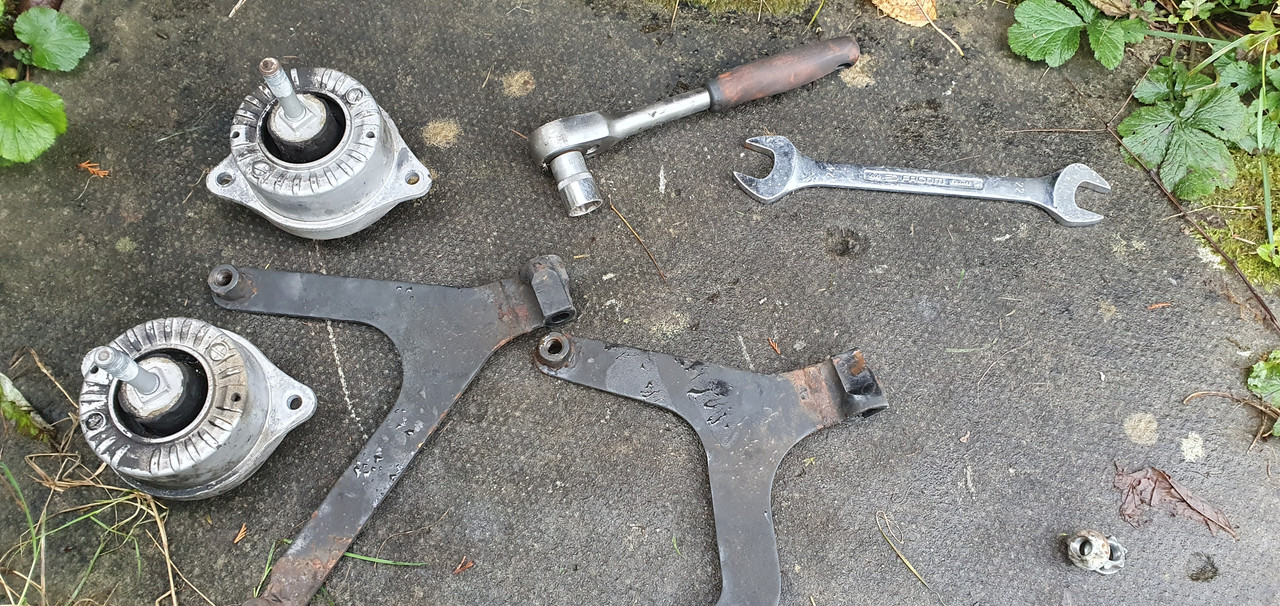
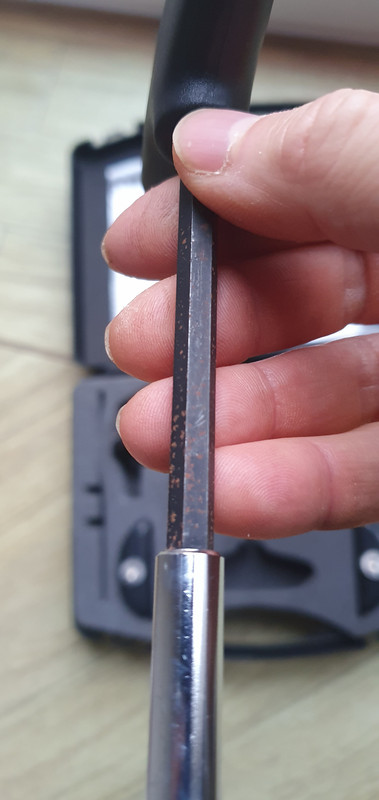
Engine mounts now off the car. Not the simplest of jobs. Worse on driver side as very little access. Had to remove the little cover plate thing which goes round the gear shift cable mounts. And also removed the heat shield from the cat - same side. Passenger side was really easy by comparison.
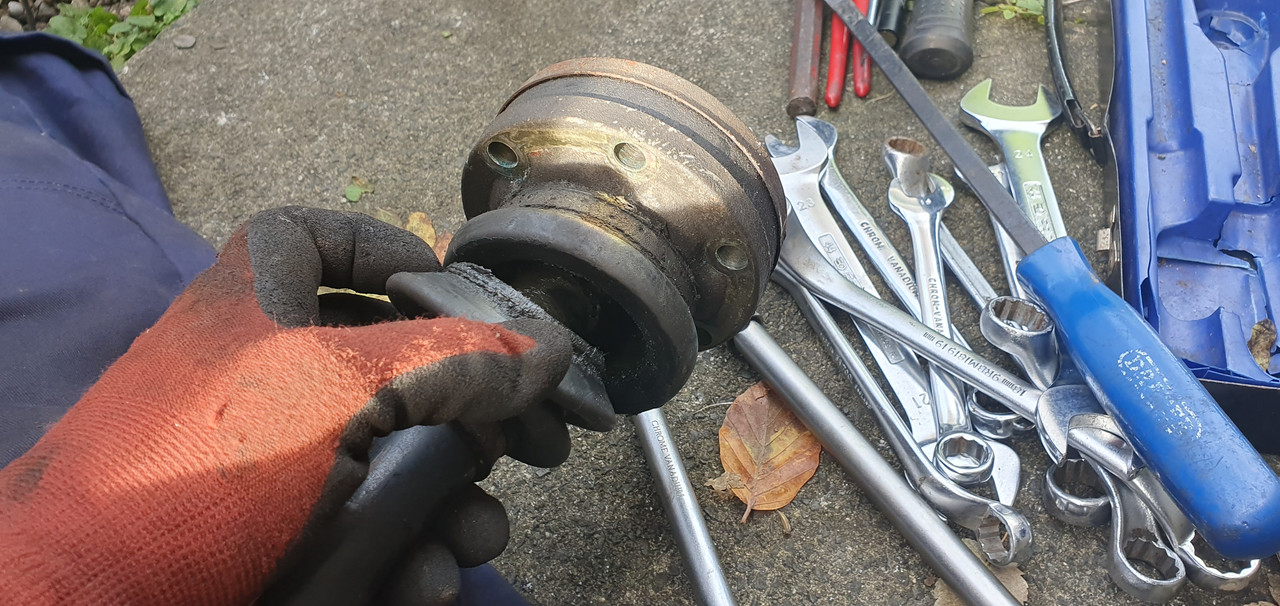
Read a few comments from people saying you can bend the brackets if you just try to brute force off the big nut without using something like a vice. I don't have a vice. So I used a 24mm open ended spanner to hold the bracket. Slotted on perfectly. Then the persuader did its thing.
Bad news
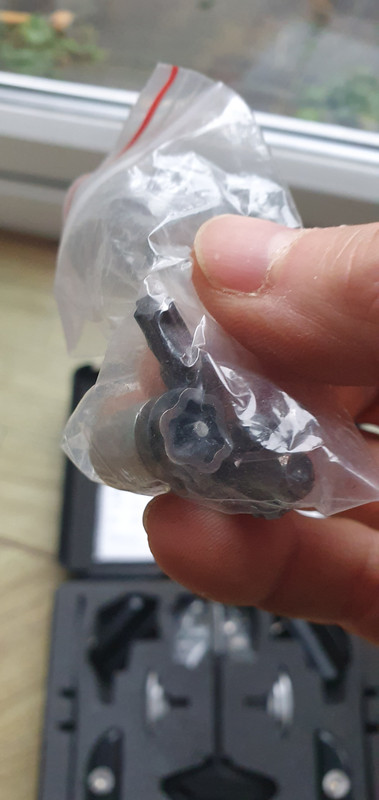
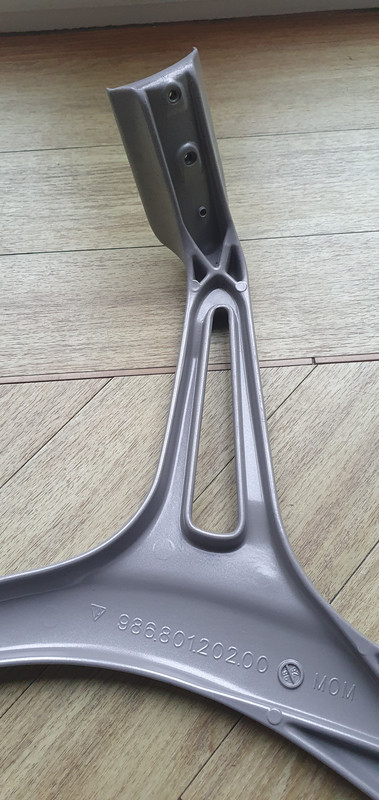
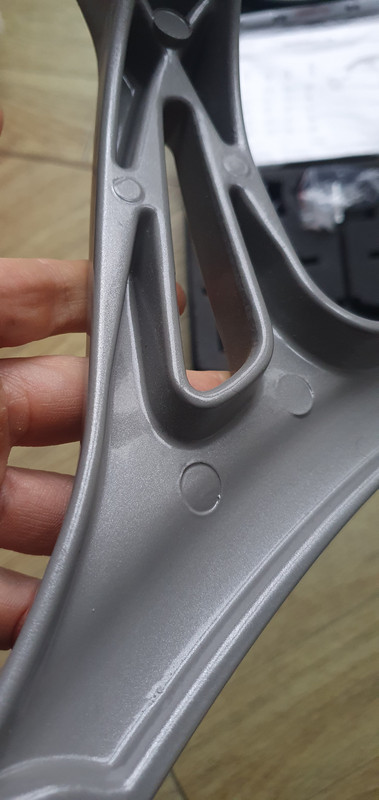
I don't think the stiffer upgraded solid rubber mounts I've bought will work. Far too much play. The original mounts have a square shaped section which slots into a perfect sized square hole in the brackets. They fit very snug with zero play even without the nut in place. The new mounts don't have this square. And the bolts provided are quite a bit narrower than the hole or tube they bolt through. Therefore I think there is the possibility they will flap around from side to side.
Bad news
I don't think the stiffer upgraded solid rubber mounts I've bought will work. Far too much play. The original mounts have a square shaped section which slots into a perfect sized square hole in the brackets. They fit very snug with zero play even without the nut in place. The new mounts don't have this square. And the bolts provided are quite a bit narrower than the hole or tube they bolt through. Therefore I think there is the possibility they will flap around from side to side.
snotrag said:
I remember fitting the aftermarket RS mounts and there is a very specific set of washers and spacers that you use to install them. You've got those... Right?
NoI bought these
https://www.ebay.co.uk/itm/234268687380

So for now I have refitted the original rear mounts that I removed. I want to I inspect the front mount next. The rears didn't look too bad to my eye but not sure if you can see them sagging when off the car. I'm still not sure I understand how a sagging mount at the front could lower the exhaust unless it's raised in the front mount which is unlikely. Or maybe I just fitted the exhaust badly and it needs rotating a bit to get it up into the rear bumper cut out. There is definitely some play in the engine and gearbox assembly mounts as you can feel it all lurching around when you come on and off the clutch.
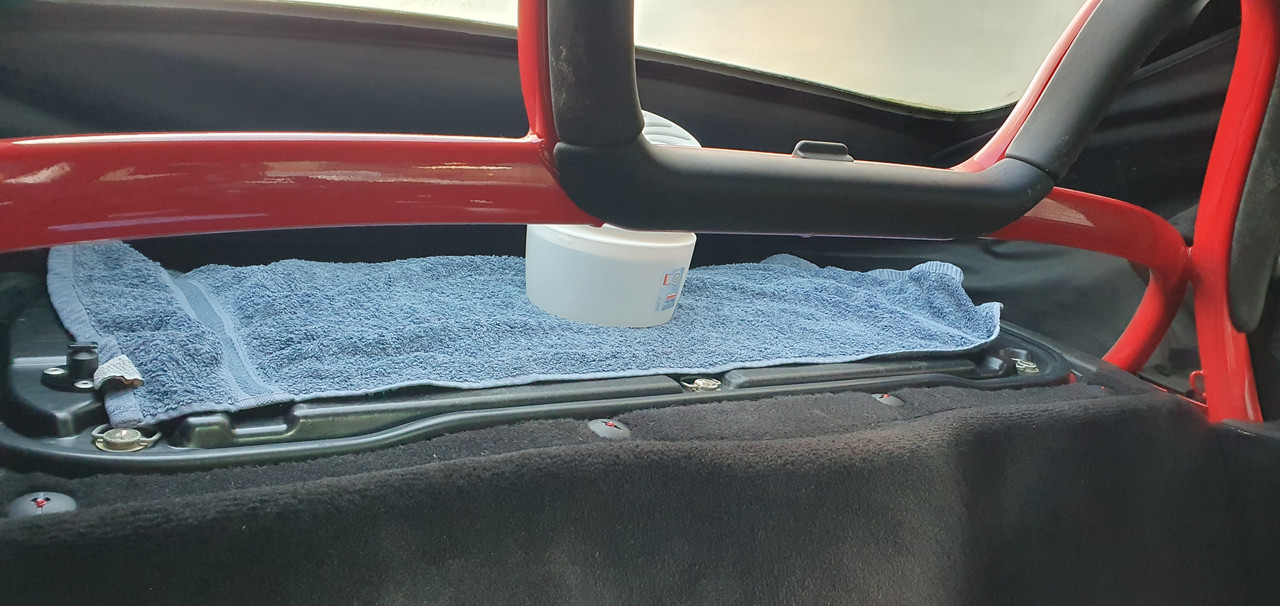
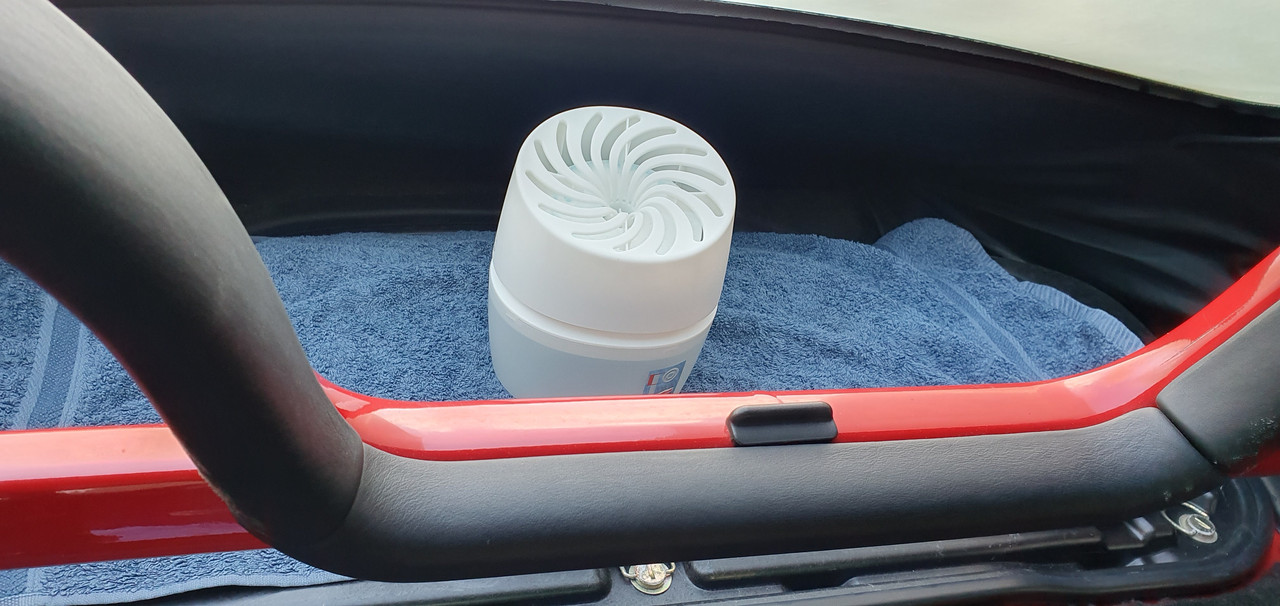
I saw some water droplets from condensation on the inside of the plastic window. So I've removed the rear carpet piece which covers the engine and brought it in the house as it felt a little damp. For now I'm using a towel to collect and more water if it forms becauseid I'd prefer this to it finding it's way to somewhere else. I can obviously swap out the towel for a dry one as and when.
I've gone OTT on dehumidifiers around the car. I just bought this rather large one from Asda which is now in the back.
I'm tempted to try the hardtop again but this means finding an able bodied assistant to help.
I've gone OTT on dehumidifiers around the car. I just bought this rather large one from Asda which is now in the back.
I'm tempted to try the hardtop again but this means finding an able bodied assistant to help.

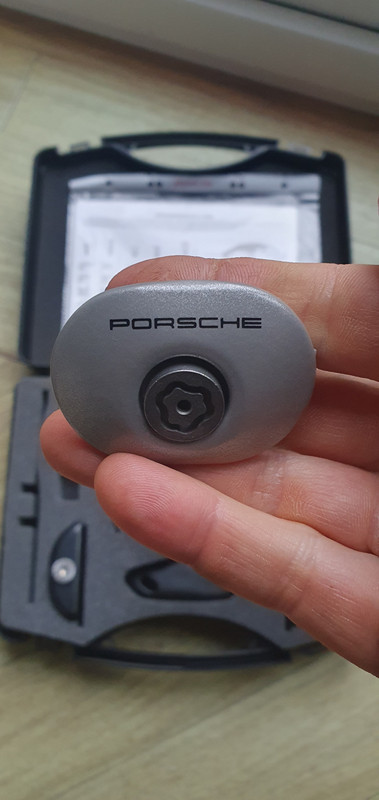
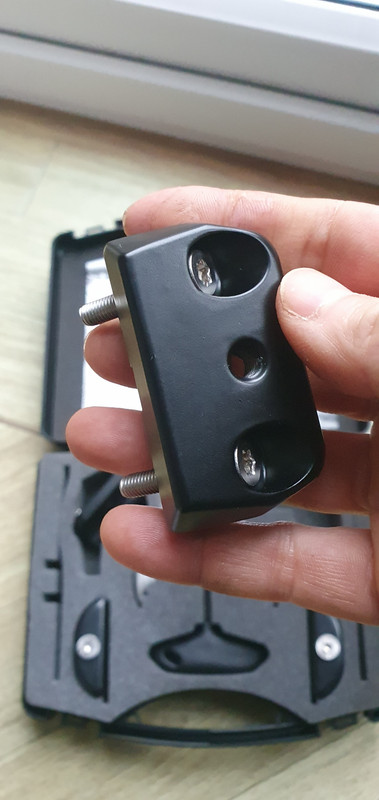
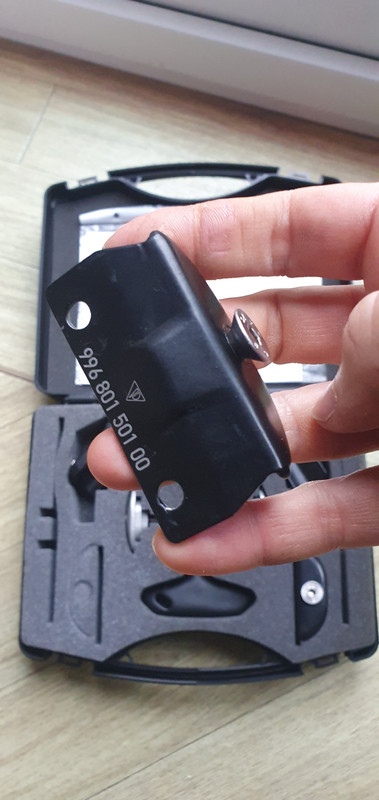
Had it for a while but just posted some pics as I had uploaded them for a different forum. Such a magnificently ridiculous thing for Porsche to have made. I remember seeing it in some accessories blurb many years ago when I had my first 986. And thinking at the time why. But now I see why. Or maybe I dont. But why not.
Anyway the topic in the other forum is I think I need to change the colour. This is the default or as it comes. Obviously my car is basically red and black so this will stick out like a sore thumb. Even though it's totally illogical to have this thing I'd guess a better colour might make it look more together if I ever fit it. Or maybe the point is it should stand out. Not sure.
Anyway the topic in the other forum is I think I need to change the colour. This is the default or as it comes. Obviously my car is basically red and black so this will stick out like a sore thumb. Even though it's totally illogical to have this thing I'd guess a better colour might make it look more together if I ever fit it. Or maybe the point is it should stand out. Not sure.
Gassing Station | Readers' Cars | Top of Page | What's New | My Stuff