Tony's Gilbern
Discussion


JB99 said:
I have only had to do this once, on a caliper bolt at that. The third increase in size saw the bolt remains colapse as I had failed to centre punch in the centre and the remains wound out. But I had the advantage of being able to clamp the caliper carrier in my bench vice!
I guess that you cannot get behind the offender?
Would you be able to Dremil a slot across it, to give your....hopefully old....screwdriver something to dig in to?
One of the last resorts is cutting the fibreglass to get behind but not sure that'll actually help. For some reason this is seriously rusted in and the thread is close to 35 - 40mm in length. A little concerned about how it's rusted when it's theoretically enclosed in body panels. Was going to get a set of "easy-outs" today but to be honest it needs to be relatively free for them to work. I'm trying to drift it out (anticlockwise). Hoping the release stuff and multiple good clouts free it off. (Local hospital phone number at the ready for when I hammer my hand!)I guess that you cannot get behind the offender?
Would you be able to Dremil a slot across it, to give your....hopefully old....screwdriver something to dig in to?
The good news is that there was a sleeve over the first part of the bolt which when freed came off leaving me about 25mm of thread to attach two nuts tightened together to extract the remains in classic fashion.
The bad news is that no matter how tight I jam the two nuts together before attempting to unscrew, the remains of the bolt remains in the mounting even after dowsing in vast quantities of industrial release fluid.
I need another plan, where's Baldrick?
The bad news is that no matter how tight I jam the two nuts together before attempting to unscrew, the remains of the bolt remains in the mounting even after dowsing in vast quantities of industrial release fluid.
I need another plan, where's Baldrick?
Baldrick arrived with a very cunning plan.
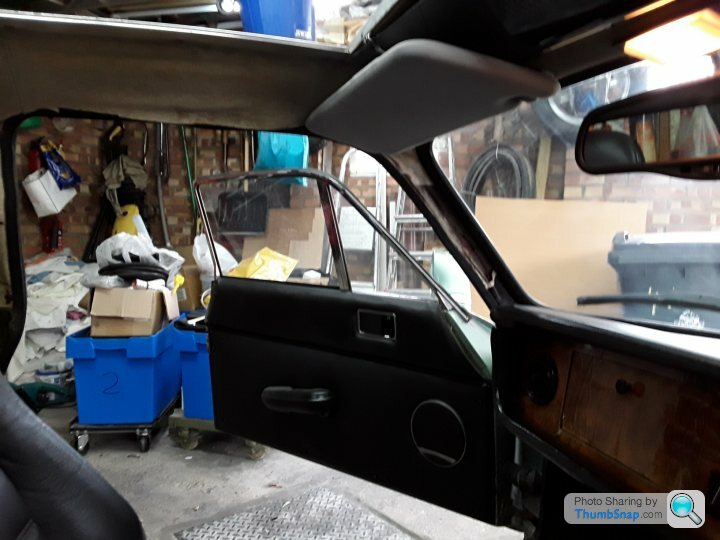
Abandon the old mount and create a new one. The original was a (seized) bolt into a captive nut which is welded to a steel frame that also has the door catch attached. New mount created immediately adjacent utilising existing steel frame etc.
So for a bit of light relief and since a giant parcel had arrived from Woolies (that's the trimming place not the superb bakery on Arran or the old pick & mix store Woolworths) i decided to start the headlining and pillar trims. No pics yet but the headlining material is cut, partially in place, and I have a lot of Trim Fix to remove from my fingers.
It would be so much simpler if I could have turned the car upside down, gravity working rather against my wishes. Still it's better than a job I did many years ago when expanding foam in cans was new to the market. That job involved a trip to the hairdressers to get a load of it cut out from my hair!
If anyone tells you it'll be easy, gluing headlining material to the underside of a car roof, don't believe them.
The complex curves throw everything out of alignment, gravity is the number one enemy and even measuring twice & cutting twice if no longer appropriate.
I did my Lotus Excel a couple of years ago but most of the roof was separate f/g panels and sections that I covered first then installed. The Gilbern (hasn't a name yest but I called it a few last night) is a different matter, compounded by the 800mm x 800mm sunroof hole.
Would have tried for photos but most of the time I was under the material dressed a bit like a ghost in Scooby Doo!
Need some material to mask a dodgy joint and tidy a cut line. It's the Haberdashery shop for me today.
Still no pics I'm afraid, no work done either but have been shopping.
Not happy with the headlining material or the way I'd put it up.
Joins showing and to quote the bloke in the haberdashery shop "if I got a scone with cream that colour I'd send it back".
Yesterday we tried a multitude of options to improve the dodgy joint (of my making) and the slight error around one window without success until he suggested cutting strips off some Harris Tweed. One look at the tweed and I was sold on redoing the roof in it. Took a sample home to play, glue doesn't show through it, you can but joint it and it blends almost seamlessly, and it sticks well to the foam backed headlining I've just put up and looks super classy.
Today I bought 2.4m (all they had of that colour) and also a little cutting wheel thing (which according to my wife they all use on some sewing TV prog) and he was using in the shop.
Progress report:
New Harris Tweed headlining in, needs a bit of a tidy up and trim of threads around the back but it's a lot better than the rotted out torn old headlining.
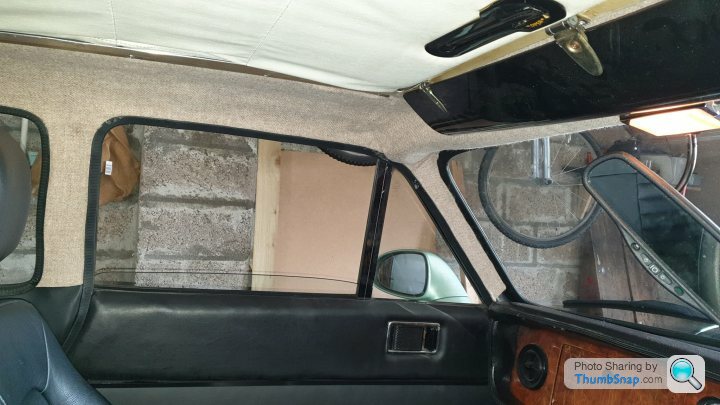
50 year old headlining
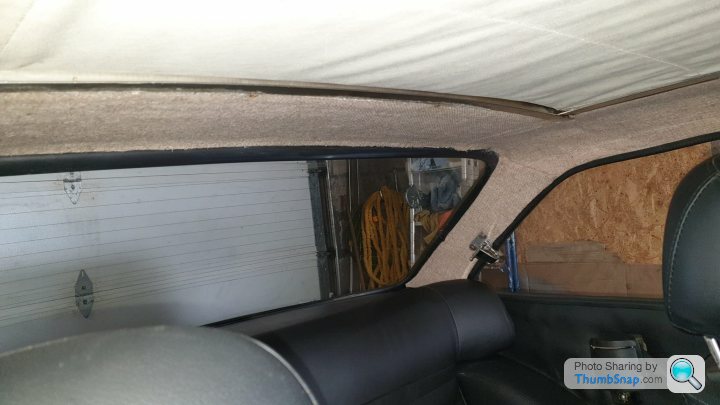
New headlining (needs a final trim & tuck).
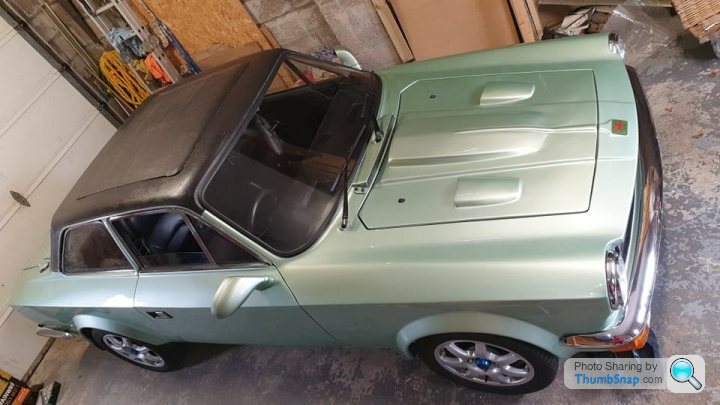
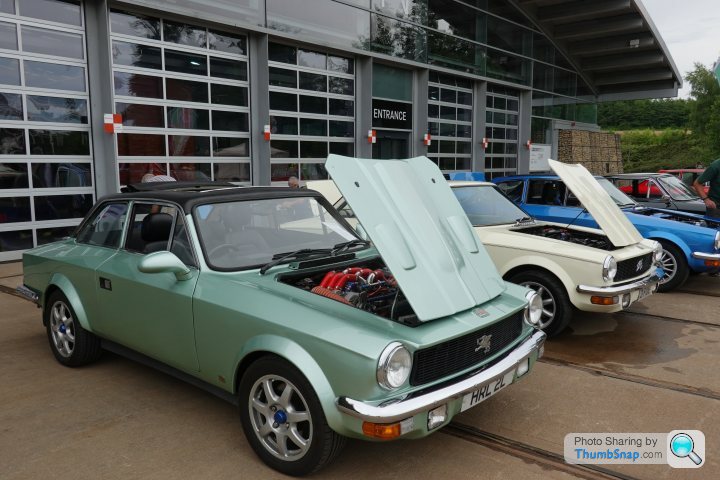
Car moved today under it's own steam, all seats back in, need to fix the mirror(!) and the fuel gauge isn't registering, either I've dislodged the wires putting the LH tank back in or it needs more than half a gallon to register.
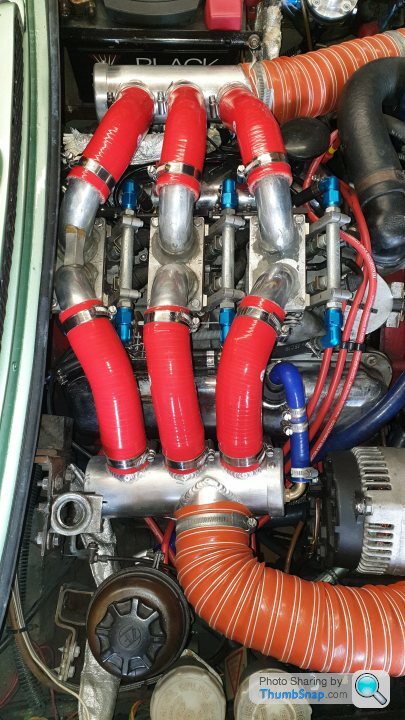
Waiting for some 45 degree silicone bends to sort out the air intake set up. Having looked at all the options (plenum, top horiz air filter on a new air box, two "panier" filters from ITG/K&N/Ramair etc I've gone back to the way Tony was thinking but am hopefully neatening it a little.
Every job I've looked at on this car I've thought I can redesign that but eventually fallen back to his design ideas. He knew what he was doing. As another example, the replacement MX5 seats sit a little high for me, on a beautifully made sub frame. I was desperate to lower them but he's got the Emerald control box under the passenger seat and a brake balance under the driver seat, each with about 3mm clearance.
New Harris Tweed headlining in, needs a bit of a tidy up and trim of threads around the back but it's a lot better than the rotted out torn old headlining.
50 year old headlining
New headlining (needs a final trim & tuck).
Car moved today under it's own steam, all seats back in, need to fix the mirror(!) and the fuel gauge isn't registering, either I've dislodged the wires putting the LH tank back in or it needs more than half a gallon to register.
Waiting for some 45 degree silicone bends to sort out the air intake set up. Having looked at all the options (plenum, top horiz air filter on a new air box, two "panier" filters from ITG/K&N/Ramair etc I've gone back to the way Tony was thinking but am hopefully neatening it a little.
Every job I've looked at on this car I've thought I can redesign that but eventually fallen back to his design ideas. He knew what he was doing. As another example, the replacement MX5 seats sit a little high for me, on a beautifully made sub frame. I was desperate to lower them but he's got the Emerald control box under the passenger seat and a brake balance under the driver seat, each with about 3mm clearance.

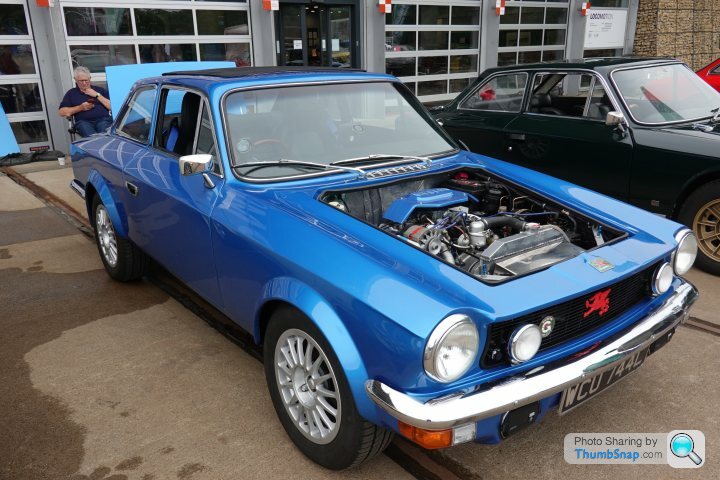
I recognise this car! Driven here from the Sunderland forum section…
If correct I believe this car was as you say from Tynemouth and lived on one of the terraced streets leading up from the metro station?
If so as a young petrol head I remember seeing it from time to time fascinated at a car logo I didn’t know. So much so I dragged my dad along to tell me what it was! Glad to hear it’s got a new happy home!!

Gassing Station | Readers' Cars | Top of Page | What's New | My Stuff