WRX RA powered VW 1303 beetle cabrio with a bit of Porsche
Discussion


Bit of an update...
I have done some work recently but not overly exciting for pictures as it's all paint prepwork.
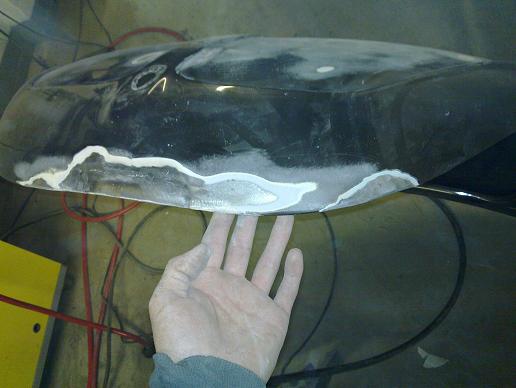
Rear quarter panel skimmed and smoothed...
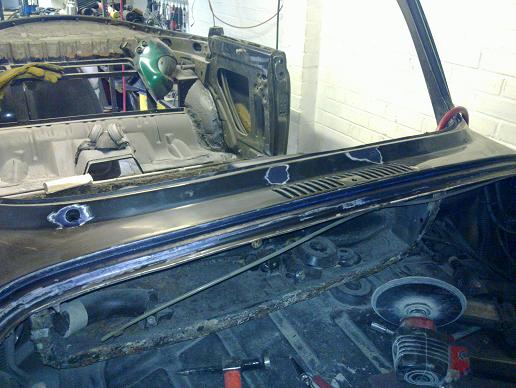
I welded up the LHD wiper holes
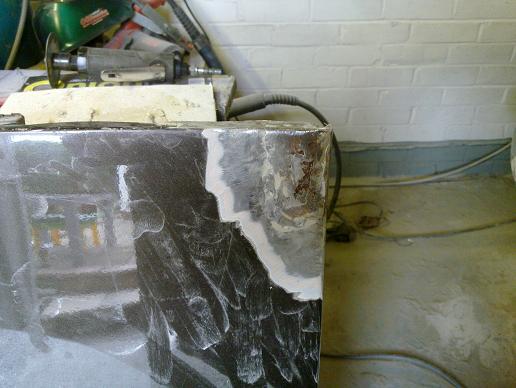
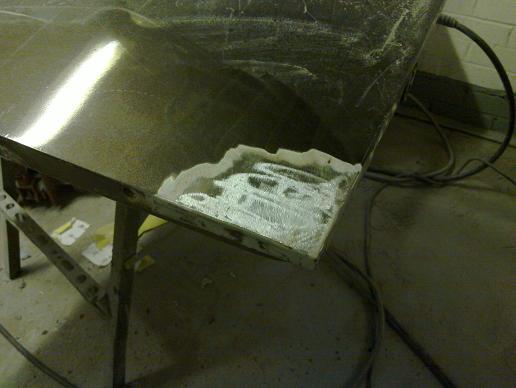
Bonnet needed a few sections replaced due to poor previous repairs rusting

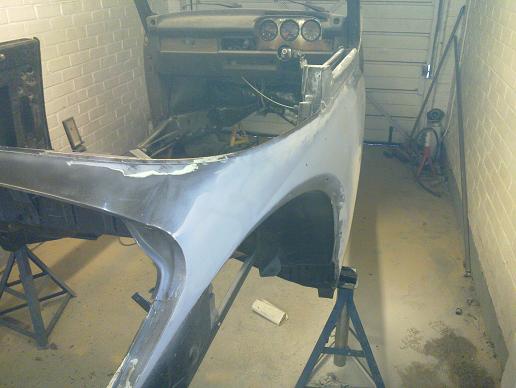
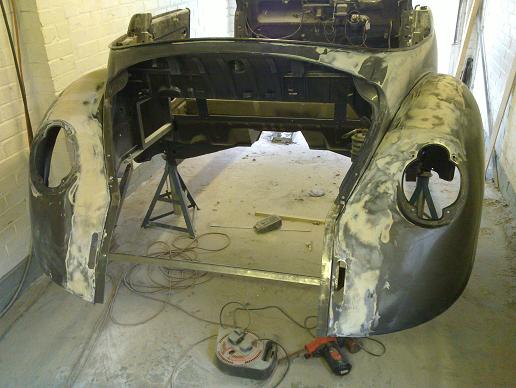
Kamei mocked up again, luckily there is a suitable double bend on the bottom of the front wings to mount to. I plan to make a mould out of the cut down Kamei piece and a metal strip that will be bolted up on to the body, I'll then make up a fibreglass part.
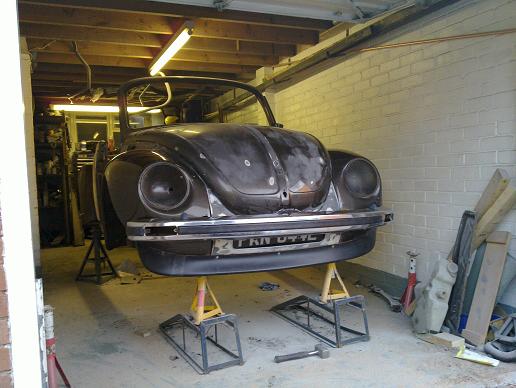
All mocked up to see the final effect. I don't think I'll get away with running the numberplate there unfortunately!

Bodyworking the rear wings now...
I'm changing jobs and have a couple of weeks holiday to use up over the next month so hopefully I might even get it in paint by the end of August!
Rich
I have done some work recently but not overly exciting for pictures as it's all paint prepwork.
Rear quarter panel skimmed and smoothed...
I welded up the LHD wiper holes
Bonnet needed a few sections replaced due to poor previous repairs rusting
Kamei mocked up again, luckily there is a suitable double bend on the bottom of the front wings to mount to. I plan to make a mould out of the cut down Kamei piece and a metal strip that will be bolted up on to the body, I'll then make up a fibreglass part.
All mocked up to see the final effect. I don't think I'll get away with running the numberplate there unfortunately!
Bodyworking the rear wings now...
I'm changing jobs and have a couple of weeks holiday to use up over the next month so hopefully I might even get it in paint by the end of August!
Rich
Quite a few people have said they like the bumperless look and the spoiler does finish off the front end nicely. But when the car is back on the ground the area below the bumperline will not look as big and hopefully disappear to the eye. I'm definitely keeping the bumpers, I think without them late bugs look a bit too bulbous and I have the very rare headlight washers which I want to keep in case I go with HIDs..
I'm still out there working...
More rust found on the bottom of the door...
and repaired...
More sanding! I have to give praise to the How to guides on [URL="http://www.mig-welding.co.uk/body-filler.htm"]www.mig-welding.co.uk[/URL] for bodywork, especially the ruler trick and also a tip I found elsewhere of adding a bit of fibreglass resin to the filler to make it thinner.
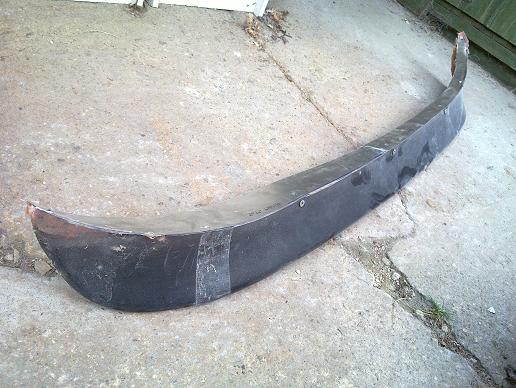
I cut a metal flange piece which was bolted to the body, the remains of the spoiler was then bolted in place and the two bonded together with fibreglass filler. The ends will be reshaped and the whole thing smoothed before I use it as a master to create a mould for a new fibreglass part.
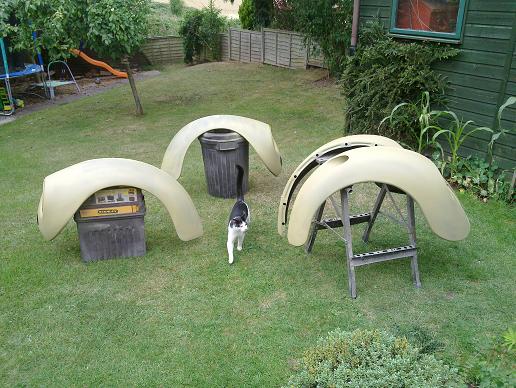
All 4 wings in etch...
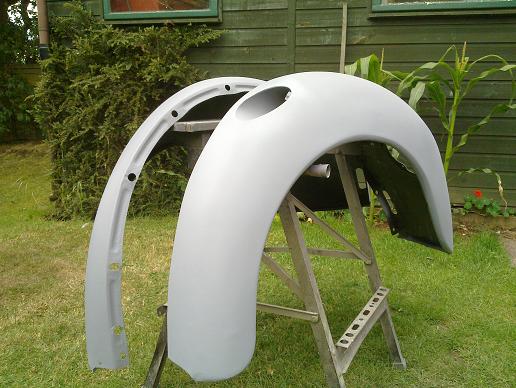
and two coats of high build primer...
First colour coats!
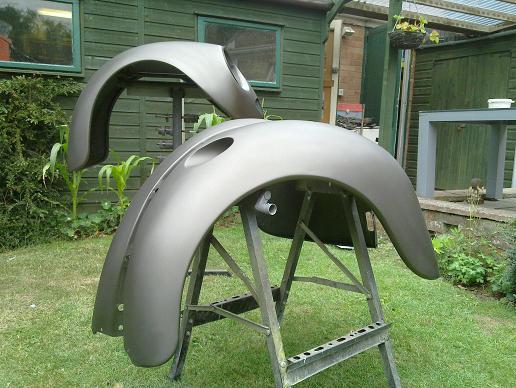
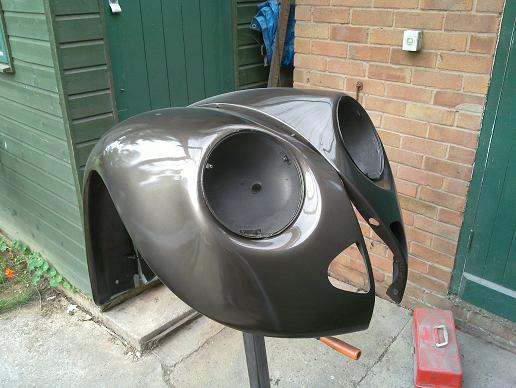
I decided to just finish the wings, the metallic particles are so small I can't see them being painted separately from the body making any difference. I put on some wetter coats of the cellulose metallic and finished off with 3 coats of 1K acrylic clear.
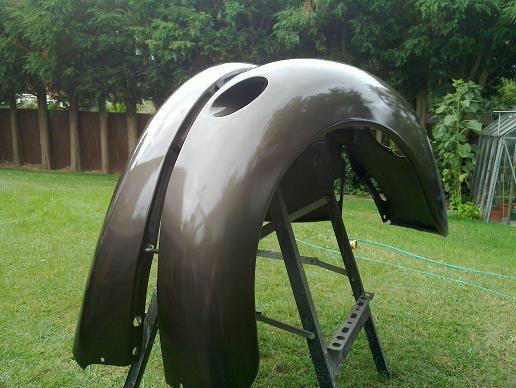
For information, I used a cheapo spray gun for the etch and primer coats, then an Iwata AZ3 HTE2 spray gun with a 1.3mm tip for the colour and clear coats. This was all running from my 3hp 150l compressor that I made up a short copper section with water drain. It has actually given a really nice finish out of the gun with not a single run! A couple of small bits of dirt got in one wing but should easily polish out when it has fully cured. I had to paint the wings in two lots under my workshop porch bit as it was threatening to rain...
More rust found on the bottom of the door...
and repaired...
More sanding! I have to give praise to the How to guides on [URL="http://www.mig-welding.co.uk/body-filler.htm"]www.mig-welding.co.uk[/URL] for bodywork, especially the ruler trick and also a tip I found elsewhere of adding a bit of fibreglass resin to the filler to make it thinner.
I cut a metal flange piece which was bolted to the body, the remains of the spoiler was then bolted in place and the two bonded together with fibreglass filler. The ends will be reshaped and the whole thing smoothed before I use it as a master to create a mould for a new fibreglass part.
All 4 wings in etch...
and two coats of high build primer...
First colour coats!
I decided to just finish the wings, the metallic particles are so small I can't see them being painted separately from the body making any difference. I put on some wetter coats of the cellulose metallic and finished off with 3 coats of 1K acrylic clear.
For information, I used a cheapo spray gun for the etch and primer coats, then an Iwata AZ3 HTE2 spray gun with a 1.3mm tip for the colour and clear coats. This was all running from my 3hp 150l compressor that I made up a short copper section with water drain. It has actually given a really nice finish out of the gun with not a single run! A couple of small bits of dirt got in one wing but should easily polish out when it has fully cured. I had to paint the wings in two lots under my workshop porch bit as it was threatening to rain...

OK, small update:
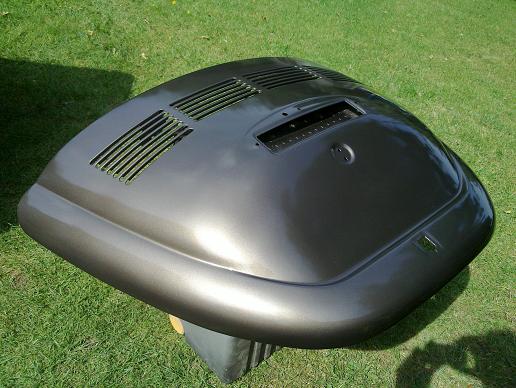
Decklid painted, no real problems, although I did sandblast the slats as they were too fiddly to sand nicely.
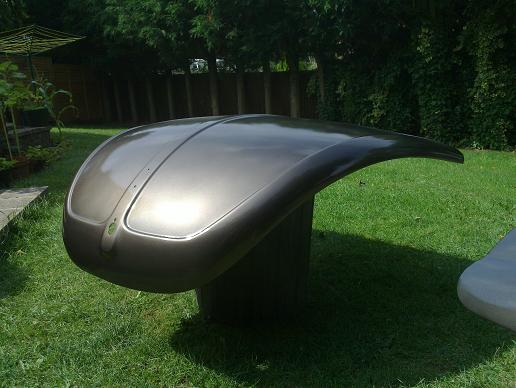
Bonnet finally painted. I've done this 3 times now! First time there was some striping visible in the colour coat as the passes weren't wet enough to flow into each other nicely. Then I got a really good second colour/clear coat and left it in the sun for a few hours to dry before putting it on some cushions in the conservatory just to have it out of the way but they left imprints all over the bonnet! I had to wet sand it all back and paint for a third time, I'm not doing it again!!
I'm working on the doors now and I've found out why somebody had put a gold pinstripe under the normal sidetrim. They had drilled one of the doors in the wrong place and the stripe was to cover it up! So, filler removed and the extra trim clip holes were welded up. Another useful tip: hold a piece of copper against the back of the panel and the weld won't blow through. I also had to repair a few local bits of the door bottom and the copper strip trick also worked well to stop the weld melting away the metal at the edges.
I'm definitely on track for finishing all the paint by the end of the month!
Decklid painted, no real problems, although I did sandblast the slats as they were too fiddly to sand nicely.
Bonnet finally painted. I've done this 3 times now! First time there was some striping visible in the colour coat as the passes weren't wet enough to flow into each other nicely. Then I got a really good second colour/clear coat and left it in the sun for a few hours to dry before putting it on some cushions in the conservatory just to have it out of the way but they left imprints all over the bonnet! I had to wet sand it all back and paint for a third time, I'm not doing it again!!
I'm working on the doors now and I've found out why somebody had put a gold pinstripe under the normal sidetrim. They had drilled one of the doors in the wrong place and the stripe was to cover it up! So, filler removed and the extra trim clip holes were welded up. Another useful tip: hold a piece of copper against the back of the panel and the weld won't blow through. I also had to repair a few local bits of the door bottom and the copper strip trick also worked well to stop the weld melting away the metal at the edges.
I'm definitely on track for finishing all the paint by the end of the month!


 Agreed!
I don't mind those links being put on here, the first thing I did was to go and look for them when they were mentioned! If you want to kill a few days, there are some very good ones on: www.build-threads.com
Rich
Rich
Gassing Station | Readers' Cars | Top of Page | What's New | My Stuff