WRX RA powered VW 1303 beetle cabrio with a bit of Porsche
Discussion


I've just finished building some outside stores for bikes and usual garden stuff so the new double garage can be used for what is is meant for! The garage has had all walls and floors painted, I mounted the compressor up on a wall out of the way on a steel frame I welded up and I've made a workbench. I think after this weekend I'll be about ready to get back to the bug...
Rich
Rich
I'm loving your build it will be good to get some updates again soon. My mate is into beetles and I mentioned this build to him. He was saying the Subaru engines are quite prone to overheating in scoobies. Do you think that aparture will flow enough air to keep it cool? I like what you did shrouding the rad though, seems a good move. Will you be doing the bug thing of propping the boot open to avoid the engine baking after stopping? Also where have you hidden the inter cooler too keep the car so smooth and get the airflow?
ricola said:
I've just finished building some outside stores for bikes and usual garden stuff so the new double garage can be used for what is is meant for! The garage has had all walls and floors painted, I mounted the compressor up on a wall out of the way on a steel frame I welded up and I've made a workbench. I think after this weekend I'll be about ready to get back to the bug...
Rich
I think that we need some pics of the new workshop as I am sure it will be impressive like your project.Rich
The workshop/garage will develop over time but I've got it into a state I can use it now...
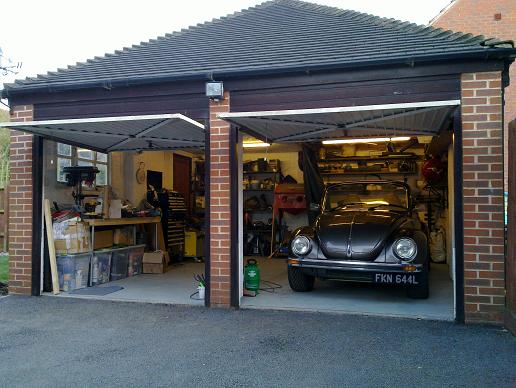
The bug's new home and my new workshop! Finally got a double garage... I have lost a lot of alternate storage though so I've had a bit of a clearout. All walls and floors have been painted, I've welded up a frame to mount the compressor up on the walls and made a new workbench.
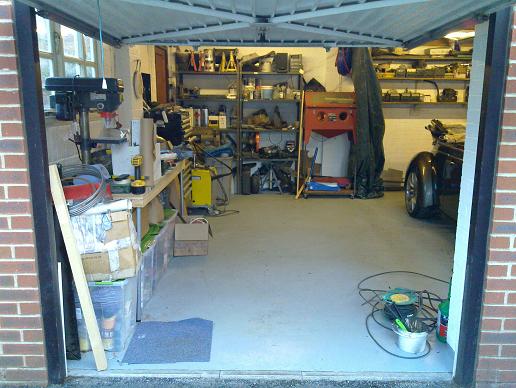
Sandblasting cabinet has a new set of wheels to make best use of space.
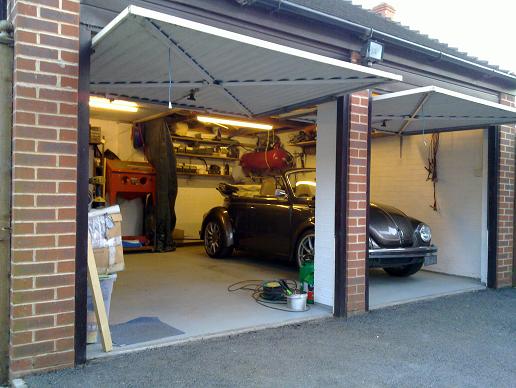
You can see the compressor mounted up out of the way. Also, I've put up some hooks so I can hang a tarpualin down the middle to protect the car when I'm grinding etc etc

I bought a couple of 7'x4' bike stores for outside storage, the drive isn't really full double width so it's no big loss of space.
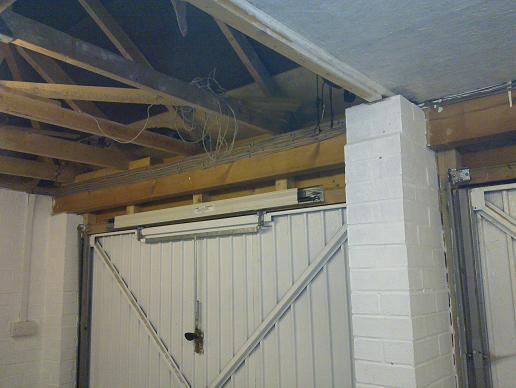
I'm pondering over whether to get a single full width roller shutter door or not as it would be fairly pricey. I'm also not sure whether I'd have to replace this wooden lintel, it's full width and 4" x 8". Can anybody advise? Could I bolt on some metal strengtheners and leave it in place?
The bug's new home and my new workshop! Finally got a double garage... I have lost a lot of alternate storage though so I've had a bit of a clearout. All walls and floors have been painted, I've welded up a frame to mount the compressor up on the walls and made a new workbench.
Sandblasting cabinet has a new set of wheels to make best use of space.
You can see the compressor mounted up out of the way. Also, I've put up some hooks so I can hang a tarpualin down the middle to protect the car when I'm grinding etc etc
I bought a couple of 7'x4' bike stores for outside storage, the drive isn't really full double width so it's no big loss of space.
I'm pondering over whether to get a single full width roller shutter door or not as it would be fairly pricey. I'm also not sure whether I'd have to replace this wooden lintel, it's full width and 4" x 8". Can anybody advise? Could I bolt on some metal strengtheners and leave it in place?


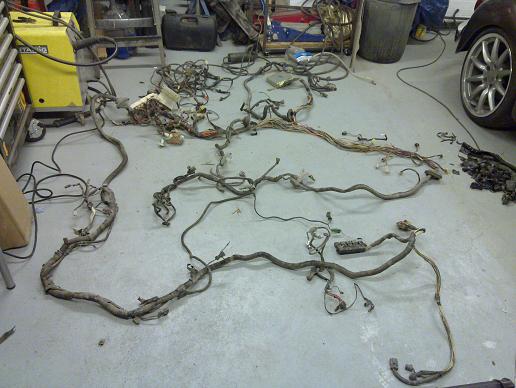
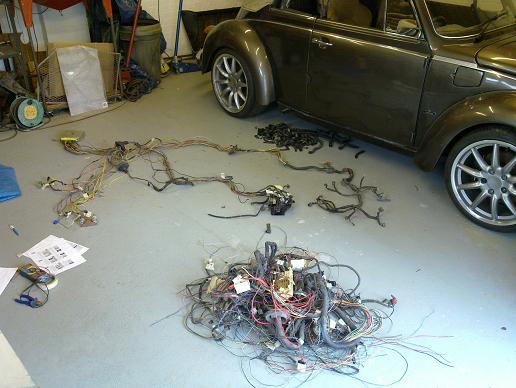


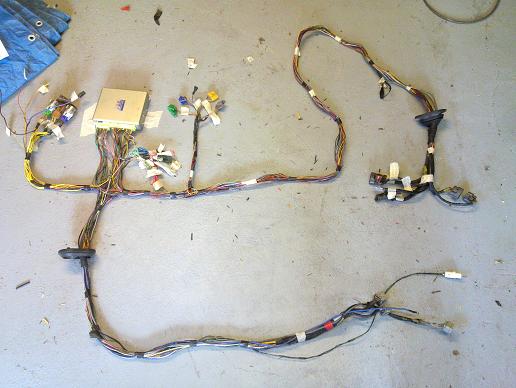
Subaru loom stripped to it's basics now and all sections shortened to the correct lengths. It is laid out in 5 main groups: boost pack, engine, relays, diagnostics and dash feeds. Next is to put it in the car and add a few other rear end related items. I'm waiting for a large order of wire/relays/fuseboxes etc to re-make the rest of the loom.
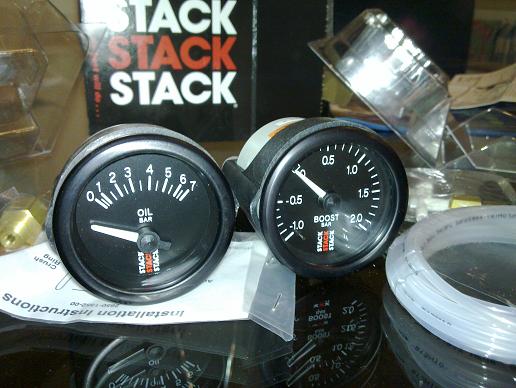
I thought it would be a good idea to better monitor the engine so got a couple of stack gauges, due to their reputed accuracy.
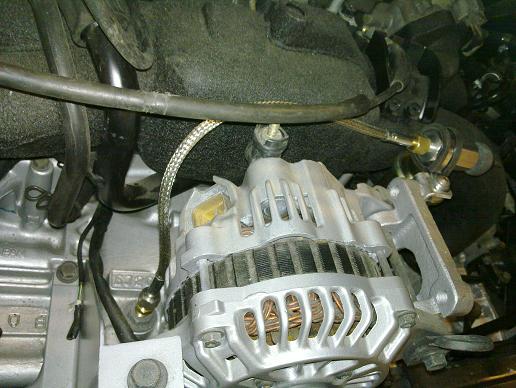
The oil pressure sender required a T piece to keep the stock pressure switch, as there isn't enough room under the alternator this short extension places them both remotely.
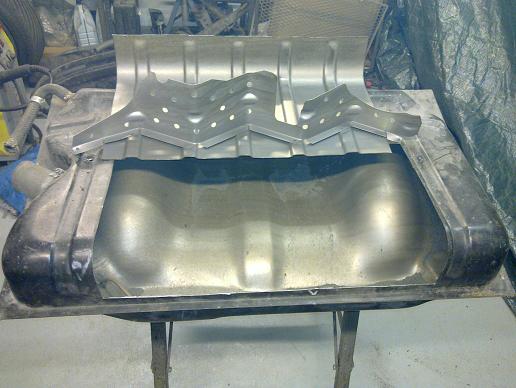
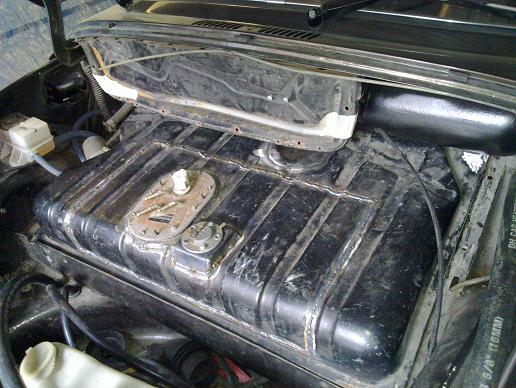
Time to modify the stock fuel tank for fuel injection, I was surprise to see that the stock tank incorporates a baffle across it.
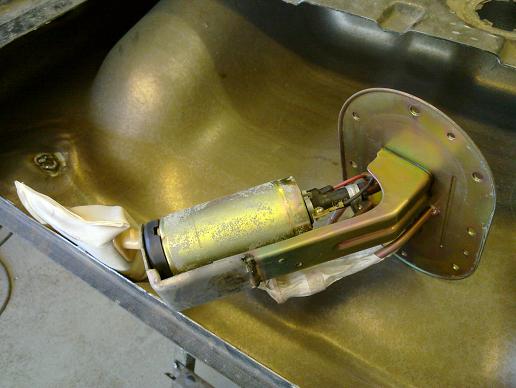
The tank is shallower than the subaru one so I shortened the subaru fuel pump mounting assembly and removed the stock level sender.
I made up a baffle to hold fuel around the pump as the last thing you want is to lose fuel pressure on boost in a turbo engine! I drilled some holes through the plates to allow fuel to flow through it.
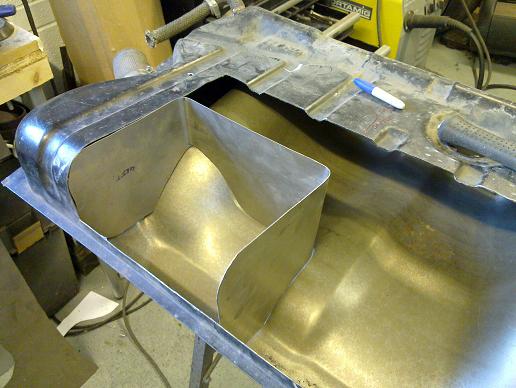
I also increased the fuel tank volume by filling in the LHD steering column recess. I left the metalwork in place so it acts like a baffled volume.
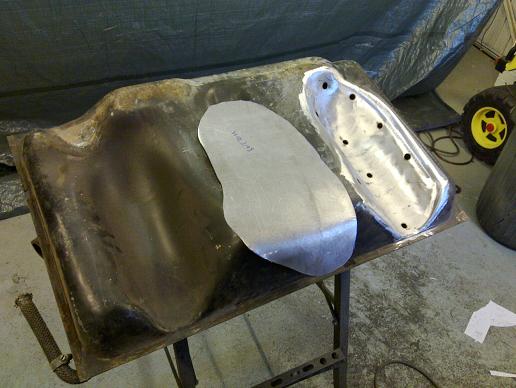
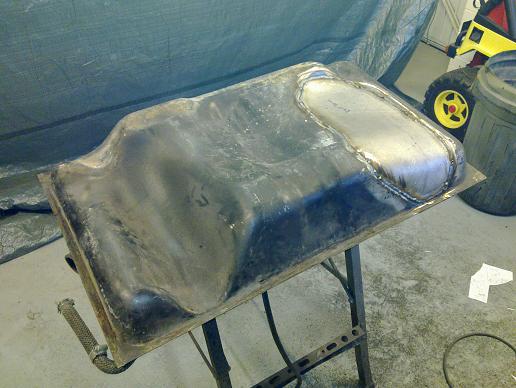
Topside done! I welded up the stock level sender hole and made up a new one for the Porsche dip tube type to match my gauges. The fuel pump section from the subaru tank was welded in to the top of the tank.
I thought it would be a good idea to better monitor the engine so got a couple of stack gauges, due to their reputed accuracy.
The oil pressure sender required a T piece to keep the stock pressure switch, as there isn't enough room under the alternator this short extension places them both remotely.
Time to modify the stock fuel tank for fuel injection, I was surprise to see that the stock tank incorporates a baffle across it.
The tank is shallower than the subaru one so I shortened the subaru fuel pump mounting assembly and removed the stock level sender.
I made up a baffle to hold fuel around the pump as the last thing you want is to lose fuel pressure on boost in a turbo engine! I drilled some holes through the plates to allow fuel to flow through it.
I also increased the fuel tank volume by filling in the LHD steering column recess. I left the metalwork in place so it acts like a baffled volume.
Topside done! I welded up the stock level sender hole and made up a new one for the Porsche dip tube type to match my gauges. The fuel pump section from the subaru tank was welded in to the top of the tank.
Gassing Station | Readers' Cars | Top of Page | What's New | My Stuff