WRX RA powered VW 1303 beetle cabrio with a bit of Porsche
Discussion


Some more progress:
Decided to make up my own spherical top strut mounts.
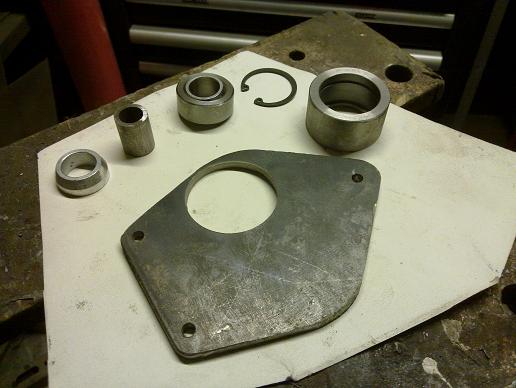
Mocked up to check the positioning

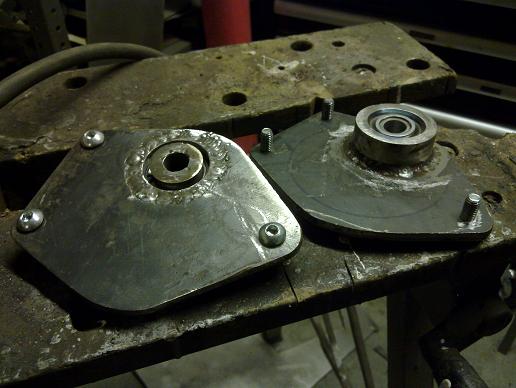
All welded up
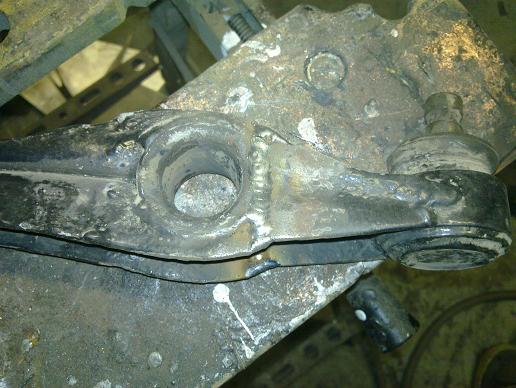
Suspension arm narrowed 15mm to help pull the big front wheels under stock wings (I'll add some more bracing to the join later on)
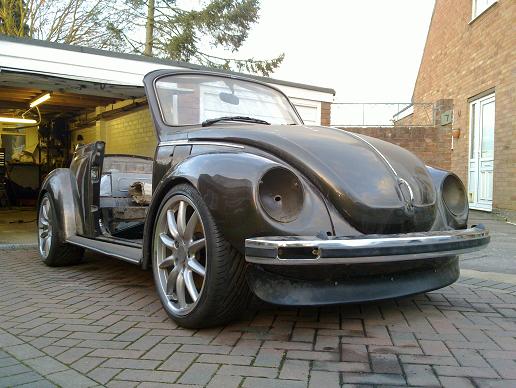
Another mock-up of spoiler showing better how the wing intake looks
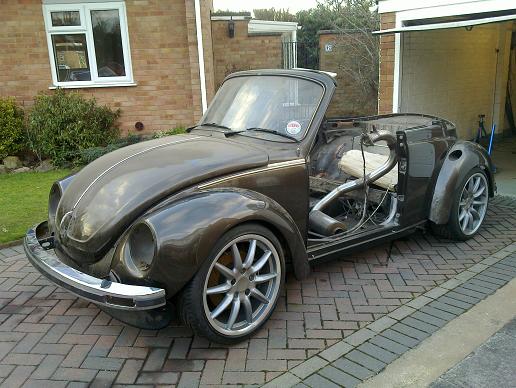
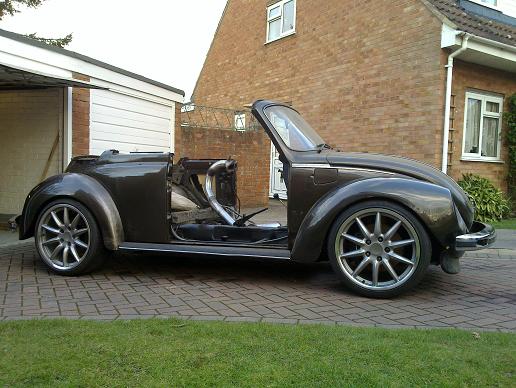
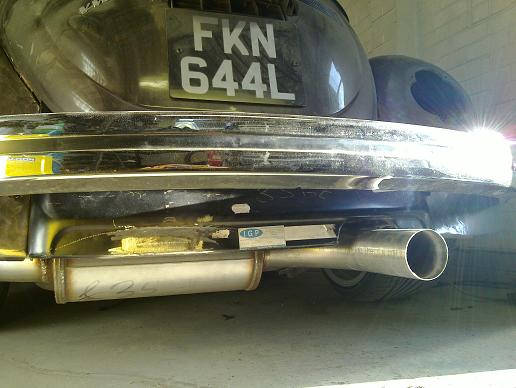
Spoiler now trimmed to fit and roughly clamped to bottom of body panels. This gives me 120mm of ground clearance which is about level with my lowest chasssis point. I'm happy with this as a final ride height too.
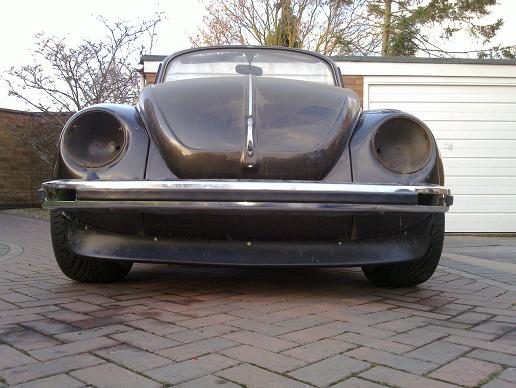
It tucks back much more than it would as standard (which is bolted to the underside of the bumper) and looks much less like it's doing an impression of a snow-plough!
Decided to make up my own spherical top strut mounts.
Mocked up to check the positioning
All welded up
Suspension arm narrowed 15mm to help pull the big front wheels under stock wings (I'll add some more bracing to the join later on)
Another mock-up of spoiler showing better how the wing intake looks
Spoiler now trimmed to fit and roughly clamped to bottom of body panels. This gives me 120mm of ground clearance which is about level with my lowest chasssis point. I'm happy with this as a final ride height too.
It tucks back much more than it would as standard (which is bolted to the underside of the bumper) and looks much less like it's doing an impression of a snow-plough!
Idle air control valve return pipe uses cut down standard pipe.
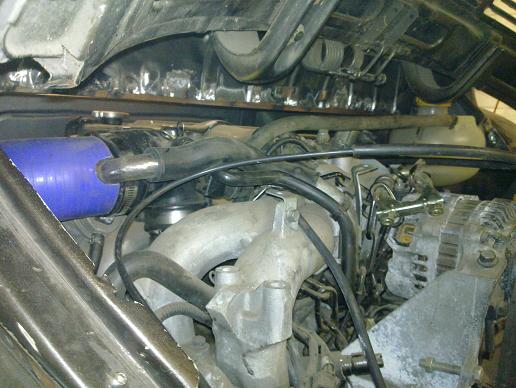
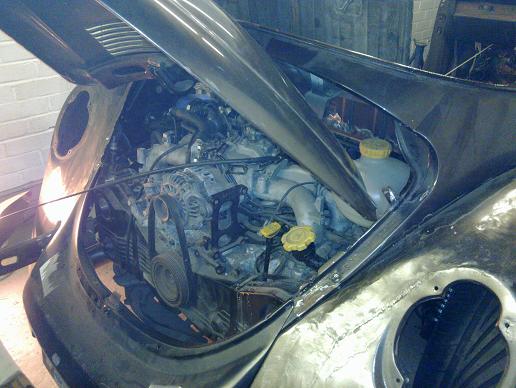
Header tank is from a Vauxhall Corsa/Tigra as it had the right connections. I didn't like the subaru system as it is based on an external overflow tank. An aftermarket one would have been solid aluminium so levels are not so easy to check. I welded on a couple of brackets to the body to support the standard fitting points on the tank
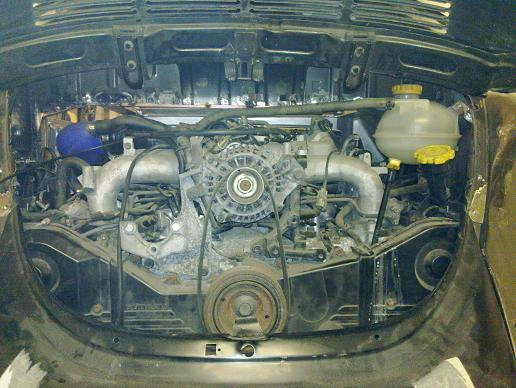
Fill point is accessable when the decklid is open.
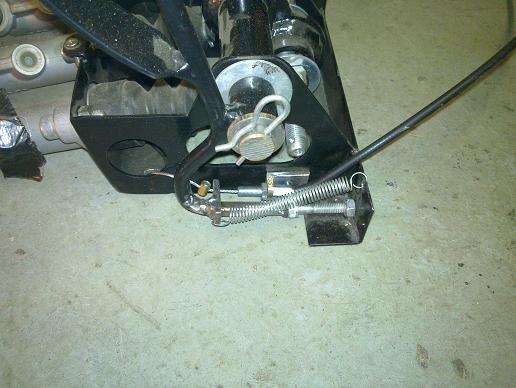
The OBP pedal box had no provision for the throttle cable so this is what I came up with. I also made up the cable from a universal kit using the subaru fittings/adjuster on the engine end. It feeds through the standard tube in the chassis tunnel.
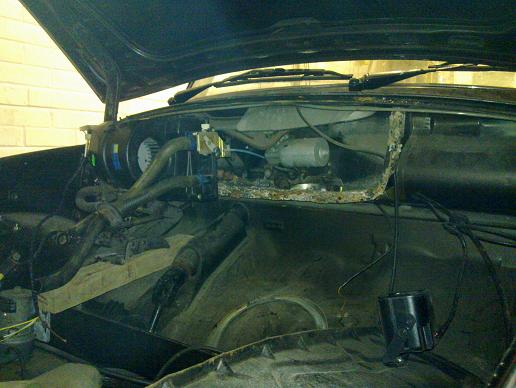
VW polo heater matrix/blower fan will be mounted to access panel and will blow in to the existing ducting behind the dash. I will fabricate an intake for the fan so it draws in air from the scuttle grill.
Header tank is from a Vauxhall Corsa/Tigra as it had the right connections. I didn't like the subaru system as it is based on an external overflow tank. An aftermarket one would have been solid aluminium so levels are not so easy to check. I welded on a couple of brackets to the body to support the standard fitting points on the tank
Fill point is accessable when the decklid is open.
The OBP pedal box had no provision for the throttle cable so this is what I came up with. I also made up the cable from a universal kit using the subaru fittings/adjuster on the engine end. It feeds through the standard tube in the chassis tunnel.
VW polo heater matrix/blower fan will be mounted to access panel and will blow in to the existing ducting behind the dash. I will fabricate an intake for the fan so it draws in air from the scuttle grill.

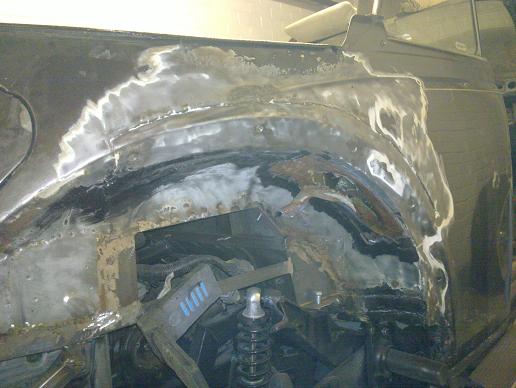
I thought the body line above the trim didn't look quite right and this is what I found under all the filler! NOS VW 1/4 panels are no longer available so I went down to my local VW breakers, angle grinder in hand!
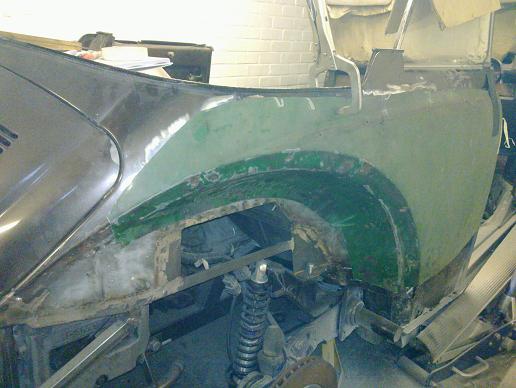
This is what was left after cutting out all the bodged repairs of the past

Donor section clamped roughly in place, it took a bit of searching to find one this good as it is a common rust area, unfortunately it was balanced on top of another car and was full of suspension parts!
This is what was left after cutting out all the bodged repairs of the past
Donor section clamped roughly in place, it took a bit of searching to find one this good as it is a common rust area, unfortunately it was balanced on top of another car and was full of suspension parts!
Had a good couple of days on the rear 1/4 panel...
All hidden areas were treated with Bilt Hamber Hydrate 80, then painted, weld areas were taken back to fresh metal and Roberlo weld through copper primer used.
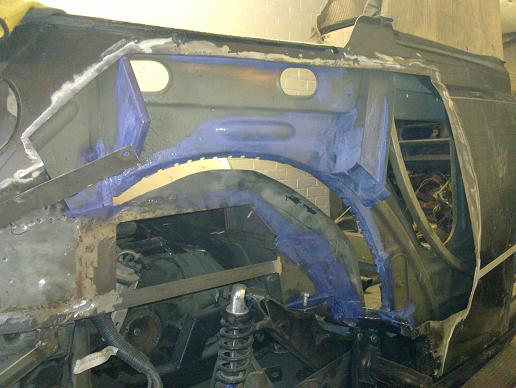
Tacked in...
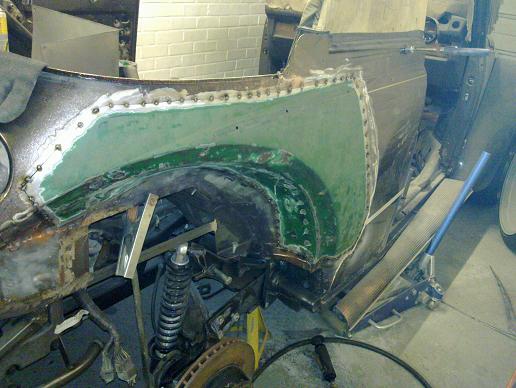
Fully welded...
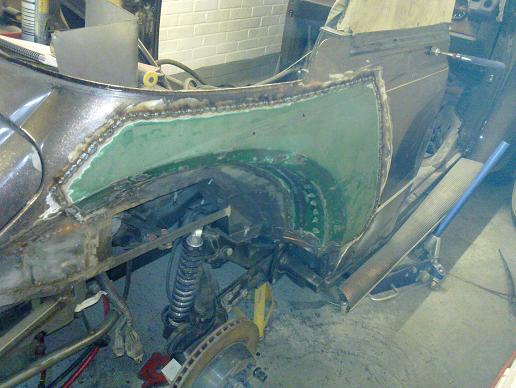
all welds ground down
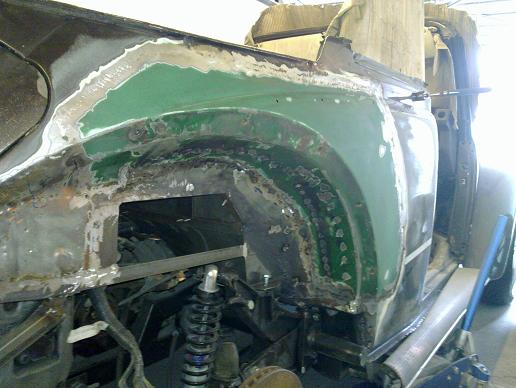
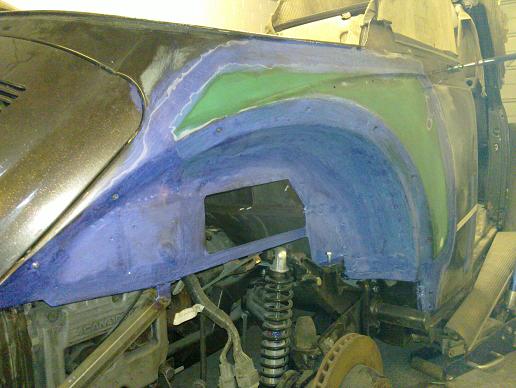
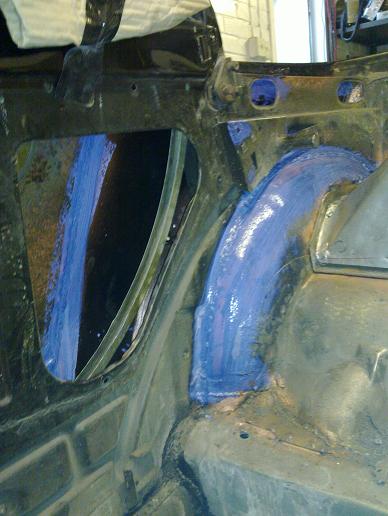
couple of coats of Hydrate 80 to protect the fresh metal before I get to paint, it will only need a very small amount of filler at the weld seams..
All hidden areas were treated with Bilt Hamber Hydrate 80, then painted, weld areas were taken back to fresh metal and Roberlo weld through copper primer used.
Tacked in...
Fully welded...
all welds ground down
couple of coats of Hydrate 80 to protect the fresh metal before I get to paint, it will only need a very small amount of filler at the weld seams..


Gassing Station | Readers' Cars | Top of Page | What's New | My Stuff