WRX RA powered VW 1303 beetle cabrio with a bit of Porsche
Discussion


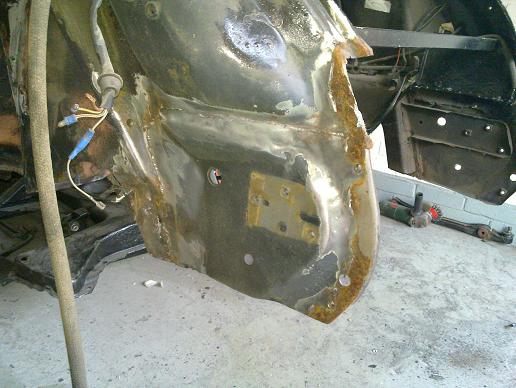
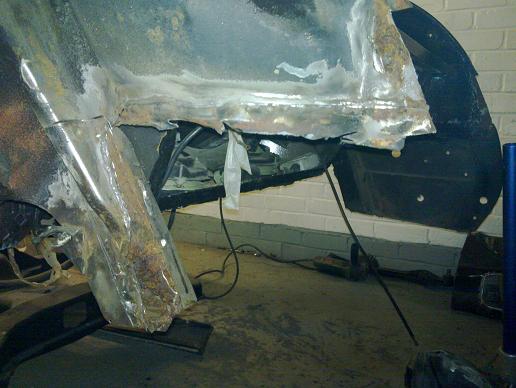
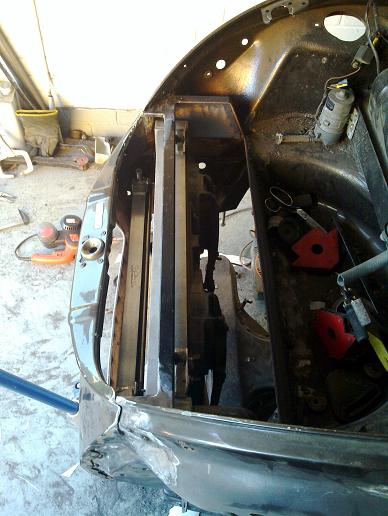
Yet more bodgery! Bumper repair panels poorly welded over rusted edges, overlapping the strut reinforcements and internally the bumper mounts have been stuck on with what can only be descibed as pidgeon s t to the reinforcements. It will all be cut out and done properly, I'm hopefull of being able to re-use the repair panels as there is so much overlap.
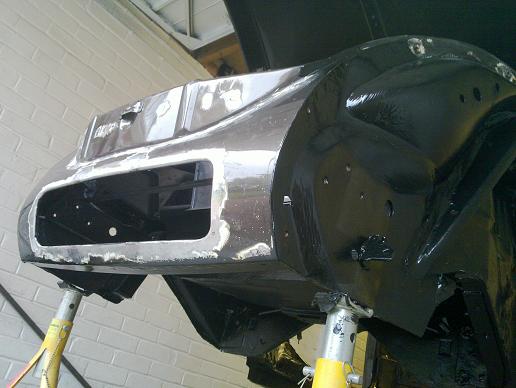
Finally on to the radiator intake! I cut the valance off and cut out this hole (same size as the license plate). I've shaped a bar hoop the same shape but a bit bigger and will tack weld that on the back side, I will then hammer form a nice rolled edge to keep it looking 'right' and will also weld on some captive studs so I can fit some mesh. I'm also considering bonding some letters to the mesh so it can be the numberplate and not restrict air flow.
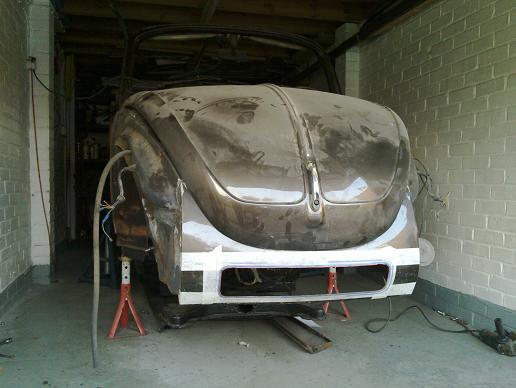
t to the reinforcements. It will all be cut out and done properly, I'm hopefull of being able to re-use the repair panels as there is so much overlap.Finally on to the radiator intake! I cut the valance off and cut out this hole (same size as the license plate). I've shaped a bar hoop the same shape but a bit bigger and will tack weld that on the back side, I will then hammer form a nice rolled edge to keep it looking 'right' and will also weld on some captive studs so I can fit some mesh. I'm also considering bonding some letters to the mesh so it can be the numberplate and not restrict air flow.
I had just about finished both bumper mount panel repairs but then my powerfile sander belt broke and threw a piece of metal straight in the centre of my eye! I was wearing safety glasses but they obviously weren't good enough for that sort of angle.
So, last few weeks I have been in and out of the eye surgery and it still hasn't healed properly. My plan was to paint late july but will have to wait and see how my recovery goes as the last thing I need is to get crap in an unhealed eye wound!
Rich
So, last few weeks I have been in and out of the eye surgery and it still hasn't healed properly. My plan was to paint late july but will have to wait and see how my recovery goes as the last thing I need is to get crap in an unhealed eye wound!
Rich
 All the best to you mate, I wish you the speediest of recoveries!
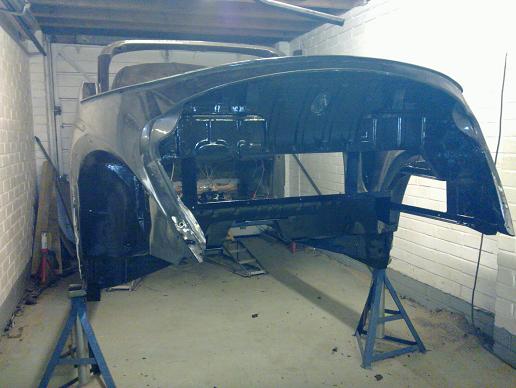
Here are some pics of where I got to though:

small section still needs repairing on near side...
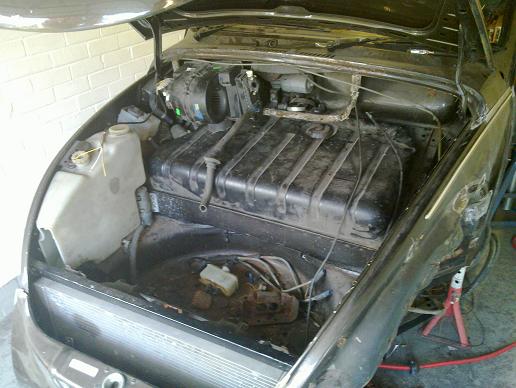
I've also decided to redo the bodywork I did a while back over the back of the radiator. Also trying to come up with a nice compact way of ducting hot air flow into the stock ventilation system in the dash...
small section still needs repairing on near side...
I've also decided to redo the bodywork I did a while back over the back of the radiator. Also trying to come up with a nice compact way of ducting hot air flow into the stock ventilation system in the dash...
I hope the eye sorts itself out soon. I've been watching this project from the start, and can't wait to see the end result.
I know how you're feeling though. I got pieces of metal in my eye when I was about 21, one of which settled in the lense, and healed over. Itwhich was missed by the hospital, who gave me the all clear... 8 Weeks later, I had an operation to replace the lense, and remove my cataract..... followed by 12 weeks of a high fibre diet....
Good luck with the eye, and keep us up to date with the project, I can't wait to see the end result
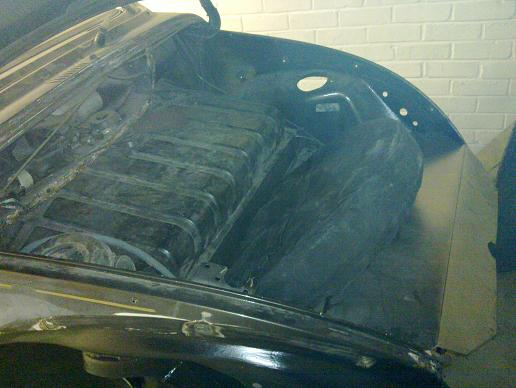
Cheers for the words guys, eye is getting much better with the steroids so went out did some work on the bug! It's amazing how many other people have had some nasty eye injuries...
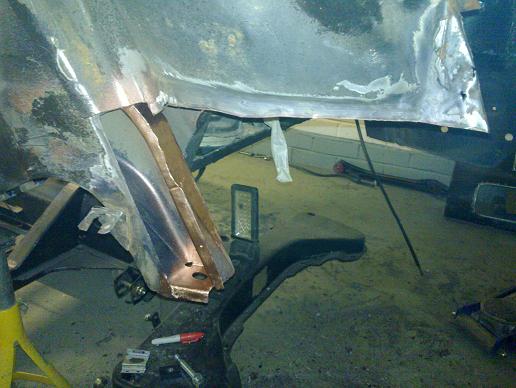
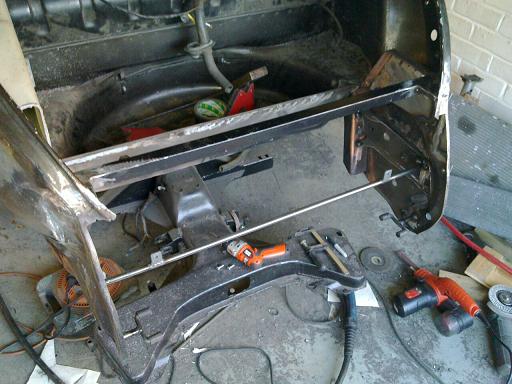
As I was working on the front end I wasn't happy with how I did the new panelwork behind the radiator so I'm redoing it now I have decent access with the body in the air.
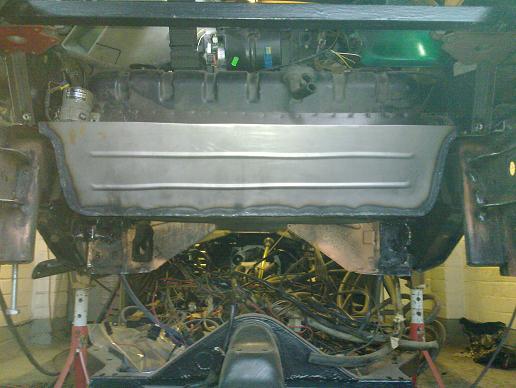
Front section of spare wheel well filled in with new beadrolled panel and framework is being made up with captive nuts so a removable cover can go over the top.
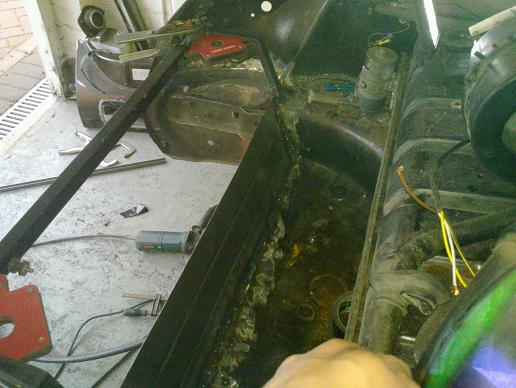
As I was working on the front end I wasn't happy with how I did the new panelwork behind the radiator so I'm redoing it now I have decent access with the body in the air.
Front section of spare wheel well filled in with new beadrolled panel and framework is being made up with captive nuts so a removable cover can go over the top.
Great project 
If you want a more technical forum than Scoobynet for the engine side then here is a good place - http://bbs.22b.com/cgi-bin/ultimatebb.cgi
If you want a more technical forum than Scoobynet for the engine side then here is a good place - http://bbs.22b.com/cgi-bin/ultimatebb.cgi
Finished off the NS bumper mount area:
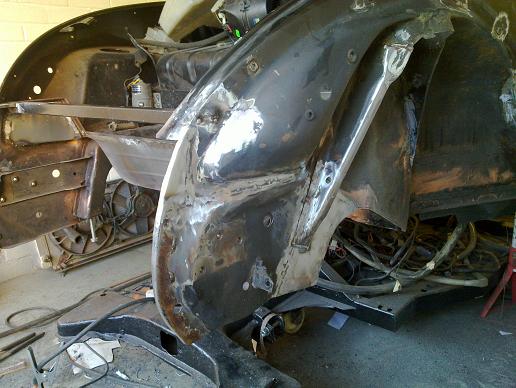
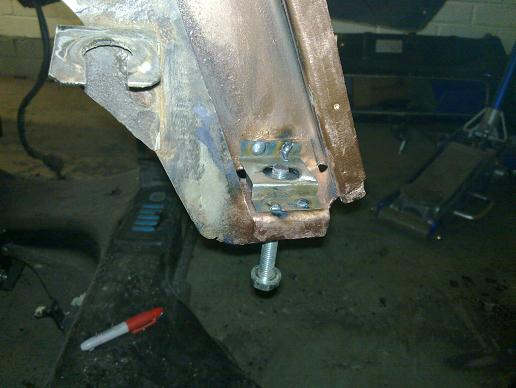
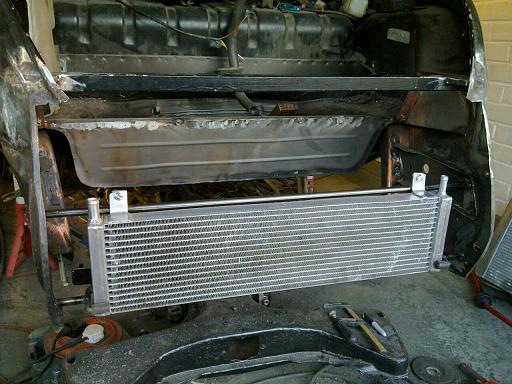
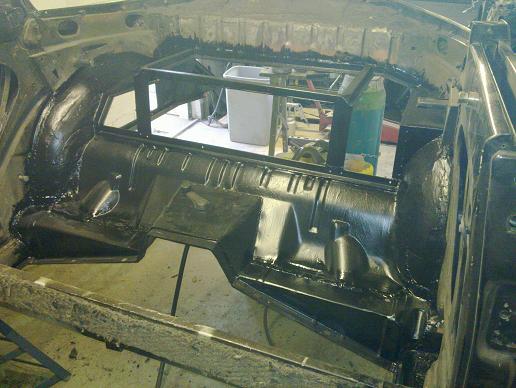
I added some fillet pieces at the top and filled in the sides to seal off the radiator from the underbonnet area.
The pace chargecooler radiator only had mounts at the top, so I've welded in a tube with tabs for the top mounts and a Y shaped piece at the bottom of each side that the radiator drops into. The tube is sleeved with rubber tube to give a nice cushioned mounting.
Had a last play before I go off on holiday for a week...
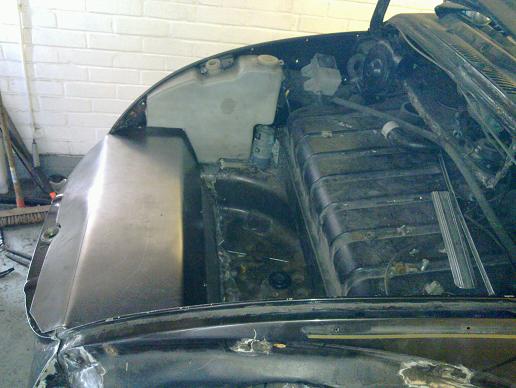
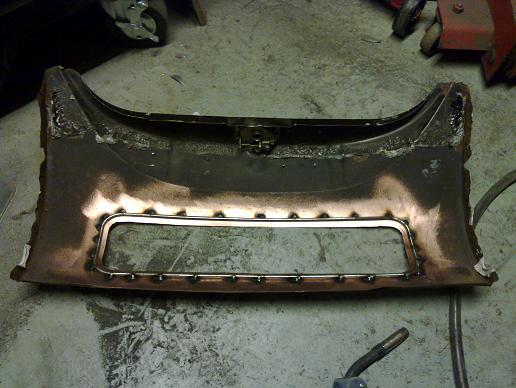
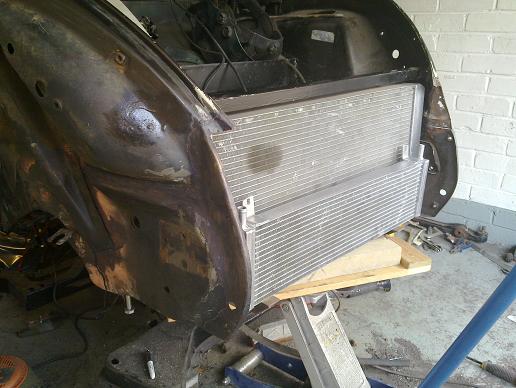
Steel cover to go over the radiators made up and all edges folded back on themselves to avoid sharp edges and scratching the body later on. It also stiffens up the panel nicely. Once I've welded on the front valance panel I'll add an extra couple of fixing points at the front.
Steel cover to go over the radiators made up and all edges folded back on themselves to avoid sharp edges and scratching the body later on. It also stiffens up the panel nicely. Once I've welded on the front valance panel I'll add an extra couple of fixing points at the front.
Sorry for the lack of posts recently, the biggest job has been stripping the underneath of the whole body to get it all painted in epoxy mastic. Bloody horrible job!
I took a gamble on a 996/boxster spacesaver wheel fitting and it does with loads of space to spare in a variety of positions! For interest, the tyre size is 105/95R17.
I cleaned up the rear of the front valance and welded on some bolts for the intake mesh, all edges prepped for plug welding on.

50x3mm strip with captive nuts welded on to the bottom between the inner wings to give a rigid mounting face for the air dam.

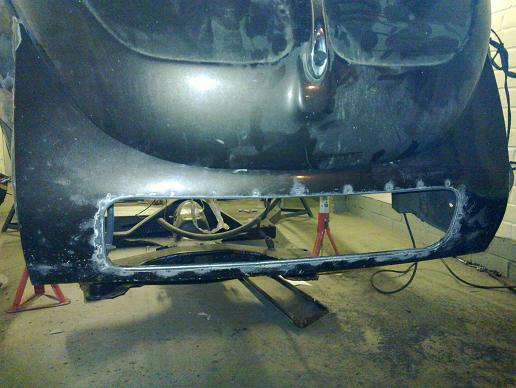
Front valance plug welded back on along the sides and bottom and then painted up in the epoxy. It's made the whole front end incredibly rigid!You can see I also painted the whole underside of the body in epoxy.
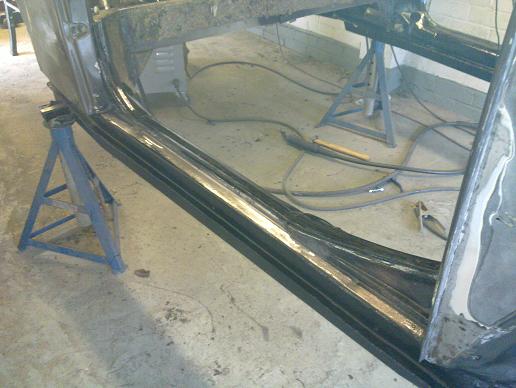
Carpet strip plug welded back on to the top of the heater channel and painted.
rear interior modified bodywork given a good epoxy coating
Rear end also got the epoxy treatment. Just about ready to start on the external paint prep now!
I took a gamble on a 996/boxster spacesaver wheel fitting and it does with loads of space to spare in a variety of positions! For interest, the tyre size is 105/95R17.
I cleaned up the rear of the front valance and welded on some bolts for the intake mesh, all edges prepped for plug welding on.
50x3mm strip with captive nuts welded on to the bottom between the inner wings to give a rigid mounting face for the air dam.
Front valance plug welded back on along the sides and bottom and then painted up in the epoxy. It's made the whole front end incredibly rigid!You can see I also painted the whole underside of the body in epoxy.
Carpet strip plug welded back on to the top of the heater channel and painted.
rear interior modified bodywork given a good epoxy coating
Rear end also got the epoxy treatment. Just about ready to start on the external paint prep now!
Gassing Station | Readers' Cars | Top of Page | What's New | My Stuff