500+bhp Mk3 Fiesta Project
Discussion
E36Ross said:
Have you a finis number for the accessory caps?
Have those wheels on my Mk6 but with standard caps.
Here you go https://www.ebay.de/itm/Ford-RS-Logo-13-14-15-16-Z...Have those wheels on my Mk6 but with standard caps.
Jacking Points - Complete
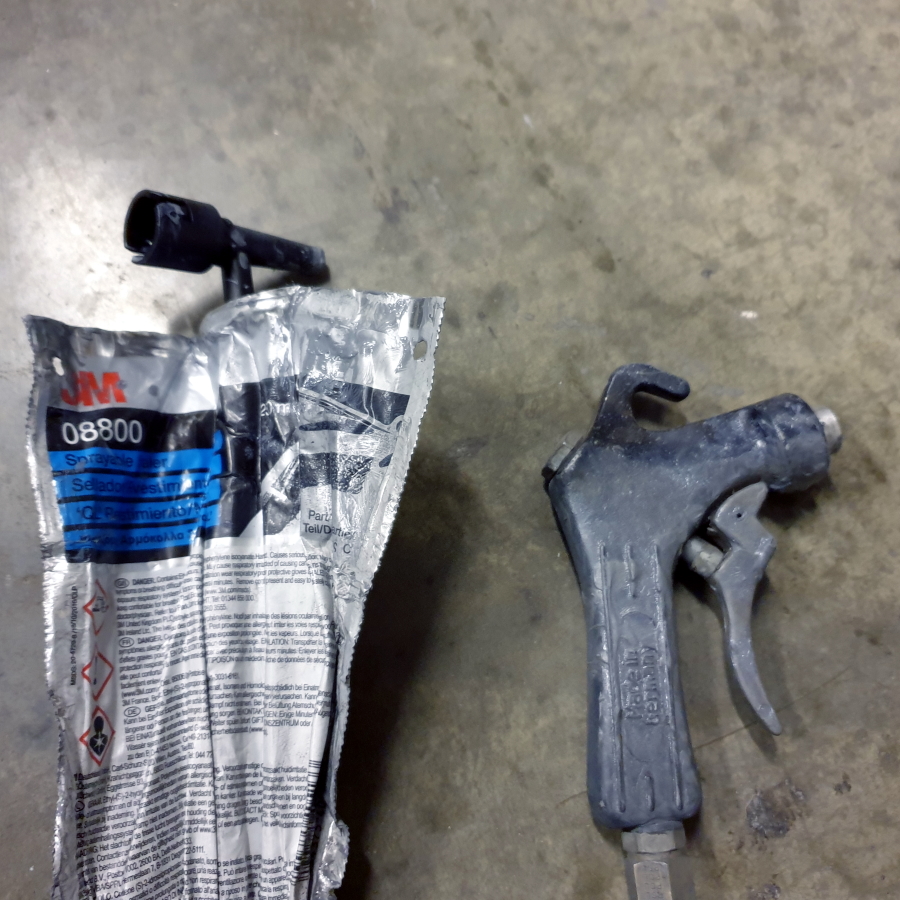
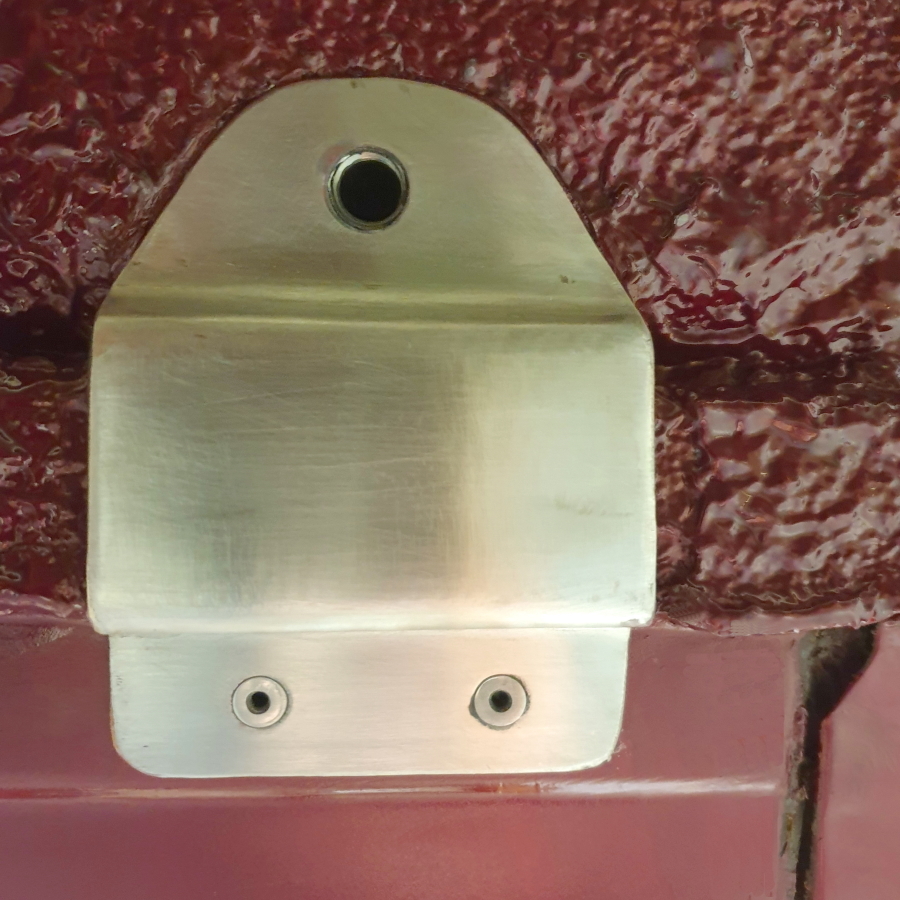
The jacking points are complete and fitted. I let them in to the existing underseal and neated up by blending with some additional 3M 08800 sealer.
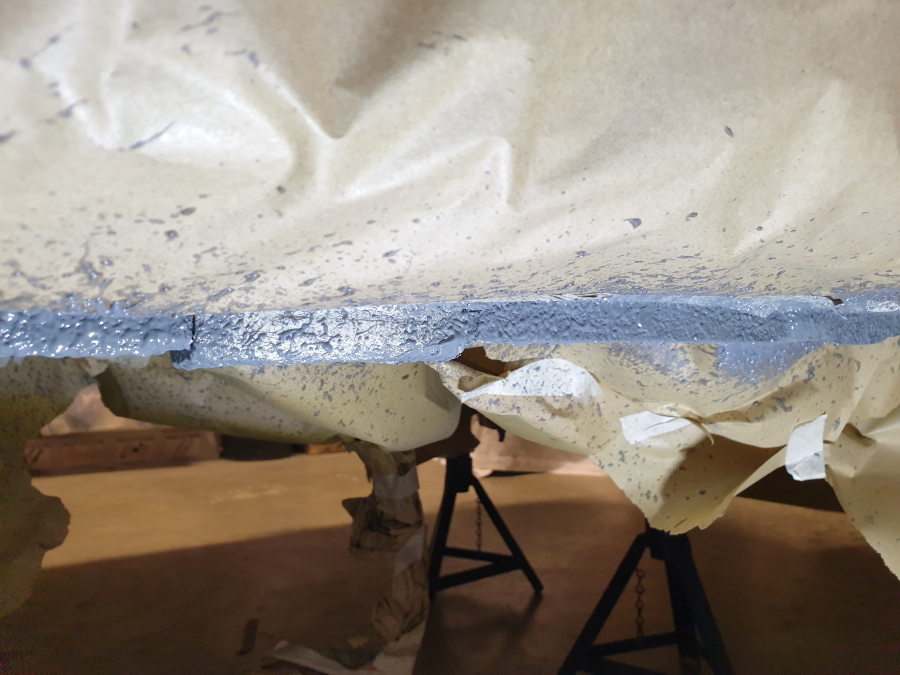
Finishing involved paint and lacquer but was worth it for the finished result .The rear pads double up as a handbrake cable mount using the OEM clips.
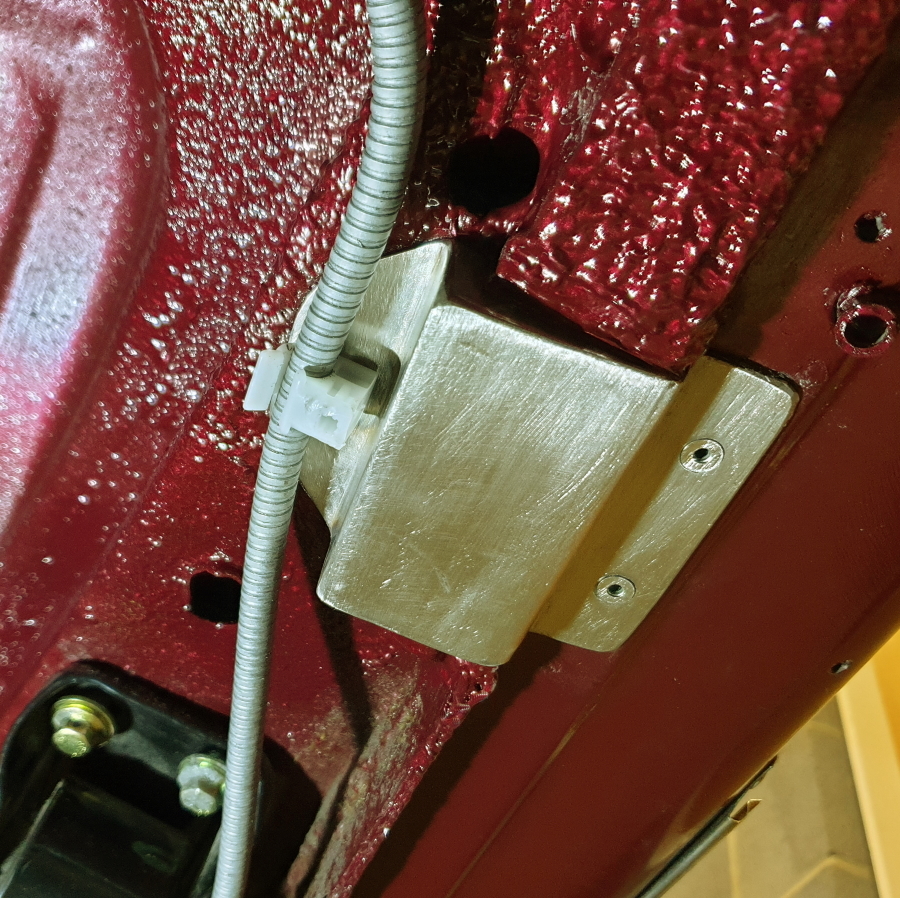
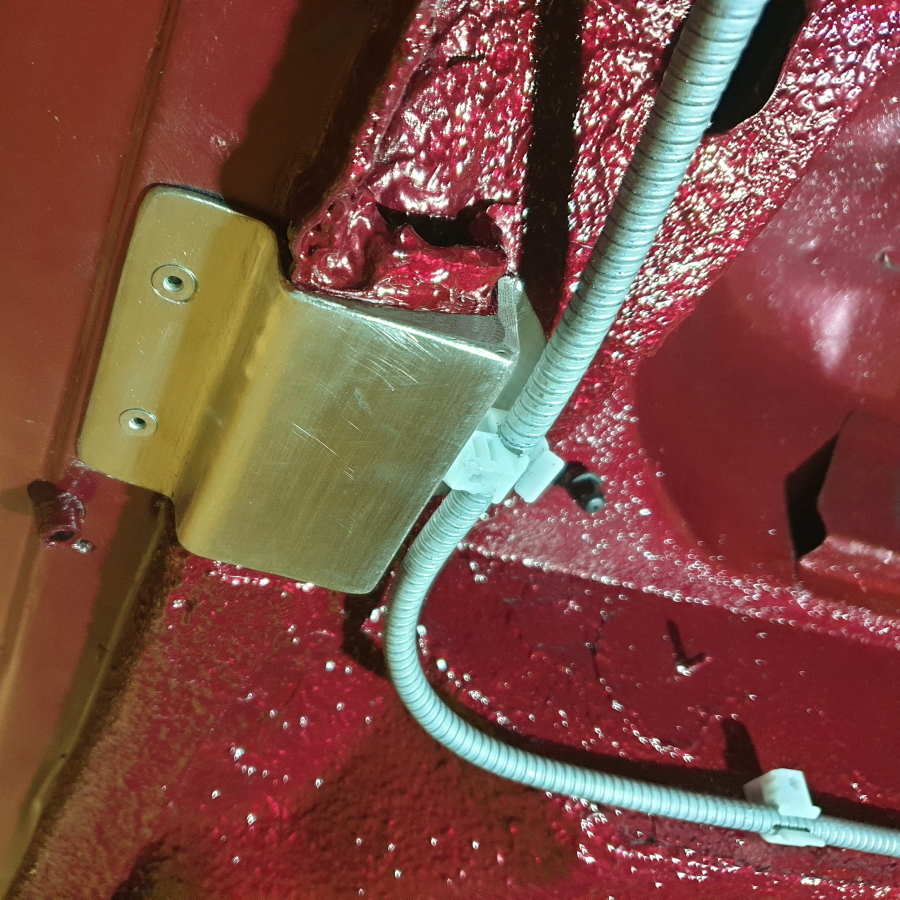
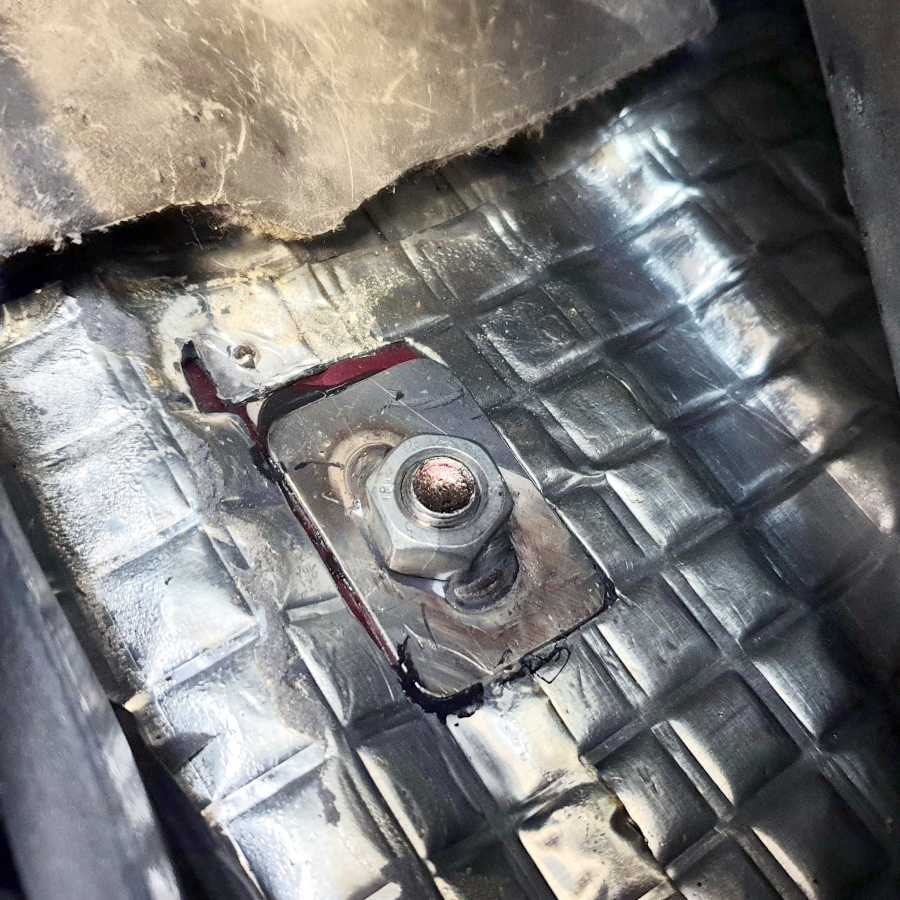
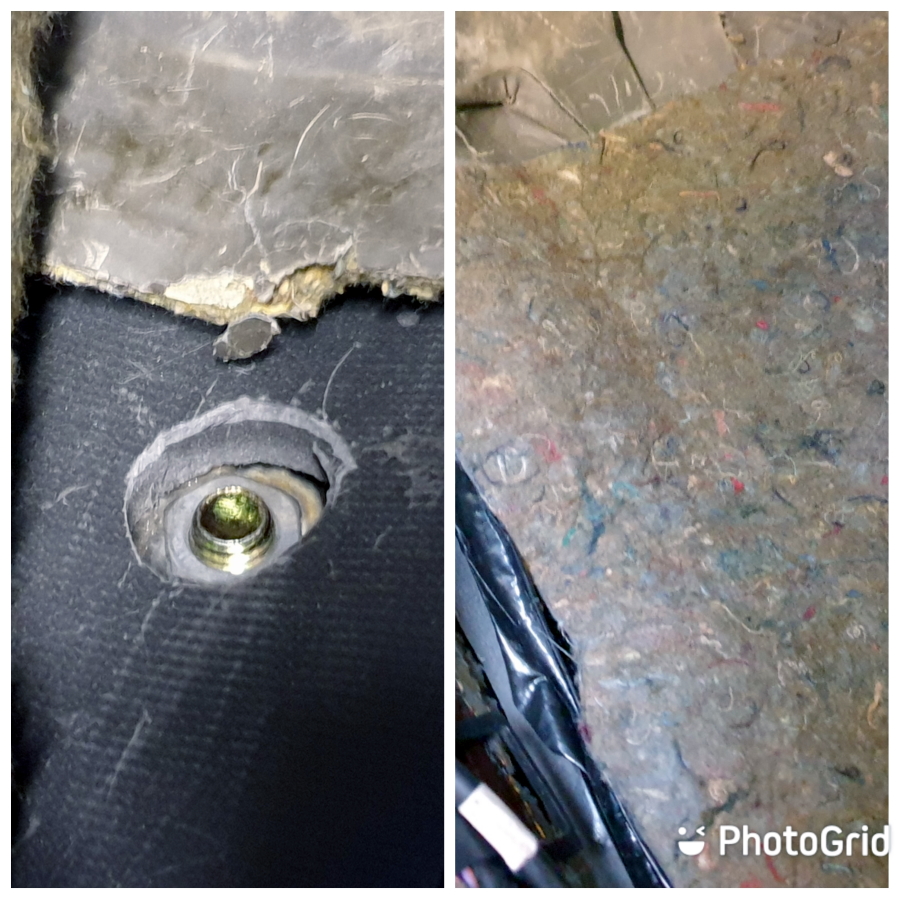
The front pads installed showing the captive fitting for a chassis brace. I bonded the spreader plate/captive fitting to the inside of the floor with a relief in the first (new) layer of sound deadening foam for the nut, and the original felt underlay covers all of that. The fittings are undetectable underneath the carpet.
Car Phone
I had DMB make small Ford decals. I wasn't sure what size would look best so ordered different sizes. 15mm was perfect.
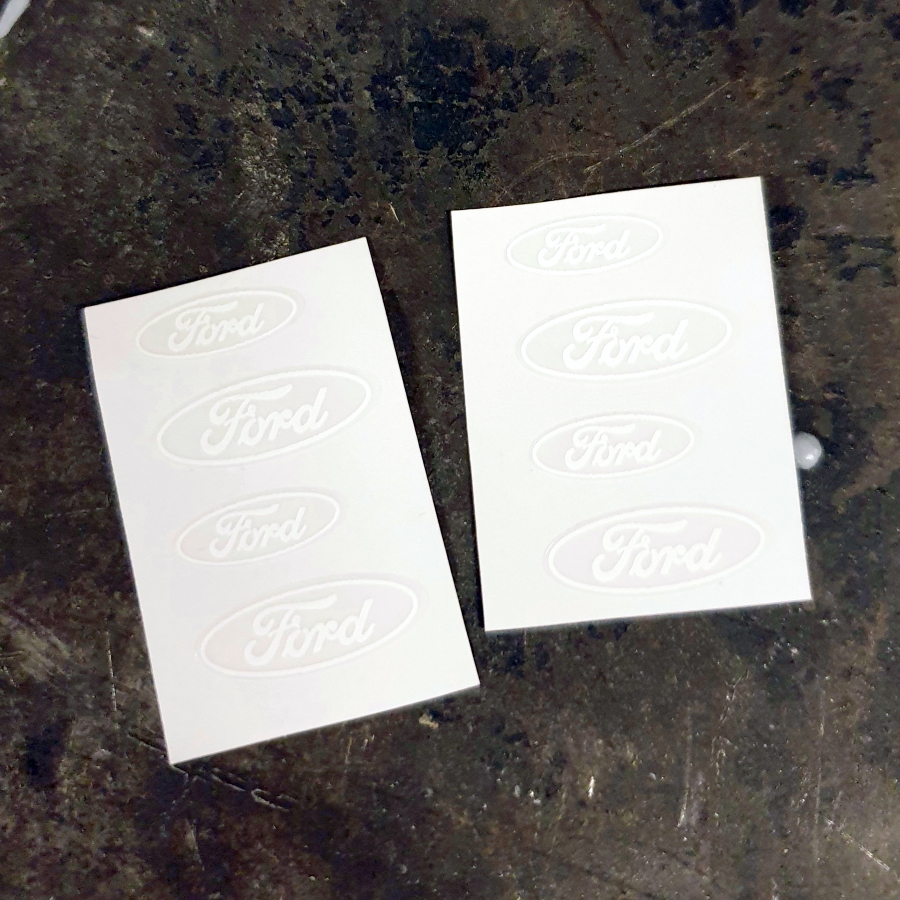
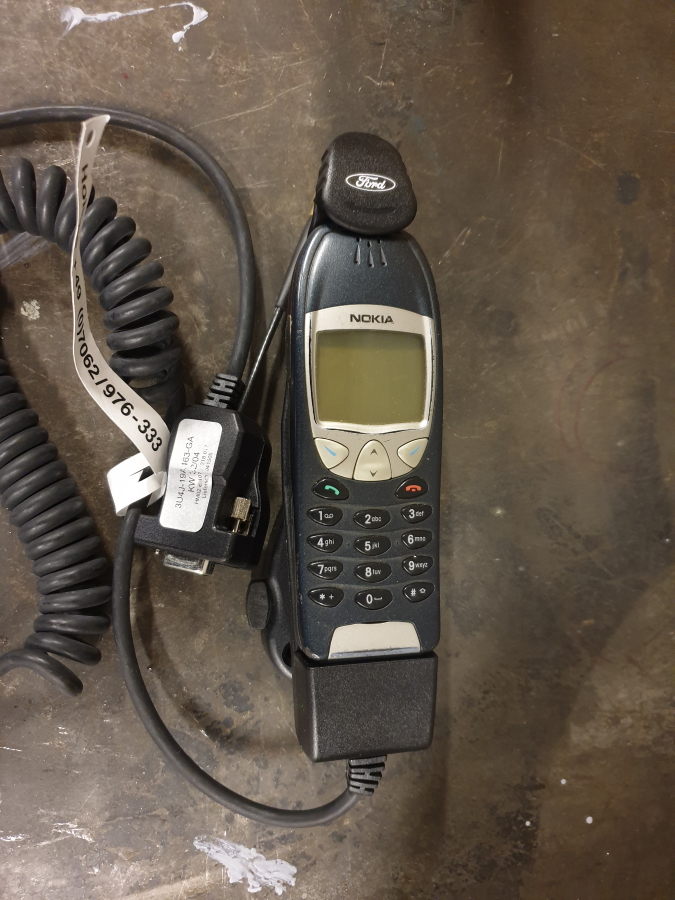
Ford oval stuck to phone mount. The Nokia 6210 arrived but is a bit tatty so I'll order a new case for it before sending to paint to be matched to the dashboard trim.
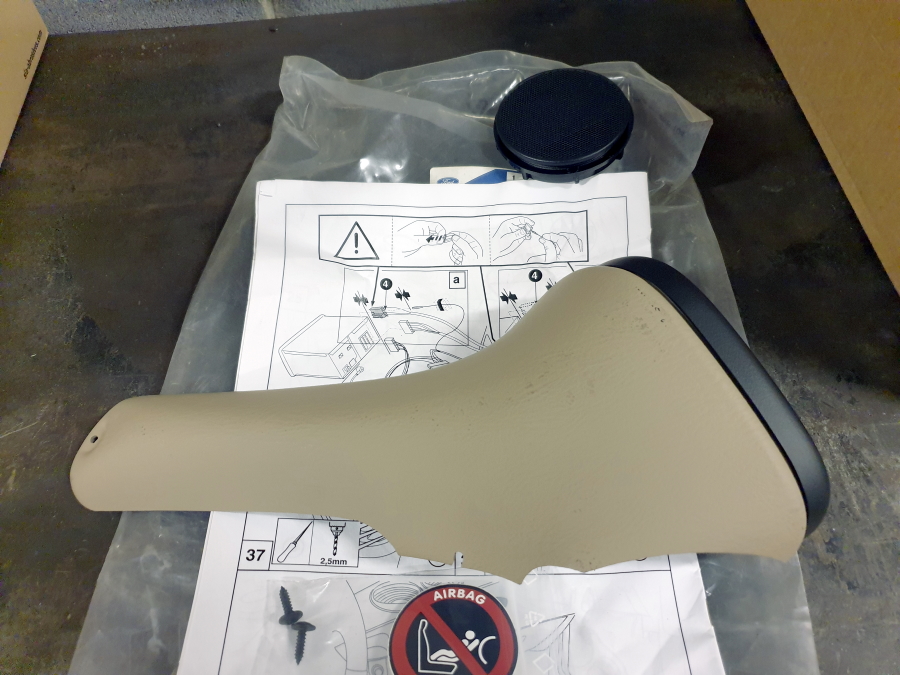
I found a dashboard bezel for the phone kit. These parts are long discontinued so I couldn't be picky when it came to the trim colour. I've ordered a can of SEM Classic Coat 17073 Medium Dark Graphite to match the dashboard; I used that product on the Golf arm rest and the match was absolutely perfect.
Misc
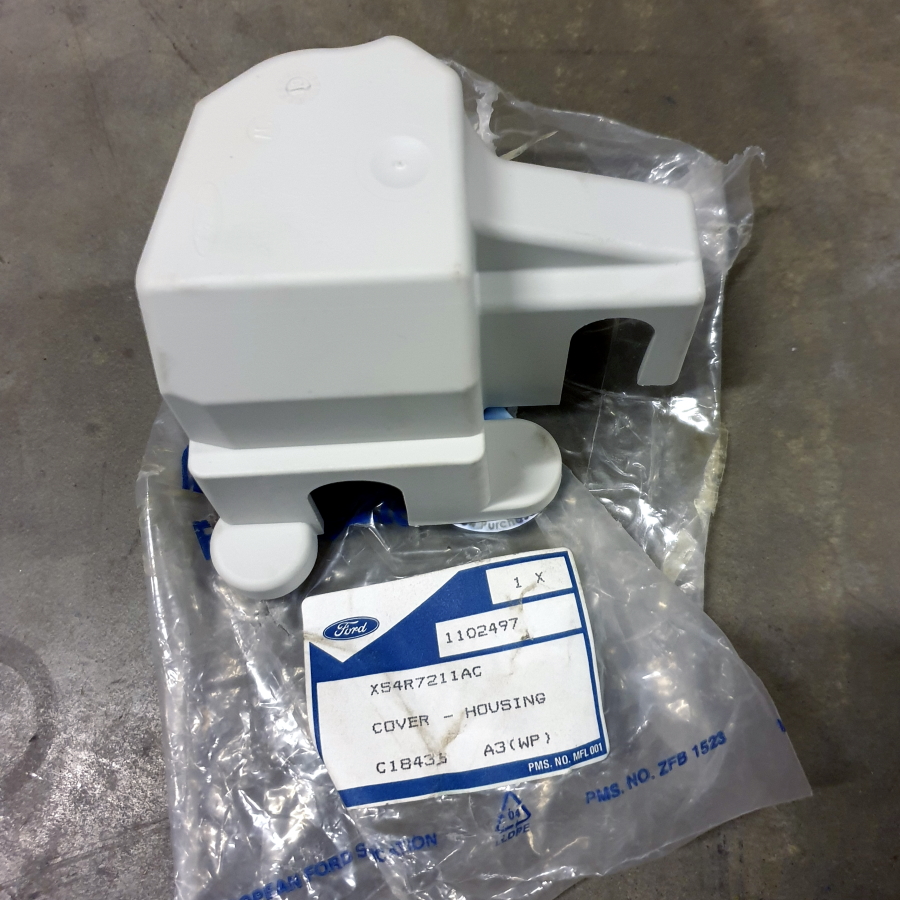
My Focus RS gearbox did not have a shift mechanism tower cover - I don't know if they are supposed to or not but I found a new Focus part that I will modify to fit.
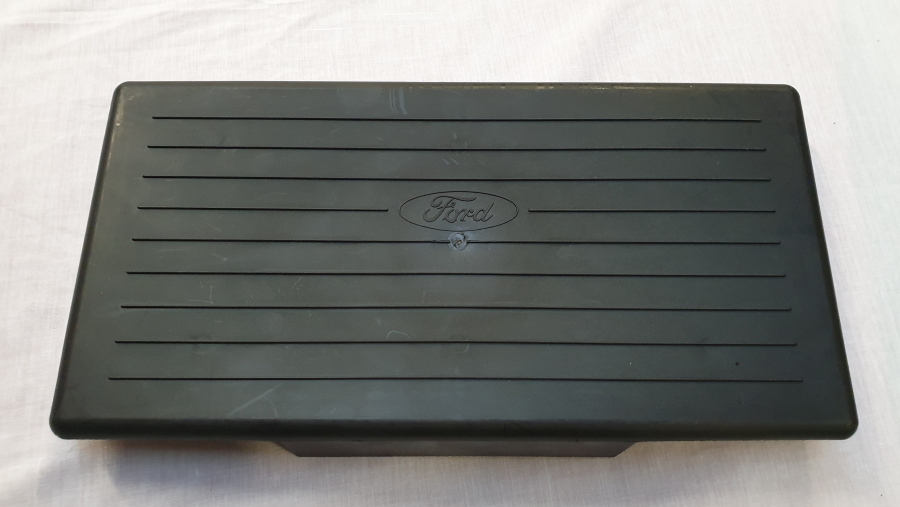
I also found a genuine Ford period battery cover to suit a larger capacity battery, which I will use in place of the original ~50Ah version.
Handbrake Cable
The handbrake is from a Mk1.5 Focus, the handbrake cable from a Racing Puma, and of course the car is an earlier Fiesta so the two cables don't quite marry up. My next task is to fabricate something to join the Puma front cable to Puma rear.
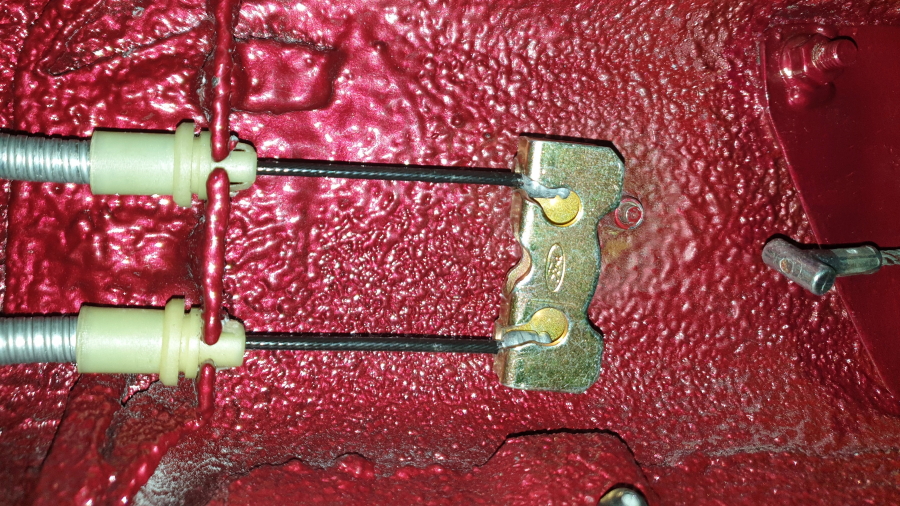
In places the underside is dusty so I'll give that a clean, too.
The jacking points are complete and fitted. I let them in to the existing underseal and neated up by blending with some additional 3M 08800 sealer.


Finishing involved paint and lacquer but was worth it for the finished result .The rear pads double up as a handbrake cable mount using the OEM clips.


The front pads installed showing the captive fitting for a chassis brace. I bonded the spreader plate/captive fitting to the inside of the floor with a relief in the first (new) layer of sound deadening foam for the nut, and the original felt underlay covers all of that. The fittings are undetectable underneath the carpet.


Car Phone
I had DMB make small Ford decals. I wasn't sure what size would look best so ordered different sizes. 15mm was perfect.

Ford oval stuck to phone mount. The Nokia 6210 arrived but is a bit tatty so I'll order a new case for it before sending to paint to be matched to the dashboard trim.

I found a dashboard bezel for the phone kit. These parts are long discontinued so I couldn't be picky when it came to the trim colour. I've ordered a can of SEM Classic Coat 17073 Medium Dark Graphite to match the dashboard; I used that product on the Golf arm rest and the match was absolutely perfect.

Misc
My Focus RS gearbox did not have a shift mechanism tower cover - I don't know if they are supposed to or not but I found a new Focus part that I will modify to fit.

I also found a genuine Ford period battery cover to suit a larger capacity battery, which I will use in place of the original ~50Ah version.

Handbrake Cable
The handbrake is from a Mk1.5 Focus, the handbrake cable from a Racing Puma, and of course the car is an earlier Fiesta so the two cables don't quite marry up. My next task is to fabricate something to join the Puma front cable to Puma rear.

In places the underside is dusty so I'll give that a clean, too.
Edited by mwstewart on Wednesday 23 December 14:37
I spent a couple of hours this evening fabricating a new handbrake cable yoke. I had in stock a spare Puma yoke which made the job a lot quicker, so the plan was to fabricate something to join the two together. I settled on the shank of a stainless M8 bolt which I welded on to the centre of one original yoke.
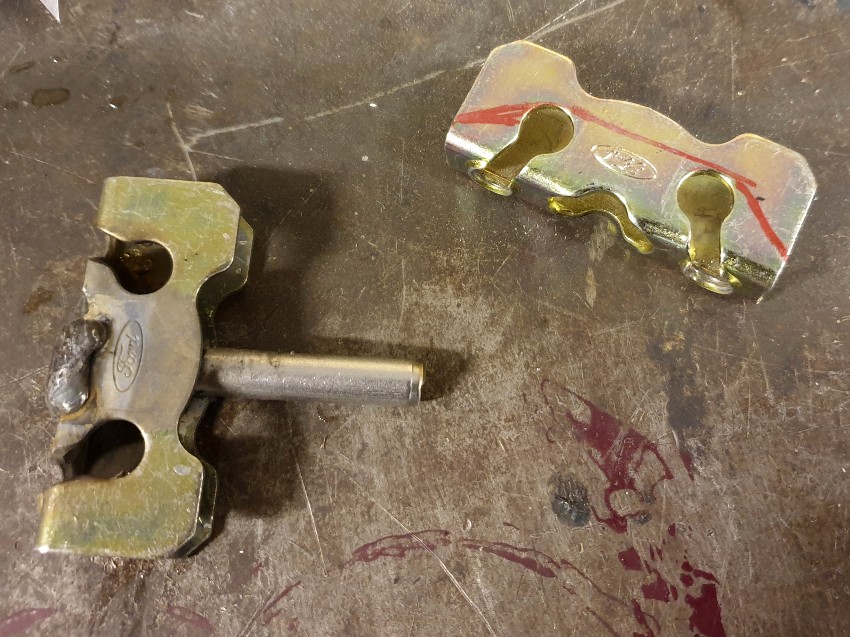
The handbrake side of the yoke needed clearance to allow the nipple to be pushed through the yoke and turned 90 degrees. To provide this clearance I heated and bent another stainless bolt to form a curve.
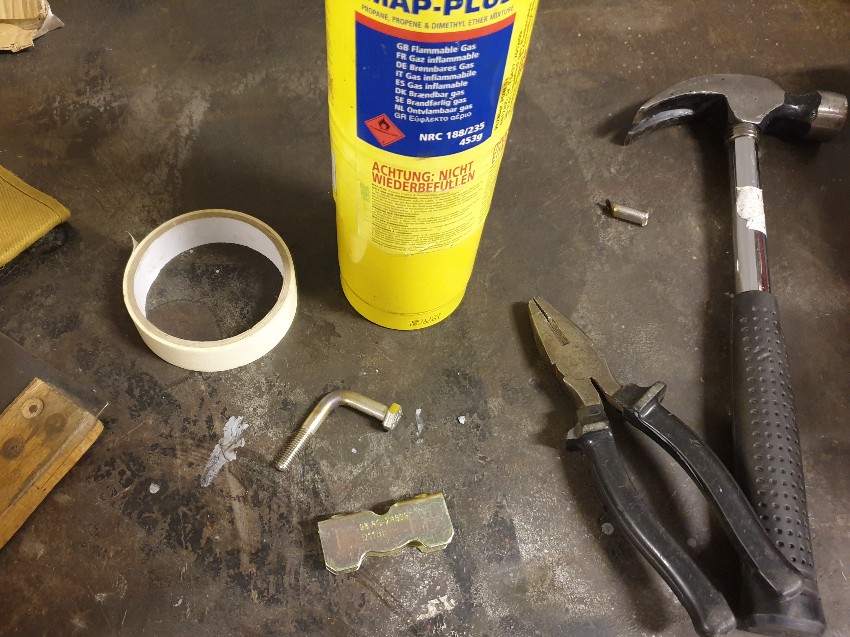
I welded the two bolt sections together which gave the required 40mm clearance between each yoke. I etch primed and finished in Plasti-kote gold. Note: not Plasti-dip which is a temporary finish.
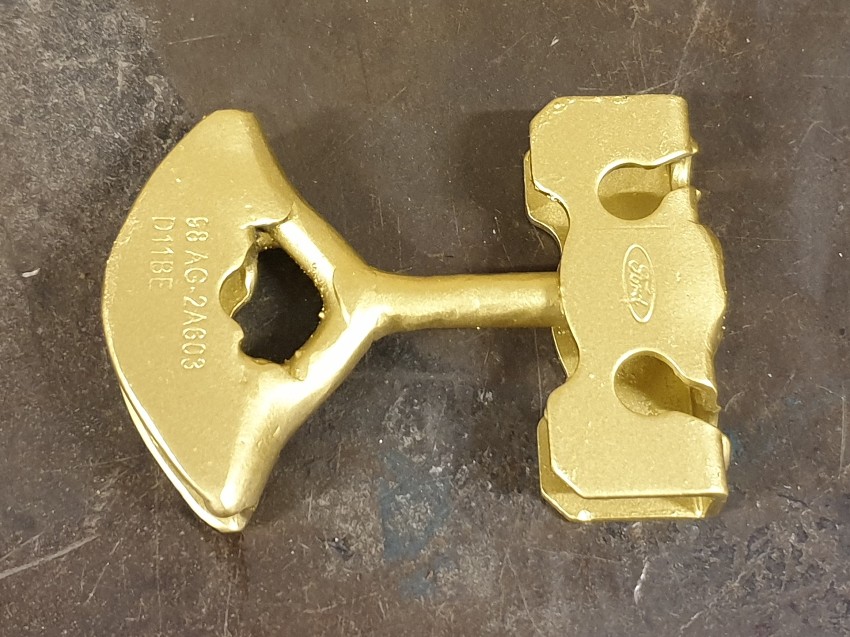
New yoke mounted and handbrake adjusted - the adjustment nut still has 90% of its travel available which will maximise the service life of the cable.
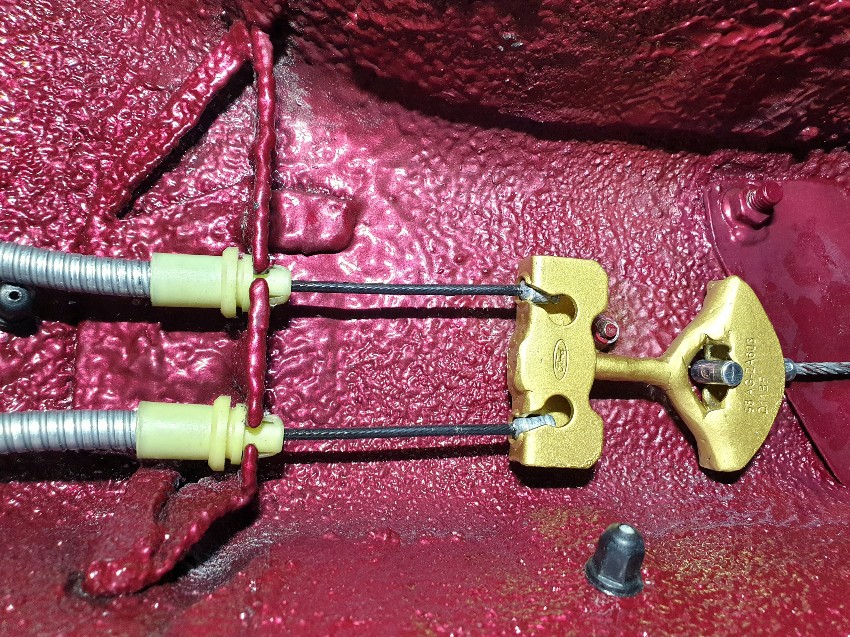

The handbrake side of the yoke needed clearance to allow the nipple to be pushed through the yoke and turned 90 degrees. To provide this clearance I heated and bent another stainless bolt to form a curve.

I welded the two bolt sections together which gave the required 40mm clearance between each yoke. I etch primed and finished in Plasti-kote gold. Note: not Plasti-dip which is a temporary finish.

New yoke mounted and handbrake adjusted - the adjustment nut still has 90% of its travel available which will maximise the service life of the cable.

Fuel, Brake, and Evap Lines
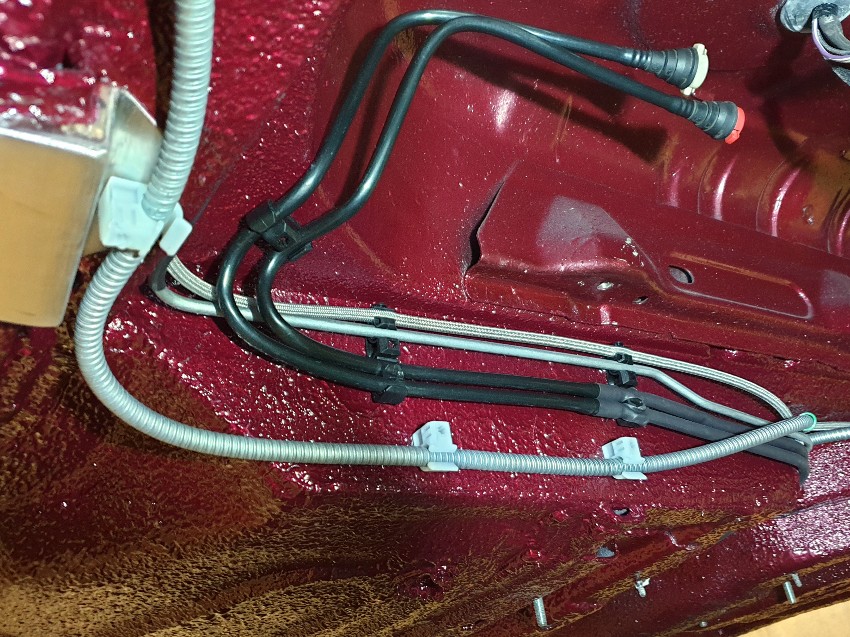
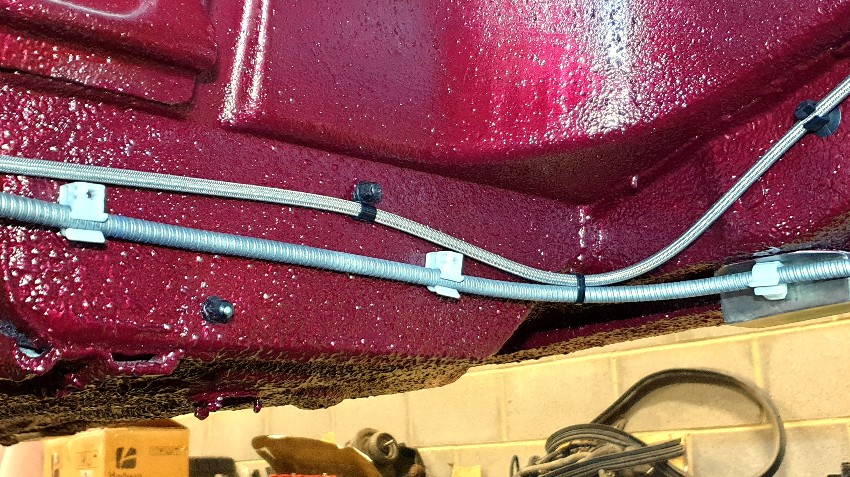
I have modified the various hard line and hose clips to suit PVC coated AN3 stainless hose which I've used in place of the original AN3 steel hard line.
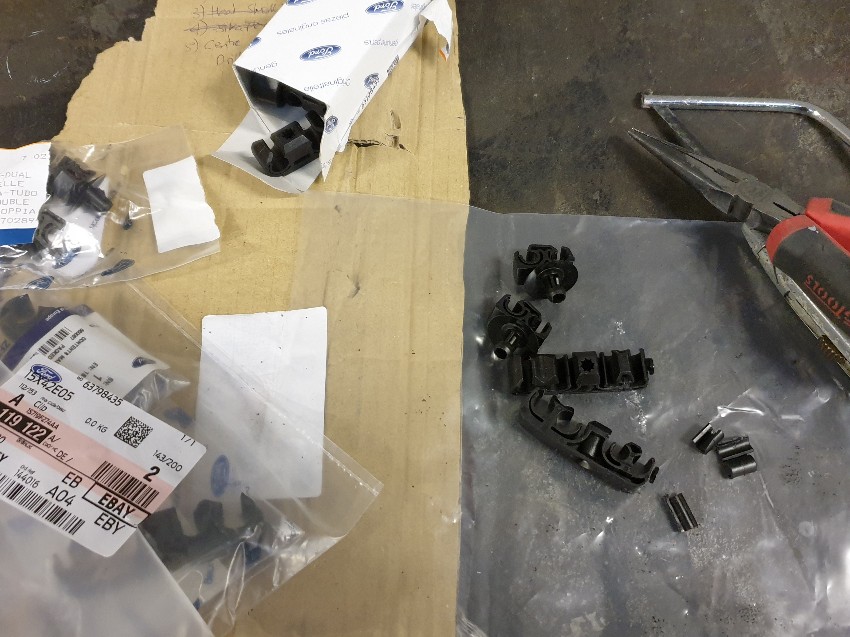
I'm using the original Ford AN6 fuel lines and AN4 evap line - AN6 will flow a sufficient amount of fuel for my needs.
All original lines are steel and finished in typical olive green paint, so in order to add some protection and chaffe resistance I have covered the fuel lines in heat shrink and sprayed the evap line silver.
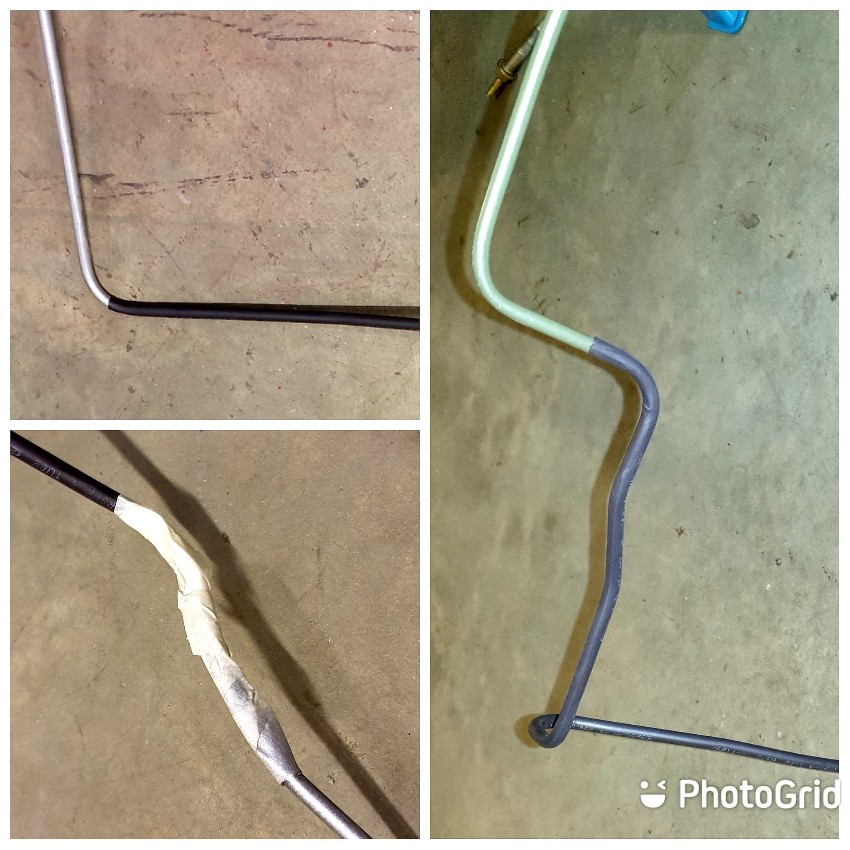
Fuel, evap, and new AN3 braided hoses in the OEM underbody pipe clips.
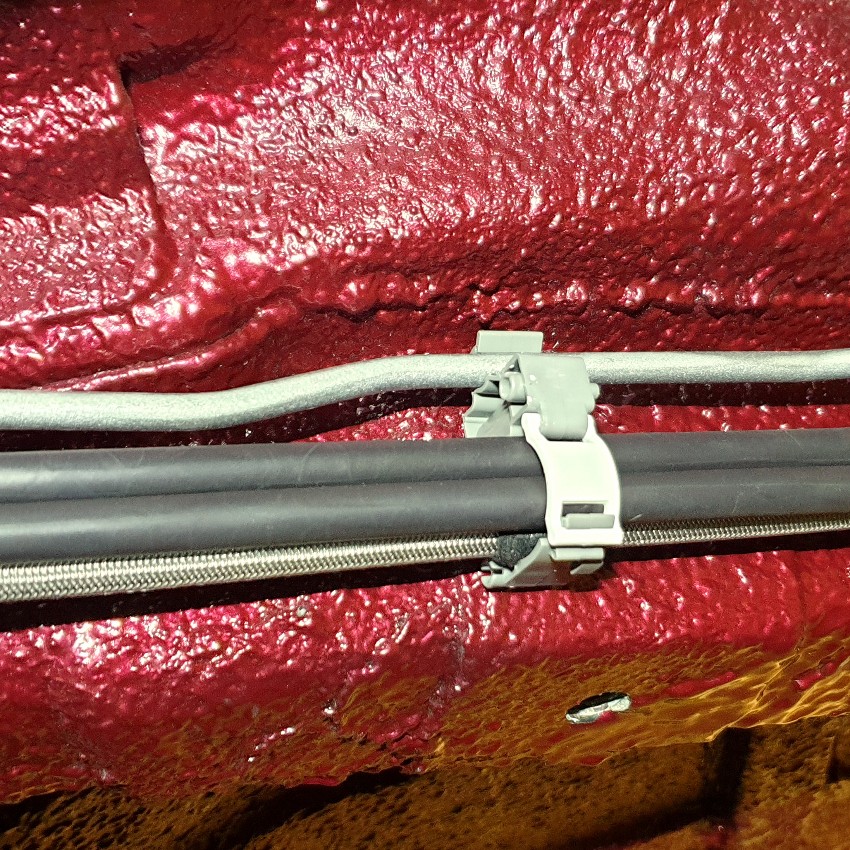
Lines fitted at the rear of the car.

Evap and fuel lines in the engine bay. New Ford pipe clips used.
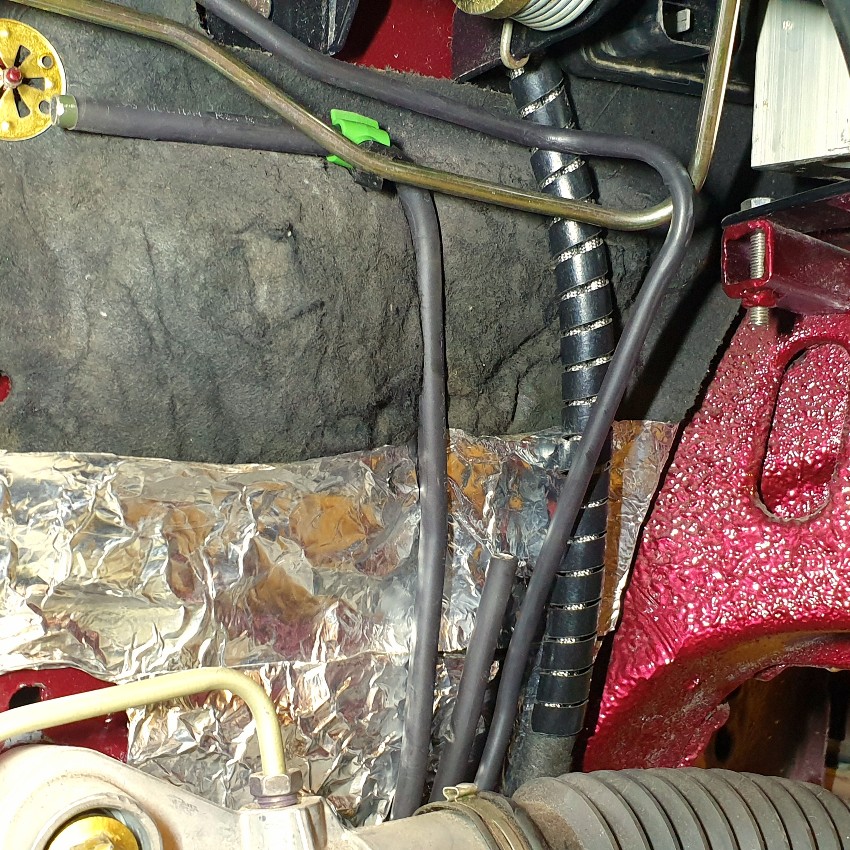
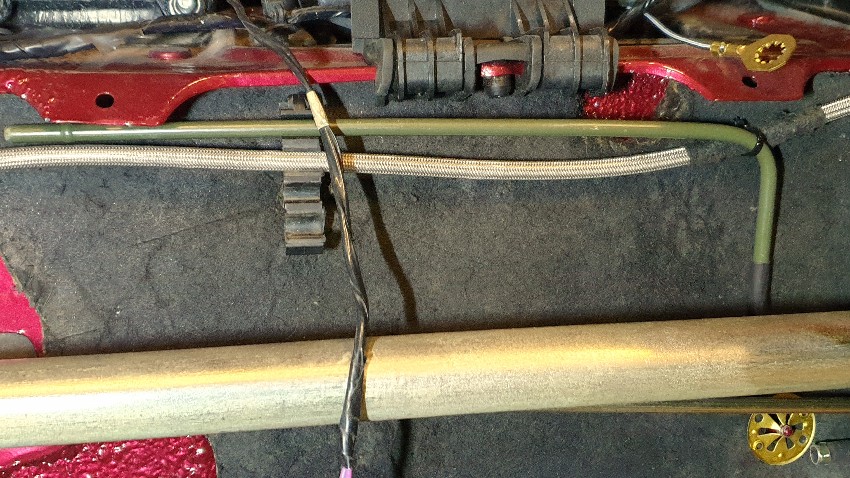
I have modified the various hard line and hose clips to suit PVC coated AN3 stainless hose which I've used in place of the original AN3 steel hard line.

I'm using the original Ford AN6 fuel lines and AN4 evap line - AN6 will flow a sufficient amount of fuel for my needs.
All original lines are steel and finished in typical olive green paint, so in order to add some protection and chaffe resistance I have covered the fuel lines in heat shrink and sprayed the evap line silver.

Fuel, evap, and new AN3 braided hoses in the OEM underbody pipe clips.

Lines fitted at the rear of the car.


Evap and fuel lines in the engine bay. New Ford pipe clips used.


Thank you.
Fuel Rail Hose
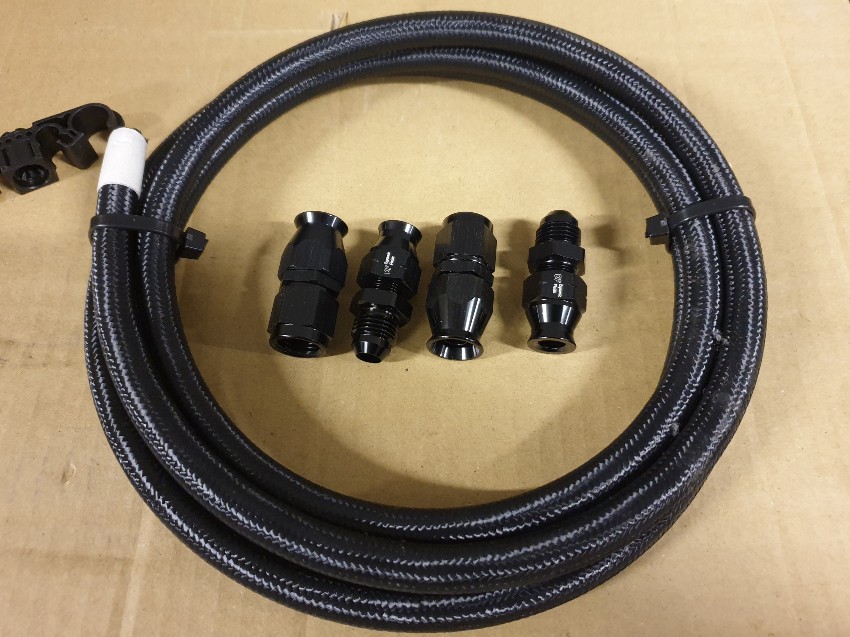
I've made up the hose to link fuel hard lines to the fuel rail. AN6 Teflon lined stainless braided hose with a black nylon outer braid which is a bit kinder to anything it comes into contact with.
AN6 hardline fittings used to connect to the normal AN6 hose fittings.
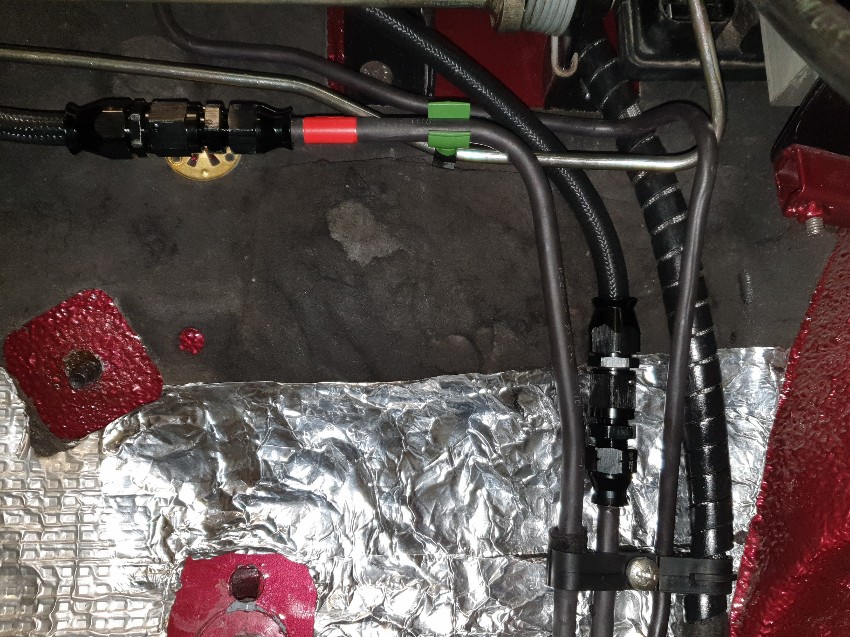
Everything in place. Red tape to signify the return as per Ford spec: white for feed and red for return. I also modified a Focus underbody fuel line clamp and used it to keep all lines tight to the bulkhead and away from the steering rack gaiter.
Fuel Rail Hose
I've made up the hose to link fuel hard lines to the fuel rail. AN6 Teflon lined stainless braided hose with a black nylon outer braid which is a bit kinder to anything it comes into contact with.
AN6 hardline fittings used to connect to the normal AN6 hose fittings.

Everything in place. Red tape to signify the return as per Ford spec: white for feed and red for return. I also modified a Focus underbody fuel line clamp and used it to keep all lines tight to the bulkhead and away from the steering rack gaiter.

today I realised the reason I wasn't seeing photos in this thread is that Virgin Media has a child safe setting - and it thinks photos of a Ford Fiesta are not suitable for viewing by children.
I can't even be bothered to start to think why Virgin have decided this is unsuitable for kids. I've tuned off child safe instead.
I can't even be bothered to start to think why Virgin have decided this is unsuitable for kids. I've tuned off child safe instead.
_dobbo_ said:
today I realised the reason I wasn't seeing photos in this thread is that Virgin Media has a child safe setting - and it thinks photos of a Ford Fiesta are not suitable for viewing by children.
I can't even be bothered to start to think why Virgin have decided this is unsuitable for kids. I've tuned off child safe instead.
Good find but how odd!I can't even be bothered to start to think why Virgin have decided this is unsuitable for kids. I've tuned off child safe instead.
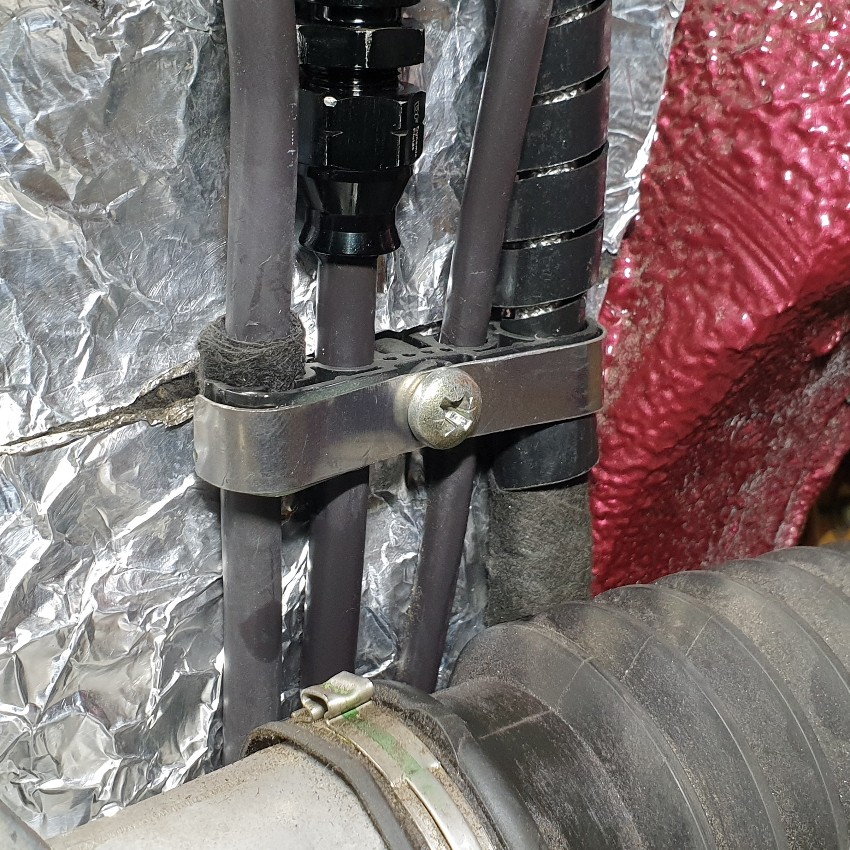
I noticed that the engine bay fuel line/brake line clip that I fitted yesterday had bowed slightly under compression of the securing screw. To address that I fabricated a reinforcing strap out of 0.5mm stainless sheet.
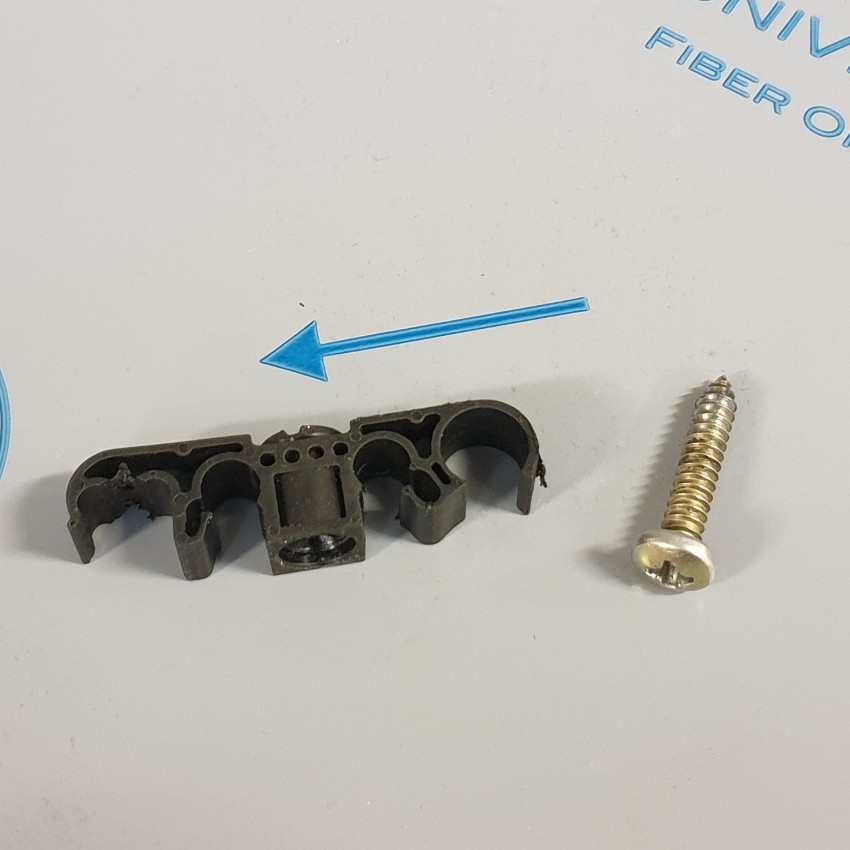
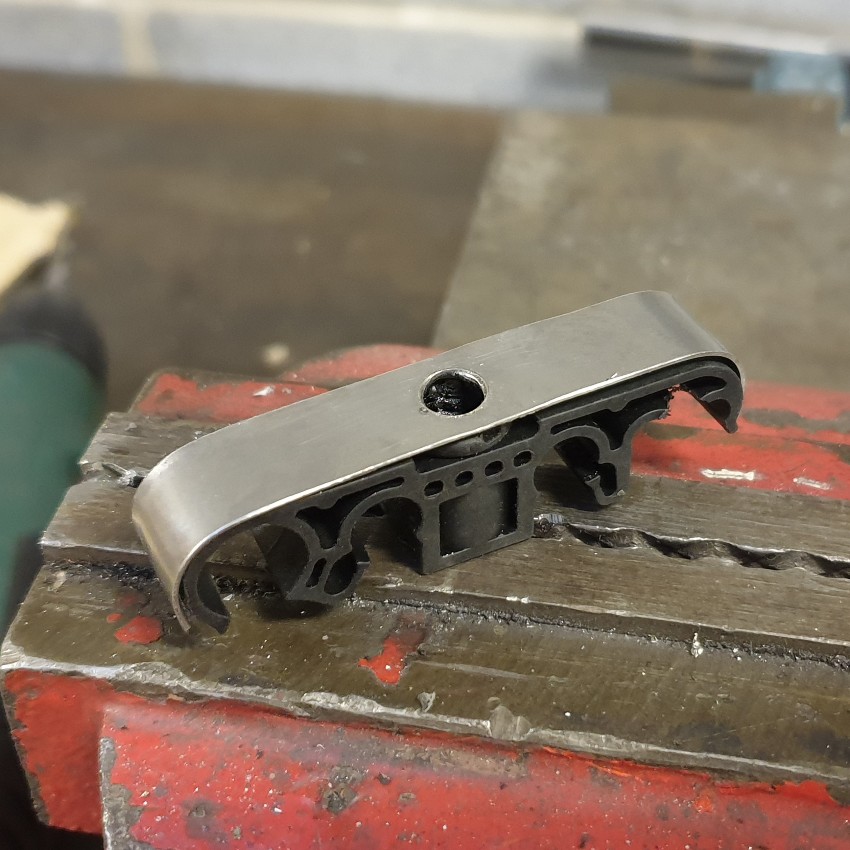
I used epoxy to bond the strap to the pipe clip. Problem solved.
Exhaust Heat Shield - Front
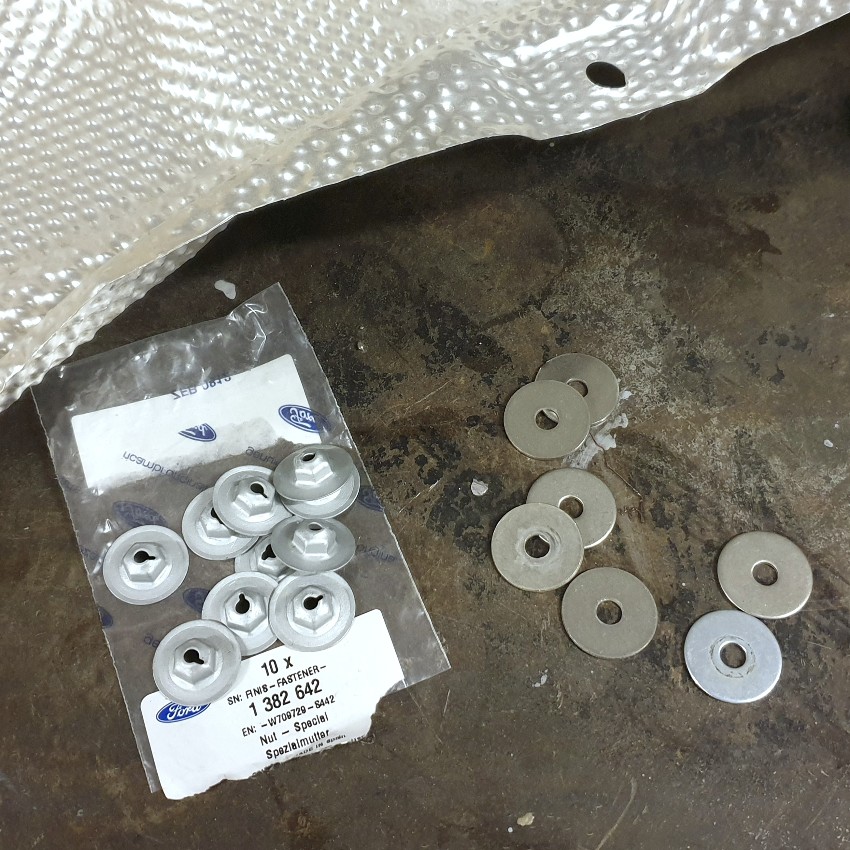
The fixing area of aluminium heat shields have a bit of a hard life: trapped water and electrolytic corrosion usually result in the aluminium shield disintegrating underneath its fastenings. Fiesta heat shields have long been NLA, so in order to preserve them I have smeared grease around both sides of the mounting points and isolated the steel fasteners from the aluminium with stainless washers.
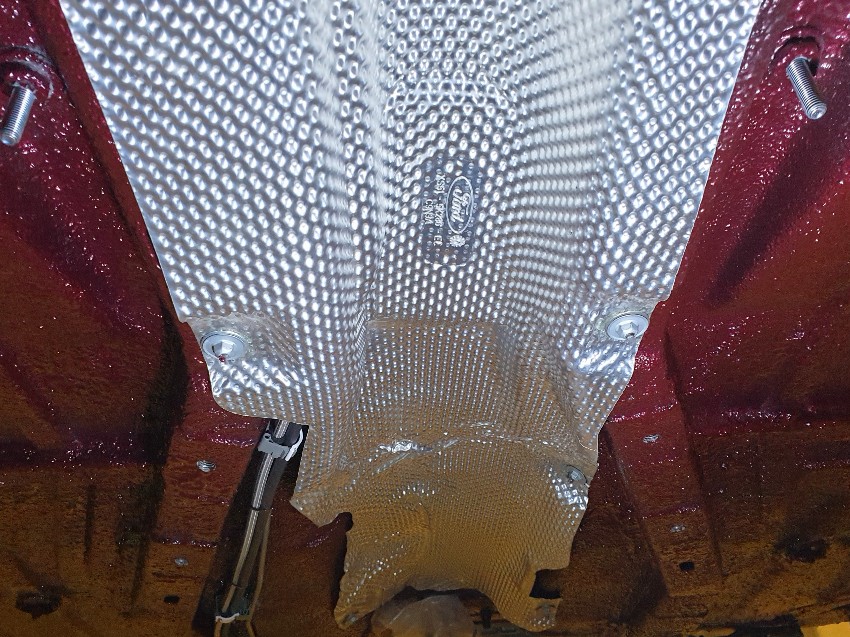
Shield fitted.


I used epoxy to bond the strap to the pipe clip. Problem solved.

Exhaust Heat Shield - Front
The fixing area of aluminium heat shields have a bit of a hard life: trapped water and electrolytic corrosion usually result in the aluminium shield disintegrating underneath its fastenings. Fiesta heat shields have long been NLA, so in order to preserve them I have smeared grease around both sides of the mounting points and isolated the steel fasteners from the aluminium with stainless washers.

Shield fitted.

mwstewart said:
Exhaust Heat Shield - Front
The fixing area of aluminium heat shields have a bit of a hard life: trapped water and electrolytic corrosion usually result in the aluminium shield disintegrating underneath its fastenings. Fiesta heat shields have long been NLA, so in order to preserve them I have smeared grease around both sides of the mounting points and isolated the steel fasteners from the aluminium with stainless washers.

Shield fitted.

I always wondered why this happens to heat shields - thanks for the explanation The fixing area of aluminium heat shields have a bit of a hard life: trapped water and electrolytic corrosion usually result in the aluminium shield disintegrating underneath its fastenings. Fiesta heat shields have long been NLA, so in order to preserve them I have smeared grease around both sides of the mounting points and isolated the steel fasteners from the aluminium with stainless washers.

Shield fitted.


B'stard Child said:
I always wondered why this happens to heat shields - thanks for the explanation 
Likewise... Very useful to know. 
My Fiesta ST of 2014 vintage has some broken fixings on the heat shield. This wasn't mentioned on the recent MoT (equivalent) so presumably it's not a worry to them. I'll get a new shield and fixings, and will grease 'em up!
Gassing Station | Readers' Cars | Top of Page | What's New | My Stuff


