Heater controls & temp gauge removal...
Discussion


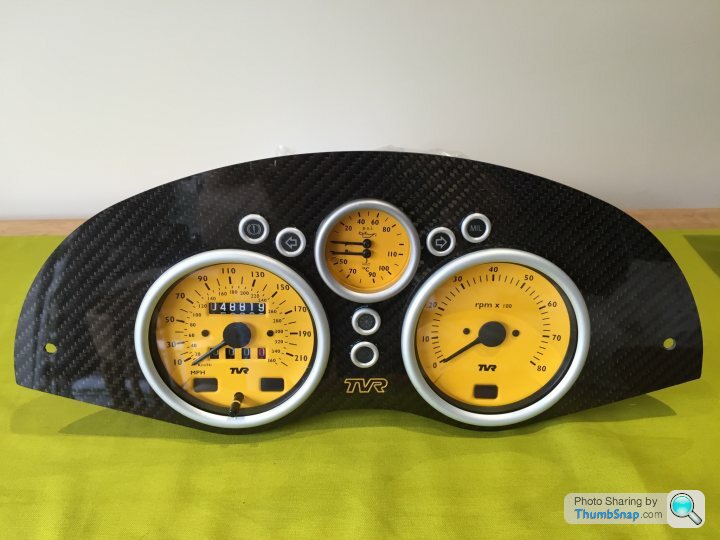
Just bought the Leven S/steel dash, I've removed the speedo & rev counter, but how does the fitting come out the back of the temp gauge? Don't want to break the bloody thing!
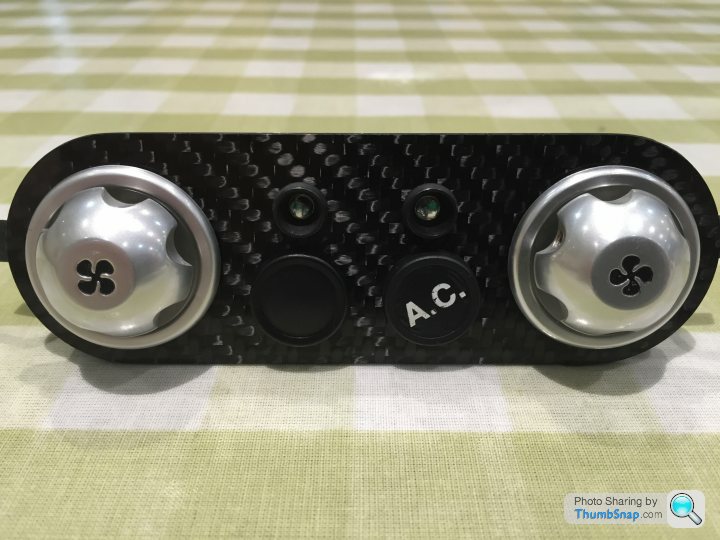
Also about to tackle the heater/fan controls are they removed by undoing the grub screws that hold their knobs on,( )and then removing the exposed nut on this spline?
Our is it held in from behind the dash?
Any help greatly appreciated guys
Also about to tackle the heater/fan controls are they removed by undoing the grub screws that hold their knobs on,(
)and then removing the exposed nut on this spline? Our is it held in from behind the dash?
Any help greatly appreciated guys
Recently done mine.
The temp gauge capillary tube has to be disconnected from the coolant pipe in the engine bay. Its near the steering rack. Cut the tiewraps and feed it through the bulk head. Should take 30mins or so. Be careful not to put any sharp bends in it.
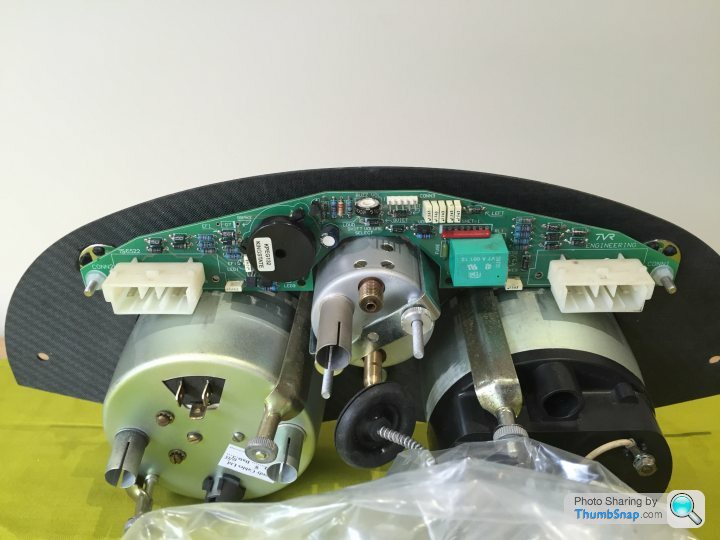
The heater control panel is held in place by two thin metal straps bolted to the back of it. Put your hand up the back of the dash and you should feel them. I simply bent mine out of place to remove the panel since the securing nuts were imposible to remove in situ!
The temp gauge capillary tube has to be disconnected from the coolant pipe in the engine bay. Its near the steering rack. Cut the tiewraps and feed it through the bulk head. Should take 30mins or so. Be careful not to put any sharp bends in it.
The heater control panel is held in place by two thin metal straps bolted to the back of it. Put your hand up the back of the dash and you should feel them. I simply bent mine out of place to remove the panel since the securing nuts were imposible to remove in situ!
Thanks BB, looks like the way to go then.
What happens should the temp gauge need replacing, surely that copper fitting must come out of the gauge somehow?
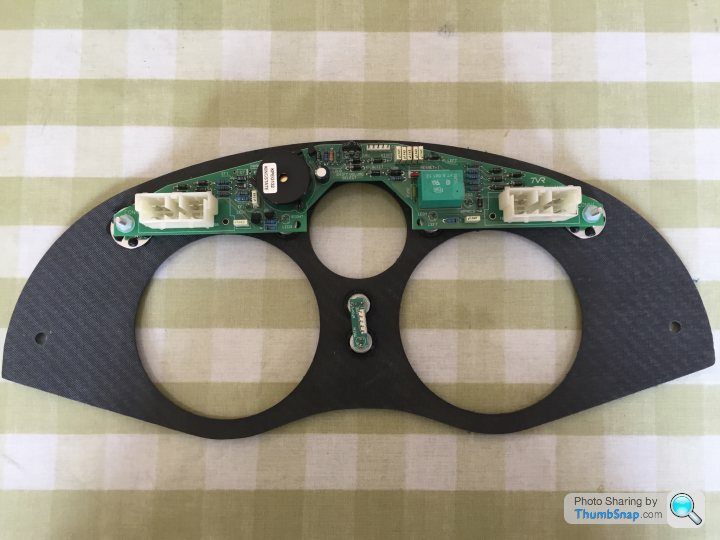
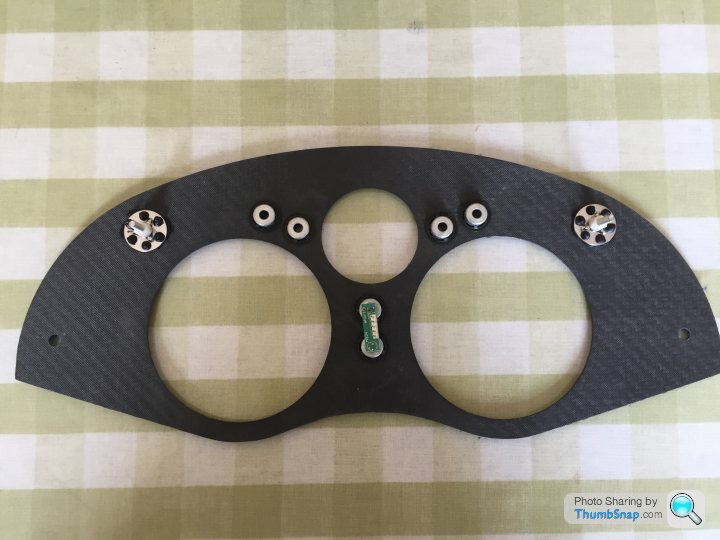
How did you get on with the pcb board mounted on the back of the original dash, is it easy to swap over to the new dash (does the new dash have the mounting studs, already on it?) or do I need to get the glue gun ready to fix my own studs to it?
What happens should the temp gauge need replacing, surely that copper fitting must come out of the gauge somehow?
How did you get on with the pcb board mounted on the back of the original dash, is it easy to swap over to the new dash (does the new dash have the mounting studs, already on it?) or do I need to get the glue gun ready to fix my own studs to it?
The capillary sensor of the temperature gauge is a sealed unit and cannot be dismantled. The gauge works by the liquid inside the capillary expanding and contracting with changes in temperature causing a deflection of the gauge needle. If the capilary is broken into in any way the temperature gauge is useless without being resealed and callibrated by a specialist company.
Regards
Simon.
Regards
Simon.
Hi
The gauge is a one piece unit and cannot be split...I did try. Be sure not to break it since it's not cheap.
My dash panel was home made so I had to glue mounting studs on it to hold the PCB. Go very steady - its appears to be quite fragile. The warning light holders were tricky since they were held in place by a serrated lock washer that needed prising off. Be sure you put them back in the right place....sounds obvious but its a pain if you don't find out until the whole thing is reassembled.
Disconnet cables carefully and don't bend the pins on re-insertion. Make sure power is off before you start.
I recall the heater control panel being difficult since the LED's were buried in the holder and glued in.
Good luck
Holy thread resurrection!
I tried to replace the bulb in my speedo and the veneer has practically fallen off the dash panel. To remove the gauges I have to disconnect the capillary at the opposite end but do I need to drain the coolant or can I just remove the bulb/sender without leakage?
Seems a spectacularly complex job to replace the dash panel.
pmessling said:
If you don't want it re-vaneered or have a second thought on another type then I have have supplied stainless or aluminium ones. Engine turned ones look really good.
How much are they?I like the idea of keeping mine original but I do like the machine turned look. It might also get the Cerb back on the road sooner as she's now half dismantled and I've yet to try to remove the capillary bulb, I've no idea how long the dash would take to re-veneer.
Revvit said:
I’ll upload a few photos from when I did mine which might help.
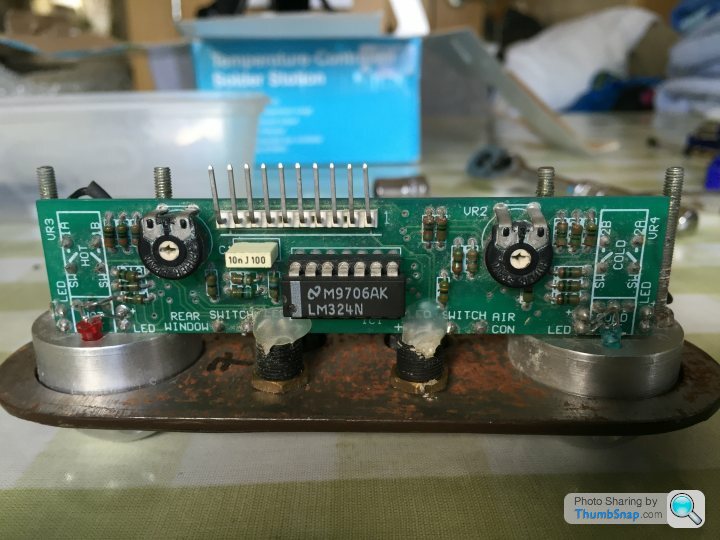
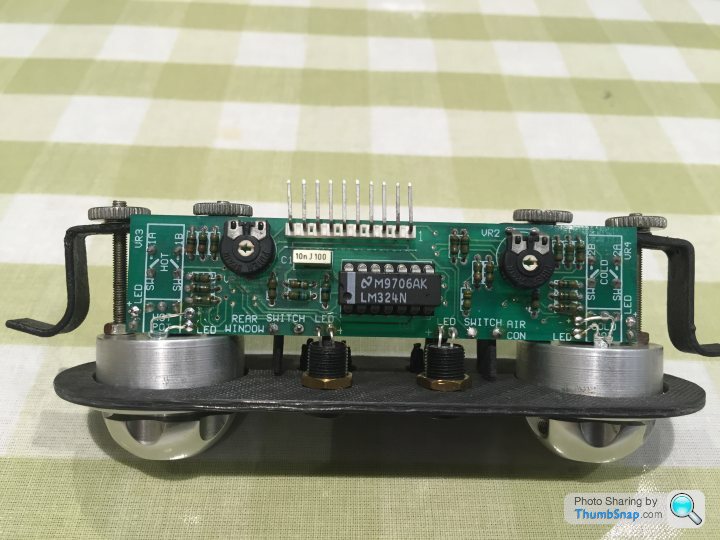
Where did you get the spring washers/clips that hold the warning lights to the dash?I measured them at 12mm internal diameter and the ones I bought on ebay are the right size but they are huge compared with the ones TVR used.

Gassing Station | Cerbera | Top of Page | What's New | My Stuff