Tamora chassi refurb
Discussion


Hi,
I had the same issue fitting the TVR parts Polybushes on my Tuscan. I think its just due to tolerance differences between chassis's.
I had to widen the suspension mounting brackets. I used some threaded bar, nuts and washers to gently widen the gap to enable the bush and steel washers to fit. The steel washers must be fitted.
I also had issues with there being to much of a gap, I used nylon washers to take up the slack.

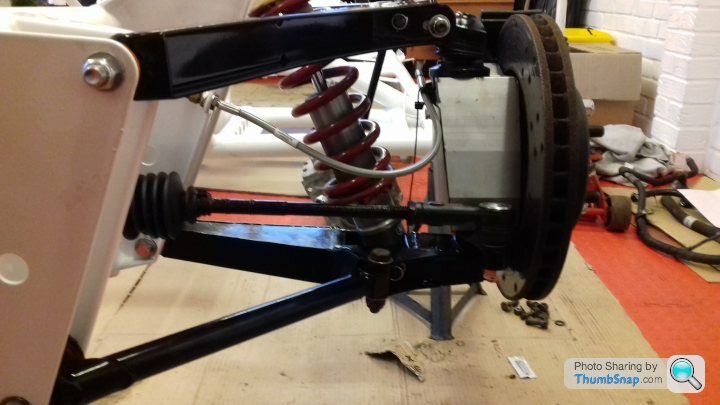
Home from work early today ,couple of hours in the garage and the back end is almost done.The bushes were a complete pig to fit wish i had stuck with the o/e ones,I'm hoping the fronts will not be as bad. 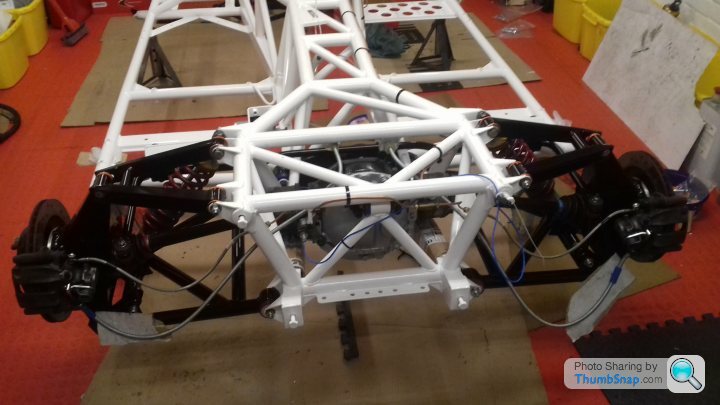
Not sure if it's the right handbrake cable seems to be to long on the right hand side.Any thoughts???
Not sure if it's the right handbrake cable seems to be to long on the right hand side.Any thoughts???

Little off topic, but how difficult is this for someone to undertake? I'm fairly handy with most things mechanical but never have undertake a project as large (or complex) as this..
In the case of parts that require replacing, is it a matter of replacing visually "like with like" (for example; bolts or washers) or do you need to be aware of the load bearing requirements? or do specialists provide this information / parts?
I'm toying with refurbing the T350, but I don't want to end up having to get some (expensive) expert in as I've gotten myself too deep.. (though I've the Sagaris manual to steady the nerves )
)
Anyone have any decent hints or guides?
In the case of parts that require replacing, is it a matter of replacing visually "like with like" (for example; bolts or washers) or do you need to be aware of the load bearing requirements? or do specialists provide this information / parts?
I'm toying with refurbing the T350, but I don't want to end up having to get some (expensive) expert in as I've gotten myself too deep.. (though I've the Sagaris manual to steady the nerves
)Anyone have any decent hints or guides?
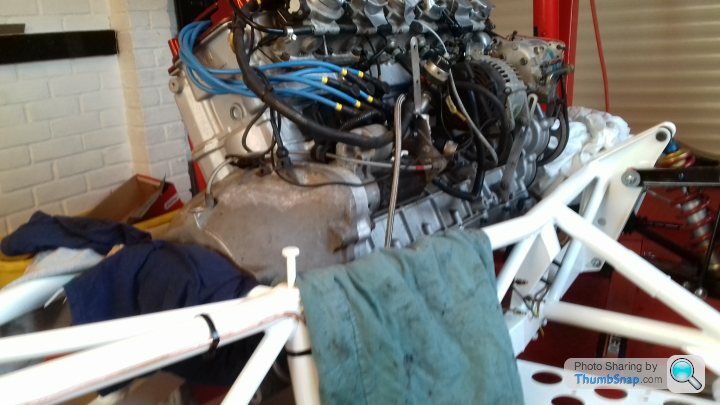
Hi Jim, The cars are fairly basic really , the only bit that concerned me was all the oil pipes at the front of the engine.What i did was put different coloured cable ties on each one, and made a note as to the order i had taken them off . The other thing i have done is take loads of photo's for reference when rebuilding hope that helps.
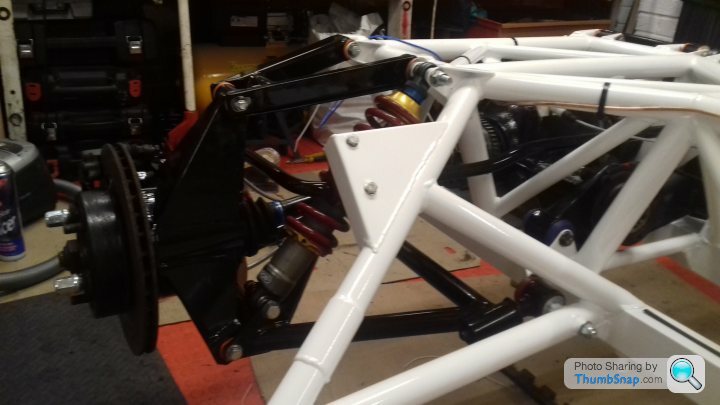
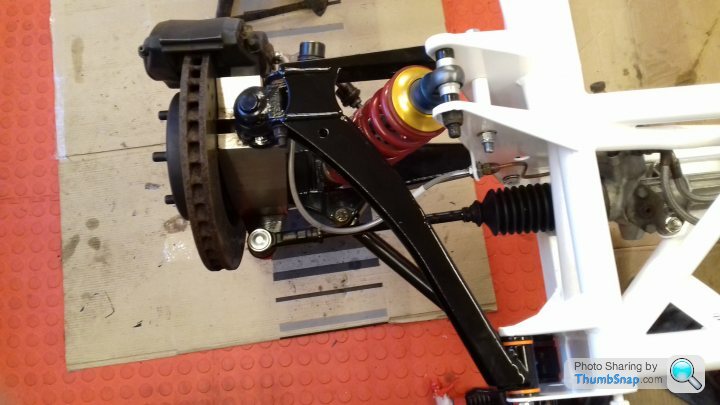
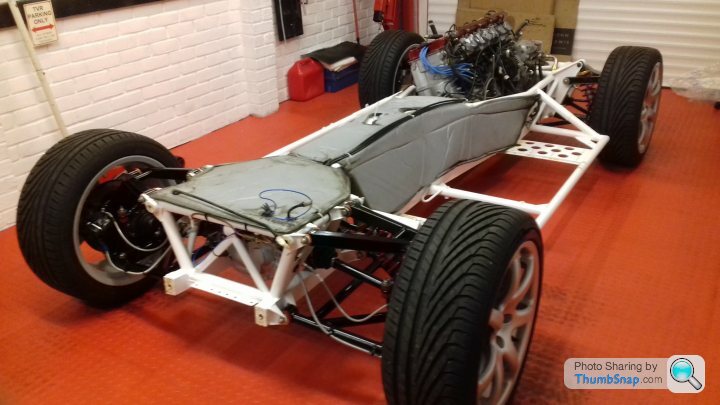
Have been in the garage today pleased to say the front poly bushes went in with out any problems , so all four corners are now rebuilt .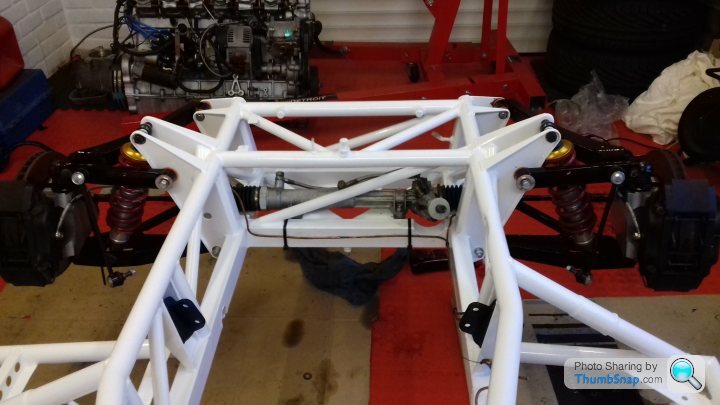
Was hoping to get the engine in today as well ,but, being nosey like i am ,i removed the bell housing just to have a look at what is in there and noticed a bit of clutch fluid leaking from the slave cylinder. After a bit of searching it would appear that fitting new seals is bit of a waste of time as they don't seem to last. A new assembly was ordered and should be here tomorrow . The clutch has done 6,000 miles since Powers rebuilt the engine to a 4-3 speck 6 years ago so i'm leaving that alone.
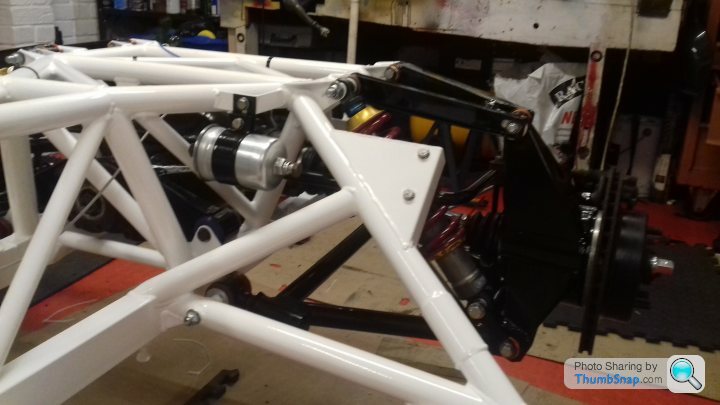
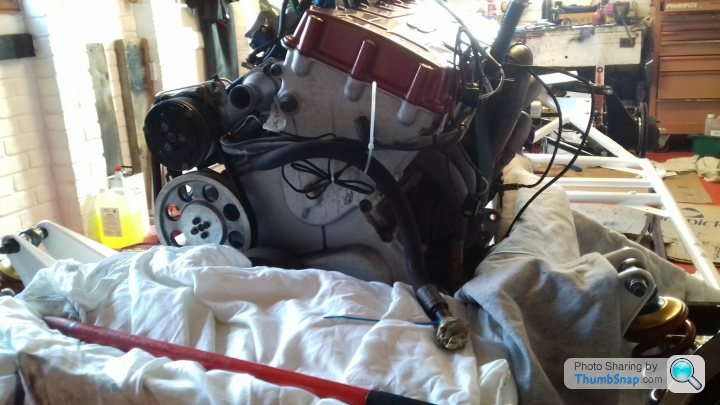
New slave turned up today so have been able to get a bit more done,the new one is supposed to be better quality and more reliable but we have to wait and see on that one. 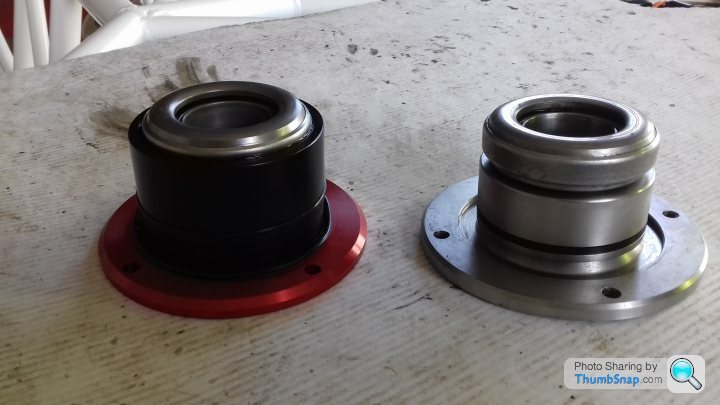
Put plenty of red rubber grease on as advised so hopefully i haven't nicked the seal or i will be back to square one.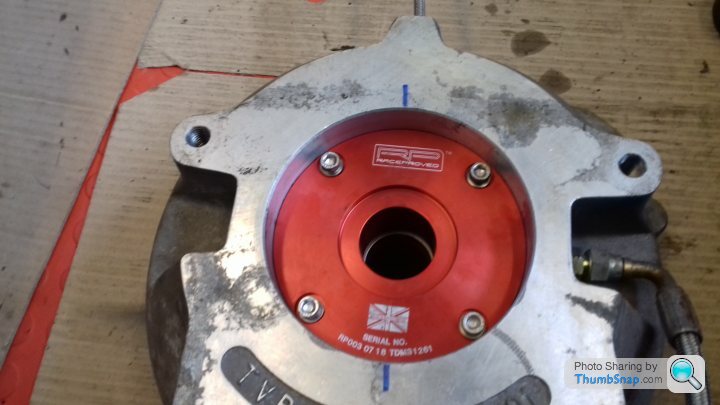
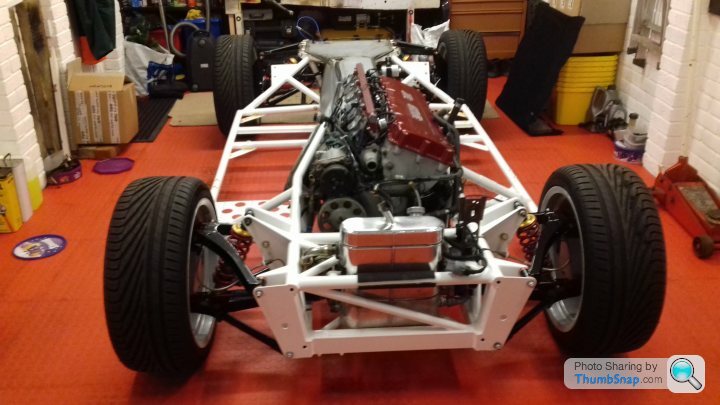
Engine and gearbox are back in with out scratching the chassis which is good.
Put plenty of red rubber grease on as advised so hopefully i haven't nicked the seal or i will be back to square one.
Engine and gearbox are back in with out scratching the chassis which is good.
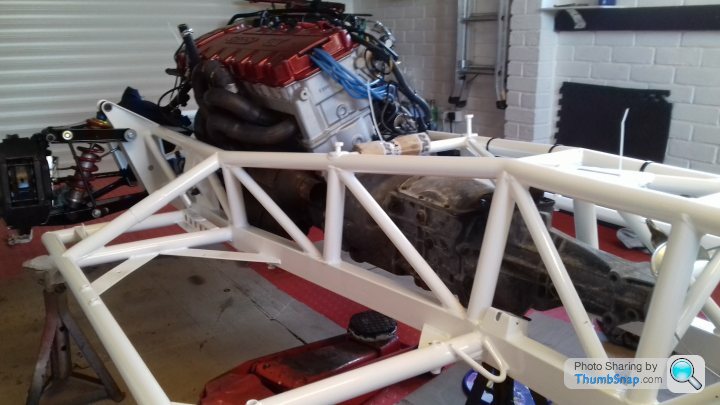
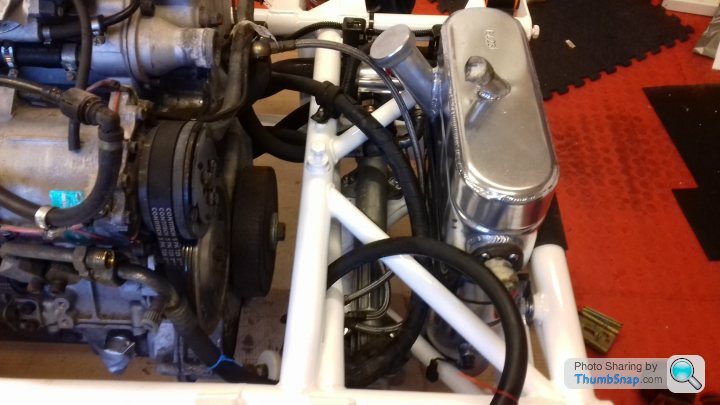
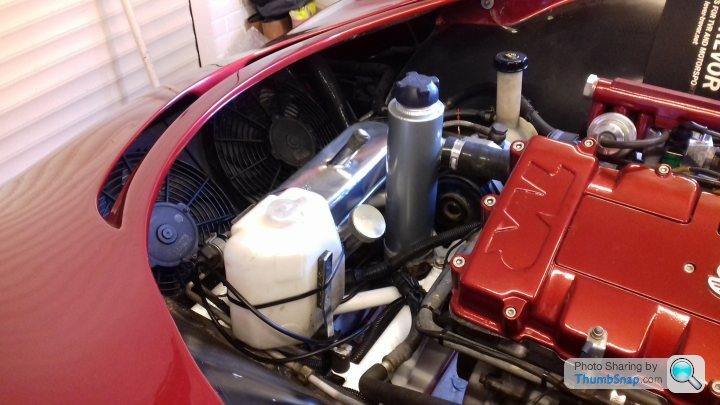
Got a bit more done today , work is getting in the way . Back end is all done ,I did consider running the fuel lines through the chassis rather than them resting on top of the cover .I don't know if there is a reason why it's done this way but decided to put it back the way it was.
All the oil pipes from the engine apart from one are connected,after cleaning one up I noticed it had started to rub through to the wires
.
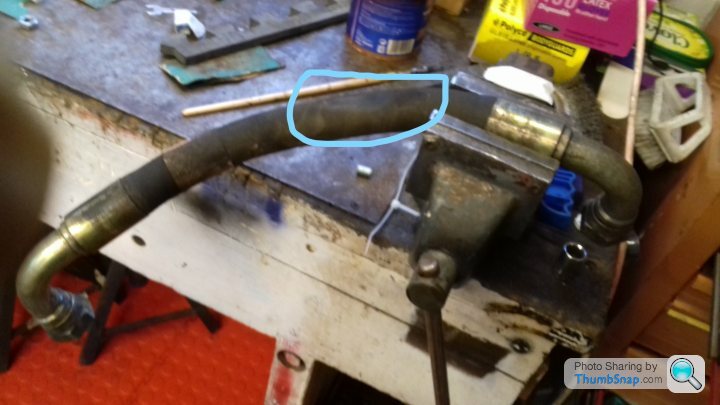
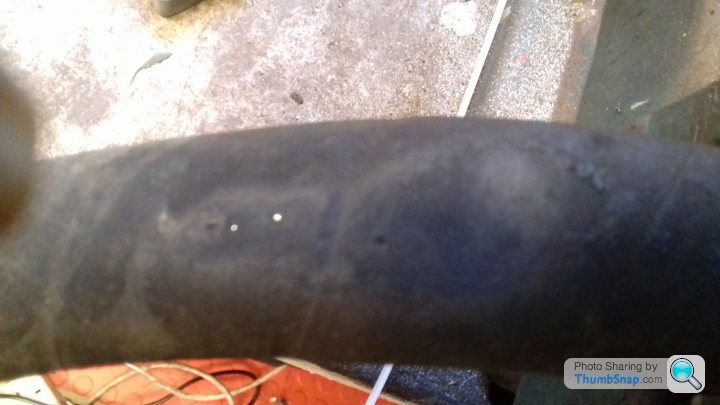
A new one has been ordered , once that has been fitted the front will be pretty much done.
Not much else to do before the body can go back on.
All the oil pipes from the engine apart from one are connected,after cleaning one up I noticed it had started to rub through to the wires
.
A new one has been ordered , once that has been fitted the front will be pretty much done.
Not much else to do before the body can go back on.
Oil pipe arrived today as they promised, haven't got a 38mm spanner so had to go borrow one,surprising what people have got laying around in there sheds.
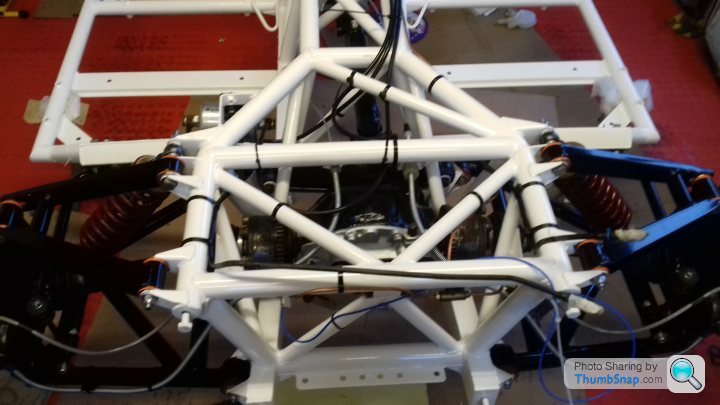
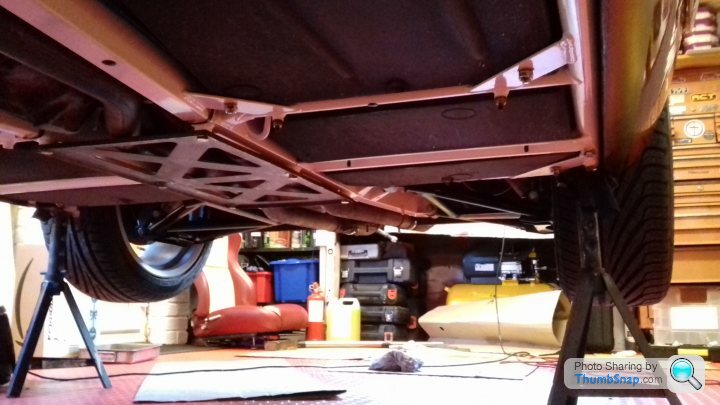
It's taken a couple of months but it's ready for the body to go back on which hopefully will be next weekend. Not sure if I have done the wright thing by clipping the fuel lines down , I didn't like the idea of them just laying there loose.
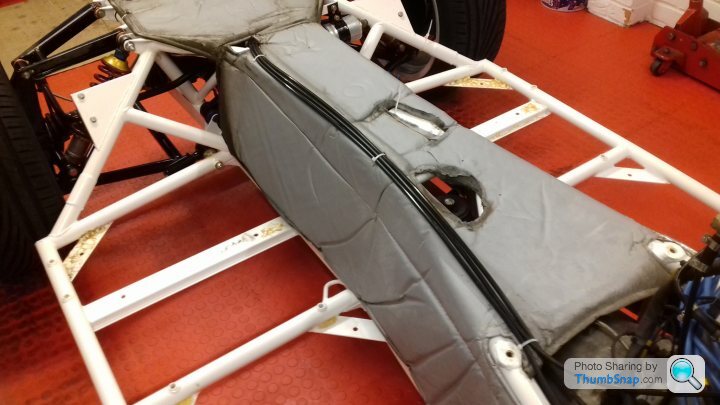
It's taken a couple of months but it's ready for the body to go back on which hopefully will be next weekend. Not sure if I have done the wright thing by clipping the fuel lines down , I didn't like the idea of them just laying there loose.
Got the body and chassis reunited at the weekend and back into the garage so work can continue. 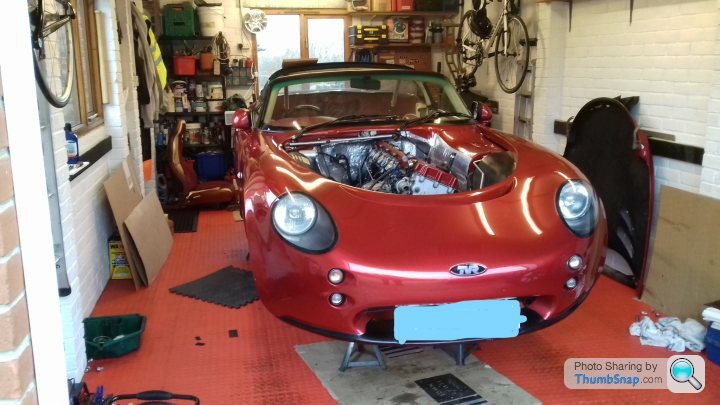
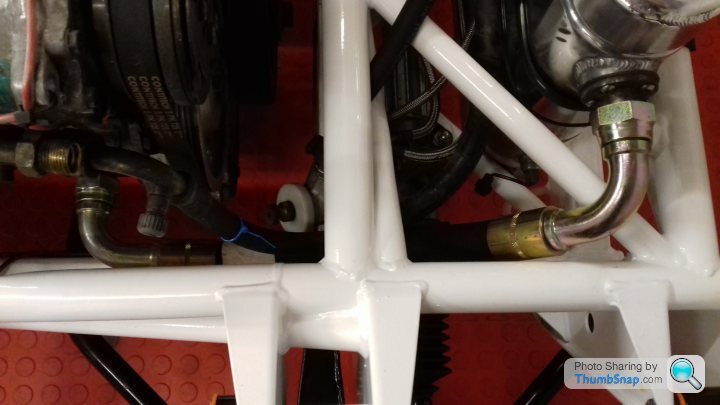
Just a note to say that the bolt marked on the photo does not need to be undone when taking it apart.
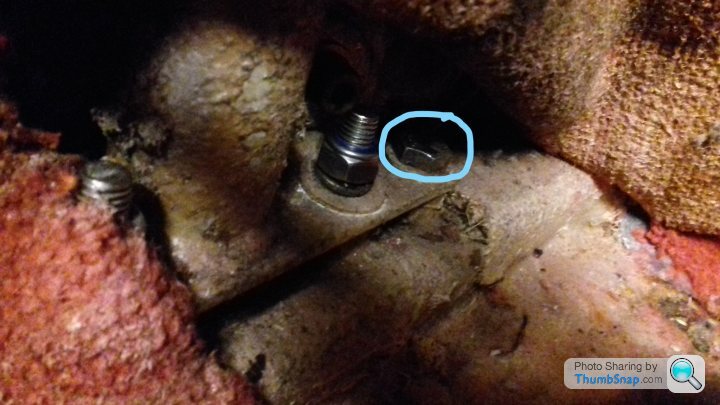
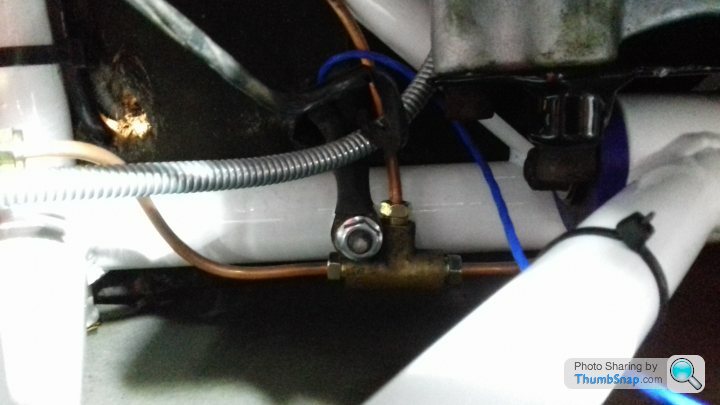
Also these are the earth wires from the boot that are connected to the brake junction under the car.
All "body bolts" went in without too much trouble apart from the two which are under the dash,in the end I had to undo the two bolts on the end of this tube,
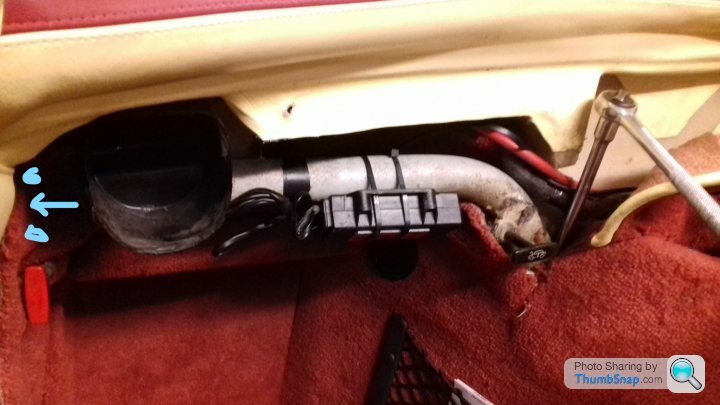
to give me a bit of adjustment to get the bolt in. So not a bad day's work, fuel tank is in , carbon canister is plumbed and wired in all the body bolts are in and tightened up and most of the interior is back together.Have replaced all the bolts with stainless so as to stop any rust creeping onto the chassis, all in all quite happy with progress.

Just a note to say that the bolt marked on the photo does not need to be undone when taking it apart.
Also these are the earth wires from the boot that are connected to the brake junction under the car.
All "body bolts" went in without too much trouble apart from the two which are under the dash,in the end I had to undo the two bolts on the end of this tube,
to give me a bit of adjustment to get the bolt in. So not a bad day's work, fuel tank is in , carbon canister is plumbed and wired in all the body bolts are in and tightened up and most of the interior is back together.Have replaced all the bolts with stainless so as to stop any rust creeping onto the chassis, all in all quite happy with progress.
Thank you for your comments , done a bit more today exhaust is all on, engine bay just about complete as well .
Next thing to tackle is the pedal box , will be moving this forward so I can have the seat back further , as three of the six bolts are not reusable had to put my thinking cap on , and this is what I came up with .
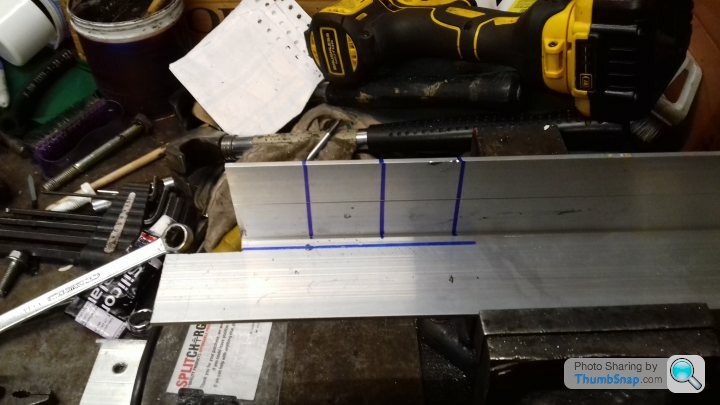
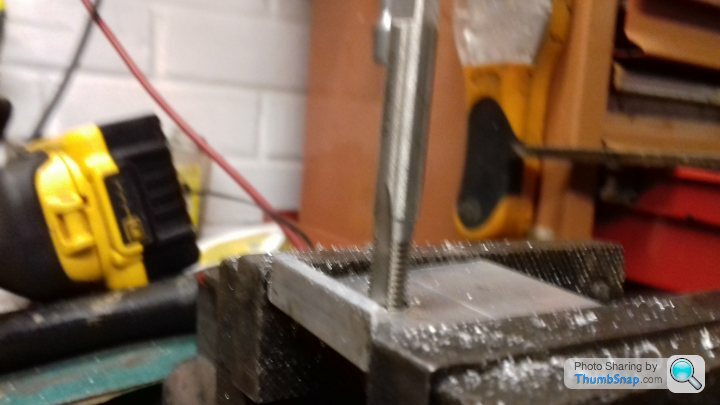
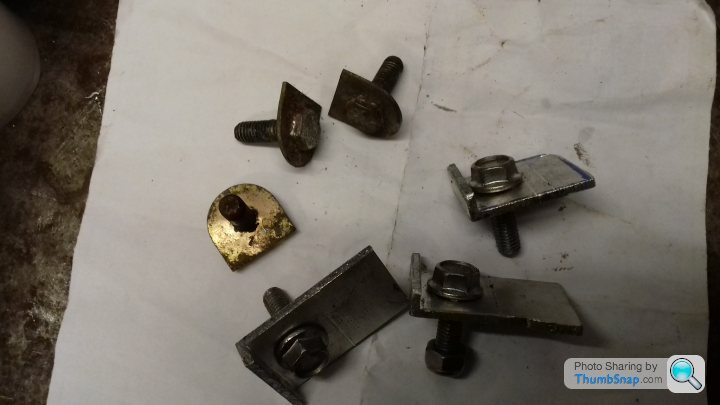
And this is them in place.
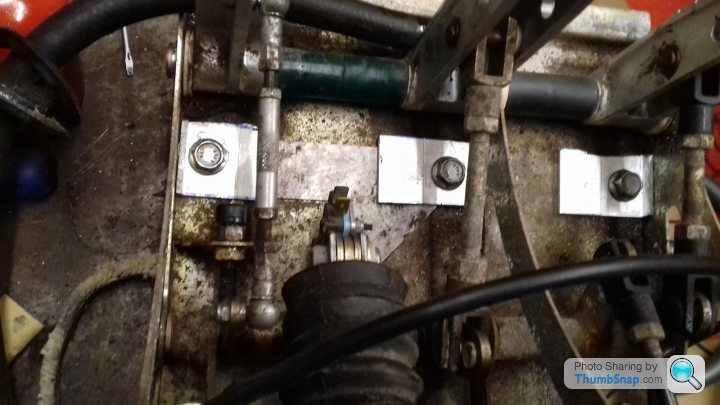
The bolts don't come undone when putting the nuts up , so as long as I can get them done up should be ok , as when you turn the nuts off it is tightening the bolt , if that makes sense .
Next thing to tackle is the pedal box , will be moving this forward so I can have the seat back further , as three of the six bolts are not reusable had to put my thinking cap on , and this is what I came up with .
And this is them in place.
The bolts don't come undone when putting the nuts up , so as long as I can get them done up should be ok , as when you turn the nuts off it is tightening the bolt , if that makes sense .
Gassing Station | Tamora, T350 & Sagaris | Top of Page | What's New | My Stuff