Resealing Tamora headlight cover
Discussion


non_linear said:
Hey PB
I attached it to the side wall, with the filter on the inside so as not to be intrusive. It's easy on the offside but the nearside light has an air passage between the headlight wall and the engine bay which makes it very difficult. If I was to do it again I would consider mounting them on the bottom panel. The small hole is nearly invisible when looking through the lamp cover.
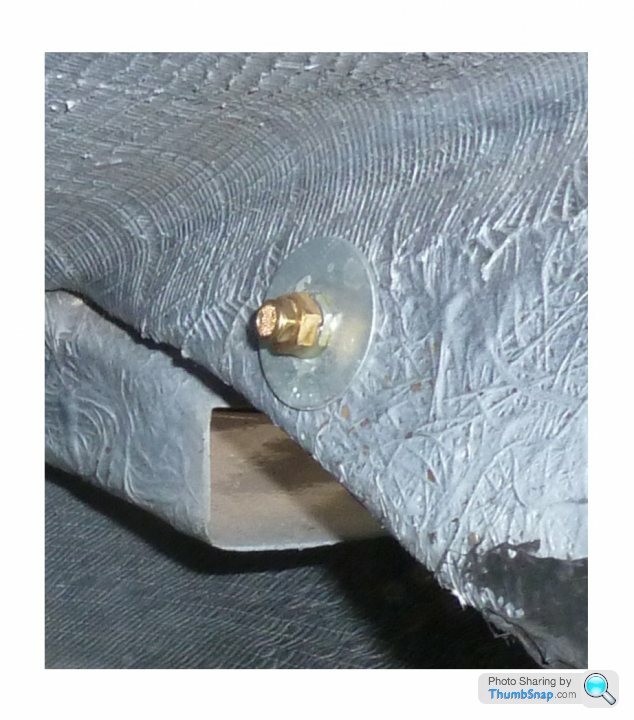
Hi, question, do you have a picture of the sintered metal pneumatic silencer through the cover and perhaps a link to what you fitted. I attached it to the side wall, with the filter on the inside so as not to be intrusive. It's easy on the offside but the nearside light has an air passage between the headlight wall and the engine bay which makes it very difficult. If I was to do it again I would consider mounting them on the bottom panel. The small hole is nearly invisible when looking through the lamp cover.
TIA
A@
They were these, with the M5 thread:
https://www.ebay.co.uk/itm/272832142789
I tried taking some photos a couple of days ago but it's very hard to even see the vents, so they are not worth posting. It's a small black hole, which might excite Brian Cox, but there's not much to see.
They really work, I had a small amount of condensation last week, but leave the car out in the sun for a few hours and it's all gone.
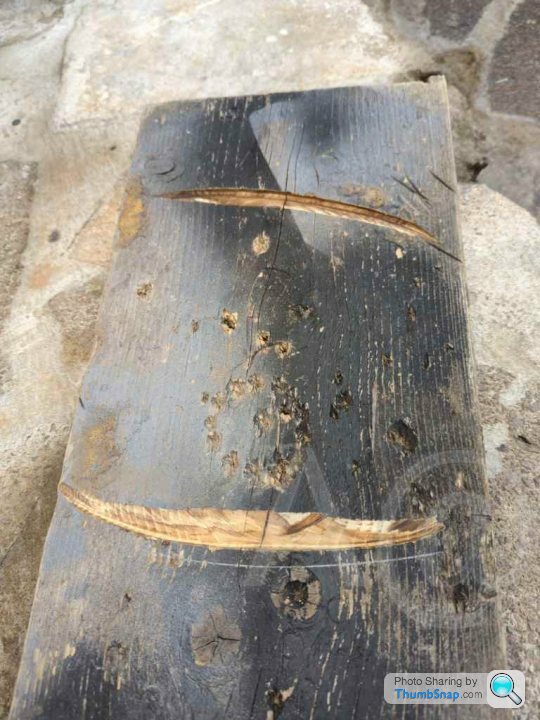
Thanks, it will not hurt to fit them. The drivers side fitted quite well although I re shaped the passenger side (several bites using the same method with a hot air gun, non contact thermometer and my now hairless hand!
I changed the Indicator bezels at the same time (the edges had been polished back to a gold colour and black is important on a white car!

Over on my https://www.facebook.com/groups/adrianvenn page LOTS of pictures/details of work on my Tamora (tracking adjusters replace- re powder coated wishbones -rear ARB mod with boots- rear disks re-faced- pads- hood pivot bushes with longer bolt- lamp bezels replaced- headlamp covers resealed- Dallas chip replaced- ECU battery replaced- ribbon cables replaced- new seat belts- moulds for rear floor wings and MK2 sear belt covers- exhaust shield- exhaust hangers- fuel pumps replaced- fuel tank connector repair/new plug- door opening switches/cover replaced- LED interior/boot/numberplate lights- wiper motor refurb system- S/S wiper nuts-pioneer radio upgrade- battery- anderson connection mod- rear upright thrust washer mod- gear lever mod- handbrake switch mod- bonnet pull moved/new handle/cable cowl mod- fan flap repair- heater ECU move- lots of trim work) PLUS all the incidentals that go with the job.
A@
I changed the Indicator bezels at the same time (the edges had been polished back to a gold colour and black is important on a white car!
Over on my https://www.facebook.com/groups/adrianvenn page LOTS of pictures/details of work on my Tamora (tracking adjusters replace- re powder coated wishbones -rear ARB mod with boots- rear disks re-faced- pads- hood pivot bushes with longer bolt- lamp bezels replaced- headlamp covers resealed- Dallas chip replaced- ECU battery replaced- ribbon cables replaced- new seat belts- moulds for rear floor wings and MK2 sear belt covers- exhaust shield- exhaust hangers- fuel pumps replaced- fuel tank connector repair/new plug- door opening switches/cover replaced- LED interior/boot/numberplate lights- wiper motor refurb system- S/S wiper nuts-pioneer radio upgrade- battery- anderson connection mod- rear upright thrust washer mod- gear lever mod- handbrake switch mod- bonnet pull moved/new handle/cable cowl mod- fan flap repair- heater ECU move- lots of trim work) PLUS all the incidentals that go with the job.
A@
Edited by Adrian@ on Thursday 14th April 14:11
Gassing Station | Tamora, T350 & Sagaris | Top of Page | What's New | My Stuff