So what have you done with your Aston today? (Vol. 2)
Discussion


Cheers Guys, yes it’s a Jersey car. I’m going to do a write up soon as it’s almost complete now, how I would have specked it if I’d bought it new.
I’m really pleased with the way she looks now. Here’s another picture, more of the same, all I have at the moment but I’ll take some more soon.
I’m really pleased with the way she looks now. Here’s another picture, more of the same, all I have at the moment but I’ll take some more soon.
andymadmak said:
phumy said:
Nice place. I grew up in South Devon, hence my spotter skills!
whoami said:
What’s next?
It’s difficult to look past Porsche GT products. With values for trade such as they are, I’m leaning towards the GT4, preferably the 718, but I’ll wait for prices to soften. AML haven’t really left me any option: Vantage is too expensive (and trade prices for mine have largely been woeful) and I don’t want a big GT car. Bincenzo said:
Well, tomorrow morning I wave goodbye to my Aston. It’s a real shame to leave the Brand after such a wild ride, but it’s time for something else, something different. Take care all, and happy motoring when you can.
Sad to see you go mate. Hope you got decent money for that lovely car. I just bought another one and joined the 200mph Aston club - well once lockdown is over of course  All the best.
hornbaek said:
Wait a bit and all the Vantages that were sold under the finance scheme will come back and hit the market hard. Another stupid short sighted sales strategy by a certain Mr Palmer.
I’d rather not turn this into another AP bashing thread. That said, I’ll likely enjoy something else for a couple of years then do exactly that. They’ll be much cheaper then. UncleStig said:
Cheers Guys, yes it’s a Jersey car. I’m going to do a write up soon as it’s almost complete now, how I would have specked it if I’d bought it new.
I’m really pleased with the way she looks now. Here’s another picture, more of the same, all I have at the moment but I’ll take some more soon.
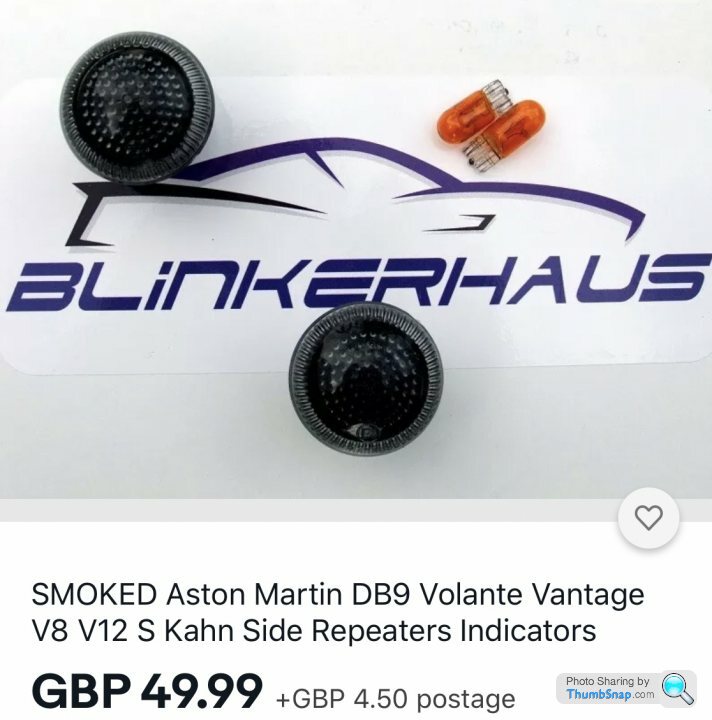
That is absolutely stunning, where did you acquire the smoked indicators? I've been looking for some for mine.I’m really pleased with the way she looks now. Here’s another picture, more of the same, all I have at the moment but I’ll take some more soon.
As some of you will already know - I decided at the start of lockdown to carry out some light restoration and a full lighting overhaul of my V8 Vantage.
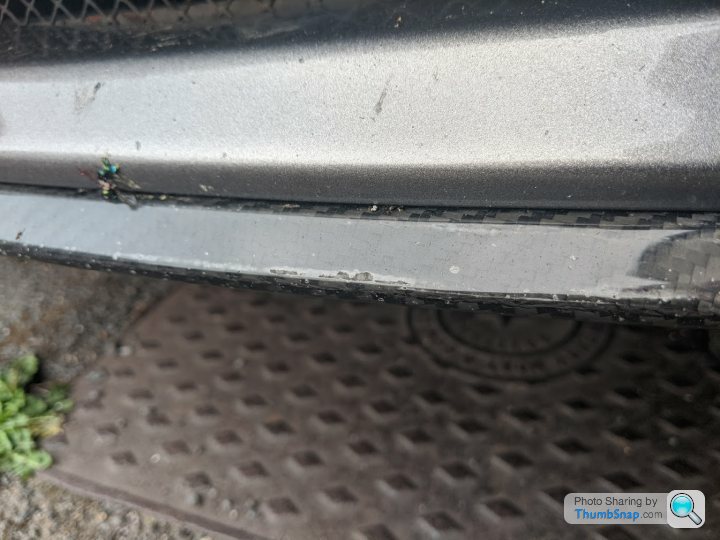
Today it was the turn of the front carbon fibre splitter
As you can see from the pictures, it is in a horrific state, there are scuffs, thousands of stone chips, and the underside was badly scratched. (please excuse the dead flies)

So, removal was tricky, as some of the screws simply disintegrated when trying to remove them, plus you can only really drill them out when you've got the front a few inches up in the air.
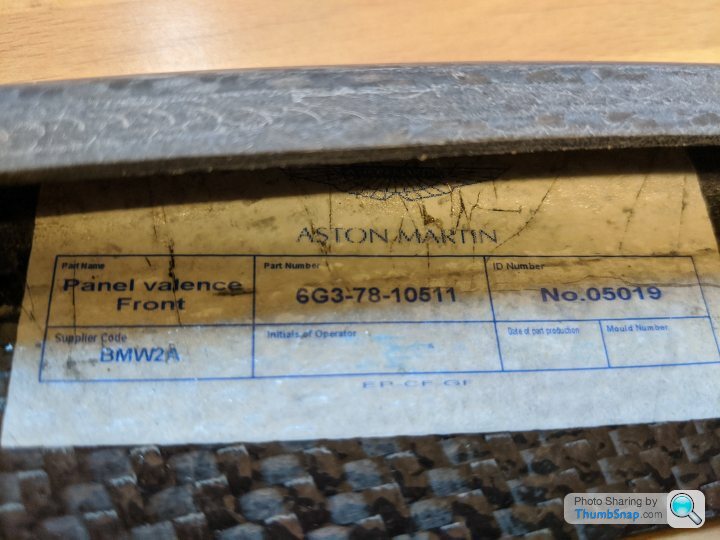
Anyway, once the splitter was off, I noticed it appears to be a BMW sourced part - the 'Supplier code' is BMW2A.
I wanted to remove all of the resin/laquer, as there wasn't single area that didn't need stripping back.
A couple of hours of sanding later, (starting with 60 grit on a mouse sander, and ending with 800 wet'n'dry by hand, it looked clean and flat...

Several coats of 2k lacquer later, I allowed it to dry overnight and then lightly sanded with 1500 to remove any high spots. Several more coats later, again allowed to dry overnight, a final 1500 wet'n'dry and polish, leaves me with this.

I thought I'd post in case anyone else was thinking of tackling the same issue.
Today it was the turn of the front carbon fibre splitter
As you can see from the pictures, it is in a horrific state, there are scuffs, thousands of stone chips, and the underside was badly scratched. (please excuse the dead flies)
So, removal was tricky, as some of the screws simply disintegrated when trying to remove them, plus you can only really drill them out when you've got the front a few inches up in the air.
Anyway, once the splitter was off, I noticed it appears to be a BMW sourced part - the 'Supplier code' is BMW2A.
I wanted to remove all of the resin/laquer, as there wasn't single area that didn't need stripping back.
A couple of hours of sanding later, (starting with 60 grit on a mouse sander, and ending with 800 wet'n'dry by hand, it looked clean and flat...
Several coats of 2k lacquer later, I allowed it to dry overnight and then lightly sanded with 1500 to remove any high spots. Several more coats later, again allowed to dry overnight, a final 1500 wet'n'dry and polish, leaves me with this.
I thought I'd post in case anyone else was thinking of tackling the same issue.
rancidswan said:
As some of you will already know - I decided at the start of lockdown to carry out some light restoration and a full lighting overhaul of my V8 Vantage.
Today it was the turn of the front carbon fibre splitter
As you can see from the pictures, it is in a horrific state, there are scuffs, thousands of stone chips, and the underside was badly scratched. (please excuse the dead flies)
So, removal was tricky, as some of the screws simply disintegrated when trying to remove them, plus you can only really drill them out when you've got the front a few inches up in the air.
Anyway, once the splitter was off, I noticed it appears to be a BMW sourced part - the 'Supplier code' is BMW2A.
I wanted to remove all of the resin/laquer, as there wasn't single area that didn't need stripping back.
A couple of hours of sanding later, (starting with 60 grit on a mouse sander, and ending with 800 wet'n'dry by hand, it looked clean and flat...
Several coats of 2k lacquer later, I allowed it to dry overnight and then lightly sanded with 1500 to remove any high spots. Several more coats later, again allowed to dry overnight, a final 1500 wet'n'dry and polish, leaves me with this.
I thought I'd post in case anyone else was thinking of tackling the same issue.
Massive improvement, great job. Nothing as satisfying as doing a job like that yourself and it turns out looking great.Today it was the turn of the front carbon fibre splitter
As you can see from the pictures, it is in a horrific state, there are scuffs, thousands of stone chips, and the underside was badly scratched. (please excuse the dead flies)
So, removal was tricky, as some of the screws simply disintegrated when trying to remove them, plus you can only really drill them out when you've got the front a few inches up in the air.
Anyway, once the splitter was off, I noticed it appears to be a BMW sourced part - the 'Supplier code' is BMW2A.
I wanted to remove all of the resin/laquer, as there wasn't single area that didn't need stripping back.
A couple of hours of sanding later, (starting with 60 grit on a mouse sander, and ending with 800 wet'n'dry by hand, it looked clean and flat...
Several coats of 2k lacquer later, I allowed it to dry overnight and then lightly sanded with 1500 to remove any high spots. Several more coats later, again allowed to dry overnight, a final 1500 wet'n'dry and polish, leaves me with this.
I thought I'd post in case anyone else was thinking of tackling the same issue.
Thanks W12GT
Yes, hugely satisfying, I read on many forums that if you sand back to the CF it's ruined forever, which I didn't believe a word of.
I *think* to do it properly, one should coat it in a couple of coats of clear epoxy resin, so maybe I'll do this next time if this lacquer doesn't last.
NFC 85 Vette said:
Yesterday, sold the Vanquish. I'll miss it, special bit of kit.
Sorry to see you go. Another passionate stalwart leaves the fold :-( Are you planning on getting another one, or moving to something different? Your posts will be very much missed, as they are always detailed and informative.
Best Regards
Minglar
Gassing Station | Aston Martin | Top of Page | What's New | My Stuff