Big Zed Build Thread......
Discussion


Sorry everyone for the lack of progress on this update.... been way too many distractions over last few months to make much progress on Big Zed build.... drawing in of the evenings should see me more active down the workshop now though...
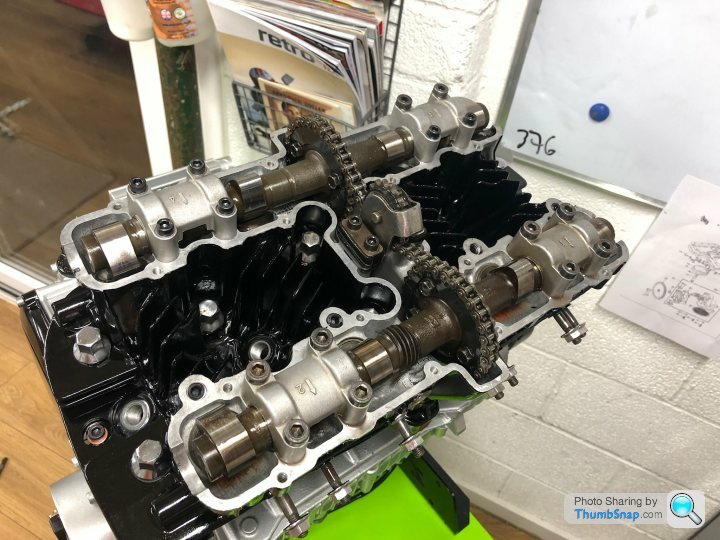
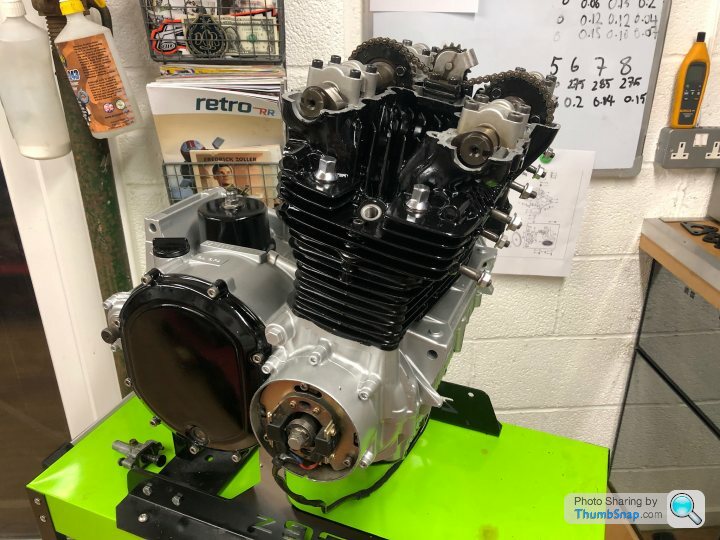
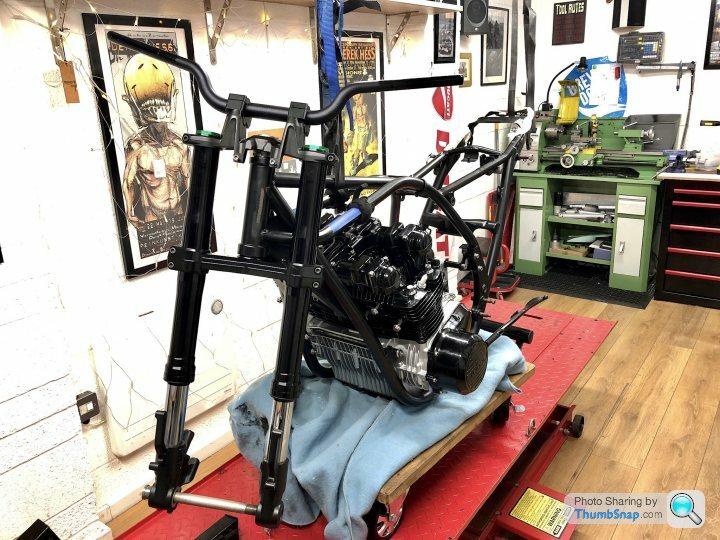
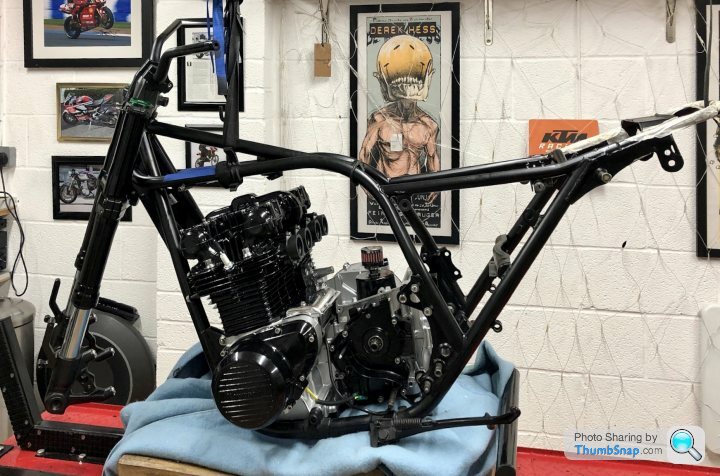
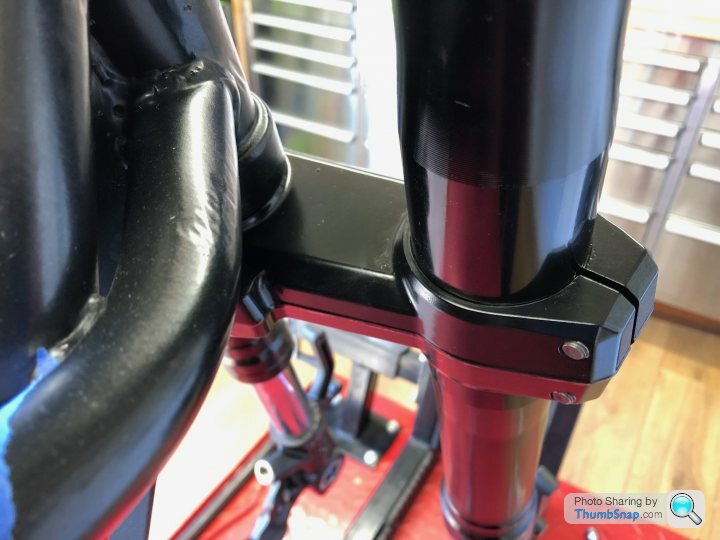
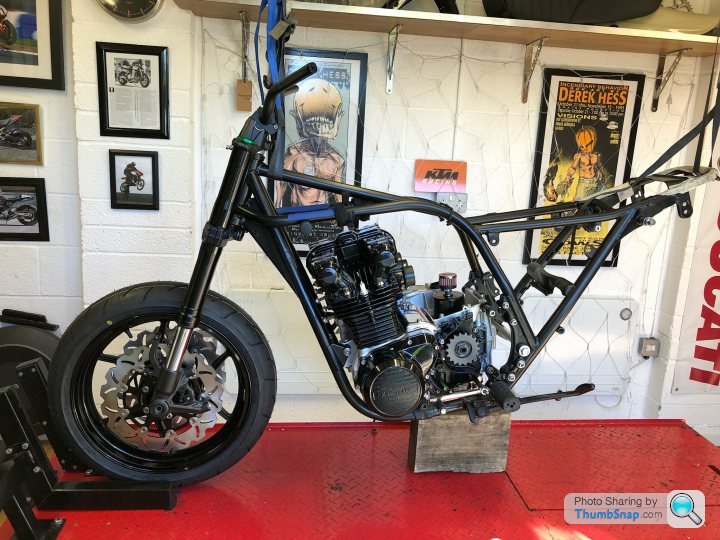
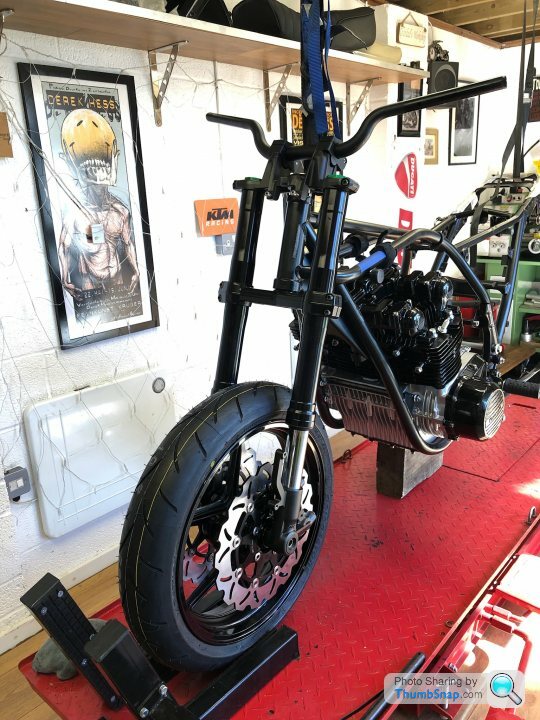
So to recap; 1980 KZ1000G bought a couple of years ago with the aim of restoring but quickly got bored of that so decided to go full resto-mod instead. Spent ages rebuilding and repainting the engine, lots of repairs required on the head, and now at the stage where I’m going to put the bike back together.... with all the mods I’ve got planned.
So to recap; 1980 KZ1000G bought a couple of years ago with the aim of restoring but quickly got bored of that so decided to go full resto-mod instead. Spent ages rebuilding and repainting the engine, lots of repairs required on the head, and now at the stage where I’m going to put the bike back together.... with all the mods I’ve got planned.
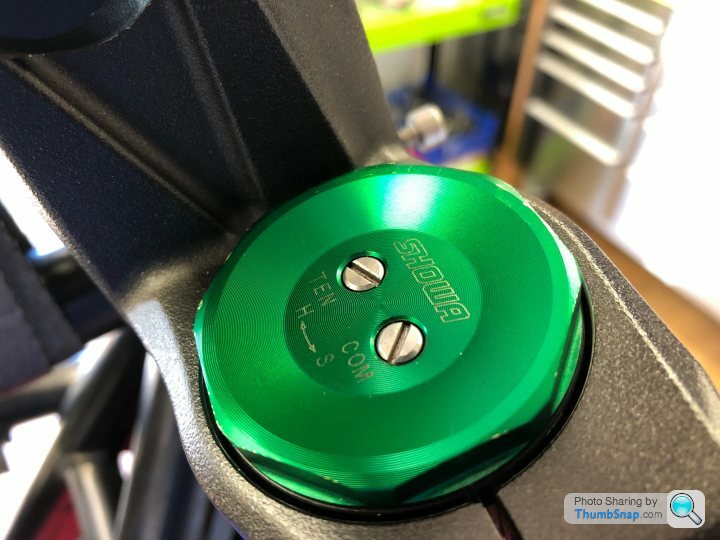
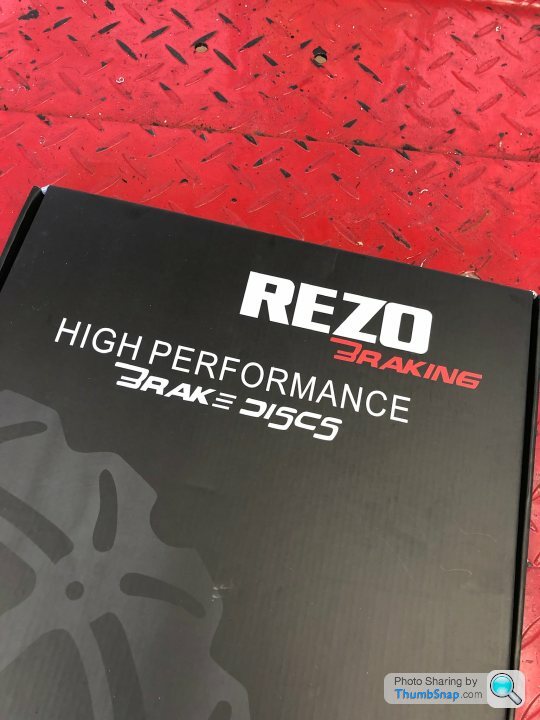
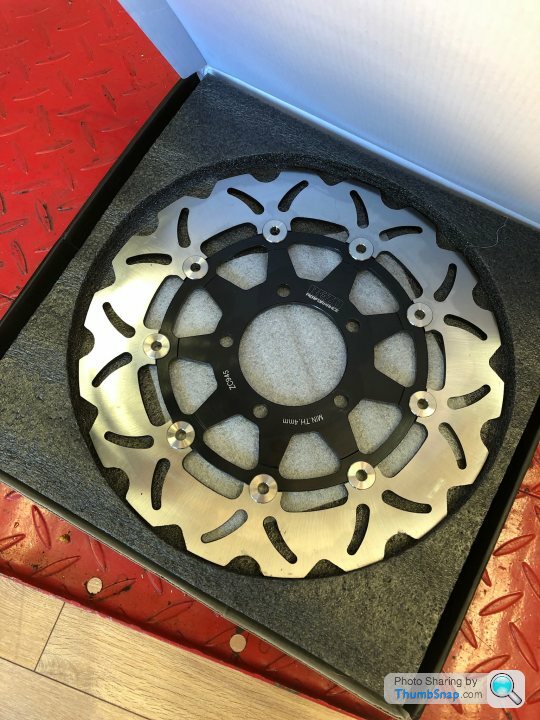
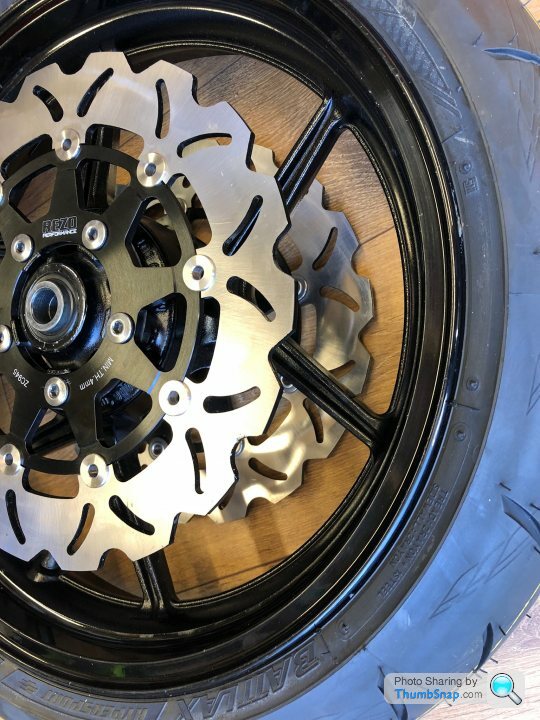
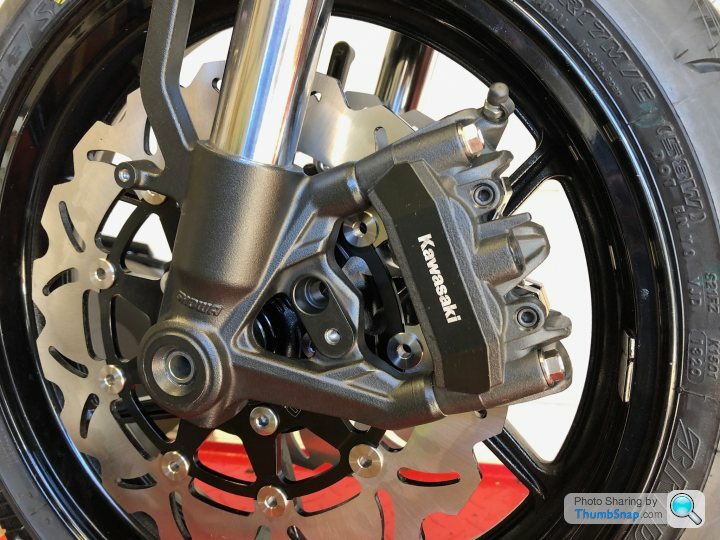
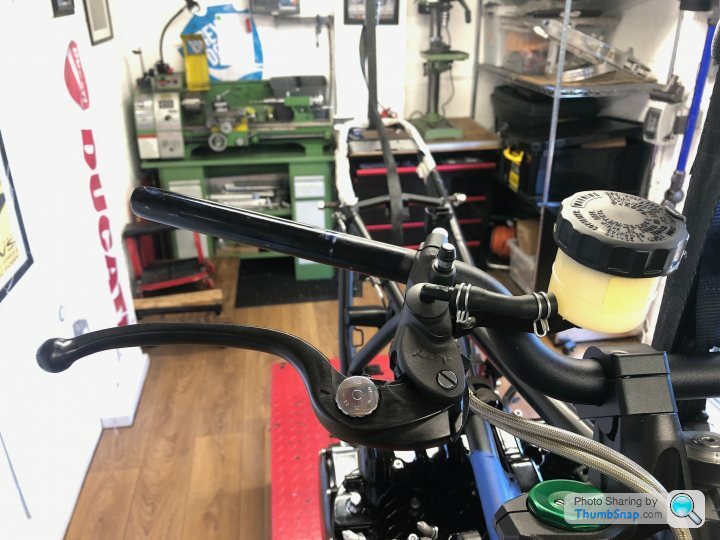
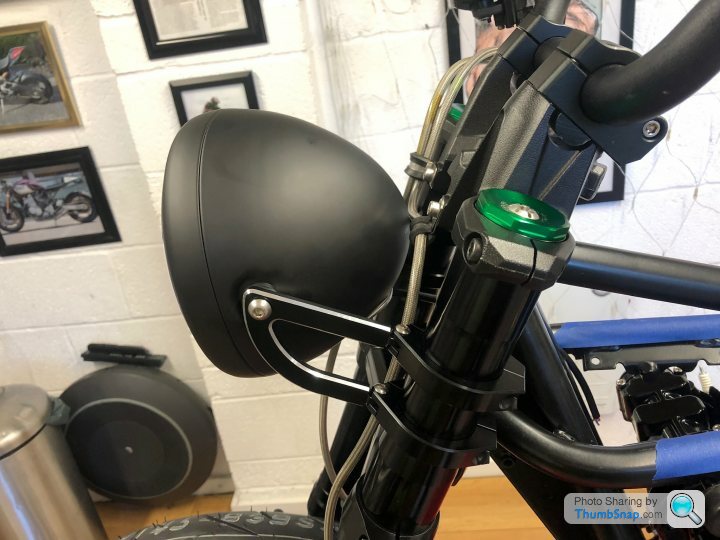
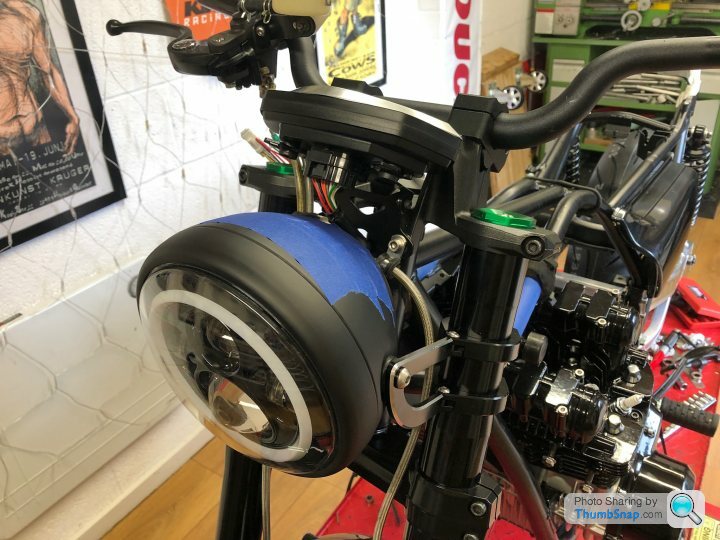
As seems to be the common theme with this build, I had some expensive complications with the front brakes. I noticed when I’d put the front wheel in and then test fitted the brake calliper, the brake pads were not covering the whole braking surface of the disc ... turns out some years of Z1000SX had 300mm discs, and some had 310mm...and the forks I’ve fitted require 310mm discs and the wheel I bought had 300mm discs fitted.... arghhhhh
So I’ve tried some of these discs. Seem solidly built and good value for money...
So I’ve tried some of these discs. Seem solidly built and good value for money...

Right on to something a bit more technical..... the rear end. We are putting together an old school JMC swingarm from a GPZ1100, a rear wheel from a ER650 and Bitubo shocks from a Bonneville Thruxton....
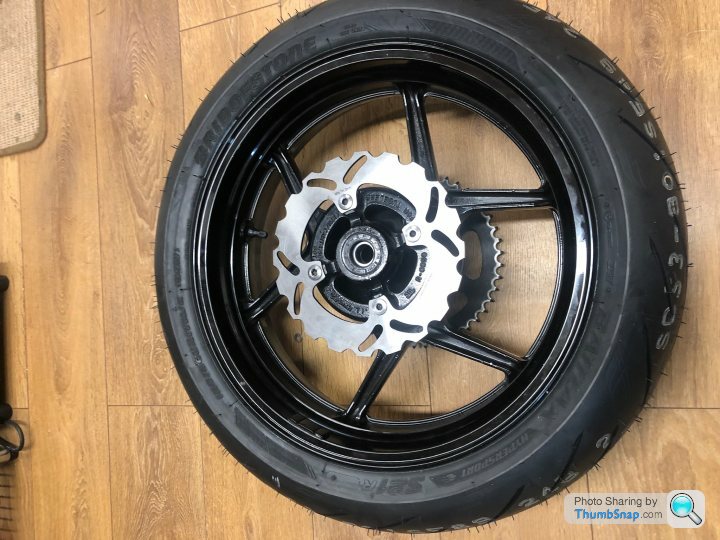
The ER650 rear wheel is 5 inches with a 160 tyre, however I really wanted a 6 inch wheel with a 190 tyre, but having done all the measurements the chain run was going to be too close to the frame rail......and the tyre ....and the rear shock ...... so I had to let form best function this time...
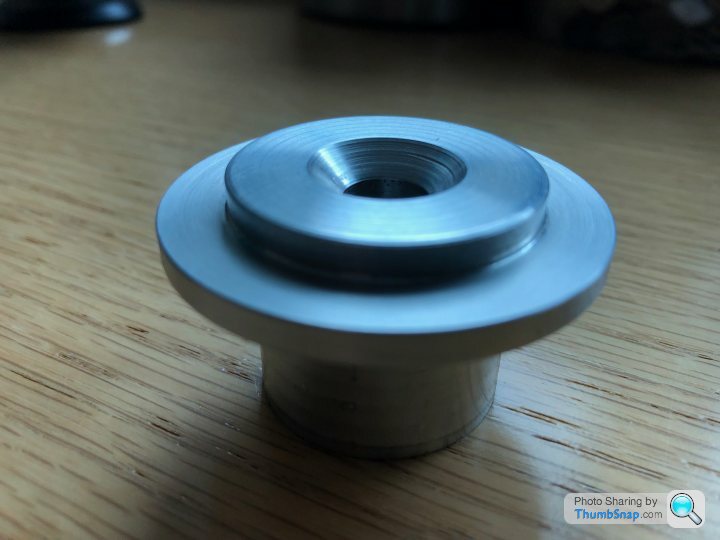
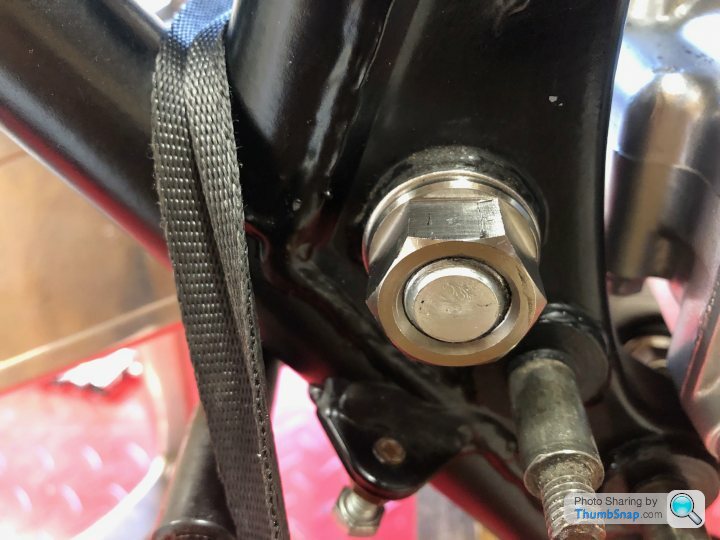
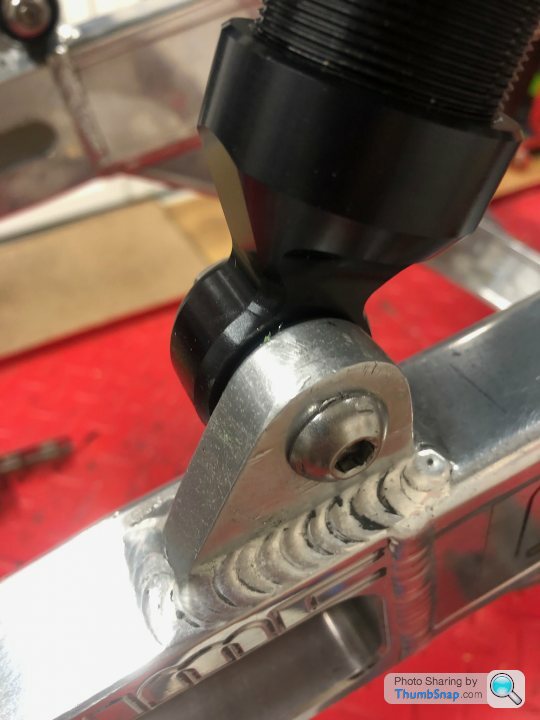
In order to install the swingarm in the frame I had to insert a sleeve to get the ID down from 20mm to 16mm so it would fit in the Zed frame. Then put a fancy nut on the end of the new spindle. Weirdly the original spindle was really bent.....
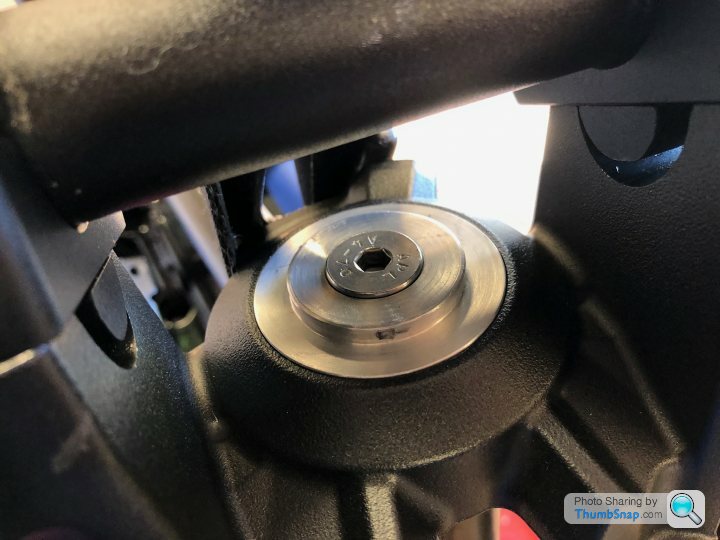
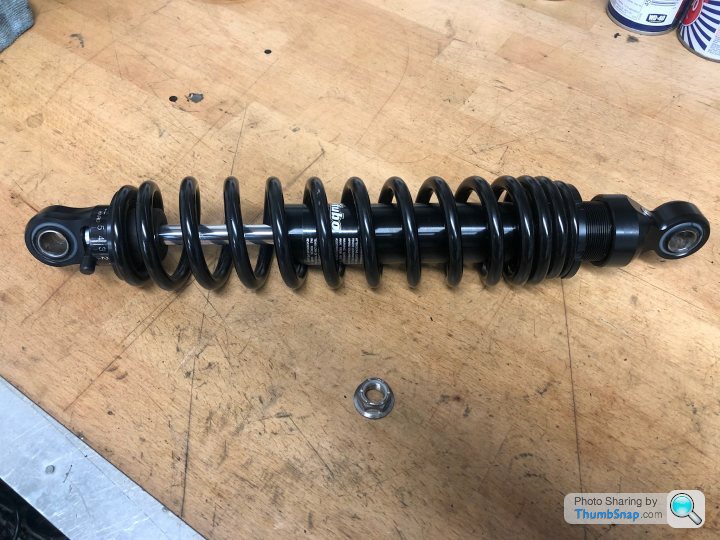
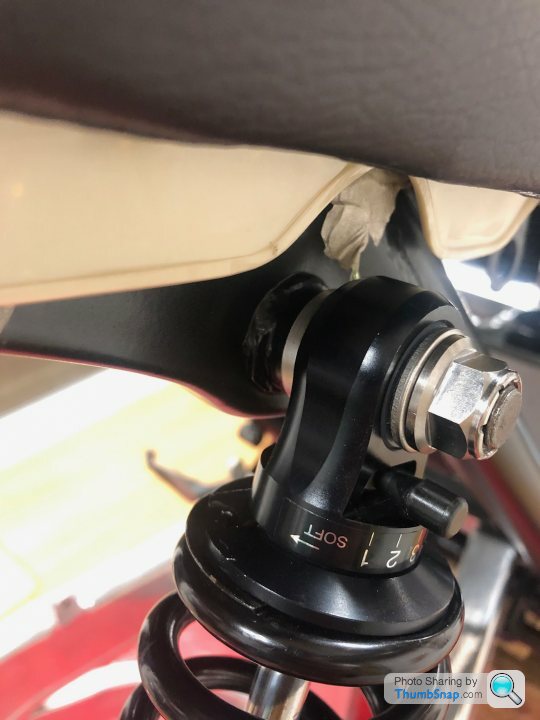
Next up were the shocks, Bitubo units... 20mm longer than stock with sleeves in the top mount eye. The eagle eyed amongst you will notice I’m installing them upside down, this is because of the chain run.....
The ER650 rear wheel is 5 inches with a 160 tyre, however I really wanted a 6 inch wheel with a 190 tyre, but having done all the measurements the chain run was going to be too close to the frame rail......and the tyre ....and the rear shock ...... so I had to let form best function this time...
In order to install the swingarm in the frame I had to insert a sleeve to get the ID down from 20mm to 16mm so it would fit in the Zed frame. Then put a fancy nut on the end of the new spindle. Weirdly the original spindle was really bent.....
Next up were the shocks, Bitubo units... 20mm longer than stock with sleeves in the top mount eye. The eagle eyed amongst you will notice I’m installing them upside down, this is because of the chain run.....
Rear wheel next. Popped a new rear tyre, brake disc and bearings on before fitting

The goal when putting a non-standard rear wheel in a bike is to make sure it is perfectly centred, by way of custom made spacers. I just use simple math to work out the size of the spacers required. Measure the width of the swing arm, divide by 2 to get the centre line (assuming the centre line of the swing arm is the same as the centre line of the bike - this is not alway the case), measure each side of the wheels bearing faces from the centre line of the wheel, subtract from the swing arm centre line measurement, and this tells you the size of the spacer you need to make......
Then turn them in the lathe and voila...
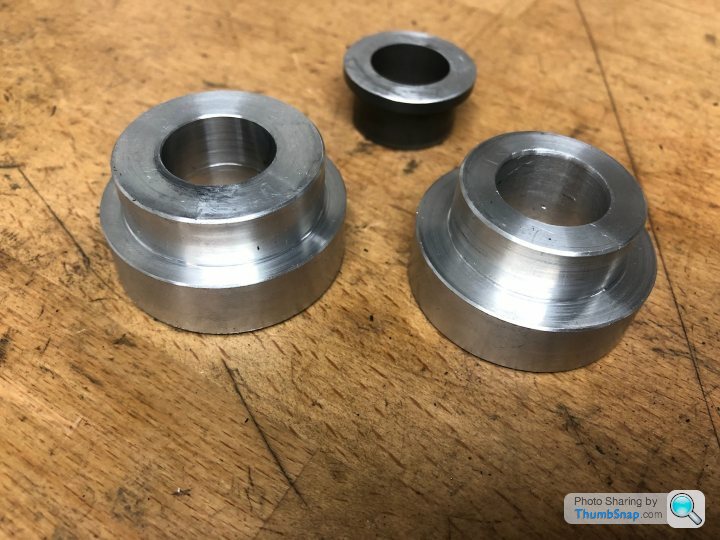
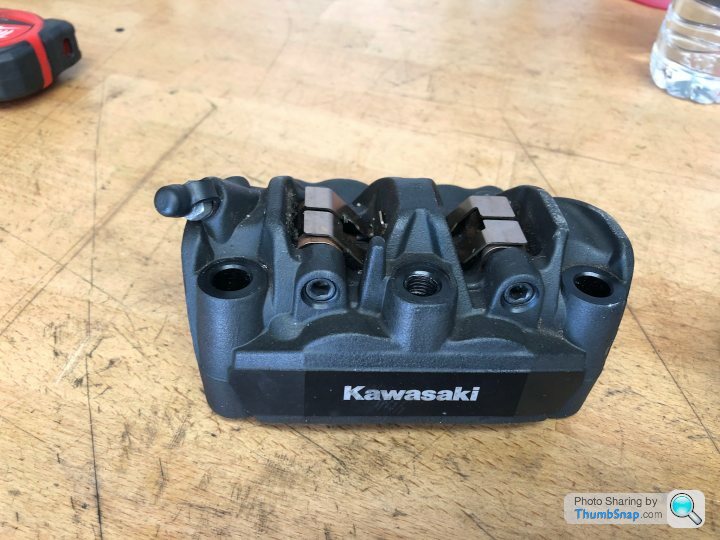
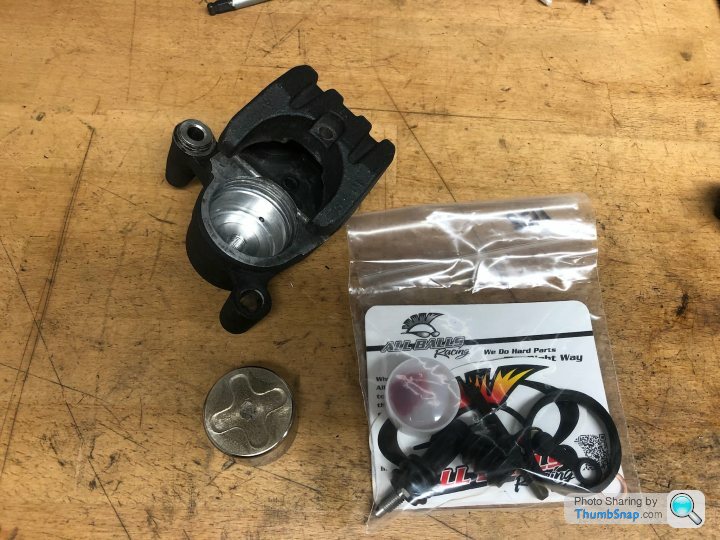
The next challenge is fitting the rear brake. I’m using the carrier and caliper from a ER650 and kept the spacer that goes between the wheel and the carrier to maintain the correct offset.
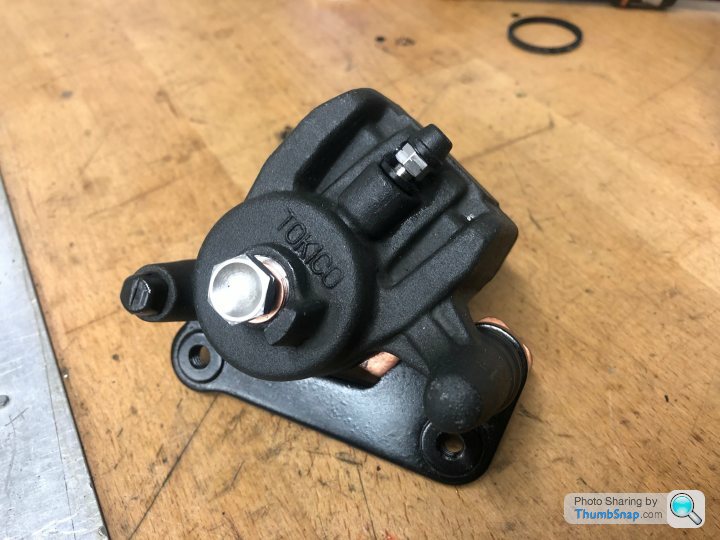
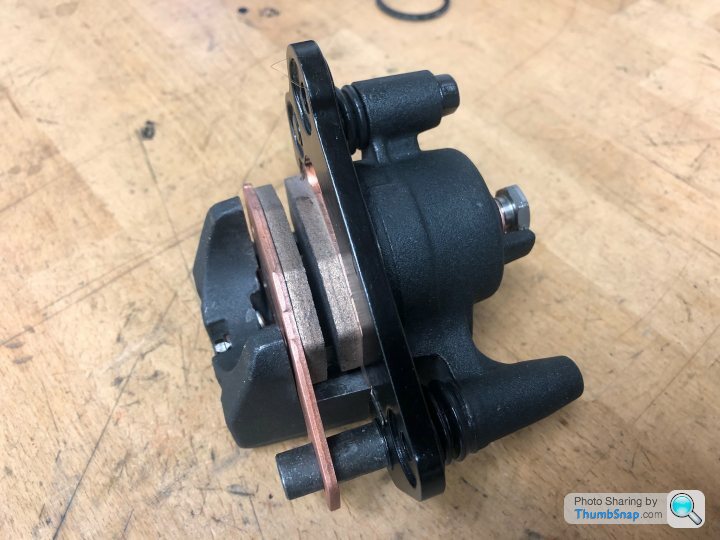
First job was to clean and rebuild the rear caliper and pop new pads in....
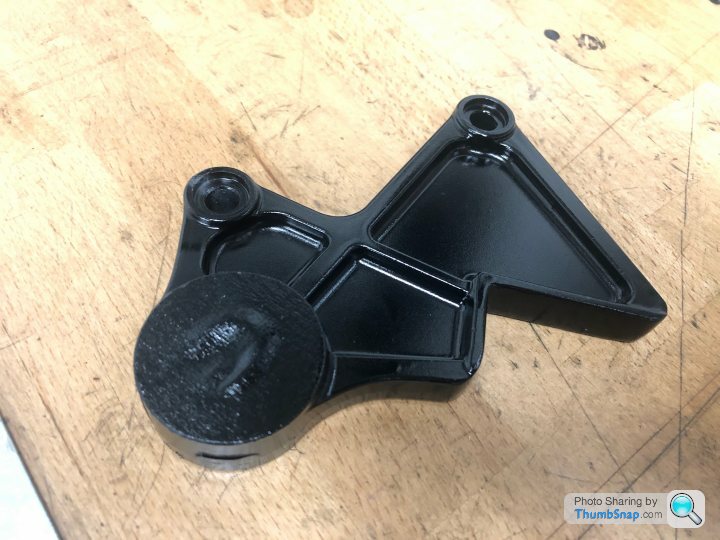
Then you have to work out how to secure the carrier to stop it spinning round when you apply the brake. Some bike use a tie rod type setup, with others the carrier slots into a channel on the swing arm. The carrier I chose is of the slot variety but the JMC swing arm has the bracket for a tie rod and no slot. Therefore, I cut down the carrier (removing the slot) and adapted it to take a tie rod. Quick blast of enamel to finish off...
First job was to clean and rebuild the rear caliper and pop new pads in....
Then you have to work out how to secure the carrier to stop it spinning round when you apply the brake. Some bike use a tie rod type setup, with others the carrier slots into a channel on the swing arm. The carrier I chose is of the slot variety but the JMC swing arm has the bracket for a tie rod and no slot. Therefore, I cut down the carrier (removing the slot) and adapted it to take a tie rod. Quick blast of enamel to finish off...
Gassing Station | Biker Banter | Top of Page | What's New | My Stuff