Big Zed Build Thread......
Discussion


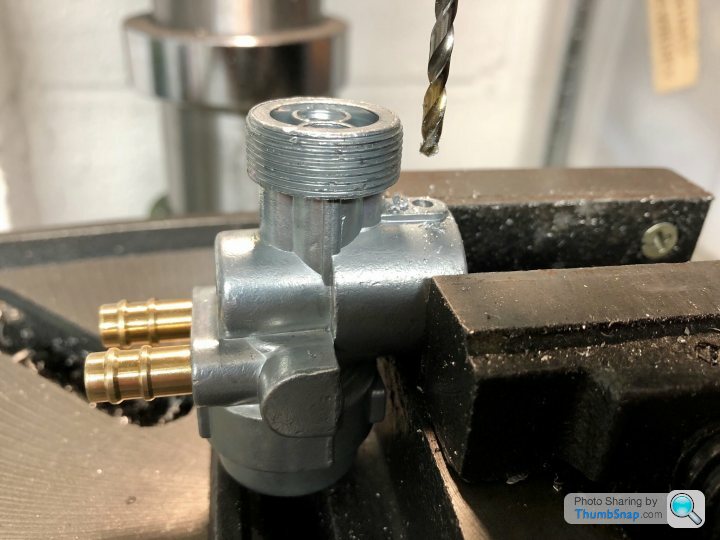
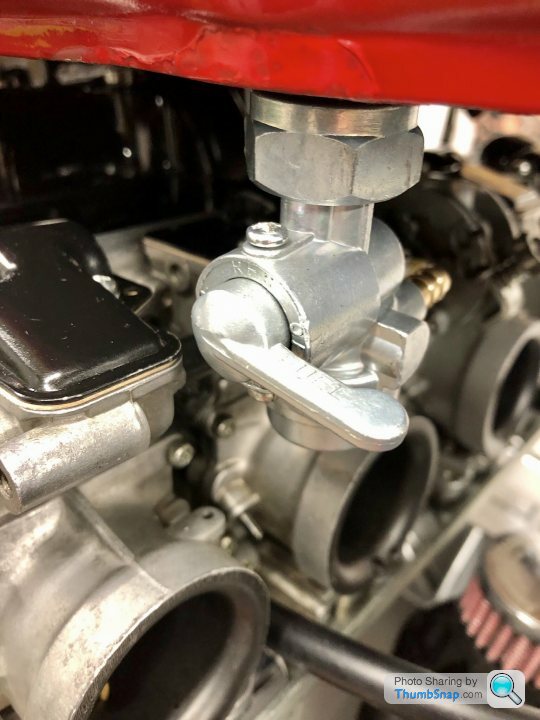
Fiddly little job tonight. Fuel tap is too close to the carb tops, meaning you can’t turn the tap. After much head scratching I turned the tap round and put the guide screw at the top so the tap operates the other way round... these are the little things you have to work through when building a bike and that take a disproportionate amount of time.......
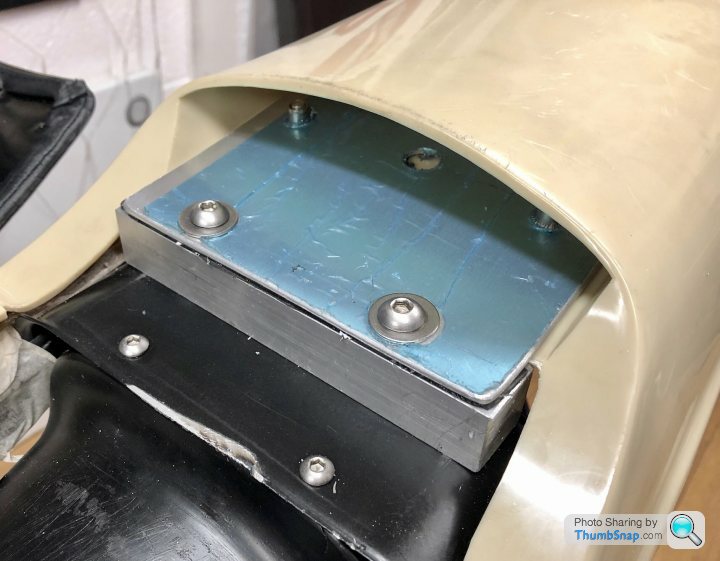
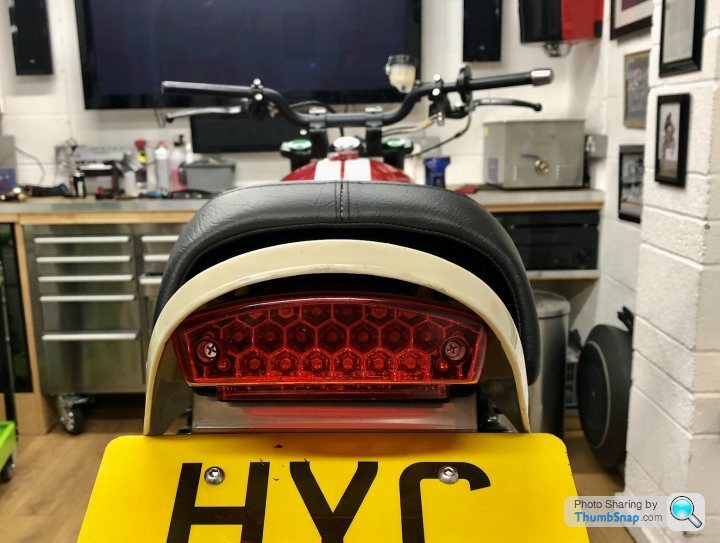
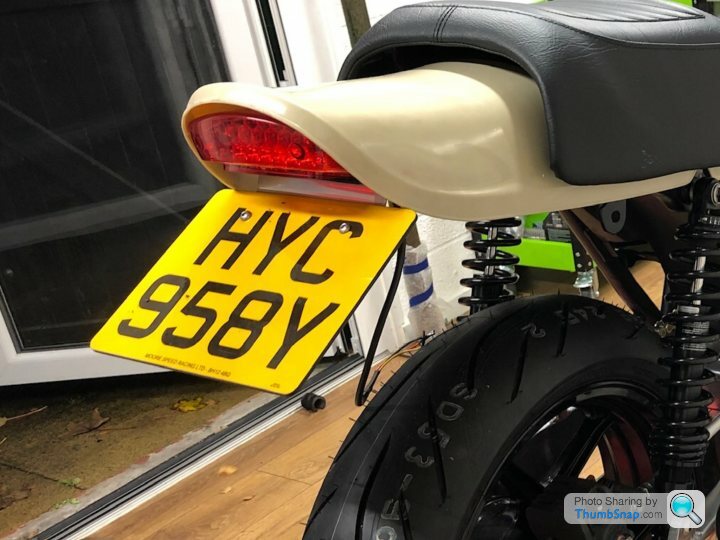
I’m keen to get the bodywork in to paint, so I’ve been working on getting it all to fit. I wanted the classic ducktail rear end, but knew it would need custom fitting to the G frame. So I made up a bracket on the last frame rail and then used a price of aluminium sheet to run through the tail unit to hold the rear LED light and number plate. Looks a bit Heath Robinson but It works and will look better when I enamel it black... you can’t see it from the outside anyway
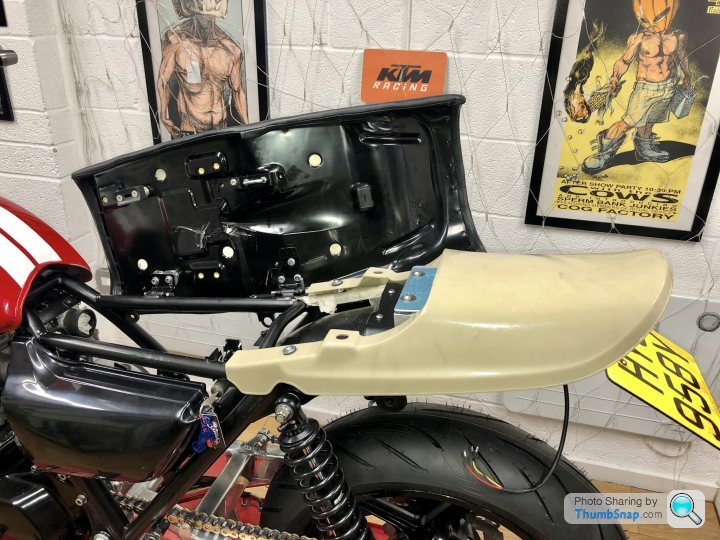
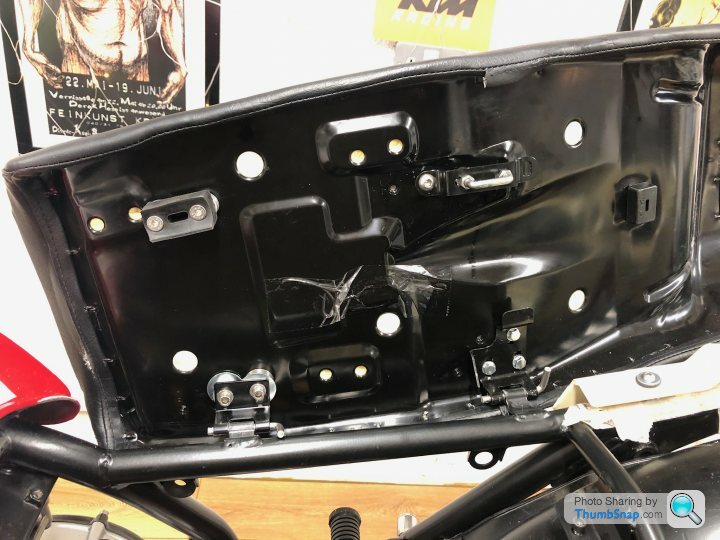
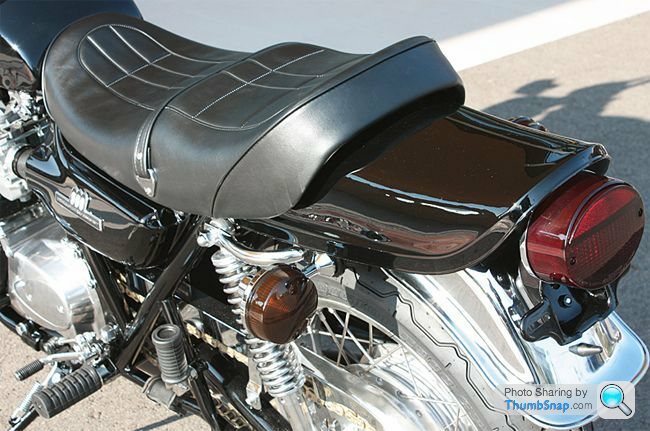
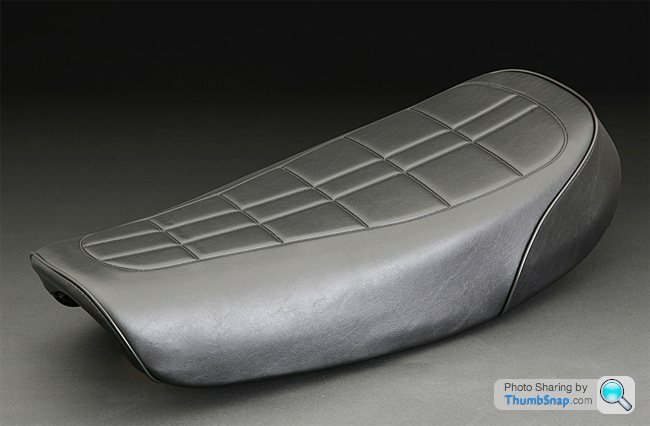
Next up was the seat....which has been a hard one. Obviously as I’m going for the more classic zed look I need to use a relatively flat seat, which has provided to be difficult to fit. Got there in the end but I had to move all the brackets, bumpers, and lock mechanisms. It’s still a bit higher at the rear than I would’ve liked, but it cant go any lower, and there is a slight gap between the seat and the tail unit with I will fill using black neoprene foam strip.
He’s the sadldle with some rough spacers etc just to get all the heights right. I’ll go back and tidy it all up when the bodywork is in paint...I’ve managed to retain the rather nifty lock mechanism and hinges so it’s easy to lift the seat and pop a bacon sarnie in there...
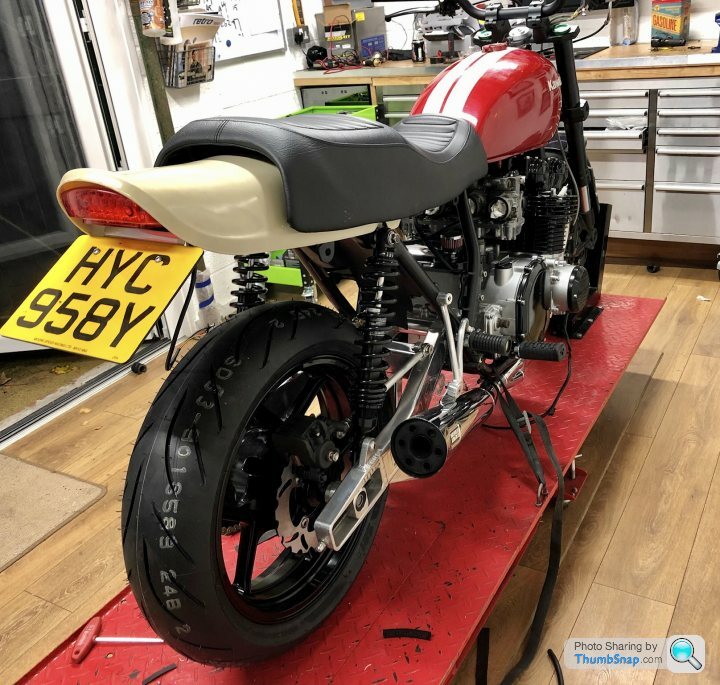
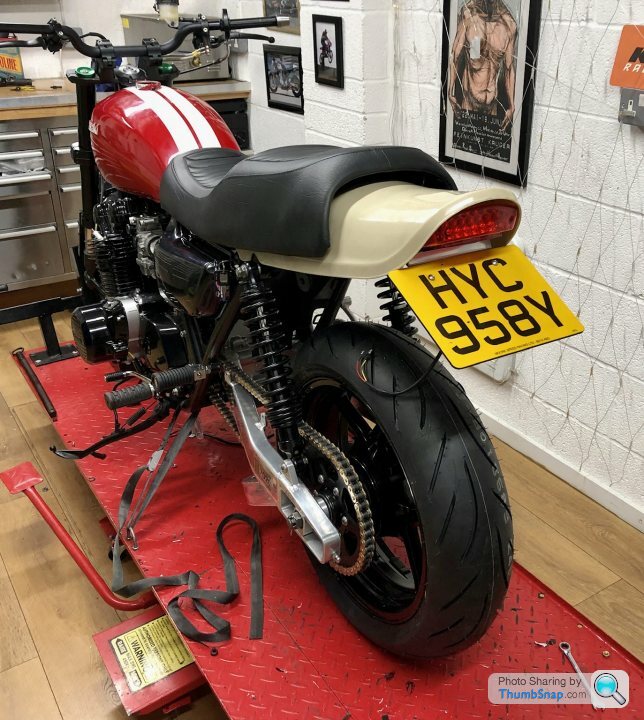
So here is the bike with all the bodywork fitted. It’s definitely the look I was after....

He’s the sadldle with some rough spacers etc just to get all the heights right. I’ll go back and tidy it all up when the bodywork is in paint...I’ve managed to retain the rather nifty lock mechanism and hinges so it’s easy to lift the seat and pop a bacon sarnie in there...
So here is the bike with all the bodywork fitted. It’s definitely the look I was after....
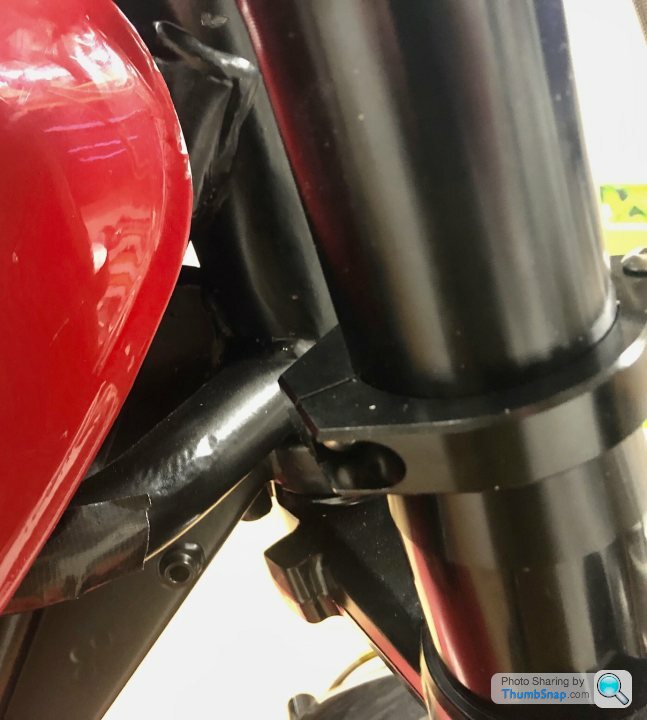
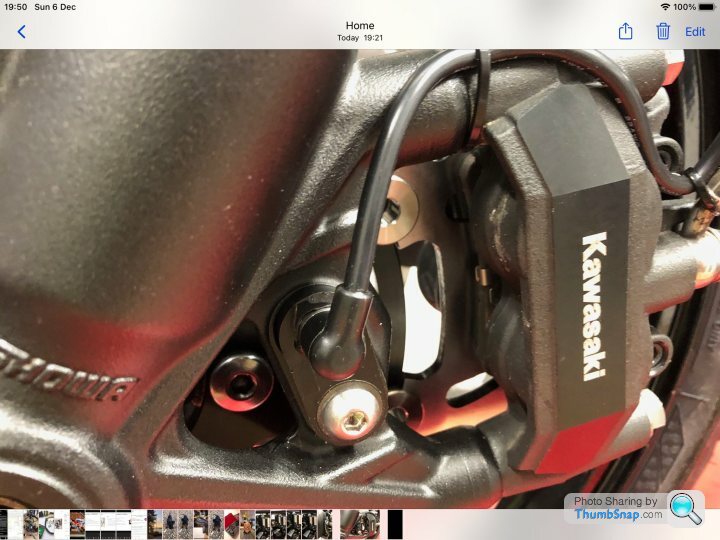
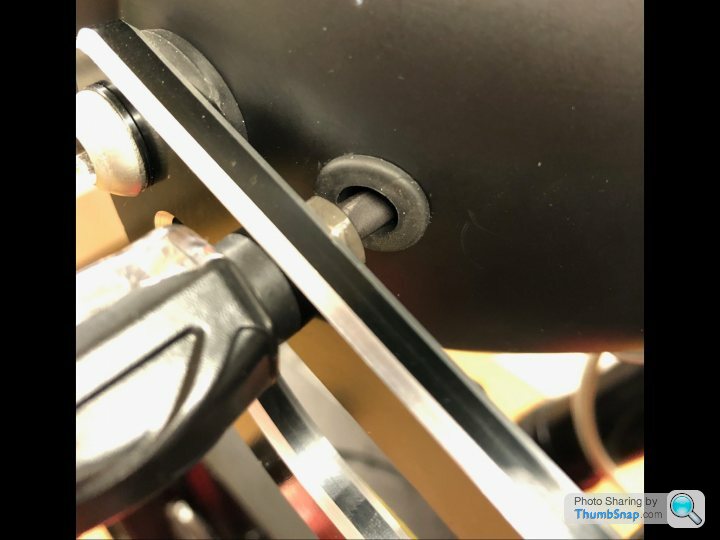
As I was fitting the bodywork I discovered the really nice fork mounted headlamp clamps were banging on the fuel tank on full lock
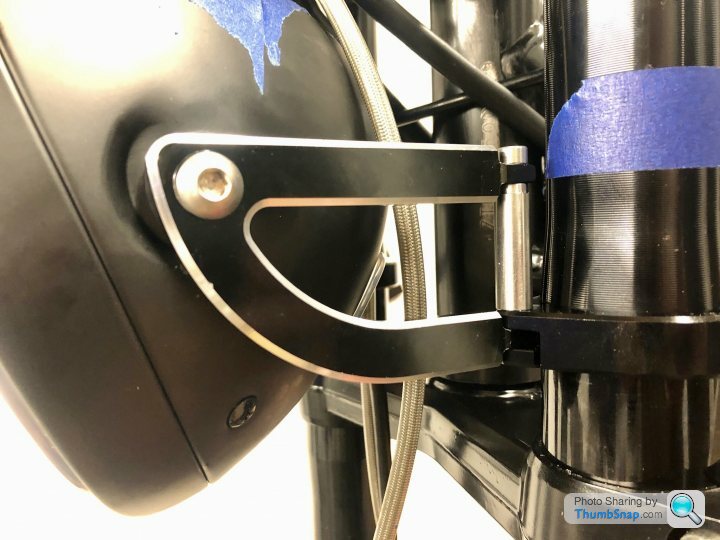
So I machined them to fit further down down the fork legs, which are a larger OD, and converted to a single clamp using a machined stainless steel connecting rod.
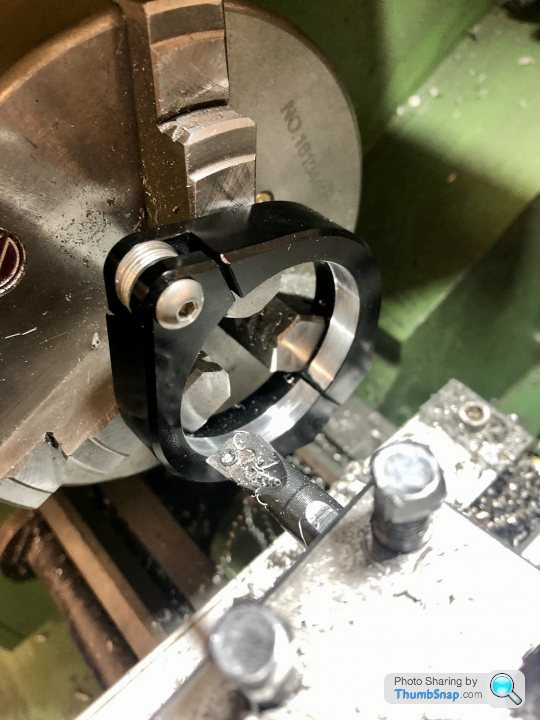
I’ve also fitted the battery tray and machined up some cup washers for the socket head bolts ..
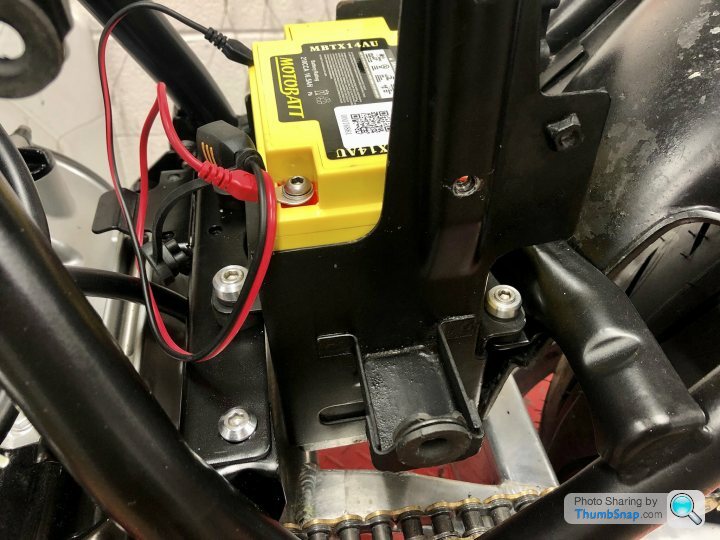
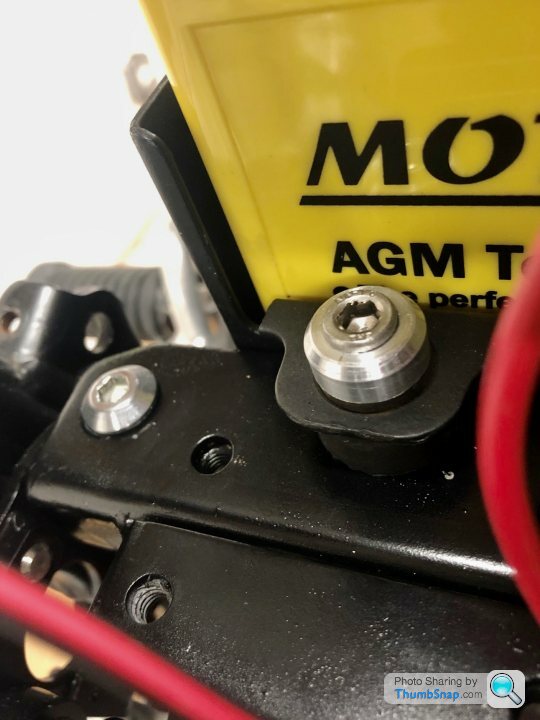
So I machined them to fit further down down the fork legs, which are a larger OD, and converted to a single clamp using a machined stainless steel connecting rod.
I’ve also fitted the battery tray and machined up some cup washers for the socket head bolts ..
Webike in Japan list these seats, this one would look superb I reckon
https://japan.webike.net/products/1522874.html
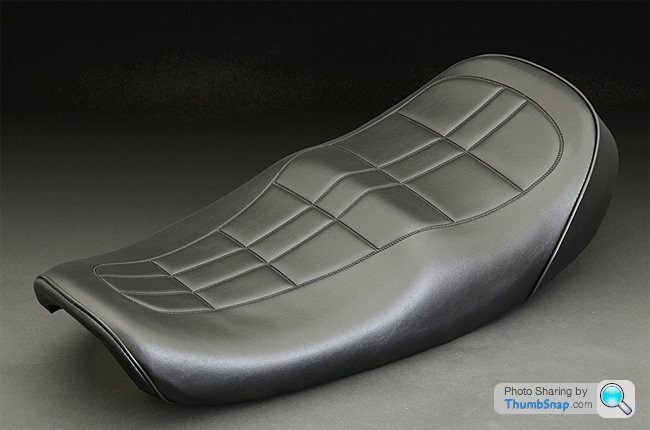
Then there's a more standard type..
https://japan.webike.net/products/2505401.html
https://japan.webike.net/products/1522874.html
Then there's a more standard type..
https://japan.webike.net/products/2505401.html
Sorry I’ve been quiet on the update for a while....
Bodywork has gone off to paint. I’ll keep the colour scheme a surprise....
So I’ve moved on to the wiring.....
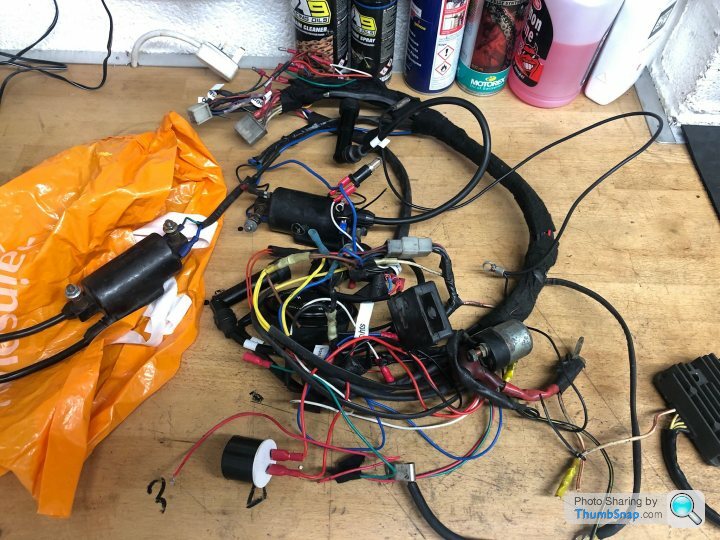
Relatively simple wiring on these older bikes, but the loom has been so badly botched in the past that I’ll be rewiring from scratch.
I like to to use the Motogadget M units, as they have lots of functionality like blue tooth activated ignition switch using your phone etc and really simplify the wiring. I used one on my last cafe racer build.... this time my goal is to make it look lot tidier ...
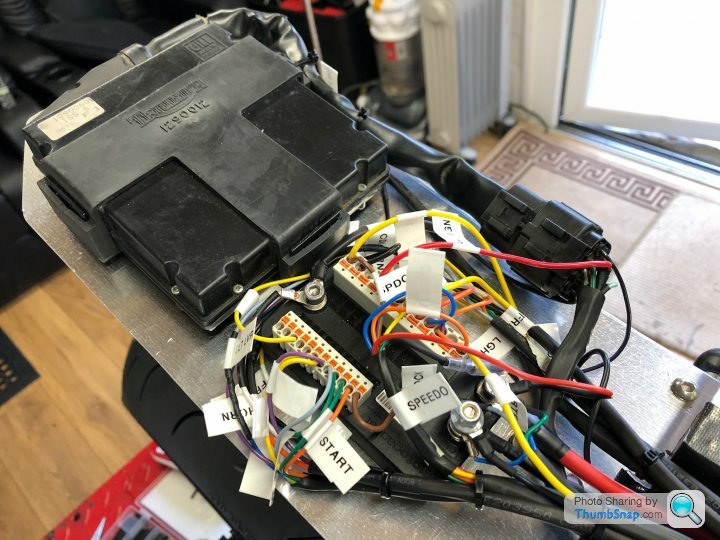
I popped a new 3 phase stator in when I rebuilt the engine, and I’ll use a new regulator. The only original component I’ll keep is the “Igniter” which is an early form of CDI I guess... they are very expensive to replace so hopefully it works...
Bodywork has gone off to paint. I’ll keep the colour scheme a surprise....
So I’ve moved on to the wiring.....
Relatively simple wiring on these older bikes, but the loom has been so badly botched in the past that I’ll be rewiring from scratch.
I like to to use the Motogadget M units, as they have lots of functionality like blue tooth activated ignition switch using your phone etc and really simplify the wiring. I used one on my last cafe racer build.... this time my goal is to make it look lot tidier ...
I popped a new 3 phase stator in when I rebuilt the engine, and I’ll use a new regulator. The only original component I’ll keep is the “Igniter” which is an early form of CDI I guess... they are very expensive to replace so hopefully it works...


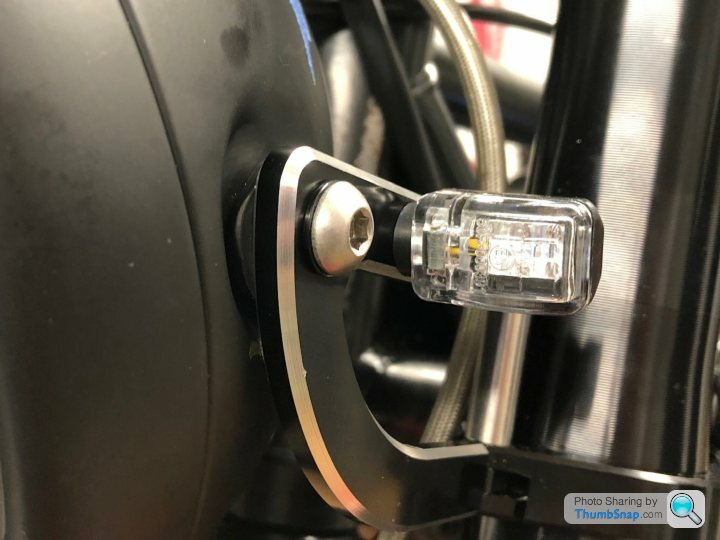
Routed the indicators through the headlamp to keep it looking tidy...
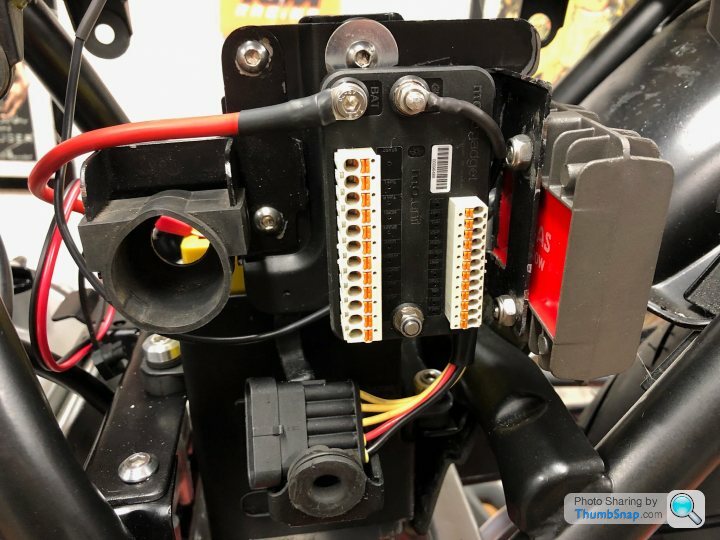
Mounted the Motogadget and the new rectifier
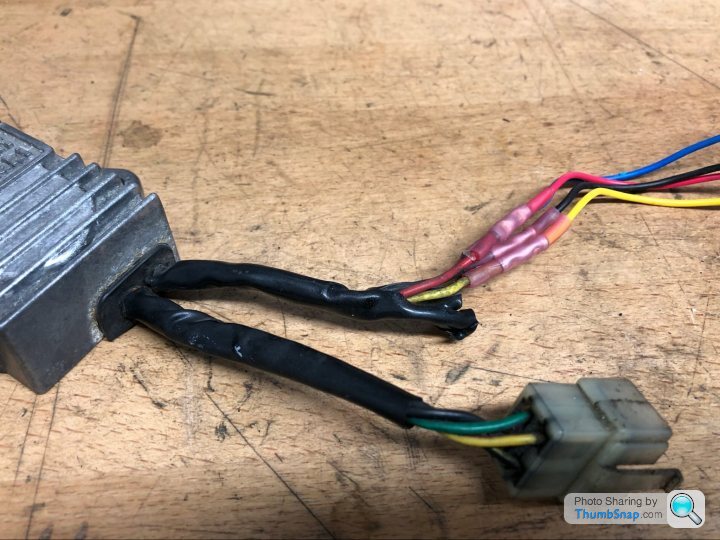
Found a couple of melted wires from the igniter so I’ve repaired those and replaced the sleeve with Raychem heatproof sleeve
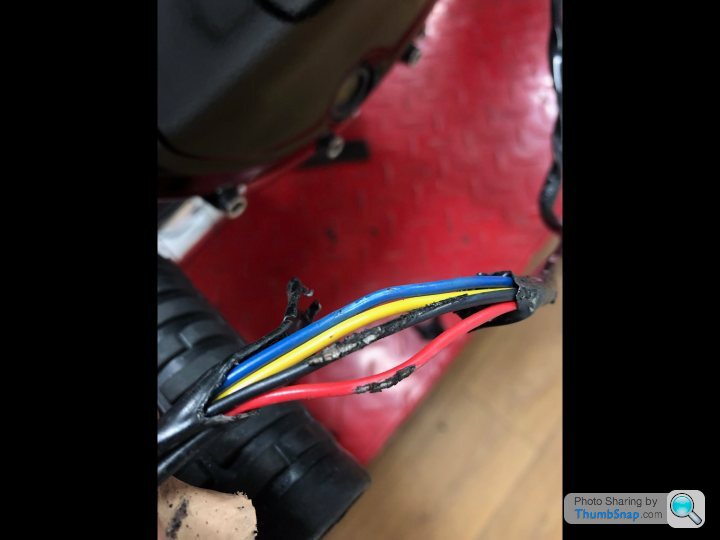
These joints will need cutting out, such bad bodging.... why? I’ll be replacing all plugs with Tyco superseals...
Mounted the Motogadget and the new rectifier
Found a couple of melted wires from the igniter so I’ve repaired those and replaced the sleeve with Raychem heatproof sleeve
These joints will need cutting out, such bad bodging.... why? I’ll be replacing all plugs with Tyco superseals...
KTMboy said:
Fiddly little job tonight. Fuel tap is too close to the carb tops, meaning you can’t turn the tap. After much head scratching I turned the tap round and put the guide screw at the top so the tap operates the other way round... these are the little things you have to work through when building a bike and that take a disproportionate amount of time.......
The original petcocks have a metal pipe with a barbed tube for the fuel pipe coming out that blanked boss on the side. If you drill the top of one of those it doesn't work and the tap is either off or on reserve, or something else strange, can't quite remember. Ask me how I know. 
Haven't seen this thread in a while, your bike is coming along nicely.
Edited by mygoldfishbowl on Monday 7th December 16:40
Gassing Station | Biker Banter | Top of Page | What's New | My Stuff