New Soft Top DIY Install
Discussion


Decided it's time to tackle the roof on my Chim. I'm not the best at any jobs that need a bit of skill and finesse so not guarantees how this will turn out, but thought it was worth posting as I couldn't find any detailed threads covering this.
Decided to start with the rear section as i still haven't decided whether to go for a split targa top or stick with the original.
Top arrived today so got started this evening.
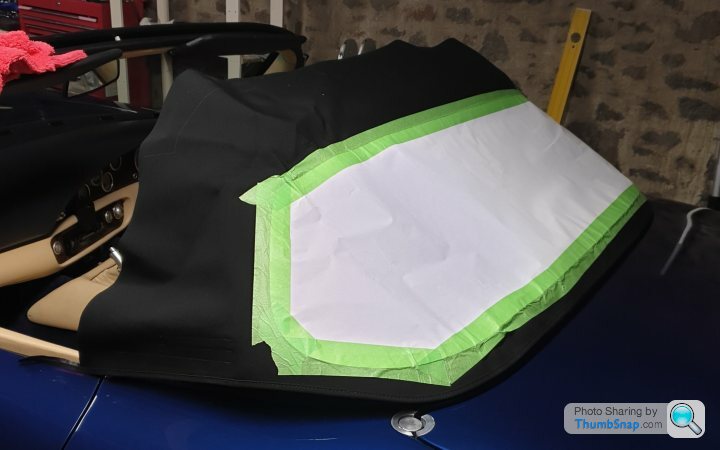
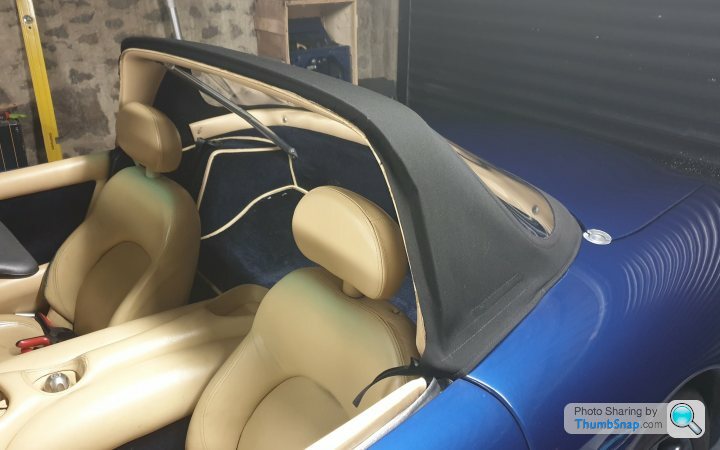
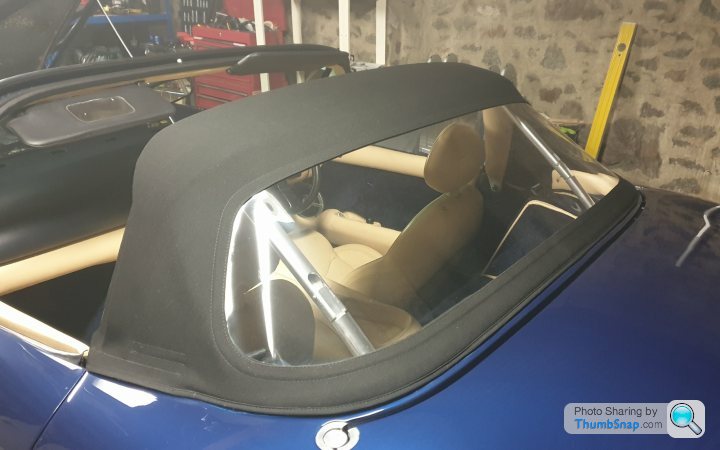
Trial fit over existing roof
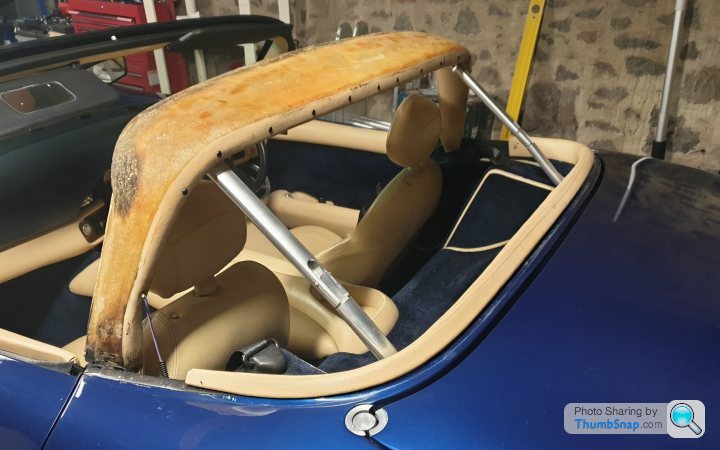
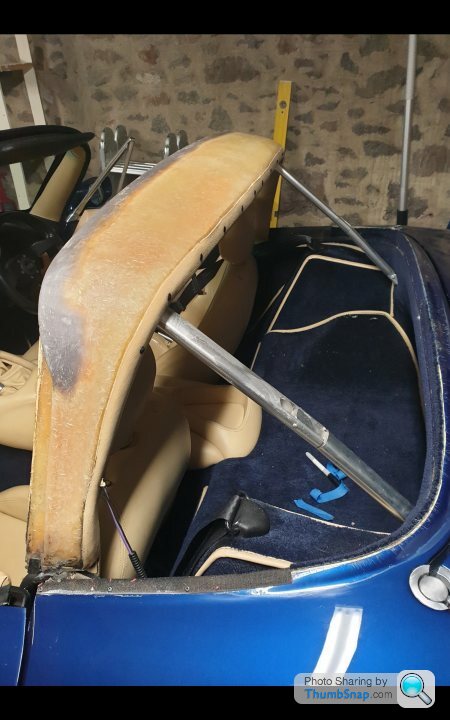
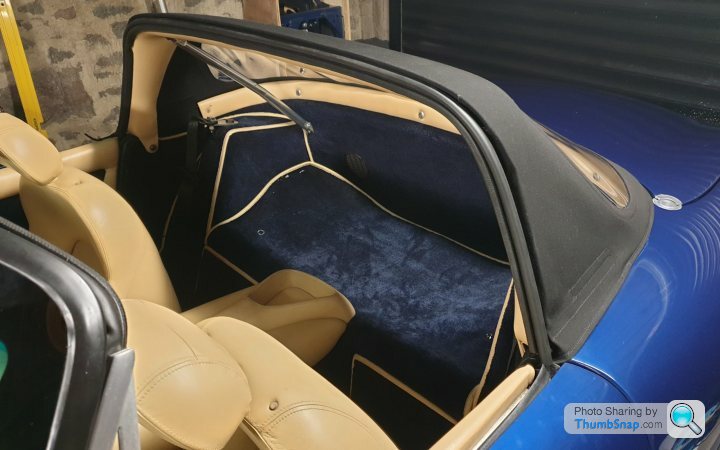
Rear section removed

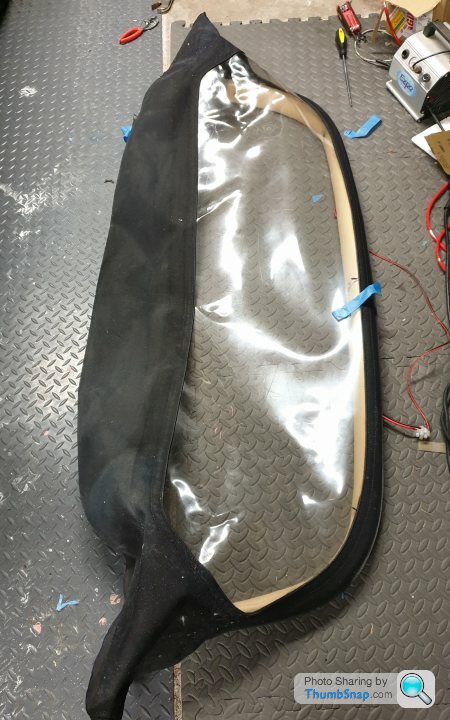
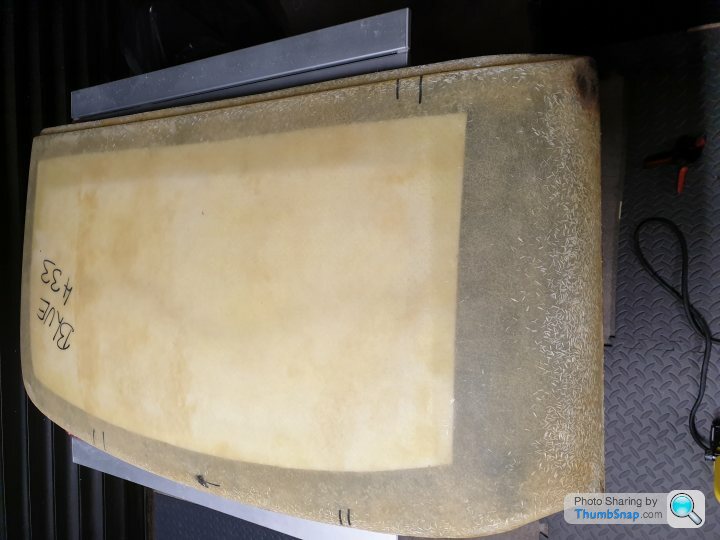
Old roof
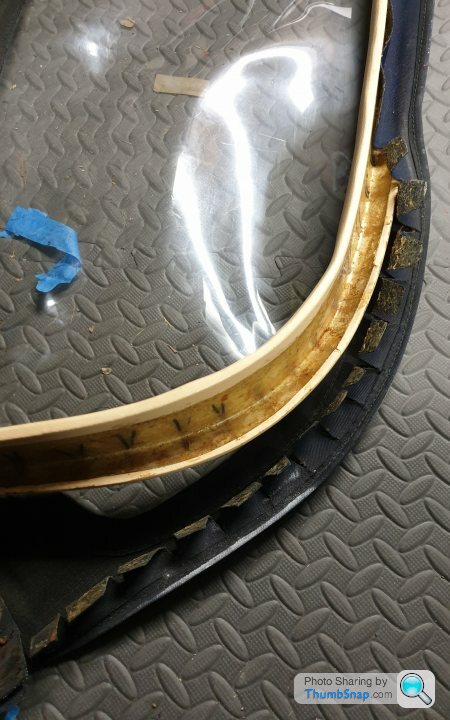
Removing the rear trim
Next job is to clean everything up. The glue remover seems to be pretty evil stuff! so need some extra protection for me and the paintwork.
Decided to start with the rear section as i still haven't decided whether to go for a split targa top or stick with the original.
Top arrived today so got started this evening.
Trial fit over existing roof
Rear section removed
Old roof
Removing the rear trim
Next job is to clean everything up. The glue remover seems to be pretty evil stuff! so need some extra protection for me and the paintwork.
Had a bit more time this evening, still bit trial and error, but making some progress.
Cleaned off the old glue. The adhesive cleaner wasn't that effective, but may have softened it a bit. Ended up scraping most of it off, then gave it a quick sand
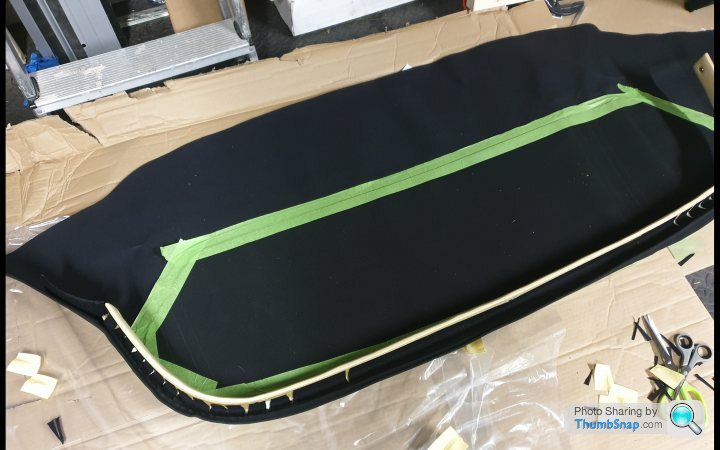
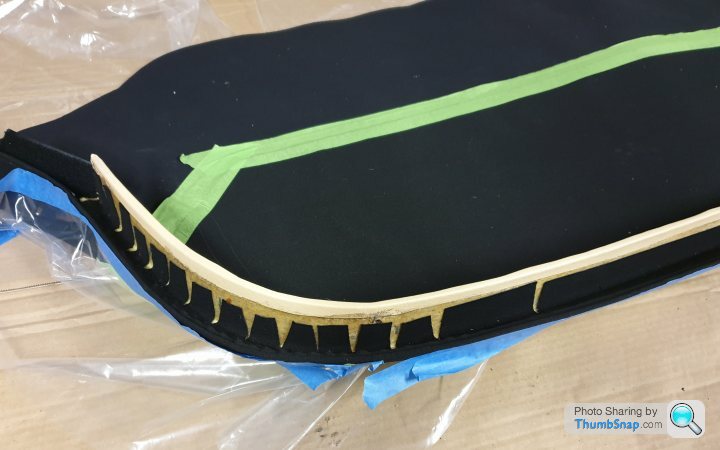
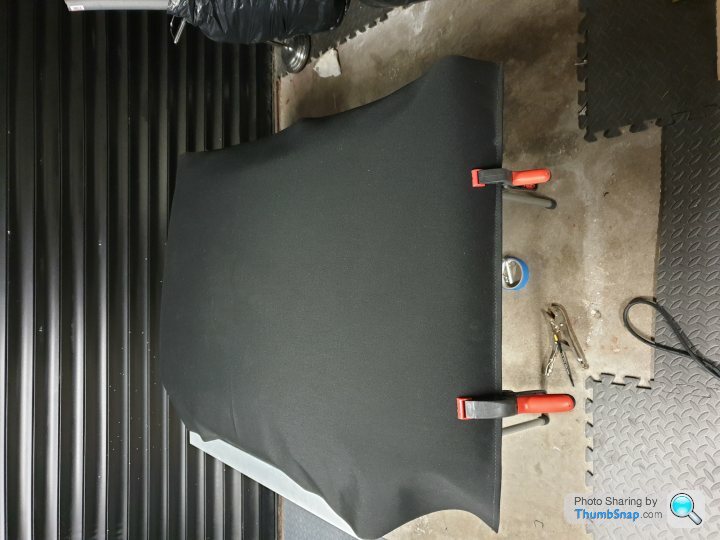
Cut out tabs and trial fitted to the rear surround with double sided tape, to check alignment
Glued down left hand side,
Just finished the right hand side and need to leave it to cure for 24h, before trial fitting.
Cleaned off the old glue. The adhesive cleaner wasn't that effective, but may have softened it a bit. Ended up scraping most of it off, then gave it a quick sand
Cut out tabs and trial fitted to the rear surround with double sided tape, to check alignment
Glued down left hand side,
Just finished the right hand side and need to leave it to cure for 24h, before trial fitting.
Classic Chim said:
QBee said:
How much did they quote you for the complete job including fitting?
I remember a chap coming to Rich (Sheel) place supplying and fitting his for about £750 all in which I thought was a bargain at the time in 2016. Can’t flipping remember his name!
angus337 said:
Classic Chim said:
QBee said:
How much did they quote you for the complete job including fitting?
I remember a chap coming to Rich (Sheel) place supplying and fitting his for about £750 all in which I thought was a bargain at the time in 2016. Can’t flipping remember his name!
Not much time today, but managed to fit the rear section and trial fit to the hoop with tape
Seems to be a good fit, nut couldn't get it fully tensioned with tape. One minor problem on the drivers side corner were it has lifted slightly, so may have to take it of again to sort. I think the scariest bit is going to be gluing it down to the hoop.
Seems to be a good fit, nut couldn't get it fully tensioned with tape. One minor problem on the drivers side corner were it has lifted slightly, so may have to take it of again to sort. I think the scariest bit is going to be gluing it down to the hoop.
PITA, but decided to take it back if to re-glue a couple of bits on the rear surround. Good opportunity for a quick blast and try and update the mapping with the new fuel pressure regulator and injectors while the glue was drying.
Refitted to the car this evening and finally plucked up the courage to glue it down to the folding hoop. Was planning to take more pictures of this step but once the glue is on theres not a lot of time to get it positioned before the glue goes off. Even with the the evostik timebond adhesive.
Just been back down and fitted the seal
Edited by angus337 on Saturday 21st September 23:02

A difficult job made to look easy. Very nice work sir.
I’d now be asking for products to remove glue off paintwork
I actually watched someone do this on a mates car but couldn’t be sure which way the chap fitted it so thought better than to guess but looking at yours now I believe he also fixed it at the rear and then glued it to hoop.
I’d now be asking for products to remove glue off paintwork
I actually watched someone do this on a mates car but couldn’t be sure which way the chap fitted it so thought better than to guess but looking at yours now I believe he also fixed it at the rear and then glued it to hoop.
Looks good!
I've had a new hood sitting in my garage for the last few years that I still need to fit once I've finished the body off restoration of the chassis, great to see how you did it.
You say you used the timebond adhesive as opposed to the normal contact adhesive? I was planning to use the high temp contact adhesive, but not sure if high temp is required or if the timebond would make things easier.
I guess covering the targa is the next step, which I suspect could be more difficult.
I found this thread for recovering the targa top, which recommended timebond. Assumed it would also be OK for the folding section, time will tell I guess. http://www.groutledge.co.uk/targa-re-cover/targa-r...
Decided to stick with the standard top rather then going for the split option, so will get on to recoveringnthat next.
Decided to stick with the standard top rather then going for the split option, so will get on to recoveringnthat next.
Finally got round to tackling the targa section, above link was pretty useful.
Glue removed and sanded
Test fitted
Glued down

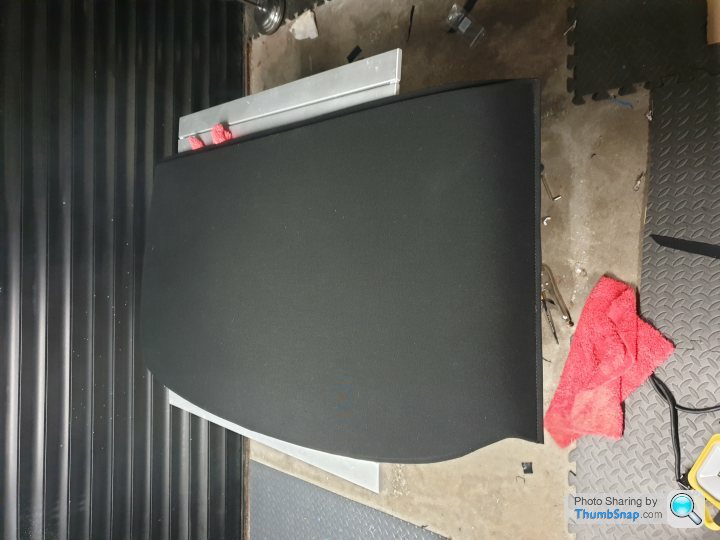
Generally wasn't too bad, the tricky bit was gluing and trimming the edges. Leaving it to dry before sealing the edges with silicon and fitting the new rubber seals.
Glue removed and sanded
Test fitted
Glued down
Generally wasn't too bad, the tricky bit was gluing and trimming the edges. Leaving it to dry before sealing the edges with silicon and fitting the new rubber seals.
Fairly straight forward on the top, folding in the edges especially at the corners is a bit more tricky though. Think I will need to revisit the rear corners and reglue.
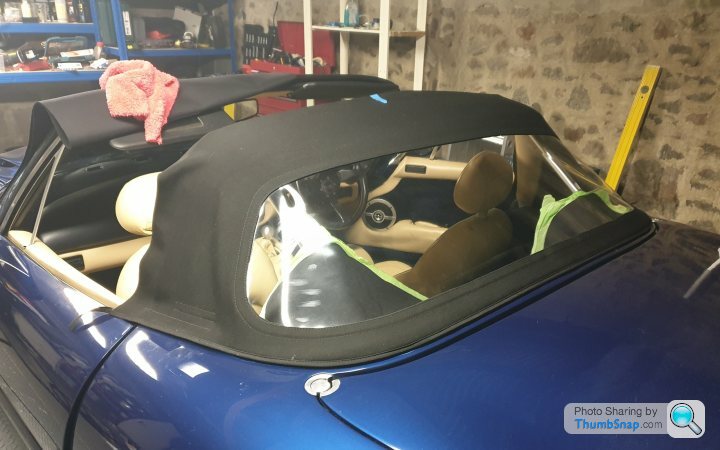
All finished now, happy with the results, but could be better. Certainly wouldn't recommend the DIY route if I had a local trimmer that had done the job before.
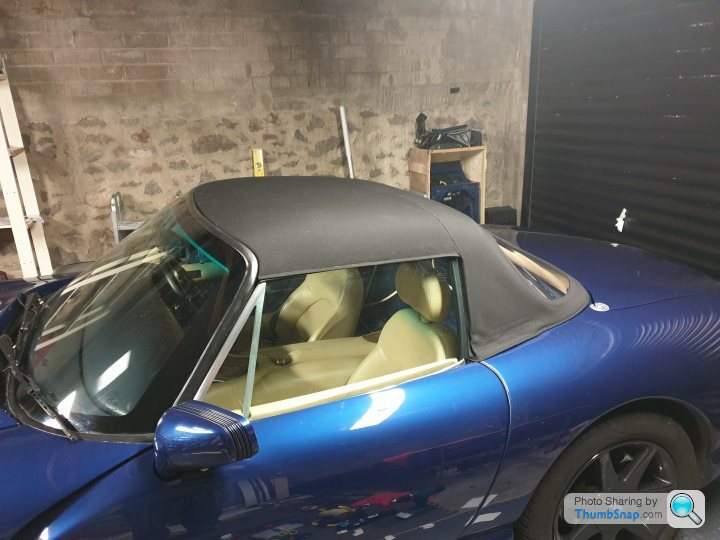
One problem though, I am finding it difficult to fit the targa section. The front lip seems to be gripping the windscreen seal an pushing it downwards, to the point that it doesn't sit flush with the roof and has also come loose on the drivers side.
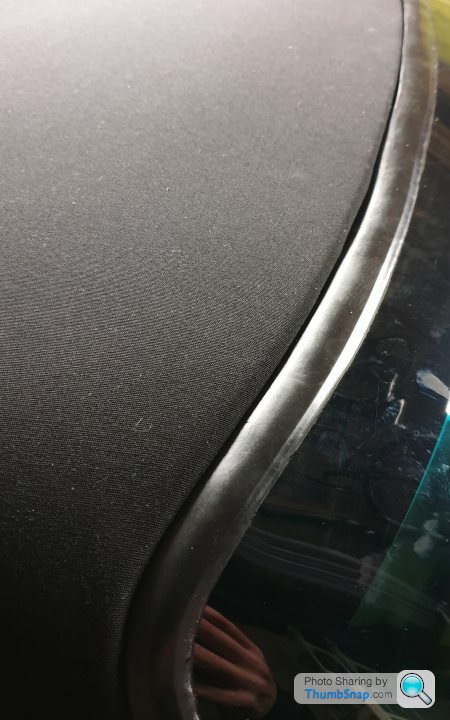
Any tips on re-attaching the seal or fitting a new one?
All finished now, happy with the results, but could be better. Certainly wouldn't recommend the DIY route if I had a local trimmer that had done the job before.
One problem though, I am finding it difficult to fit the targa section. The front lip seems to be gripping the windscreen seal an pushing it downwards, to the point that it doesn't sit flush with the roof and has also come loose on the drivers side.
Any tips on re-attaching the seal or fitting a new one?
Gassing Station | Chimaera | Top of Page | What's New | My Stuff