1995 Griffith 500 restoration
Discussion


The modified wiring loom from the door to the bottom of A pillar to operate the heated seats. I fitted a pull apart connector just in case the door needs removing in the future. The blue plug with a switch fitted to test the relay kicks in and out. The switch uses an ignition on only live to operate the relay. No flat battery if seats are left on.
Below showing the 3 added fused live circuits to the fusebox. That’s another job finally finished

Above is inside the passenger door, the lower pivot for the door hinge. Mentioned before the passenger door wouldn’t shut without damaging the new paint. As a recap, this was the quality from the tvr specialist.
For adequate access to the hinge pivot the window runner needs to be removed which is the polished part above the door sealed/glued into position. I could gently lift the door with about 30mm of movement so when I actually started to wonder if the pivots were worn and needed replacing I actually found the lower and upper were hand tight. I tightened them up and luckily which is extremely rare for myself the door tightened up with no movement if gently lifted and indeed corrected the panel gap to the rear quarter.
The latch still wasn’t clicking shut. Another easy fix was to clean the latch of the dirt and grime, new grease and the door shuts lovely now.
Below is a picture looking at the floor showing how flush the door shuts after tightening the door hinge pivots.
Now I had stripped the door of the window runners I decided to clean up all the rubber and aluminium components giving everything a clean and getting rid of overspray on the side window edges which if I hadn’t removed would have been impossible to get to.
The aluminium window frame a gave a polish as it was quite stained and with a few stone chip marks. Started with 120 grit emery then wet and dry using brasso as the wet and finished with paper towel and brasso.
The passenger door has had a lot of hours of fettling. I wasn’t totally happy with the window movement up and down. The brackets holding the window guide had a lot of adjustment possibly to aid the hand built assembly when new but I still couldn’t get a good consistent movement. So I thought unbolt the front bottom frame mount and watch the way it flexes when operating the window. Well straight off when unbolted it popped off the bracket. Opening and closing the window didn’t show that much movement but it did operate more smoothly. The gap between the frame and bracket had a couple of washers added and then bolted together again. Then I noticed a bit of play in the mount to the actual bracket holding the glass to the motorised brackets. Bolts were all tight so I loosened it off and again another pop with a gap appearing so more suitable washers bolted back together and I would say as good as it can possibly be now. A bit of a powered donk when it hits the upper and lower limit of the window mechanism. No rubber buffers to adjust that. Finally a lump of shaped rubber to fit on the rear of the glass. Simply super glued by the looks of the original glue remains. Again it didn’t fit adequately. So more filing or rasping to gradually shape the rubber on the inside so the window glass slid nicely within. Cleaning off remnants of old glue and silicon sealer it was ready to reattach. A bit more superglue then carefully filling the grove around the rubber with new sealant and it looks tidy. Not perfect, as a TVR is not perfect lol.
Modified wiring loom could now be fitted within the door and through the A pillar. For those reading the wiring loom sits right at the bottom of the door to clear a lowered window mechanism with cables one side for the electric door mirrors and then the other side of the window to power the motor, speakers and now heated seat.
Then fitting of the door mirror. The connector for the mirror doesn’t fit through the hole in the door. So the pins need to be removed from the connector so as the cable can then be threaded through the hole in the door to the wiring loom within. Hindsight says use two smaller connector plugs but I persevered and removed the pins from the big connector plug. Plus for doing it the hard way is the access to polish up the pins to make a better electrical connection within the door.
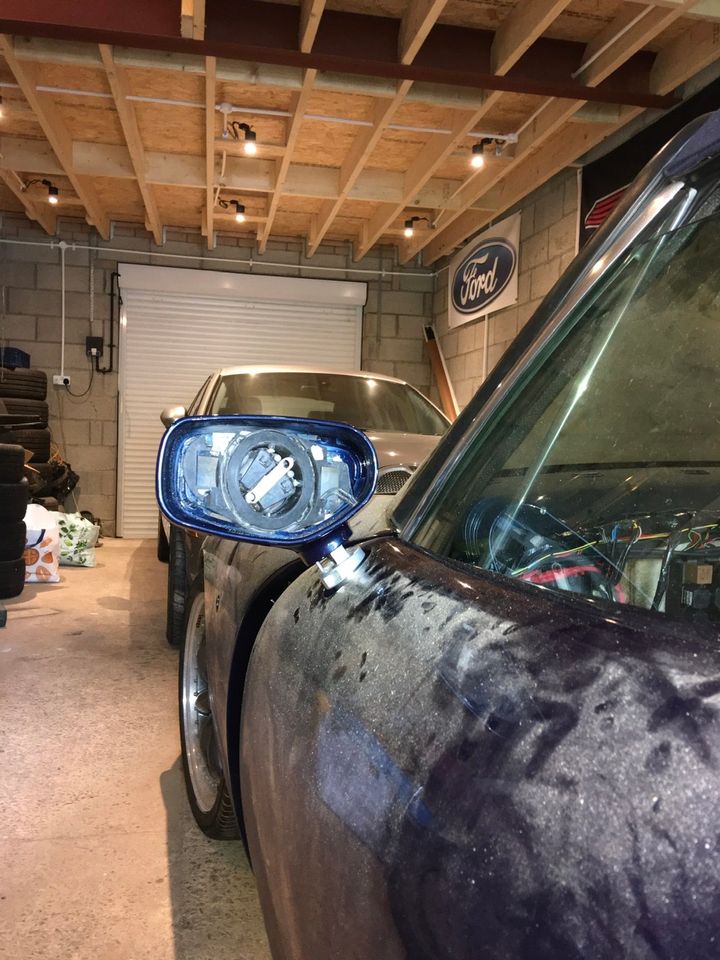
Picture above showing test fit of mirrors on modified extended mounts that fit to the door. These were bought from a fellow TVR enthusiast and gives a near perfect access to tighten up the securing grub screw on the mirror. I think the extra height of the mirror suits the shape of the door.
Hopefully my words are making sense with my work so far.
Next weekend I need to turn the car around and replicate all this work on the drivers door.
Modified wiring loom could now be fitted within the door and through the A pillar. For those reading the wiring loom sits right at the bottom of the door to clear a lowered window mechanism with cables one side for the electric door mirrors and then the other side of the window to power the motor, speakers and now heated seat.
Then fitting of the door mirror. The connector for the mirror doesn’t fit through the hole in the door. So the pins need to be removed from the connector so as the cable can then be threaded through the hole in the door to the wiring loom within. Hindsight says use two smaller connector plugs but I persevered and removed the pins from the big connector plug. Plus for doing it the hard way is the access to polish up the pins to make a better electrical connection within the door.
Picture above showing test fit of mirrors on modified extended mounts that fit to the door. These were bought from a fellow TVR enthusiast and gives a near perfect access to tighten up the securing grub screw on the mirror. I think the extra height of the mirror suits the shape of the door.
Hopefully my words are making sense with my work so far.
Next weekend I need to turn the car around and replicate all this work on the drivers door.
RichB said:
RobXjcoupe said:
<clip> test fit of mirrors on modified extended mounts...
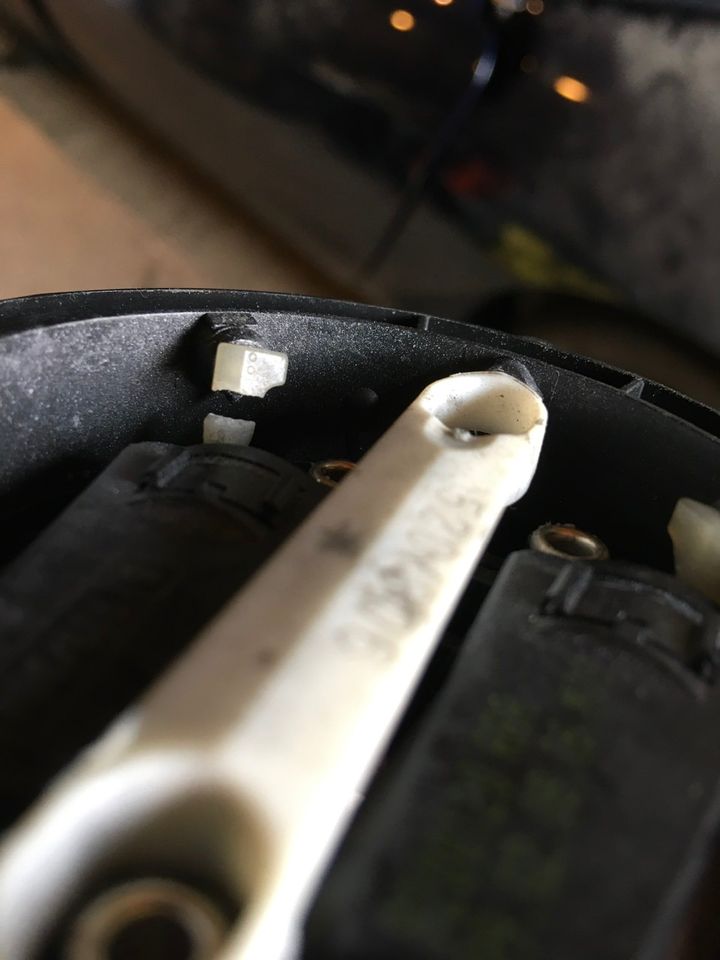
Unless I missed it, how will you finish the extension, will you make a sleeve and spray it to match? Still on the door mirrors, I was testing the motors and found one of the small nylon adjusters to be broken
Slightly deflated as the cost of a good second hand mirror is roughly £200.
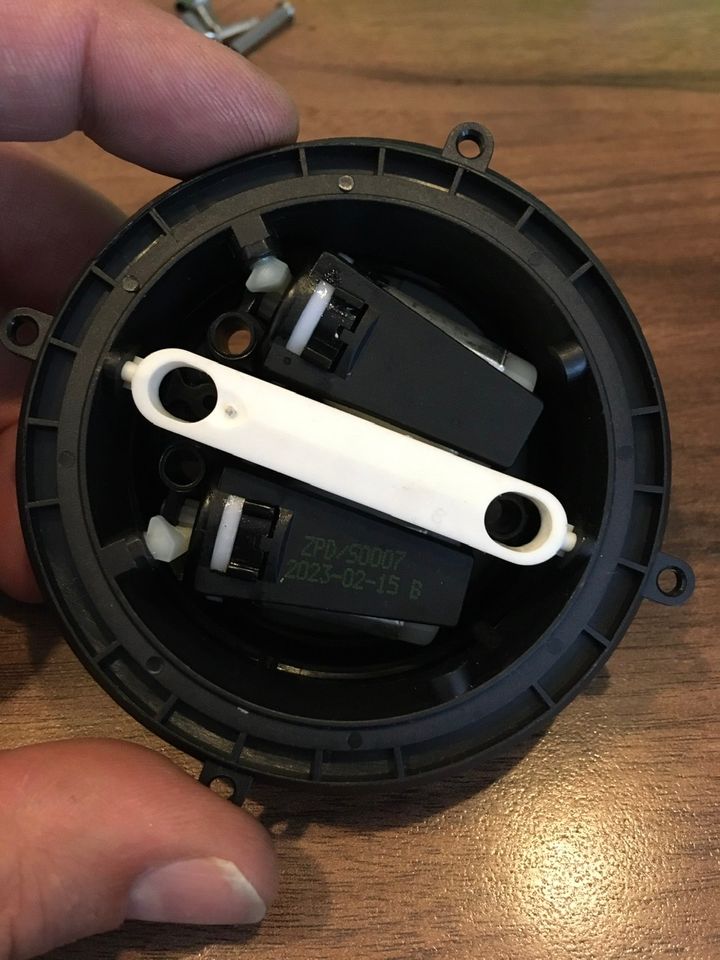
So with the mechanism removed I thought it’s possibly a common part between manufacturers as it doesn’t have a Citroen stamp on it.
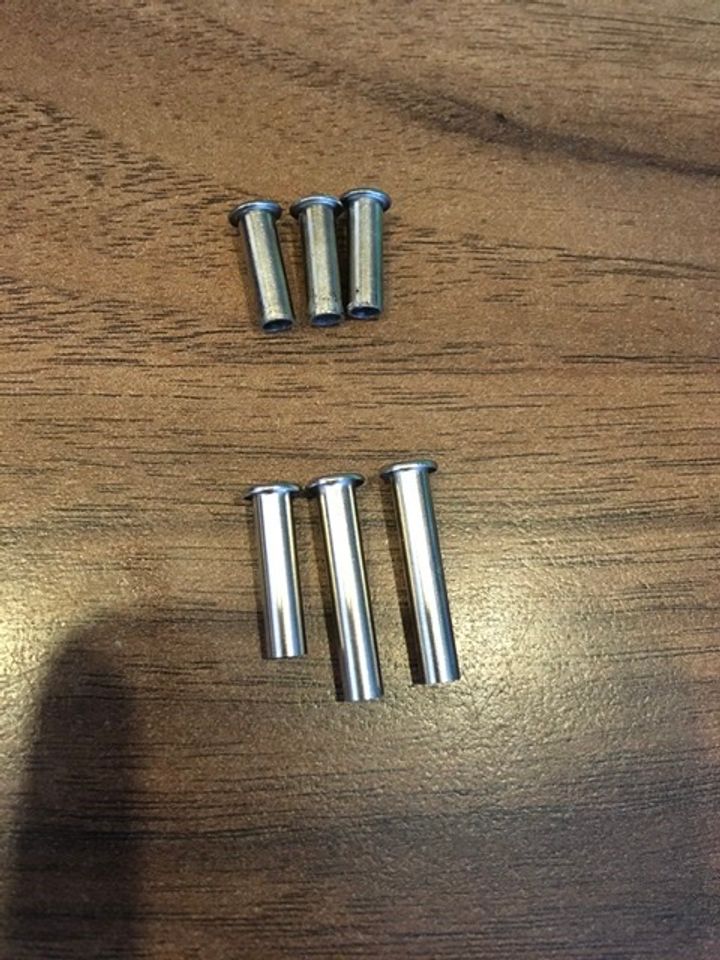
I was spot on and purchased 2 brand new motorised units for £21. A couple of minor differences purely for fitment. The 3 securing screws fit within a small metal tube. I’ve removed the TVR version from the broken unit and fitted those in the new unit and the same with a back cover. Replaced the new cover with the TVR version.
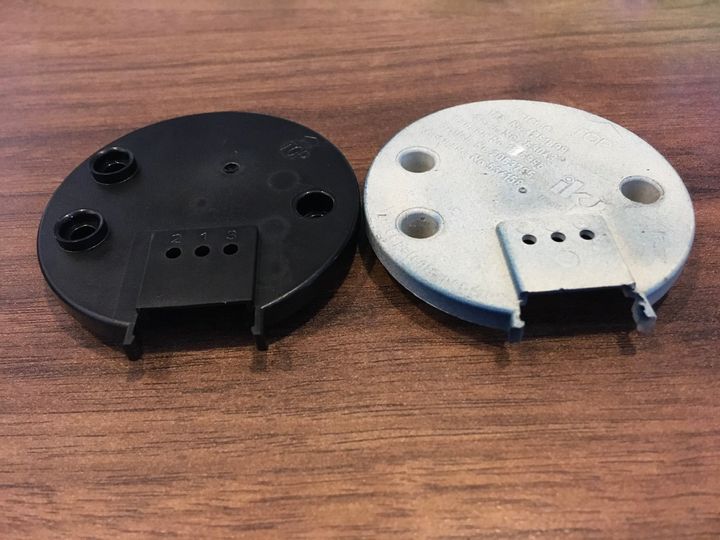
Picture above showing the original TVR back cover on the right.
My new parts were advertised to fit a Vauxhall zafira. So now I have brand new motor mechanisms within the original TVR/Citroen door mirror housings.
New heated mirror glass have also been delivered. They have a clip on back plate that clicks onto the circular motor mechanism so you don’t need the original TVR type if you missing it or it simply become brittle over the years.
Slightly deflated as the cost of a good second hand mirror is roughly £200.
So with the mechanism removed I thought it’s possibly a common part between manufacturers as it doesn’t have a Citroen stamp on it.
I was spot on and purchased 2 brand new motorised units for £21. A couple of minor differences purely for fitment. The 3 securing screws fit within a small metal tube. I’ve removed the TVR version from the broken unit and fitted those in the new unit and the same with a back cover. Replaced the new cover with the TVR version.
Picture above showing the original TVR back cover on the right.
My new parts were advertised to fit a Vauxhall zafira. So now I have brand new motor mechanisms within the original TVR/Citroen door mirror housings.
New heated mirror glass have also been delivered. They have a clip on back plate that clicks onto the circular motor mechanism so you don’t need the original TVR type if you missing it or it simply become brittle over the years.
UKenGB said:
RobXjcoupe said:
Unfortunately 2022 lights in a 1995 car isn’t legal until the car is 40 years old …
I'm only now reading this thread from a couple of years ago, but I'm intrigued by the above statement. Exactly which regs would be contravened by fitting later lights?There is nothing I can think of that applies to a 40 year old vehicle except possible re-classification to HISTORIC Taxation Class, which does not affect which lights can be used and of course there is also the exemption from MOT testing requirement which does not affect the legal requirements at all, just the need to be tested.
So I'm intrigued, pray tell.
Now you can retrofit led and hid bulbs to replace halogen bulbs for headlamps. As long as it passes the beam pattern it’s not a fail anymore
RobXjcoupe said:
UKenGB said:
RobXjcoupe said:
Unfortunately 2022 lights in a 1995 car isn’t legal until the car is 40 years old …
I'm only now reading this thread from a couple of years ago, but I'm intrigued by the above statement. Exactly which regs would be contravened by fitting later lights?There is nothing I can think of that applies to a 40 year old vehicle except possible re-classification to HISTORIC Taxation Class, which does not affect which lights can be used and of course there is also the exemption from MOT testing requirement which does not affect the legal requirements at all, just the need to be tested.
So I'm intrigued, pray tell.
Now you can retrofit led and hid bulbs to replace halogen bulbs for headlamps. As long as it passes the beam pattern it’s not a fail anymore
So if a car is registered before 1 April 1986 you can fit led or hid bulbs in a halogen bulb only headlamp unit and not fail an mot currently. Hope that tells your pray
Gassing Station | Griffith | Top of Page | What's New | My Stuff