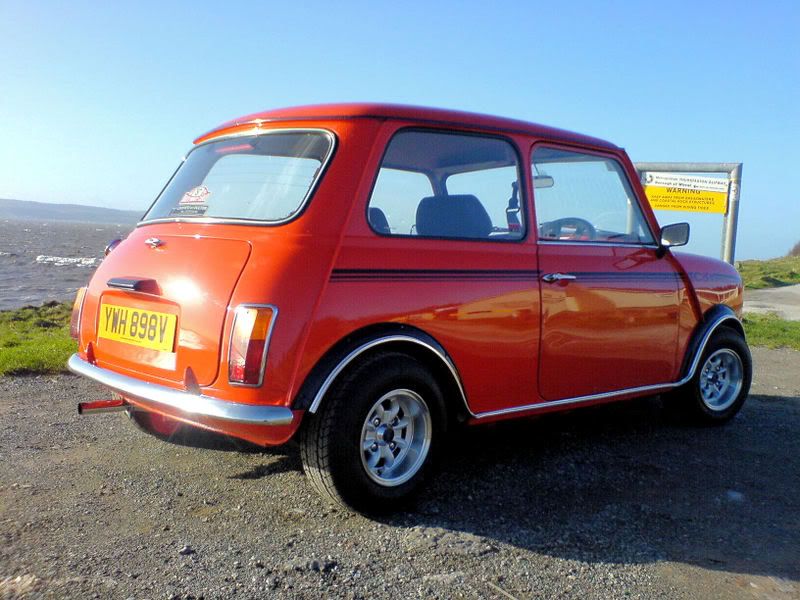
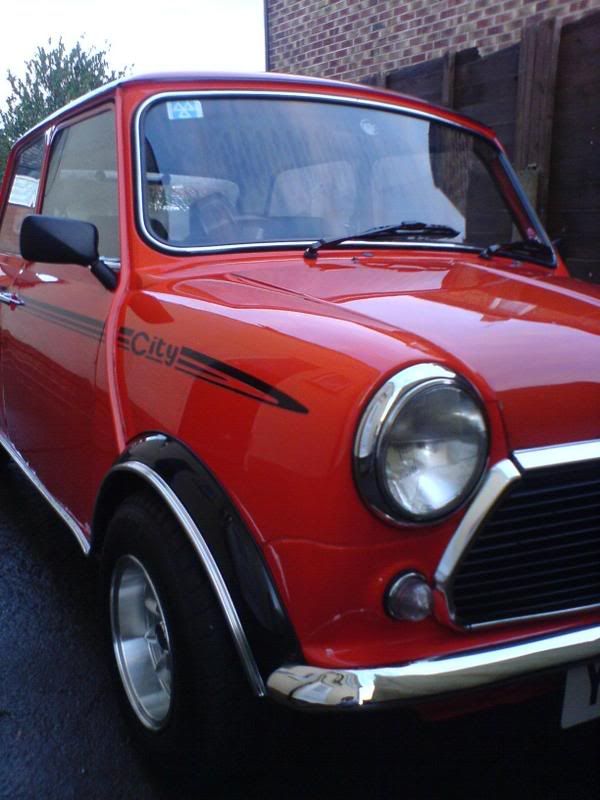
Mini City 1293
Discussion


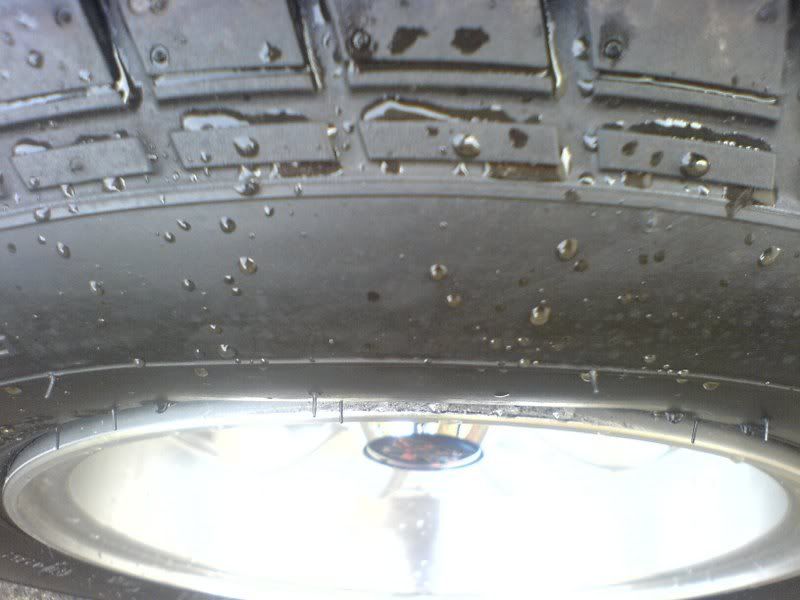
Thank you for your kind comments! I have recently bought a fibreglass bonnet for her, I'm going to keep the bonnet hinged and have bonnet pins towards the top of the bonnet. Currently, one of my tyres has a fault in the sidewall, there is a bulge, where the manufacturer has fitted the tyres and also damaged the alloy, however I bought the alloys and tyres 2nd hand from a friend who had never fitted them.
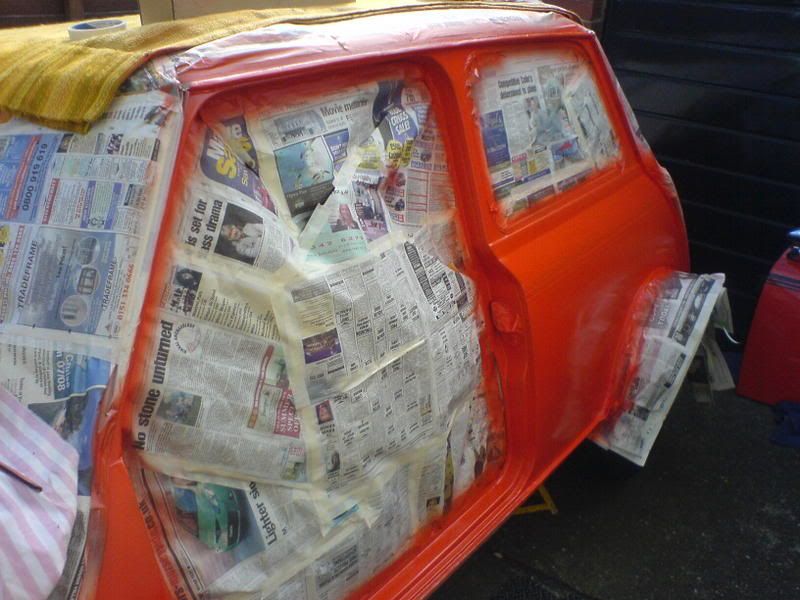
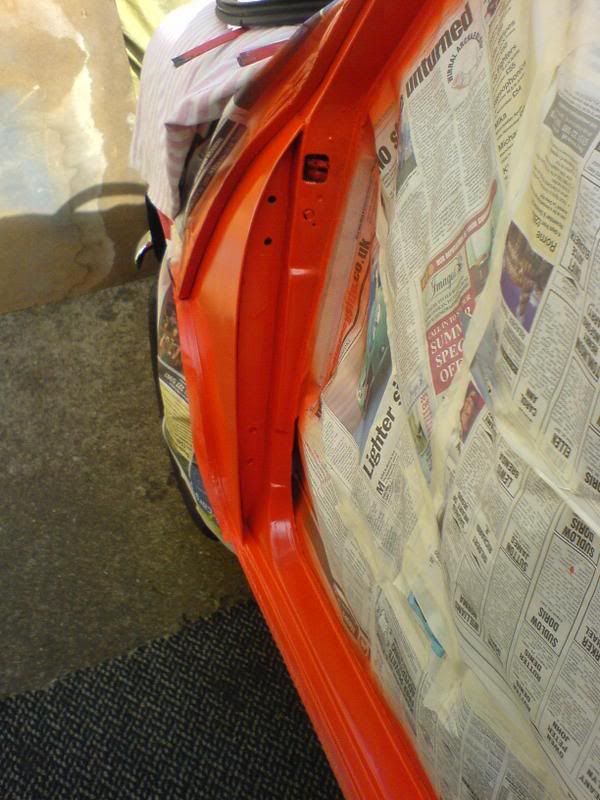
This summer I also plan to re-furbish the doors as they have rusted and rotted through. Watch this space!
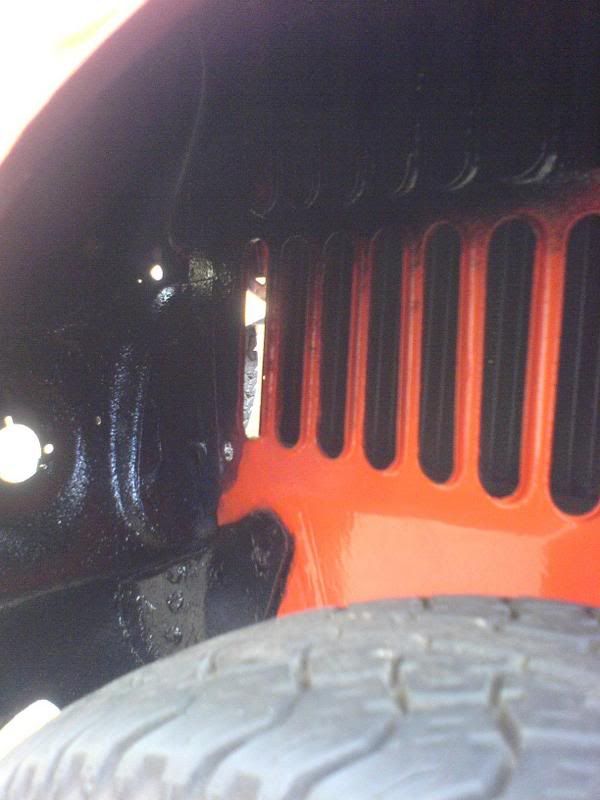
Here is a picture of the bulge and damage: (less than 400 mile covered)
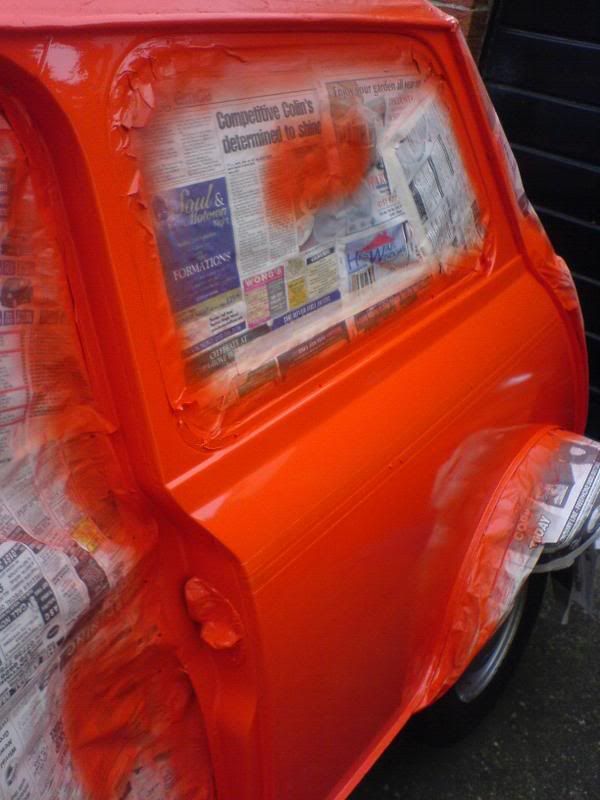
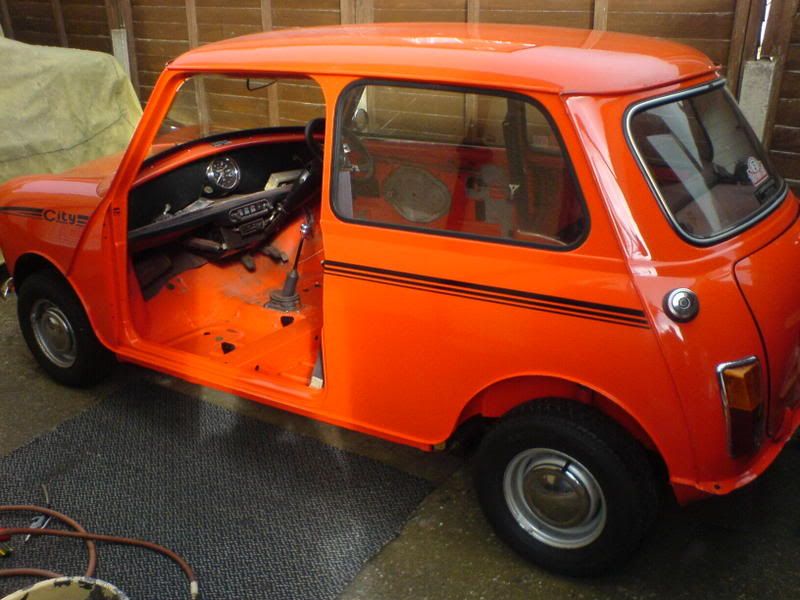
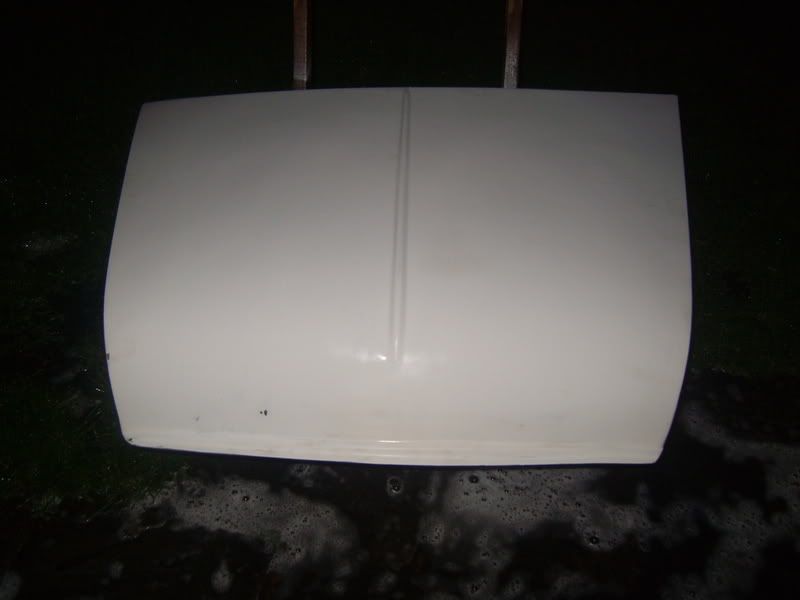
Fibreglass bonnet. Just needs a sanding and painting and she's good to go!
Ifeel I move from one problem to the next but I guess thats all in the fun of Mini motoring!
Tom
This summer I also plan to re-furbish the doors as they have rusted and rotted through. Watch this space!
Here is a picture of the bulge and damage: (less than 400 mile covered)
Fibreglass bonnet. Just needs a sanding and painting and she's good to go!
Ifeel I move from one problem to the next but I guess thats all in the fun of Mini motoring!
Tom
dogfather said:
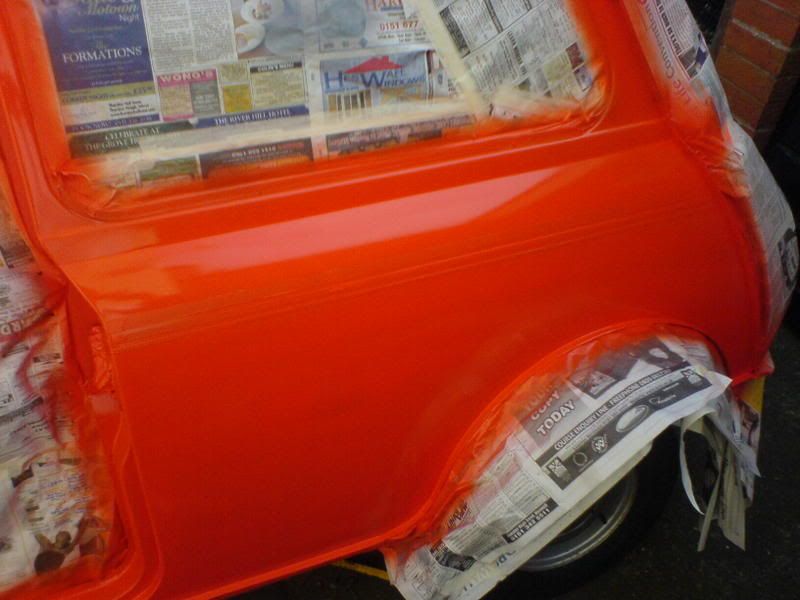
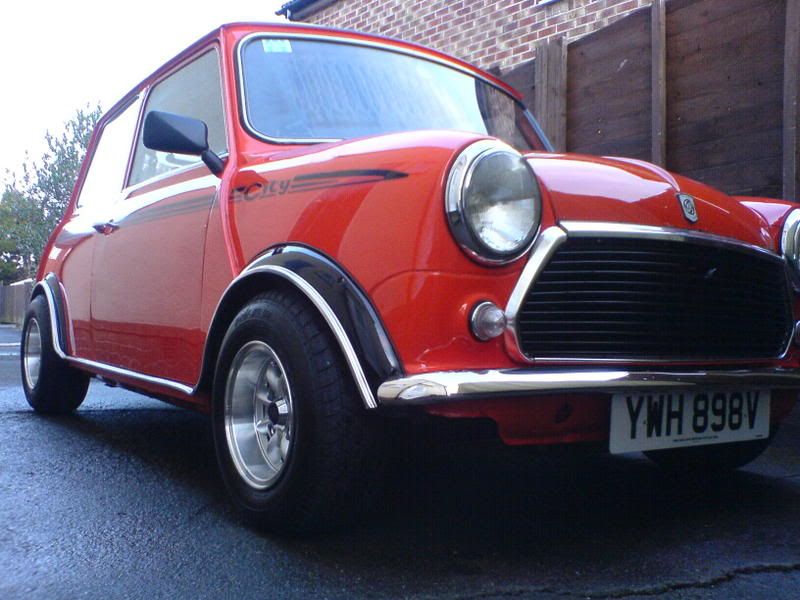
EXCELLENT JOB. real nice colour and looks a million dollars but rusted doors already?
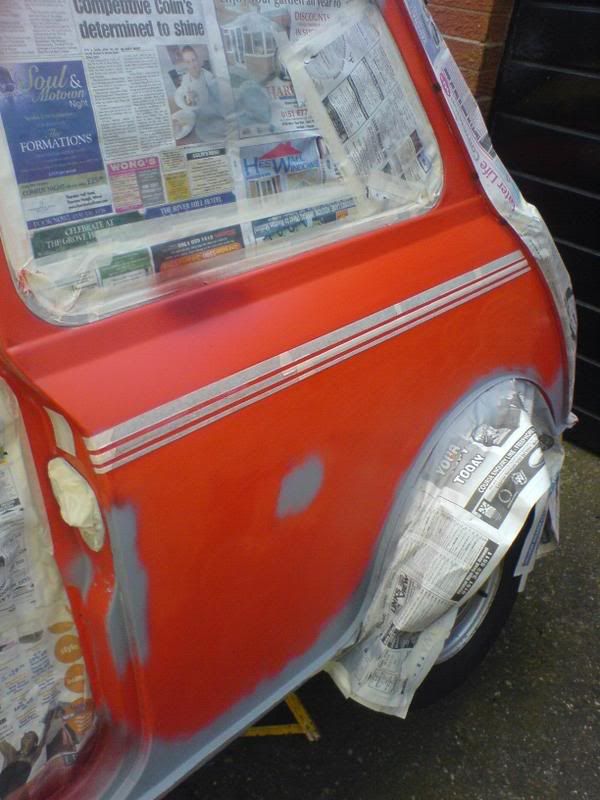
Doors are original! Going to revamp them during the summer. Another job to the list! 
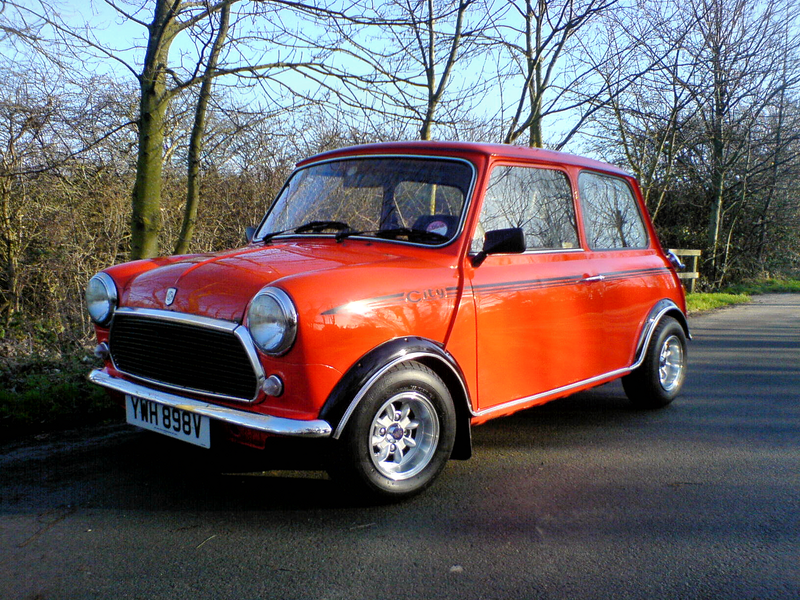
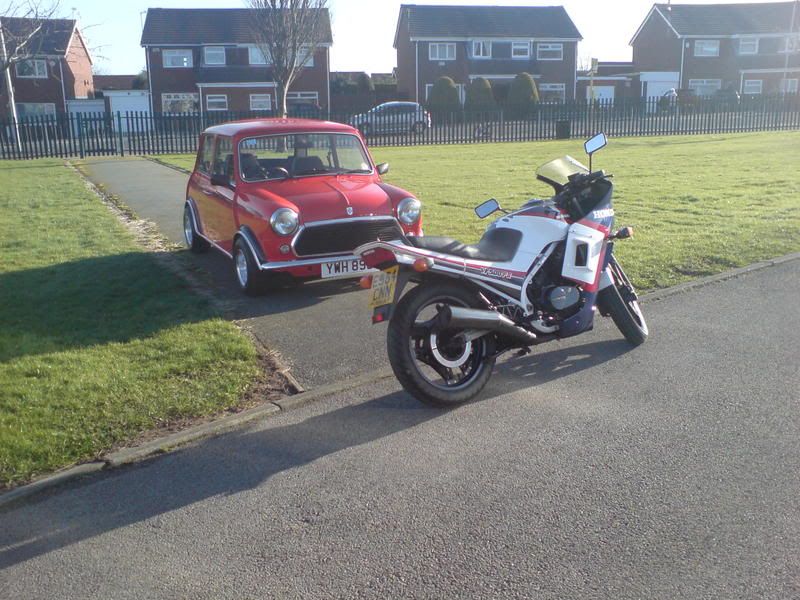
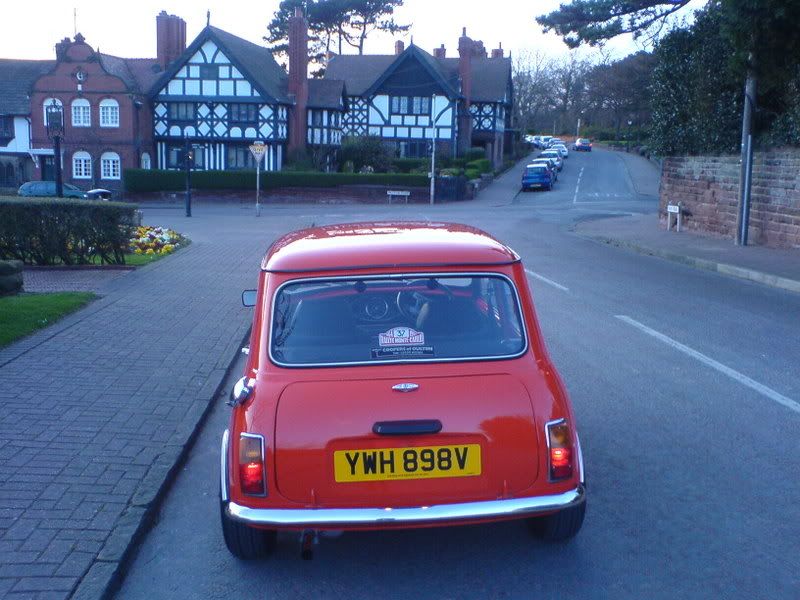
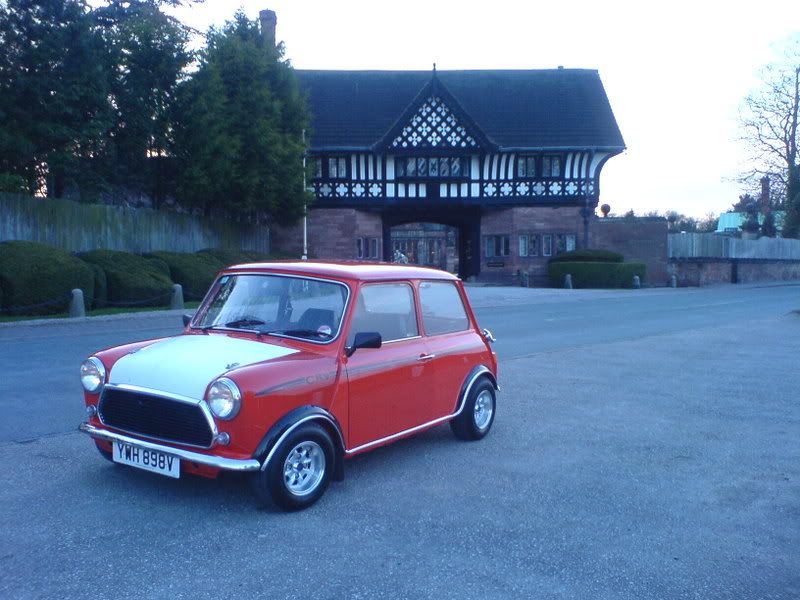
Random pics to feast your eyes on! Parked up at 6th form ;D (I don't trust anyone elses driving as you can tell!)
Andys Honda VF500. 70's meets 80's!
Washed and polished and everything inbetween!

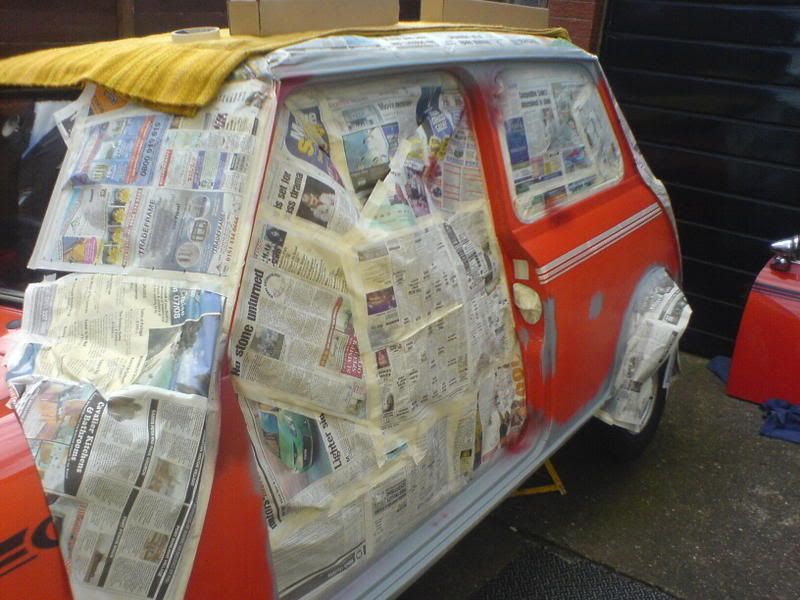
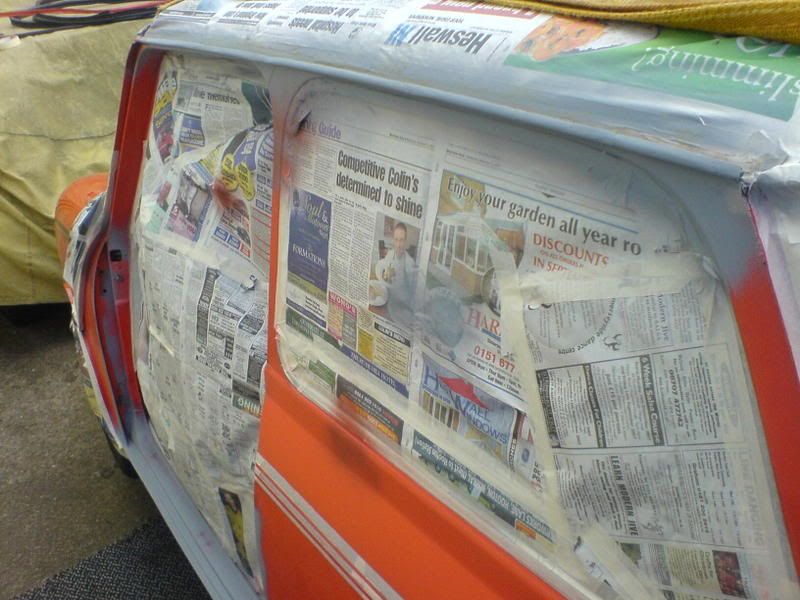
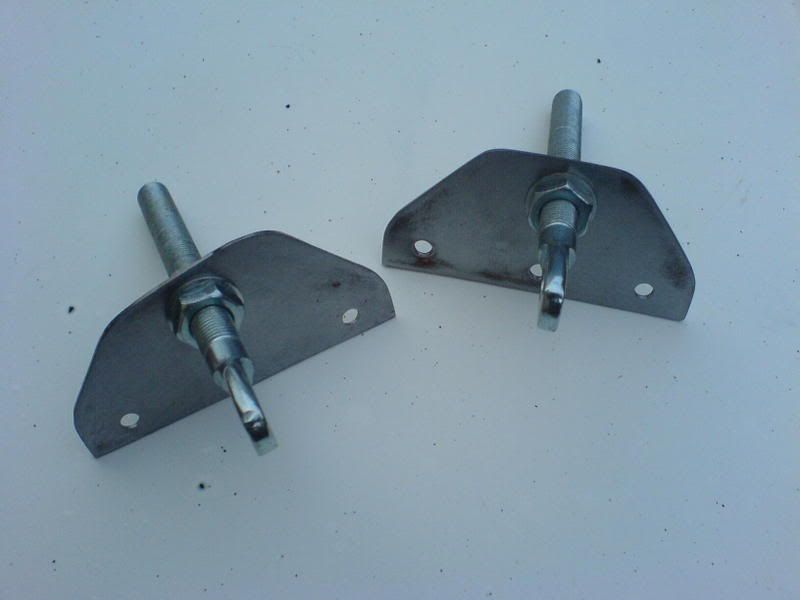
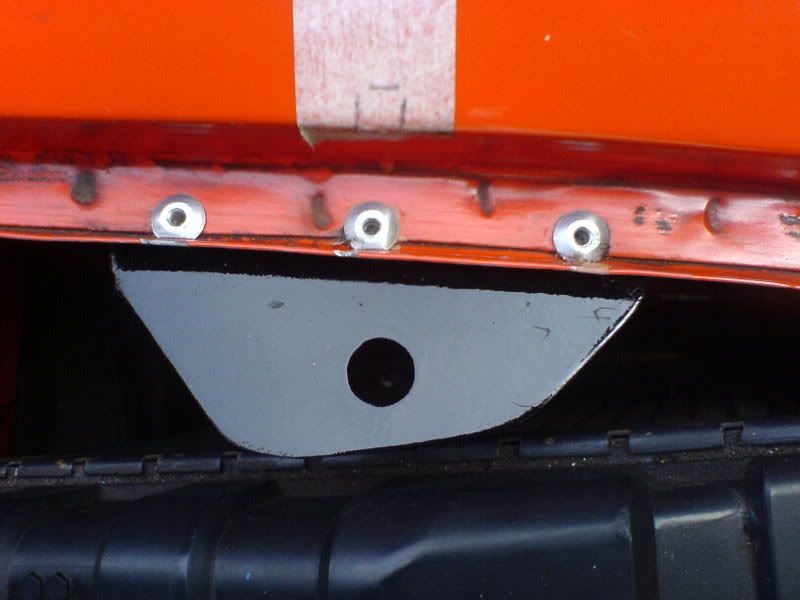
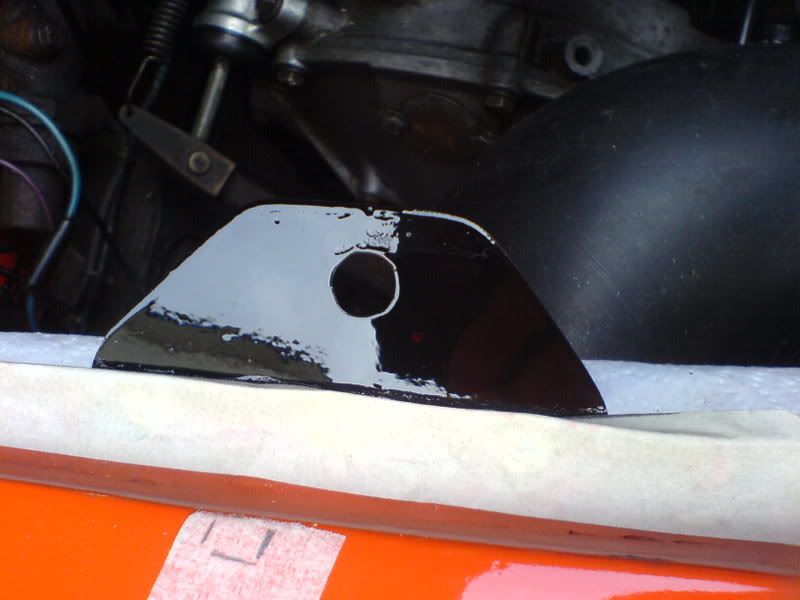
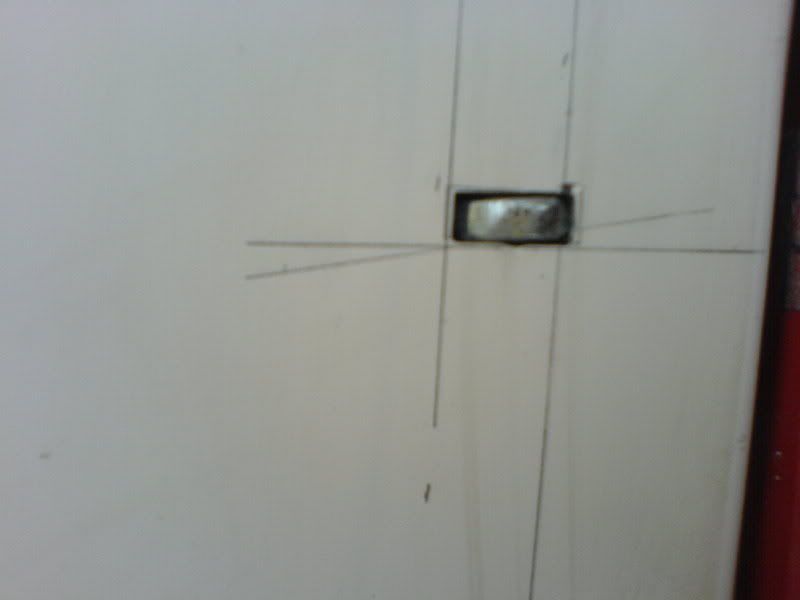
Started fitting the fibreglass bonnet today, made up some brackets and shaped them to fit, without fouling the radiator. (Left-hand bracket shaped to miss the radiator)
As you can see, the old bonnet was completely shot!

As the fibreglass bonnet will be hinged, I have put the bonnet pins towards the top middle section of the bonnet:

Not such a bad fit:
Need to give it a light sand, align the pins and drill the hole and give it some paint.
Tom
As you can see, the old bonnet was completely shot!
As the fibreglass bonnet will be hinged, I have put the bonnet pins towards the top middle section of the bonnet:
Not such a bad fit:
Need to give it a light sand, align the pins and drill the hole and give it some paint.
Tom
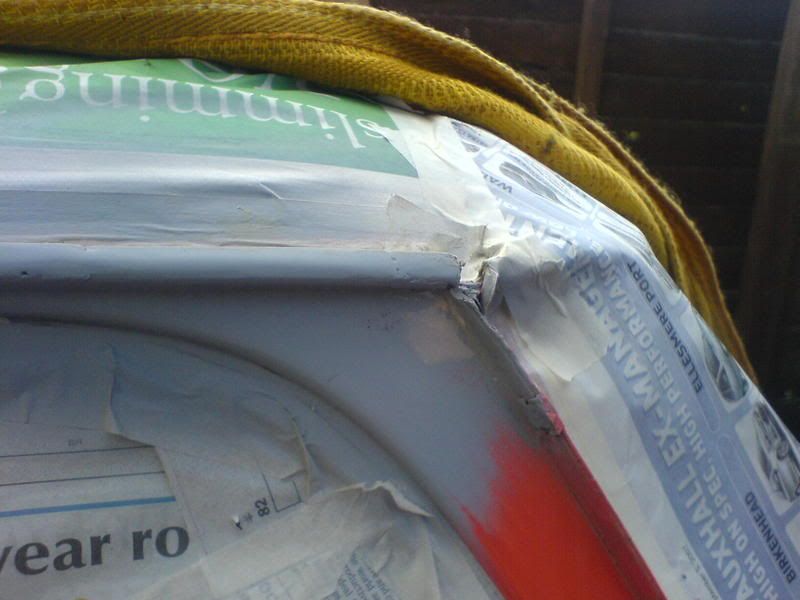
Completed more work on the fibreglass bonnet today, painted the brackets gloss black and rivited them to the wing gutters.
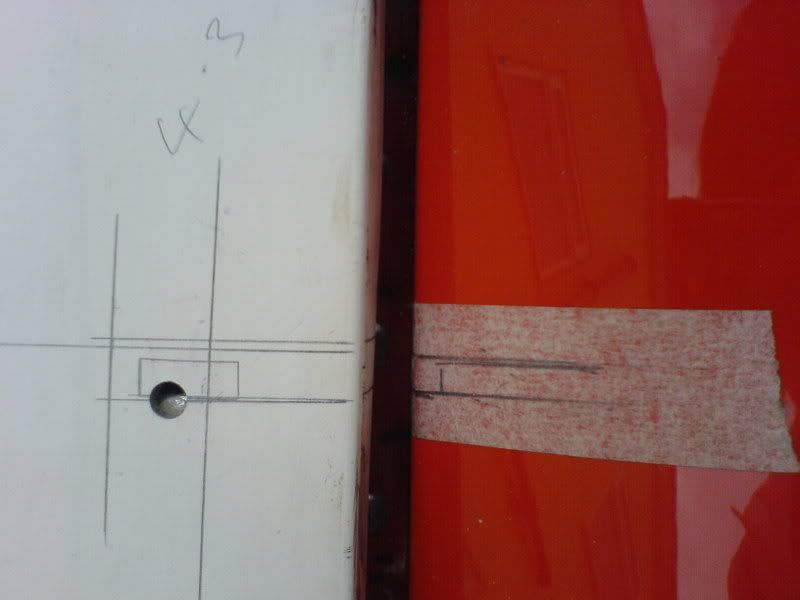
Aligned the bonnet pins and bolted them to the brackets, fiddling with them to align them correctly. To mark the holes where I needed to drill i brushed a small amount of paint onto the tops of the pins, lowered them to the maximum, and closed the bonnet.
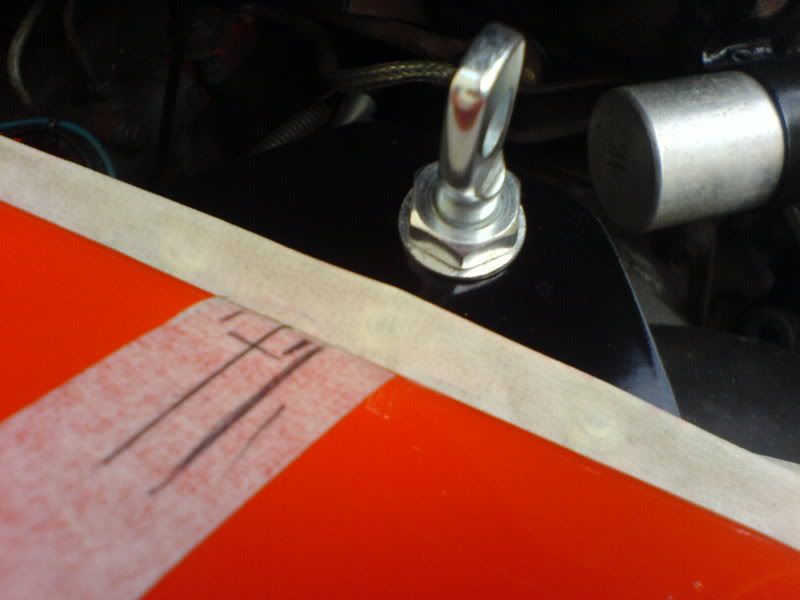
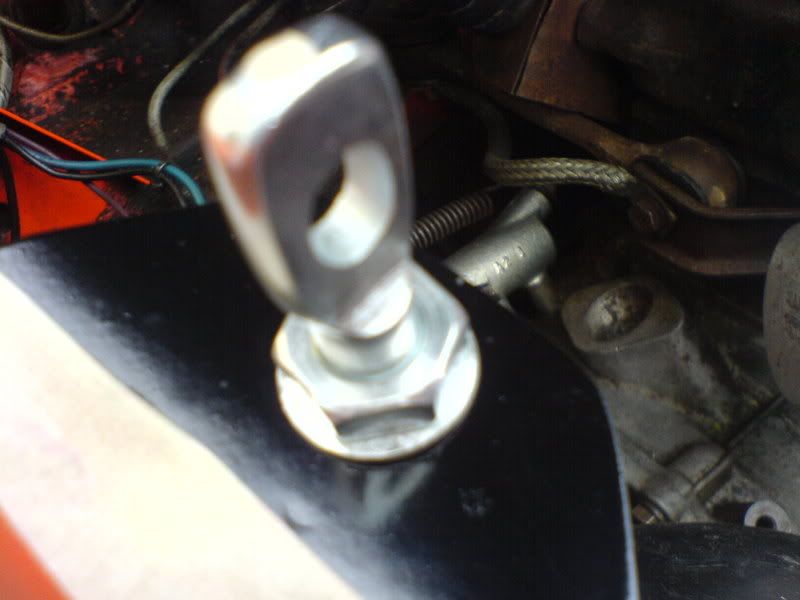
The paint then marked where I needed to drill the hole for the pin to fit through. I then filed out a rectangular hole large enough for the pins to fit through.
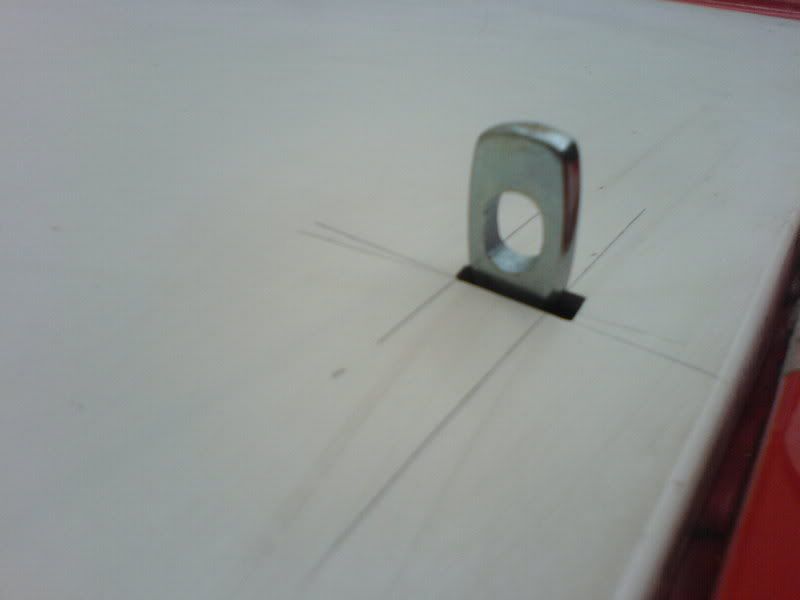
The bonnet was lightly sanded and the pins were then fixed to the bonnet.
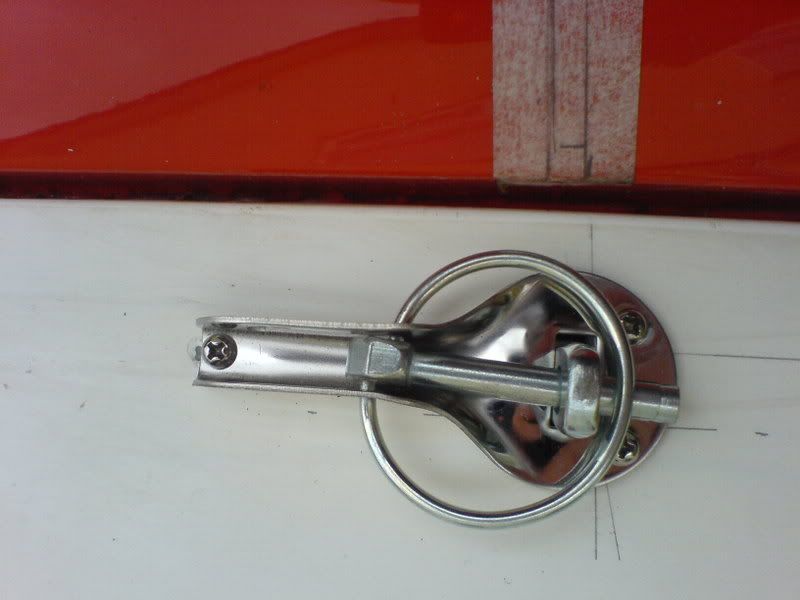
End result:
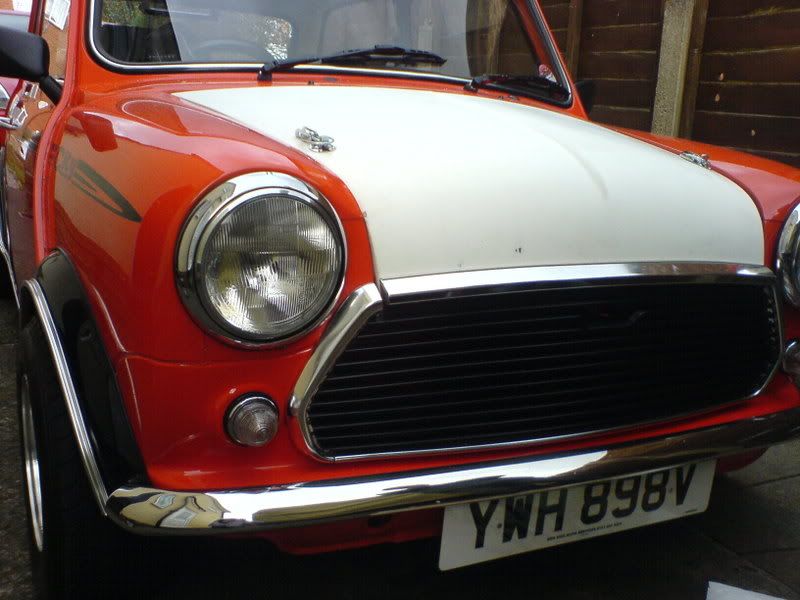
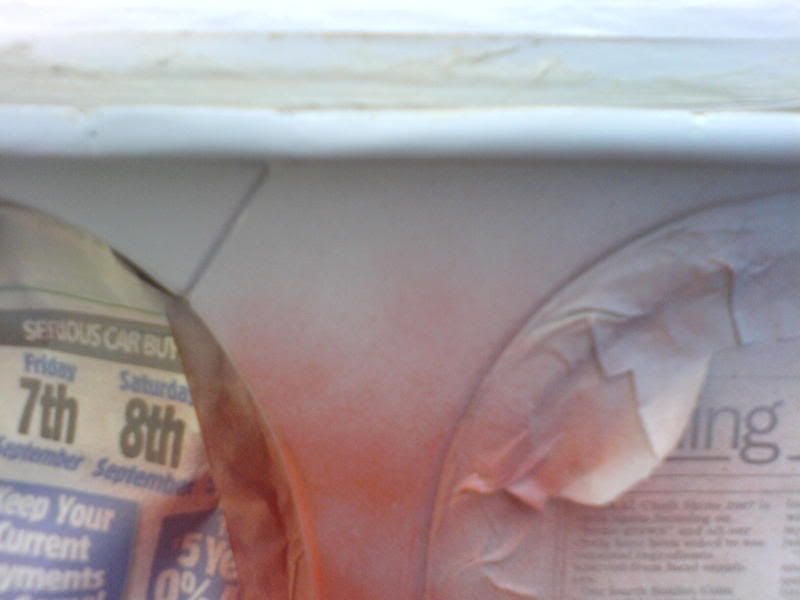
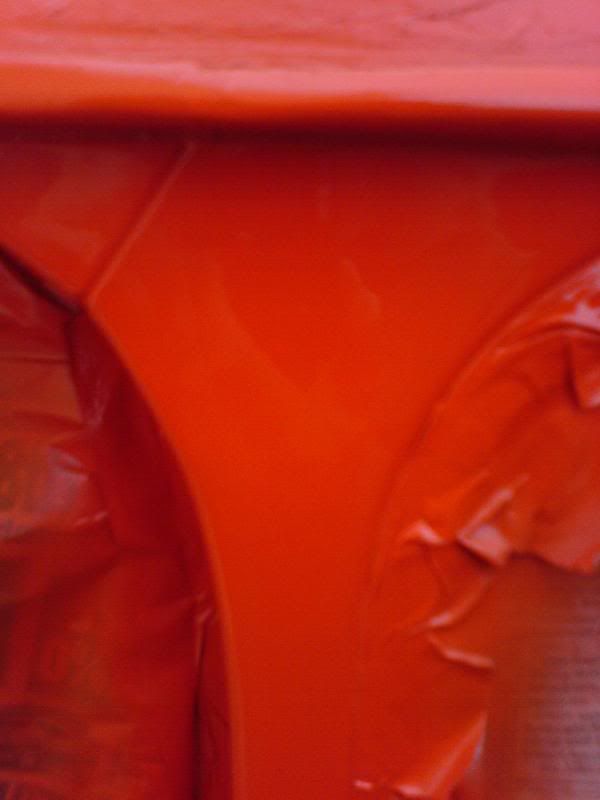
The bonnet needs filler in places and a light sand to bring it upto scratch. Now I shall pray for some good weather so that I can spray the bonnet vermillion. So for now, I have a white bonnet!
Aligned the bonnet pins and bolted them to the brackets, fiddling with them to align them correctly. To mark the holes where I needed to drill i brushed a small amount of paint onto the tops of the pins, lowered them to the maximum, and closed the bonnet.
The paint then marked where I needed to drill the hole for the pin to fit through. I then filed out a rectangular hole large enough for the pins to fit through.
The bonnet was lightly sanded and the pins were then fixed to the bonnet.
End result:
The bonnet needs filler in places and a light sand to bring it upto scratch. Now I shall pray for some good weather so that I can spray the bonnet vermillion. So for now, I have a white bonnet!
Another small update!
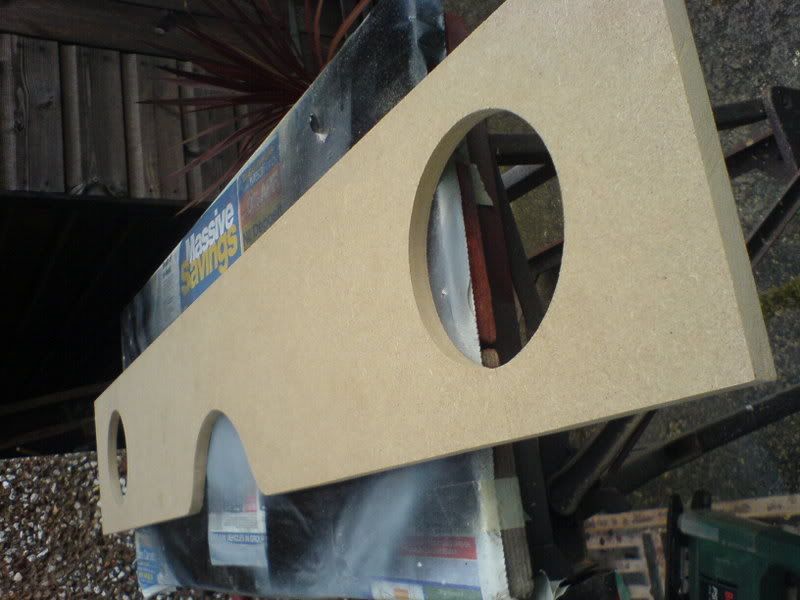
Spent most of the day making a speaker board for under the rear seat. Drew up a template out of cardboard and then created an MDF (12mm) cut-out. Used a jigsaw to cut the MDF and speaker holes.
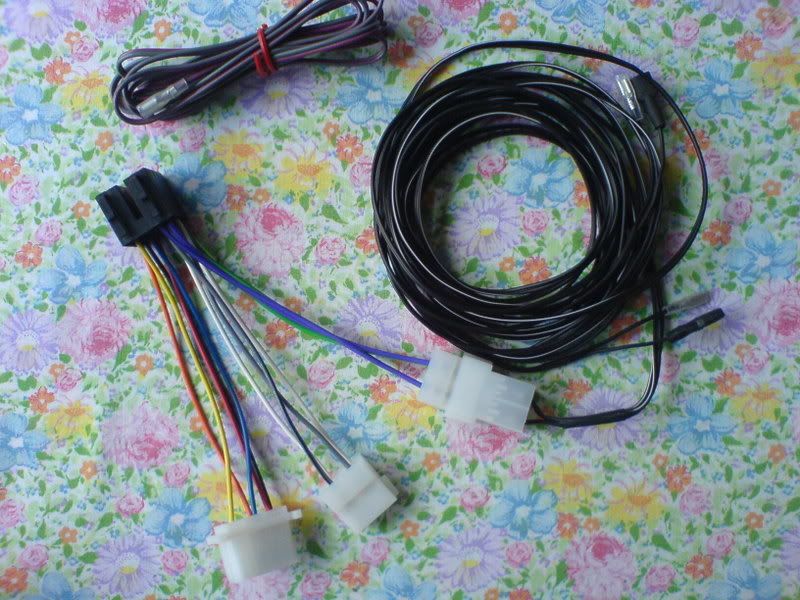
I have adapted all of the wiring to make it right for a mini! - Which is sadly lacking some music!
I tried the speaker in the holes and drilled the holes for the speaker fixings.
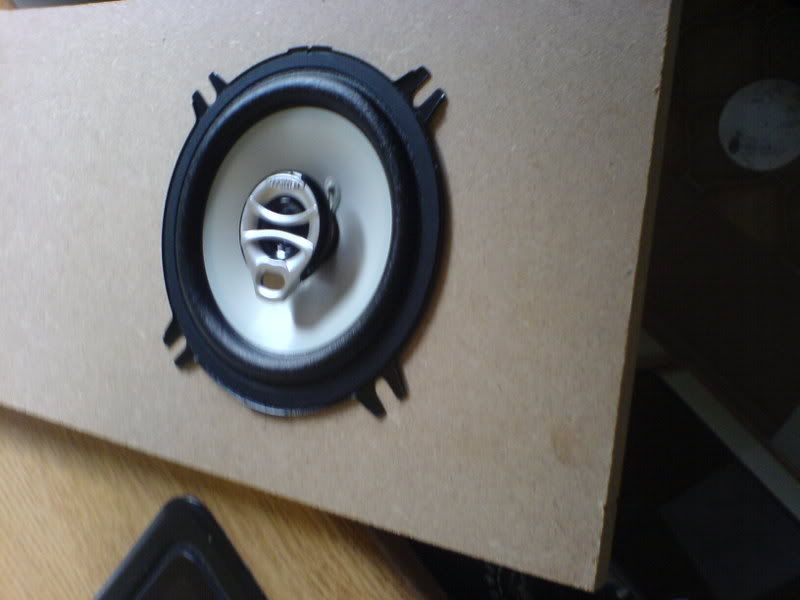
After measuring up and cutting the speaker board, I sealed the MDF with PVA and water to help the paint stick and not soak up into the wood. After applying 2 coats and giving it a light sand, I applied some grey primer paint. After 2 coats of primer I lightly sanded the board again and applied a matt black cover of paint, which gives textured/mottled finish effect - rather than gloss black.
I need to give the speaker board another final coat of paint, will comeplete this sometime during the week.
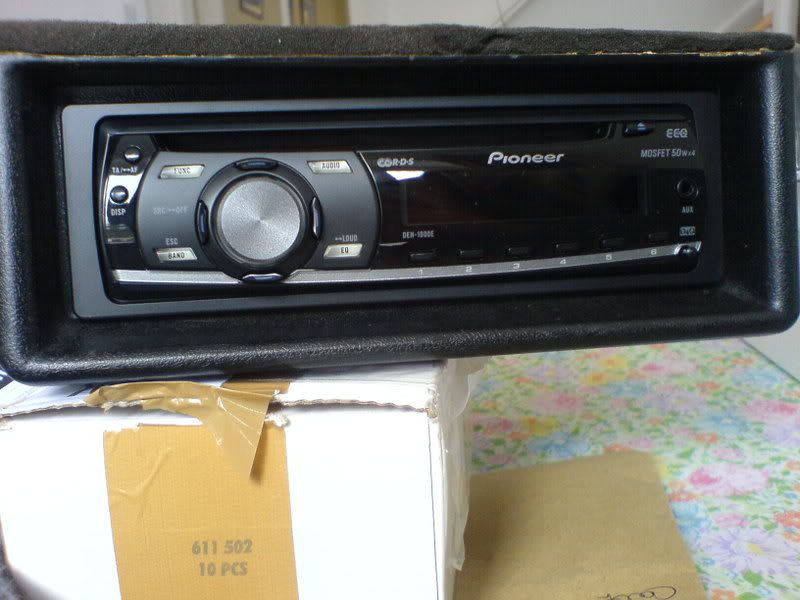
Fitted the standard Rover radio housing and mounted my CD player.
Tom
Spent most of the day making a speaker board for under the rear seat. Drew up a template out of cardboard and then created an MDF (12mm) cut-out. Used a jigsaw to cut the MDF and speaker holes.
I have adapted all of the wiring to make it right for a mini! - Which is sadly lacking some music!
I tried the speaker in the holes and drilled the holes for the speaker fixings.
After measuring up and cutting the speaker board, I sealed the MDF with PVA and water to help the paint stick and not soak up into the wood. After applying 2 coats and giving it a light sand, I applied some grey primer paint. After 2 coats of primer I lightly sanded the board again and applied a matt black cover of paint, which gives textured/mottled finish effect - rather than gloss black.
I need to give the speaker board another final coat of paint, will comeplete this sometime during the week.
Fitted the standard Rover radio housing and mounted my CD player.
Tom
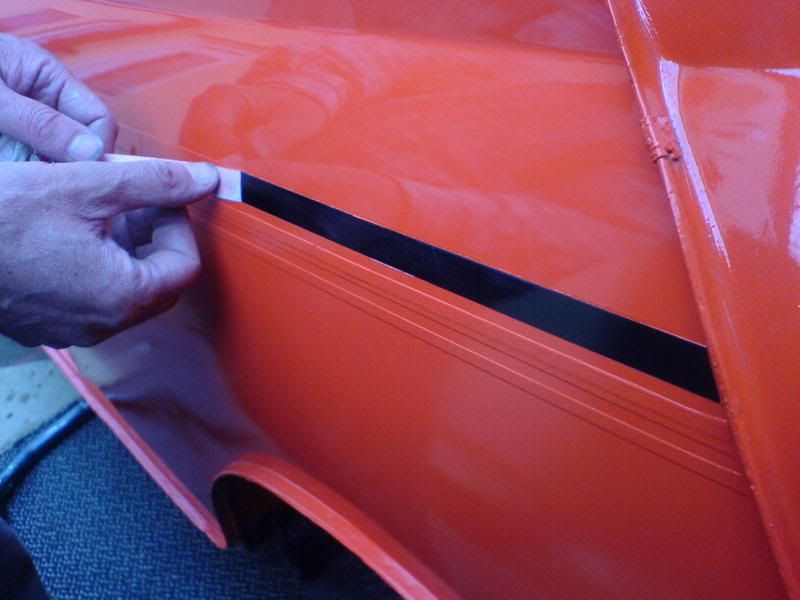
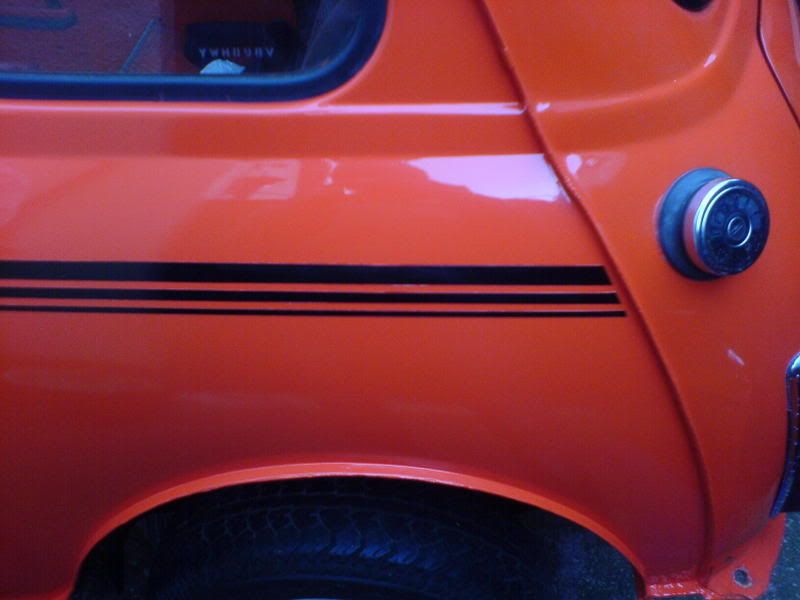
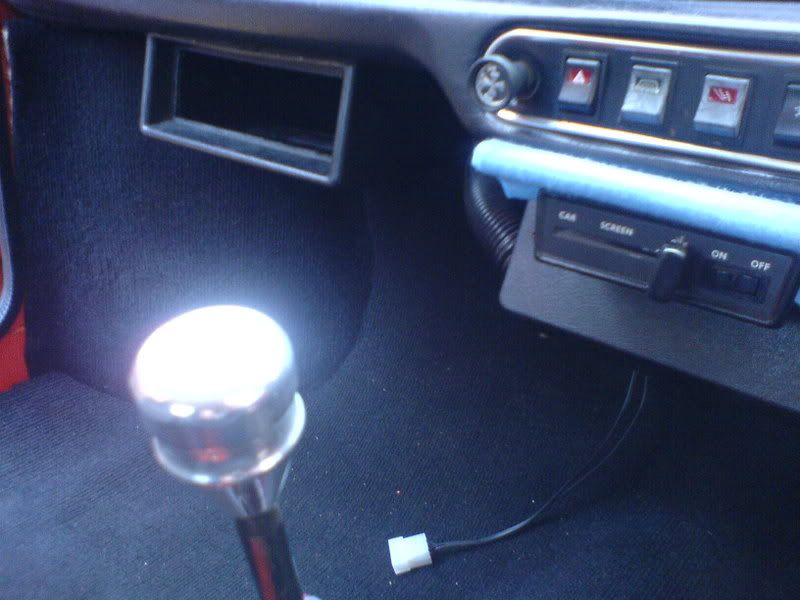
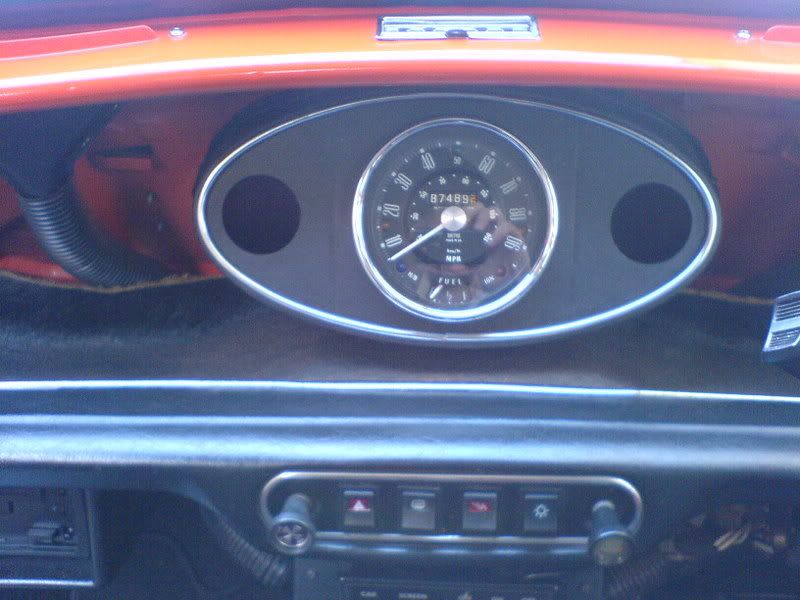
Just a small update. Shes running well, so far so good! Will be equipping her with electronic ignition this weekend and then will be getting her properly timed and set up, hopefully on the same day. I changed the standard centre clock housing for the Cooper style pod. I havent put any clocks either side as of yet. I quite fancy a Smiths Vacuum gauge and clock. The dash cards are a b*tch to fit! >_< Once they're in they're in, so wont be adding extra guages for a long while yet I dont think!
I can hear the carb sucking in the air from the standard filter, as the pod is less sound deadening! Sounds really good, as if I was running something special...but its merely the 850
Anyway heres the pics:
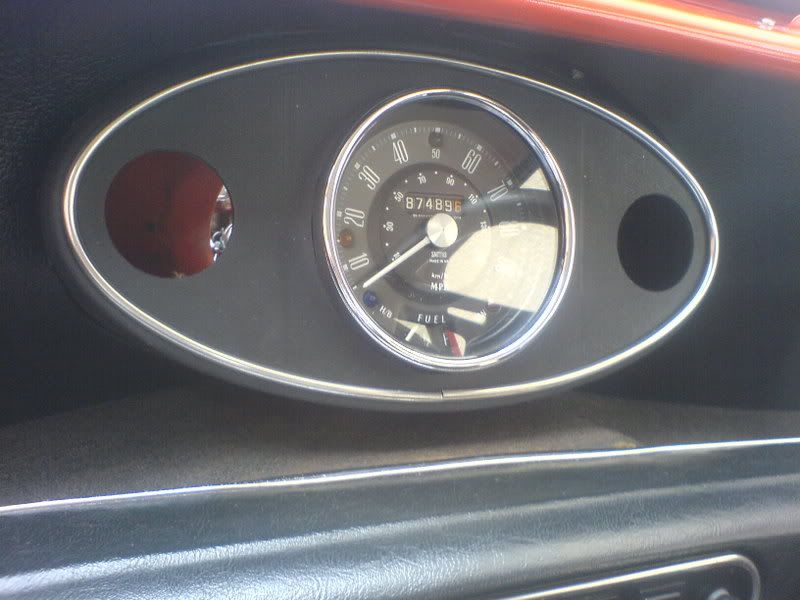
I can hear the carb sucking in the air from the standard filter, as the pod is less sound deadening!
Sounds really good, as if I was running something special...but its merely the 850 Anyway heres the pics:
Edited by Mini_Lund on Sunday 6th April 18:42
Andrew_M said:
Looking good – did you say you were going to spray the bonnet??
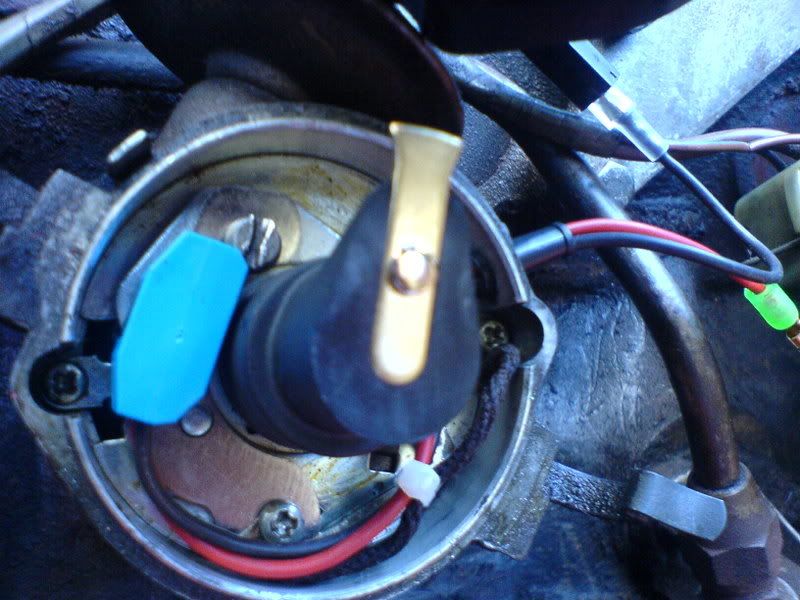
I am going to yes. Well I intend on doing so, just the weather has been really crap over the past few weekends, hopefully its nice.Think I need to reset the timing in her now that i have electronic ignition. Having problems with a pulsing idle when hot, just knocking noises and no revs will build up.
My carbs also leaking :'[
Anyone got a Hif38?
My 850 currently has a HS4, which was news to me when i researched it! Though i was running a HS2.
Gassing Station | Classic Minis | Top of Page | What's New | My Stuff