1983 Austin Minivan Resto begins.
Discussion


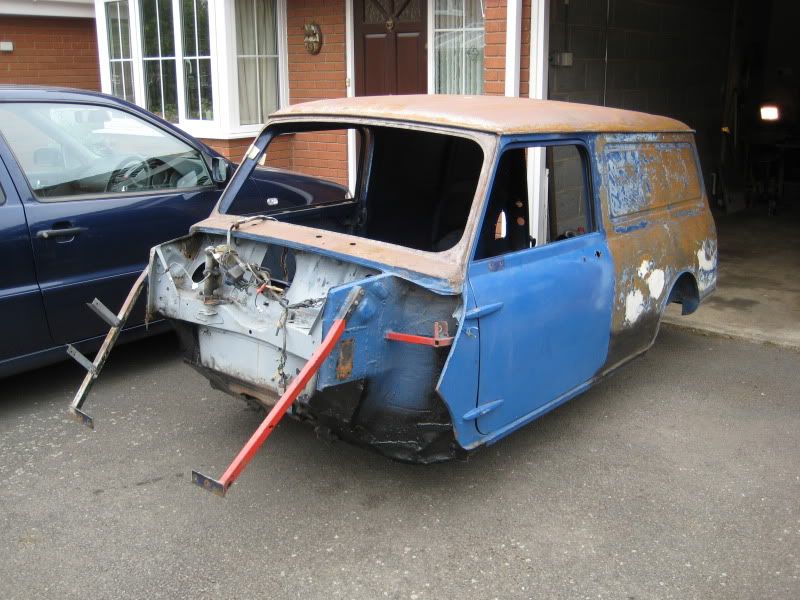
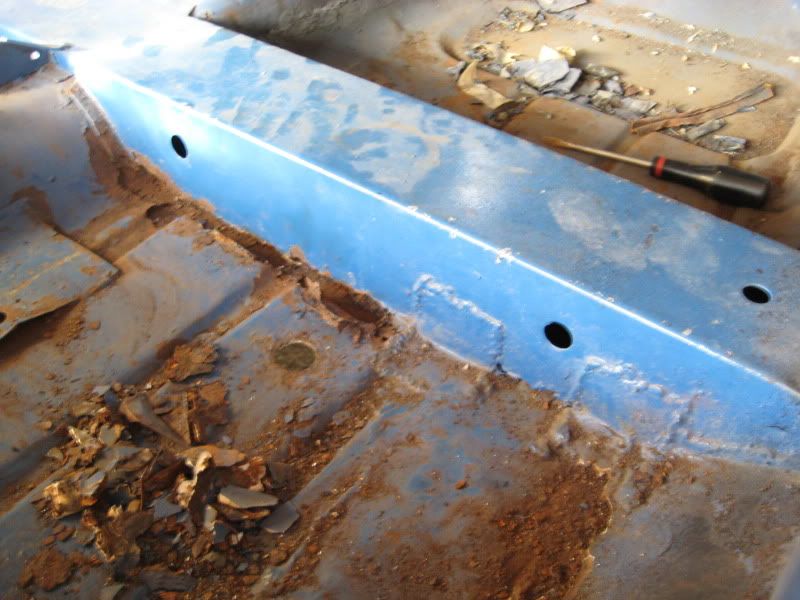
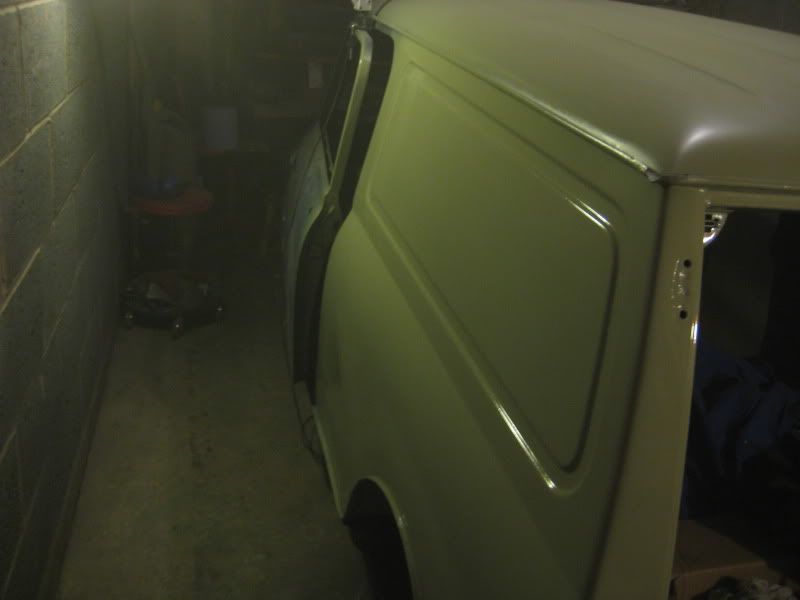
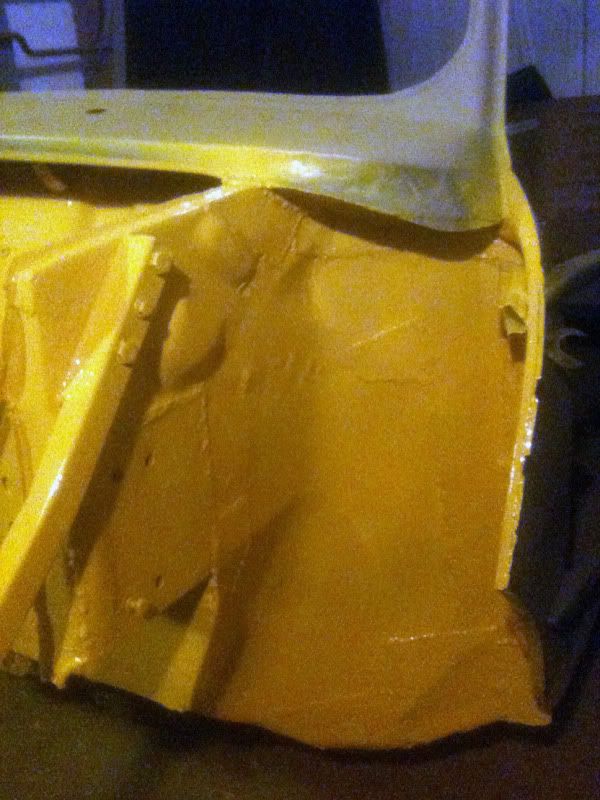
No filler work has been done to the shell at this stage, what you can see at the moment is past filler I've uncovered from previous work on it... The garage is only doing the metal fabrication and welding.
The filler will be removed and re applyed where needed, then a thick coat of high build primer will be added and flatted back.
The filler will be removed and re applyed where needed, then a thick coat of high build primer will be added and flatted back.
Pixel-Snapper said:
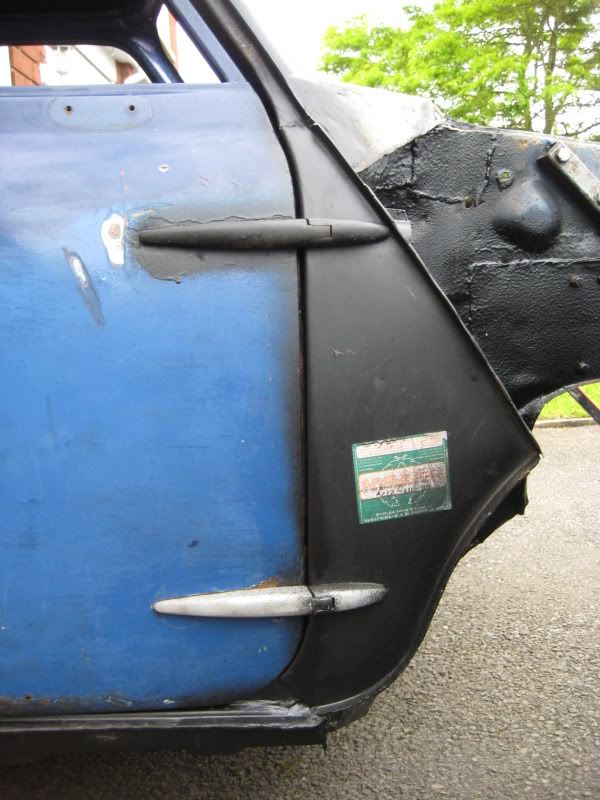
If you mean did the garage fit the sill over the old stuff then nope sorry....
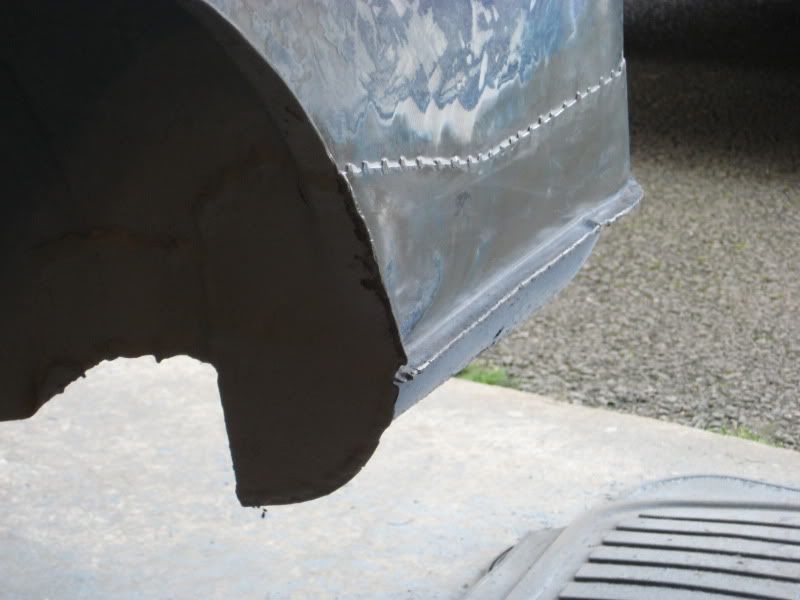
New full lengh panel there fella.
I have a car that had these fitted as part of a restoration many years ago. I did supply the correct sill but the garage fitted wide oversills as they couldn't work out what to do with the narrow sills once they'd chopped the old ones off, and didn't contact me so I could stop them before proceeding. In hindsight I wish a) chosen a different garage and b) got them to redo it as the sills corroded quite quickly despite being waxoyled inside and out. IMHO is it better to have the narrower sill leaving the vent holes open as it would've been from the factory.New full lengh panel there fella.
Edited by Pixel-Snapper on Friday 15th April 08:48
Good to hear they are not fitted over the old sills though. Look forward to seeing it done.

Well another months gone by since my last post...! Almost there 

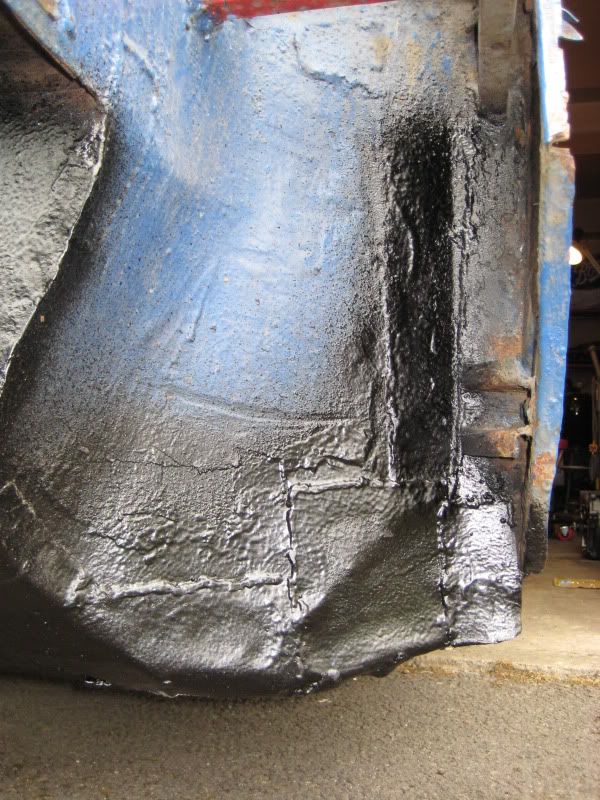
I know absolutely naff all about fabricating and welding but I have to say, I'm really impressed with the work the lads are putting in at Blue Peter Garages. They have now hung the drivers door and strengthened inside the A-panel post / door hinge mounting, welded up the massive gaps between the floor pans underneath from a previous bodge and undersealed the hole floorpan front to back.
Couple of small patches to go and she should be ready for me to get down to the prep.
One small snag is their really busy at the moment and as its being done on the side, wont get onto it until at least next week.
I know absolutely naff all about fabricating and welding but I have to say, I'm really impressed with the work the lads are putting in at Blue Peter Garages. They have now hung the drivers door and strengthened inside the A-panel post / door hinge mounting, welded up the massive gaps between the floor pans underneath from a previous bodge and undersealed the hole floorpan front to back.
Couple of small patches to go and she should be ready for me to get down to the prep.
One small snag is their really busy at the moment
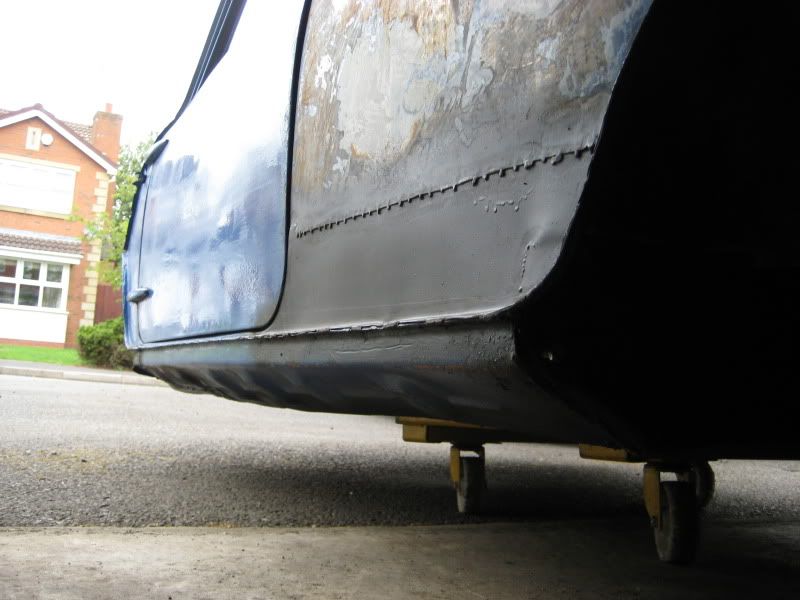
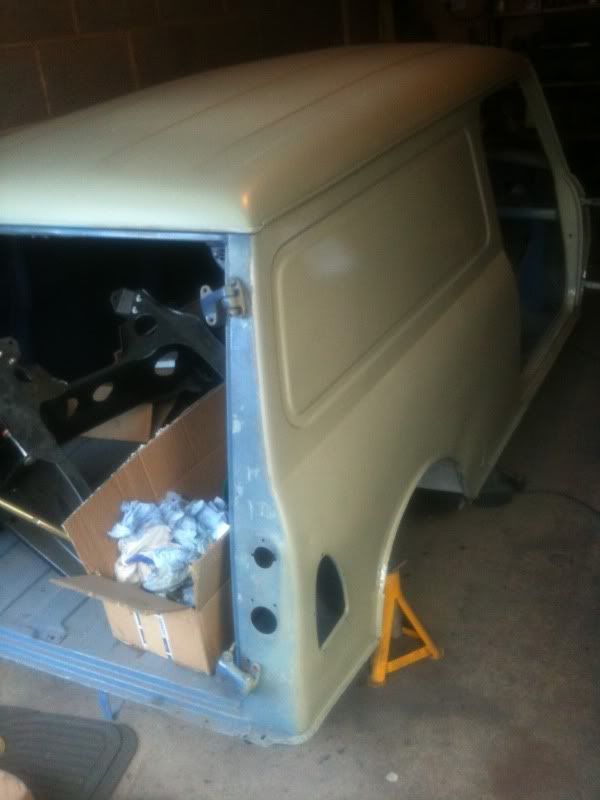
and as its being done on the side, wont get onto it until at least next week.Picked the shell up from the welders last week. 
The guys did a great job I feel and price to boot.
Hopefully my paint guy is ordering all the materials and paint sometime next week, I've got a few busy weekends ahead so hopefully getting back on the van early part of June.
So back out with the sander and looking like a smurf to get ride of the last of the blue paint.


Update time I guess
So I have abit of a more upto date thread running on TMF, so I thought it might be time to bump this one abit.
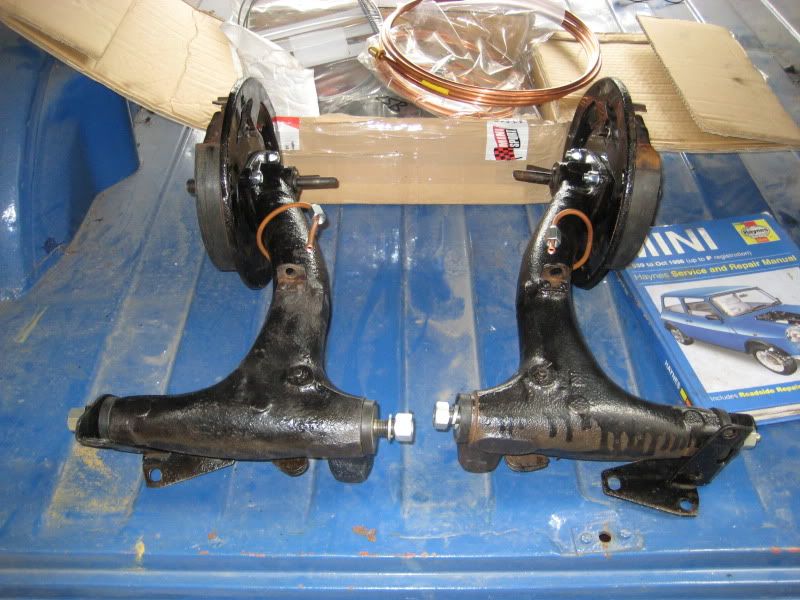
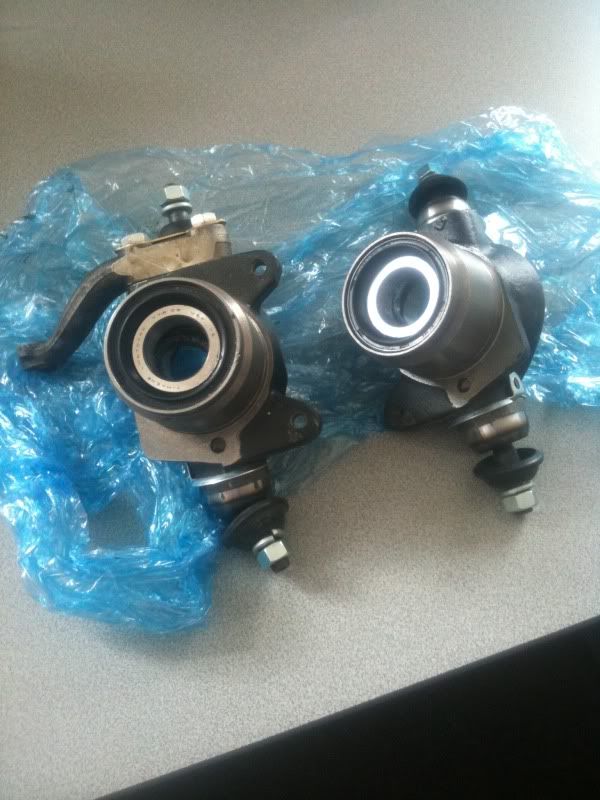
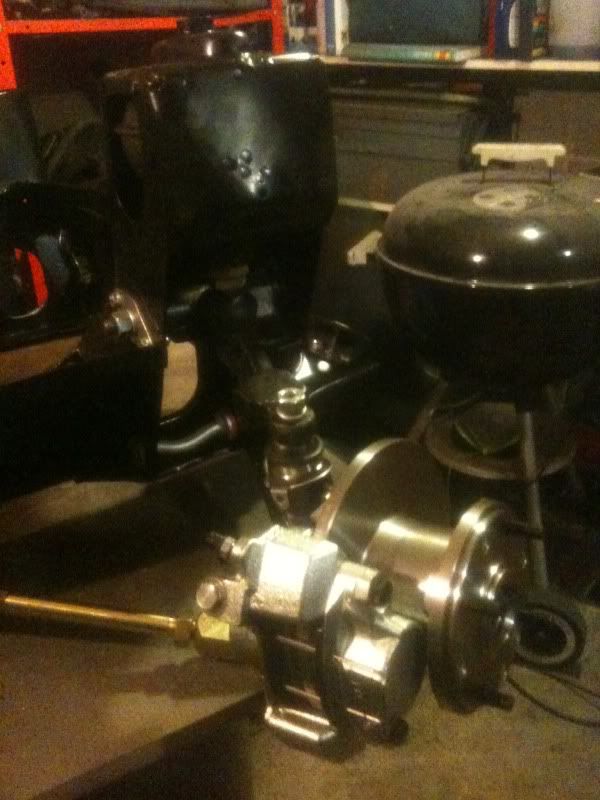
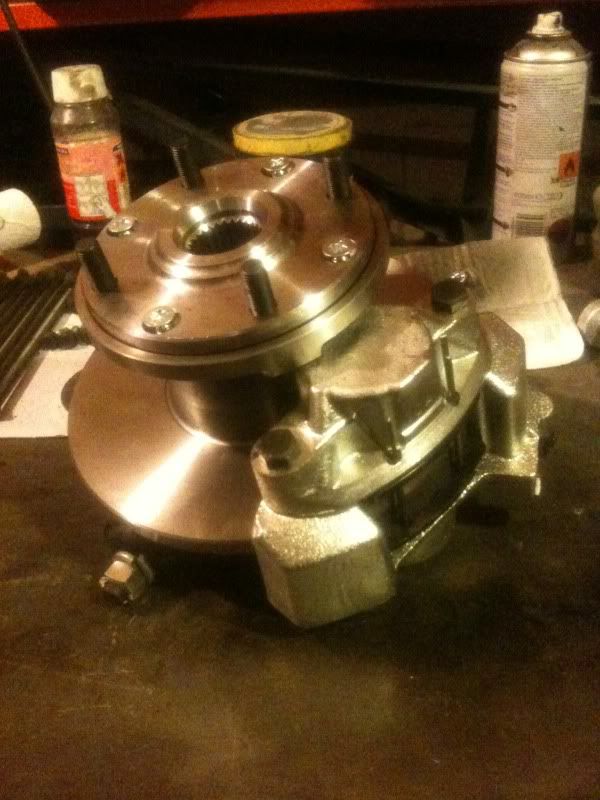
Not much have happened with the bodywork recently, I found out that the welding was not as well done as I first thought so will need to tend to that first. Been collecting some more parts to get the subframes rebuilt, I now have all the parts to get the van back on its wheels again, all that remains is to get some top coat on the arches and bulkhead.
Couple of picture so far.
Couple of bits of grinding down to do but mostly there now.
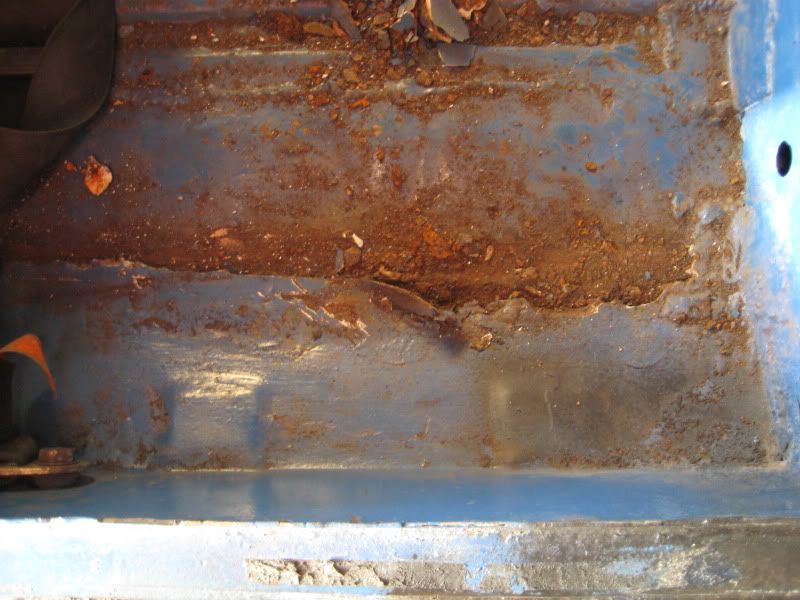
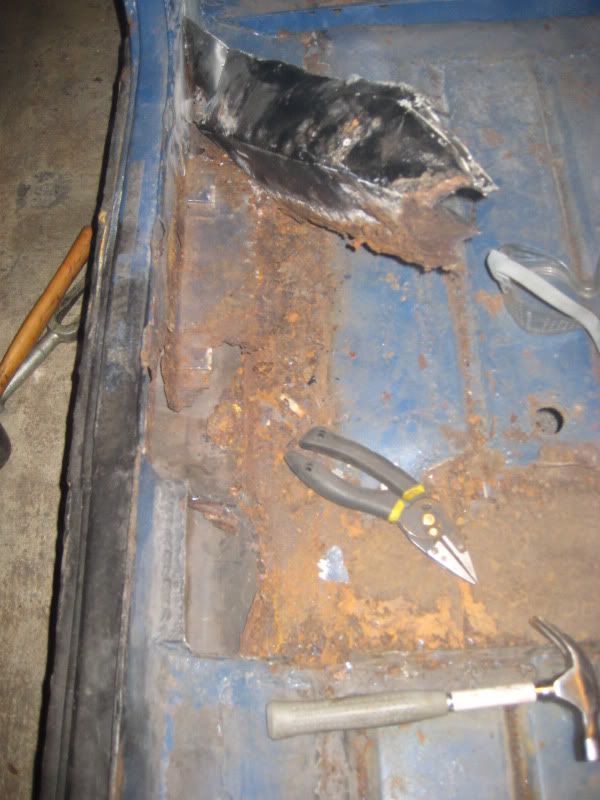
I was stood on the footwell the other weekend and heard this cracking/flexing sound.
Which revealed this.
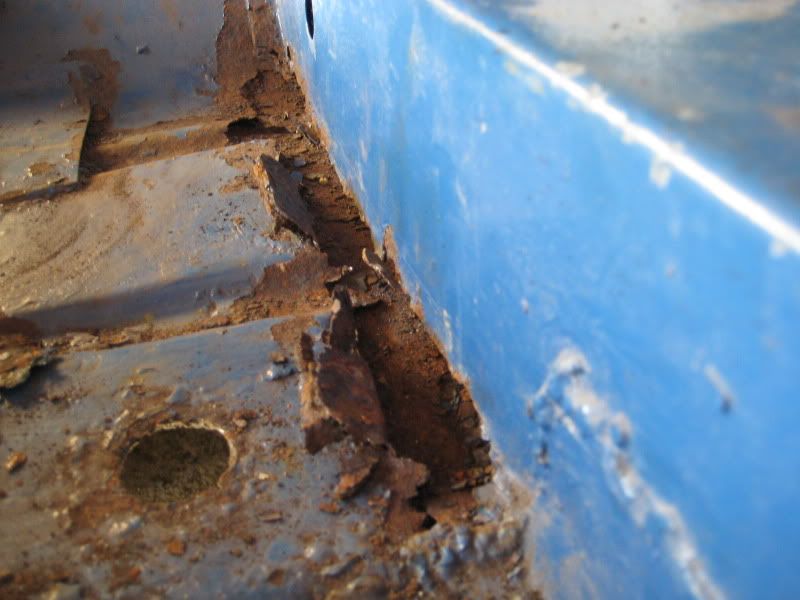
So out came the D/S cross member and the inner sill.
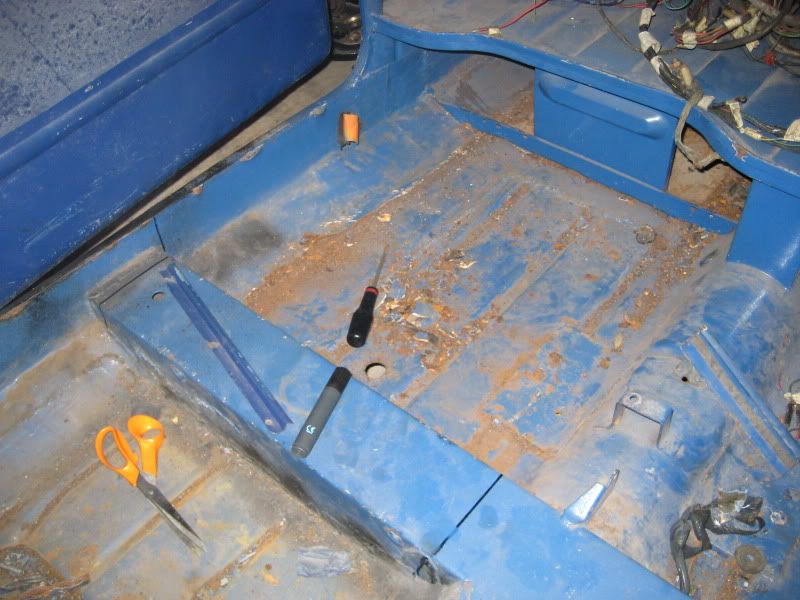
Still with abit of the inner sill attached as I gave up for the day as my knee was giving me some jip.
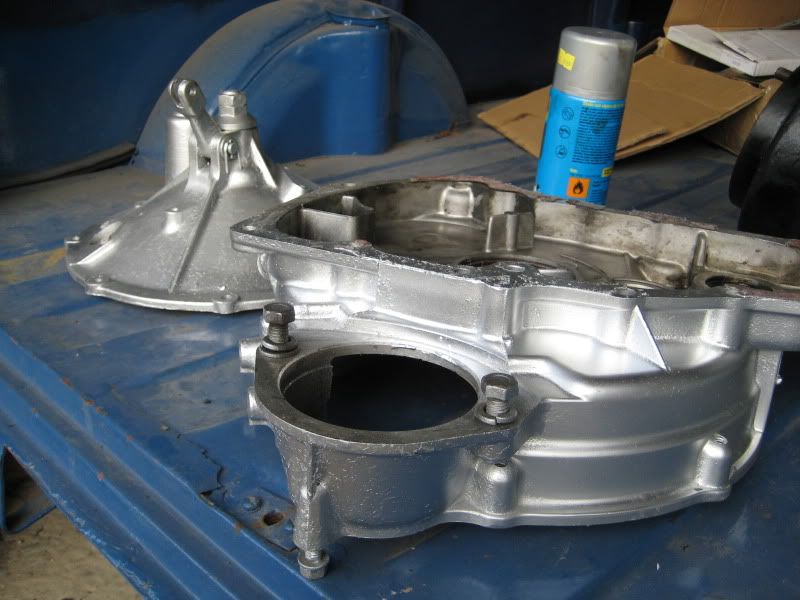
Painted some bits of the bell housing, also did the gearbox but no picture.
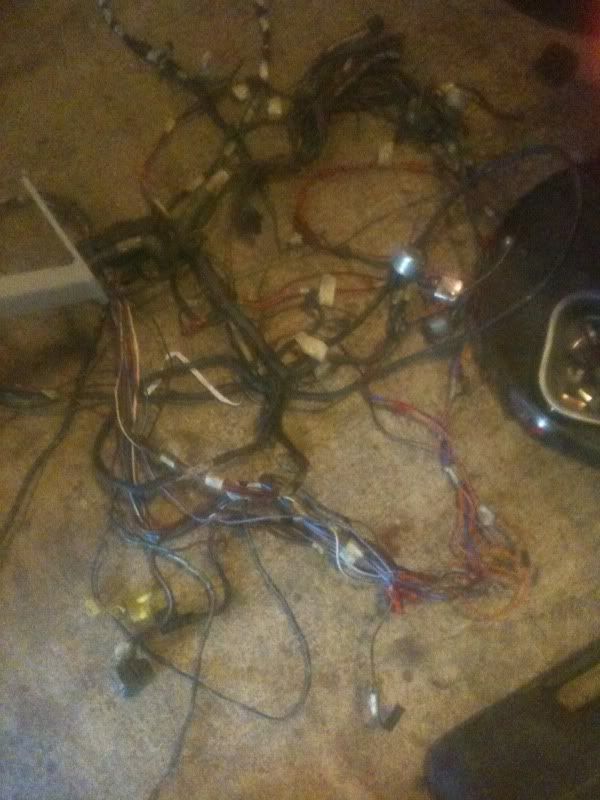
Got the wiring loom out which was a pain in the ass.
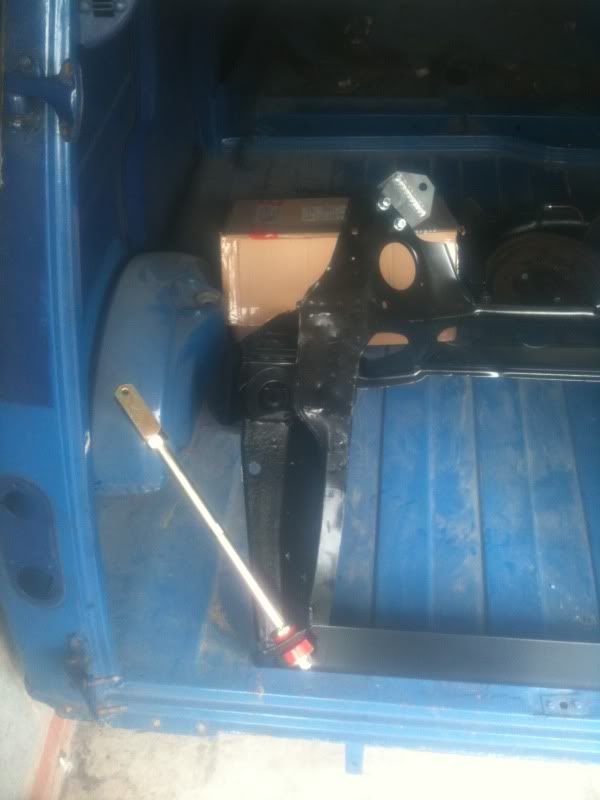
Fitted the adjustable tie-bars and solid rear mounts.
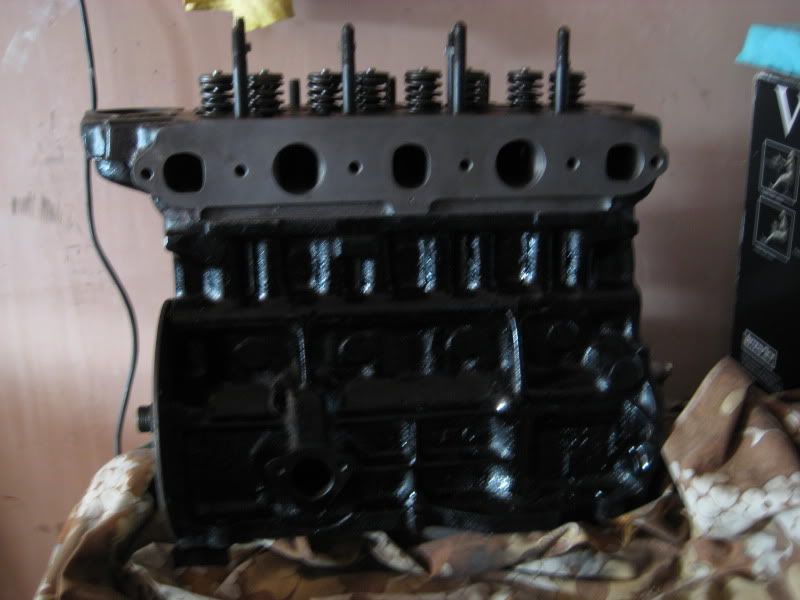
Popped the cam and the head on.
So thats the last few months... Doesn't look alot really when you look at it like that.
Got some time off over christmas and back at my mums so hoping to get some paint on the bulkhead and arches with luck.
So I have abit of a more upto date thread running on TMF, so I thought it might be time to bump this one abit.
Not much have happened with the bodywork recently, I found out that the welding was not as well done as I first thought so will need to tend to that first. Been collecting some more parts to get the subframes rebuilt, I now have all the parts to get the van back on its wheels again, all that remains is to get some top coat on the arches and bulkhead.
Couple of picture so far.
Couple of bits of grinding down to do but mostly there now.
I was stood on the footwell the other weekend and heard this cracking/flexing sound.
Which revealed this.
So out came the D/S cross member and the inner sill.
Still with abit of the inner sill attached as I gave up for the day as my knee was giving me some jip.
Painted some bits of the bell housing, also did the gearbox but no picture.
Got the wiring loom out which was a pain in the ass.
Fitted the adjustable tie-bars and solid rear mounts.
Popped the cam and the head on.
So thats the last few months... Doesn't look alot really when you look at it like that.
Got some time off over christmas and back at my mums so hoping to get some paint on the bulkhead and arches with luck.
Edited by Pixel-Snapper on Tuesday 22 November 14:47
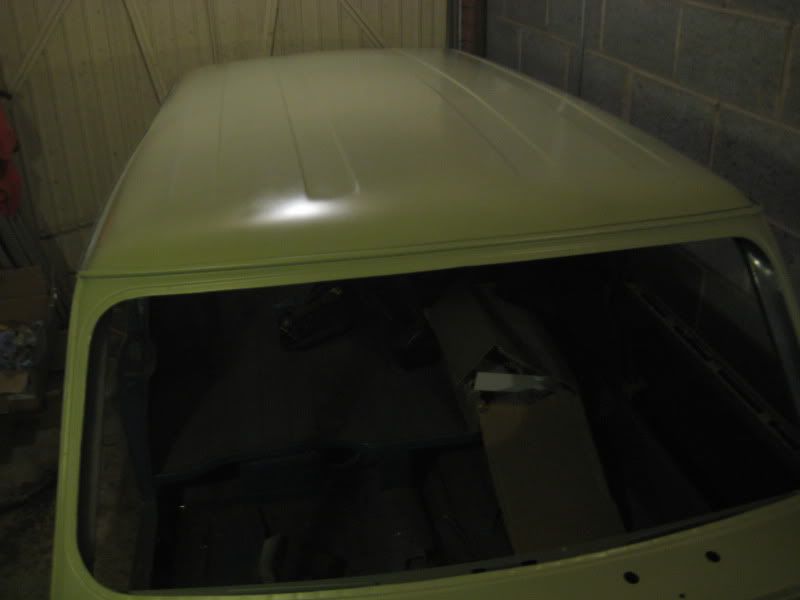
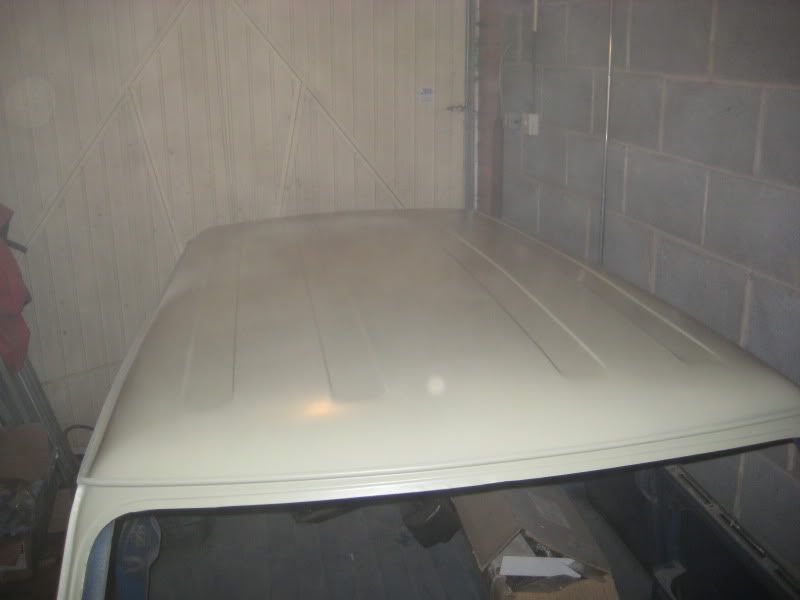
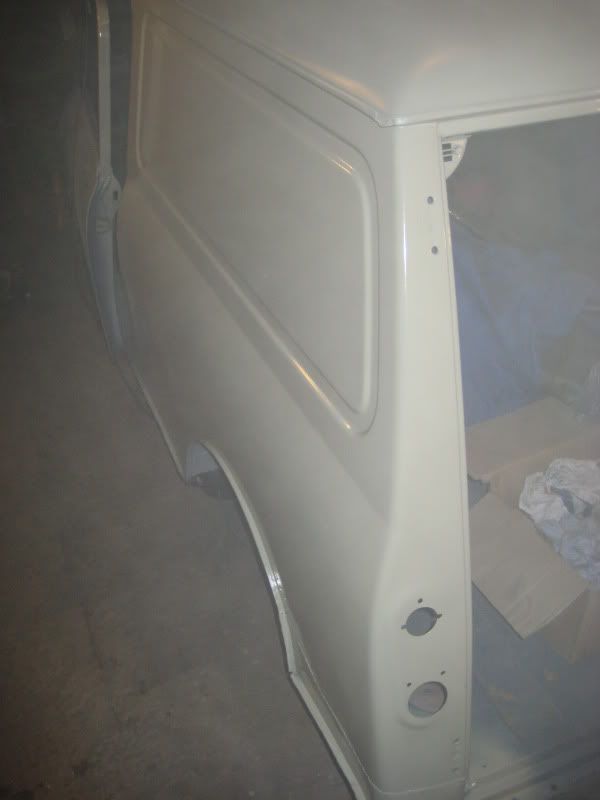
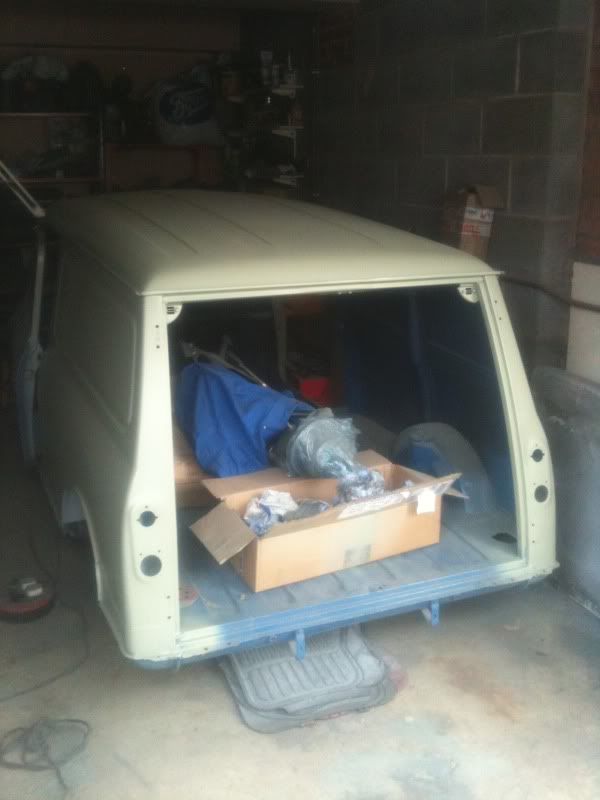

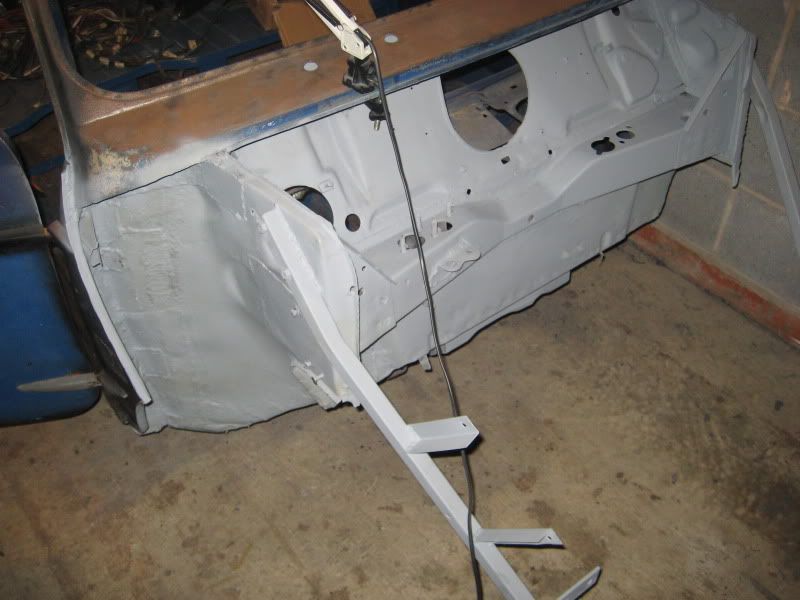
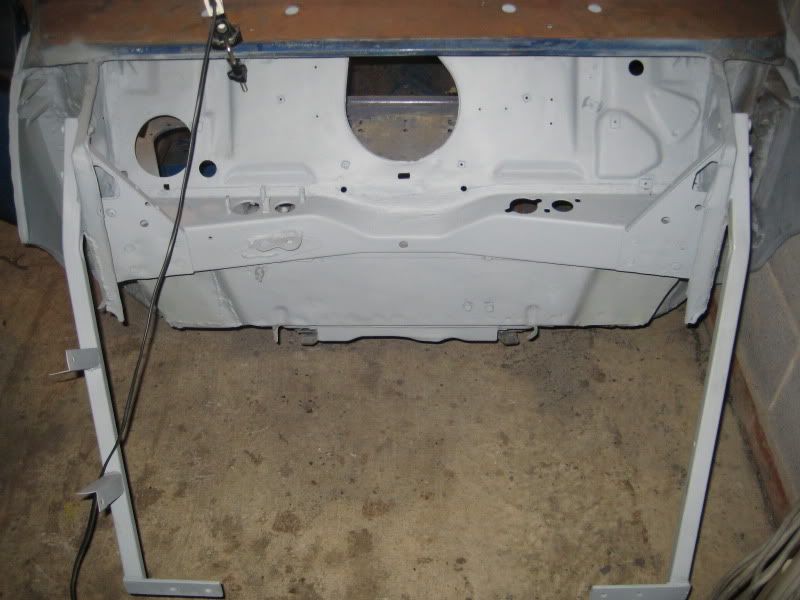
Hit a milestone in SAL's restoration last night got some topcoat on the bulkhead. First time using cellulose paint, second time ever using a spraygun, dont think I did too bad though. Theres a few spots where I got runs holding the gun for to long in one spot trying to get under the scuttle. Seemed to go one alot better once I'd mixed the paint abit thicker as it didn't cover very well first time.
Anyway crappy iphone pics at the moment sorry will get some better ones when I'm next in the garage and its light.
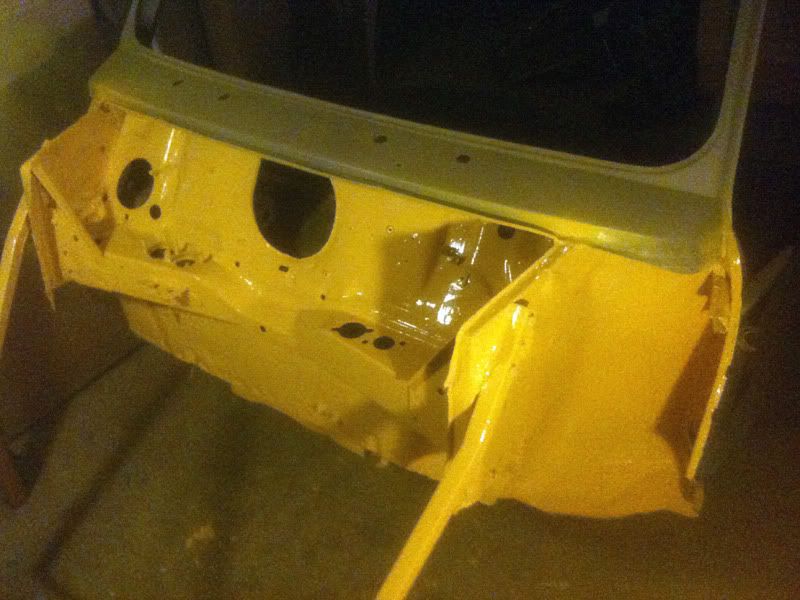
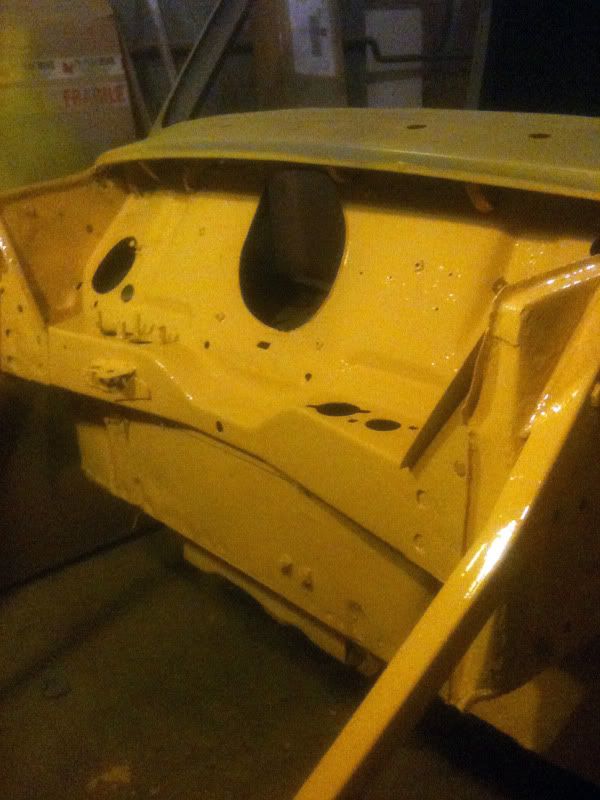
Certainly going to see me coming down the road thats for sure.
Anyway crappy iphone pics at the moment sorry will get some better ones when I'm next in the garage and its light.
Certainly going to see me coming down the road thats for sure.
 tiz the idea!
 Gassing Station | Classic Minis | Top of Page | What's New | My Stuff