Discussion


Celtic Dragon said:
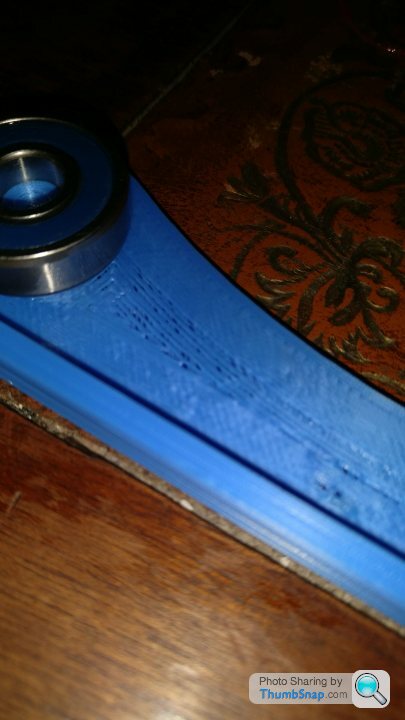
If you have a Prusa I3 clone, what I did, was file the bottom plastic 90 degree bend / latch where is says Idler wheel in the pic below, so it clears the step it rests on, and added 3 thin washers under the extruder spring.

Mine doesn't even have this whole spring / lever assembly, so there is no way of tensioning or adjusting the preload. There are designs for these on thingiverse so I'll get one printed, just need to find a spring!
Had a good day on the printer today.
Fitted one of the extruder spring tensioner mechanisms shown above. They sent the wrong side so I had to reconfigure my extruder, make some spacers, cut some off the end of the handle and then rewire the extruder to reverse the direction.
But.. it seems to have taken away all of my extruder stalling issues so I'm happy with the result.
Also finally managed to reflash the firmware with a known version of Marlin which now will enable me to update it with any changes. But more importantly for now it's unlocked the EEPROM settings so I don't have to update them before every print.
Just doing some test prints again then after that I'll try and add a cooling fan below the extruder and then sort out my Z wobble issue.
Really enjoying the tinkering now though.
Edited by WolfieBot on Saturday 24th March 17:56
I've had a good couple of days too 
I've fitted the corner captive nuts for the heat bed, the z axis wobbe fix and the new z axis couplers (all printed on the machine). And I've got to the point where Im 95% happy with the results.
I have still got a warping problem on anything over about 20mm in diameter, so the next stage is to try a print at a screen reading temp of 55C just to see if my thermister is over reading. I have also discivers the heatbed has a high point in the middle, so I'm going to have a reconfigure tomorrow and see if I can elimiate that, also going to pop over to Toolstaion and grab a infrared thermometer. I will have perfect prints!!!!!!!
Also designed my first part from scratch in Tinkercad, although I don't like its design flow as its block based with no apparent mechanizm for trimming or freehand work. For someone that was trained on CAD to do engineering drawings, its damned annoying!!!!!!!!!!!!!
So what do people use for designing their parts?
I've been using onshape. It's all browser based so nothing to install but I really like it.
It was developed by a group of solidworks employees and there are definite similarities.
I use the free version which just means everything you draw is kept in the public domain, which isn't an issue for me.
It was developed by a group of solidworks employees and there are definite similarities.
I use the free version which just means everything you draw is kept in the public domain, which isn't an issue for me.
WolfieBot said:
I've been using onshape. It's all browser based so nothing to install but I really like it.
It was developed by a group of solidworks employees and there are definite similarities.
I use the free version which just means everything you draw is kept in the public domain, which isn't an issue for me.
Cheers for Onshape, much better than tinkercad, much more like Autocad!It was developed by a group of solidworks employees and there are definite similarities.
I use the free version which just means everything you draw is kept in the public domain, which isn't an issue for me.
Another enfuriating but successfull day. I fixed my warping issue by masking tape and pritt-stick!!
I designed this bottle cage, then the print head went and disloged the 3 central temp supports for the over head arcs, 1h45 down the drain! So a slight rethink on letting Cura decide on the support against me designing 2 simple freestanding boxes myself to insert into the assembly. The print got aborted as I made the rookie mistake of pausing the print, then disablign the steppers to fix it (pulled y axis forwards), which the setup really didn't like!!!
The upside is it did print enough before going belly up to show me that I made the internal diameter 1mm to big and the front support (furthest away from the camera) too far forwards.
Another Geeetech i3 user here.
Had mine about 8 weeks now and was a hassle to start with but with a lot of help it all works well now.
Got me some great prints and cooling fan changed everything. Been doing some big prints lately and largest being 25 hours.
Will get some pictures up soon. If anyone wants any times or files to mod yours let me know.
Good progress at least. I'm sticking to much smaller prints now until it's dialled in better to save wasting time.
Printed some anti z wobble brackets similar to those today but they didn't hold the M8 nuts very well so I modelled some new ones using onshape this evening. The Android app works really well on the tablet, meaning I can model away in front of the TV much easier. Test print went well, the nut is gripped nice and tight and it sits around the straight rod well. Will print the second tomorrow and fit them and see how it's improved the z wobble.
Which z couplers do you use? Mine just had rubber tubes connecting the stepper motors to the threaded rod so might look at replacing those.
Mine is a CTC i3 which is a knock off of the geeetech. The frame is 5mms plywood so that will be upgraded at some point. Really like the extruded aluminium frames so will be looking into that further.
WolfieBot said:
Good progress at least. I'm sticking to much smaller prints now until it's dialled in better to save wasting time.
Printed some anti z wobble brackets similar to those today but they didn't hold the M8 nuts very well so I modelled some new ones using onshape this evening. The Android app works really well on the tablet, meaning I can model away in front of the TV much easier. Test print went well, the nut is gripped nice and tight and it sits around the straight rod well. Will print the second tomorrow and fit them and see how it's improved the z wobble.
Which z couplers do you use? Mine just had rubber tubes connecting the stepper motors to the threaded rod so might look at replacing those.
Mine is a CTC i3 which is a knock off of the geeetech. The frame is 5mms plywood so that will be upgraded at some point. Really like the extruded aluminium frames so will be looking into that further.
I used these, printed both at once, and end on, then used some spare 15mm m3's that I had from the build left over.Printed some anti z wobble brackets similar to those today but they didn't hold the M8 nuts very well so I modelled some new ones using onshape this evening. The Android app works really well on the tablet, meaning I can model away in front of the TV much easier. Test print went well, the nut is gripped nice and tight and it sits around the straight rod well. Will print the second tomorrow and fit them and see how it's improved the z wobble.
Which z couplers do you use? Mine just had rubber tubes connecting the stepper motors to the threaded rod so might look at replacing those.
Mine is a CTC i3 which is a knock off of the geeetech. The frame is 5mms plywood so that will be upgraded at some point. Really like the extruded aluminium frames so will be looking into that further.
I would advise threading the bolts through first so you can cushion the part in your hand, then backing them out so they are in 1/2 the shell before fitting. You'll probably need to open the slot with a screwdriver in order to get them onto the M8 bar and stepper motor spigot.
https://www.thingiverse.com/thing:2603098
WolfieBot said:
Mine doesn't even have this whole spring / lever assembly, so there is no way of tensioning or adjusting the preload.
There are designs for these on thingiverse so I'll get one printed, just need to find a spring!
You can get an ali one for about £5 which helped remove clicking on mineThere are designs for these on thingiverse so I'll get one printed, just need to find a spring!
Don't forget to calibrate the extruder also.
sausage76 said:
You can get an ali one for about £5 which helped remove clicking on mine
Don't forget to calibrate the extruder also.
Yes thanks I managed to get one fitted last weekend. Don't forget to calibrate the extruder also.

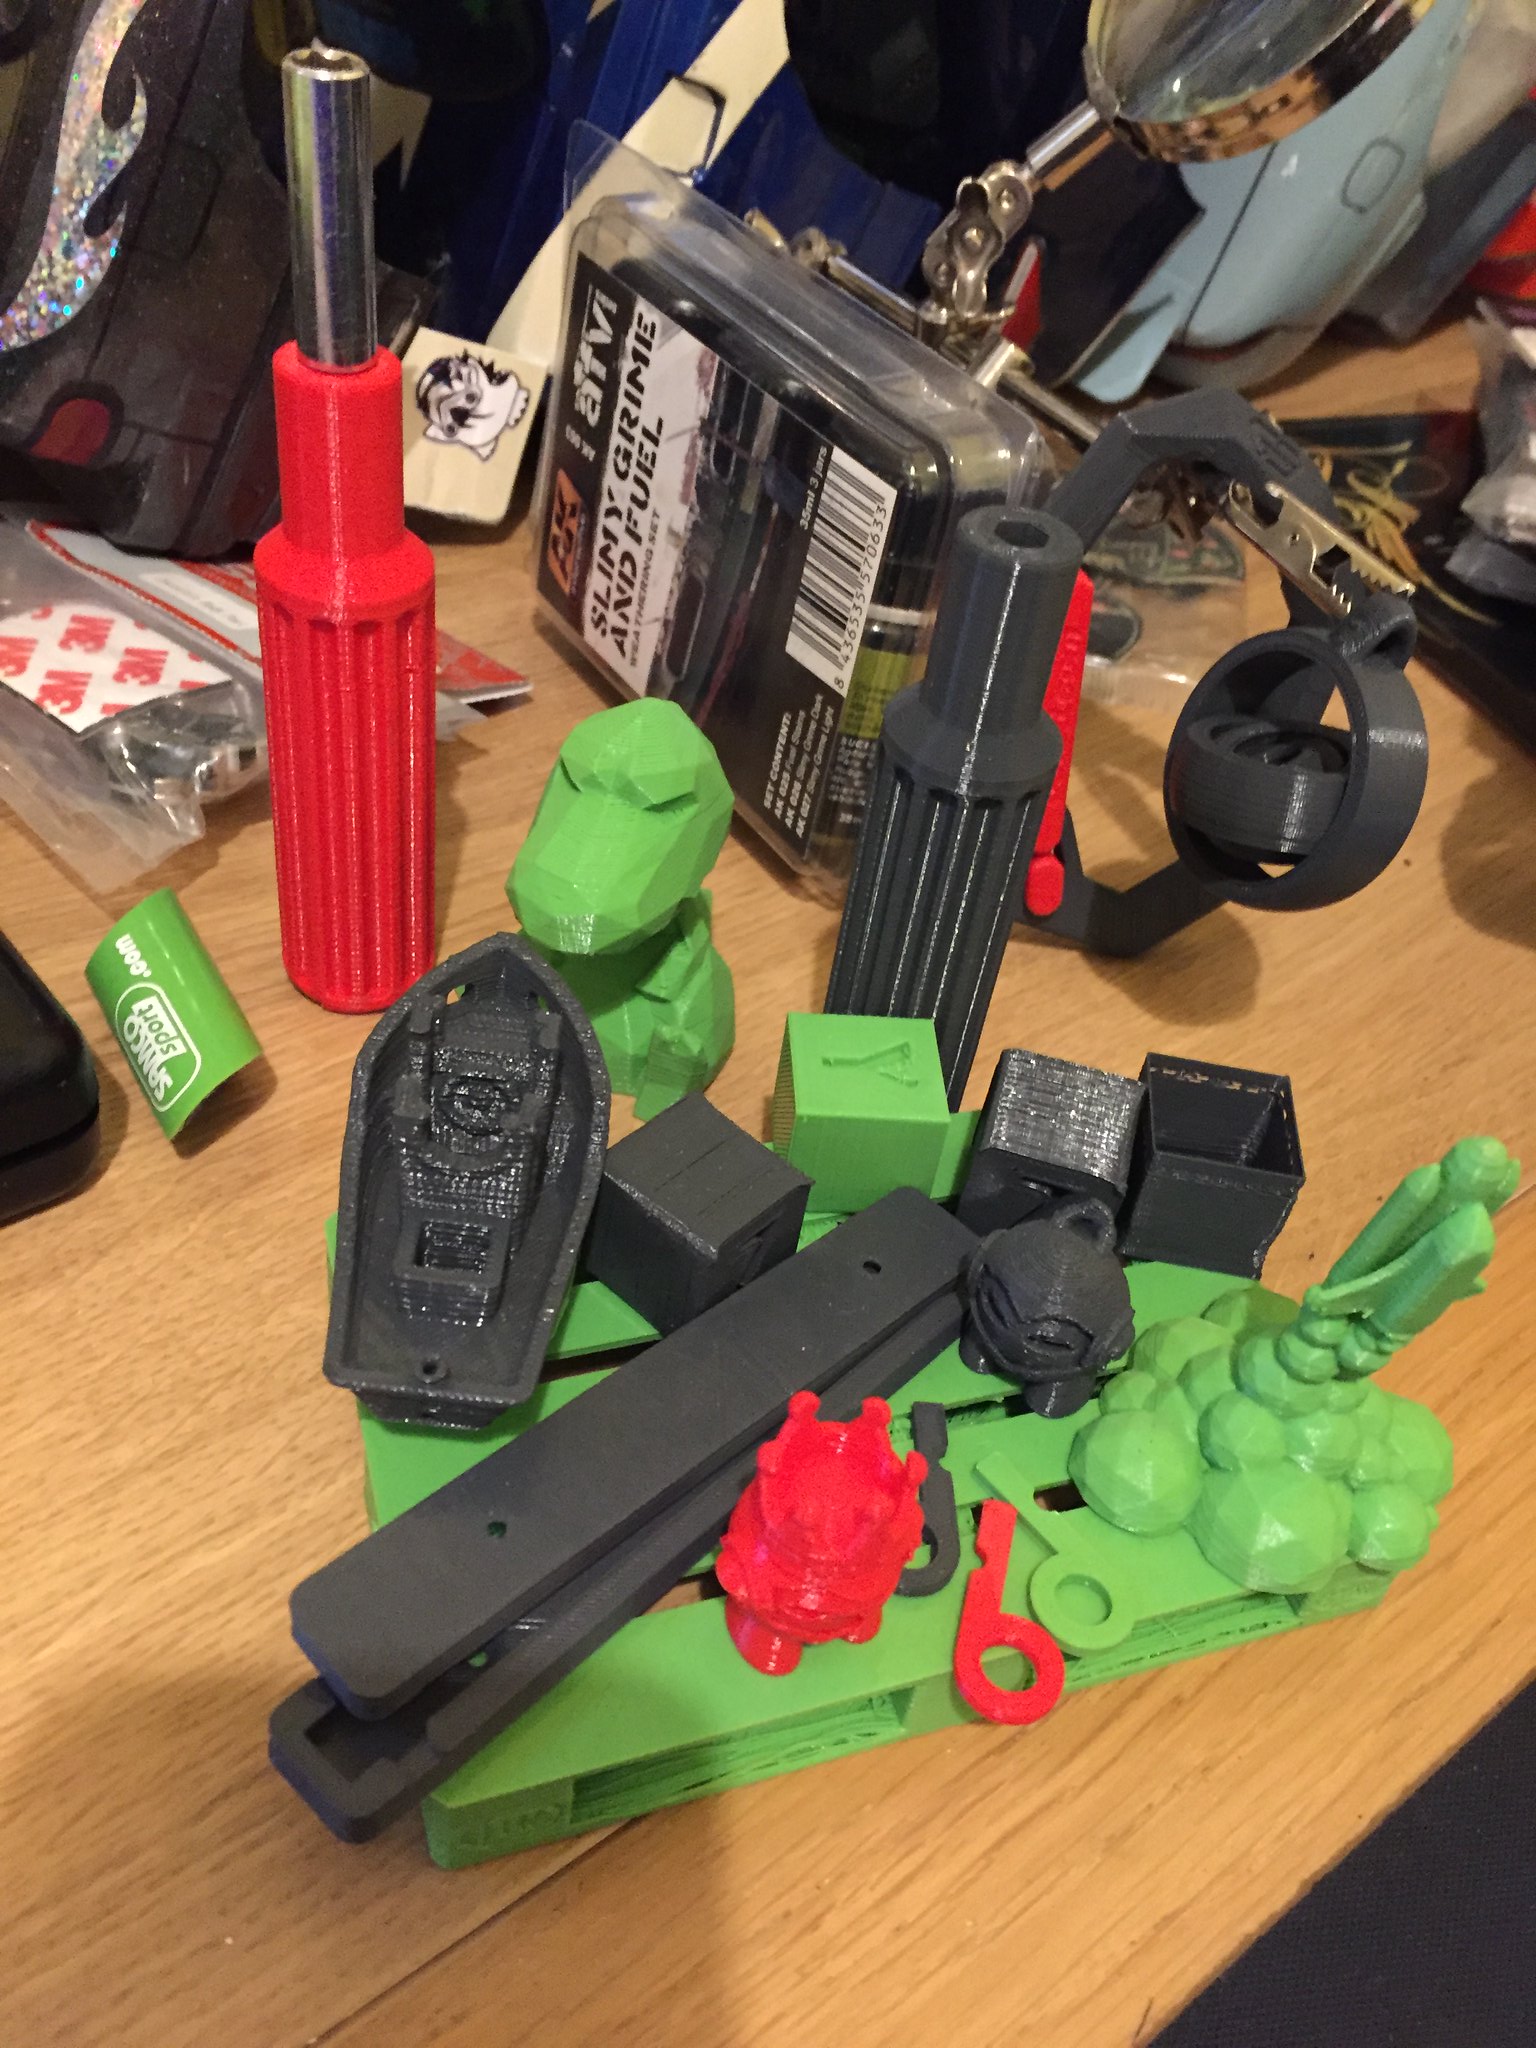
More progress this week, knocked these brackets up on cad, a slight redesign of someone else's to work with my printer and fitted them last night.
The difference they have made is great, massive reduction in z wobble and no longer getting the banding lines all the way up prints.

I then did the unthinkable and printed something that isn't a 3d printer part!
My partner said she needed a tripod for her phone for doing her Etsy work so I dug out an old go pro one and made a mount for her phone. Quicker service than Amazon!

I've got a few more frame improvements to make and I'll add a fan this weekend but generally I'm really pleased with the performance now.
Here is my little Geeetech i3
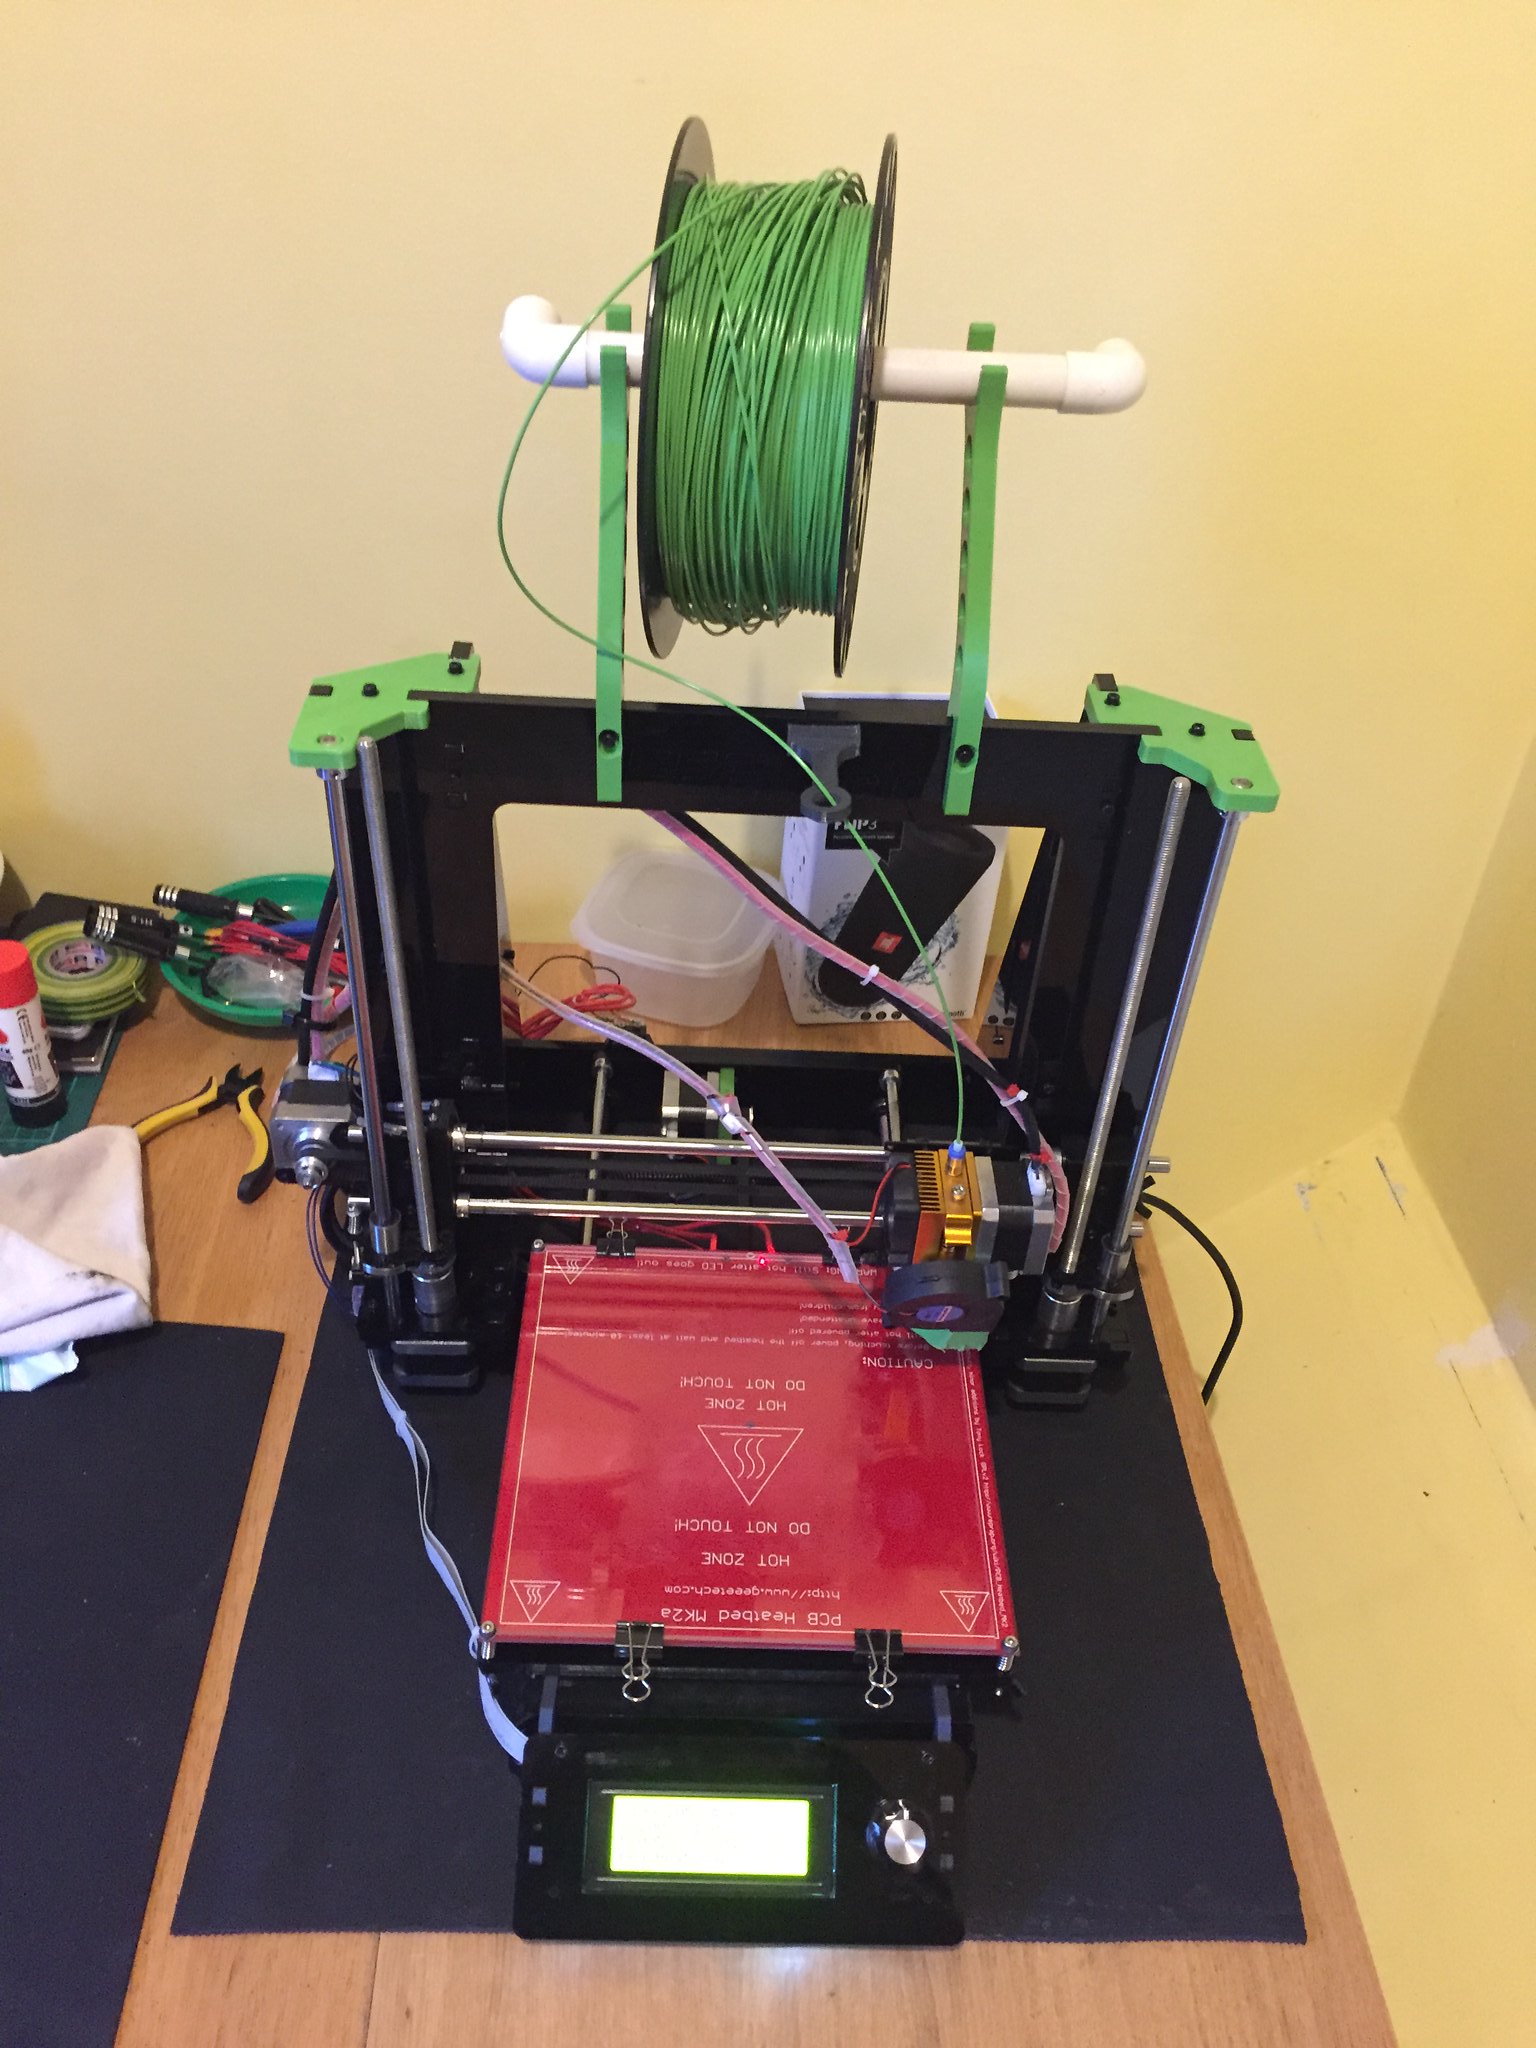 IMG_7420 by mattcut, on Flickr
Then some prints after alot of messing about
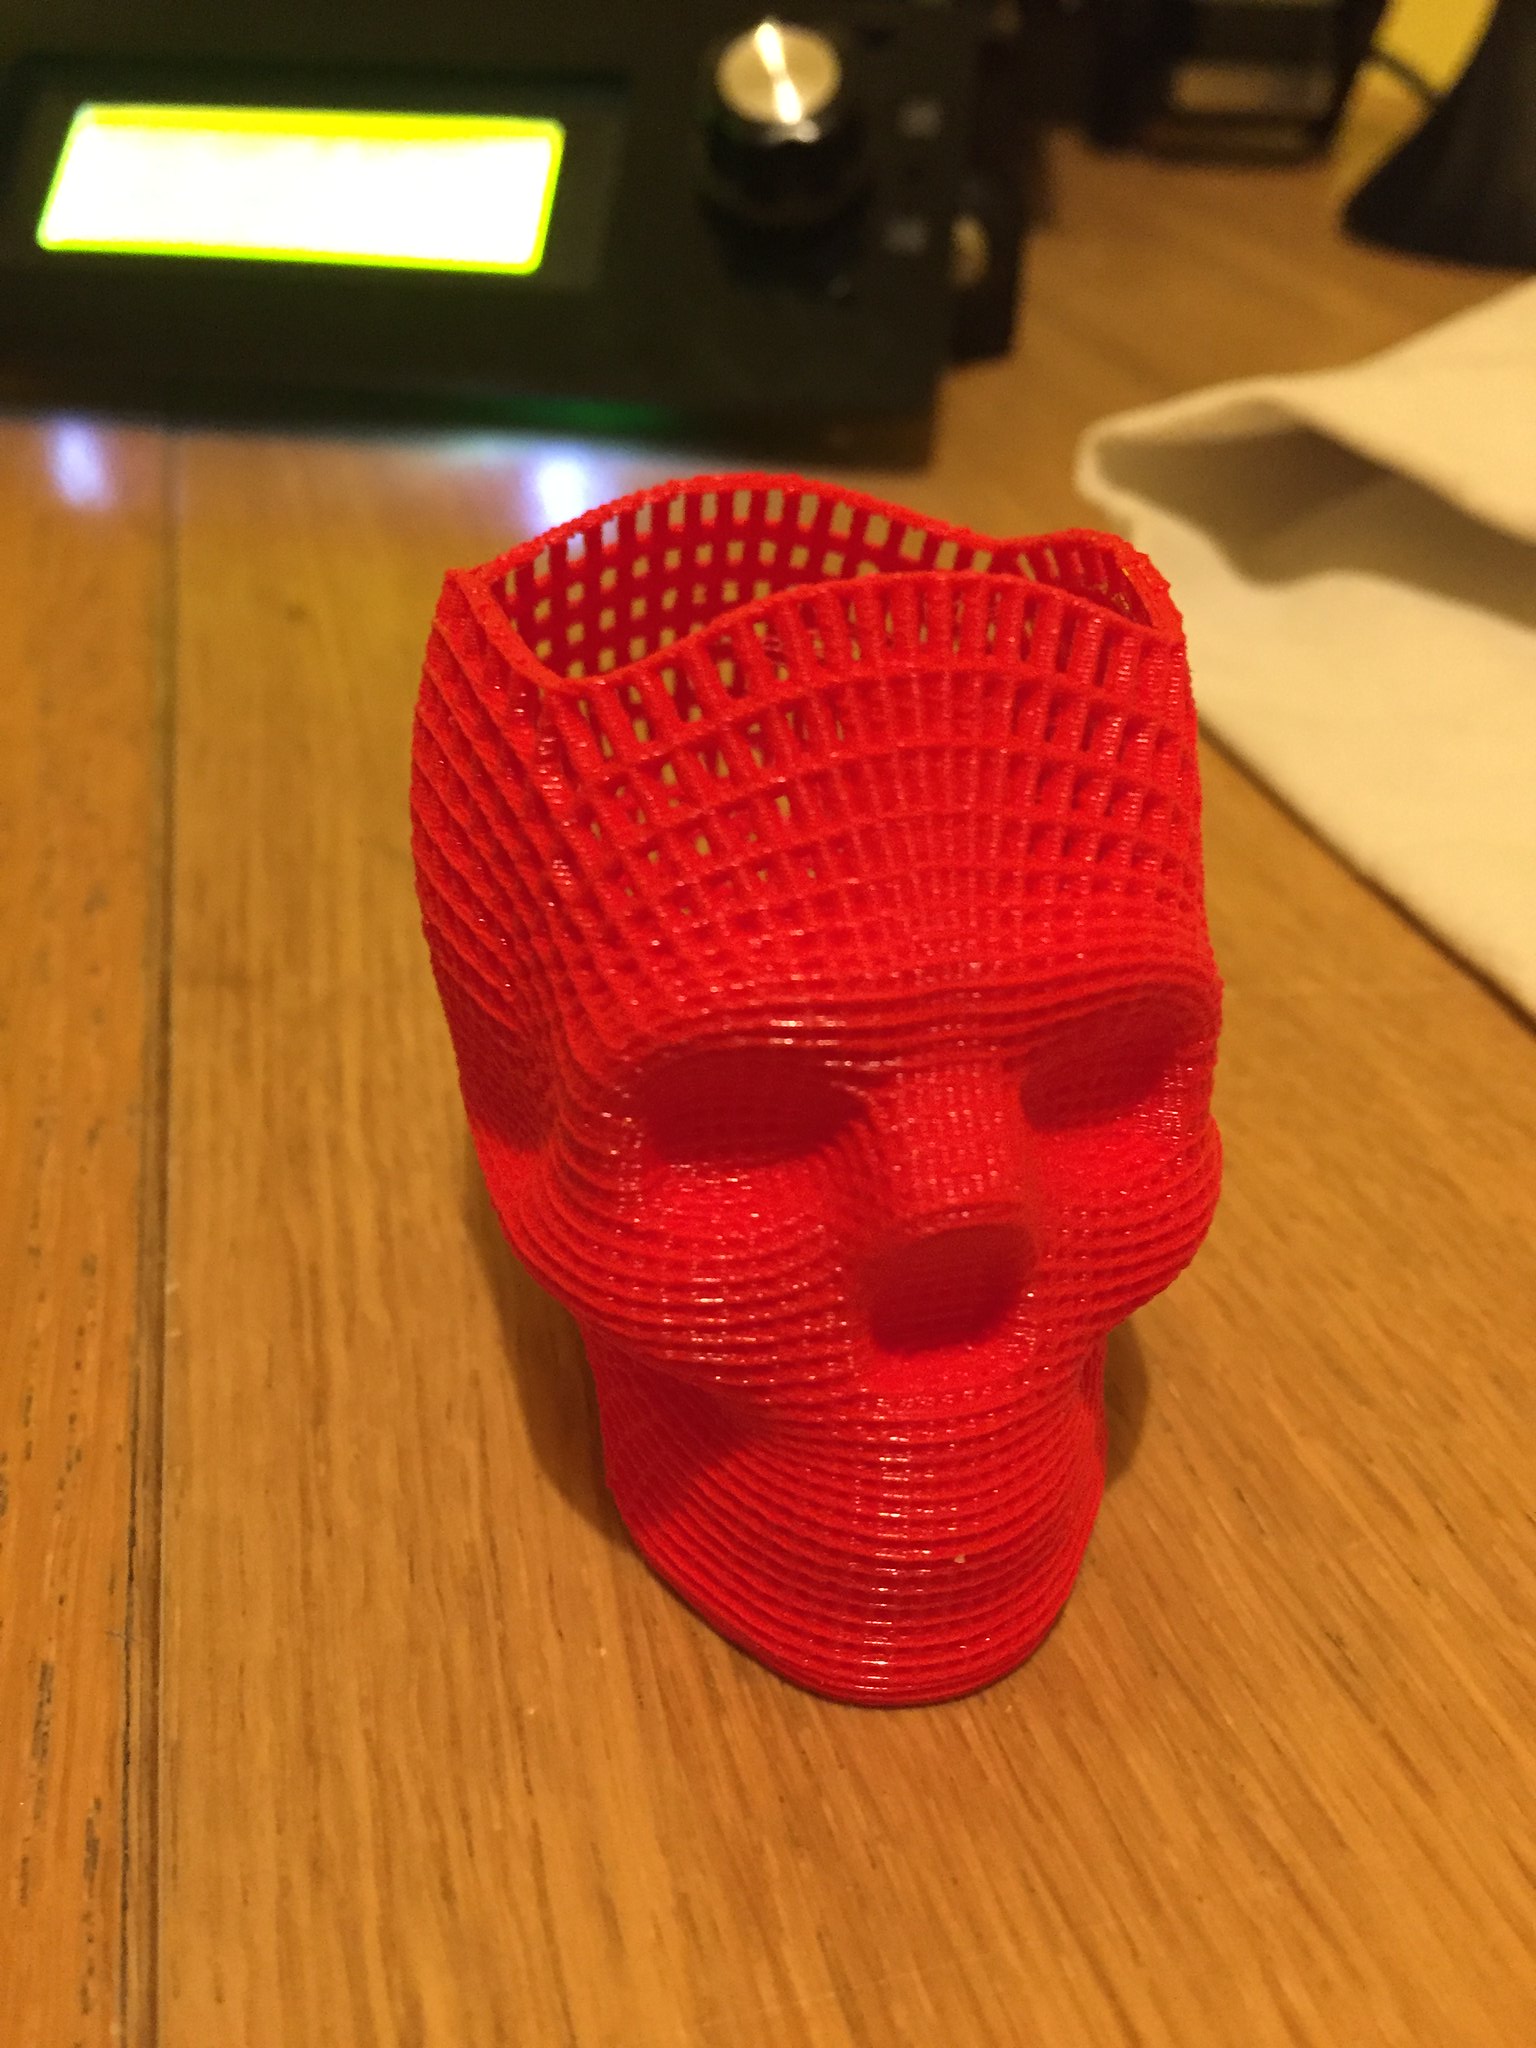 IMG_7266 by mattcut, on Flickr
 IMG_7177 by mattcut, on Flickr
This on was a monster 25 hour print
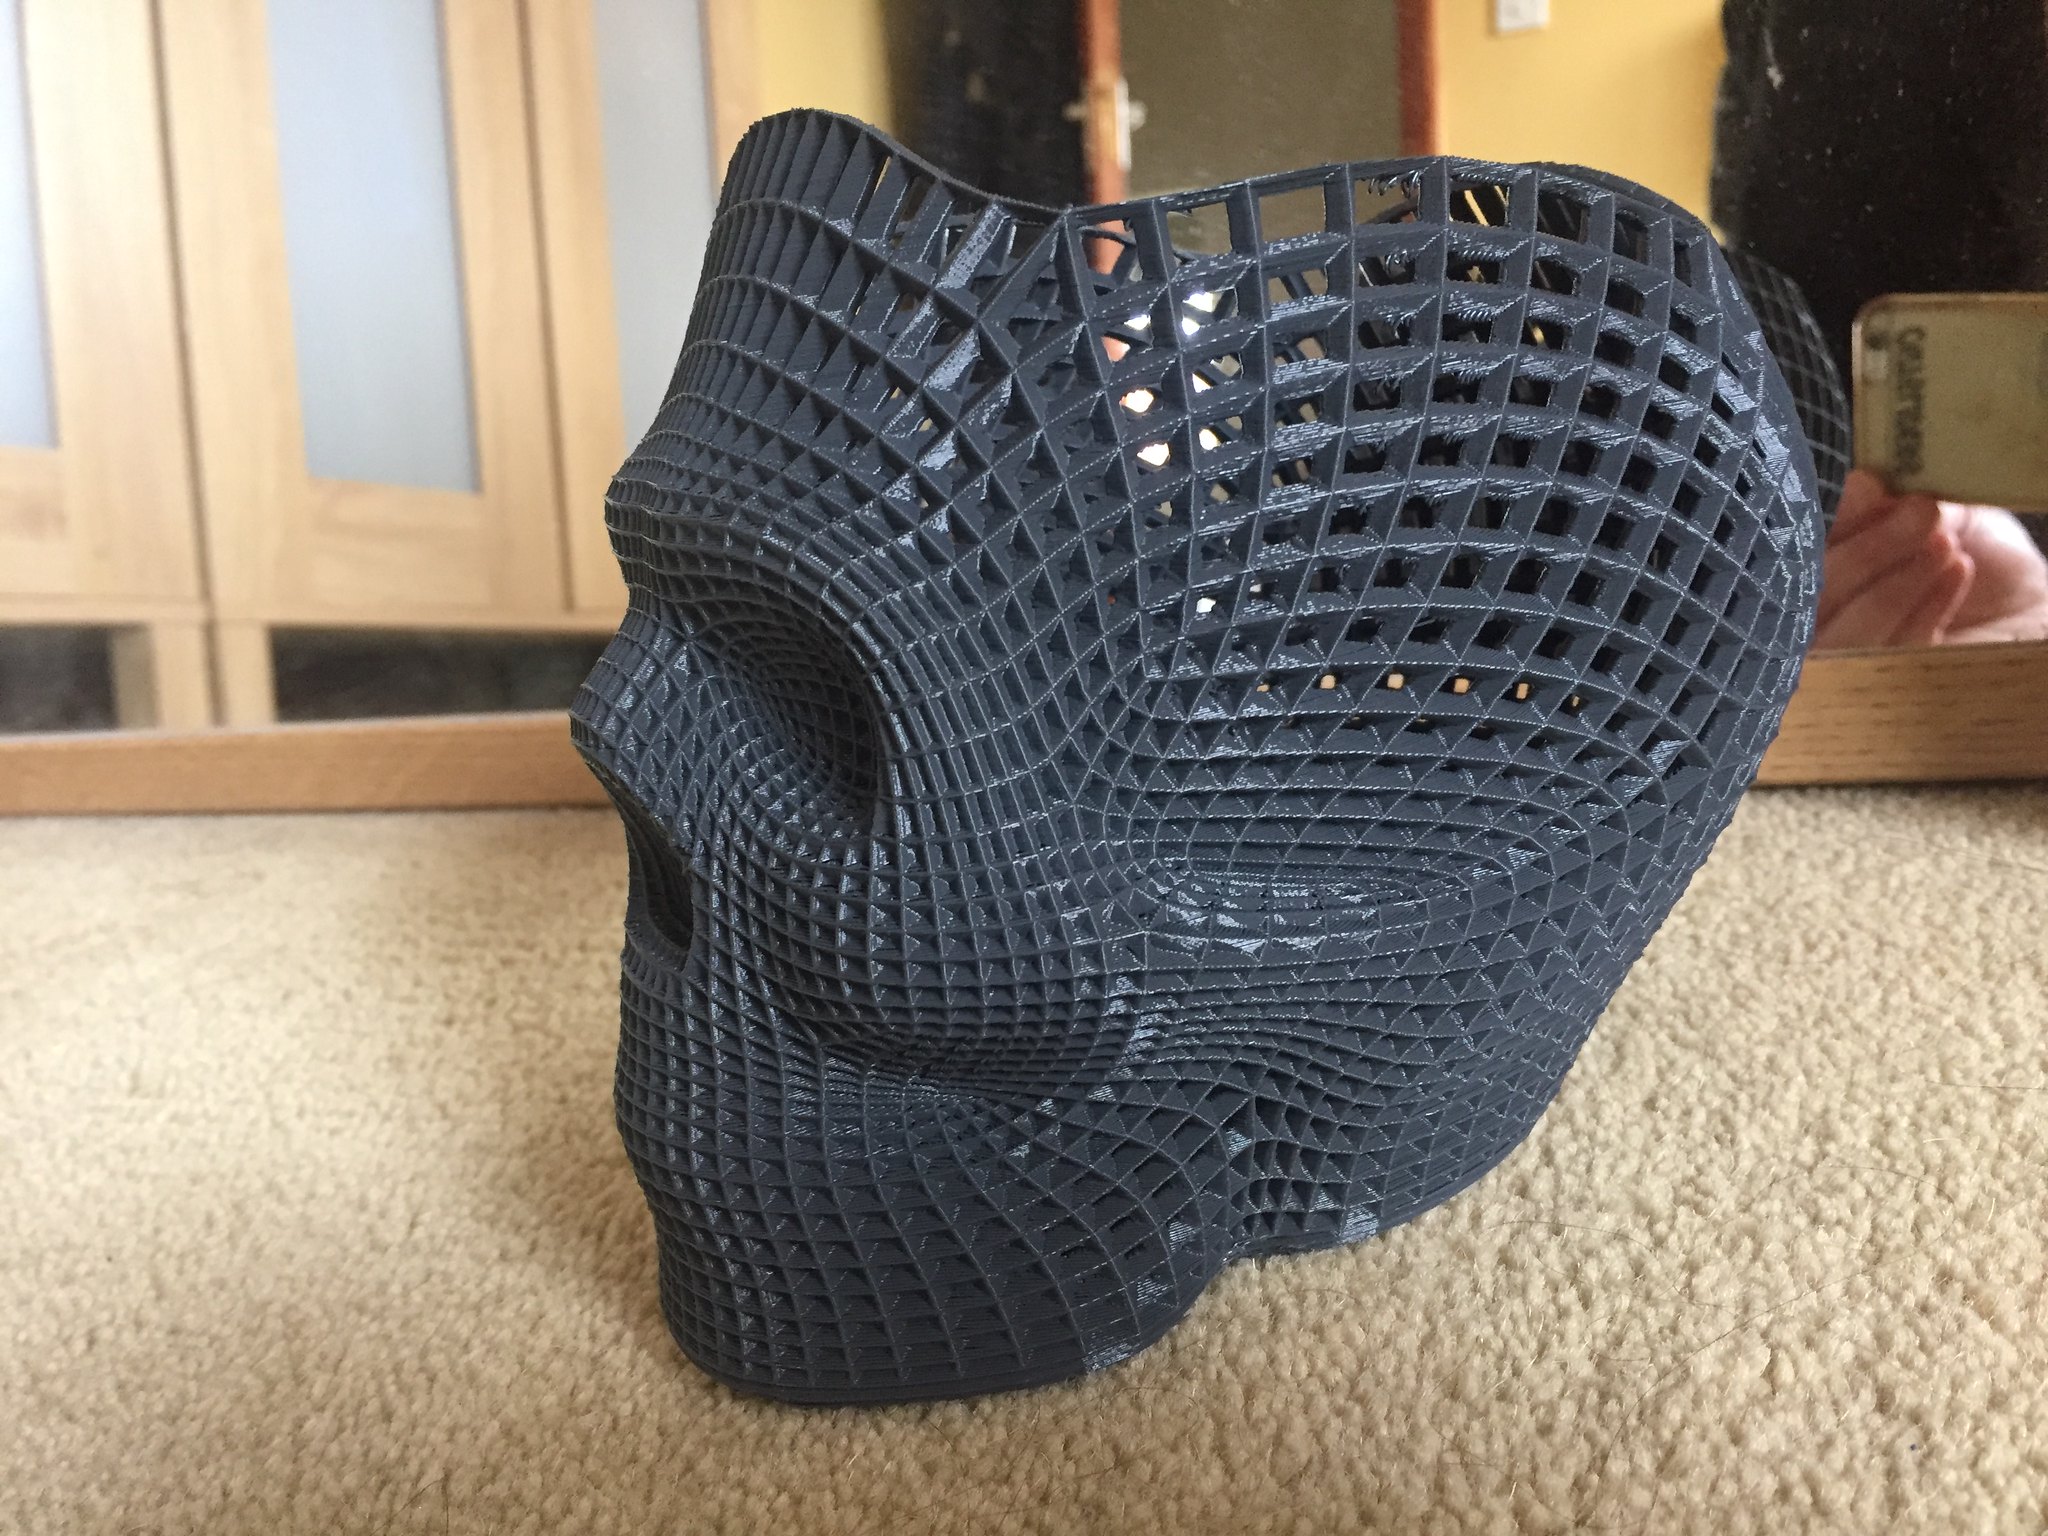 IMG_7248 by mattcut, on Flickr
 IMG_7393 by mattcut, on Flickr
 IMG_7422 by mattcut, on Flickr
 IMG_7423 by mattcut, on Flickr
 IMG_7424 by mattcut, on Flickr
IMG_7420 by mattcut, on FlickrThen some prints after alot of messing about
IMG_7266 by mattcut, on FlickrIMG_7177 by mattcut, on FlickrThis on was a monster 25 hour print
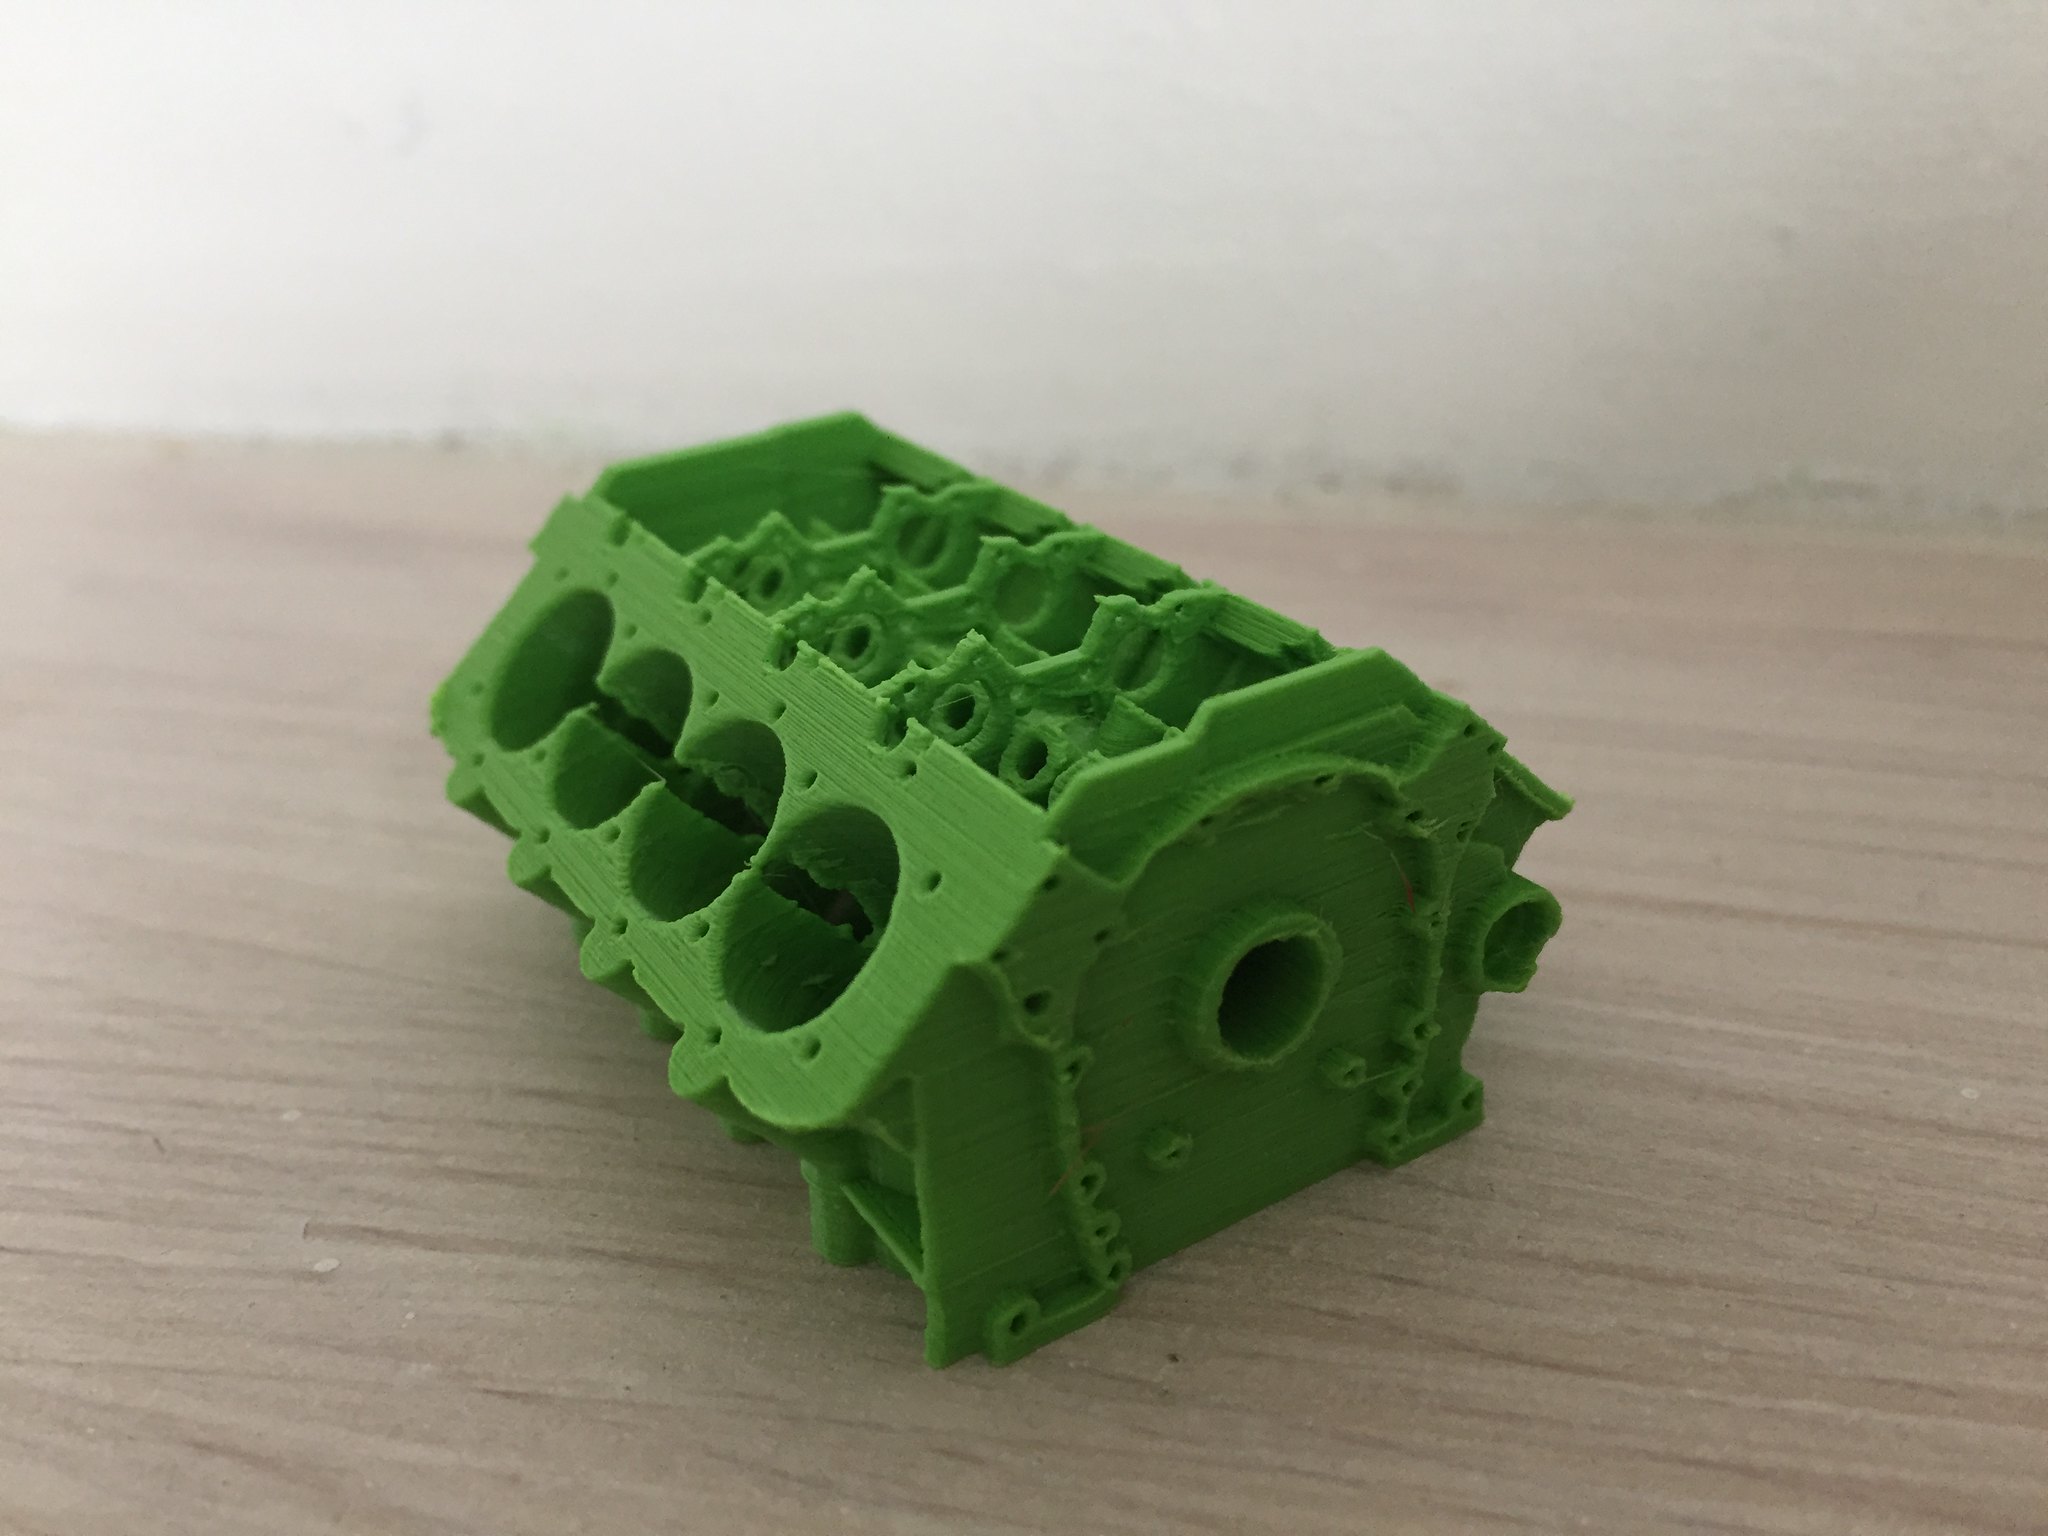
IMG_7248 by mattcut, on FlickrIMG_7393 by mattcut, on FlickrIMG_7422 by mattcut, on FlickrIMG_7423 by mattcut, on FlickrIMG_7424 by mattcut, on Flickr6 hours later and a partial success, the design works but is flawed, whic I can now correct. The part broke whilst getting the supports out, but there was a weak point there as the support the slicing software put in, broke free of the bed during the print. I thought I'd caught it, but not well enough.
This is why I bought the 3d printer if the first place. Before anyone asks, this part is different to the ones you can buy as it sits lower on the frame, but its based on the Zee cage.

This is why I bought the 3d printer if the first place. Before anyone asks, this part is different to the ones you can buy as it sits lower on the frame, but its based on the Zee cage.

Think I've fixed the adhesion, seems like this one is a bit more sensitive to bed temperature.
I've recalibrated the extruder steps and upped the extrusion multiplier a bit and it's now looking a lot better but still not perfect. Annoying as this was a more expensive filament compared to the previous cheapie one!
I might try upping the current to the extruder motor as that's a known weakness with the CTC printer and there are missing layers where it seems to have stopped extruding completely for short periods.
Gassing Station | Computers, Gadgets & Stuff | Top of Page | What's New | My Stuff