johns wedge rebuild
Discussion


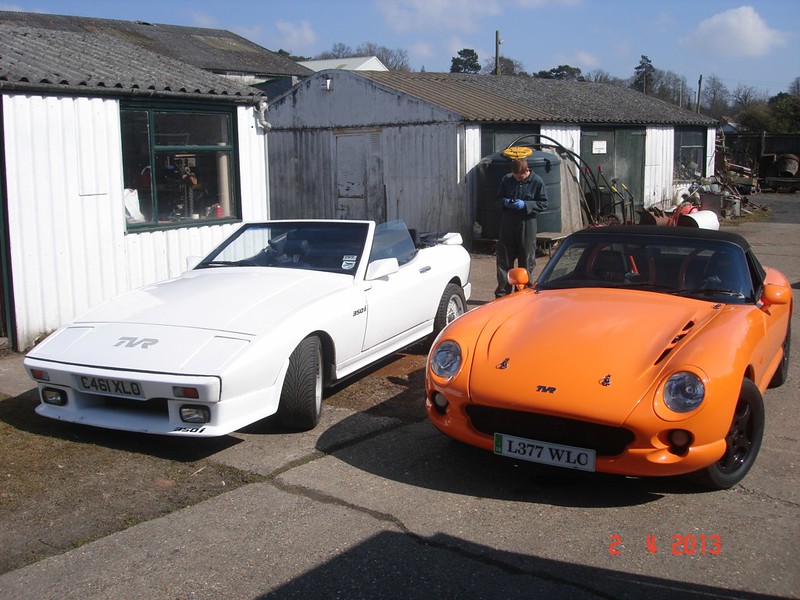
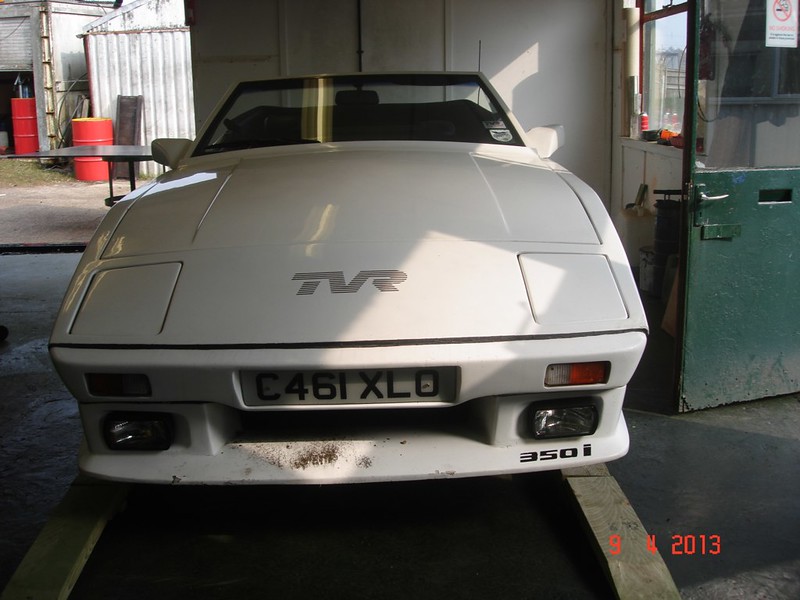
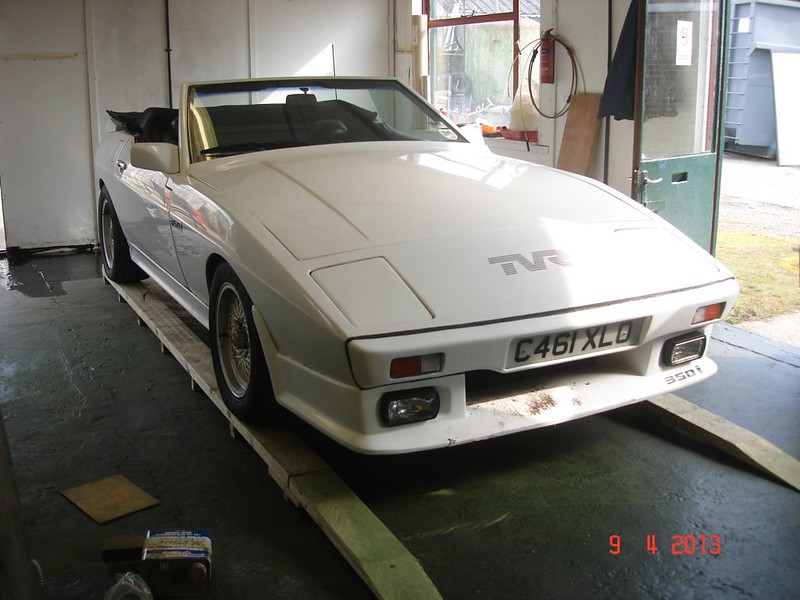
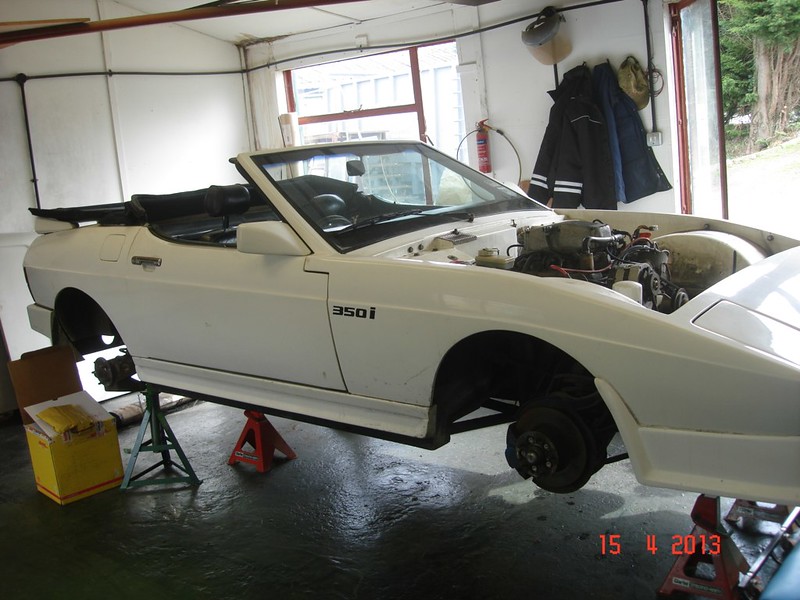
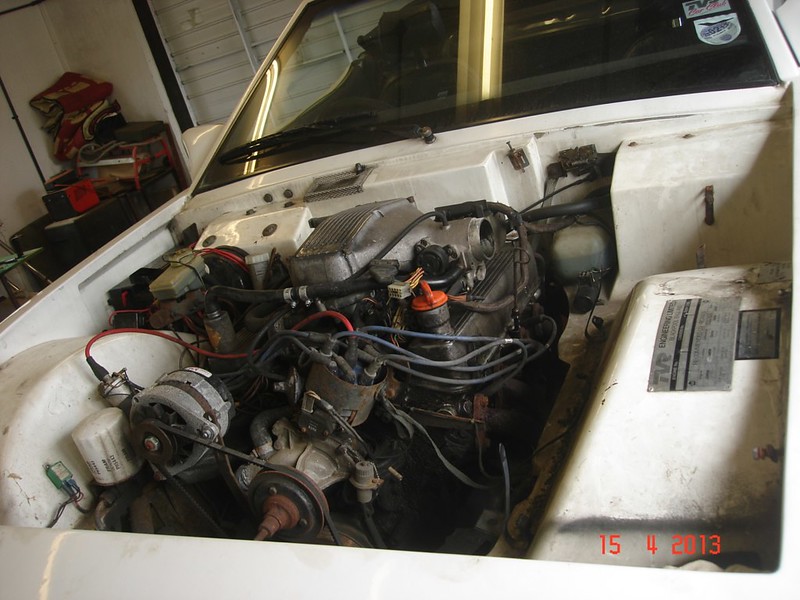
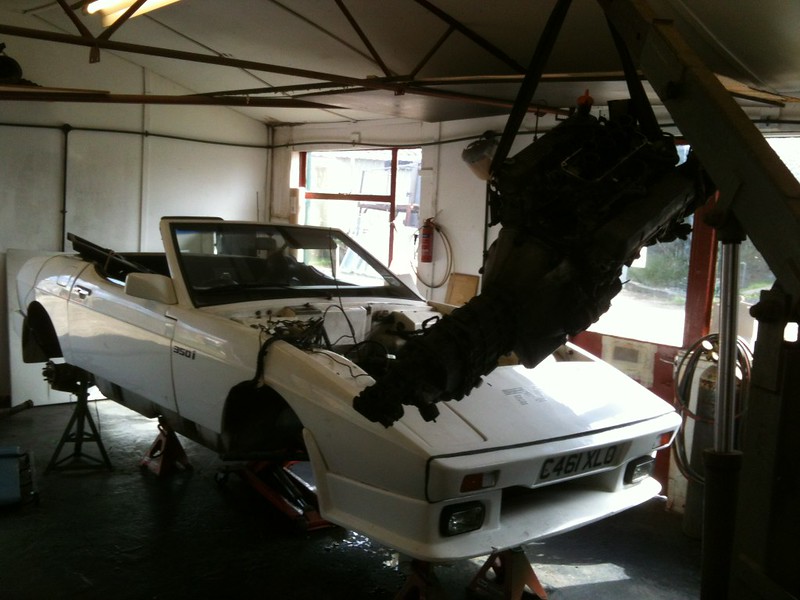
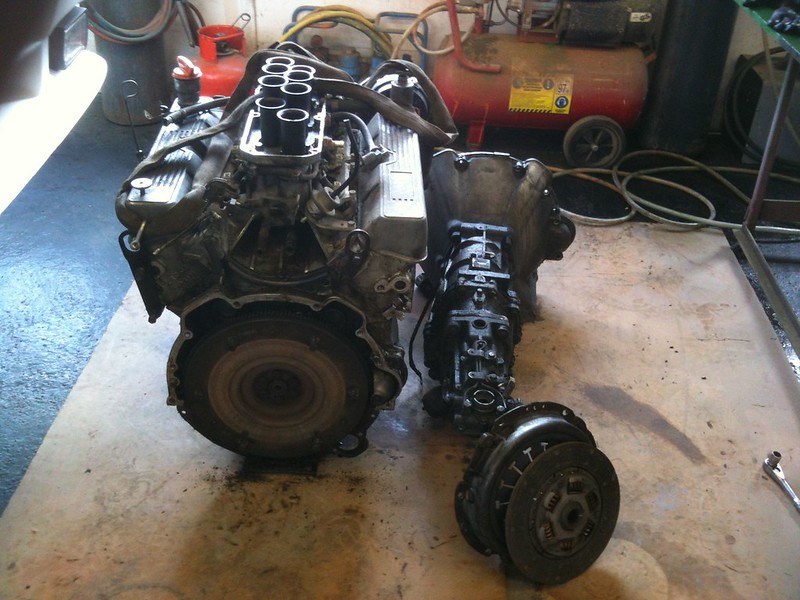
following on from my nearly year long rebuild of a chimaera for my son now its my turn ,got a 350i in fairly reasonable condition good strong engine oil pressure still good when nice and hot but it has got some issues, body finish has gone off some interor work needs doing, new hood and targa recover, so this is the swop over one out and one in, first job up on the building blocks check the chassis with a fine tooth combe off with the suspensions out with the engine and see what we really have got, i have some ideas of things to upgrade the car some mild tuning plus sort some decent front suspension looking to fabricate a new double wishbone set up with coil overs so busy weekends and evenings especially as its getting warmer and lighter, wont be quite as quick or in depth as the chimaera but should be good fun none the less.
john
john
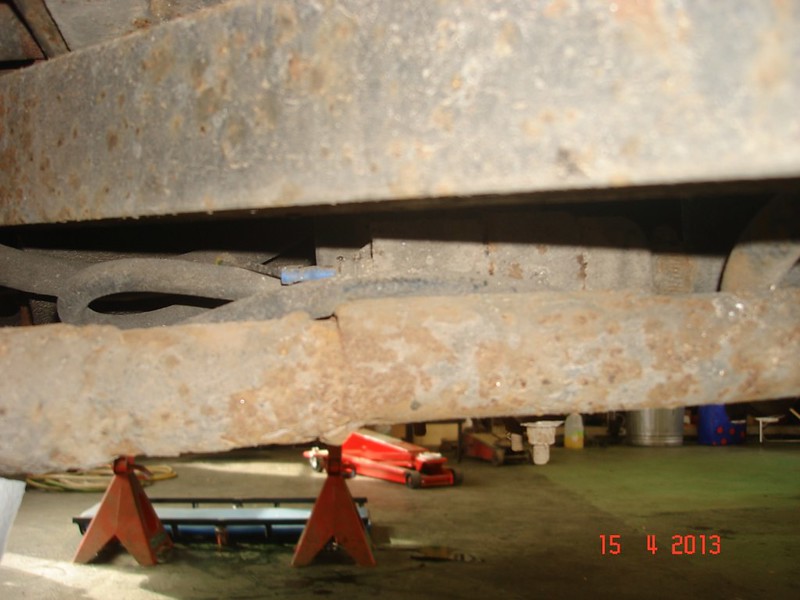
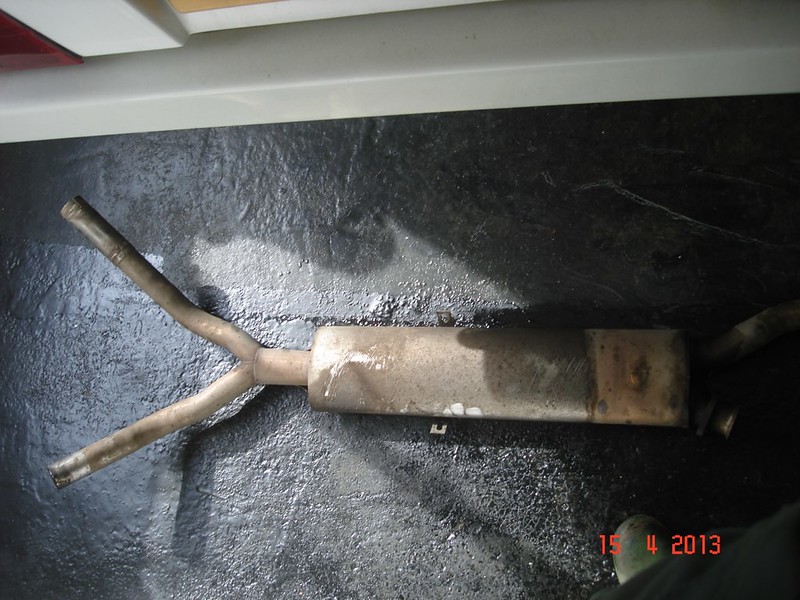
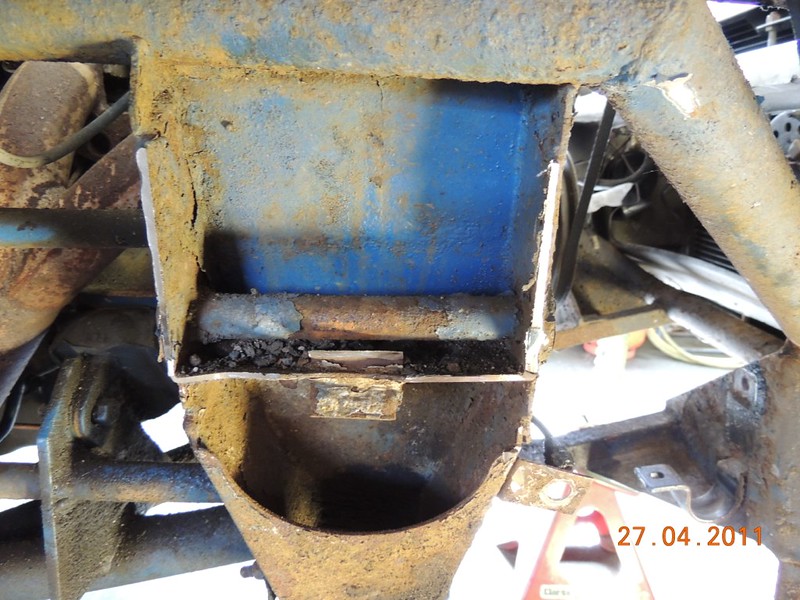
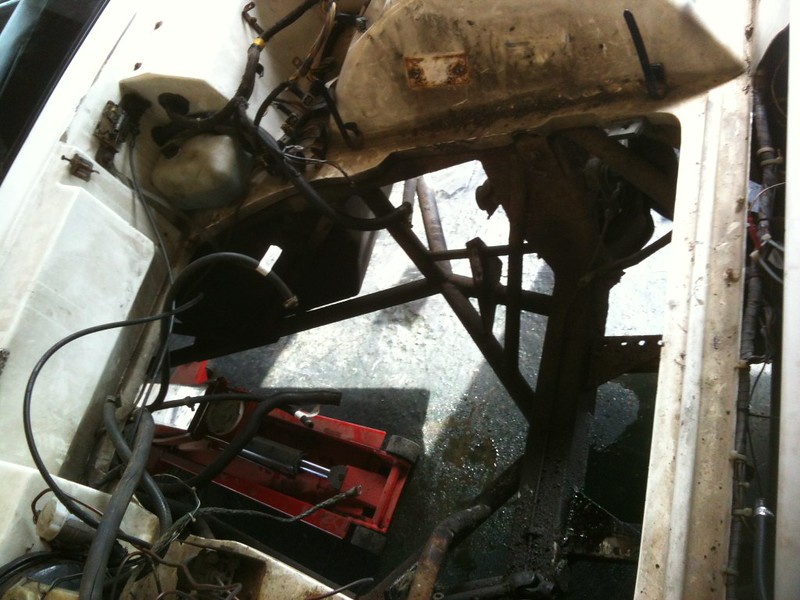
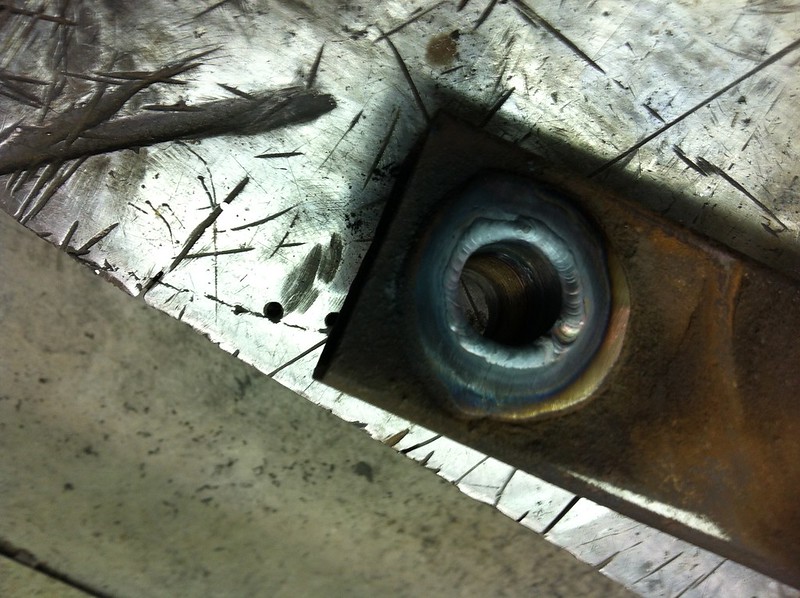
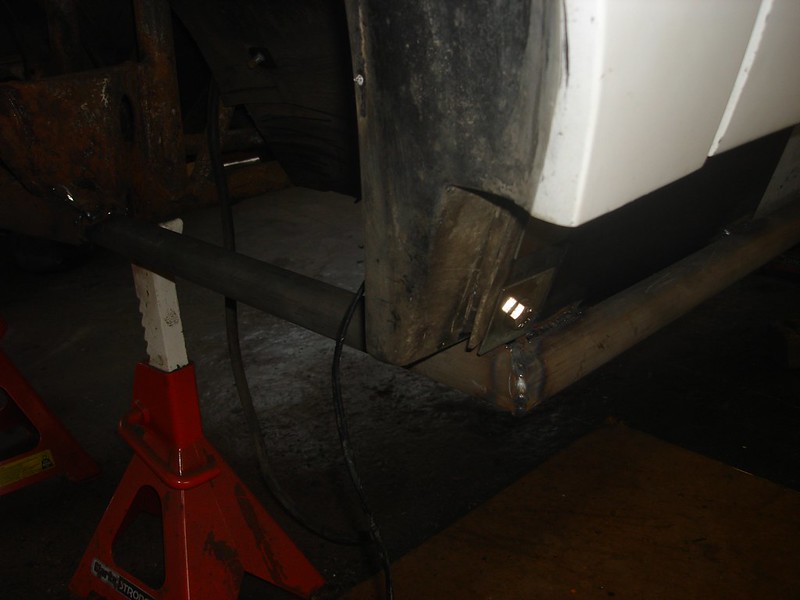
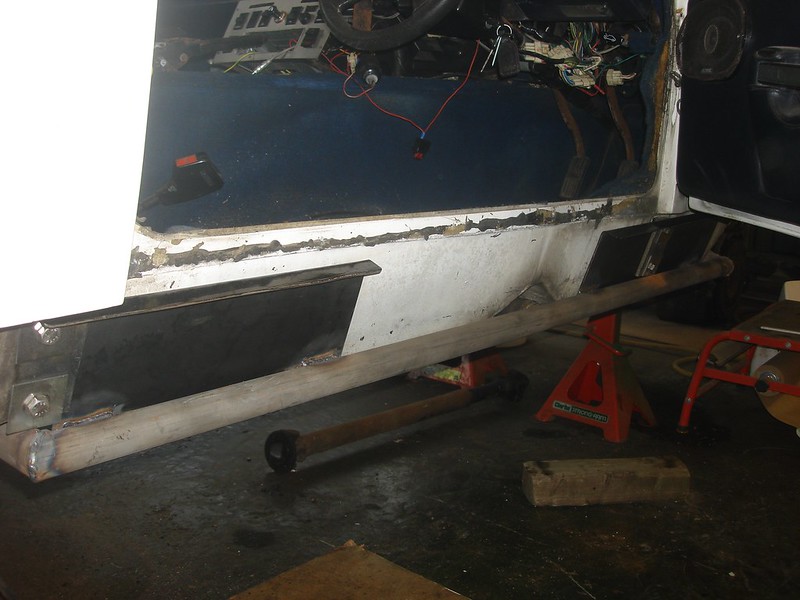
got a little done today but busy with everyone wanting there boats ready now the weather has warmed up, but started getting ready to remove the engine header tank and its plumbing out ,maf and filter out ,some wiring removed and tagged still looking for the perfect system to mark wires tried tape with biro clip on numbers which seem to disappear any ideas out there, got the exhaust of nice stainless unit, hubs look really good recently replaced i feel, got some spax adjustables on the rear look good no leaks etc. so a bonus there.got the bonnet of which has new struts and found the drivers outrigger needs replacing very bad crack on the rear strut plus some rot in the centre someone has had go at it and made a real bodge i guess the drivers has gone due to it living in france most of its life.
john

john
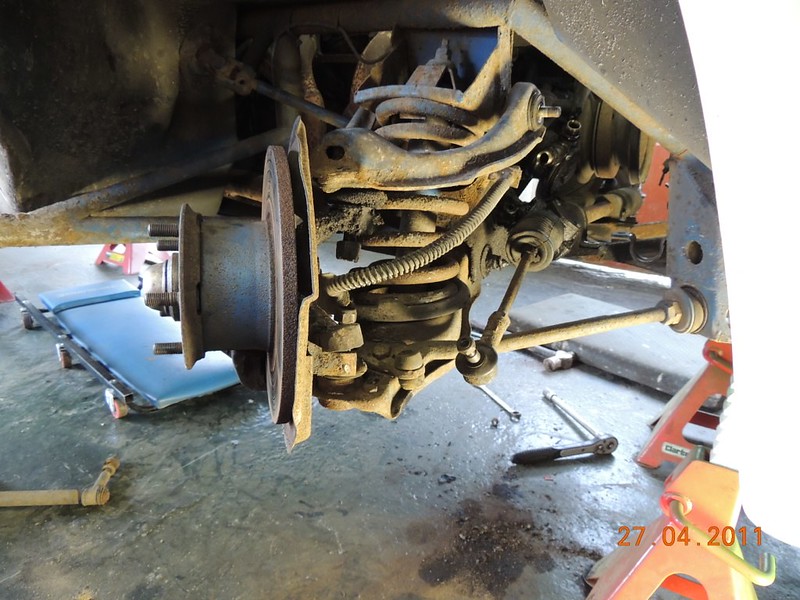
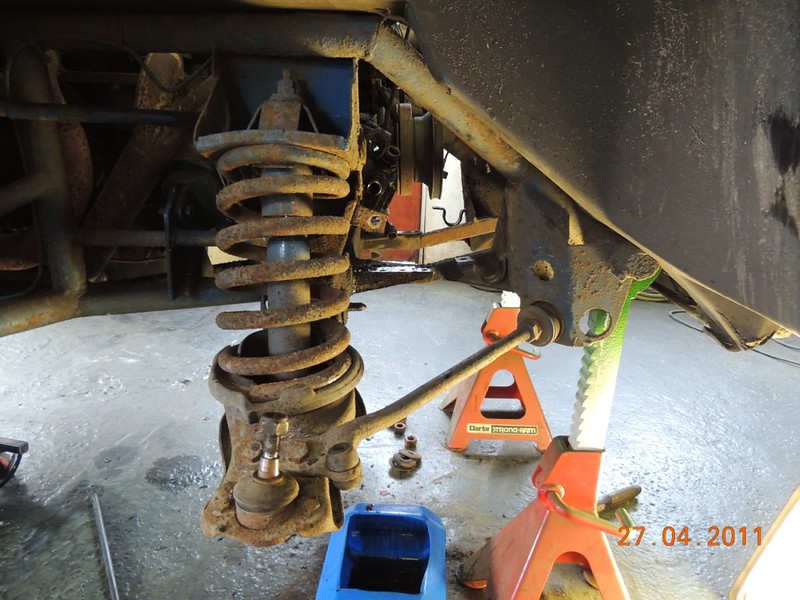
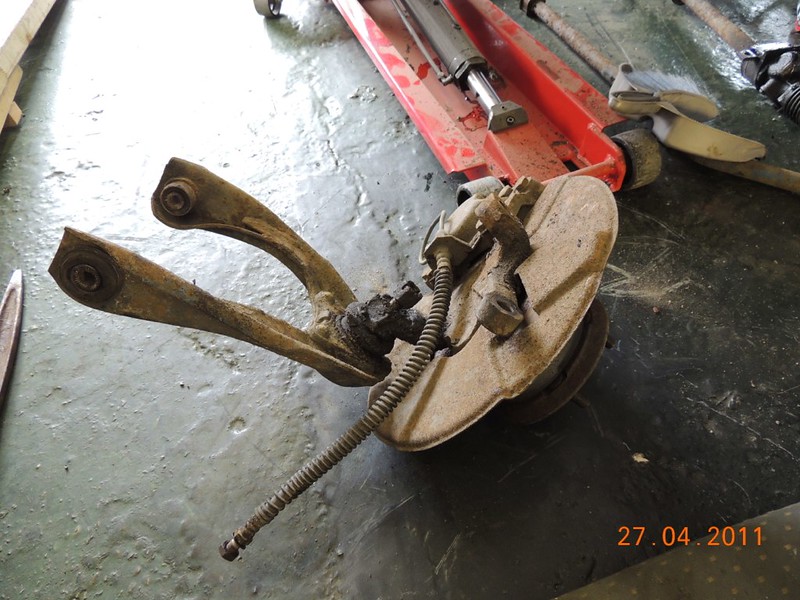
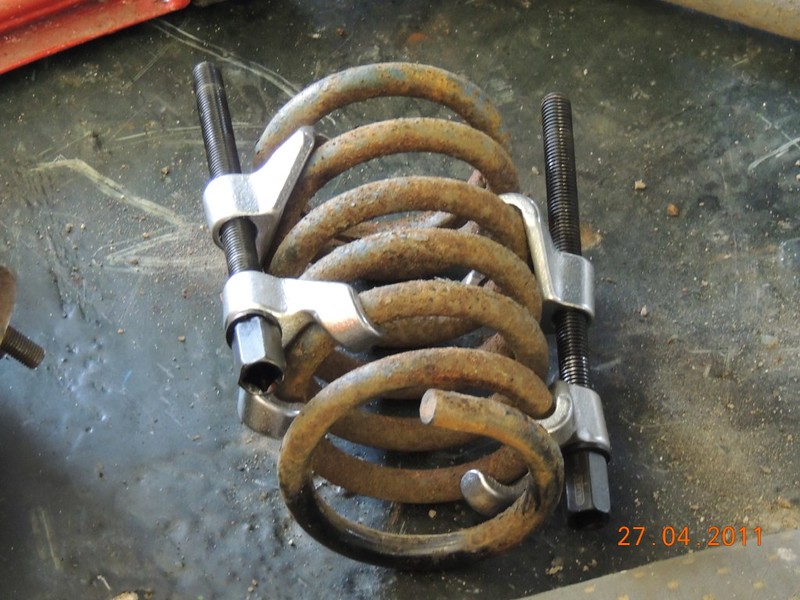
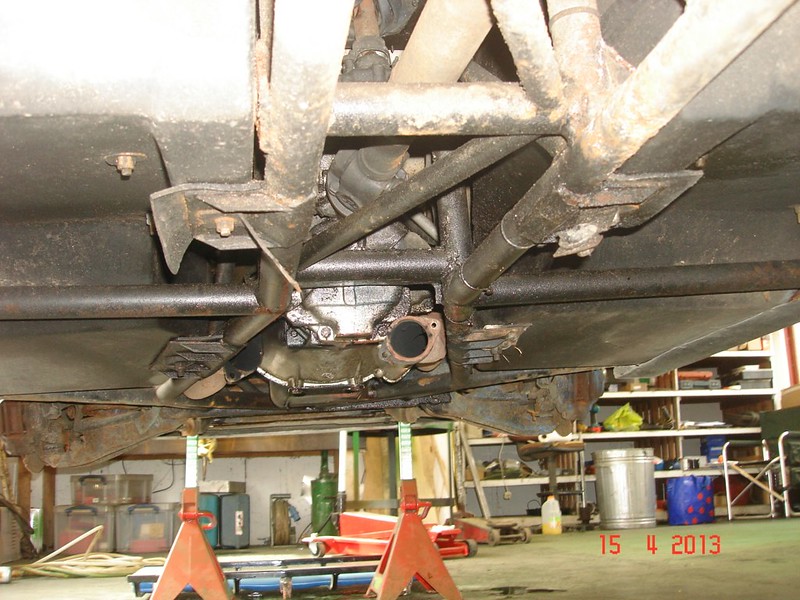
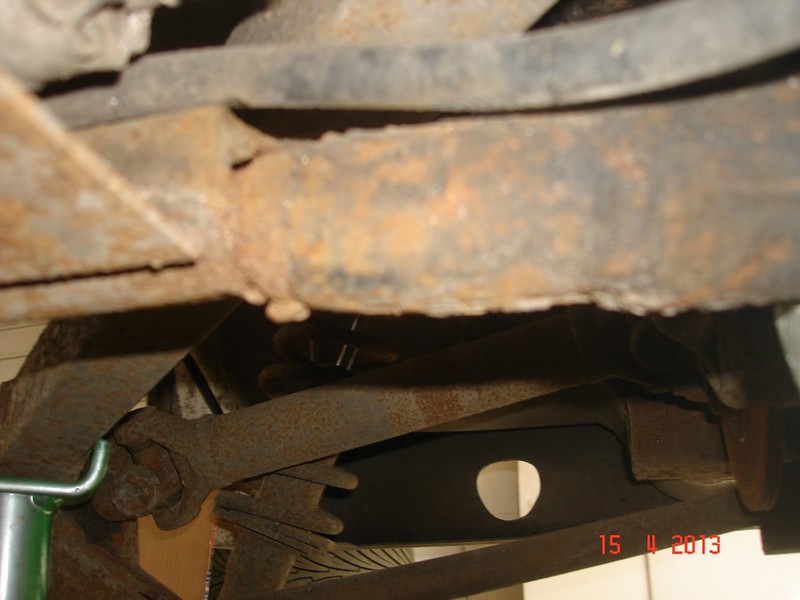
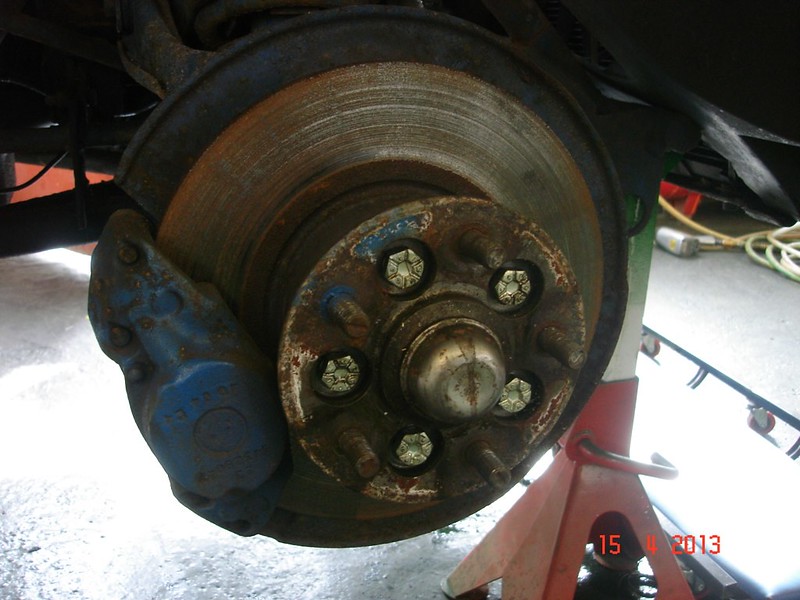
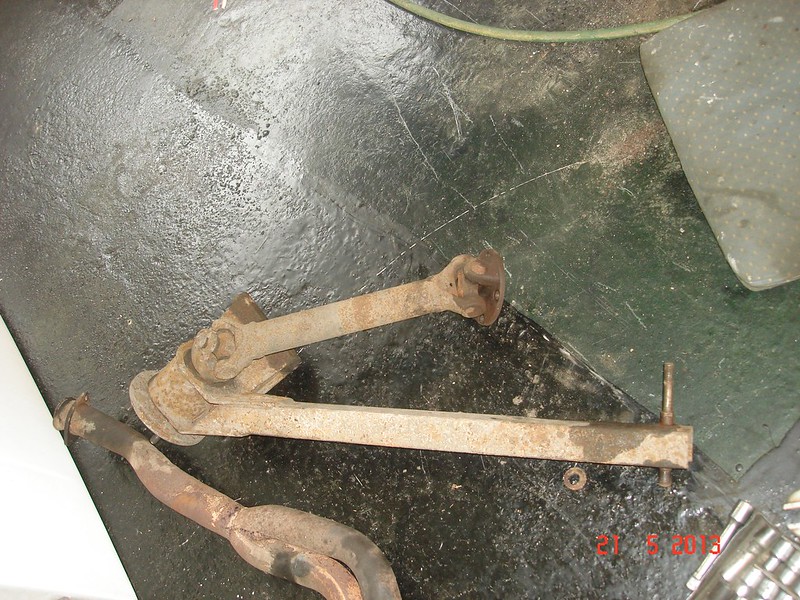
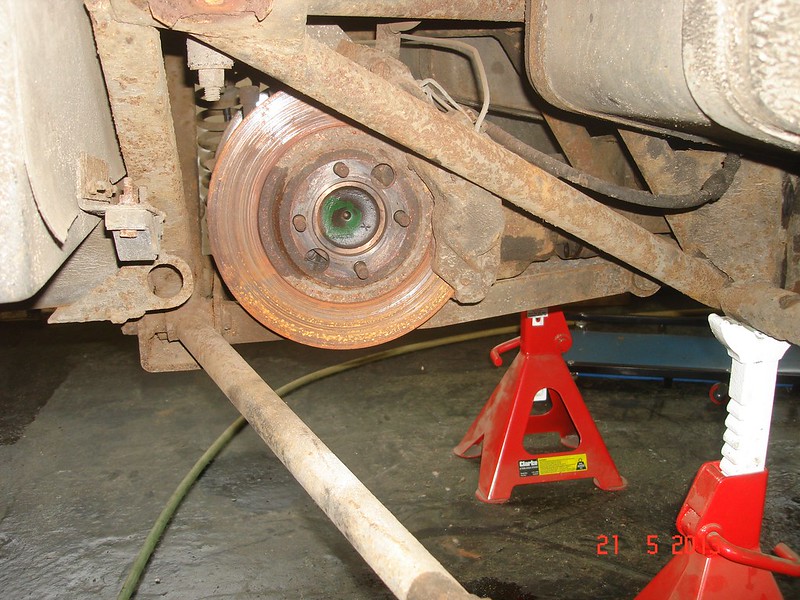
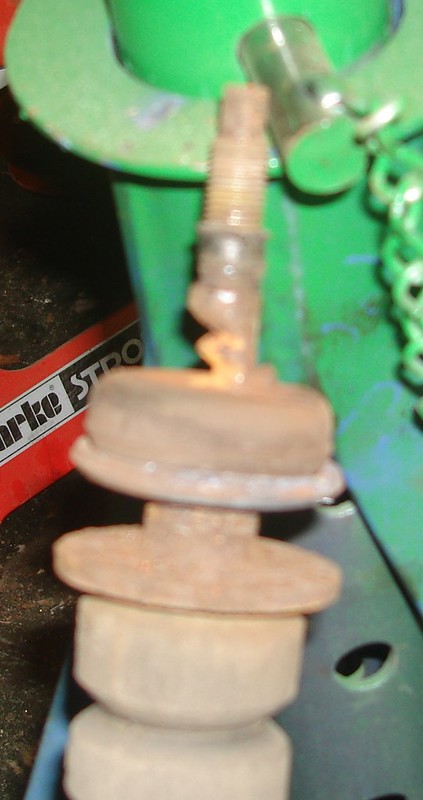
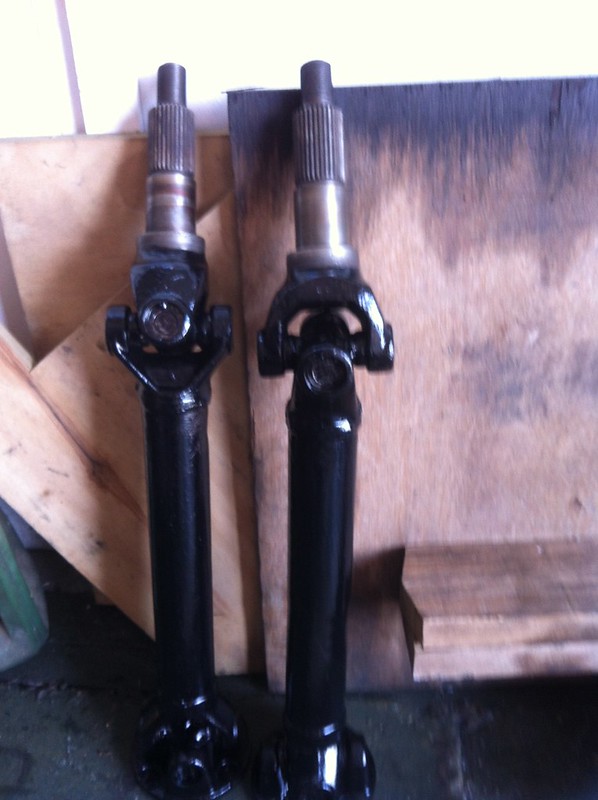
attacked the rear suspension on the wedge today wasnt to bad to get to bits i will replace the wheel bearings, ujs and bushes plus got a plan to replace the squidgy rubber bush on the trailing arm, the shocks will need to be replaced as well as the top fixing has been loose for some while and has cut into the mounting making it look more like a keyhole plus nearly worn through the shock rod.

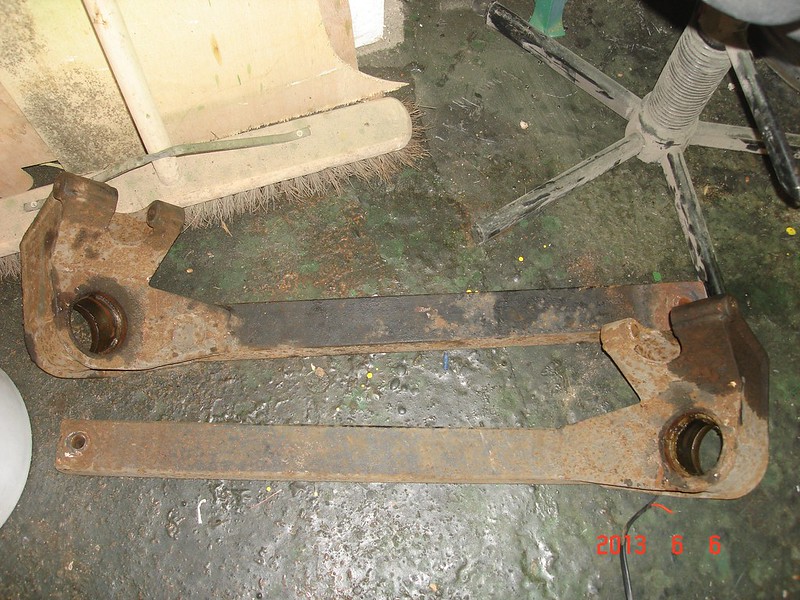
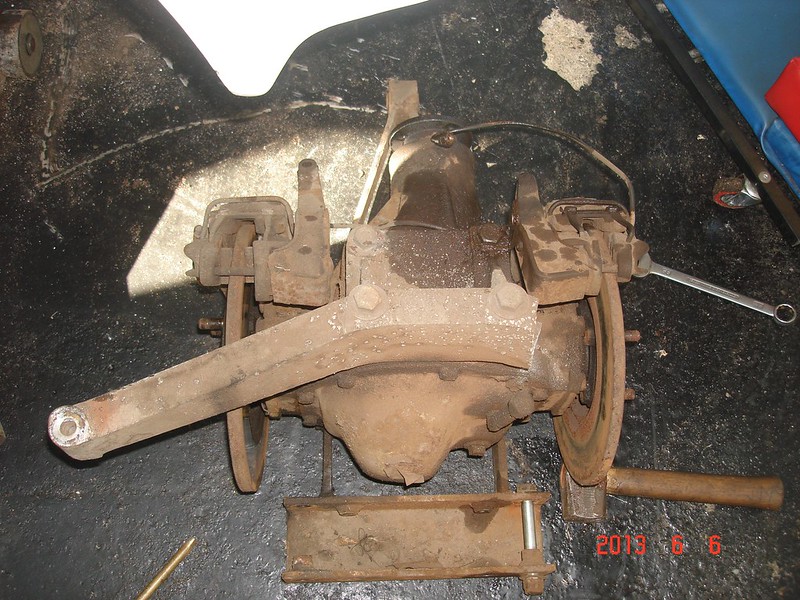
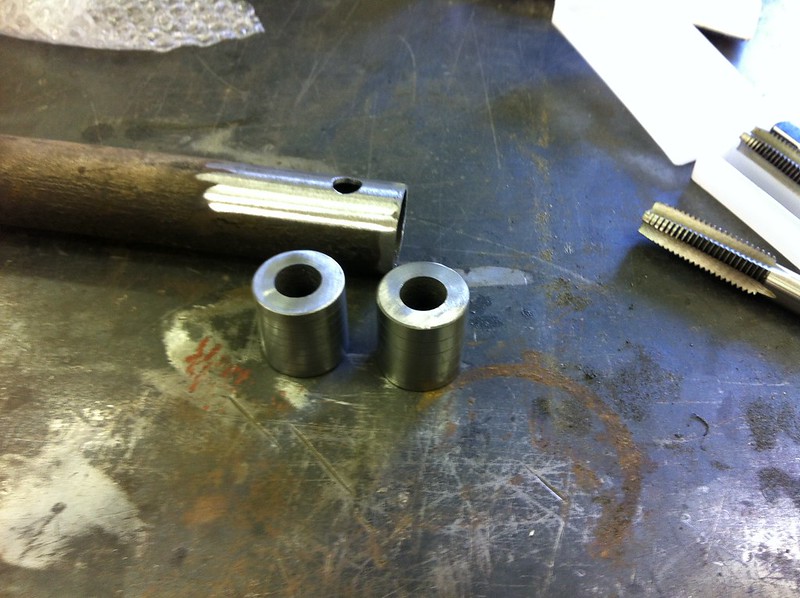
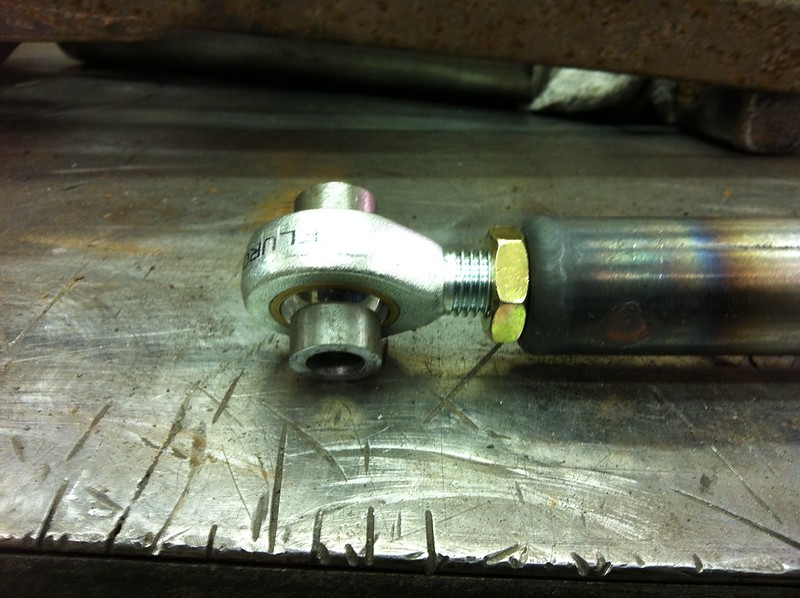
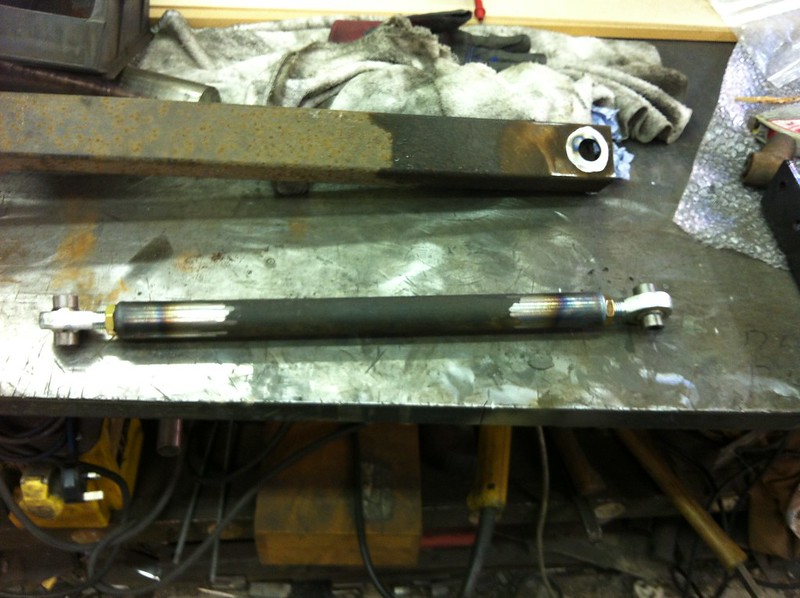
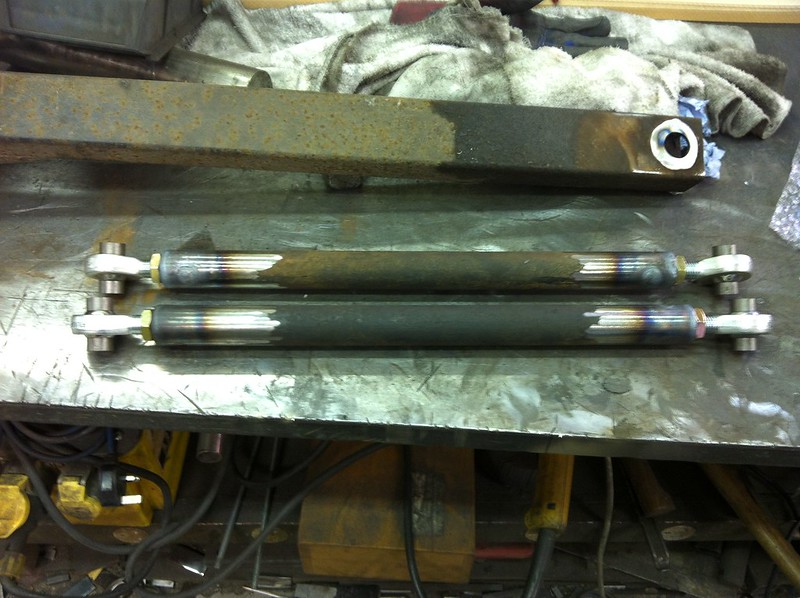
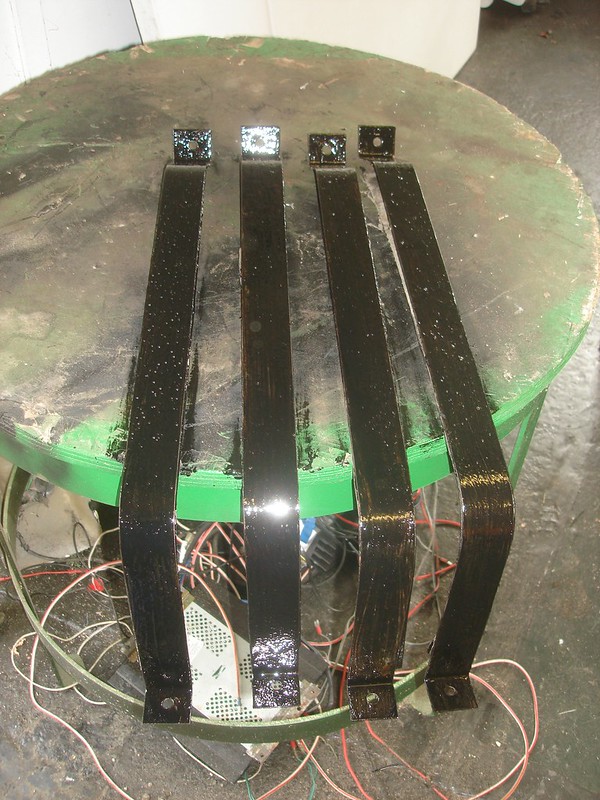
As part of the rebuild to my wedge i have now finished the design for the upgrade to the rear end basically it starts with a four bolt 20mm selfaligning ball race with triple seals to replace the rubber bush, the pin connecting the bearing to the trailing arm is threaded to allow a decent amount of adjustment to allow the toe in to be adjusted, the lower link is also having a left and right handed adjuster so camber can be adjusted without the need to fit or remove shims to the drive shft plus all this can be adjusted with the car on the ramp,pictures will follow as the build takes place will be a little while as have just had my pacemaker replaced.
John
John
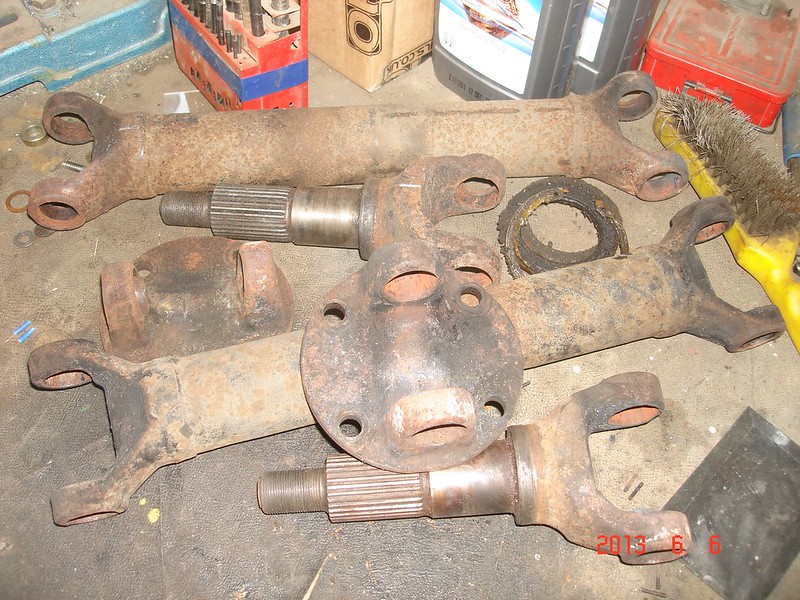
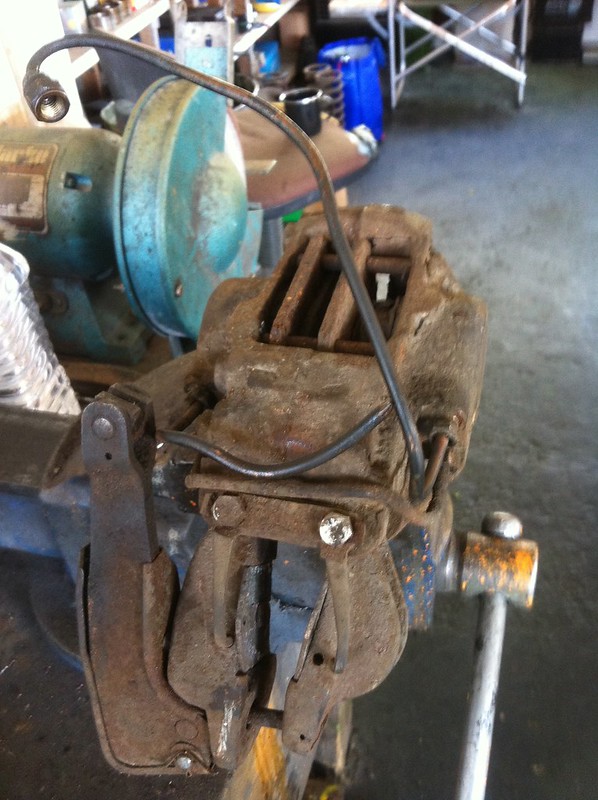
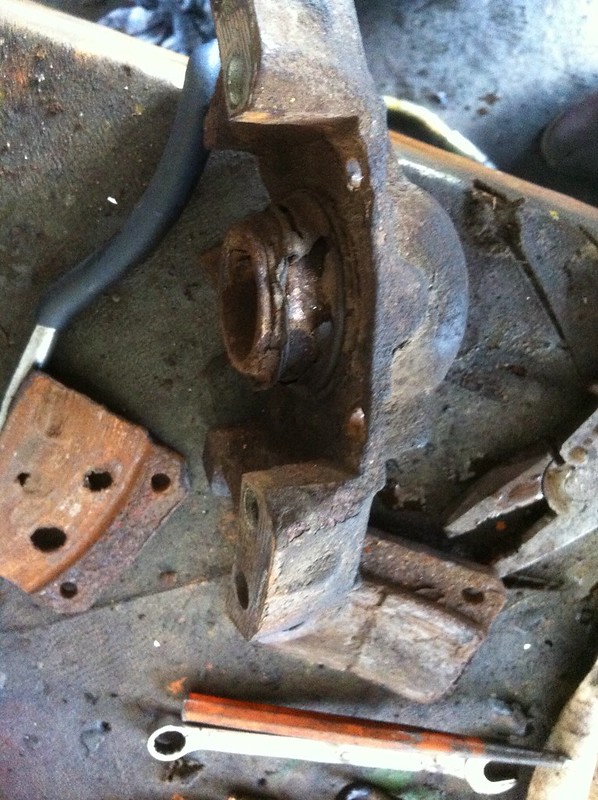
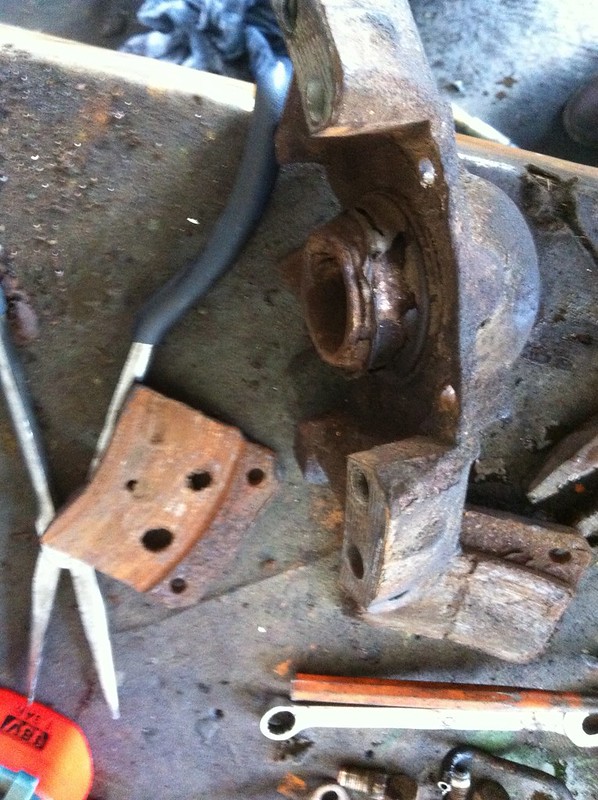
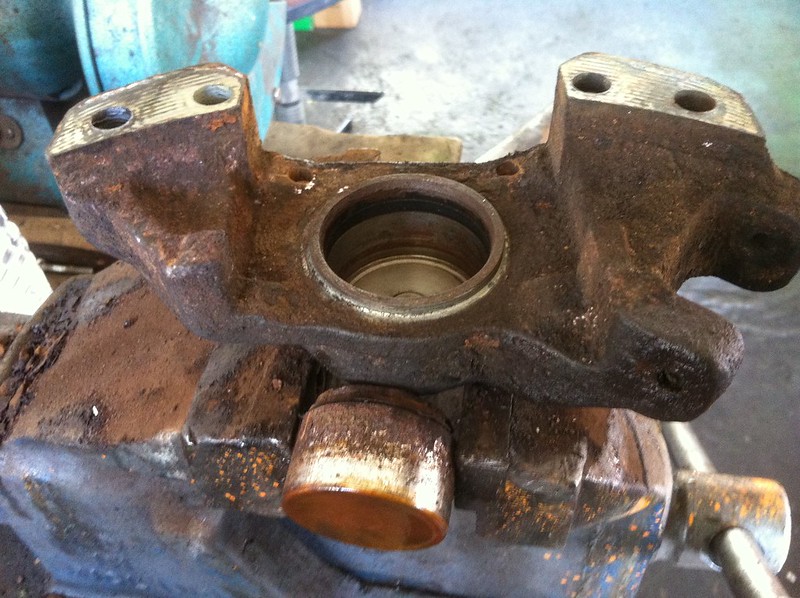
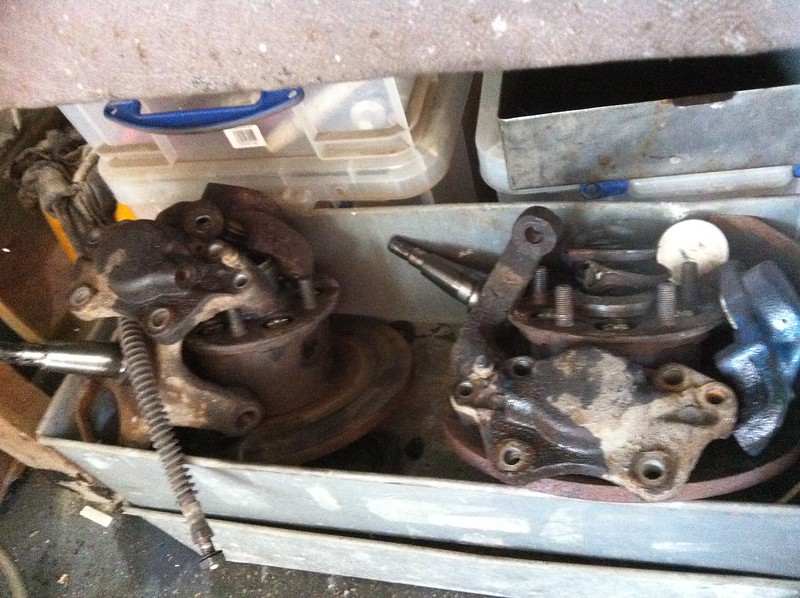
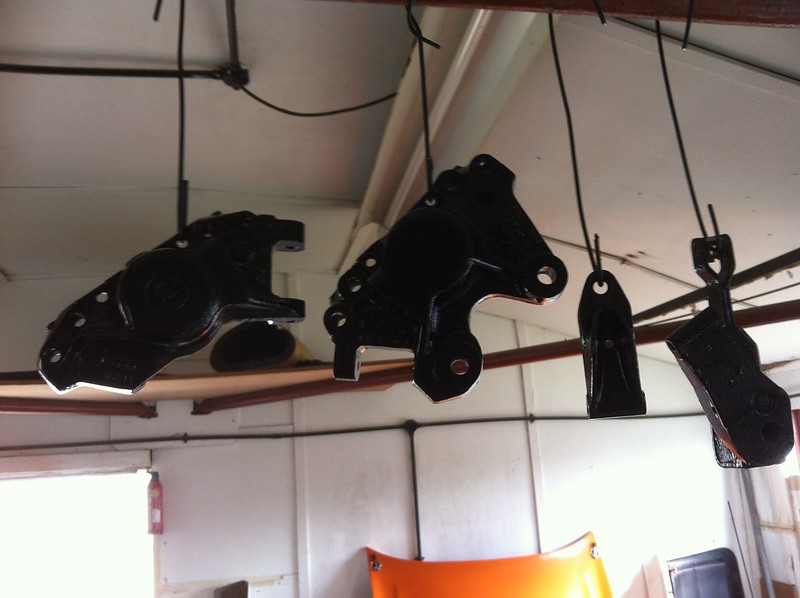
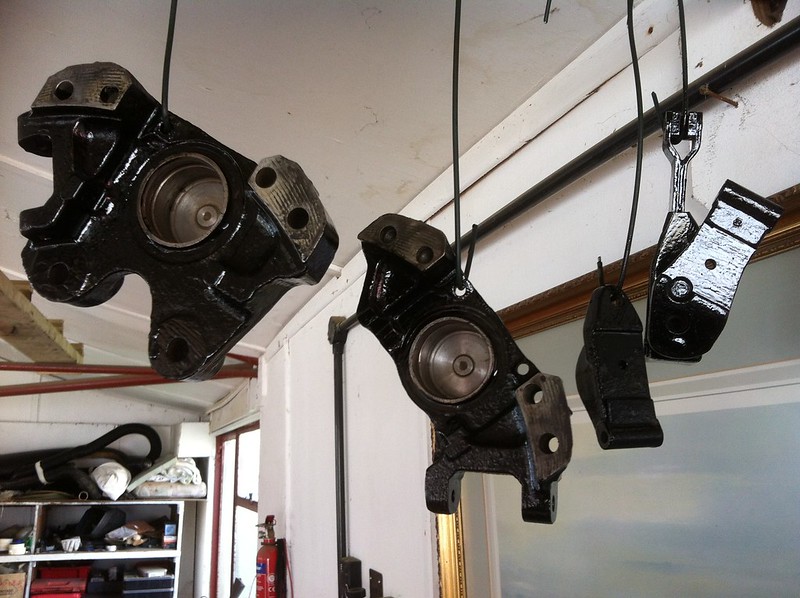
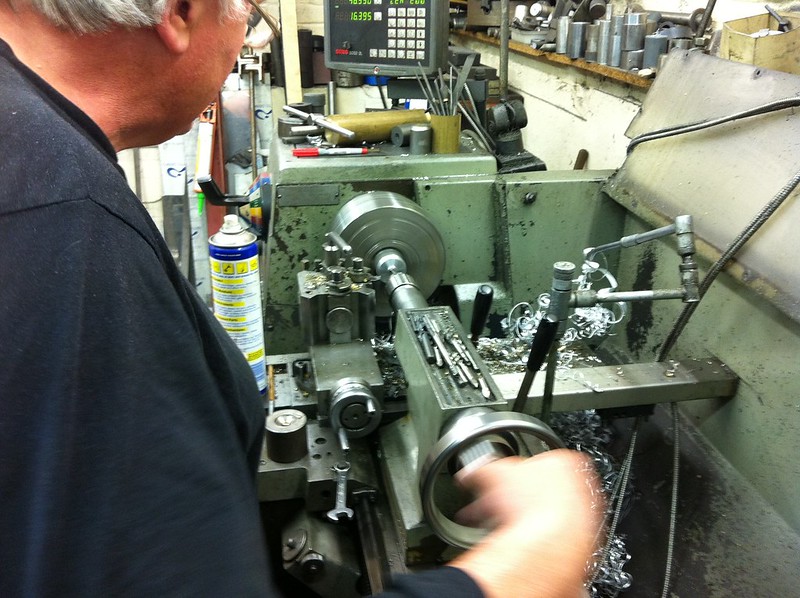
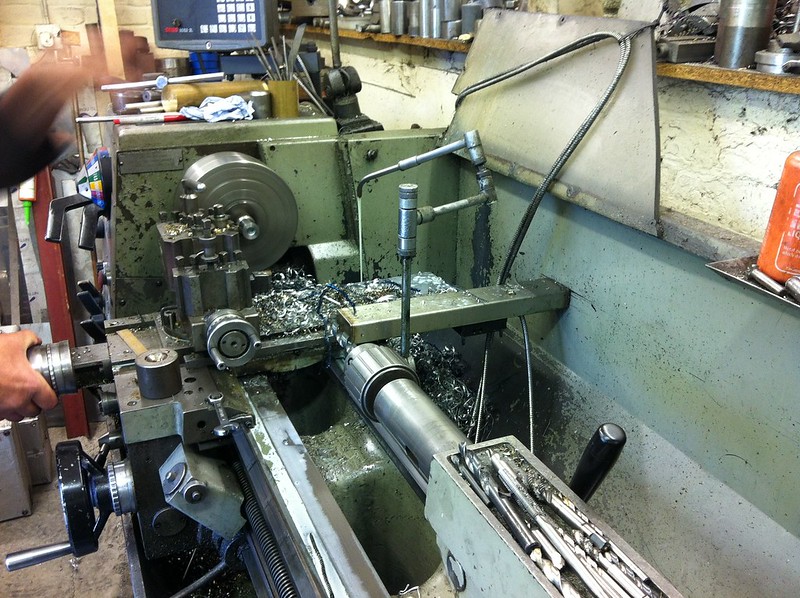
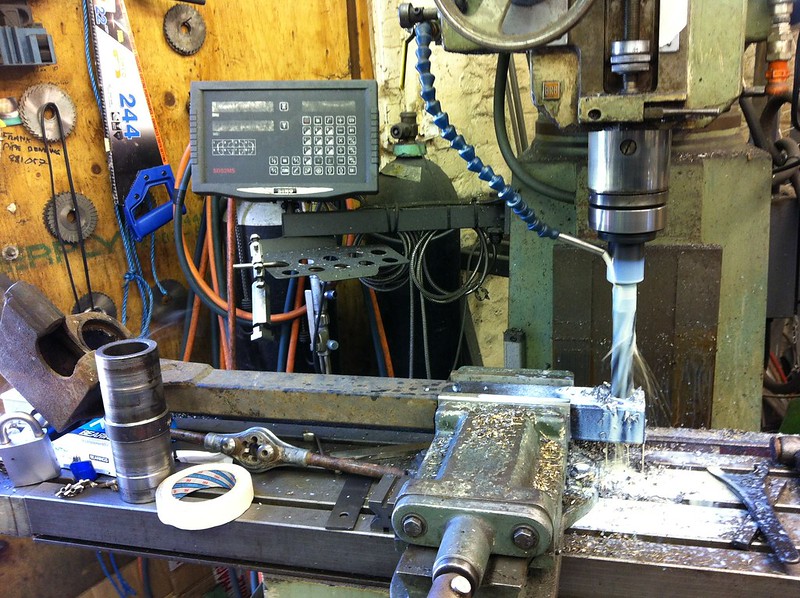
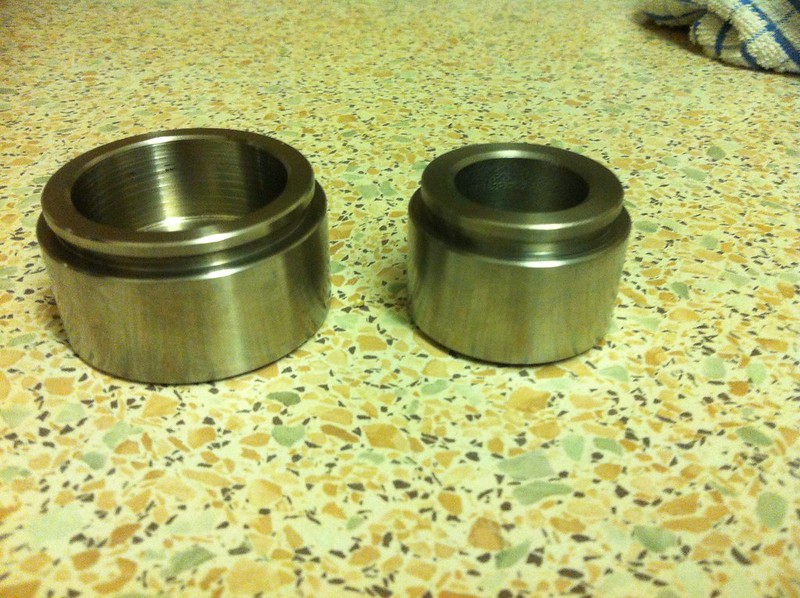
been at it today in earnest stripped all the brake callipers down and cleaned all the components to the rears and got them painted to say they where in a bit of a state would be an understatement and this car still has a valid mot, also got the front uprights stripped for cleaning bearings look good so will leave alone with new seals, not going to fit the backing plate to the front discs can't see the point must be better from the cooling point of view, also going to turn up my own stainless pistons for all the callipers should help keep the cost down.i got the drive shafts painted as well so rear end can go together soon.
john
john
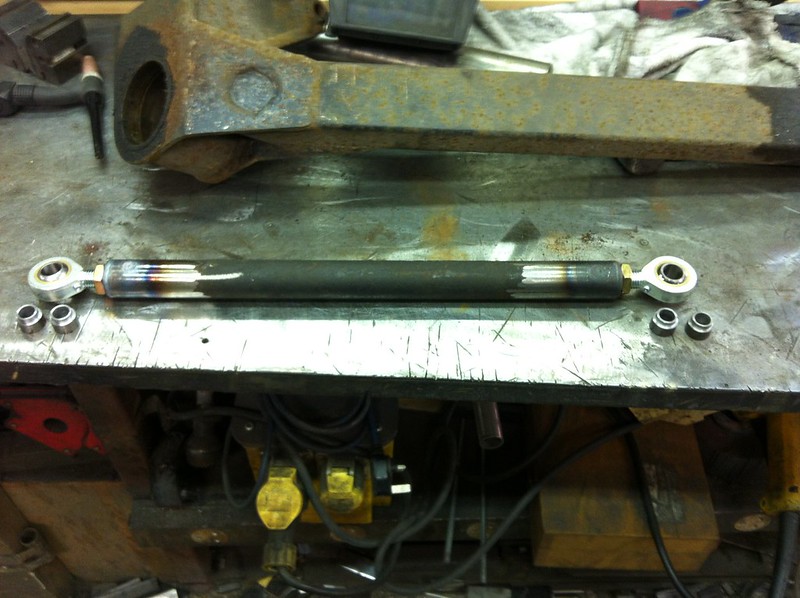
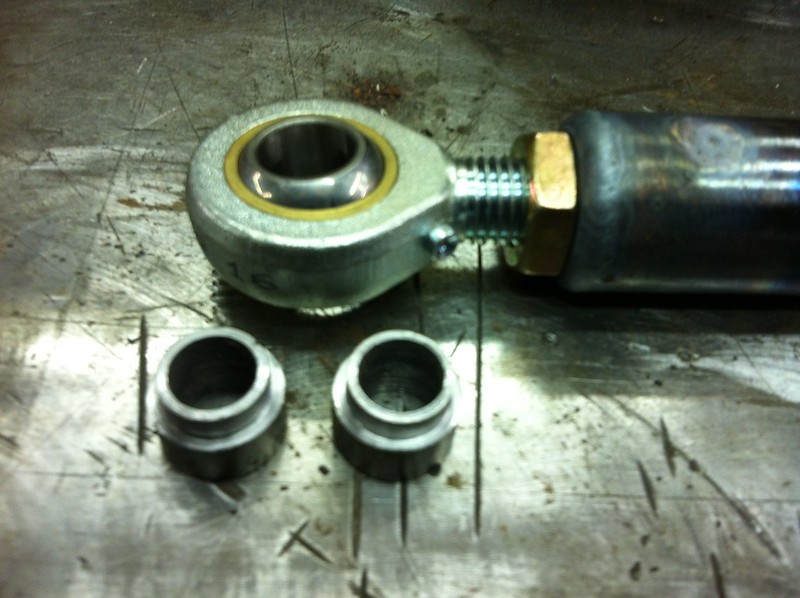
as promised the suspension mods are now coming to fruition, starting on the rear the diff has been overhauled as are the callipers hopefully make the new stainless pistons tuesday but much work has been done on the suspension itself, i am using a 20mm spherical bearing inplace of the big rubber bush for the trailing arm, the bottom bar ends have been replace with left and right hand rose joints to allow for instant and easy adjustment of camber angle, the new 20mm trailing arm mount will still be shimmed to get the correct toe in but with a massive bolt size and all one size should be simple to slide it out pop in a shim or remove one to get it just right the coilover will be adjustable so ride height again no problems, will post pics of it mocked up on the floor once it is painted but some construction pics to be going on with.
john

john
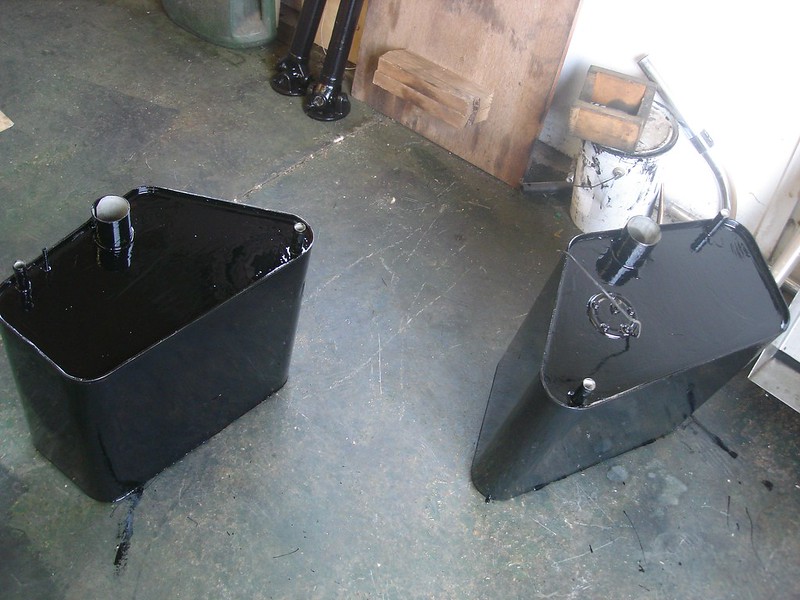
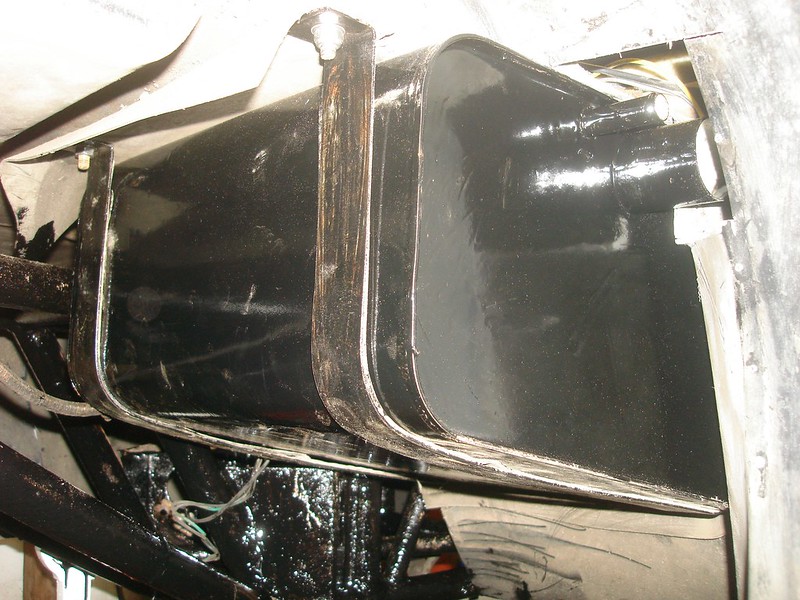
Yes zig it was that one next to the filler i personally dont think a soldering iron would have sufficient heat reserve to heat up the tank and vent to melt the spelter i used a fairly large blowlamp with lots of compressed air running through to evacuate the petrol vapour to allow safe working,the tank is not to bad to get out if you cut the body out to allow the filler and vent to slide out towards the rear i then make up an ally replacement and rivet inplace after replacing the tank.
John
John
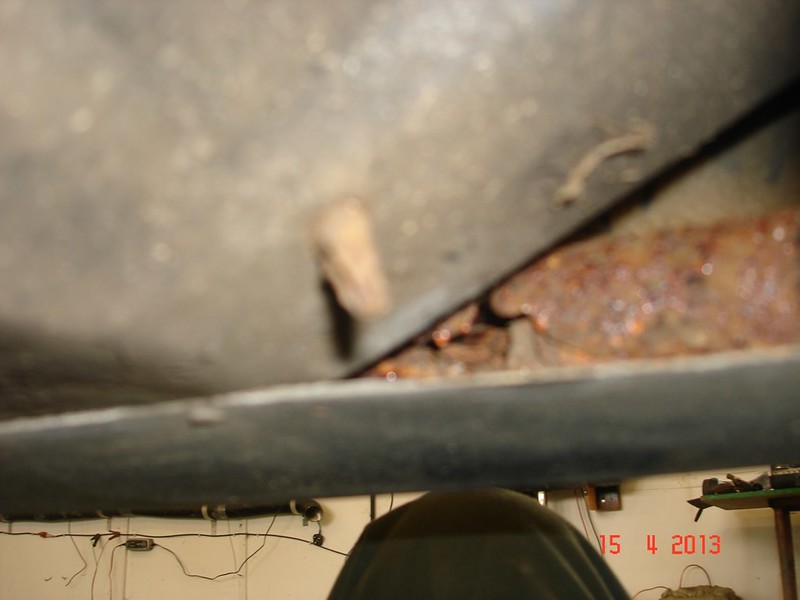
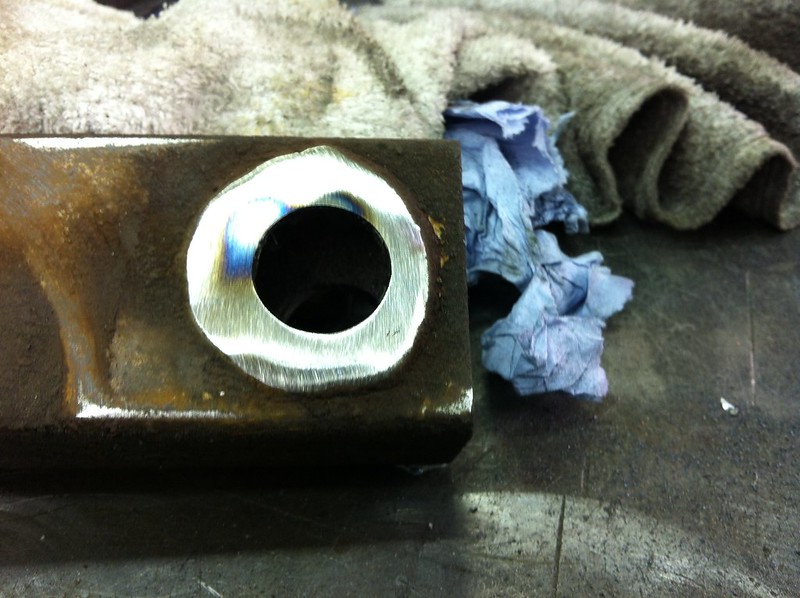
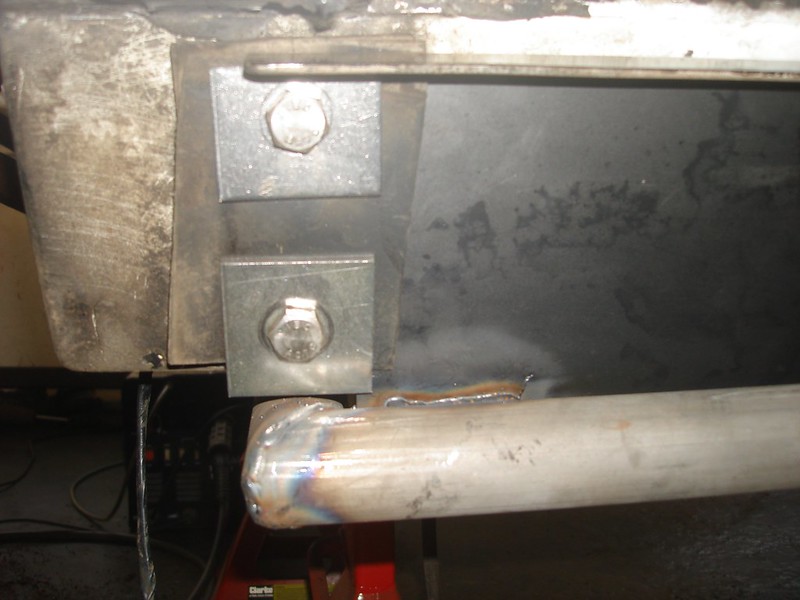
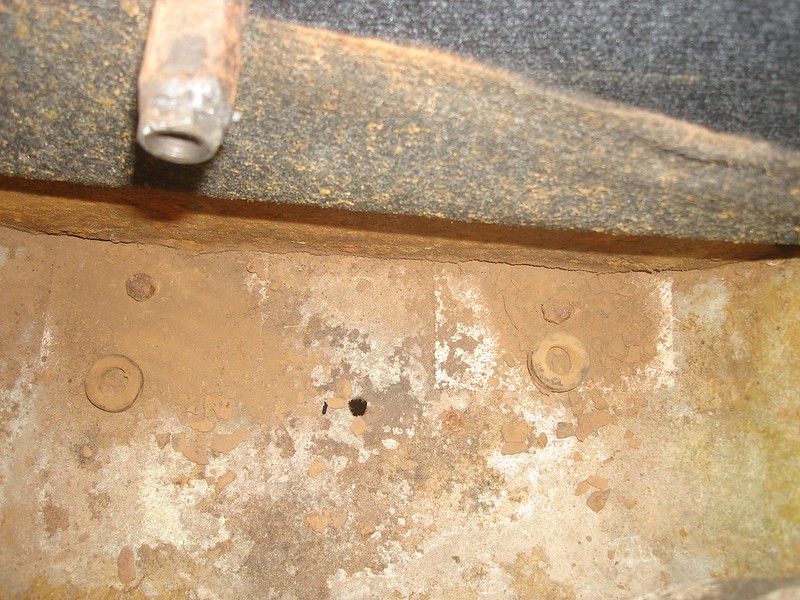
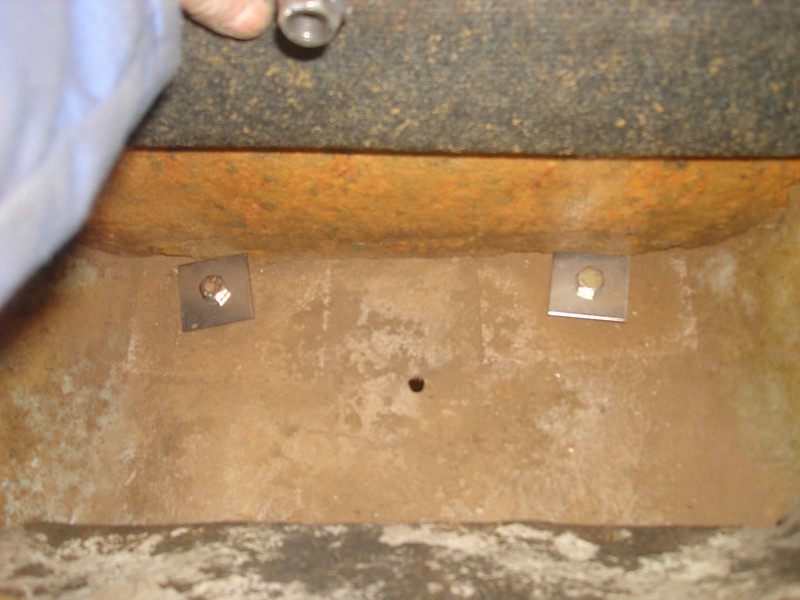
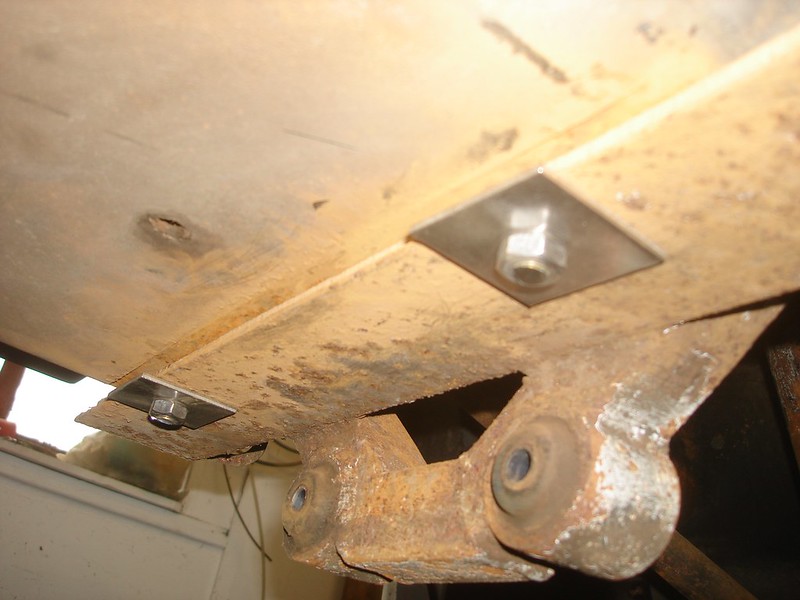
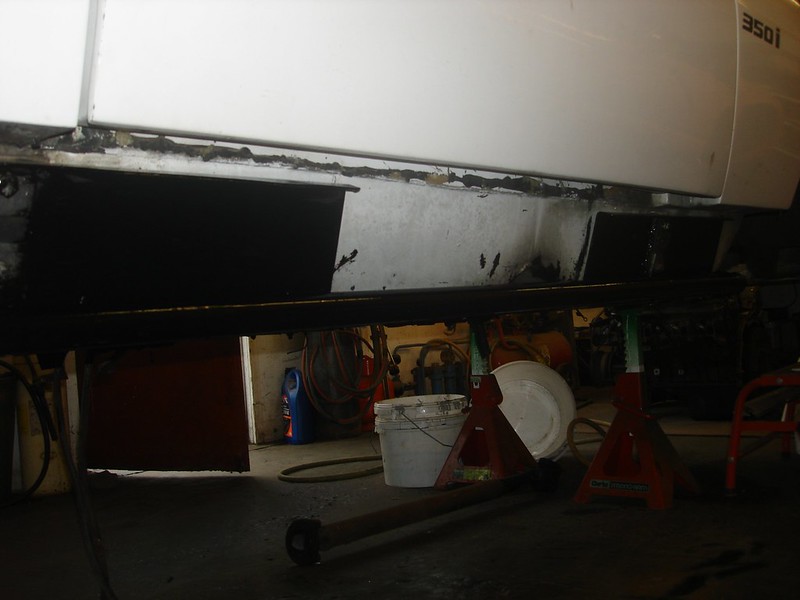
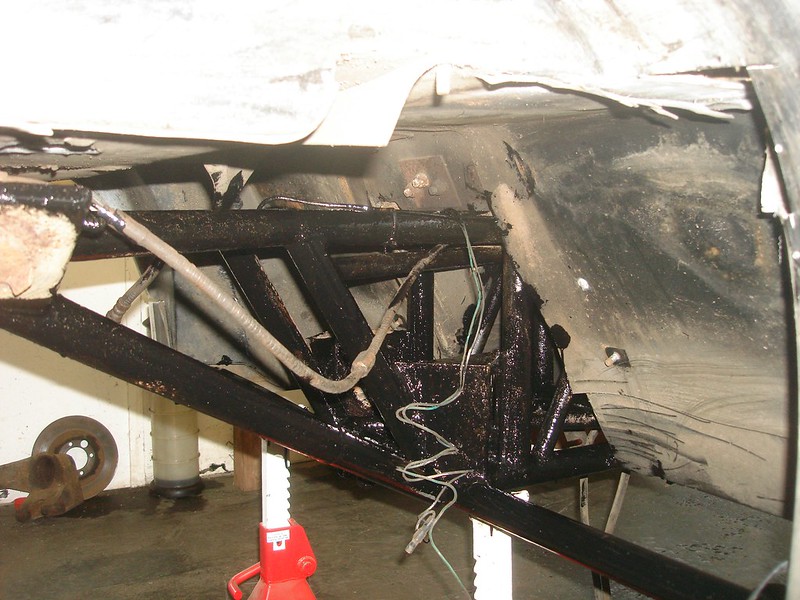
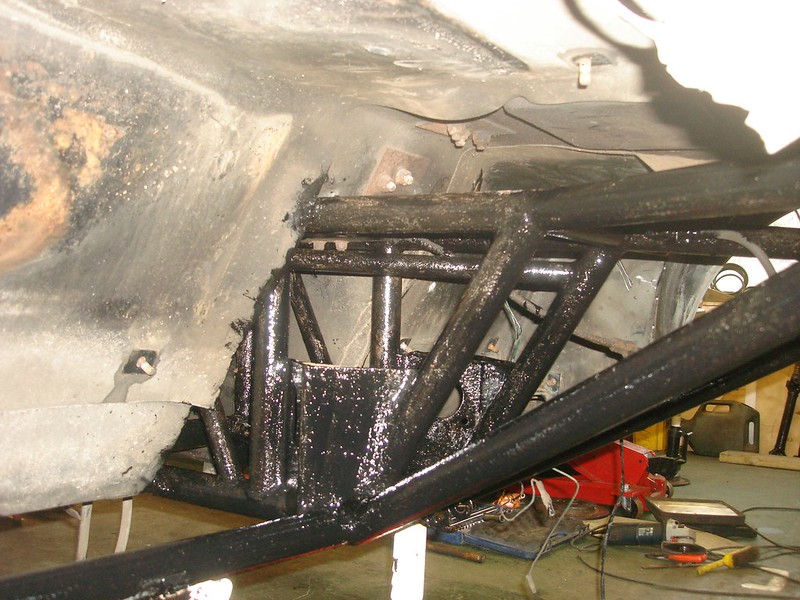
i managed a good day on the wedge today very wet out so got the chassis fully repaired by fitting the outrigger and the body brackets ,got it all bolted up with new stainless bolts i also stripped out the rear body mountings as they had deteoriated badly letting the rear sag which meant the shut lines on the doors where bigger at the top,so all new pads and bushes fitted with new stainless bolts i then scraped and wire brushed the entire rear chassis and gave it a couple of coats of smooth hammerite plus got the offside fuel tank back inplace just need the new hoses to get the nearside one fitted probably the worst job on the wedge over with,i have now managed to source the fuel hose for the tank fillers and got the second tank in place.
john
john
Edited by Engineer1949 on Sunday 13th October 19:31
Edited by Engineer1949 on Monday 14th October 19:14
Gassing Station | Wedges | Top of Page | What's New | My Stuff