My Speed 6 Engine rebuild thread
Discussion


http://www.pistonheads.com/gassing/topic.asp?h=0&a...
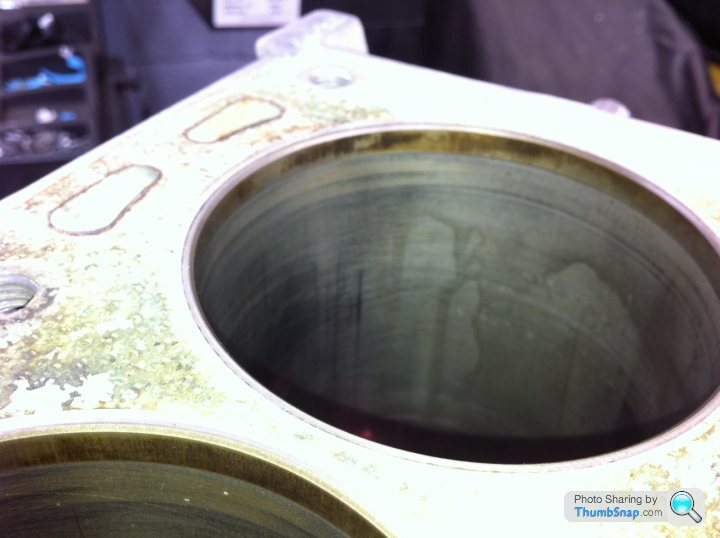
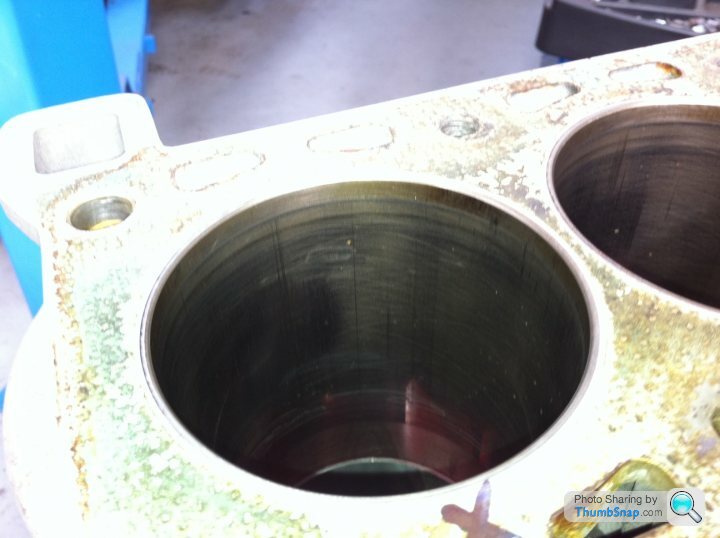
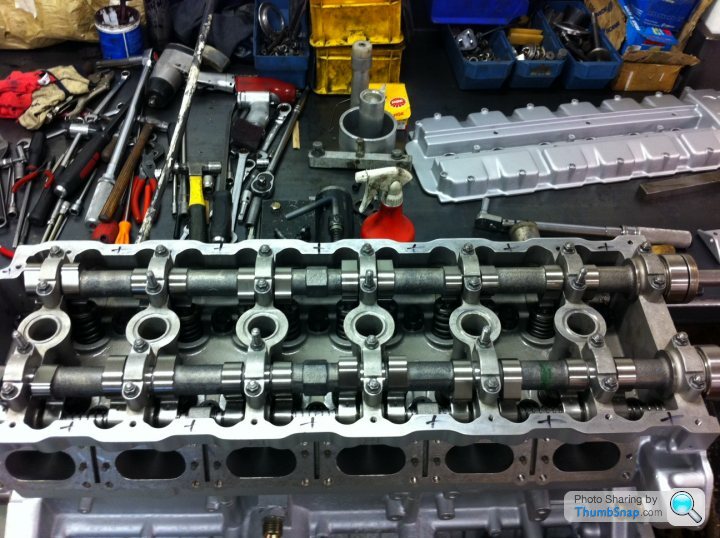
During my strip down of my Jan 2000 built Tuscan, I discovered these marks on the followers and Cam:
http://youtu.be/sYt7aRXGZag
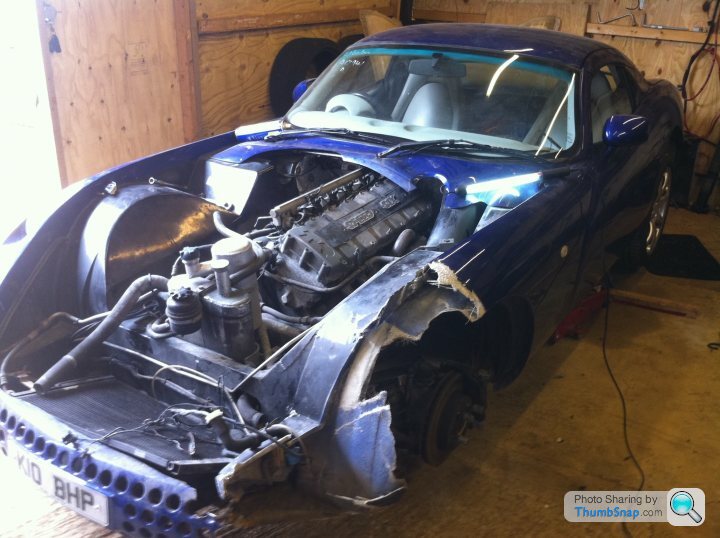
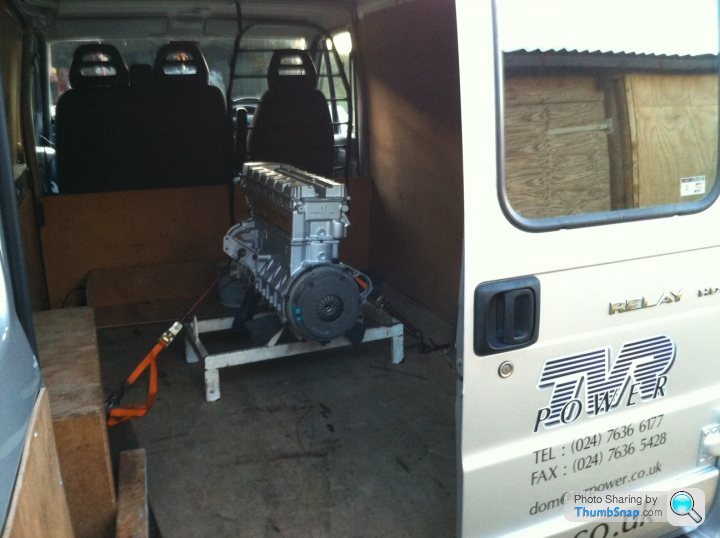
After much deliberation about who to use and what to have done, I ended decided to put my faith and money with Dom at Powers Performance. Dom convinced me that the 4.3 was the way forward, so mid August 2012 I took the block & head for reconditioning and the gearbox/clutch for a check.
I've asked Dom to take a video/picture diary of the rebuild to add to my records, hence this post, which should be informative/interesting.
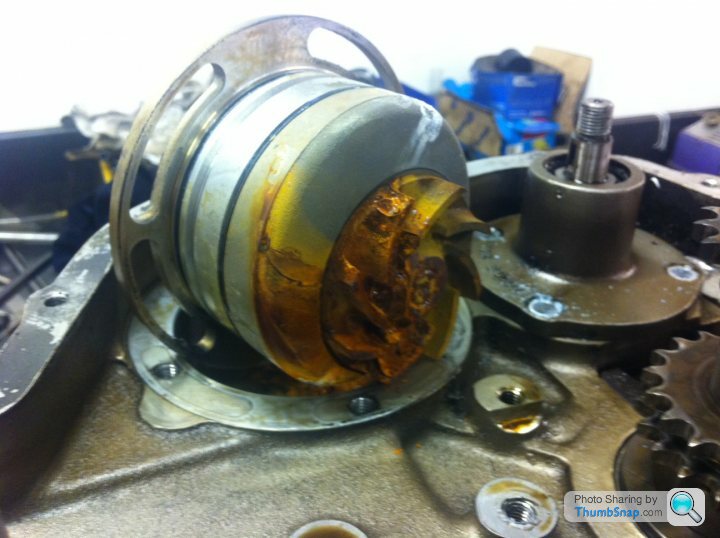
My Tuscan is a Cat d and for some reason I've always had the gut feeling that the car was deliberately crashed (insurance job). My suspicions may have been proven right. See the video of the end float play. (70 thou!)
http://youtu.be/7lWVeHMAZtU
http://youtu.be/wPijNmgVh-0
This play, the knackered water pump combined with lots of metal filings coming out of the oil reservoir when being flushed out, shouts to me that the engine was on the way out when it the car was crashed.
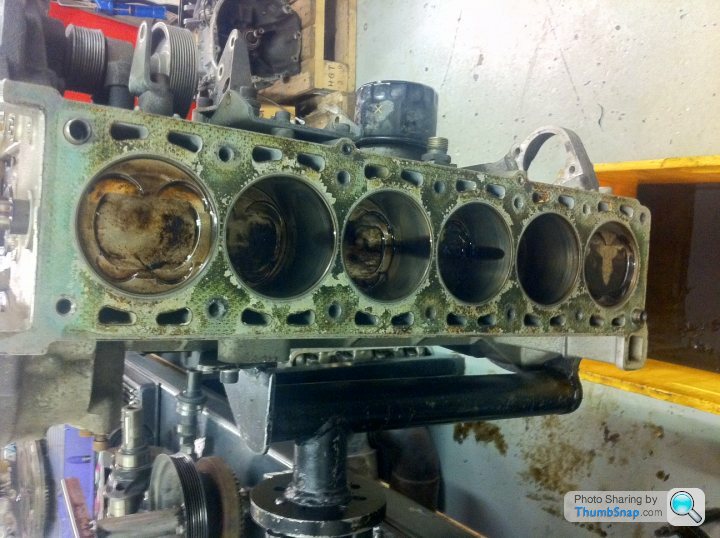


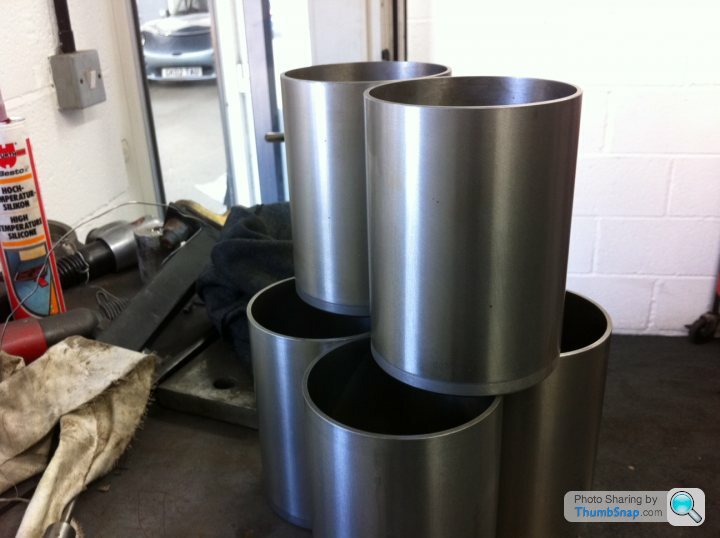

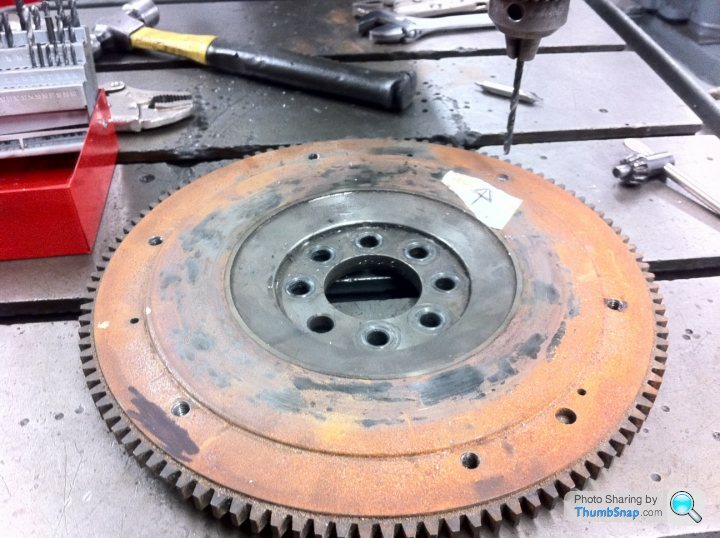
Flywheel is rather rusty. It might be possible to salvage?? And here's a video of the new liners being bored out to 4.3litres. 
http://youtu.be/P6p21AMlhjM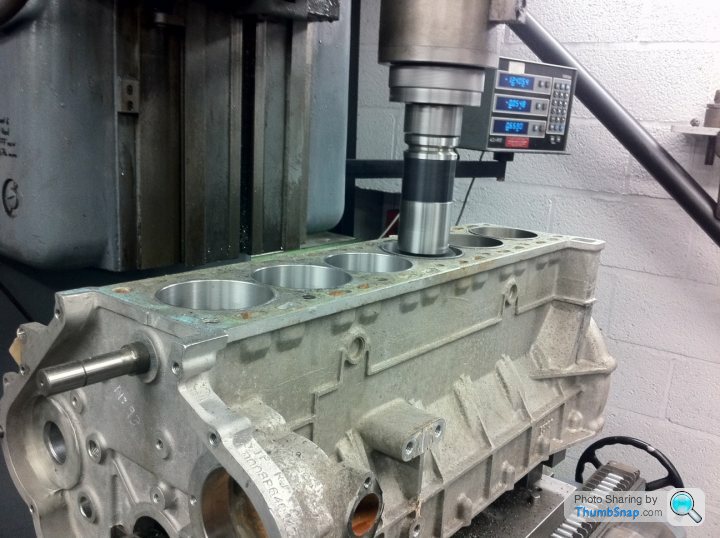
http://youtu.be/P6p21AMlhjM
black11s said:
I thought the Power 4.3 engine just had a longer stroke?
I was under the impression they only bored out the 4.5?
By the way, thanks for posting all this info, it's really useful and interesting. I'm about 6 months behind you, and trying to work out which direction I want to go in on the engine upgrade.
No worries. Someone somewhere will always have a use for this kind of info. Its what the web was created for.I was under the impression they only bored out the 4.5?
By the way, thanks for posting all this info, it's really useful and interesting. I'm about 6 months behind you, and trying to work out which direction I want to go in on the engine upgrade.
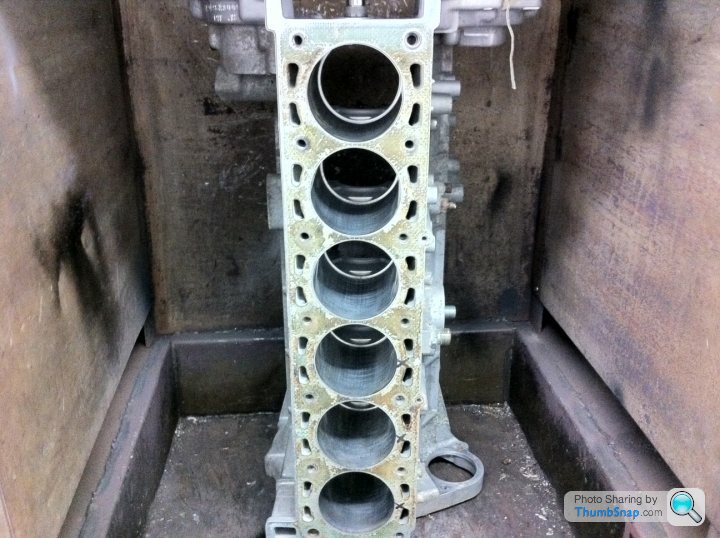
I'm guessing the liners are for all applications, staring with the 4 litre, and they need to be bored/honed to get the perfect diameter. I understand that the crank is new giving the increased throw and + 0.3 litres.
Hollowpockets said:
What figures are they achieving?
It would be good if someone made a spreadsheet showing the various configurations of engine set-up and power achieved from the different companies.
There is a dedicated thread where people have entered in their rolling road measurements for the speed 6, but I'm damned if I can find it! I'm sure someone will be along shortly with the link!It would be good if someone made a spreadsheet showing the various configurations of engine set-up and power achieved from the different companies.
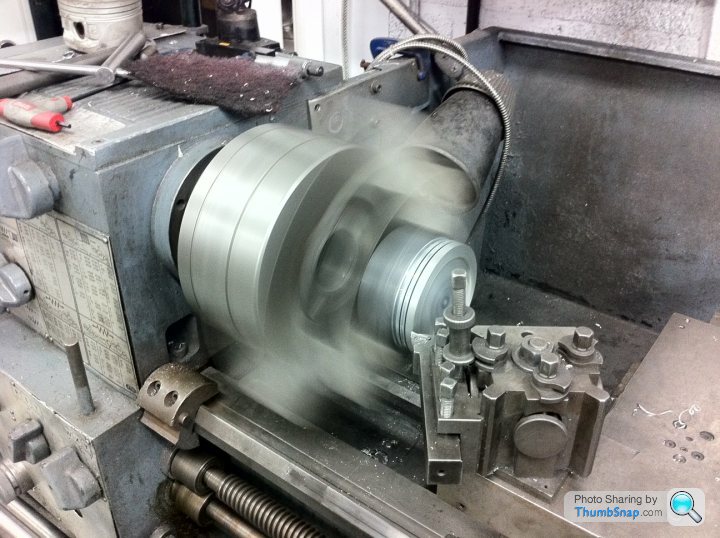
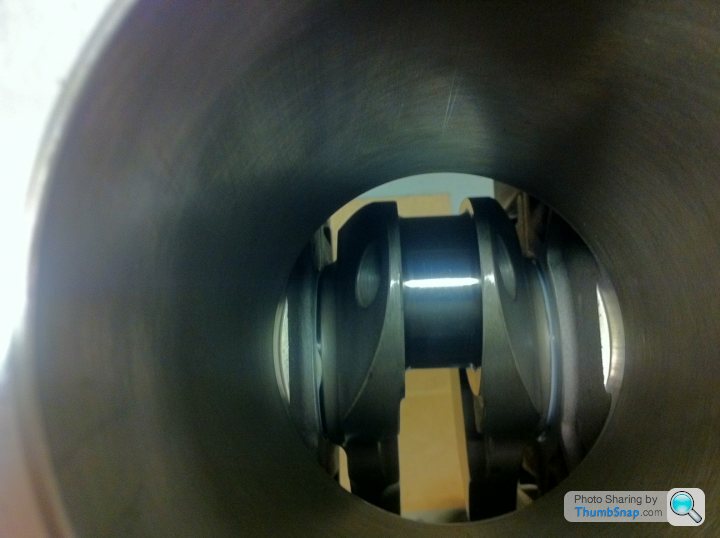
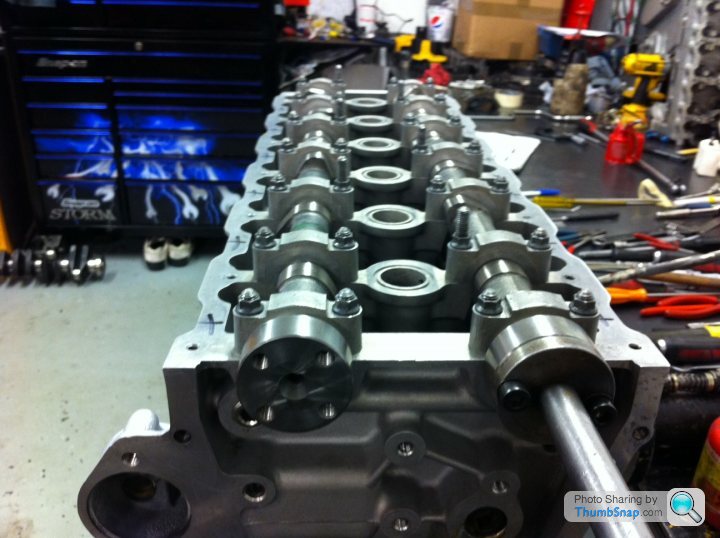
Machining original pistons for consistent deck height achievements for 4.3 stroker kits
Video:
http://youtu.be/k_5L6jGydp8
Video:
http://youtu.be/k_5L6jGydp8

The last few stages of the engine rebuild
I believe Dom used a recon head so there are no photos of the work that goes into reconditioning a head (for now).
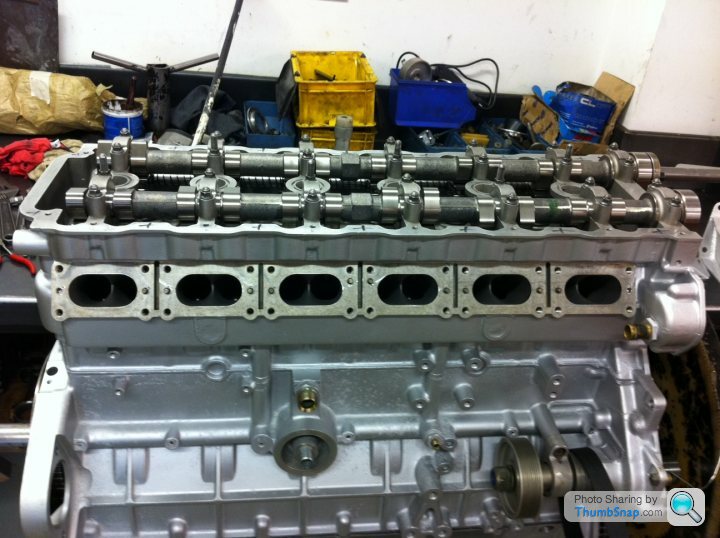
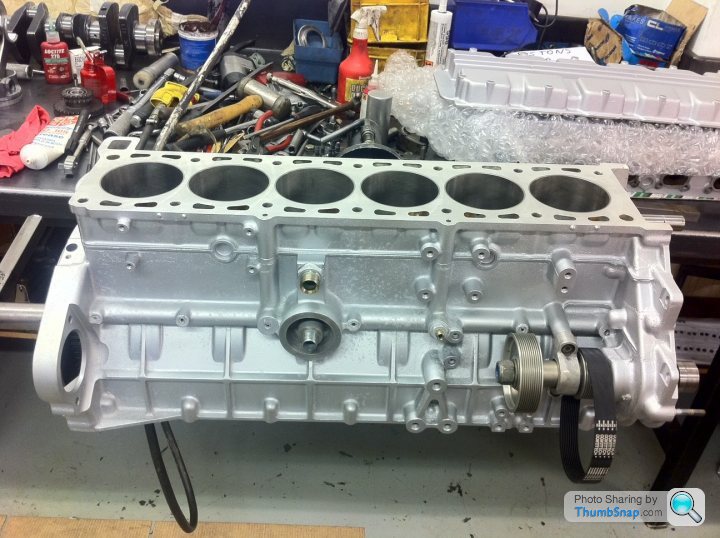
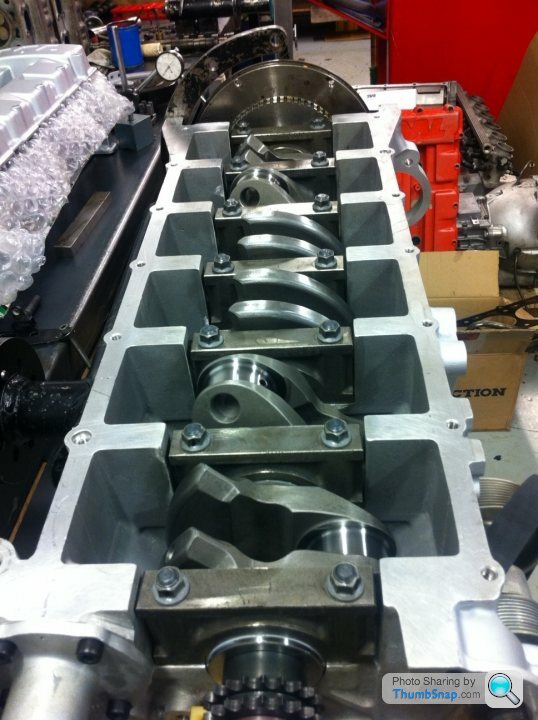
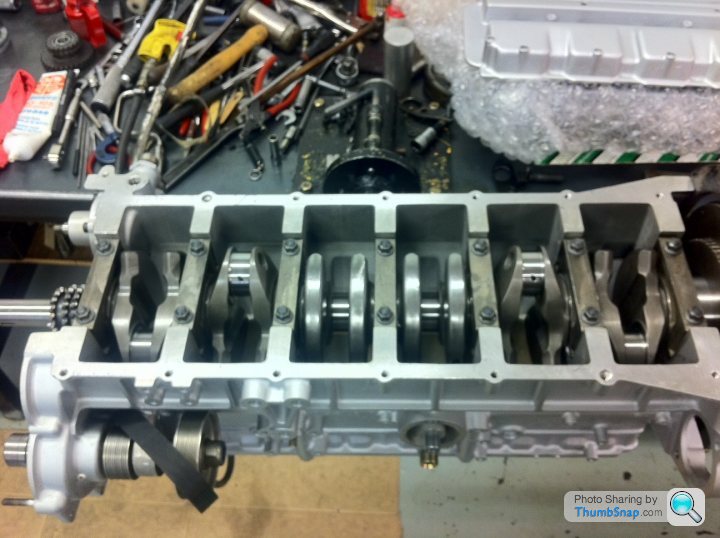
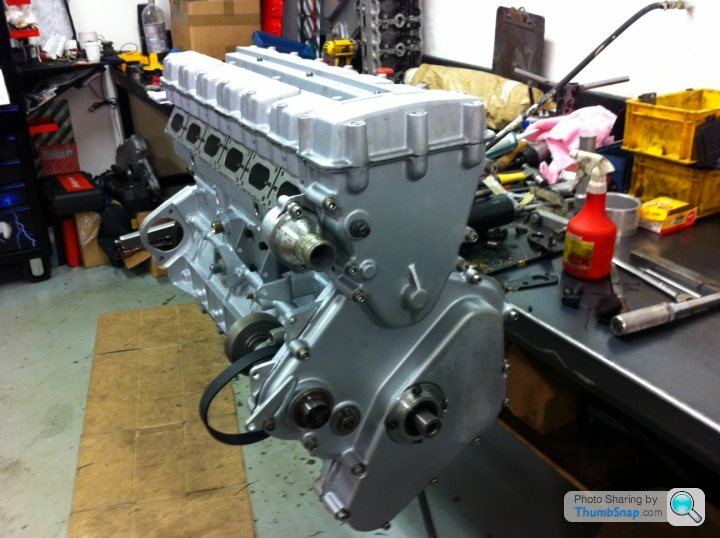
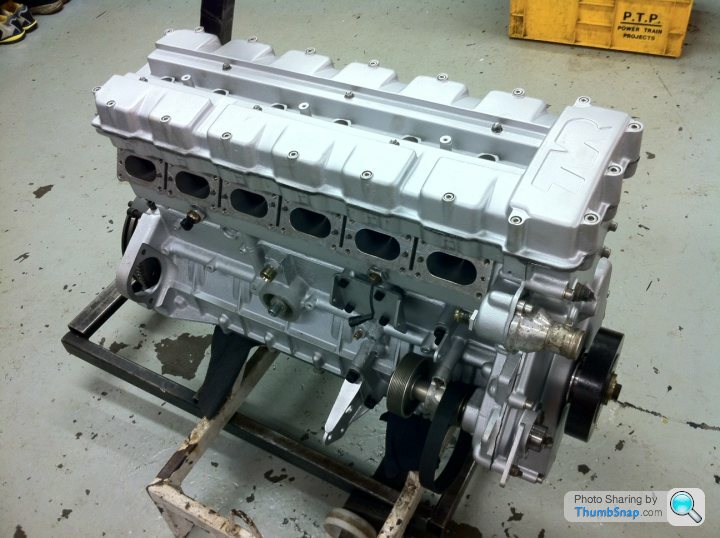
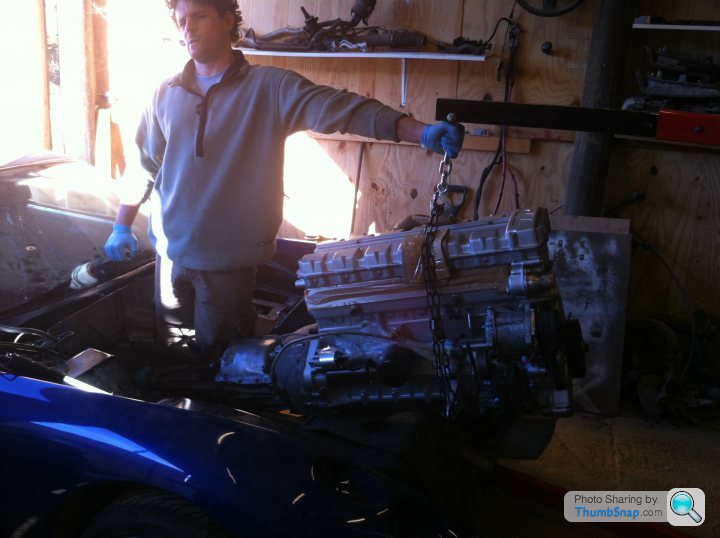
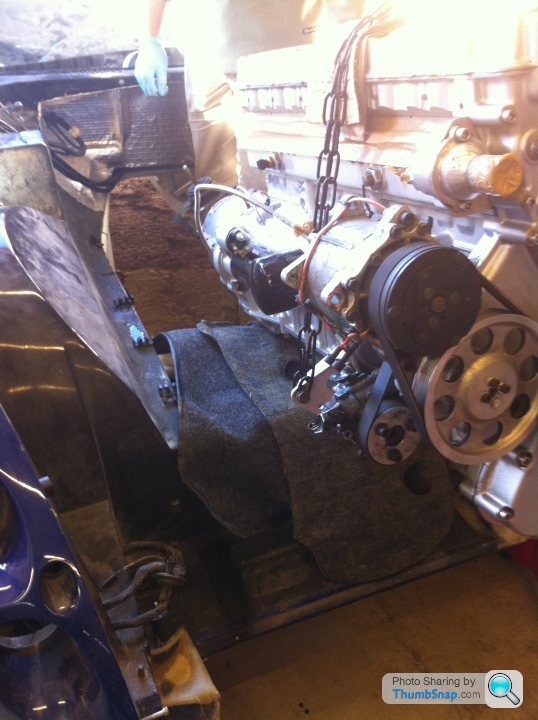
And the dressed down engine rebuild is done!:
Here's a vid of the lathe skiming of my rusty flywheel. To this I'll be adding a new updated clutch, and I'll be asking Power to check the slave clutch cylendar. There is no way I'm taking this engine and gearbox back out for the next 5+ years!:
http://youtu.be/2H0Scs_ARzU
I believe Dom used a recon head so there are no photos of the work that goes into reconditioning a head (for now).
And the dressed down engine rebuild is done!:
Here's a vid of the lathe skiming of my rusty flywheel. To this I'll be adding a new updated clutch, and I'll be asking Power to check the slave clutch cylendar. There is no way I'm taking this engine and gearbox back out for the next 5+ years!:
http://youtu.be/2H0Scs_ARzU
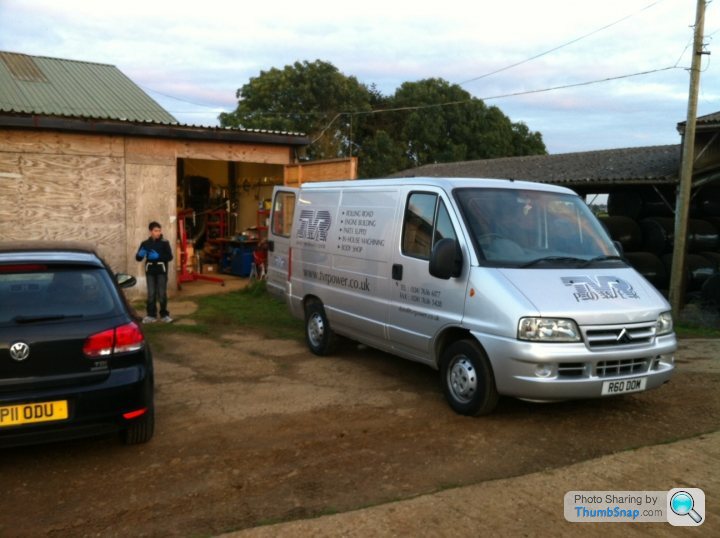
more engine pics from my visit to Power yesterday to chat about the extra bit that were needed. This turned out to be things external to the engine. New clutch was needed, the fly wheel was put through the lathe and the clutch slave cylinder needed new seals.
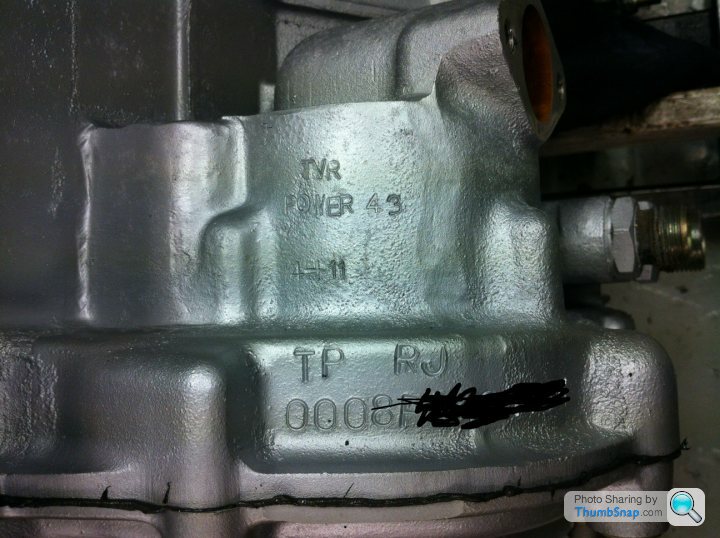
the 4.3 stamp of TVR Power authenticity:
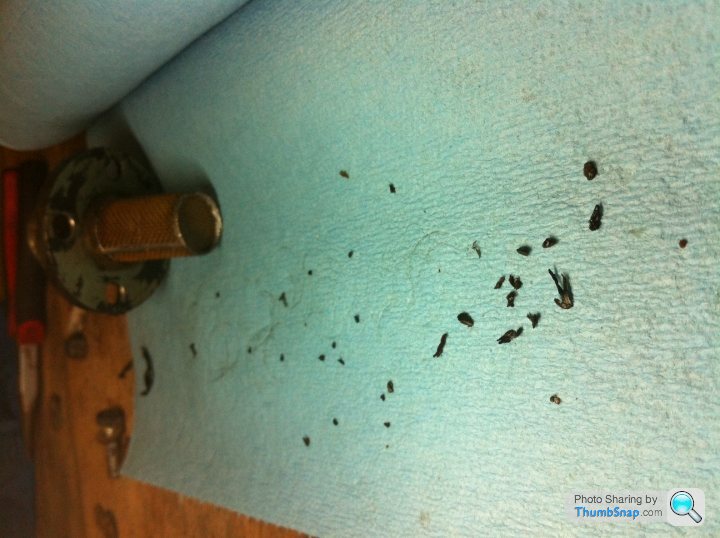
To ensure no metal fragments from the old engine (that was in the last stage of self destruction) I've checked the oil tank and the oil cooler for metal. I found these small sharpe little flakes of metal caught in the oil tank filter! That must be from the old cams and followers then! (there were obvious signs of wear.
the 4.3 stamp of TVR Power authenticity:
To ensure no metal fragments from the old engine (that was in the last stage of self destruction) I've checked the oil tank and the oil cooler for metal. I found these small sharpe little flakes of metal caught in the oil tank filter! That must be from the old cams and followers then! (there were obvious signs of wear.
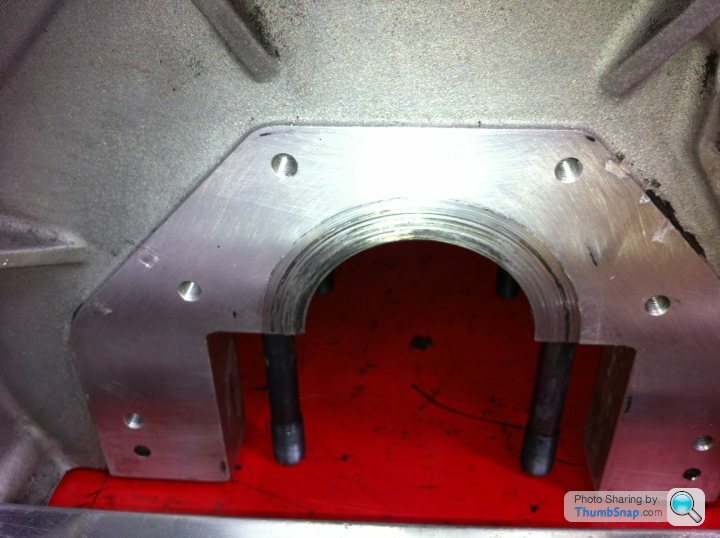
I asked Dom the same question. His answer was that this was not necessary. As per the changes he's made to the design of the head, he's fairly tight lipped about them, so I can't comment. Suffice to say he's using correctly spec'd cams and followers materials. In fact he uses correctly spec'd materials everywhere. (See the crank end float earlier in this thread: Turns out it was from an Indian supplier)
At the end of the day, I could have worried about all the details and what maerials are used where, but then I thought.....there is a 100k warranty. Dom's obviously 100% confident that the engine is solid and reliable. Then I thought, who else offers those power figures with that level of confidence/backed up by a warranty? (and at a fixed/upfront publicised price).... It was a no brainer!
At the end of the day, I could have worried about all the details and what maerials are used where, but then I thought.....there is a 100k warranty. Dom's obviously 100% confident that the engine is solid and reliable. Then I thought, who else offers those power figures with that level of confidence/backed up by a warranty? (and at a fixed/upfront publicised price).... It was a no brainer!
I've been told that it is possible to get the engine and gear box in from the top. The car needs to be on tall axle stands. I think what ill end up doing is to place the gearbox into the tunnel, then using a crane, lower the engine into the bay and rest on the floor. Then connect the gearbox and raise the lot up and connect to the mounts. Lifting the whole engine and gearboxe into a car can be emotional if space is tight.
Anyone have any personal experience to lend to this discussion??
Anyone have any personal experience to lend to this discussion??
Due to my car being such an early example, its been throw together with odd parts. The bulkhead block between the pedal box and the brake/clutch that I bought doesn't fit the pipes I had made, so I've had to order adaptors from the US. They might be here tomorrow.
Seems stupid really, but I don't want to fit the engine till the pipes are properly plumbed in. I know I'll have some access issue if I fit it and then try and plumb them in afterwards!
I've got plenty of other bit that need doing in the meantime though.
See my other thread "Disassembly of my Tuscan, what now...."
Over the top, a small tilt and its in. Didn't even need to put the car on axle stands! Just had to drill a new hole for the adjustable arm on the crane to give me an extra 8cm to get the engine onto the engine mounts without the crane clashing with the front of the body structure/glass fibre.

MonteV said:
MPETT, thank you for making this thread available!
No worries. To see the rest of the installation, please check out my rebuild thread:http://www.pistonheads.com/gassing/topic.asp?h=0&a...
I've now booked her in for her respray on the 1st of March!
I've decided to go with Ian at Sportmotive. Going for a full respray, (inc engine bay) in Reb Bull Racing Blue. This colour:

Also going to ask Ian to paint the alloys in gunmetal grey and reassemble the lights/bodywork/doors etc post painting. That should leave just the first run aof the 4.3 engine Powers Performance to make sure they are happy with the installation and then it down to me to reconnect all of the interal wiring. If anyone has wiring diagrams for the cabin electrics that would be great. The radio pod and door openin gswitches were missing from the car when I bought it, so I need to do something to enable door opening! (I always have the eergency cable pull)
Got some busy weekends ahead of me! Rads and heater matrix installation, pedal box and steering column. Perfectly feasible and most of the bits have been cleaned up and test fitted, so hopefuly there will be no surprises!
Hopefull, I'm still on for Chatsworth, but it will be minus the new dials and interior elctronic mods I was hoping for

Martin
Gassing Station | Speed Six Engine | Top of Page | What's New | My Stuff