Tamiya 1:12 McLaren MP4/6 Rebuild/Upgrade
Discussion


So further to this thread on my MP4/6 I built back in about 1999/2000:
http://www.pistonheads.com/GASSING/topic.asp?h=0&a...
I finally made a start: I put the model on EBay with the intention of using the cash to buy a new kit to super-detail. After looking at the photos I'd taken I decided I couldn't part with it and ended the auction early. I'm on the F1M forum and a few people said why not partially rebuild it "kerbside" and then get another to buildup as a super detailled chassis? That is exactly what I'm intending to do with my MP4/4's, so that's what I'm going to do with this one. They will go on a base with my Senna and Berger autographs and my old ticket to the 1991 BGP. Likewise the MP4/4's will have my other Senna autograph along with Prost's and my '88 ticket.
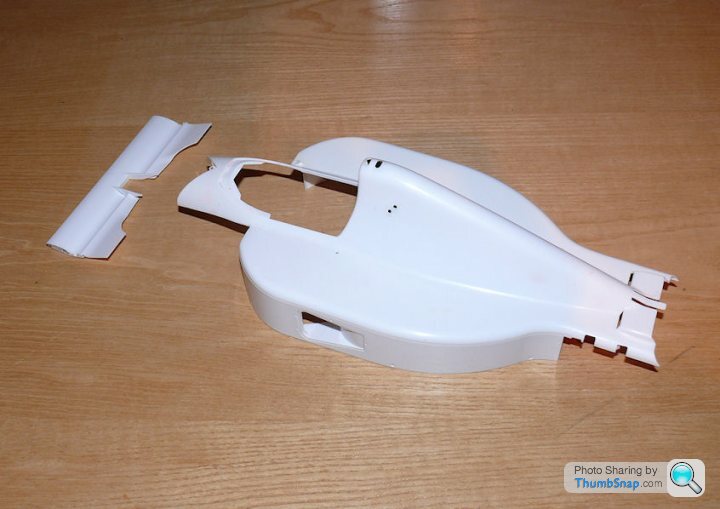
Anyway, here are the "before" pics:
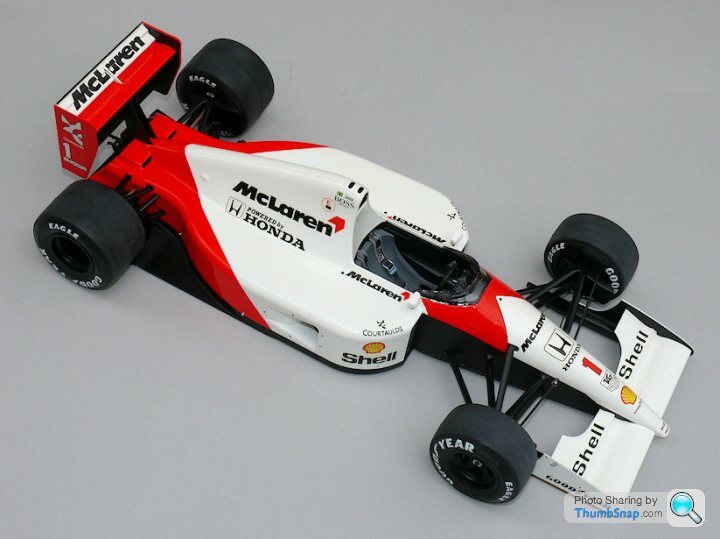
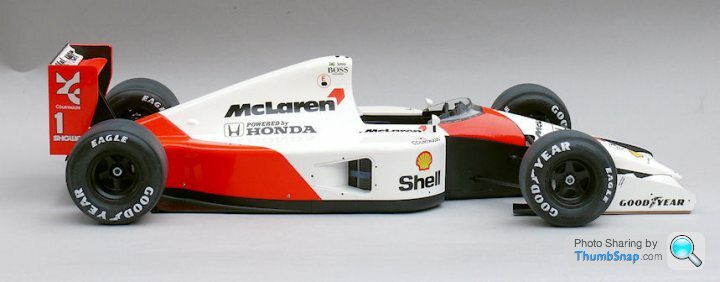
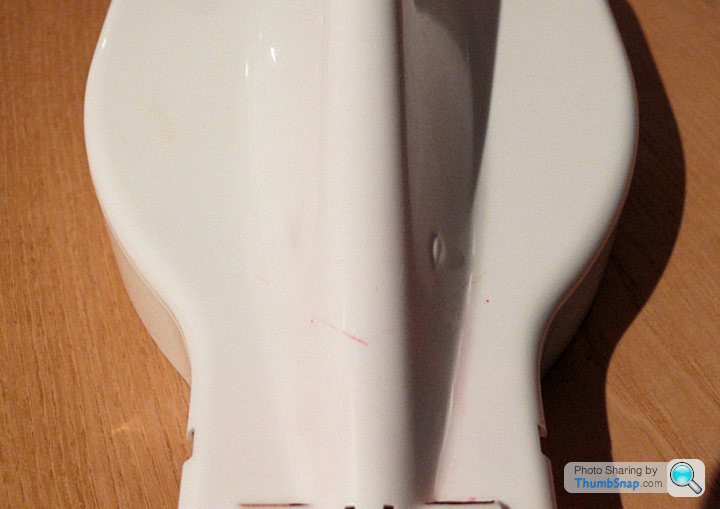
Doesn't look bad does it? That's until you look a bit closer:
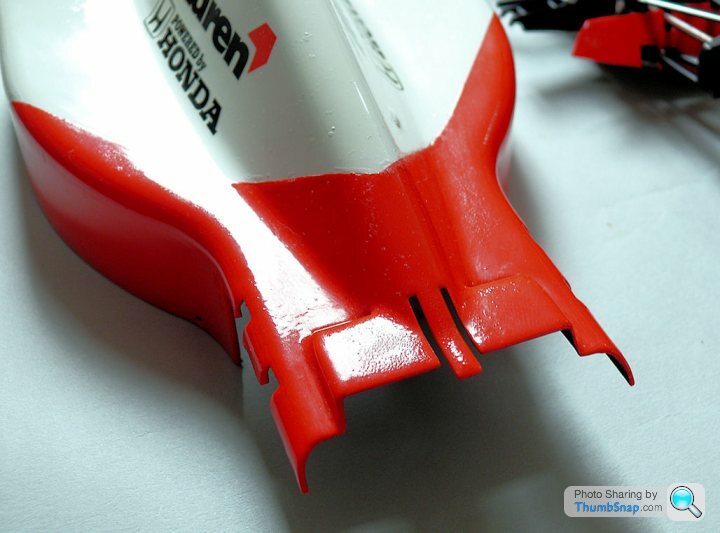
Makes me wonder how I could ever have thought it was a good model, even 15 years ago...
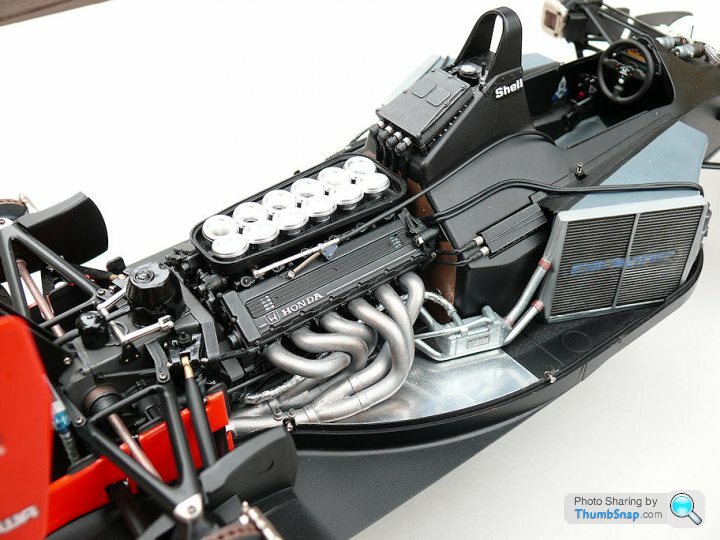
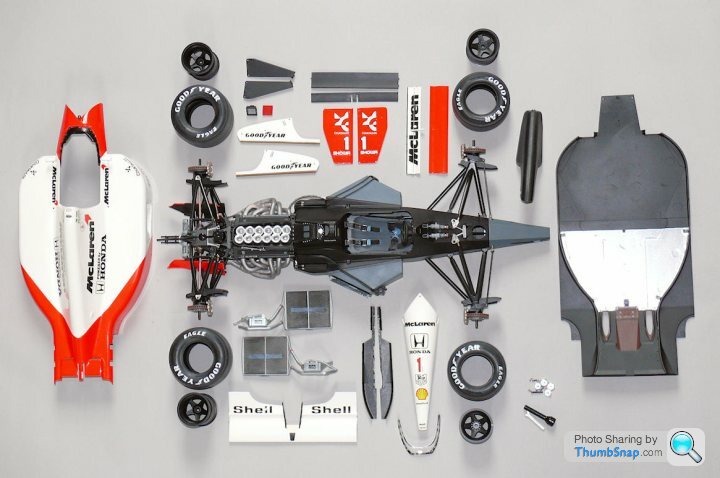
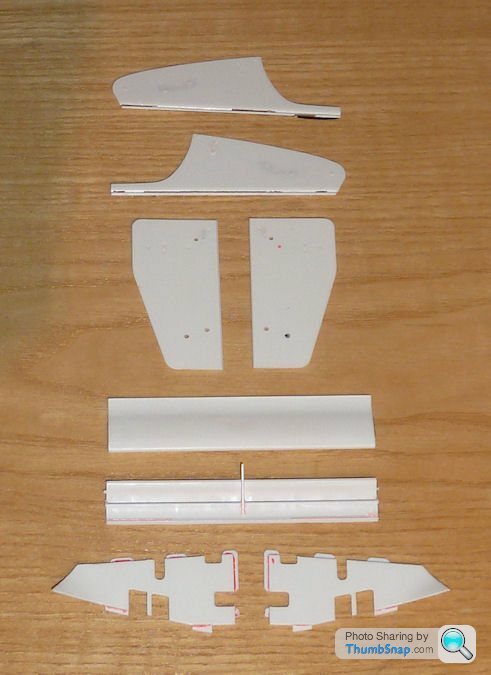
I've now stripped it to the extent I need to correct the paint and add a few bells and whistles. A lot of it is bolt together, and luckily I'd not been too careful about removing paint from the bonded surfaces when I built it, so most of them cracked apart with little or no damage:
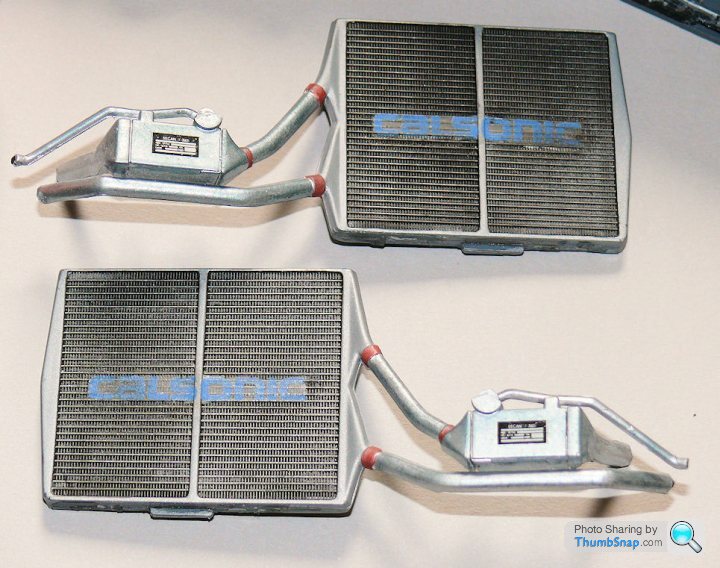
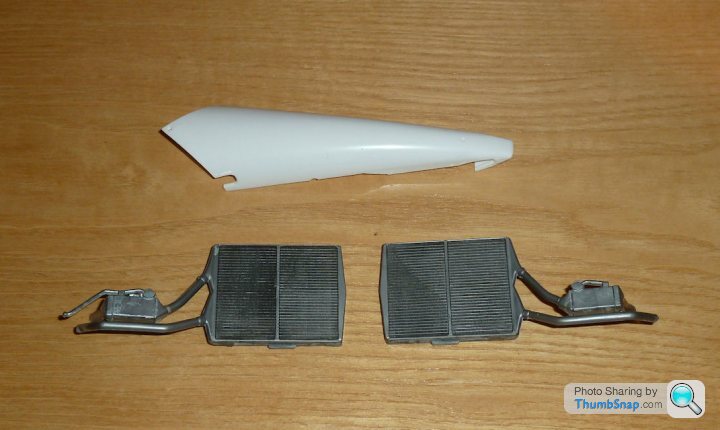
The decals on the radiators silvered, and always looked a bit naff. They will be partially stripped and re-ainted with Alclad and a proper wash (now I know how to do a wash!), since they are clearly visible with the body fitted:
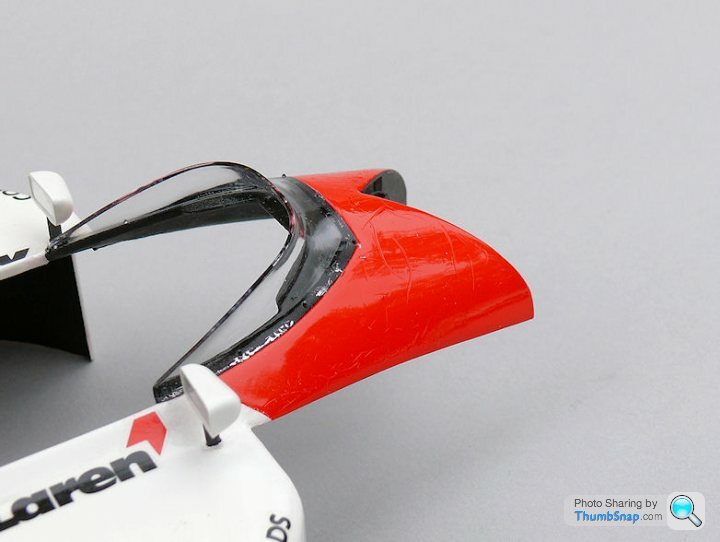
Wing end plates are hand painted on the insides. They might get a carbon decal, or just new paint:

Same with the front wing endplates. Even though I sprayed the parts, it was with a TS can, and the paint was too thick, plus I got dust on them:
All body and wing incidence fasteners will be replaced with p/e parts. I'll apply carbon decals on all visible surfaces where necessary, e.g. brake ducts, vortex generators etc.
First job will be to strip the body paint with Modelstrip, and repaint and re-decal. Then make a start on detailling the wheels.
http://www.pistonheads.com/GASSING/topic.asp?h=0&a...
I finally made a start: I put the model on EBay with the intention of using the cash to buy a new kit to super-detail. After looking at the photos I'd taken I decided I couldn't part with it and ended the auction early. I'm on the F1M forum and a few people said why not partially rebuild it "kerbside" and then get another to buildup as a super detailled chassis? That is exactly what I'm intending to do with my MP4/4's, so that's what I'm going to do with this one. They will go on a base with my Senna and Berger autographs and my old ticket to the 1991 BGP. Likewise the MP4/4's will have my other Senna autograph along with Prost's and my '88 ticket.
Anyway, here are the "before" pics:
Doesn't look bad does it? That's until you look a bit closer:
Makes me wonder how I could ever have thought it was a good model, even 15 years ago...
I've now stripped it to the extent I need to correct the paint and add a few bells and whistles. A lot of it is bolt together, and luckily I'd not been too careful about removing paint from the bonded surfaces when I built it, so most of them cracked apart with little or no damage:
The decals on the radiators silvered, and always looked a bit naff. They will be partially stripped and re-ainted with Alclad and a proper wash (now I know how to do a wash!), since they are clearly visible with the body fitted:
Wing end plates are hand painted on the insides. They might get a carbon decal, or just new paint:
Same with the front wing endplates. Even though I sprayed the parts, it was with a TS can, and the paint was too thick, plus I got dust on them:
All body and wing incidence fasteners will be replaced with p/e parts. I'll apply carbon decals on all visible surfaces where necessary, e.g. brake ducts, vortex generators etc.
First job will be to strip the body paint with Modelstrip, and repaint and re-decal. Then make a start on detailling the wheels.
Edited by dr_gn on Saturday 10th May 15:10
bristolracer said:
Always fancied a 1/12th scale model.
Not sure my skills could do it justice.
Good luck and keep us posted.
The Tamiya 1:12 F1 kits are pretty easy to build, with no extra details. The parts are all pretty large, although there are some small screws to hold the main parts together. So long as you can use a spray can and mask they're not so daunting.Not sure my skills could do it justice.
Good luck and keep us posted.
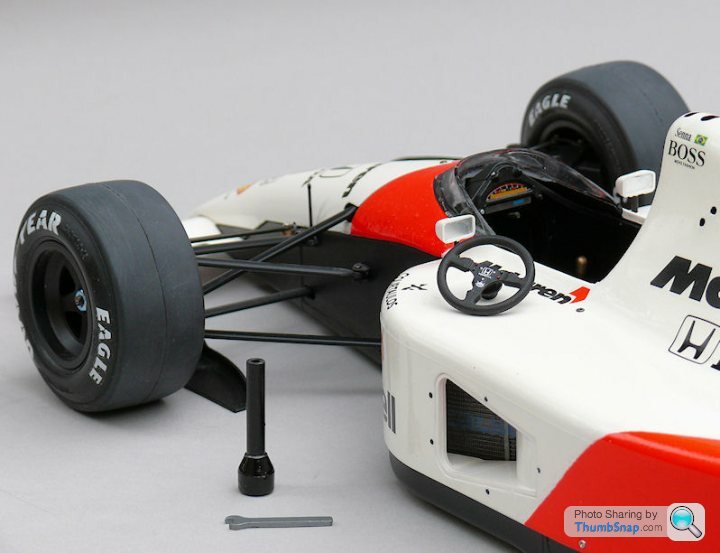
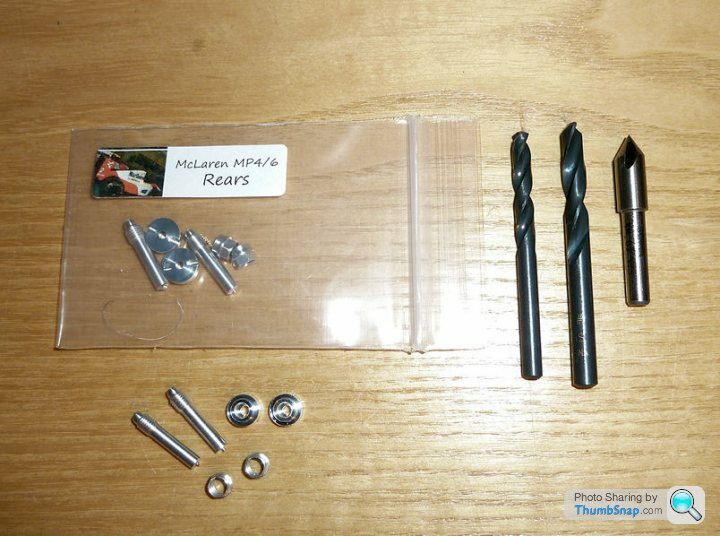
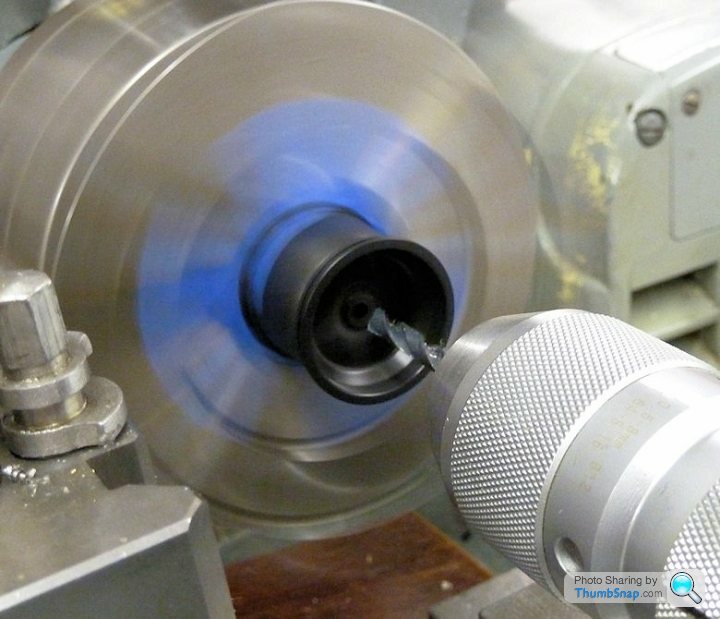
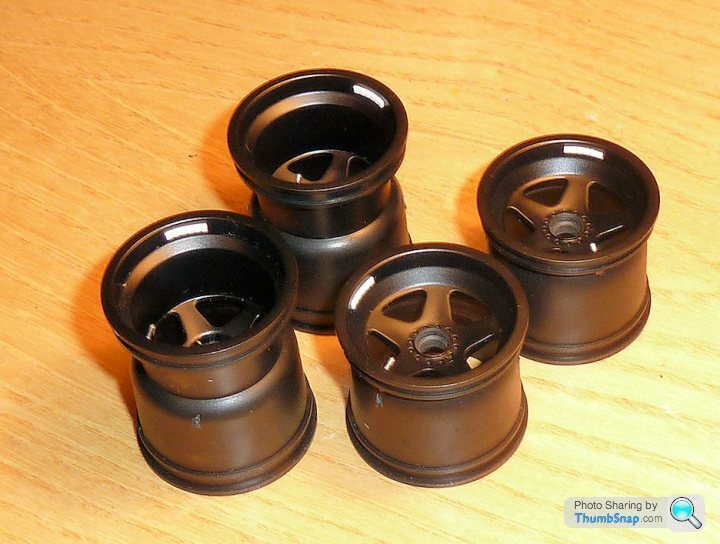
Made a proper start tonight by machining the wheels to fit the Formula Perfect spindles and nuts. FP do two kits; one is a complete replacement brake rotor/bell/spindle/nut set (for display with wheels off) and the spindle and nut set only for a kerbside model:
Luckily the Tamiya kit is so nicely engineered that retro-fitting these fairly fundamental parts is made a lot easier by the bolted joints on much of the suspension and structural parts. All this was stripped without having to break any glue bonds:
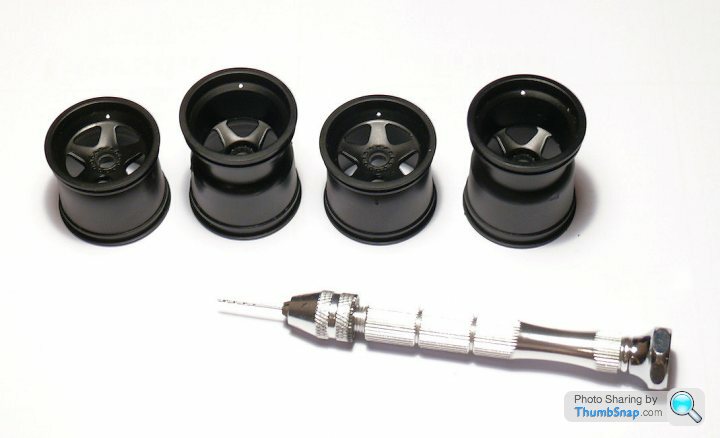
Each wheel hub requires drilling through to enlarge the original hole, counterboring and finally the most important part, chamfering to form a seat for the nut. This chamfer is what will ultimately help to centre the wheel, much like the real thing. All the tooling is provided in the FP kit:
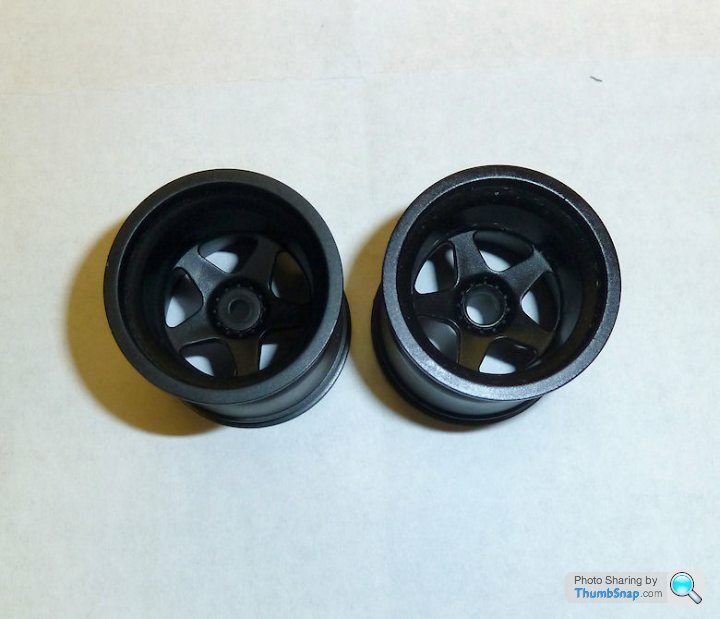
Here are wheels showing before and after machining; there is not much left of the outer hub boss after chamfering:
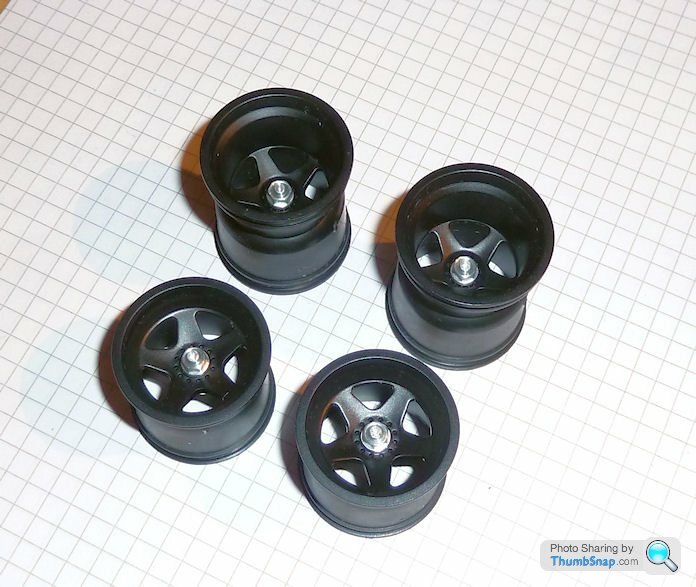
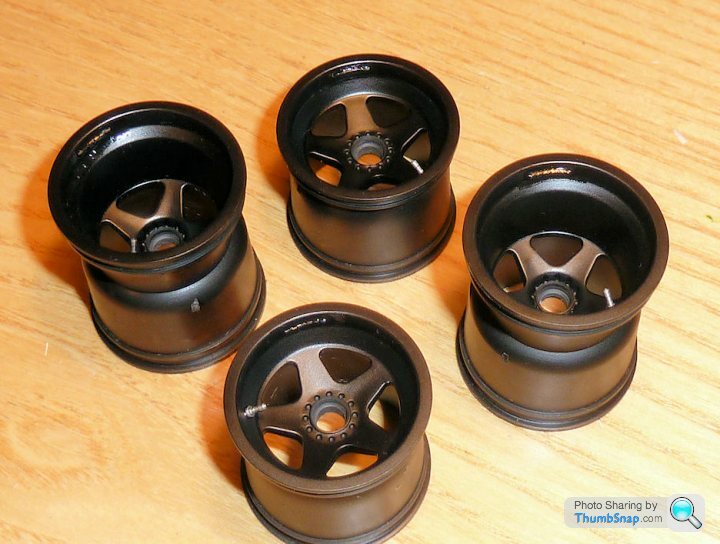
Here are the finished wheels with the axles and nuts dropped in:
The axles fit into machined aluminium bosses that replace the plastic equivalents in the kit. The machining and fit is great:
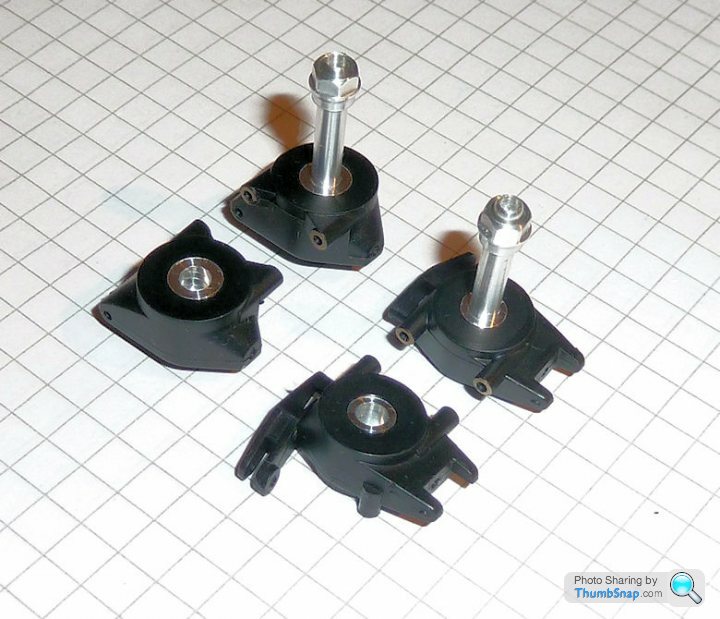
I still need to figure out what colour the nuts were. I'm not sure whether they were blue and red anodised, or something else.
Luckily the Tamiya kit is so nicely engineered that retro-fitting these fairly fundamental parts is made a lot easier by the bolted joints on much of the suspension and structural parts. All this was stripped without having to break any glue bonds:
Each wheel hub requires drilling through to enlarge the original hole, counterboring and finally the most important part, chamfering to form a seat for the nut. This chamfer is what will ultimately help to centre the wheel, much like the real thing. All the tooling is provided in the FP kit:
Here are wheels showing before and after machining; there is not much left of the outer hub boss after chamfering:
Here are the finished wheels with the axles and nuts dropped in:
The axles fit into machined aluminium bosses that replace the plastic equivalents in the kit. The machining and fit is great:
I still need to figure out what colour the nuts were. I'm not sure whether they were blue and red anodised, or something else.
Red Firecracker said:
Looking good, nice when they come apart as easily as the go together. Have you thought about a mask for the radiator lettering?
I think you're right on the wheel nuts, no red & blue, just natural. This pic tends to agree;
http://www.f1-fansite.com/wp-content/uploads/2014/...
Yeah, I though about a mask, in fact Paul at TV said he'd get one photo-etched and send it me. Not all the radiators appear to have had the lettering, so if I cant get a template I'll leave them silver.I think you're right on the wheel nuts, no red & blue, just natural. This pic tends to agree;
http://www.f1-fansite.com/wp-content/uploads/2014/...
I've got some reference pics from 90's F1 test sessions I used to go to, and I can't see red or blue wheel nuts, just what looks like dark bronze. I wonder if the nuts were painted for the race?
The link you posted doesn't work for me.
Cheers.
Red Firecracker said:
Hmm, strange. It's a large pic so linked rather than posted direct, but what the hell;

which is linked to this video;
https://www.youtube.com/watch?v=Mk9e0WgPAr0
The picture link there appears to be broken which is linked to this video;
https://www.youtube.com/watch?v=Mk9e0WgPAr0

I've got that video bookmarked already - plenty of good stuff.
I'm ordering the Joe Honda book today, it's always good to have a paper reference.
Cheers.
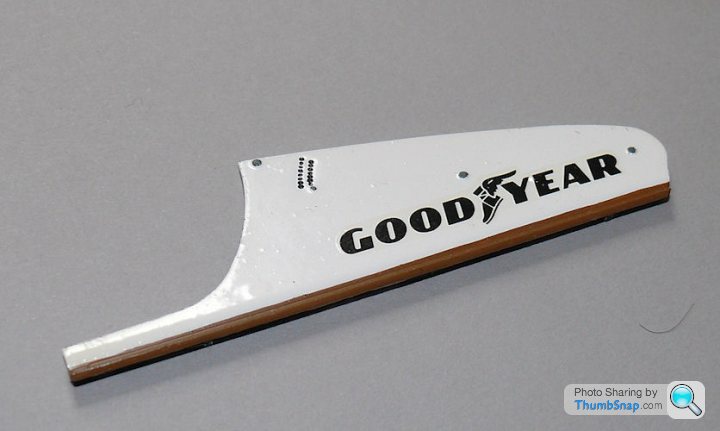
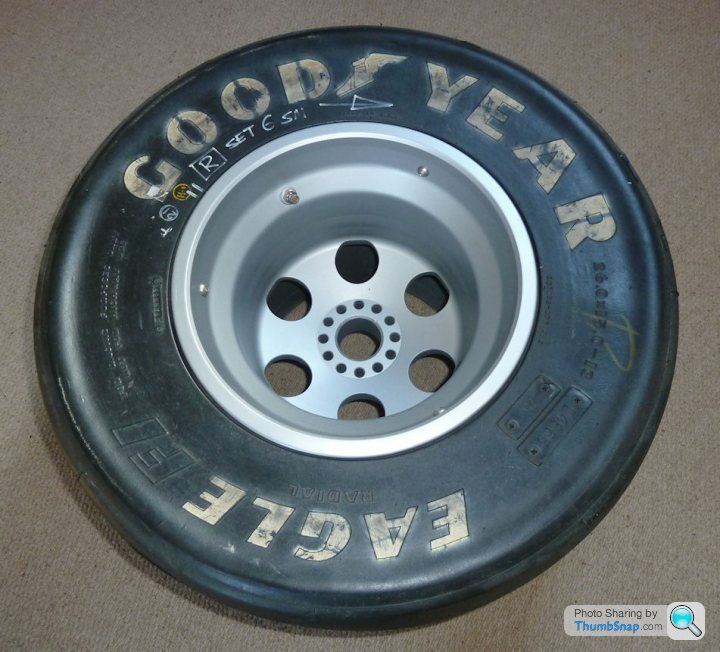
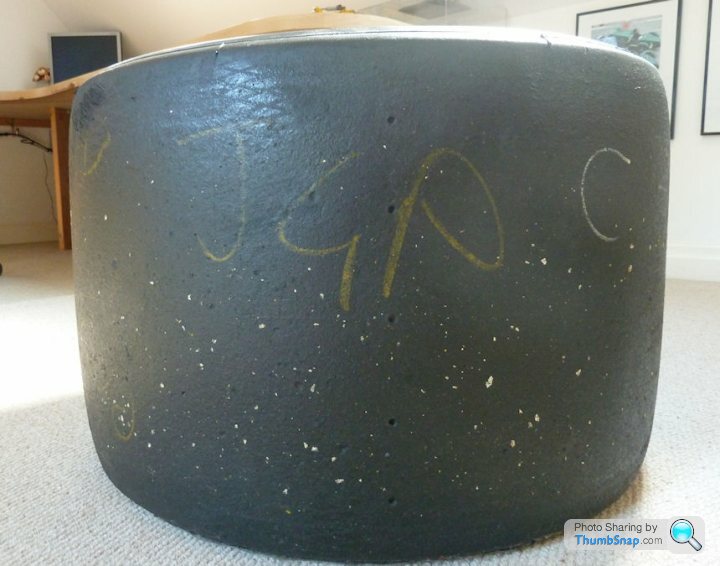
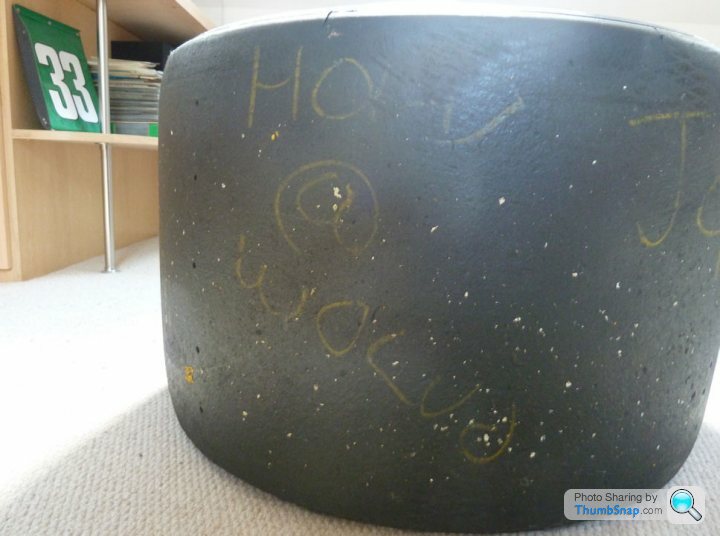
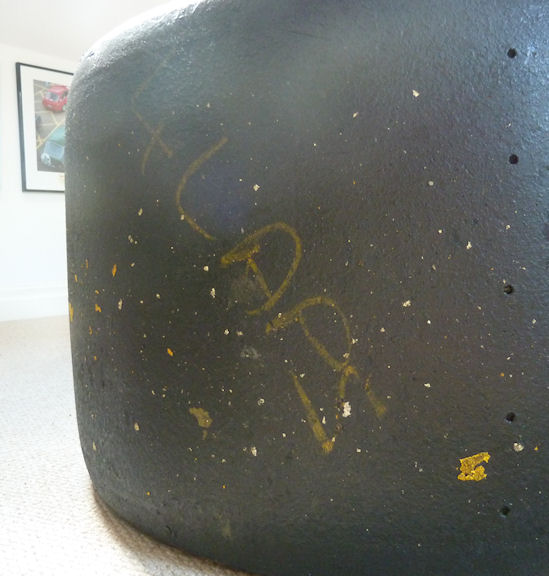
So here are some references I've got in my office. First off a 1991 or 1992 [ETA Jordan 191 or 192) rear tyre complete with the hand written markings. Ignore the wheel, it's an old F3000 item that I had and decided to use for a table:
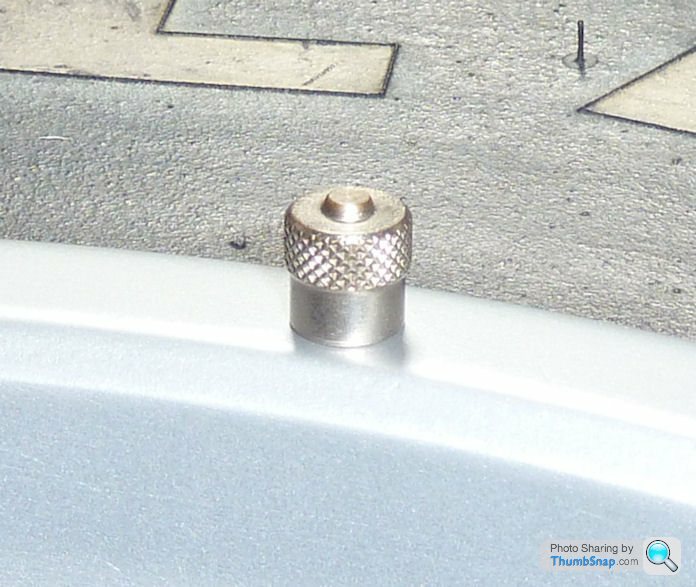
Here's '90's F1 tyre valve cap. I blagged loads of these from GoodYear at various F1 test sessions back in the day. All my cars and bikes, and friends cars and bikes had them at one point!
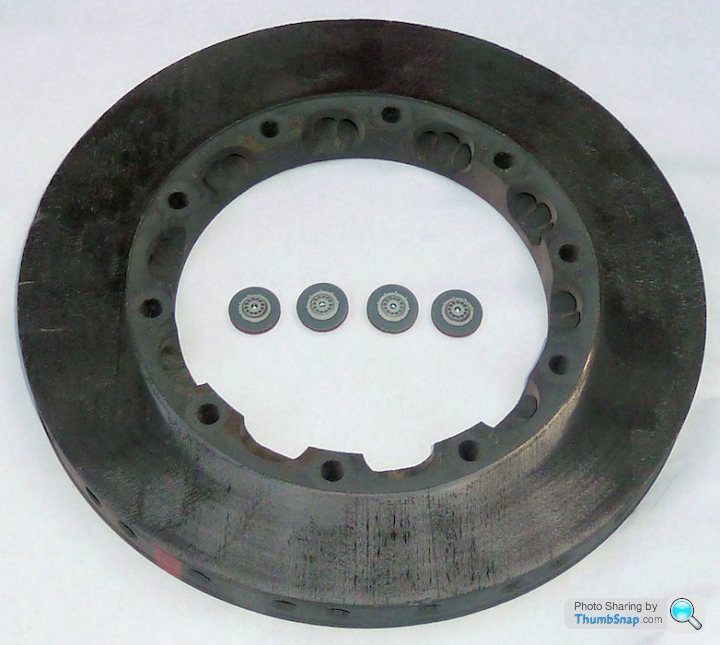
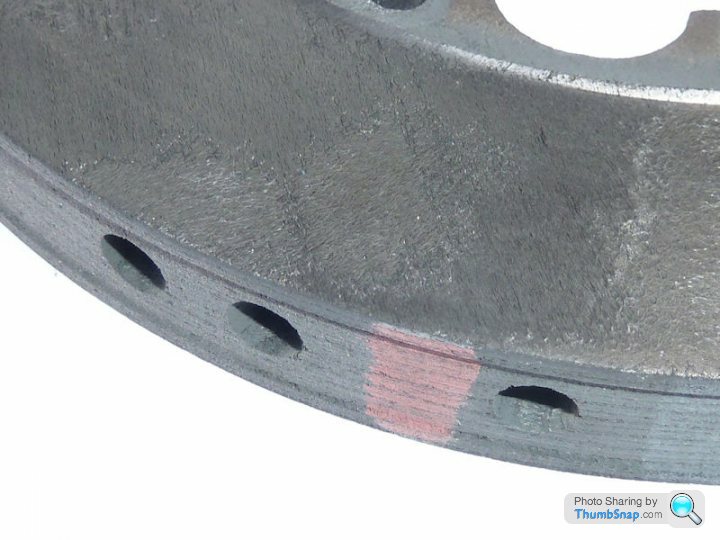
These are some carbon brake rotors from - I think - a Stewart. Not sure of the year, but the colour and grain will be similar to earlier versions. My original 1:12 rotors are in the middle:
Here's '90's F1 tyre valve cap. I blagged loads of these from GoodYear at various F1 test sessions back in the day. All my cars and bikes, and friends cars and bikes had them at one point!
These are some carbon brake rotors from - I think - a Stewart. Not sure of the year, but the colour and grain will be similar to earlier versions. My original 1:12 rotors are in the middle:
Edited by dr_gn on Sunday 11th May 18:12
Edited by dr_gn on Sunday 11th May 23:06
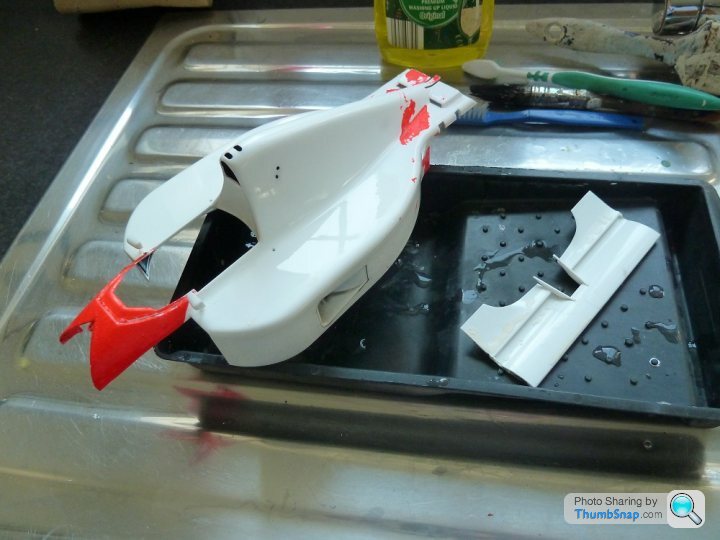
I wasn't convinced that my usual brake fluid paint stripping method would work so well on 15 year old paint, so I tried it on some of the smaller body/wing parts:
Needn't have worried, it worked beautifully; the paint just fell off after 24 hours of immersion. They are now drying after a thorough toothbrushing with hot detergent, and only require a few small areas of solid paint to be scraped away. I've now put the nose cone and radiators in the bath.
I couldn't prise open the front wing halves, so I'll use Modelstrip on that assembly. The last thing I want is to get brake fluid trapped inside only to seep out after repainting. There is no disadvantage to leaving them as a unit anyway. I'll also use Modelstrip on the main body becasue it's too big to immerse in fluid.
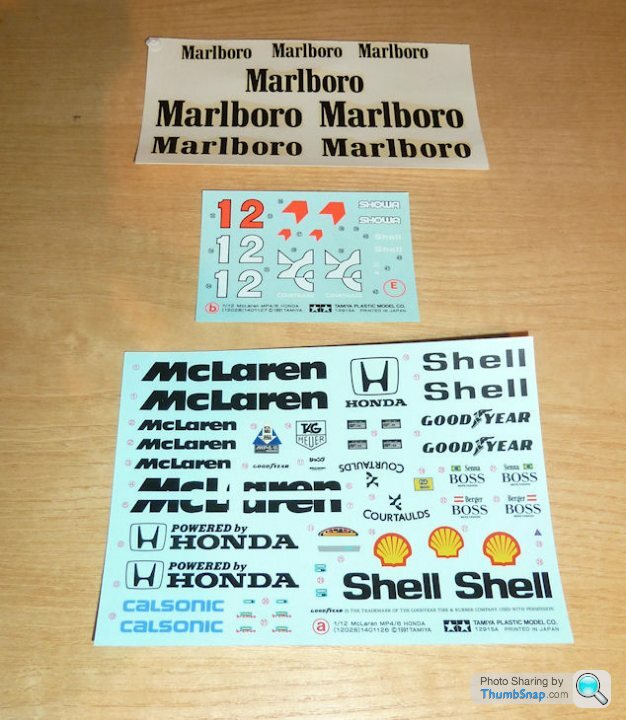
An F1M forum member supplied me with some spare decals, which is a big step on the way to me completing this rebuild:
Needn't have worried, it worked beautifully; the paint just fell off after 24 hours of immersion. They are now drying after a thorough toothbrushing with hot detergent, and only require a few small areas of solid paint to be scraped away. I've now put the nose cone and radiators in the bath.
I couldn't prise open the front wing halves, so I'll use Modelstrip on that assembly. The last thing I want is to get brake fluid trapped inside only to seep out after repainting. There is no disadvantage to leaving them as a unit anyway. I'll also use Modelstrip on the main body becasue it's too big to immerse in fluid.
An F1M forum member supplied me with some spare decals, which is a big step on the way to me completing this rebuild:
The nose and radiators are now stripped. The nose looks like brand new, even retaining its original gloss finish. The radiators don't look much different, but then again they are silver plastic underneath the silver paint.
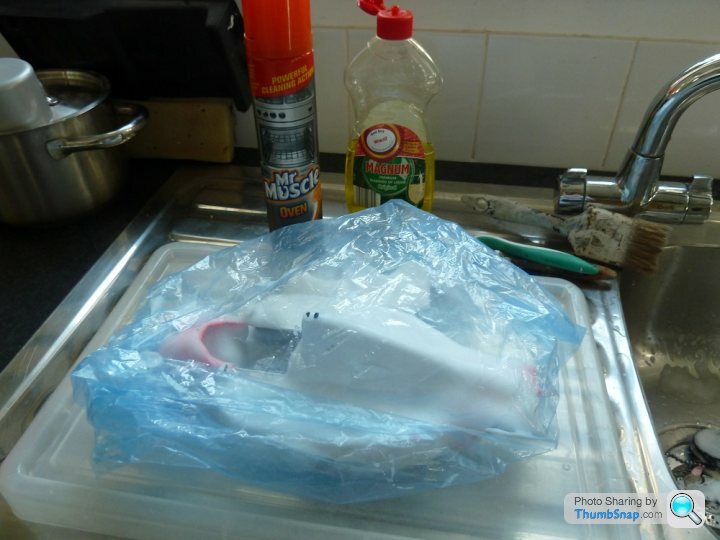
Like a plasterer's radio: The body and front wing were coated in Modelstrip. It needed thinning with water, but went on OK:
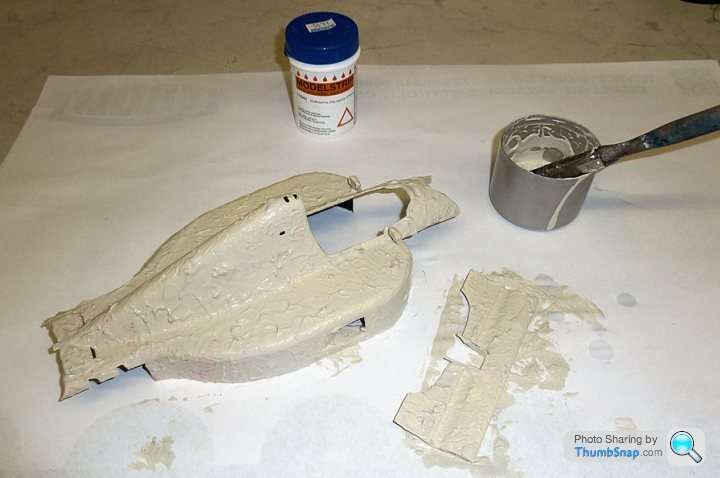
It's now in the airing cupboard in a plastic bag to delay the stuff drying out (Modelstrip is pretty ineffective when dry). Even after 1 hour I can see unspeakable chemical warfare type things happening in there:
If that doesn't work, I'll buy a load of cheap brake fluid and shove it all in a bucket for a couple of days.
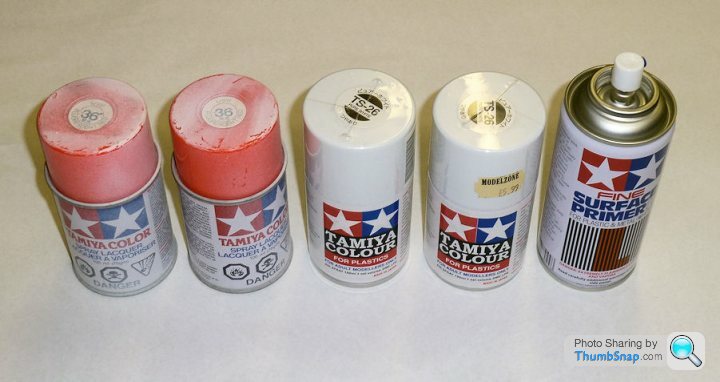
In an almost unprecidented stroke of luck, I seem to have found all the paint I need to refinish the body. Something is bound to go wrong...I think the Flourescent Red might even be spare from the first time around:
Like a plasterer's radio: The body and front wing were coated in Modelstrip. It needed thinning with water, but went on OK:
It's now in the airing cupboard in a plastic bag to delay the stuff drying out (Modelstrip is pretty ineffective when dry). Even after 1 hour I can see unspeakable chemical warfare type things happening in there:
If that doesn't work, I'll buy a load of cheap brake fluid and shove it all in a bucket for a couple of days.
In an almost unprecidented stroke of luck, I seem to have found all the paint I need to refinish the body. Something is bound to go wrong...I think the Flourescent Red might even be spare from the first time around:
Red Firecracker said:
Decant and airbrush or straight from the can?
I wonder how many ingredients ModelStrip shares with oven cleaner as well!
Definitely decant into the airbrush. The last paint was from the can and it was too thick and degassed through the surface. I wonder how many ingredients ModelStrip shares with oven cleaner as well!
I've got a thread running on F1M and there is a lot of advice on refinishing there. A bit of conflicting advice on clearcoats. I was going to decant some TS clear, but apparently it's too aggressive on decals, so someone suggested the Tamiya X- acrylic pot varnish, but someone else said it might yellow. No way I'm ever using Zero varnish again, so I'm a bit stuck on the final coat.
Edited by dr_gn on Wednesday 14th May 09:24
fatboy69 said:
I hope that the model will reappear sporting the Marlboro decals.
This thread might give me the inspiration to actually build my MP4/6.
It has been in the box untouched since I bought it god knows how many years ago, along with the Williams FW14, as well as a Porsche 934 & 935.
One day. Maybe!
This is only kerbside - I'm not touching anything under the body apart from the radiators and maybe some other very small details visible from outside the car.This thread might give me the inspiration to actually build my MP4/6.
It has been in the box untouched since I bought it god knows how many years ago, along with the Williams FW14, as well as a Porsche 934 & 935.
One day. Maybe!
The body will be fully detailed as necessary, but this is really just a starter for the main course which is the fully detailed bare chassis. A lot of work and investment to come (then there's the Ferrari and Williams to do!).
If you want to sell your MP4/6 I'd have it off you. I'm looking for one on EBay at the moment.
Cheers.
fatboy69 said:
dr_gn said:
fatboy69 said:
I hope that the model will reappear sporting the Marlboro decals.
This thread might give me the inspiration to actually build my MP4/6.
It has been in the box untouched since I bought it god knows how many years ago, along with the Williams FW14, as well as a Porsche 934 & 935.
One day. Maybe!
This is only kerbside - I'm not touching anything under the body apart from the radiators and maybe some other very small details visible from outside the car.This thread might give me the inspiration to actually build my MP4/6.
It has been in the box untouched since I bought it god knows how many years ago, along with the Williams FW14, as well as a Porsche 934 & 935.
One day. Maybe!
The body will be fully detailed as necessary, but this is really just a starter for the main course which is the fully detailed bare chassis. A lot of work and investment to come (then there's the Ferrari and Williams to do!).
If you want to sell your MP4/6 I'd have it off you. I'm looking for one on EBay at the moment.
Cheers.
I built the 1/12 Ferrari a few years ago - sits in my mums living room display cupboard. That is another superb kit.
It has been autographed by a certain Mr N Mansell!!!
Yertis said:
I note you're using Modelstrip but did you not once previously suggest brake fluid for that task?
Yes, as noted before, the smaller components went in brake fluid and it worked fine. The body would need a lot of volume, so Modelstrip seemed the better option. The front wing is an assembly, so I used Modelstrip on that becasue I didn't want brake fluid gradually seeping out after re-painting (Modelsstrip is a paste and can be applied with a bit more control).Yertis said:
dr_gn said:
Yes, as noted before, the smaller components went in brake fluid and it worked fine. The body would need a lot of volume, so Modelstrip seemed the better option. The front wing is an assembly, so I used Modelstrip on that becasue I didn't want brake fluid gradually seeping out after re-painting (Modelsstrip is a paste and can be applied with a bit more control).
Thanks for that. To be honest I didn't know you could still get Modelstrip - I last saw it being demonstrated at the Model Engineering Exhibition in about 1979...The Mr.Muscle didn't touch the last bits of red, so I dunked it in brake fluid. That softened them a bit, but for some reason they still needed more persuasion with the edge of a credit card. Anyway, the whole project is looking distinctly more do-able now:
One issue is that one of the teardrops on the engine cover must have got flatted away last time I painted it:
I'll have to somehow replace it. I'm thinking of sanding the other side down and making a new pair form old aircraft missiles cut obliquely at the nose. That should result in a teardrop-esque shape if my 3-D thinking isn't wrong.
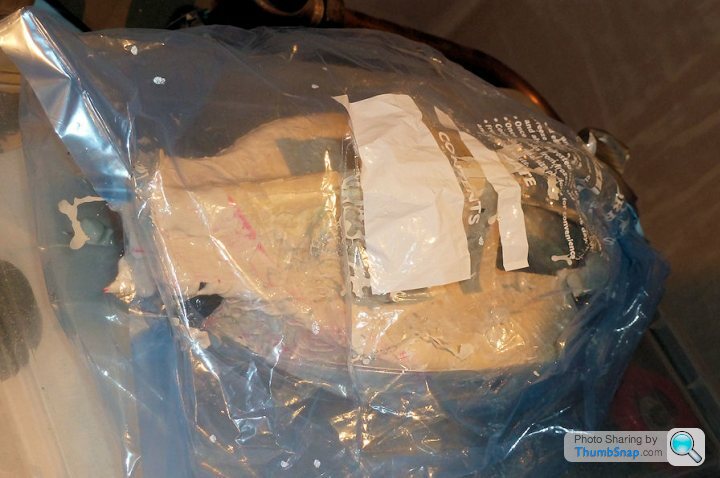
The inside of the body is another story, and is currently in a bag with my old friend Mr.Muscle:
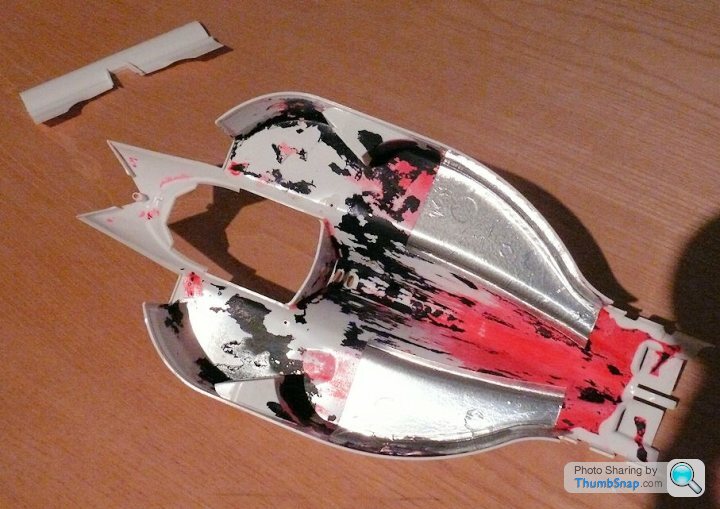
Those foil areas will be a b h to remove...
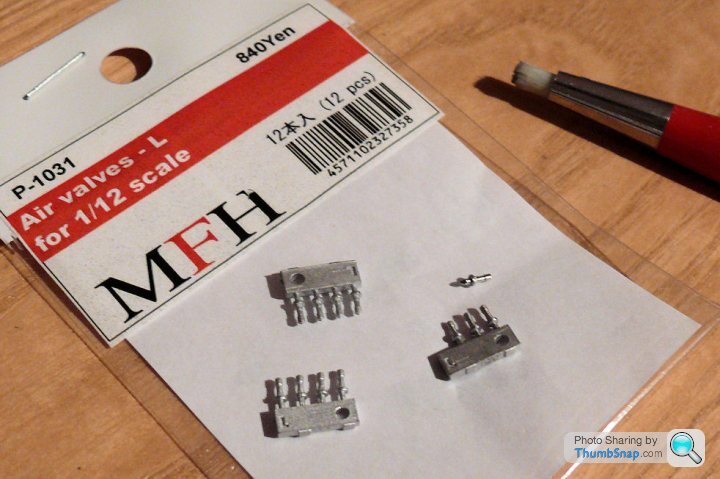
I got the MFH tyre valves today. I was a bit shocked to find they are cast white metal ratehr than turned, but a few seconds with a fibreglass pencil brightened them up so there's not much difference now. Much cheaper than turned ones too. I might give them a dark wash to bring out the various steps and contours:
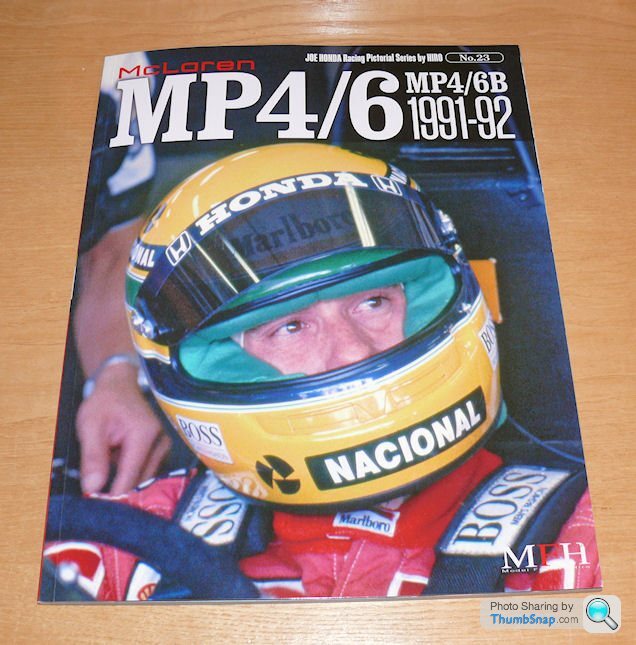
Also got the Joe Honda book on the MP4/6. Full of good old film camera images from what I consider the greatest era of F1:
One issue is that one of the teardrops on the engine cover must have got flatted away last time I painted it:
I'll have to somehow replace it. I'm thinking of sanding the other side down and making a new pair form old aircraft missiles cut obliquely at the nose. That should result in a teardrop-esque shape if my 3-D thinking isn't wrong.
The inside of the body is another story, and is currently in a bag with my old friend Mr.Muscle:
Those foil areas will be a b
h to remove...I got the MFH tyre valves today. I was a bit shocked to find they are cast white metal ratehr than turned, but a few seconds with a fibreglass pencil brightened them up so there's not much difference now. Much cheaper than turned ones too. I might give them a dark wash to bring out the various steps and contours:
Also got the Joe Honda book on the MP4/6. Full of good old film camera images from what I consider the greatest era of F1:
Red Firecracker said:
dr_gn said:
Someone on F1M also suggested that. I've got a resin casting kit ready to try so I might have a go.
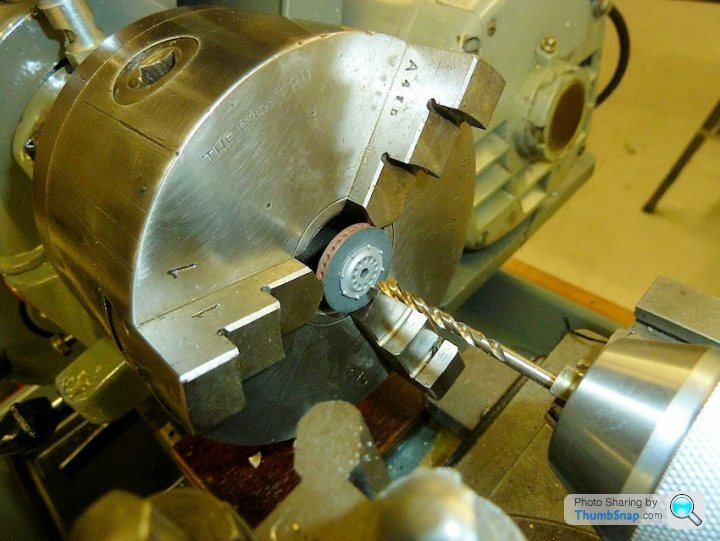
I think I've got a spare stick if you fancy trying it. Interesting stuff to play with and reusable into the bargain.Another incredibly exciting update; the wheel rims are drilled for tyre valves. Wohoo:
The body is almost stripped, suffice to say there are some stubborn patches of paint that only a combination of stripping products and scraping will remove. Luckily these are mainly confined to the underside.
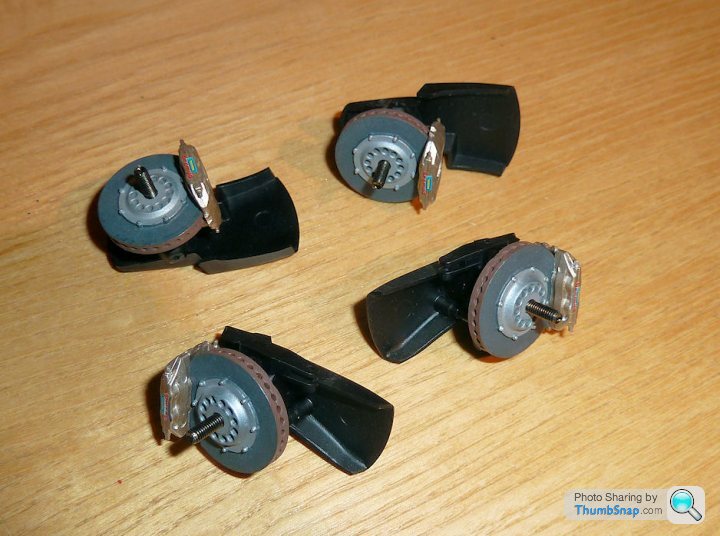
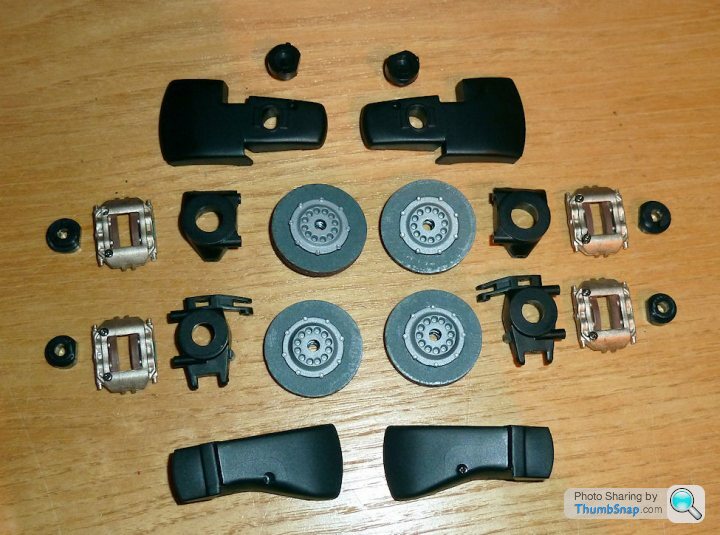
I re-assembled the discs today after splitting them to remove the captive nuts and open up the axle holes:

I guess I'll give the bolts a dark wash and re-matt them before refitting. I'll not bother filling the circuferencial joins, nobody will ever see them again once complete. Not so for the next version of course...
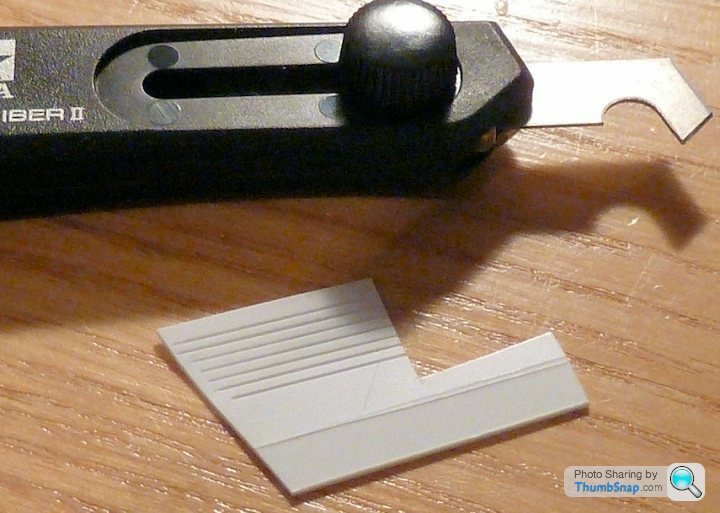
I added the valve stems to the wheels and was about to cut some Bare Metal Foil to make some wheel weight tape. Then I remembered: This is a McLaren, so probably would have black tape to match the wheels! A quick look at my reference pics confirmed this was usually the case. I made some lead chocolate block weights by scribing some plastic card:
and cutting into strips:
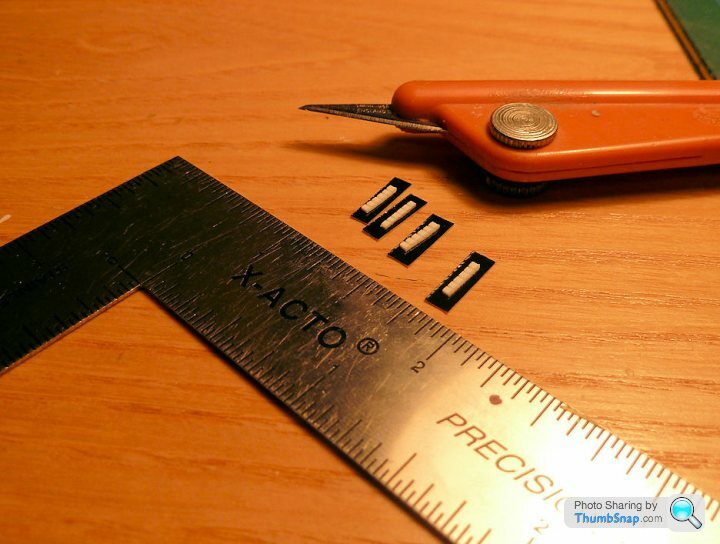
Then PVA'd them to the wheels and covered them with some old black decals cut into tape widths. Microsol and Klear made the tape look like it had been roughly smoothed over the blocks, leaving a few wrinkles here and there:
Do they look realistic? I don't know. I'm always wary of modelling something that was imperfect on the prototype, becasue it makes my modelling look cack-handed. I'll leave them on, at least id adds interest to the wheels.
I guess I'll give the bolts a dark wash and re-matt them before refitting. I'll not bother filling the circuferencial joins, nobody will ever see them again once complete. Not so for the next version of course...
I added the valve stems to the wheels and was about to cut some Bare Metal Foil to make some wheel weight tape. Then I remembered: This is a McLaren, so probably would have black tape to match the wheels! A quick look at my reference pics confirmed this was usually the case. I made some lead chocolate block weights by scribing some plastic card:
and cutting into strips:
Then PVA'd them to the wheels and covered them with some old black decals cut into tape widths. Microsol and Klear made the tape look like it had been roughly smoothed over the blocks, leaving a few wrinkles here and there:
Do they look realistic? I don't know. I'm always wary of modelling something that was imperfect on the prototype, becasue it makes my modelling look cack-handed. I'll leave them on, at least id adds interest to the wheels.
Gassing Station | Scale Models | Top of Page | What's New | My Stuff